> ## Documentation Index
> Fetch the complete documentation index at: https://notes.kodekloud.com/llms.txt
> Use this file to discover all available pages before exploring further.
# Using Language Specific SDKs
> Explains using language-specific Azure OpenAI SDKs, shows a Python Flask integration, environment variable security, and tuning parameters for chat-based model deployments.
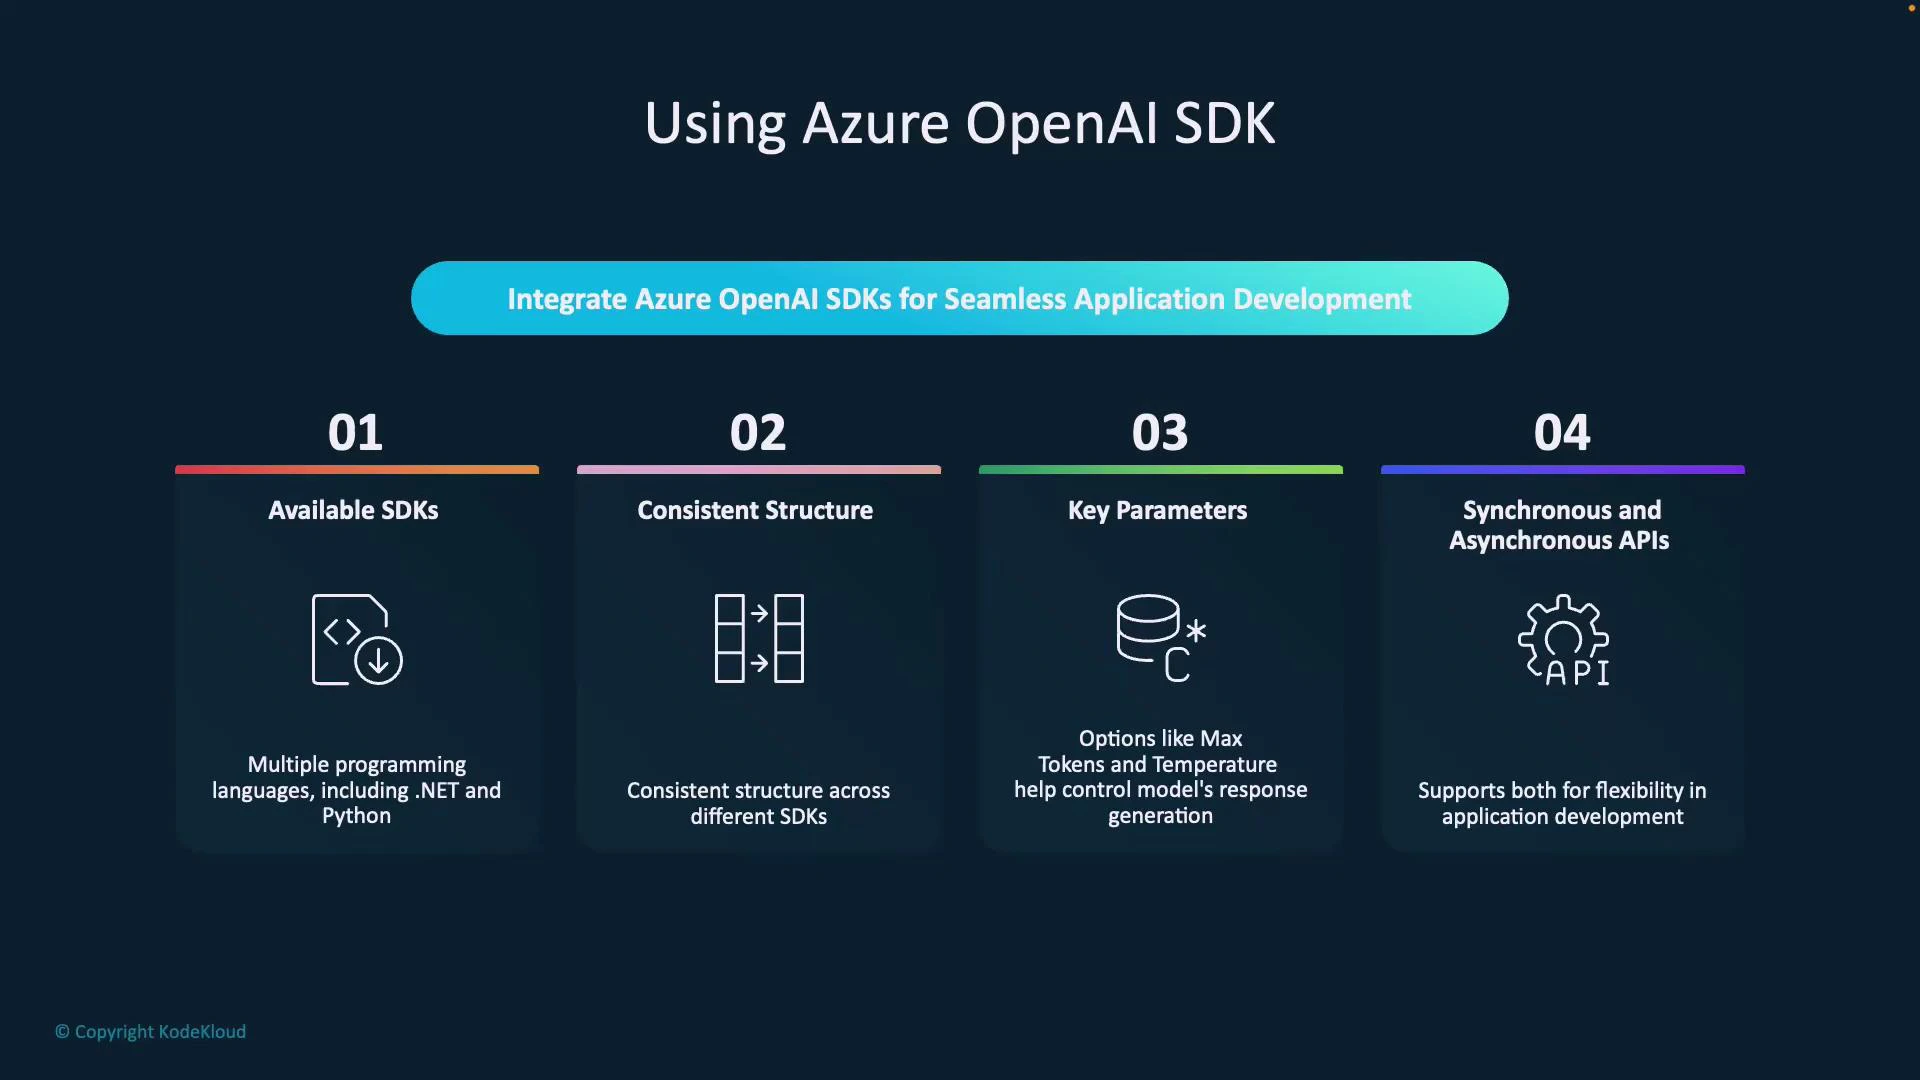
Using language-specific SDKs accelerates development by exposing idiomatic APIs and hiding low-level REST details. SDKs for Azure OpenAI provide consistent patterns across languages (for example, .NET and Python), making it easy to initialize clients, prepare requests, and handle responses while controlling model behavior with parameters like temperature and max\_tokens.
In this lesson we'll cover what makes SDKs developer-friendly and walk through a concise, corrected Python example that integrates Azure OpenAI into a simple Flask chatbot.
Why SDKs help
* Familiar languages: Use the SDK for the language you already know (Python, .NET, etc.).
* Predictable structure: The typical pattern is initialize client → build messages/params → call API → process response.
* Fine-grained control: Tune generation with parameters such as max\_tokens, temperature, and top\_p.
* Sync and async options: Choose synchronous or asynchronous clients depending on your app architecture.
 Quick SDK workflow
1. Import the SDK package for your language.
2. Initialize a client with your endpoint and credentials.
3. Build chat messages and set generation parameters (system prompt, user messages, temperature, max\_tokens, etc.).
4. Send the request (sync or async).
5. Process the response and integrate it into your application.
Never hardcode secrets (API keys or endpoints) in source code. Use environment variables or a secure secrets manager.
Store your Azure endpoint and API key in environment variables or a secure secrets store. Never commit keys to source control.
Environment variables (recommended)
| Variable | Purpose | Example |
| ------------------------- | ----------------------------------- | ---------------------------------------------- |
| AZURE\_OPENAI\_KEY | Your Azure OpenAI API key | `set AZURE_OPENAI_KEY="..."` |
| AZURE\_OPENAI\_ENDPOINT | Your Azure OpenAI resource endpoint | `https://my-openai-resource.openai.azure.com/` |
| AZURE\_OPENAI\_DEPLOYMENT | Deployment name for the model | `gpt-4o` |
Python + Flask example (synchronous SDK)
Below is a compact single-file Flask app that demonstrates a typical synchronous integration using the azure.ai.openai package. It reads credentials from environment variables, initializes the OpenAIClient with AzureKeyCredential, forwards user input to a deployed model, and returns the assistant reply as JSON.
```python theme={null}
# app.py
from flask import Flask, request, render_template, jsonify
import os
from azure.ai.openai import OpenAIClient
from azure.core.credentials import AzureKeyCredential
app = Flask(__name__)
# Read credentials from environment variables for safety
AZURE_OPENAI_KEY = os.environ.get("AZURE_OPENAI_KEY")
AZURE_OPENAI_ENDPOINT = os.environ.get("AZURE_OPENAI_ENDPOINT")
DEPLOYMENT_NAME = os.environ.get("AZURE_OPENAI_DEPLOYMENT", "gpt-4o")
if not (AZURE_OPENAI_KEY and AZURE_OPENAI_ENDPOINT):
raise ValueError("Set AZURE_OPENAI_KEY and AZURE_OPENAI_ENDPOINT environment variables.")
# Initialize the Azure OpenAI client
credential = AzureKeyCredential(AZURE_OPENAI_KEY)
client = OpenAIClient(endpoint=AZURE_OPENAI_ENDPOINT, credential=credential)
@app.route('/')
def index():
# Serve a simple UI (index.html) that posts JSON to /chat
return render_template('index.html')
@app.route('/chat', methods=['POST'])
def chat():
user_input = request.json.get("message", "").strip()
if not user_input:
return jsonify({"reply": "Please send a non-empty message."}), 400
# Prepare messages and parameters for the chat completion
messages = [
{"role": "system", "content": "You are a helpful assistant."},
{"role": "user", "content": user_input}
]
# Call the Azure OpenAI chat completions API (synchronous)
response = client.get_chat_completions(
deployment_id=DEPLOYMENT_NAME,
messages=messages,
temperature=0.7,
max_tokens=150
)
# Extract the assistant reply
reply = response.choices[0].message.content.strip()
return jsonify({"reply": reply})
if __name__ == '__main__':
# For local development only. In production use a WSGI server like Gunicorn or uWSGI.
app.run(host='0.0.0.0', port=5000, debug=True)
```
Explanation of the key parts
* Initialization: create an OpenAIClient using your Azure endpoint and AzureKeyCredential.
* Messages: construct a list of chat messages with roles ("system", "user", optionally "assistant").
* Request: call client.get\_chat\_completions with your deployment\_id and generation parameters (temperature, max\_tokens).
* Response: extract the assistant text from response.choices\[0].message.content (strip whitespace).
Example response JSON
```json theme={null}
{
"reply": "Hello! I'm a virtual assistant ready to help. What would you like to do today?"
}
```
Local DevTools / network details (example)
| Property | Example |
| ----------------------- | -------------------------------------------------------- |
| Request URL | [http://127.0.0.1:5000/chat](http://127.0.0.1:5000/chat) |
| Request Method | POST |
| Status Code | 200 OK |
| Content-Type (response) | application/json |
| Server | Werkzeug/3.1.3 Python/3.9.13 |
Response headers (example)
| Header | Value |
| -------------- | ---------------------------- |
| Connection | close |
| Content-Length | 171 |
| Content-Type | application/json |
| Server | Werkzeug/3.1.3 Python/3.9.13 |
Request headers (example)
| Header | Value |
| ------------ | ---------------------------------------------- |
| Accept | */* |
| Content-Type | application/json |
| Host | 127.0.0.1:5000 |
| Origin | [http://127.0.0.1:5000](http://127.0.0.1:5000) |
Next steps / integrations
* Add authentication and authorization for your Flask endpoints to protect access.
* Integrate with internal knowledge sources or a vector database to implement retrieval-augmented generation (RAG) for context-aware answers. See an intro to RAG here: [Fundamentals of RAG](https://learn.kodekloud.com/user/courses/fundamentals-of-rag).
* If your app needs high concurrency, switch to the async client or run the Flask app behind an async-friendly server.
* Consult Azure OpenAI docs for deployment, scaling, and best practices: [https://learn.microsoft.com/azure/cognitive-services/openai/](https://learn.microsoft.com/azure/cognitive-services/openai/)
Summary
Using a language-specific SDK (like the Azure OpenAI Python SDK) keeps your integration concise and consistent. The SDK handles authentication, request/response serialization, and exposes parameters to tune generation behavior—letting you focus on building features like a Flask-based chatbot rather than the underlying REST plumbing.
Quick SDK workflow
1. Import the SDK package for your language.
2. Initialize a client with your endpoint and credentials.
3. Build chat messages and set generation parameters (system prompt, user messages, temperature, max\_tokens, etc.).
4. Send the request (sync or async).
5. Process the response and integrate it into your application.
Never hardcode secrets (API keys or endpoints) in source code. Use environment variables or a secure secrets manager.
Store your Azure endpoint and API key in environment variables or a secure secrets store. Never commit keys to source control.
Environment variables (recommended)
| Variable | Purpose | Example |
| ------------------------- | ----------------------------------- | ---------------------------------------------- |
| AZURE\_OPENAI\_KEY | Your Azure OpenAI API key | `set AZURE_OPENAI_KEY="..."` |
| AZURE\_OPENAI\_ENDPOINT | Your Azure OpenAI resource endpoint | `https://my-openai-resource.openai.azure.com/` |
| AZURE\_OPENAI\_DEPLOYMENT | Deployment name for the model | `gpt-4o` |
Python + Flask example (synchronous SDK)
Below is a compact single-file Flask app that demonstrates a typical synchronous integration using the azure.ai.openai package. It reads credentials from environment variables, initializes the OpenAIClient with AzureKeyCredential, forwards user input to a deployed model, and returns the assistant reply as JSON.
```python theme={null}
# app.py
from flask import Flask, request, render_template, jsonify
import os
from azure.ai.openai import OpenAIClient
from azure.core.credentials import AzureKeyCredential
app = Flask(__name__)
# Read credentials from environment variables for safety
AZURE_OPENAI_KEY = os.environ.get("AZURE_OPENAI_KEY")
AZURE_OPENAI_ENDPOINT = os.environ.get("AZURE_OPENAI_ENDPOINT")
DEPLOYMENT_NAME = os.environ.get("AZURE_OPENAI_DEPLOYMENT", "gpt-4o")
if not (AZURE_OPENAI_KEY and AZURE_OPENAI_ENDPOINT):
raise ValueError("Set AZURE_OPENAI_KEY and AZURE_OPENAI_ENDPOINT environment variables.")
# Initialize the Azure OpenAI client
credential = AzureKeyCredential(AZURE_OPENAI_KEY)
client = OpenAIClient(endpoint=AZURE_OPENAI_ENDPOINT, credential=credential)
@app.route('/')
def index():
# Serve a simple UI (index.html) that posts JSON to /chat
return render_template('index.html')
@app.route('/chat', methods=['POST'])
def chat():
user_input = request.json.get("message", "").strip()
if not user_input:
return jsonify({"reply": "Please send a non-empty message."}), 400
# Prepare messages and parameters for the chat completion
messages = [
{"role": "system", "content": "You are a helpful assistant."},
{"role": "user", "content": user_input}
]
# Call the Azure OpenAI chat completions API (synchronous)
response = client.get_chat_completions(
deployment_id=DEPLOYMENT_NAME,
messages=messages,
temperature=0.7,
max_tokens=150
)
# Extract the assistant reply
reply = response.choices[0].message.content.strip()
return jsonify({"reply": reply})
if __name__ == '__main__':
# For local development only. In production use a WSGI server like Gunicorn or uWSGI.
app.run(host='0.0.0.0', port=5000, debug=True)
```
Explanation of the key parts
* Initialization: create an OpenAIClient using your Azure endpoint and AzureKeyCredential.
* Messages: construct a list of chat messages with roles ("system", "user", optionally "assistant").
* Request: call client.get\_chat\_completions with your deployment\_id and generation parameters (temperature, max\_tokens).
* Response: extract the assistant text from response.choices\[0].message.content (strip whitespace).
Example response JSON
```json theme={null}
{
"reply": "Hello! I'm a virtual assistant ready to help. What would you like to do today?"
}
```
Local DevTools / network details (example)
| Property | Example |
| ----------------------- | -------------------------------------------------------- |
| Request URL | [http://127.0.0.1:5000/chat](http://127.0.0.1:5000/chat) |
| Request Method | POST |
| Status Code | 200 OK |
| Content-Type (response) | application/json |
| Server | Werkzeug/3.1.3 Python/3.9.13 |
Response headers (example)
| Header | Value |
| -------------- | ---------------------------- |
| Connection | close |
| Content-Length | 171 |
| Content-Type | application/json |
| Server | Werkzeug/3.1.3 Python/3.9.13 |
Request headers (example)
| Header | Value |
| ------------ | ---------------------------------------------- |
| Accept | */* |
| Content-Type | application/json |
| Host | 127.0.0.1:5000 |
| Origin | [http://127.0.0.1:5000](http://127.0.0.1:5000) |
Next steps / integrations
* Add authentication and authorization for your Flask endpoints to protect access.
* Integrate with internal knowledge sources or a vector database to implement retrieval-augmented generation (RAG) for context-aware answers. See an intro to RAG here: [Fundamentals of RAG](https://learn.kodekloud.com/user/courses/fundamentals-of-rag).
* If your app needs high concurrency, switch to the async client or run the Flask app behind an async-friendly server.
* Consult Azure OpenAI docs for deployment, scaling, and best practices: [https://learn.microsoft.com/azure/cognitive-services/openai/](https://learn.microsoft.com/azure/cognitive-services/openai/)
Summary
Using a language-specific SDK (like the Azure OpenAI Python SDK) keeps your integration concise and consistent. The SDK handles authentication, request/response serialization, and exposes parameters to tune generation behavior—letting you focus on building features like a Flask-based chatbot rather than the underlying REST plumbing.