> ## Documentation Index
> Fetch the complete documentation index at: https://notes.kodekloud.com/llms.txt
> Use this file to discover all available pages before exploring further.
# Deploying an Azure OpenAI Resource
> Guide for creating and managing an Azure OpenAI resource via the Azure portal or CLI, including post deployment keys, endpoints, and troubleshooting
This guide shows two common ways to create an Azure OpenAI resource:
* Portal deployment — a guided, beginner-friendly UI flow.
* CLI deployment — scriptable and repeatable for automation and CI/CD.
Both approaches provision an Azure Cognitive Services account of kind `OpenAI` (often referred to as an Azure OpenAI resource). After provisioning you’ll obtain the resource endpoint and keys to call the Azure OpenAI APIs or connect the resource to Azure AI Foundry (Azure AI Studio).
## Quick comparison
| Deployment method | Best for | Pros | Cons |
| ----------------- | ------------------------------------- | ----------------------------------------------------------------------- | --------------------------------------------------- |
| Portal (UI) | Beginners, one-off setups | Guided validation, visual configuration, easy access to AI Studio links | Manual steps, less repeatable |
| CLI / PowerShell | Automation, CI/CD, reproducible infra | Scriptable, repeatable, integrates with pipelines | Requires CLI authentication and scripting knowledge |
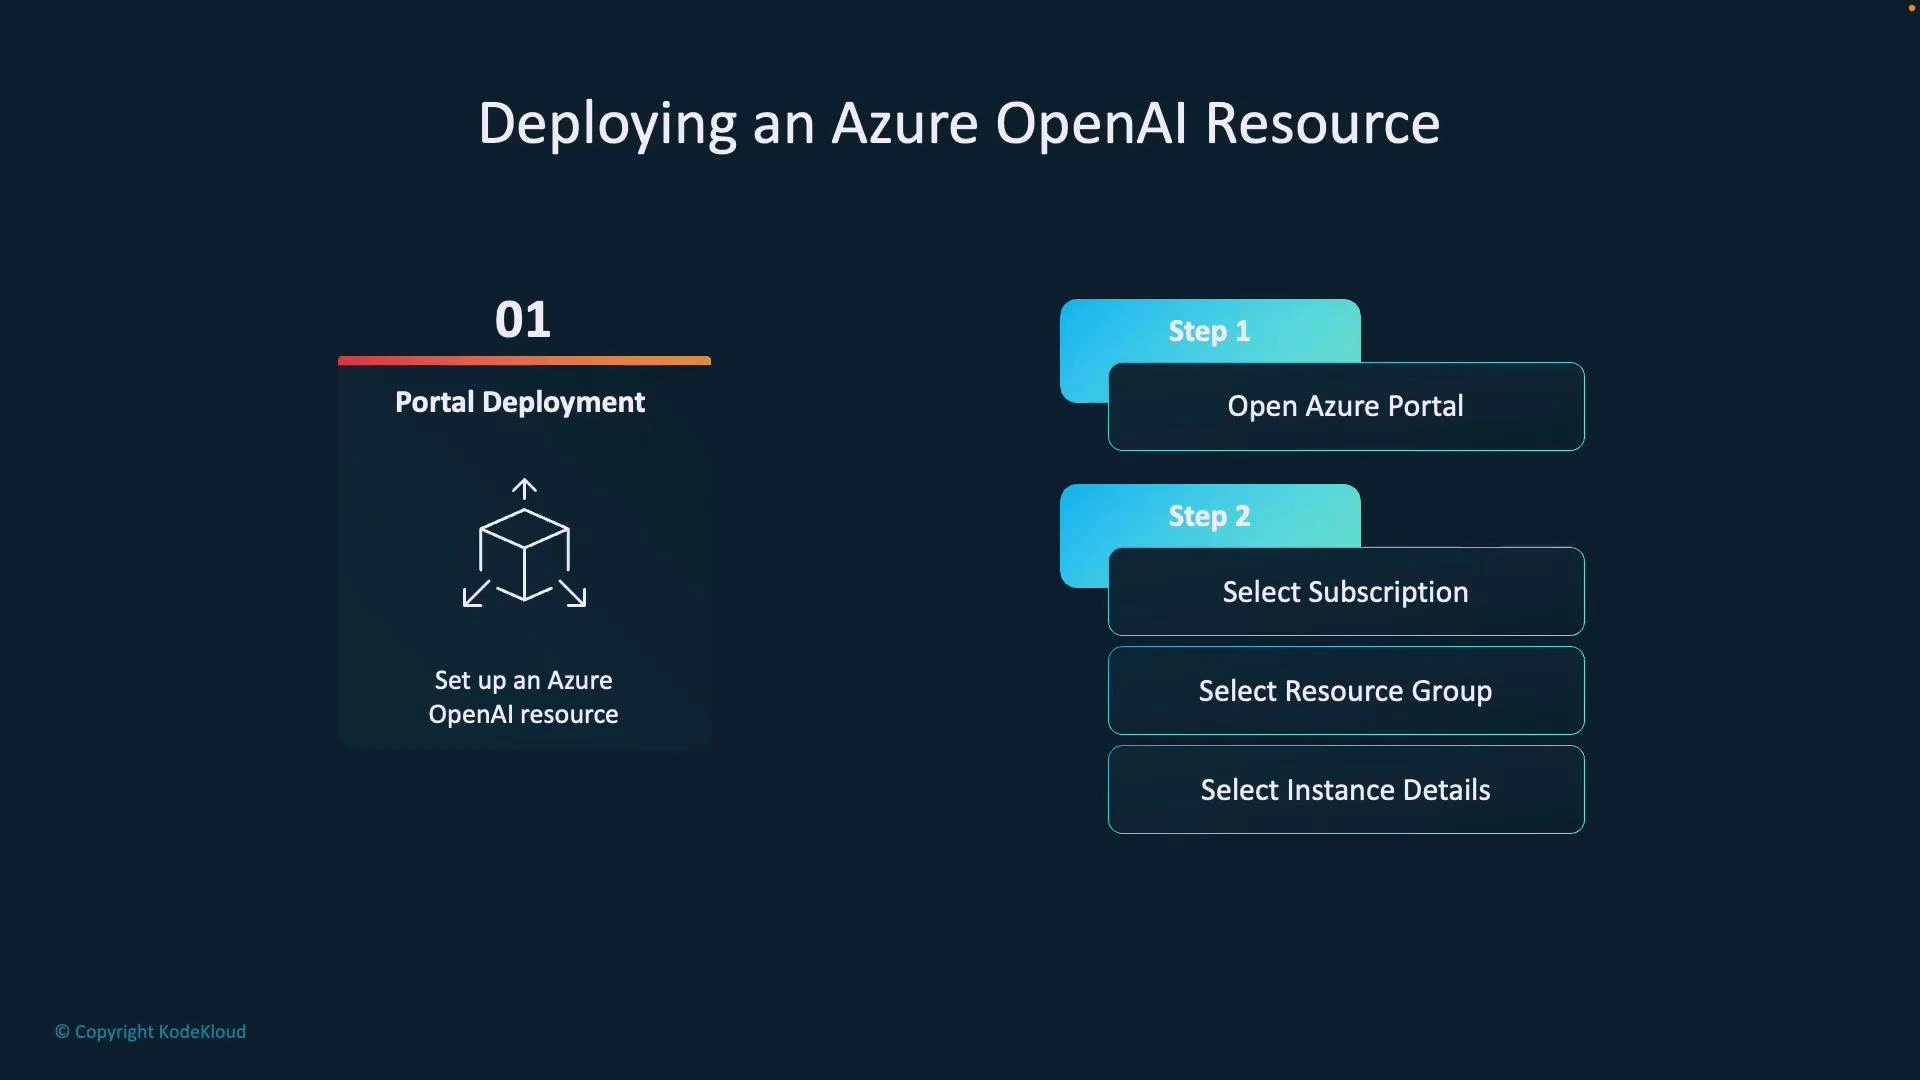
## Portal deployment (guided)
Steps — high level:
1. Open the Azure portal: [https://portal.azure.com](https://portal.azure.com)
2. Select your Subscription.
3. Choose or create a Resource Group.
4. Provide instance details: Resource name, Region, and Pricing tier.
5. Complete validation and create the resource.
This guided workflow validates required fields as you fill them, making it ideal for first-time users.
 ### Creating a resource in the portal — example flow
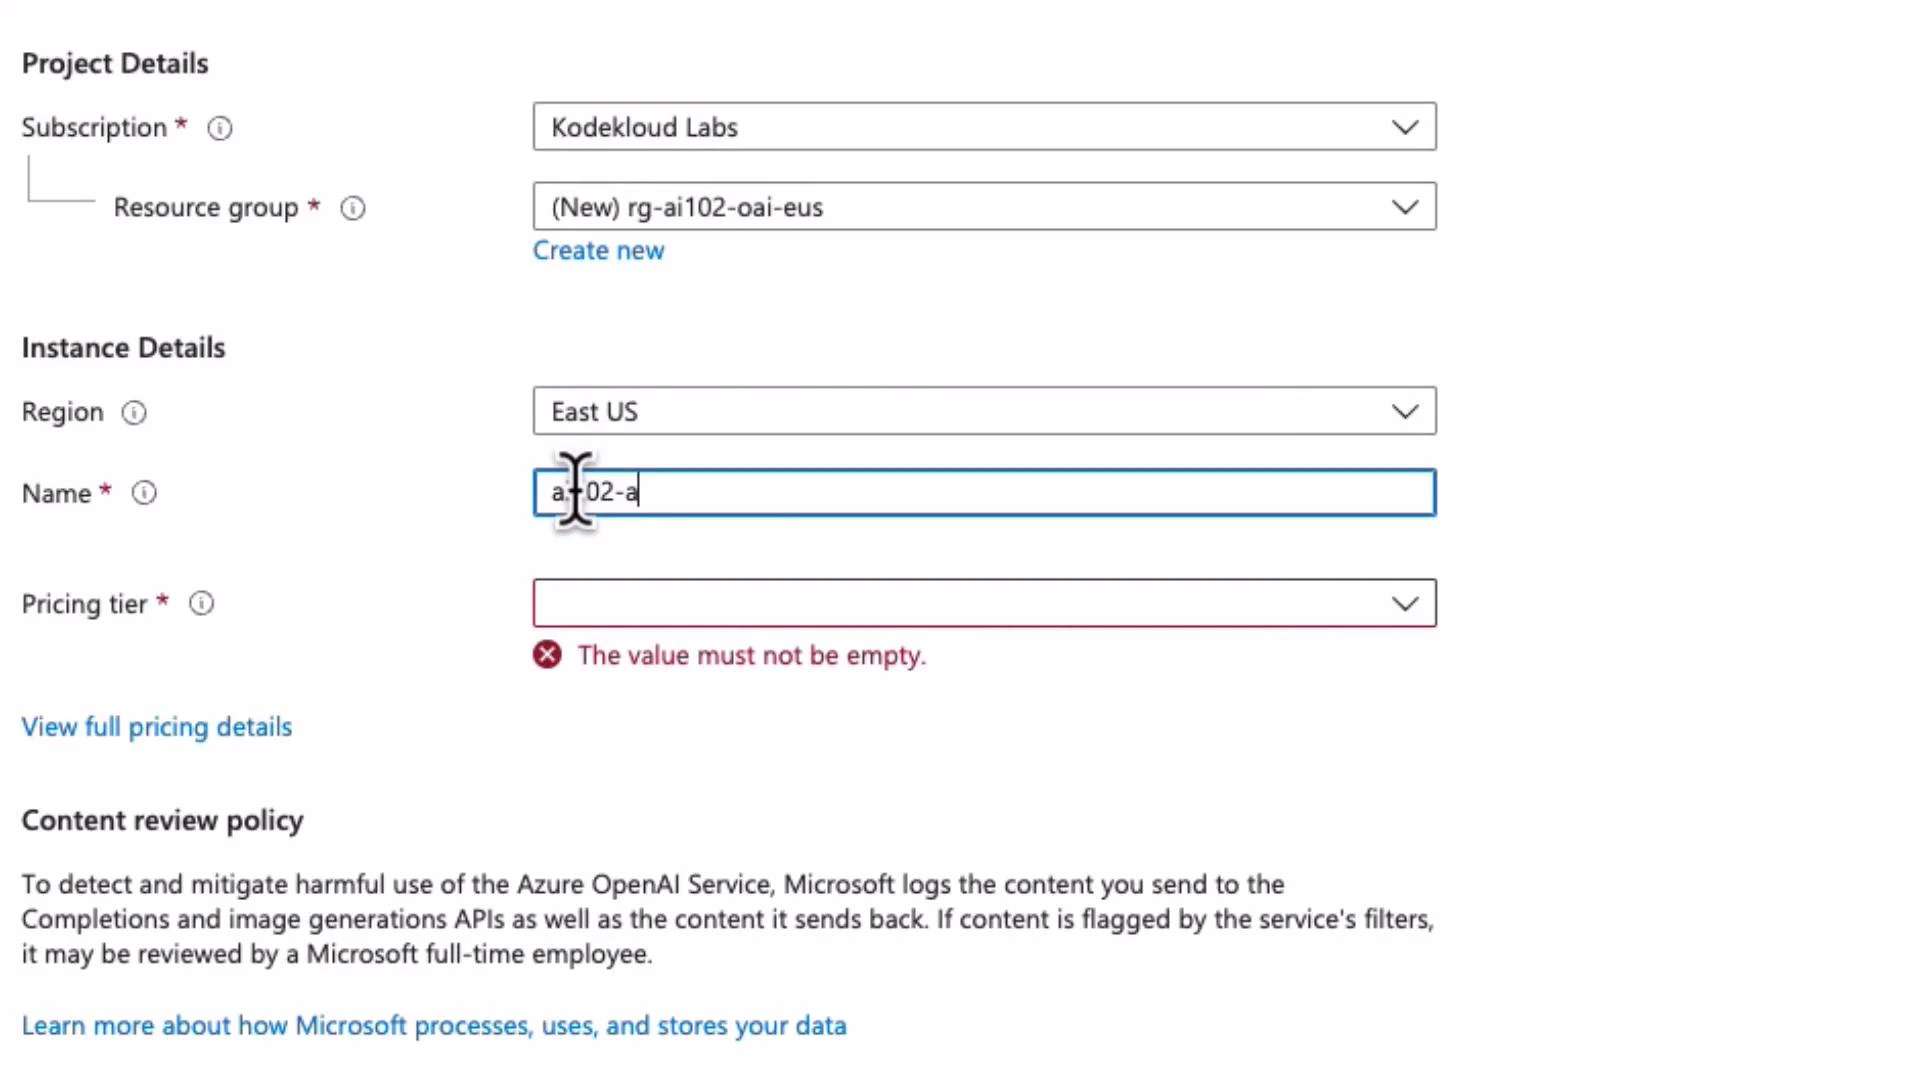
When you create a resource you’ll typically:
* Choose (or create) a resource group, e.g., `rg-ai102-oai-eus`.
* Provide a resource name, e.g., `ai102-aoai-eus`.
* Select a region (for example, `East US`) and choose the Pricing tier (commonly `S0`).
If required fields are missing, the portal surfaces validation errors that you must resolve before creating the resource.
### Creating a resource in the portal — example flow
When you create a resource you’ll typically:
* Choose (or create) a resource group, e.g., `rg-ai102-oai-eus`.
* Provide a resource name, e.g., `ai102-aoai-eus`.
* Select a region (for example, `East US`) and choose the Pricing tier (commonly `S0`).
If required fields are missing, the portal surfaces validation errors that you must resolve before creating the resource.
 After clicking Create:
* Deployment may take several minutes.
* When complete, click Go to resource.
* From the resource overview you can copy the keys and endpoint, and open Azure AI Foundry / AI Studio for model experiments and deployments.
Example resource endpoint (found on the resource overview):
```text theme={null}
https://ai102-aoai-eus.openai.azure.com/
```
## CLI deployment (automated)
Use Azure CLI or Azure PowerShell when you need automation or pipeline integration. Before creating resources, sign in and ensure the correct subscription is selected:
```bash theme={null}
# Sign in interactively
az login
# (Optional) Set the subscription to use
az account set --subscription "YourSubscriptionID"
```
Create an Azure OpenAI (Cognitive Services) resource using Azure CLI:
```bash theme={null}
az cognitiveservices account create \
--name YourAIResource \
--resource-group YourResourceGroup \
--location eastus \
--kind OpenAI \
--sku S0 \
--subscription YourSubscriptionID
```
Notes:
* Use uppercase `S0` for the `--sku` value in most cases.
* This command provisions a Cognitive Services account with `kind` set to `OpenAI`. After provisioning, retrieve keys and the endpoint from the resource overview.
Before creating an Azure OpenAI resource, ensure your account and subscription have the required permissions and quota. Some tenants require an access request or enrollment for Azure OpenAI—check your organization's policy and request access if needed.
## Post-deployment: keys, endpoints, and Azure AI Foundry
* From the resource overview you can:
* View and copy your endpoint and keys.
* Navigate to Azure AI Foundry (Azure AI Studio) for model experimentation and deployment.
* Use the endpoint and keys to authenticate and call the Azure OpenAI APIs:
* Overview and API reference: [https://learn.microsoft.com/azure/cognitive-services/openai/overview](https://learn.microsoft.com/azure/cognitive-services/openai/overview)
* Azure AI Studio: [https://learn.microsoft.com/azure/ai-studio/](https://learn.microsoft.com/azure/ai-studio/)
Common use cases for Azure OpenAI models:
* Generate or summarize text
* Answer natural-language questions
* Assist with code generation or translation
* Integrate securely in enterprise Azure architectures
## Troubleshooting tips
* If the portal shows validation errors, verify all required fields (Subscription, Resource Group, Region, Pricing tier).
* If CLI returns permission or quota errors, confirm subscription and role access, and check if Azure OpenAI access must be requested for your tenant.
* Confirm correct region availability for Azure OpenAI in your subscription.
## Links and references
* [Azure Portal](https://portal.azure.com)
* [Azure CLI documentation](https://learn.microsoft.com/cli/azure/)
* [Azure PowerShell](https://learn.microsoft.com/powershell/azure/)
* [Azure OpenAI overview and API docs](https://learn.microsoft.com/azure/cognitive-services/openai/overview)
* [Azure AI Studio (Foundry)](https://learn.microsoft.com/azure/ai-studio/)
After clicking Create:
* Deployment may take several minutes.
* When complete, click Go to resource.
* From the resource overview you can copy the keys and endpoint, and open Azure AI Foundry / AI Studio for model experiments and deployments.
Example resource endpoint (found on the resource overview):
```text theme={null}
https://ai102-aoai-eus.openai.azure.com/
```
## CLI deployment (automated)
Use Azure CLI or Azure PowerShell when you need automation or pipeline integration. Before creating resources, sign in and ensure the correct subscription is selected:
```bash theme={null}
# Sign in interactively
az login
# (Optional) Set the subscription to use
az account set --subscription "YourSubscriptionID"
```
Create an Azure OpenAI (Cognitive Services) resource using Azure CLI:
```bash theme={null}
az cognitiveservices account create \
--name YourAIResource \
--resource-group YourResourceGroup \
--location eastus \
--kind OpenAI \
--sku S0 \
--subscription YourSubscriptionID
```
Notes:
* Use uppercase `S0` for the `--sku` value in most cases.
* This command provisions a Cognitive Services account with `kind` set to `OpenAI`. After provisioning, retrieve keys and the endpoint from the resource overview.
Before creating an Azure OpenAI resource, ensure your account and subscription have the required permissions and quota. Some tenants require an access request or enrollment for Azure OpenAI—check your organization's policy and request access if needed.
## Post-deployment: keys, endpoints, and Azure AI Foundry
* From the resource overview you can:
* View and copy your endpoint and keys.
* Navigate to Azure AI Foundry (Azure AI Studio) for model experimentation and deployment.
* Use the endpoint and keys to authenticate and call the Azure OpenAI APIs:
* Overview and API reference: [https://learn.microsoft.com/azure/cognitive-services/openai/overview](https://learn.microsoft.com/azure/cognitive-services/openai/overview)
* Azure AI Studio: [https://learn.microsoft.com/azure/ai-studio/](https://learn.microsoft.com/azure/ai-studio/)
Common use cases for Azure OpenAI models:
* Generate or summarize text
* Answer natural-language questions
* Assist with code generation or translation
* Integrate securely in enterprise Azure architectures
## Troubleshooting tips
* If the portal shows validation errors, verify all required fields (Subscription, Resource Group, Region, Pricing tier).
* If CLI returns permission or quota errors, confirm subscription and role access, and check if Azure OpenAI access must be requested for your tenant.
* Confirm correct region availability for Azure OpenAI in your subscription.
## Links and references
* [Azure Portal](https://portal.azure.com)
* [Azure CLI documentation](https://learn.microsoft.com/cli/azure/)
* [Azure PowerShell](https://learn.microsoft.com/powershell/azure/)
* [Azure OpenAI overview and API docs](https://learn.microsoft.com/azure/cognitive-services/openai/overview)
* [Azure AI Studio (Foundry)](https://learn.microsoft.com/azure/ai-studio/)