> ## Documentation Index
> Fetch the complete documentation index at: https://notes.kodekloud.com/llms.txt
> Use this file to discover all available pages before exploring further.
# Coding Setup
> Guide to setting up a basic Python chat client using the OpenAI SDK and conversation pattern.
You've seen code snippets throughout this section — the agent loop, tool definitions, and system prompts — but you haven't executed any of it yet. This lesson gets you hands-on: you'll install the SDK, create a minimal Python program that sends a message to an LLM, and print the response. From there we'll incrementally extend the same pattern until you have the foundation used later in the course.
What you'll build
* A working Python script that calls the chat API and prints the assistant reply.
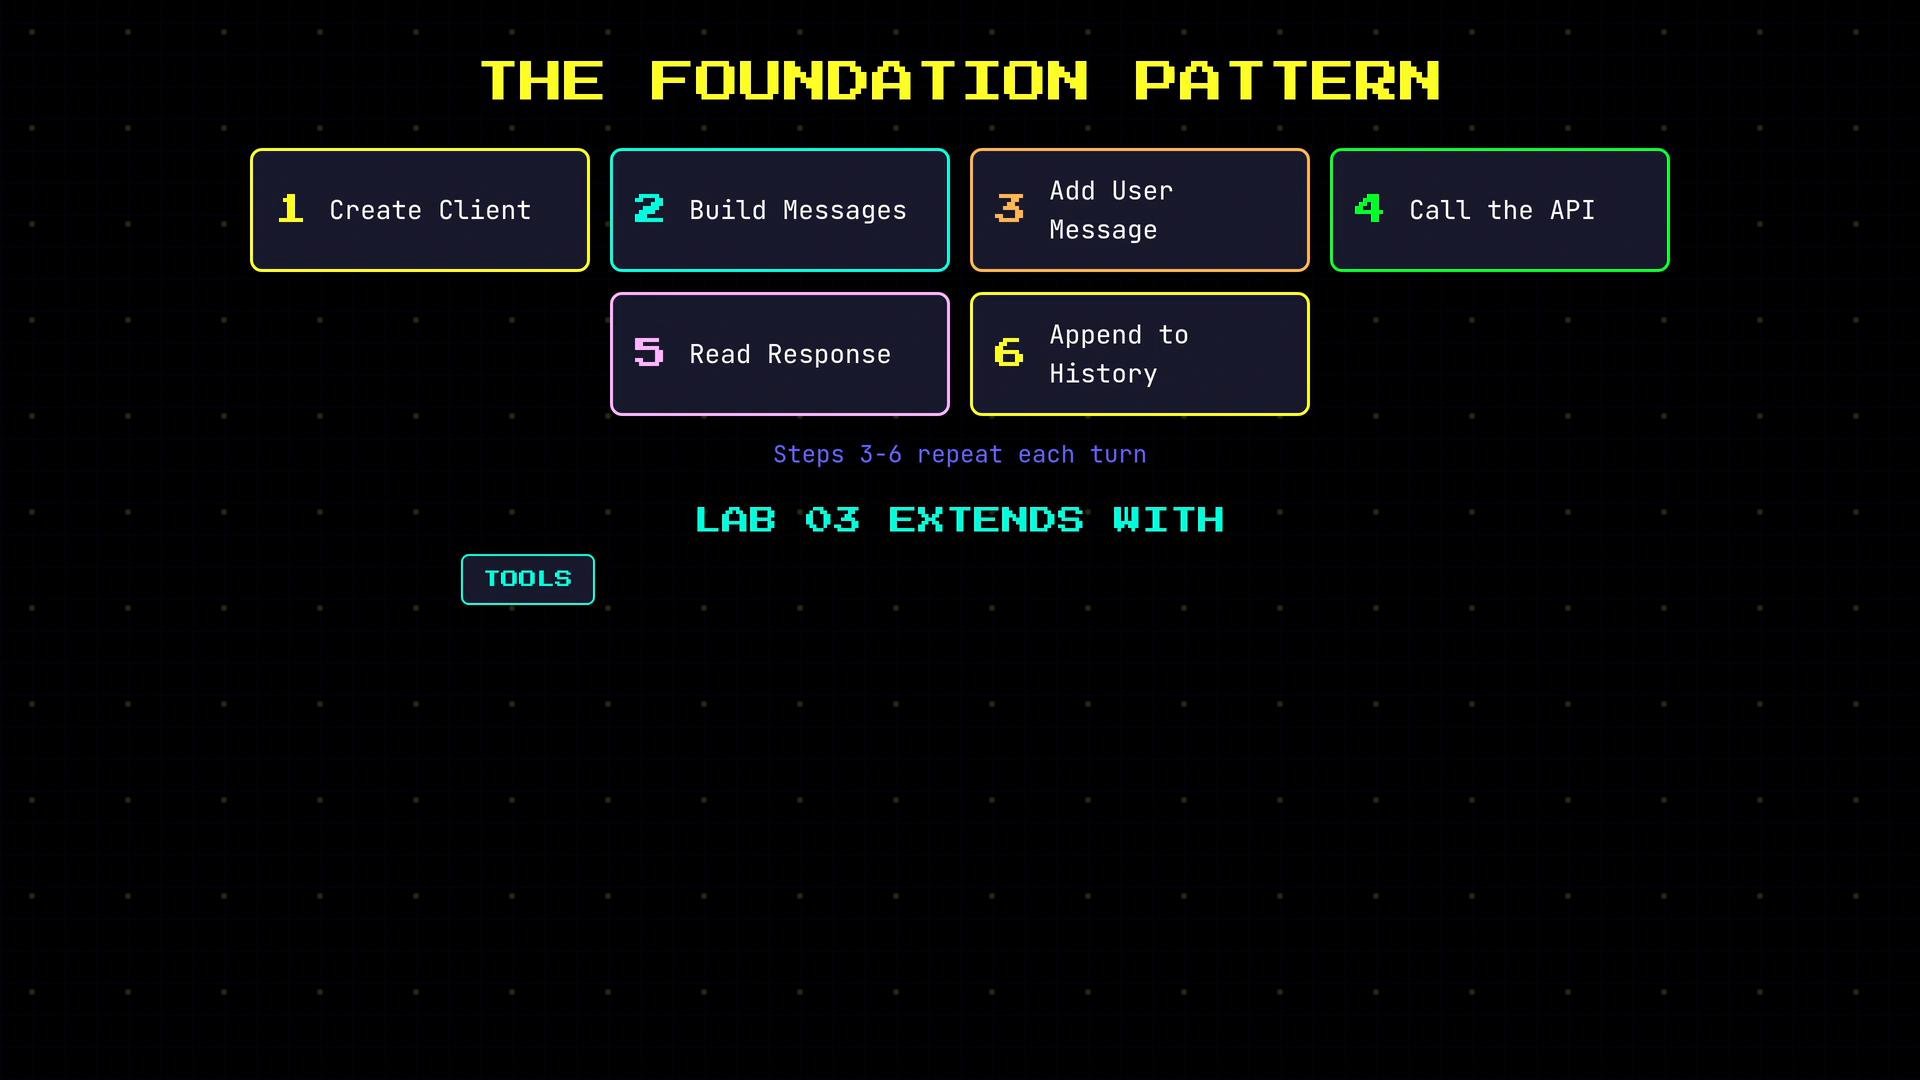
* A short pattern you can reuse: create client → build messages → send request → read response → append to history.
Prerequisites
* Python 3.7+
* pip available on your PATH
* Access to the OpenAI-compatible base URL and API key (in the exercise environment these are provided by CodeKeys)
Install the OpenAI Python SDK
We use the OpenAI Python SDK as a client library so you can call a simple function instead of managing raw HTTP requests.
```bash theme={null}
pip install openai
pip show openai
```
You should see output similar to:
```bash theme={null}
Name: openai
Version: 1.51.0
```
Create the project and file
```bash theme={null}
mkdir myagent
cd myagent
touch agent.py
```
Create the client
Open `agent.py` and add the imports and a client object. The `OpenAI` client holds the connection settings (base URL and API key) and performs API calls.
Recommended: read credentials from environment variables so they are not committed to source control:
```python theme={null}
import os
from openai import OpenAI
client = OpenAI(
base_url=os.environ.get("OPENAI_BASE_URL"),
api_key=os.environ.get("OPENAI_API_KEY")
)
```
Note: in the exercise environment, CodeKeys will provide both the `base_url` and `api_key`. Never commit your API keys to source control.
Store sensitive credentials (API keys, base URLs) in environment variables or a secrets manager. Do not hardcode them in source files.
Make your first chat call
Build a `messages` list (the conversation history), call `client.chat.completions.create`, and print the assistant content. This example includes a system message to control tone and a user question:
```python theme={null}
from openai import OpenAI
client = OpenAI(base_url="YOUR_BASE_URL", api_key="YOUR_API_KEY")
messages = [
{"role": "system", "content": "Be concise and friendly."},
{"role": "user", "content": "What is an AI agent?"}
]
response = client.chat.completions.create(
model="openai/gpt-4.1",
messages=messages
)
# The assistant's text is in response.choices[0].message.content
print(response.choices[0].message.content)
```
Run the script:
```bash theme={null}
python agent.py
```
You should see the LLM reply printed in your terminal. The important pattern to observe is the conversation is sent as `messages` so the model responds in the context you provide. The system message (`role: "system"`) sets the model’s persona or behavior before any user messages arrive.
Conversation memory (short back-and-forth)
To continue a multi-turn conversation, append the assistant reply to `messages` and include your next user prompt. Each API call sends the full history, which is how the model retains context.
```python theme={null}
# After receiving `response` from above
assistant_text = response.choices[0].message.content
messages.append({"role": "assistant", "content": assistant_text})
# Add a follow-up user message
messages.append({"role": "user", "content": "Can you give me a short example?"})
# Call the API again with the full history
second_response = client.chat.completions.create(
model="openai/gpt-4.1",
messages=messages
)
print(second_response.choices[0].message.content)
```
Best-practice checklist
* Create the client once at the top of your file.
* Start `messages` with a `system` prompt that sets tone/behavior.
* Send user messages as `role: "user"`.
* Append assistant replies to `messages` after each call.
* Avoid hardcoding secrets; use env vars or a secrets manager.
Foundation pattern (quick reference)
| Step | What it does | Example / Code |
| - | - | - |
| 1 Create Client | Configure base URL and API key | `client = OpenAI(base_url=..., api_key=...)` |
| 2 Build Messages | Start conversation with system prompt | `messages = [{"role":"system","content":"Be concise."}]` |
| 3 Add User Message | Send user input to model | `messages.append({"role":"user","content":"Hello"})` |
| 4 Call the API | Request completion from the model | `client.chat.completions.create(model="openai/gpt-4.1", messages=messages)` |
| 5 Read Response | Extract assistant text from response | `response.choices[0].message.content` |
| 6 Append to History | Save assistant reply for next turn | `messages.append({"role":"assistant","content": assistant_text})` |
 Next steps
Every code snippet in this section follows this same foundation pattern: create the client, build the `messages` list (start with the system message), add the user message, call the API, read the response, and append it to history so the model remembers context on the next call. A subsequent lab builds on this by adding tools, wrapping the flow in an agent loop, executing tools, and handling errors.
References
* OpenAI Python SDK: [https://github.com/openai/openai-python](https://github.com/openai/openai-python)
This documentation is built and hosted on [Mintlify](https://mintlify.com), a developer documentation platform.
Next steps
Every code snippet in this section follows this same foundation pattern: create the client, build the `messages` list (start with the system message), add the user message, call the API, read the response, and append it to history so the model remembers context on the next call. A subsequent lab builds on this by adding tools, wrapping the flow in an agent loop, executing tools, and handling errors.
References
* OpenAI Python SDK: [https://github.com/openai/openai-python](https://github.com/openai/openai-python)
This documentation is built and hosted on [Mintlify](https://mintlify.com), a developer documentation platform.