> ## Documentation Index
> Fetch the complete documentation index at: https://notes.kodekloud.com/llms.txt
> Use this file to discover all available pages before exploring further.
# Demo Exploring Computer Tools Playwright
> Shows how to build a Python Playwright browser agent that renders pages, captures screenshots, scrapes text, and summarizes content with GPT-4 in a Jupyter notebook.
Welcome back.
In this lesson we'll build a compact, practical AI browser agent using Python and Playwright. This example shows how to programmatically render a page, capture a screenshot, extract on-page text, and summarize it with GPT-4. Before you begin, review the Playwright documentation for installation details, browser support, device descriptors, and advanced selectors.
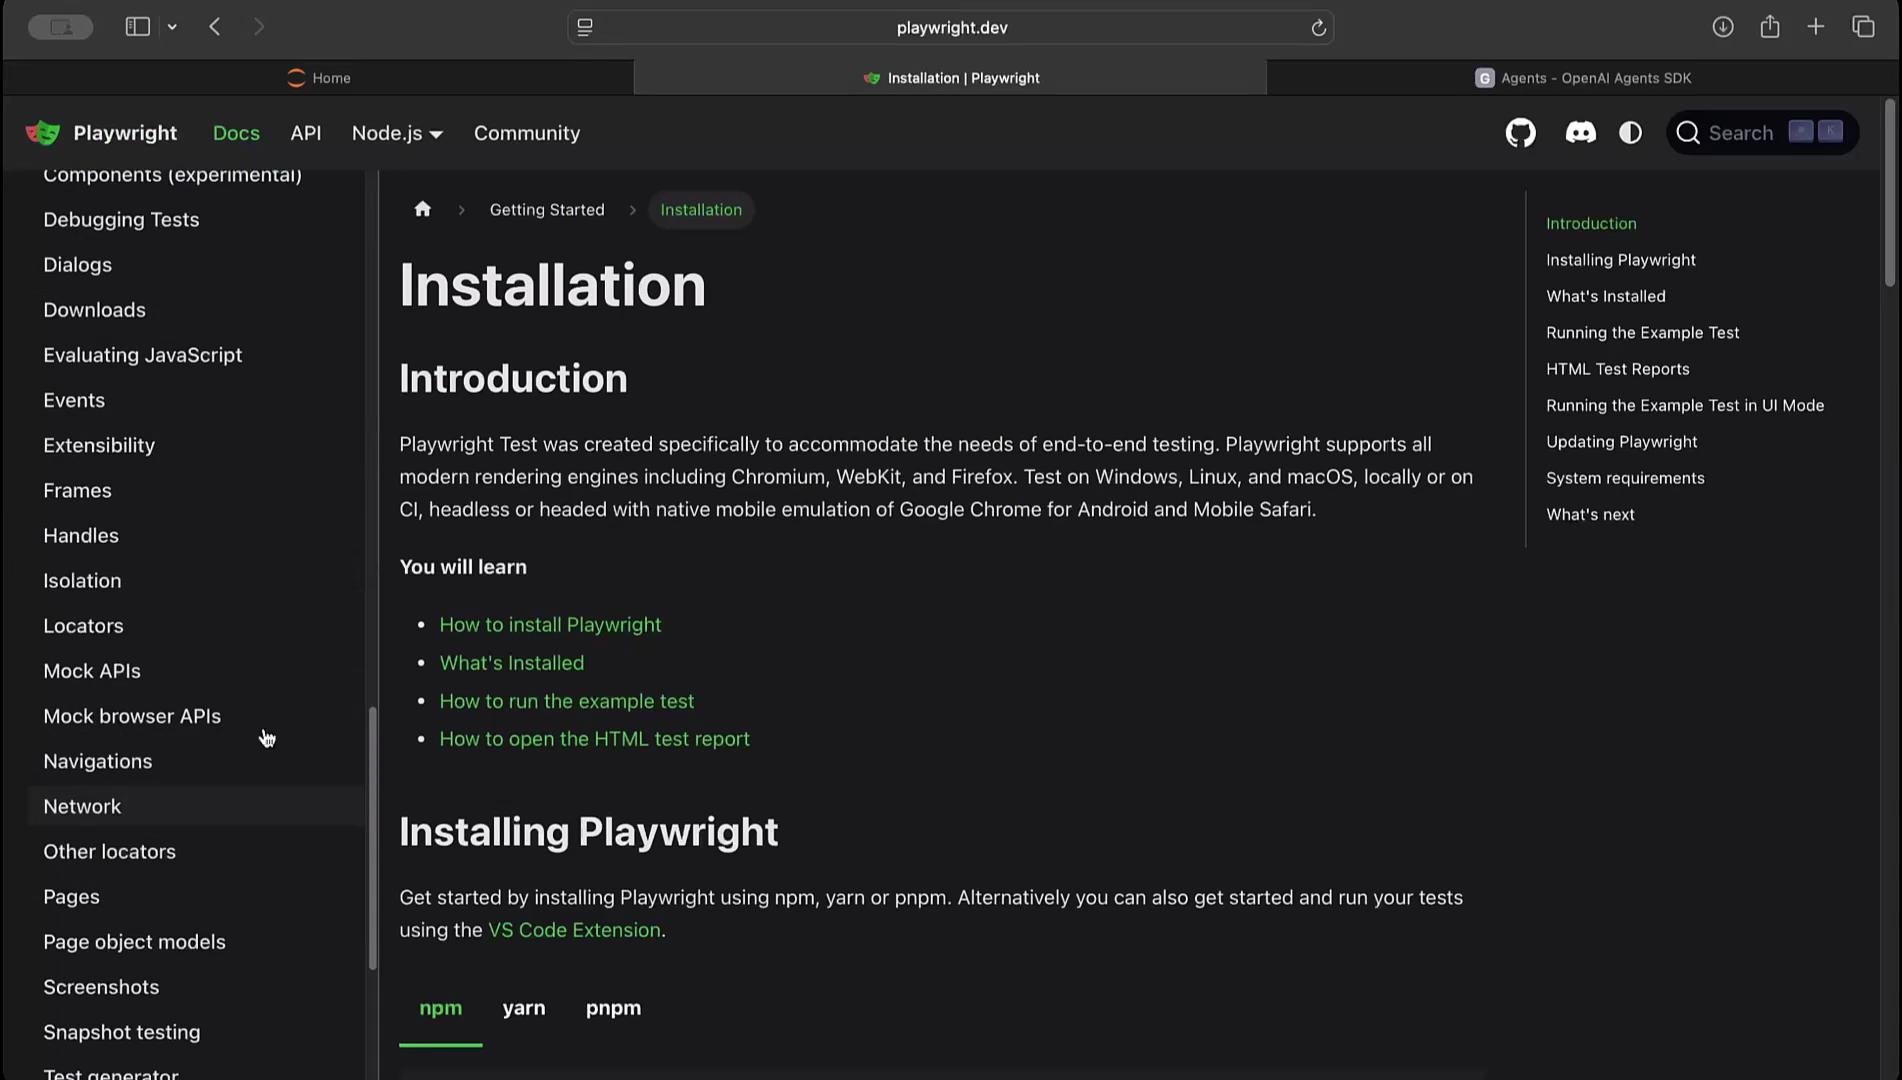 Install Playwright and its browser binaries once per environment. In Jupyter notebooks, prefix shell commands with `!`.
## Installation and imports
Run these commands in a Jupyter notebook cell to install Playwright, its browser binaries, and python-dotenv:
```python theme={null}
!pip install playwright python-dotenv --quiet
!playwright install --quiet
```
Quick reference — common setup commands:
| Task | Command |
| ------------------------------ | ----------------------------------------------- |
| Install packages | `!pip install playwright python-dotenv --quiet` |
| Install Playwright browsers | `!playwright install --quiet` |
| Load environment vars (Python) | `from dotenv import load_dotenv; load_dotenv()` |
Now import the modules you will use and load environment variables:
```python theme={null}
from dotenv import load_dotenv
load_dotenv()
import os
import asyncio
import openai
from IPython.display import Image, display
```
Keep your [OpenAI API key](https://platform.openai.com/docs/guides/api-keys) in an environment variable (for example, `OPENAI_API_KEY`). Set the key for the `openai` library as shown below.
Never commit API keys to source control. Use environment variables or a secrets manager, and avoid printing your key in logs.
```python theme={null}
openai.api_key = os.environ.get("OPENAI_API_KEY")
```
## The browsing-and-summarizing function
Below is a complete asynchronous function you can place in a single Jupyter cell. It:
* launches a headless Chromium browser with Playwright,
* sets a custom user-agent and viewport,
* navigates to a URL and waits for DOMContentLoaded,
* captures and displays a full-page screenshot in the notebook,
* scrapes the first three paragraph elements from the Wikipedia content block (`#mw-content-text p`),
* sends the scraped text to GPT-4 for summarization,
* prints the extracted snippet and the GPT-4 summary.
Place the whole function in one cell and run it.
```python theme={null}
async def browse_and_display_then_summarize(user_agent: str, url: str, viewport: dict):
"""
Launch Playwright Chromium, visit `url` with provided `user_agent` and `viewport`,
take a screenshot, scrape the first three paragraphs under #mw-content-text,
and generate a GPT-4 summary of the scraped text.
"""
from playwright.async_api import async_playwright
async with async_playwright() as p:
browser = await p.chromium.launch(headless=True)
context = await browser.new_context(
user_agent=user_agent,
viewport=viewport,
)
page = await context.new_page()
await page.goto(url, wait_until="domcontentloaded")
# Capture and display screenshot in the notebook
screenshot_bytes = await page.screenshot(type="png", full_page=True)
display(Image(data=screenshot_bytes))
# Scrape the first three paragraph elements from Wikipedia content
paragraphs = await page.query_selector_all("#mw-content-text p")
text_content = ""
for tag in paragraphs[:3]:
text = await tag.inner_text()
text_content += text.strip() + "\n\n"
# Close resources
await context.close()
await browser.close()
# Print a snippet of the extracted text for verification
print("\nExtracted Wikipedia Text (first 800 chars):\n")
print(text_content[:800] + ("..." if len(text_content) > 800 else "") + "\n")
# Ask GPT-4 to summarize the scraped text
print("\nGPT-4 Summary:\n")
response = openai.ChatCompletion.create(
model="gpt-4",
messages=[
{"role": "system", "content": "You are a helpful assistant. Summarize the given Wikipedia text in plain English."},
{"role": "user", "content": text_content},
],
temperature=0.5,
)
# Extract and print the model's summary
summary_text = response["choices"][0]["message"]["content"]
print(summary_text)
return summary_text
```
## Example: user agent, viewport, and running the agent
Create a user-agent string that simulates an iPhone-like browser and a viewport dictionary that mimics an iPhone 12 resolution. Then run the asynchronous function with `asyncio.run`.
```python theme={null}
# Example iPhone-style user agent string and viewport
iphone_user_agent = (
"Mozilla/5.0 (iPhone; CPU iPhone OS 15_0 like Mac OS X) "
"AppleWebKit/605.1.15 (KHTML, like Gecko) "
"Version/15.0 Mobile/15E148 Safari/604.1"
)
viewport = {"width": 375, "height": 812}
# Example URL: OpenAI Wikipedia page
url = "https://en.wikipedia.org/wiki/OpenAI"
# Run the async agent
asyncio.run(browse_and_display_then_summarize(iphone_user_agent, url, viewport))
```
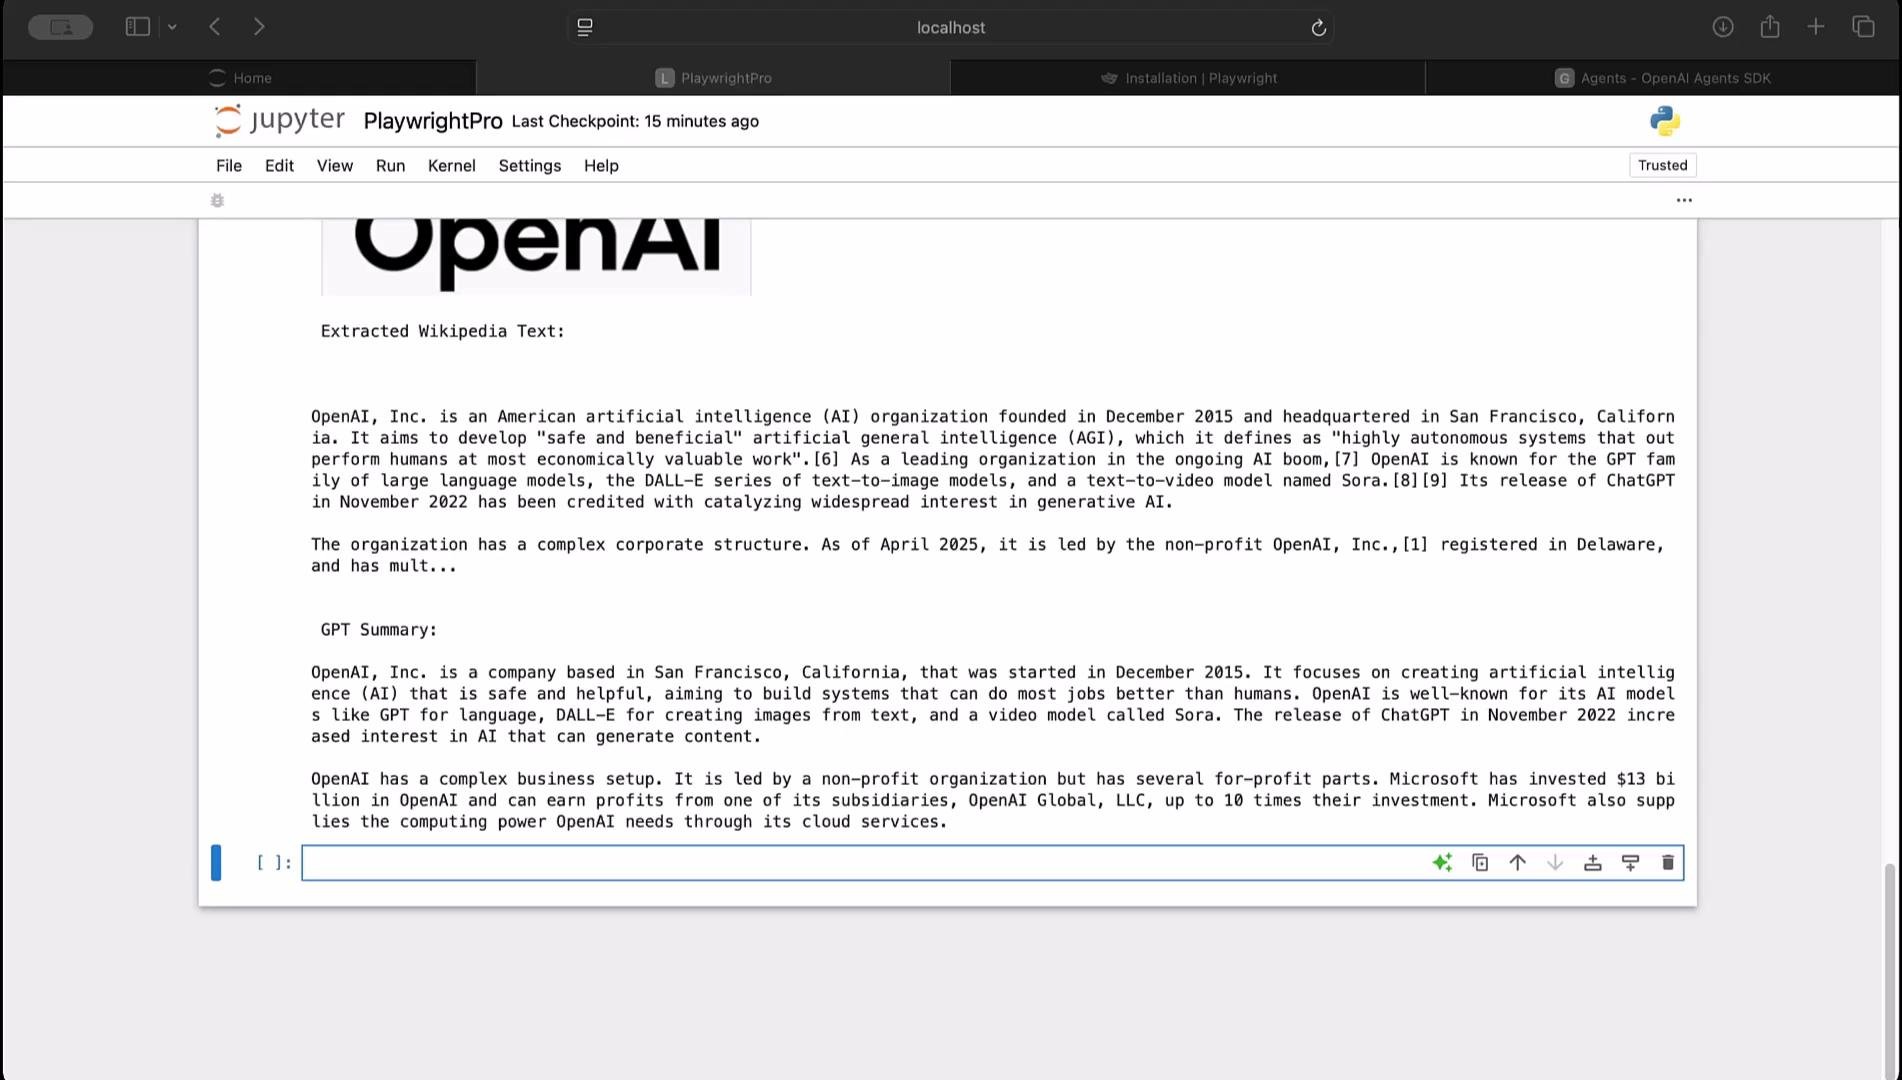
When executed, the notebook will show the rendered page screenshot (using the supplied user agent and viewport), print the first portion of the scraped Wikipedia text, and print the GPT-4–generated summary.
From this base you can extend the agent to:
* scrape and aggregate content from multiple pages,
* index or store extracted highlights,
* generate study aids, flashcards, or quizzes automatically,
* add navigation logic to follow links, handle pagination, or respect robots.txt.
Install Playwright and its browser binaries once per environment. In Jupyter notebooks, prefix shell commands with `!`.
## Installation and imports
Run these commands in a Jupyter notebook cell to install Playwright, its browser binaries, and python-dotenv:
```python theme={null}
!pip install playwright python-dotenv --quiet
!playwright install --quiet
```
Quick reference — common setup commands:
| Task | Command |
| ------------------------------ | ----------------------------------------------- |
| Install packages | `!pip install playwright python-dotenv --quiet` |
| Install Playwright browsers | `!playwright install --quiet` |
| Load environment vars (Python) | `from dotenv import load_dotenv; load_dotenv()` |
Now import the modules you will use and load environment variables:
```python theme={null}
from dotenv import load_dotenv
load_dotenv()
import os
import asyncio
import openai
from IPython.display import Image, display
```
Keep your [OpenAI API key](https://platform.openai.com/docs/guides/api-keys) in an environment variable (for example, `OPENAI_API_KEY`). Set the key for the `openai` library as shown below.
Never commit API keys to source control. Use environment variables or a secrets manager, and avoid printing your key in logs.
```python theme={null}
openai.api_key = os.environ.get("OPENAI_API_KEY")
```
## The browsing-and-summarizing function
Below is a complete asynchronous function you can place in a single Jupyter cell. It:
* launches a headless Chromium browser with Playwright,
* sets a custom user-agent and viewport,
* navigates to a URL and waits for DOMContentLoaded,
* captures and displays a full-page screenshot in the notebook,
* scrapes the first three paragraph elements from the Wikipedia content block (`#mw-content-text p`),
* sends the scraped text to GPT-4 for summarization,
* prints the extracted snippet and the GPT-4 summary.
Place the whole function in one cell and run it.
```python theme={null}
async def browse_and_display_then_summarize(user_agent: str, url: str, viewport: dict):
"""
Launch Playwright Chromium, visit `url` with provided `user_agent` and `viewport`,
take a screenshot, scrape the first three paragraphs under #mw-content-text,
and generate a GPT-4 summary of the scraped text.
"""
from playwright.async_api import async_playwright
async with async_playwright() as p:
browser = await p.chromium.launch(headless=True)
context = await browser.new_context(
user_agent=user_agent,
viewport=viewport,
)
page = await context.new_page()
await page.goto(url, wait_until="domcontentloaded")
# Capture and display screenshot in the notebook
screenshot_bytes = await page.screenshot(type="png", full_page=True)
display(Image(data=screenshot_bytes))
# Scrape the first three paragraph elements from Wikipedia content
paragraphs = await page.query_selector_all("#mw-content-text p")
text_content = ""
for tag in paragraphs[:3]:
text = await tag.inner_text()
text_content += text.strip() + "\n\n"
# Close resources
await context.close()
await browser.close()
# Print a snippet of the extracted text for verification
print("\nExtracted Wikipedia Text (first 800 chars):\n")
print(text_content[:800] + ("..." if len(text_content) > 800 else "") + "\n")
# Ask GPT-4 to summarize the scraped text
print("\nGPT-4 Summary:\n")
response = openai.ChatCompletion.create(
model="gpt-4",
messages=[
{"role": "system", "content": "You are a helpful assistant. Summarize the given Wikipedia text in plain English."},
{"role": "user", "content": text_content},
],
temperature=0.5,
)
# Extract and print the model's summary
summary_text = response["choices"][0]["message"]["content"]
print(summary_text)
return summary_text
```
## Example: user agent, viewport, and running the agent
Create a user-agent string that simulates an iPhone-like browser and a viewport dictionary that mimics an iPhone 12 resolution. Then run the asynchronous function with `asyncio.run`.
```python theme={null}
# Example iPhone-style user agent string and viewport
iphone_user_agent = (
"Mozilla/5.0 (iPhone; CPU iPhone OS 15_0 like Mac OS X) "
"AppleWebKit/605.1.15 (KHTML, like Gecko) "
"Version/15.0 Mobile/15E148 Safari/604.1"
)
viewport = {"width": 375, "height": 812}
# Example URL: OpenAI Wikipedia page
url = "https://en.wikipedia.org/wiki/OpenAI"
# Run the async agent
asyncio.run(browse_and_display_then_summarize(iphone_user_agent, url, viewport))
```
When executed, the notebook will show the rendered page screenshot (using the supplied user agent and viewport), print the first portion of the scraped Wikipedia text, and print the GPT-4–generated summary.
From this base you can extend the agent to:
* scrape and aggregate content from multiple pages,
* index or store extracted highlights,
* generate study aids, flashcards, or quizzes automatically,
* add navigation logic to follow links, handle pagination, or respect robots.txt.
 ## Links and references
* Playwright Documentation: [https://playwright.dev/](https://playwright.dev/)
* OpenAI API Keys guide: [https://platform.openai.com/docs/guides/api-keys](https://platform.openai.com/docs/guides/api-keys)
* Python dotenv: [https://pypi.org/project/python-dotenv/](https://pypi.org/project/python-dotenv/)
Thank you for reading.
## Links and references
* Playwright Documentation: [https://playwright.dev/](https://playwright.dev/)
* OpenAI API Keys guide: [https://platform.openai.com/docs/guides/api-keys](https://platform.openai.com/docs/guides/api-keys)
* Python dotenv: [https://pypi.org/project/python-dotenv/](https://pypi.org/project/python-dotenv/)
Thank you for reading.