> ## Documentation Index
> Fetch the complete documentation index at: https://notes.kodekloud.com/llms.txt
> Use this file to discover all available pages before exploring further.
# Demo Writing a Simple Playbook
> Tutorial showing how to create an Ansible playbook to install and configure Apache on RHEL, deploy a template index page, and manage the service with handlers.
Now that you understand what an Ansible playbook is and how its structure works, let's build one from a real-world scenario. This tutorial converts a repetitive manual process into automation so you can deploy a basic web test environment consistently across RHEL hosts.
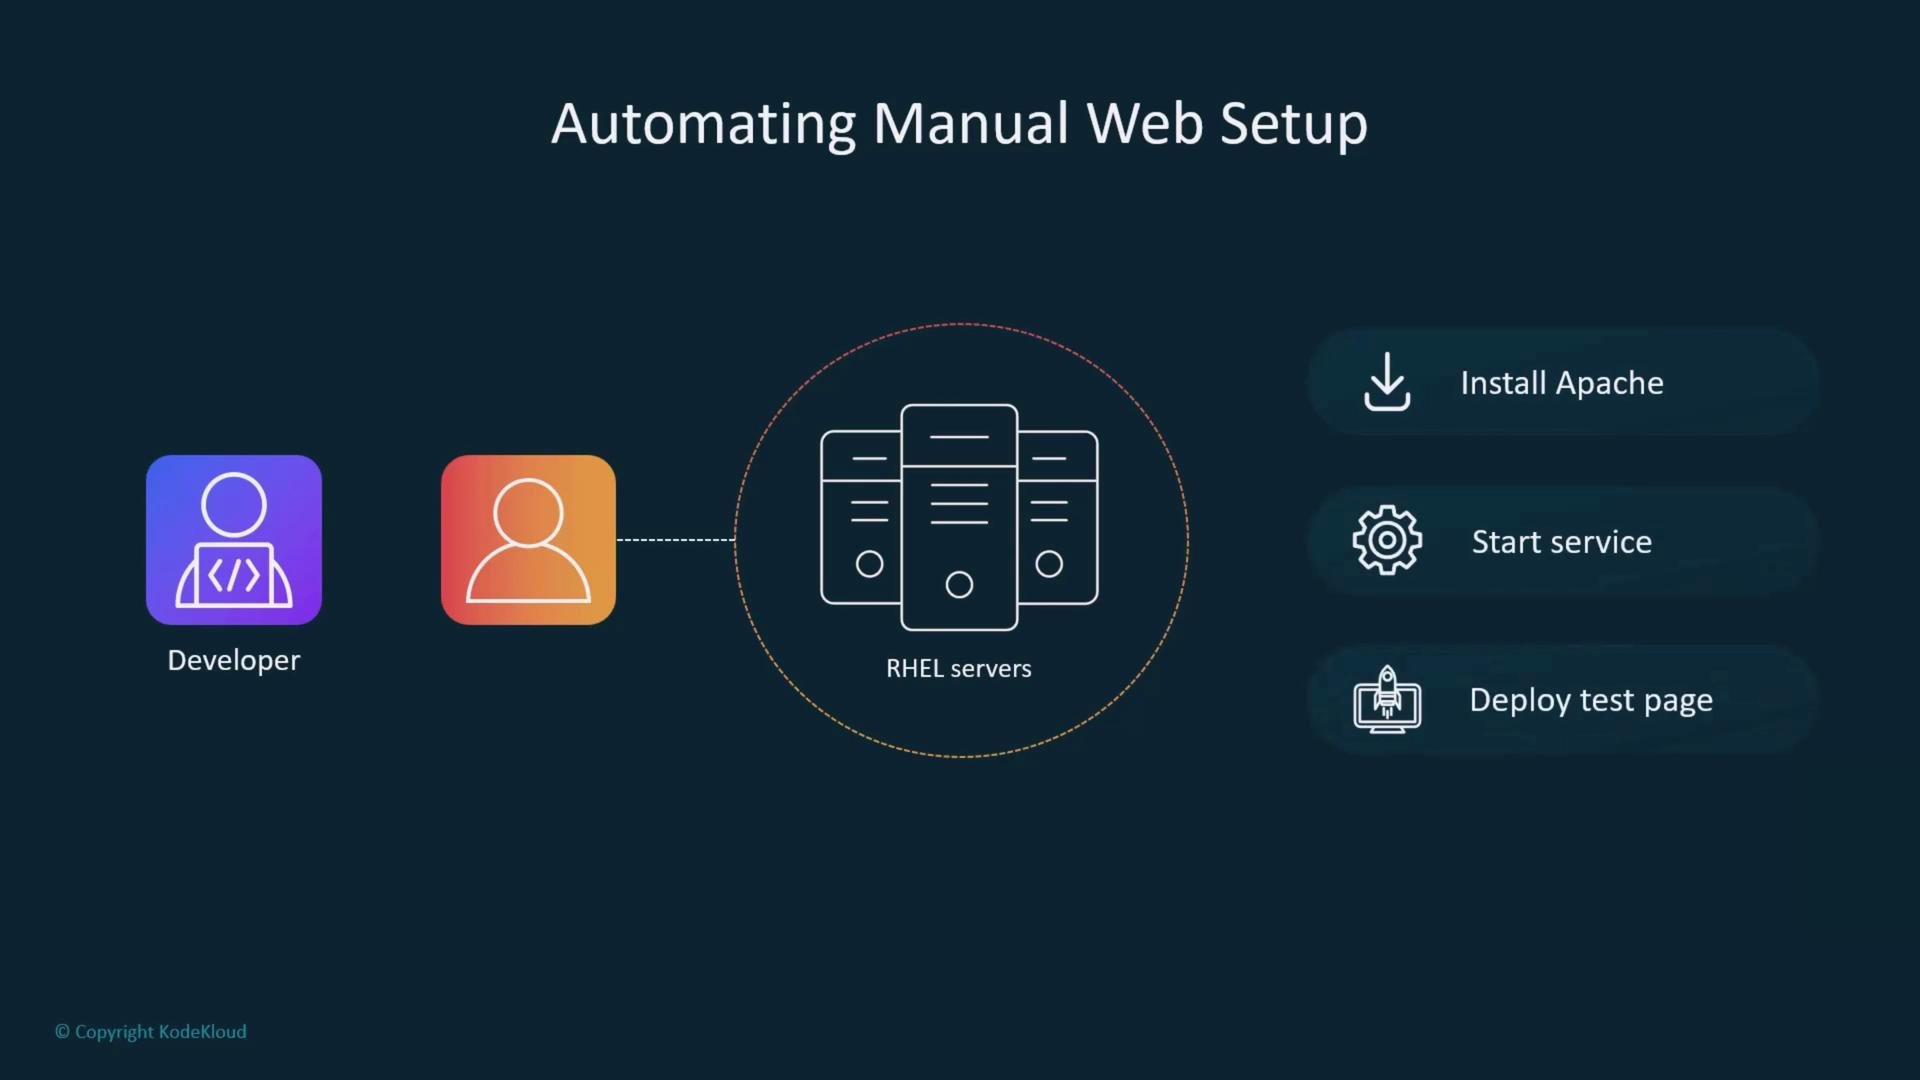
Imagine a small fleet of RHEL servers where developers often need a disposable web test site. Currently someone manually installs Apache (httpd), enables and starts the service, and drops a test page. We'll automate those steps with a single Ansible playbook.
 What you'll build
* A small Ansible project that installs httpd, deploys a template-based index.html, ensures the service is running, and restarts httpd when content changes.
* The playbook demonstrates inventory, ansible.cfg defaults, variables, tasks, templates, and handlers—the core building blocks of Ansible automation.
Workflow
* Create a project folder and basic files.
* Define an inventory that targets the managed host(s).
* Add a minimal ansible.cfg so you don't need extra CLI flags.
* Write a playbook with tasks and handlers.
* Run the playbook and verify the result on the managed host.
Environment overview
| Item | Details |
| -------------------- | ------------------------------------------- |
| Control host | Where Ansible runs (your workstation) |
| Managed host | servera (RHEL) |
| Authentication | SSH public-key authentication preconfigured |
| Remote user | student (passwordless sudo configured) |
| Privilege escalation | sudo via sudoers drop-in (no password) |
Ensure the Ansible remote user can perform privileged tasks. In this lab the sudoers entry allows the student user to use sudo without a password:
```text theme={null}
student ALL=(ALL) NOPASSWD: ALL
```
Be careful granting NOPASSWD sudo in production. Use the minimum required privileges and restrict commands where possible.
Install Ansible Core (example)
* Install Ansible on the control host. The example below uses dnf on RHEL; replace with your platform's package manager if needed.
```text theme={null}
student@control:~$ sudo dnf install -y ansible-core
...
Installed:
ansible-core-1:2.16.14-1.el10.noarch ...
Complete!
student@control:~$
```
Create the project directory and files
1. Create a project folder and enter it:
```bash theme={null}
student@control:~$ mkdir project
student@control:~$ cd project
```
2. Create an inventory file. This example defines a webservers group with servera. Adjust ansible\_host if you need an explicit IP.
```ini theme={null}
# inventory
[webservers]
servera ansible_host=10.0.2.4
```
3. Create a minimal ansible.cfg so you don't need to pass --inventory or --user on the command line. Save this as ansible.cfg in the project folder.
```ini theme={null}
[defaults]
inventory = inventory
remote_user = student
[privilege_escalation]
become = true
become_user = root
become_method = sudo
become_ask_pass = false
```
Files you will create
| File | Purpose |
| ------------- | ----------------------------------------------------------------- |
| inventory | Defines target hosts (webservers group) |
| ansible.cfg | Project-local defaults (inventory, remote\_user, become settings) |
| playbook.yml | The Ansible playbook with tasks and handlers |
| index.html.j2 | Jinja2 template for the web page |
Write the playbook
Create playbook.yml with the content below. The playbook installs the httpd package, deploys a simple index.html template, starts the httpd service, and notifies a handler to restart httpd when the template changes.
```yaml theme={null}
# playbook.yml
- name: install httpd on servera
hosts: webservers
vars:
httpd_pkg: httpd
httpd_svc: httpd
tasks:
- name: Install Apache webserver
dnf:
name: "{{ httpd_pkg }}"
state: latest
- name: Deploy content
template:
src: index.html.j2
dest: /var/www/html/index.html
notify: restart httpd
- name: Start httpd service
service:
name: "{{ httpd_svc }}"
state: started
handlers:
- name: restart httpd
service:
name: "{{ httpd_svc }}"
state: restarted
```
Create the template
Create the Jinja2 template index.html.j2 in the same project directory. This template uses an Ansible facts variable to include the host's hostname in the page.
```jinja2 theme={null}
Hello from {{ ansible_hostname }}
```
Validate and run the playbook
1. Perform a syntax check:
```bash theme={null}
student@control:~/project$ ansible-playbook playbook.yml --syntax-check
playbook: playbook.yml
```
2. Run the playbook:
```bash theme={null}
student@control:~/project$ ansible-playbook playbook.yml
```
Example (condensed) output showing the play execution:
```text theme={null}
PLAY [install httpd on servera] ****************************************************
TASK [Gathering Facts] *************************************************************
ok: [servera]
TASK [Install Apache webserver] ****************************************************
changed: [servera]
TASK [Deploy content] **************************************************************
changed: [servera]
TASK [Start httpd service] *********************************************************
changed: [servera]
RUNNING HANDLER [restart httpd] ***************************************************
changed: [servera]
PLAY RECAP ************************************************************************
servera : ok=5 changed=4 unreachable=0 failed=0 skipped=0
```
Verify the result on the managed host
SSH to the managed host (or use a remote check) and curl the local web server to confirm the template is served:
```bash theme={null}
student@control:~/project$ ssh servera
student@servera:~$ curl -s http://localhost
Hello from servera
```
This confirms the playbook installed httpd, deployed the index.html template, started the service, and the handler restarted httpd after the template changed.
Conclusion
You've created a minimal, reusable Ansible project that automates installing and configuring an Apache-based test page on RHEL. This covers essential Ansible concepts—inventory, configuration, variables, tasks, templates, and handlers—that form the foundation for more advanced automation.
Links and references
* [Ansible Documentation](https://docs.ansible.com/)
* [Ansible Playbooks](https://docs.ansible.com/ansible/latest/user_guide/playbooks.html)
* [Jinja2 Template Documentation](https://jinja.palletsprojects.com/)
* [RHEL System Administration Guide](https://access.redhat.com/documentation/en-us/red_hat_enterprise_linux/)
What you'll build
* A small Ansible project that installs httpd, deploys a template-based index.html, ensures the service is running, and restarts httpd when content changes.
* The playbook demonstrates inventory, ansible.cfg defaults, variables, tasks, templates, and handlers—the core building blocks of Ansible automation.
Workflow
* Create a project folder and basic files.
* Define an inventory that targets the managed host(s).
* Add a minimal ansible.cfg so you don't need extra CLI flags.
* Write a playbook with tasks and handlers.
* Run the playbook and verify the result on the managed host.
Environment overview
| Item | Details |
| -------------------- | ------------------------------------------- |
| Control host | Where Ansible runs (your workstation) |
| Managed host | servera (RHEL) |
| Authentication | SSH public-key authentication preconfigured |
| Remote user | student (passwordless sudo configured) |
| Privilege escalation | sudo via sudoers drop-in (no password) |
Ensure the Ansible remote user can perform privileged tasks. In this lab the sudoers entry allows the student user to use sudo without a password:
```text theme={null}
student ALL=(ALL) NOPASSWD: ALL
```
Be careful granting NOPASSWD sudo in production. Use the minimum required privileges and restrict commands where possible.
Install Ansible Core (example)
* Install Ansible on the control host. The example below uses dnf on RHEL; replace with your platform's package manager if needed.
```text theme={null}
student@control:~$ sudo dnf install -y ansible-core
...
Installed:
ansible-core-1:2.16.14-1.el10.noarch ...
Complete!
student@control:~$
```
Create the project directory and files
1. Create a project folder and enter it:
```bash theme={null}
student@control:~$ mkdir project
student@control:~$ cd project
```
2. Create an inventory file. This example defines a webservers group with servera. Adjust ansible\_host if you need an explicit IP.
```ini theme={null}
# inventory
[webservers]
servera ansible_host=10.0.2.4
```
3. Create a minimal ansible.cfg so you don't need to pass --inventory or --user on the command line. Save this as ansible.cfg in the project folder.
```ini theme={null}
[defaults]
inventory = inventory
remote_user = student
[privilege_escalation]
become = true
become_user = root
become_method = sudo
become_ask_pass = false
```
Files you will create
| File | Purpose |
| ------------- | ----------------------------------------------------------------- |
| inventory | Defines target hosts (webservers group) |
| ansible.cfg | Project-local defaults (inventory, remote\_user, become settings) |
| playbook.yml | The Ansible playbook with tasks and handlers |
| index.html.j2 | Jinja2 template for the web page |
Write the playbook
Create playbook.yml with the content below. The playbook installs the httpd package, deploys a simple index.html template, starts the httpd service, and notifies a handler to restart httpd when the template changes.
```yaml theme={null}
# playbook.yml
- name: install httpd on servera
hosts: webservers
vars:
httpd_pkg: httpd
httpd_svc: httpd
tasks:
- name: Install Apache webserver
dnf:
name: "{{ httpd_pkg }}"
state: latest
- name: Deploy content
template:
src: index.html.j2
dest: /var/www/html/index.html
notify: restart httpd
- name: Start httpd service
service:
name: "{{ httpd_svc }}"
state: started
handlers:
- name: restart httpd
service:
name: "{{ httpd_svc }}"
state: restarted
```
Create the template
Create the Jinja2 template index.html.j2 in the same project directory. This template uses an Ansible facts variable to include the host's hostname in the page.
```jinja2 theme={null}
Hello from {{ ansible_hostname }}
```
Validate and run the playbook
1. Perform a syntax check:
```bash theme={null}
student@control:~/project$ ansible-playbook playbook.yml --syntax-check
playbook: playbook.yml
```
2. Run the playbook:
```bash theme={null}
student@control:~/project$ ansible-playbook playbook.yml
```
Example (condensed) output showing the play execution:
```text theme={null}
PLAY [install httpd on servera] ****************************************************
TASK [Gathering Facts] *************************************************************
ok: [servera]
TASK [Install Apache webserver] ****************************************************
changed: [servera]
TASK [Deploy content] **************************************************************
changed: [servera]
TASK [Start httpd service] *********************************************************
changed: [servera]
RUNNING HANDLER [restart httpd] ***************************************************
changed: [servera]
PLAY RECAP ************************************************************************
servera : ok=5 changed=4 unreachable=0 failed=0 skipped=0
```
Verify the result on the managed host
SSH to the managed host (or use a remote check) and curl the local web server to confirm the template is served:
```bash theme={null}
student@control:~/project$ ssh servera
student@servera:~$ curl -s http://localhost
Hello from servera
```
This confirms the playbook installed httpd, deployed the index.html template, started the service, and the handler restarted httpd after the template changed.
Conclusion
You've created a minimal, reusable Ansible project that automates installing and configuring an Apache-based test page on RHEL. This covers essential Ansible concepts—inventory, configuration, variables, tasks, templates, and handlers—that form the foundation for more advanced automation.
Links and references
* [Ansible Documentation](https://docs.ansible.com/)
* [Ansible Playbooks](https://docs.ansible.com/ansible/latest/user_guide/playbooks.html)
* [Jinja2 Template Documentation](https://jinja.palletsprojects.com/)
* [RHEL System Administration Guide](https://access.redhat.com/documentation/en-us/red_hat_enterprise_linux/)