This article demonstrates integrating OpenCV into a Flask application for image uploads and processing, including grayscale conversion and compression features.
In this lesson, we demonstrate how to integrate OpenCV into a Flask application to handle image uploads and processing. The application features endpoints for rendering a basic webpage and for uploading and processing images. The functionality evolves from a simple image save to a robust system that converts images to grayscale, compresses them, and supports a dynamic quality parameter.
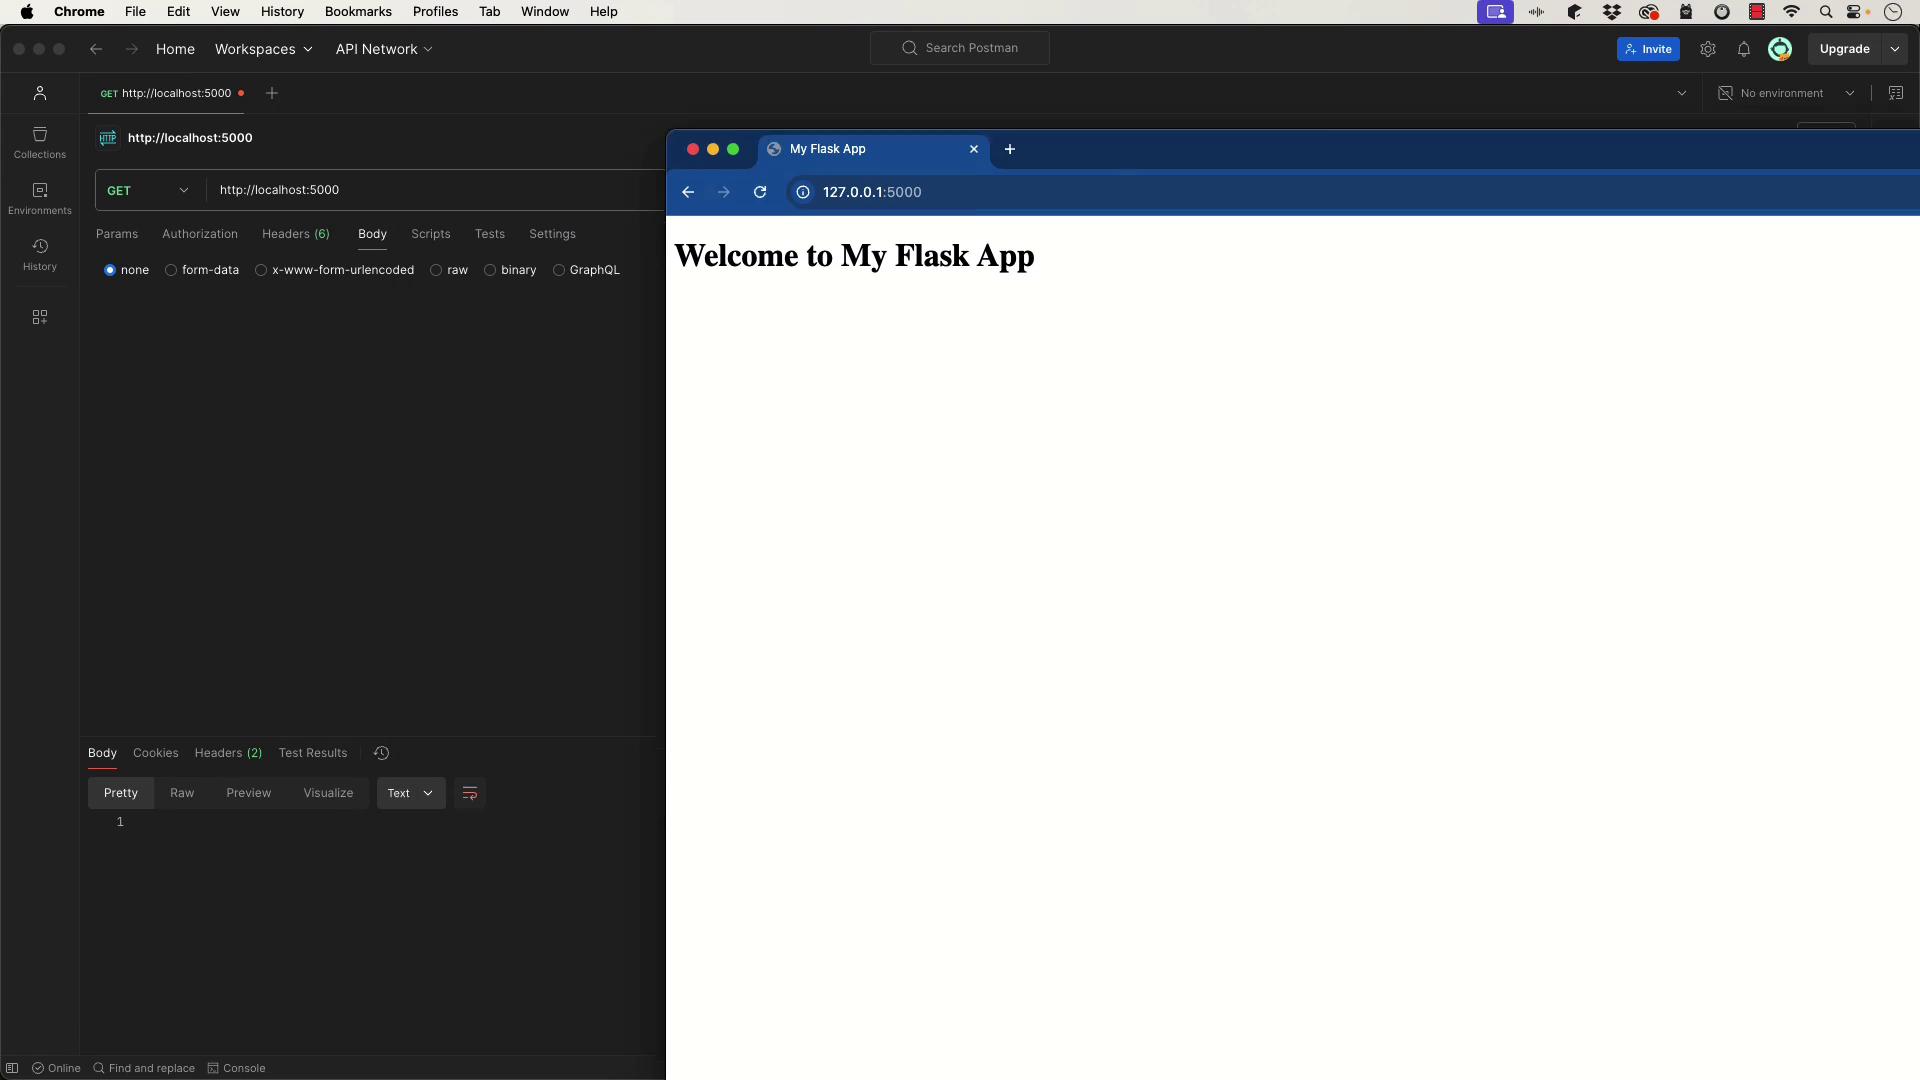
Begin by defining basic routes in your Flask application. Initially, you set up a home route that renders the base HTML and a debug route to list all registered URL rules.
Copy
from flask import render_templatefrom flask import current_app as app # Use current_app for consistency@app.route('/')def home(): return render_template('base.html')@app.route('/about')def about(): return "About Page"@app.route('/routes')def show_routes(): output = [] for rule in app.url_map.iter_rules(): output.append(f"{rule.endpoint}: {rule.rule}") return "<br>".join(output)
Later, the unused “about” page is removed to focus on image upload functionality.
Create an upload route that accepts an image via a POST request, saves it locally, and processes it using OpenCV. In this initial stage, the code accepts an image and saves it, returning a simple message.
Copy
from flask import request, render_template, current_app as app@app.route('/')def home(): return render_template('base.html')@app.route('/upload', methods=['POST'])def upload(): # Accept an image uploaded from a POST request image = request.files['image'] # Save the image to a local directory image.save(app.config['UPLOAD_FOLDER'] + '/' + image.filename) # Return a simple success message return "About Page"
This snippet serves as the starting point for enhancing the functionality.
Enhance the upload endpoint by adding error checking and utilizing OpenCV to process the image—converting it to grayscale in this example. The endpoint returns a JSON response containing a success message and the path of the processed image.
Copy
@app.route('/upload', methods=['POST'])def upload(): if 'image' not in request.files: return jsonify({'error': 'No image part in the request'}), 400 image = request.files['image'] if image.filename == '': return jsonify({'error': 'No image selected for uploading'}), 400 # Save the image to a local directory image_path = os.path.join(app.config['UPLOAD_FOLDER'], image.filename) image.save(image_path) # Process the image with OpenCV: convert to grayscale img = cv2.imread(image_path) gray_img = cv2.cvtColor(img, cv2.COLOR_BGR2GRAY) processed_image_path = os.path.join(app.config['UPLOAD_FOLDER'], 'processed_' + image.filename) cv2.imwrite(processed_image_path, gray_img) # Return a JSON response with the path to the processed image return jsonify({ 'message': 'Image successfully uploaded and processed', 'processed_image_path': processed_image_path }), 200
For reference, here is the version before AI-assisted enhancements:
Copy
@app.route('/upload', methods=['POST'])def upload(): if 'image' not in request.files: return jsonify({'error': 'No image part in the request'}), 400 image = request.files['image'] if image.filename == '': return jsonify({'error': 'No image selected for uploading'}), 400 # Save the image to a local directory image_path = os.path.join(app.config['UPLOAD_FOLDER'], image.filename) image.save(image_path) # Process the image with OpenCV img = cv2.imread(image_path) # Example processing: convert to grayscale gray_img = cv2.cvtColor(img, cv2.COLOR_BGR2GRAY) processed_image_path = os.path.join(app.config['UPLOAD_FOLDER'], 'processed_' + image.filename) cv2.imwrite(processed_image_path, gray_img) # Return a success message with the path to the processed image return jsonify({ 'message': 'Image successfully uploaded and processed', 'processed_image_path': processed_image_path }), 200
Understanding these changes is critical for following the application’s evolution.
Adding Image Compression and a Dynamic Quality Parameter
Further enhance the upload functionality to compress the image using a user-specified quality parameter. Users can pass a “quality” parameter through the POST form data to determine the JPEG compression level. The following code snippet reflects these updates:
Copy
@app.route('/upload', methods=['POST'])def upload(): if 'image' not in request.files: return jsonify({'error': 'No image part in the request'}), 400 image = request.files['image'] if image.filename == '': return jsonify({'error': 'No image selected for uploading'}), 400 # Get the quality parameter from the request; default is 10 if not provided quality = request.form.get('quality', default=10, type=int) # Validate the quality parameter (must be between 0 and 100) if quality < 0 or quality > 100: return jsonify({'error': 'Quality must be between 0 and 100'}), 400 # Save the image to a local directory image_path = os.path.join(app.config['UPLOAD_FOLDER'], image.filename) image.save(image_path) # Process the image with OpenCV: compress using the specified quality img = cv2.imread(image_path) processed_image_path = os.path.join(app.config['UPLOAD_FOLDER'], 'processed_' + image.filename) cv2.imwrite(processed_image_path, img, [int(cv2.IMWRITE_JPEG_QUALITY), quality]) # Return a JSON response with the path to the processed image return jsonify({ 'message': 'Image successfully uploaded and processed', 'processed_image_path': processed_image_path }), 200
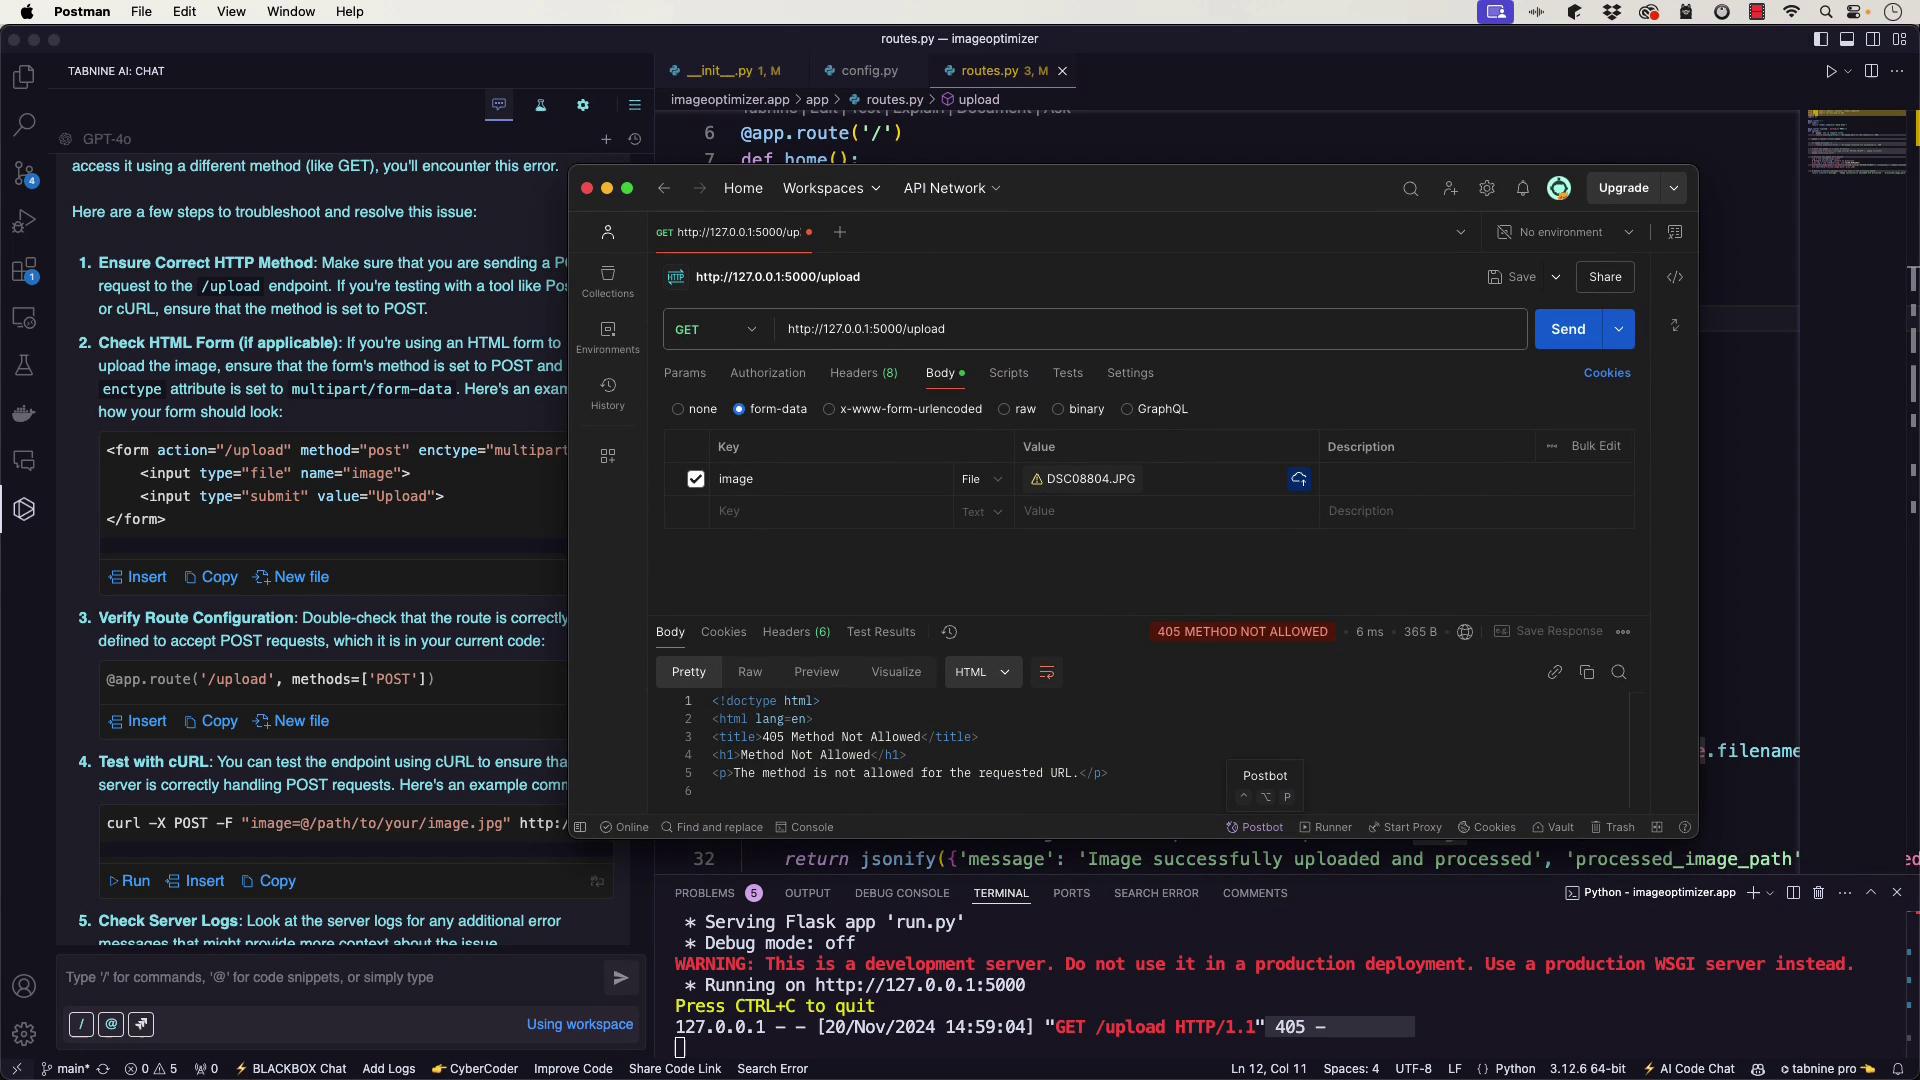
Test this functionality using cURL with the following command:
Copy
curl -X POST -F "image=@/path/to/your/image.jpg" -F "quality=50" http://127.0.0.1:5000/upload
This Postman diagram below shows an example of a POST request being made. Ensure the request type is POST with form-data.