> ## Documentation Index
> Fetch the complete documentation index at: https://notes.kodekloud.com/llms.txt
> Use this file to discover all available pages before exploring further.
# Implementing OpenCV
> This article demonstrates integrating OpenCV into a Flask application for image uploads and processing, including grayscale conversion and compression features.
In this lesson, we demonstrate how to integrate OpenCV into a Flask application to handle image uploads and processing. The application features endpoints for rendering a basic webpage and for uploading and processing images. The functionality evolves from a simple image save to a robust system that converts images to grayscale, compresses them, and supports a dynamic quality parameter.
***
## Basic Route Setup
Begin by defining basic routes in your Flask application. Initially, you set up a home route that renders the base HTML and a debug route to list all registered URL rules.
```python theme={null}
from flask import render_template
from flask import current_app as app # Use current_app for consistency
@app.route('/')
def home():
return render_template('base.html')
@app.route('/about')
def about():
return "About Page"
@app.route('/routes')
def show_routes():
output = []
for rule in app.url_map.iter_rules():
output.append(f"{rule.endpoint}: {rule.rule}")
return "
".join(output)
```
Later, the unused "about" page is removed to focus on image upload functionality.
***
## Setting Up the Upload Route
Create an upload route that accepts an image via a POST request, saves it locally, and processes it using OpenCV. In this initial stage, the code accepts an image and saves it, returning a simple message.
```python theme={null}
from flask import request, render_template, current_app as app
@app.route('/')
def home():
return render_template('base.html')
@app.route('/upload', methods=['POST'])
def upload():
# Accept an image uploaded from a POST request
image = request.files['image']
# Save the image to a local directory
image.save(app.config['UPLOAD_FOLDER'] + '/' + image.filename)
# Return a simple success message
return "About Page"
```
This snippet serves as the starting point for enhancing the functionality.
***
## Enhancing the Upload Functionality with OpenCV
Enhance the upload endpoint by adding error checking and utilizing OpenCV to process the image—converting it to grayscale in this example. The endpoint returns a JSON response containing a success message and the path of the processed image.
```python theme={null}
@app.route('/upload', methods=['POST'])
def upload():
if 'image' not in request.files:
return jsonify({'error': 'No image part in the request'}), 400
image = request.files['image']
if image.filename == '':
return jsonify({'error': 'No image selected for uploading'}), 400
# Save the image to a local directory
image_path = os.path.join(app.config['UPLOAD_FOLDER'], image.filename)
image.save(image_path)
# Process the image with OpenCV: convert to grayscale
img = cv2.imread(image_path)
gray_img = cv2.cvtColor(img, cv2.COLOR_BGR2GRAY)
processed_image_path = os.path.join(app.config['UPLOAD_FOLDER'], 'processed_' + image.filename)
cv2.imwrite(processed_image_path, gray_img)
# Return a JSON response with the path to the processed image
return jsonify({
'message': 'Image successfully uploaded and processed',
'processed_image_path': processed_image_path
}), 200
```
For reference, here is the version before AI-assisted enhancements:
```python theme={null}
@app.route('/upload', methods=['POST'])
def upload():
if 'image' not in request.files:
return jsonify({'error': 'No image part in the request'}), 400
image = request.files['image']
if image.filename == '':
return jsonify({'error': 'No image selected for uploading'}), 400
# Save the image to a local directory
image_path = os.path.join(app.config['UPLOAD_FOLDER'], image.filename)
image.save(image_path)
# Process the image with OpenCV
img = cv2.imread(image_path)
# Example processing: convert to grayscale
gray_img = cv2.cvtColor(img, cv2.COLOR_BGR2GRAY)
processed_image_path = os.path.join(app.config['UPLOAD_FOLDER'], 'processed_' + image.filename)
cv2.imwrite(processed_image_path, gray_img)
# Return a success message with the path to the processed image
return jsonify({
'message': 'Image successfully uploaded and processed',
'processed_image_path': processed_image_path
}), 200
```
Understanding these changes is critical for following the application’s evolution.
***
## Running the Application and Installing OpenCV
Before running your application, install OpenCV via pip:
```bash theme={null}
pip install opencv-python
```
Ensure your application configuration correctly sets the upload folder. For example, in your configuration file:
```python theme={null}
SECRET_KEY = 'your_secret_key'
app.config['UPLOAD_FOLDER'] = '/path/to/upload/folder'
```
After configuration, run your Flask application:
```bash theme={null}
(venv) jeremy@Jeremys-Mac-Studio imageoptimizer.app % flask run
```
If you encounter an error such as "No module named 'cv2'", make sure the OpenCV installation succeeded.
***
## Testing the Upload Endpoint
After starting the Flask server, test the `/upload` endpoint using tools like Postman or cURL. In Postman, configure the request as follows:
* Method: POST
* URL: [http://localhost:5000/upload](http://localhost:5000/upload)
* Body: Form-data with the key "image" for the image file
The diagram below illustrates a Postman interface with a GET request to the base URL and a browser displaying the welcome message.
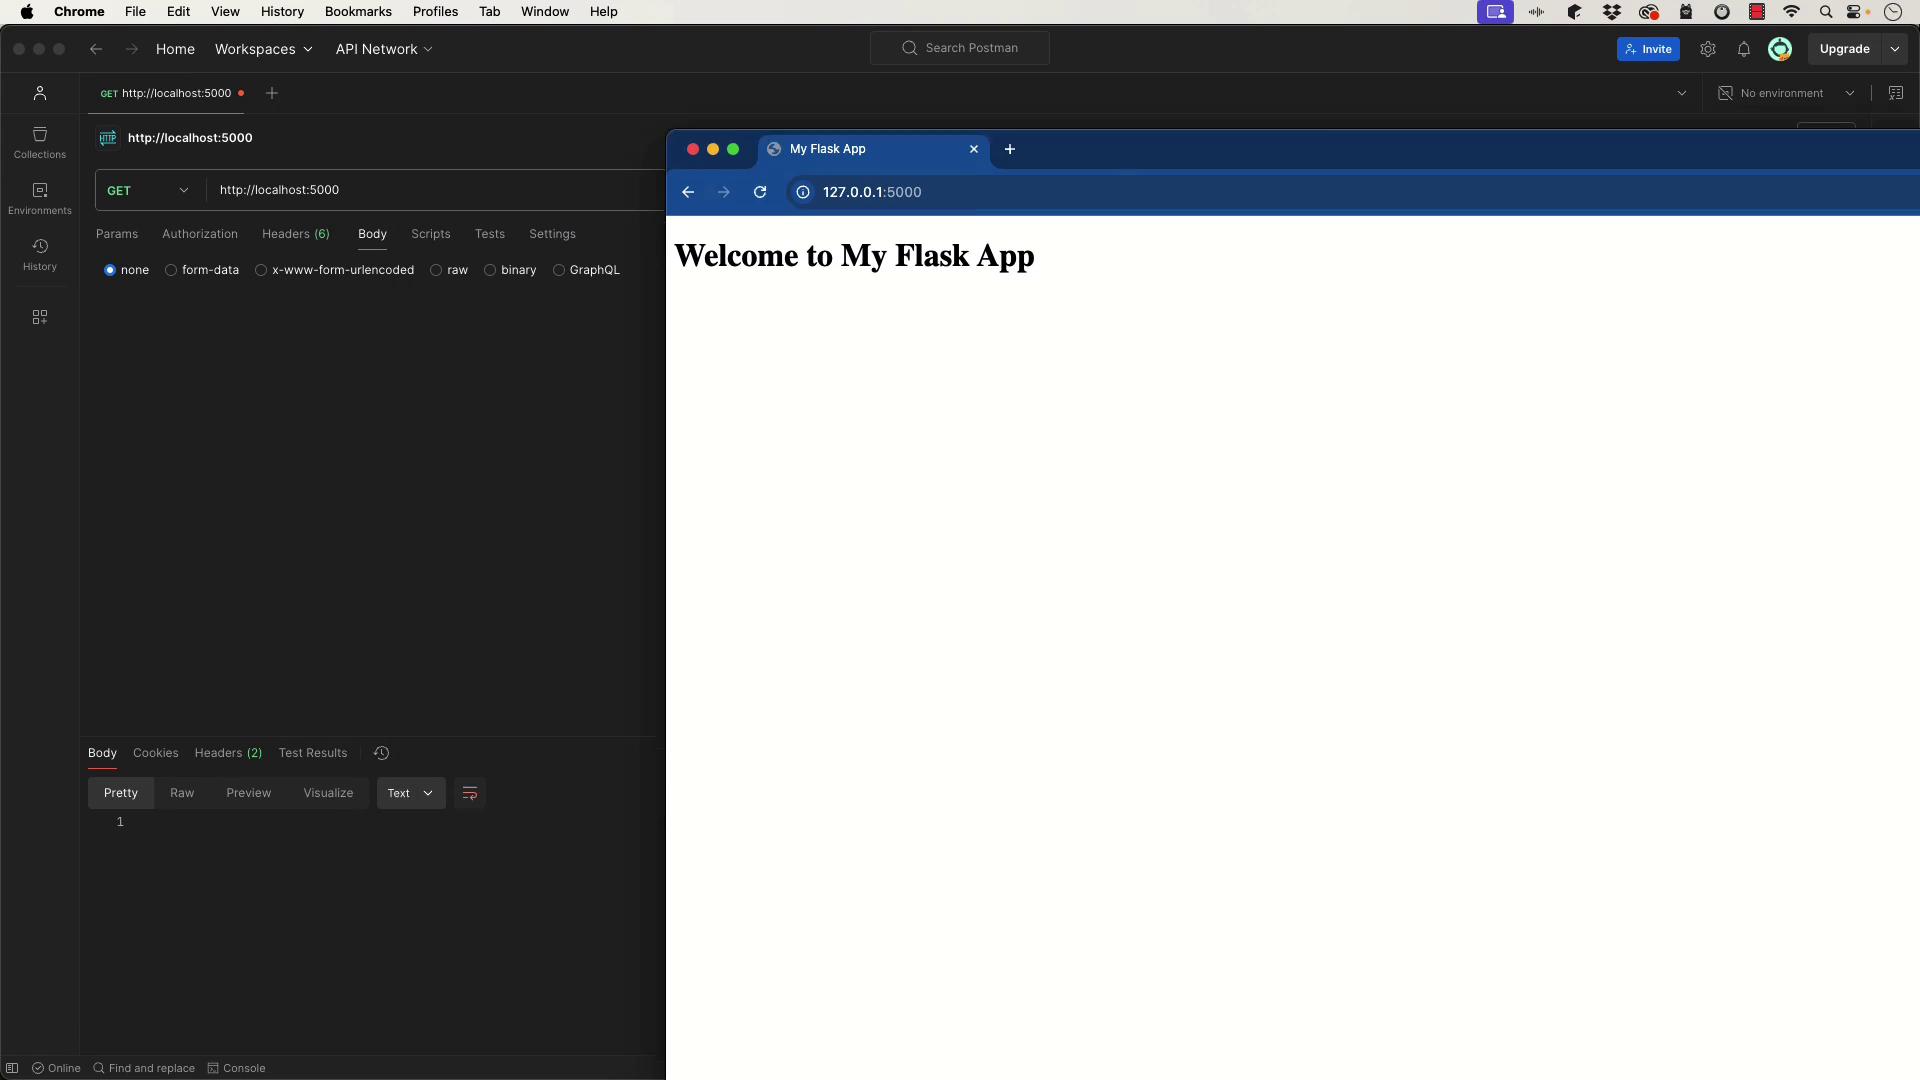
Upon a successful POST request, server logs will show a 200 response, and the processed image is saved locally.
***
## Adding Image Compression and a Dynamic Quality Parameter
Further enhance the upload functionality to compress the image using a user-specified quality parameter. Users can pass a "quality" parameter through the POST form data to determine the JPEG compression level. The following code snippet reflects these updates:
```python theme={null}
@app.route('/upload', methods=['POST'])
def upload():
if 'image' not in request.files:
return jsonify({'error': 'No image part in the request'}), 400
image = request.files['image']
if image.filename == '':
return jsonify({'error': 'No image selected for uploading'}), 400
# Get the quality parameter from the request; default is 10 if not provided
quality = request.form.get('quality', default=10, type=int)
# Validate the quality parameter (must be between 0 and 100)
if quality < 0 or quality > 100:
return jsonify({'error': 'Quality must be between 0 and 100'}), 400
# Save the image to a local directory
image_path = os.path.join(app.config['UPLOAD_FOLDER'], image.filename)
image.save(image_path)
# Process the image with OpenCV: compress using the specified quality
img = cv2.imread(image_path)
processed_image_path = os.path.join(app.config['UPLOAD_FOLDER'], 'processed_' + image.filename)
cv2.imwrite(processed_image_path, img, [int(cv2.IMWRITE_JPEG_QUALITY), quality])
# Return a JSON response with the path to the processed image
return jsonify({
'message': 'Image successfully uploaded and processed',
'processed_image_path': processed_image_path
}), 200
```
Test this functionality using cURL with the following command:
```bash theme={null}
curl -X POST -F "image=@/path/to/your/image.jpg" -F "quality=50" http://127.0.0.1:5000/upload
```
This Postman diagram below shows an example of a POST request being made. Ensure the request type is POST with form-data.
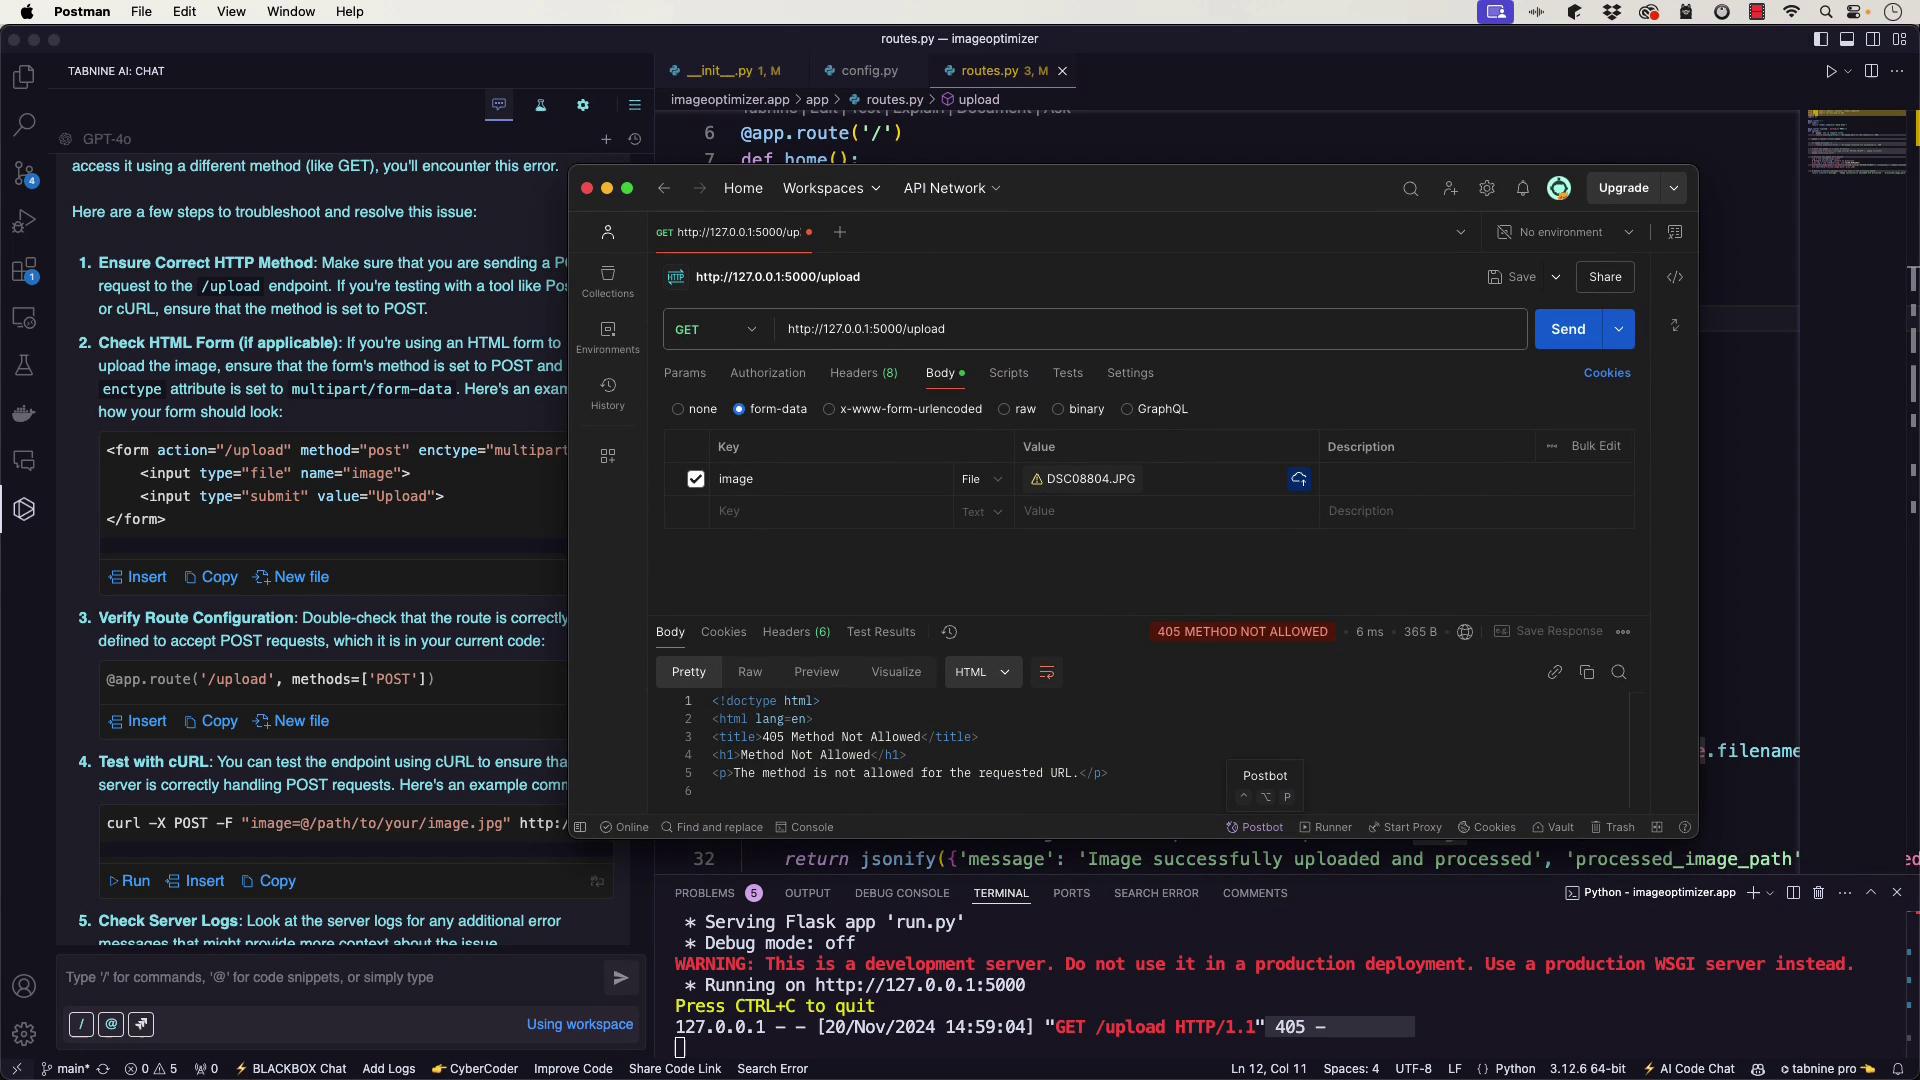
Make sure your requests use multipart/form-data and target the correct URL ([http://localhost:5000/upload](http://localhost:5000/upload)).
***
## Troubleshooting and Final Remarks
If you encounter issues such as a 405 Method Not Allowed or a 404 Not Found error, please ensure:
* The Flask server is running correctly.
* The `/upload` route is configured to accept POST requests.
* Your requests include the correct form-data keys ("image" and optionally "quality").
This lesson covered how to:
* Define basic routes in a Flask application.
* Implement an image upload endpoint with error handling.
* Integrate OpenCV to process images (grayscale conversion and compression).
* Allow dynamic specification of JPEG compression quality via a POST parameter.
Happy coding!