> ## Documentation Index
> Fetch the complete documentation index at: https://notes.kodekloud.com/llms.txt
> Use this file to discover all available pages before exploring further.
# Setting up Our Project Structure
> This article explains how to set up a project structure for a full-stack application using Flask and React.
In this lesson, we will configure our project structure for a full-stack application that includes a Flask backend and a React frontend. Proper organization is essential to ensure smooth development and maintenance.
In the previous lesson, we set up a virtual environment for the image optimizer. Now, we will remove that existing virtual environment and create a new structure with two primary directories:
• `imageoptimizer.app` – for the Flask backend\
• `imageoptimizer.web` – for the React frontend
Let's start by reorganizing our application folder and setting up the Flask app.
***
## Scaffolding the Flask Application
Begin by navigating to your application directory in the terminal:
```bash theme={null}
(venv) jeremy@Jeremys-Mac-Studio imageoptimizer % cd imageoptimizer.app
(venv) jeremy@Jeremys-Mac-Studio imageoptimizer.app %
```
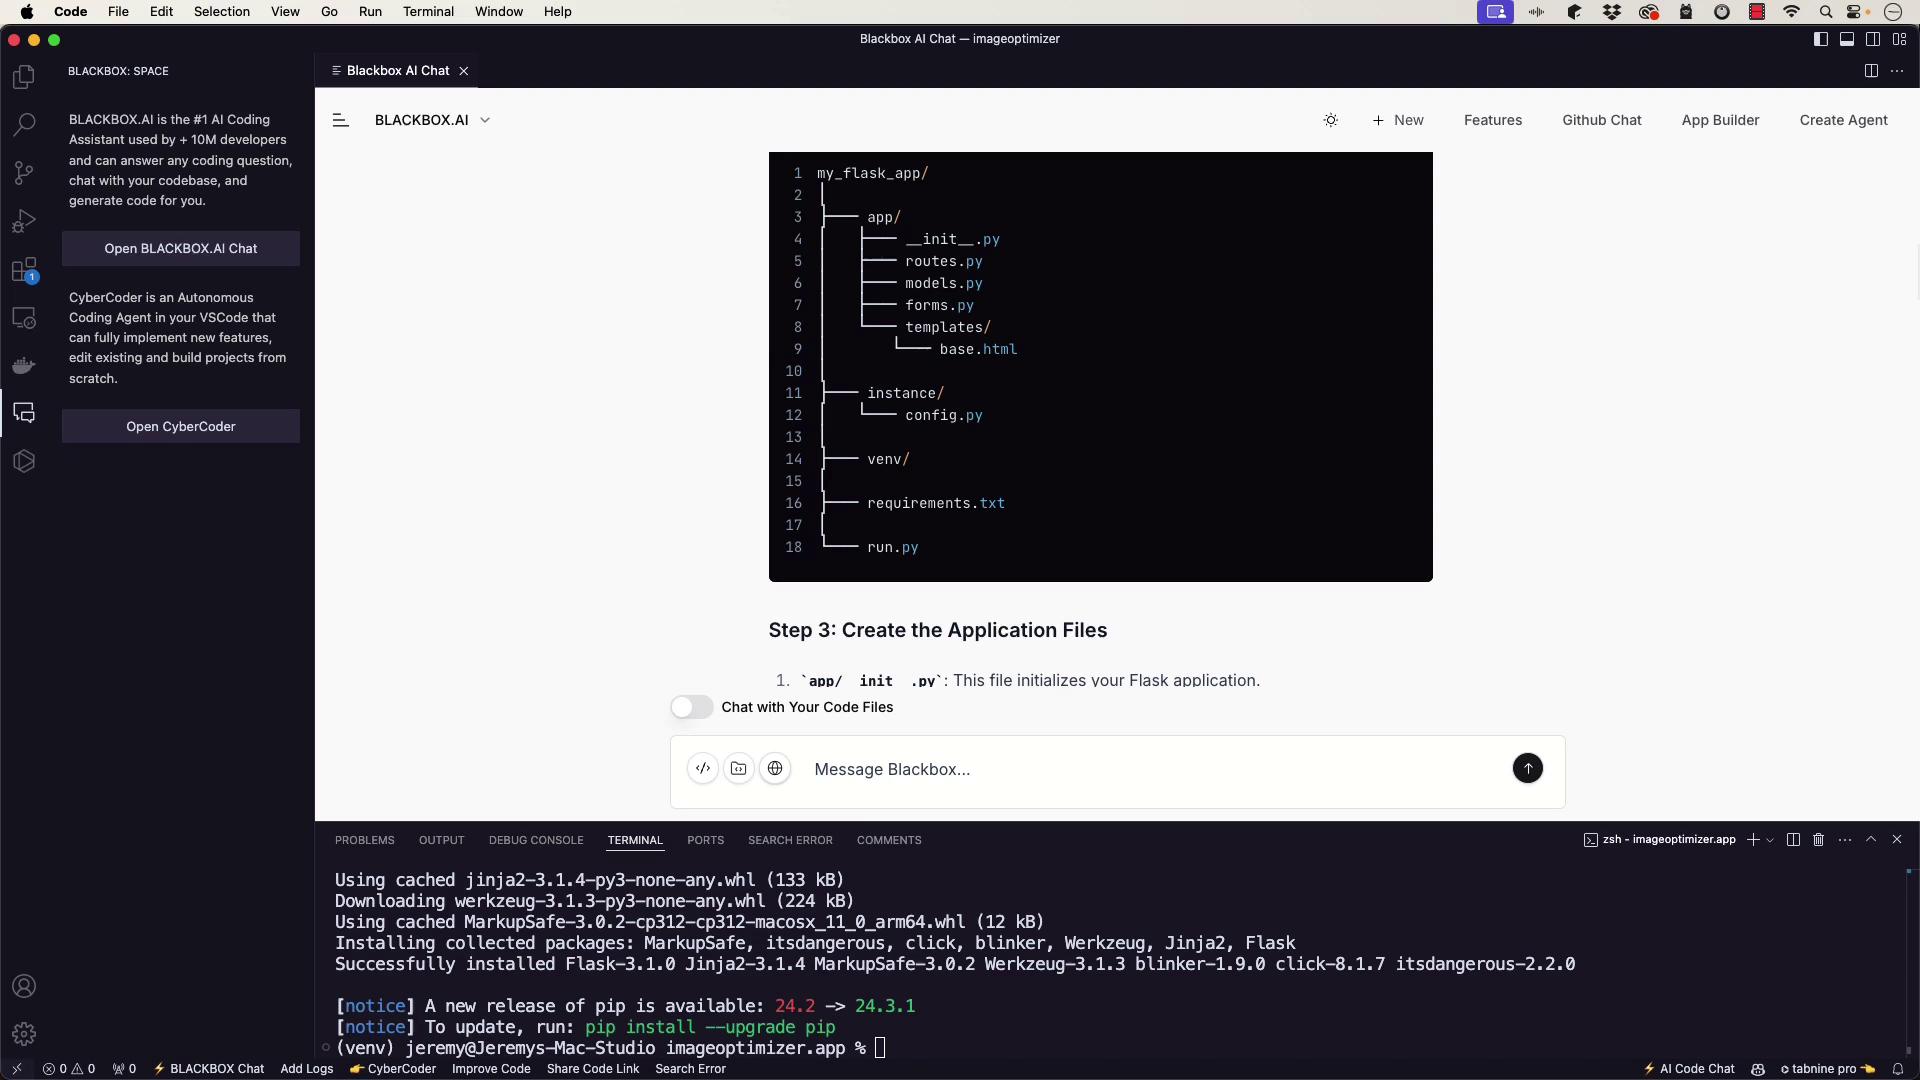
If you are new to Flask or simply want a quick scaffold, you might consider using an AI-based tool to generate the setup instructions. After entering your project folder, you could prompt:
"How do you scaffold a typical Flask application?"
You could receive similar commands as output. As part of this setup, create a new virtual environment and install Flask:
```bash theme={null}
python3 -m venv venv
source venv/bin/activate # On Windows use `venv\Scripts\activate`
```
Then install Flask:
```bash theme={null}
pip install Flask
```
You might see output similar to this:
```plaintext theme={null}
Downloading blinker-1.9.0-py3-none-any.whl (8.5 kB)
Using cached click-8.1.7-py3-none-any.whl (96 kB)
Downloading itsdangerous-2.2.0-py3-none-any.whl (16 kB)
Using cached jinja2-3.1.4-py3-none-any.whl (133 kB)
Using cached MarkupSafe-3.0.2-cp312-cp312-macosx_11_0_arm64.whl (12 kB)
Installing collected packages: MarkupSafe, itsdangerous, click, Werkzeug, Jinja2, Flask
Successfully installed Flask-2.3.1 Jinja2-3.1.4 MarkupSafe-3.0.2 Werkzeug-2.3.1 blinker-1.9.0 click-8.1.7 itsdangerous-2.2.0
[notice] A new release of pip is available: 24.2 → 24.3.1
[notice] To update, run: pip install --upgrade pip
```
Next, use an AI-based tool to provide instructions on setting up the directory structure and initializing your Flask application. Typically, an `__init__.py` file is created to serve as the application factory. For instance, here’s a snippet demonstrating a simple login form using Flask-WTF:
```python theme={null}
from flask_wtf import FlaskForm
from wtforms import StringField, PasswordField, SubmitField
from wtforms.validators import DataRequired
class LoginForm(FlaskForm):
username = StringField('Username', validators=[DataRequired()])
password = PasswordField('Password', validators=[DataRequired()])
submit = SubmitField('Login')
```
Additional package installation output may appear as follows:
```plaintext theme={null}
Downloading blinker-1.9.0-py3-none-any.whl (8.5 kB)
Downloading click-8.1.7-py3-none-any.whl (68 kB)
Downloading itsdangerous-2.0.1-py3-none-any.whl (5.1 kB)
Downloading MarkupSafe-2.1.1-cp39-cp39-macosx_11_0_arm64.whl (12 kB)
Installing collected packages: MarkupSafe, Werkzeug, Jinja2, Flask
Successfully installed Flask-2.2.3 Jinja2-3.1.0 MarkupSafe-2.1.1 Werkzeug-2.2.3
[notice] A new release of pip is available: 24.2 → 24.3.1
[notice] To update, run: pip install --upgrade pip
```
This AI-assisted scaffolding approach can be very effective, and in our case, we are leveraging a custom AI model for setup instructions, although other models provide similar support.
***
## Creating the Directory Structure
Now, create the following directory structure for the Flask application:
```text theme={null}
my_flask_app/
├── app/
│ ├── __init__.py
│ ├── routes.py
│ ├── models.py
│ ├── forms.py
│ └── templates/
│ └── base.html
├── instance/
│ └── config.py
├── venv/
├── requirements.txt
└── run.py
```
To generate this structure within `imageoptimizer.app`, follow these steps:
1. Change to the `app` directory and create necessary files:
```bash theme={null}
(venv) jeremy@Jeremys-Mac-Studio imageoptimizer.app % cd app
(venv) jeremy@Jeremys-Mac-Studio app % touch __init__.py
(venv) jeremy@Jeremys-Mac-Studio app % touch routes.py
(venv) jeremy@Jeremys-Mac-Studio app % touch models.py
(venv) jeremy@Jeremys-Mac-Studio app % touch forms.py
```
2. Create the `templates` folder and add the base template:
```bash theme={null}
(venv) jeremy@Jeremys-Mac-Studio app % mkdir templates
(venv) jeremy@Jeremys-Mac-Studio app % touch templates/base.html
```
3. Create an `instance` folder and configuration file:
```bash theme={null}
(venv) jeremy@Jeremys-Mac-Studio app % mkdir instance
(venv) jeremy@Jeremys-Mac-Studio app % touch instance/config.py
```
4. Finally, create the `run.py` file in the project’s root and generate the `requirements.txt` file to capture the dependencies:
```bash theme={null}
(venv) jeremy@Jeremys-Mac-Studio app % pip freeze > requirements.txt
```
Later, you can install these dependencies with:
```bash theme={null}
pip install -r requirements.txt
```
***
## Setting Up Git and .gitignore
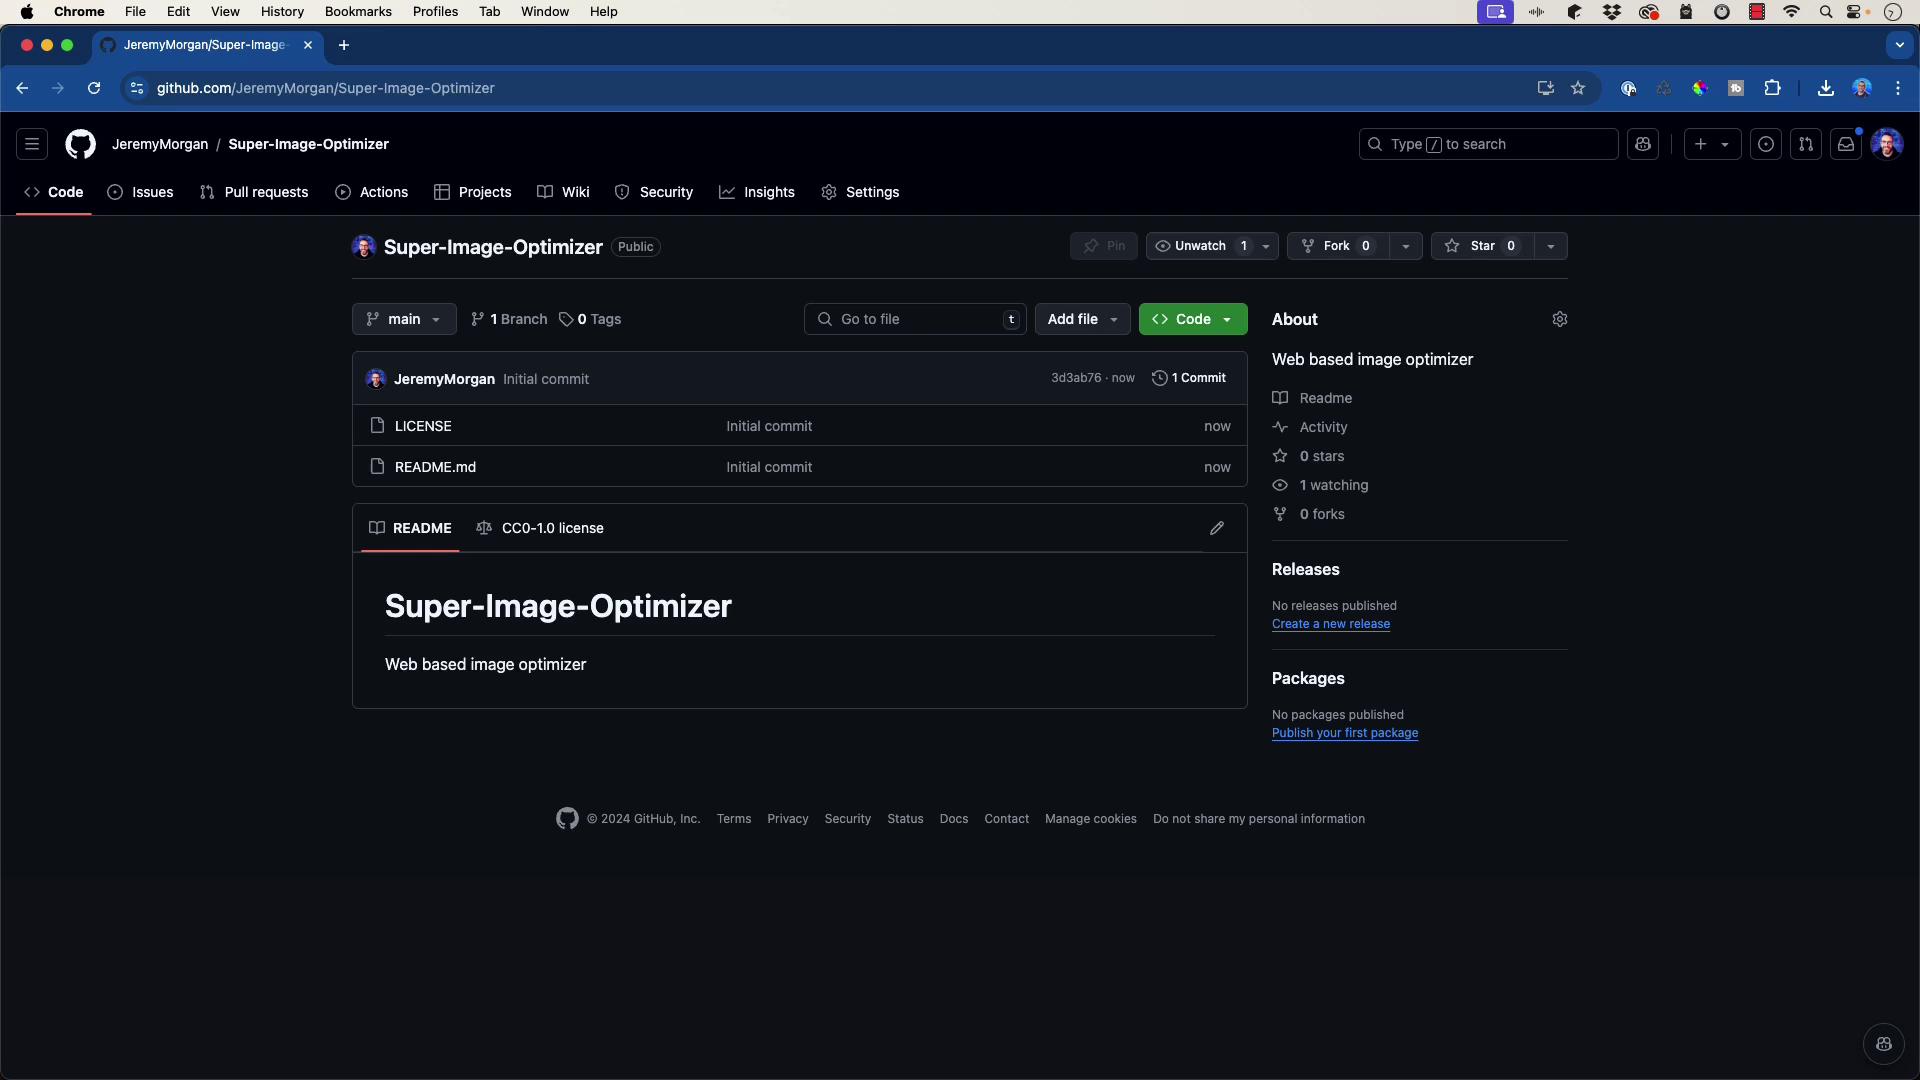
Initialize a Git repository for the project from the root folder (which contains both `imageoptimizer.app` and `imageoptimizer.web`):
```bash theme={null}
(venv) jeremy@Jeremys-Mac-Studio imageoptimizer % git init
Initialized empty Git repository in /Users/jeremy/Projects/genaicourse/imageoptimizer/.git/
```
Next, add a remote origin that points to your GitHub repository:
```bash theme={null}
(venv) jeremy@Jeremys-Mac-Studio imageoptimizer % git remote add origin https://github.com/JeremyMorgan/Super-Image-Optimizer.git
```
Before committing your files, create a `.gitignore` file to exclude the virtual environment and other temporary files. An AI tool can help generate a typical `.gitignore` for a Python Flask application. A sample `.gitignore` might include:
```plaintext theme={null}
venv/
__pycache__/
*.pyc
instance/config.py
```
After setting up `.gitignore`, add your files to the repository:
```bash theme={null}
(venv) jeremy@Jeremys-Mac-Studio imageoptimizer % git add .
```
You can check the status with:
```bash theme={null}
(venv) jeremy@Jeremys-Mac-Studio imageoptimizer % git status
On branch main
No commits yet
Changes to be committed:
(use "git rm --cached ..." to unstage)
new file: .gitignore
new file: imageoptimizer.app/__init__.py
new file: imageoptimizer.app/forms.py
new file: imageoptimizer.app/models.py
new file: imageoptimizer.app/routes.py
new file: imageoptimizer.app/run.py
new file: imageoptimizer.app/templates/base.html
new file: imageoptimizer.app/requirements.txt
```
Commit your changes and push them to GitHub:
```bash theme={null}
git commit -m "Initial commit"
git branch -M main
git push -u origin main
```
If you encounter a rejection due to remote changes, resolve it by pulling the latest updates and pushing again:
```bash theme={null}
git branch --set-upstream-to=origin/main
git pull --rebase
git push origin main
```
This setup ensures your repository remains clean, excluding unnecessary files such as the virtual environment.
***
## Building the Flask Application
Now that our environment is ready and Git is tracking our updates, we will create the Flask application using the application factory pattern. Below is an example of how to set up Flask:
```python theme={null}
from flask import Flask
def create_app():
app = Flask(__name__, instance_relative_config=True)
app.config.from_mapping(
SECRET_KEY='dev', # Change this in production!
)
# Load the instance config, if it exists, and skip during testing
try:
app.config.from_pyfile('config.py', silent=True)
except FileNotFoundError:
pass
with app.app_context():
from . import routes # Import routes
return app
```
If you are utilizing SQLAlchemy, you may define your models like this:
```python theme={null}
# Example of a model using SQLAlchemy
from flask_sqlalchemy import SQLAlchemy
db = SQLAlchemy()
class User(db.Model):
id = db.Column(db.Integer, primary_key=True)
username = db.Column(db.String(80), unique=True, nullable=False)
```
Similarly, your Flask-WTF forms can be set up as follows:
```python theme={null}
from flask_wtf import FlaskForm
from wtforms import StringField, PasswordField, SubmitField
from wtforms.validators import DataRequired
class LoginForm(FlaskForm):
username = StringField('Username', validators=[DataRequired()])
password = PasswordField('Password', validators=[DataRequired()])
submit = SubmitField('Login')
```
Keep in mind that some parts of this code might not function correctly on the first try. The intentional errors are meant to represent real-world troubleshooting scenarios when using AI-generated tools.
***
## Next Steps
In the upcoming lesson, we will integrate the Flask API and perform testing to ensure the application operates as expected. We will also troubleshoot and refine the workflow to enhance our development process.
Happy coding, and see you in the next lesson!