This article demonstrates a technique to generate high-quality user stories for projects, focusing on crafting prompts and importing them into Azure DevOps.
In this lesson, we demonstrate a technique to generate high-quality user stories for your project. Rather than immediately importing them into a specialized board, we begin by crafting and refining the prompts within our current environment. These refined prompts can later be exported to Markdown, Word, PDF, or any format you prefer.To start, enter the following prompt into your ChatGPT window:“Analyze the provided requirements analysis document to identify key functionalities and user needs. Then generate a set of high-level user stories intended for software developers. Each user story should follow the format ‘As a [user], I want [functionality] so that [benefit]. Use a formal tone and ensure the stories adhere to Scrum guidelines.”This detailed prompt is designed to extract precise and actionable user stories. The prompt has been saved and is available in our GitHub repository for future reference. Specificity is key; by clearly outlining your requirements, you ensure that the model returns exactly what you need—allowing for further refinements if necessary.After entering the prompt into ChatGPT, a “failed to comment” error may occur. This error typically indicates that the system could not match the expected patterns for adding detailed comments. To resolve this, open a new chat session using ChatGPT 4.0 with canvas, upload the requirements analysis document (converted from Markdown to Word), and run the prompt again.
If you encounter pattern-matching errors, switching sessions or formats (Markdown to Word) can often resolve the issue.
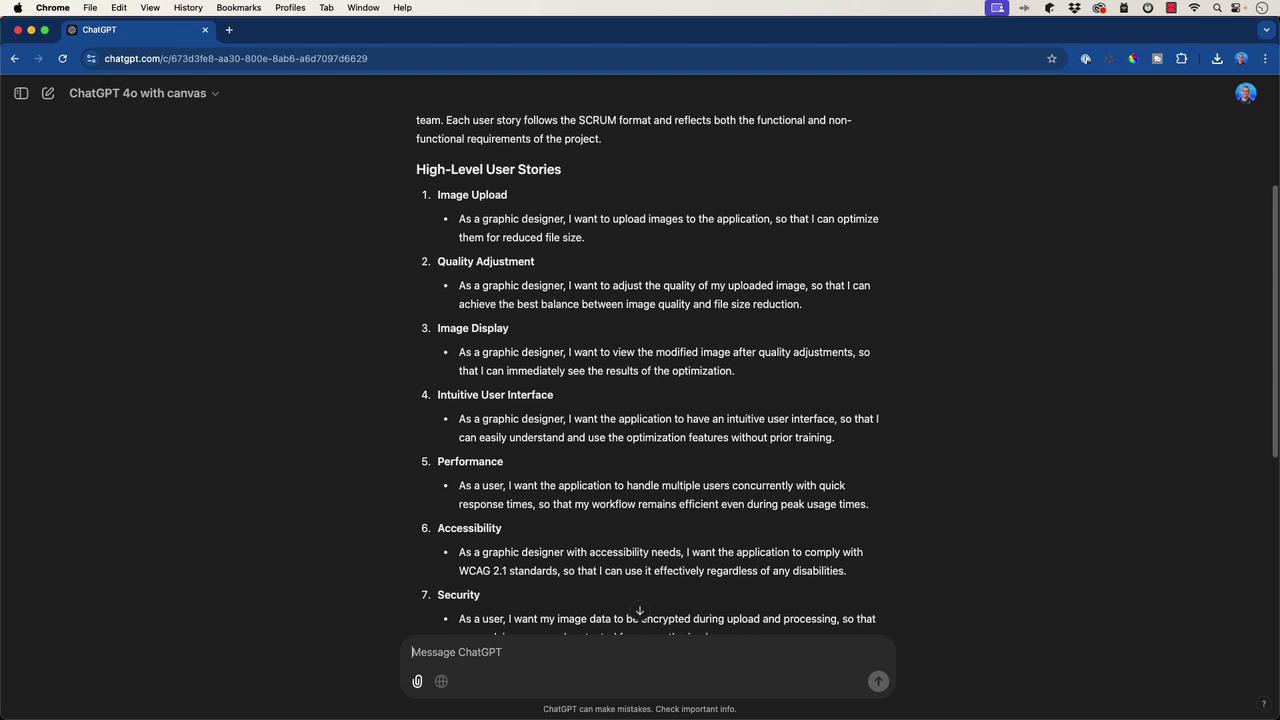
The initial output focuses on high-level user stories relevant to end-users, such as graphic designers. One of the example stories generated is:
“I want to upload images to the application so I can optimize them for reduced file size.”
Along with additional stories focusing on quality adjustments, intuitive interfaces, accessibility, security, and scalability, the following illustration provides context:
Since the initial stories were more end-user oriented, the prompt was refined to target software developers by incorporating development-specific tasks. The updated prompt specifies technologies such as Flask for the backend, OpenCV for image manipulation, and React for the frontend. The resulting developer-focused user stories include:
Set up a Flask server to handle image upload requests.
Create a Flask endpoint (e.g., /upload) to accept images via POST.
Implement front-end components in React to allow image uploads.
Validate image files on both the client and server side.
Integrate OpenCV for quality adjustment and image optimization.
Develop a React interface to display the processed images.
The following screenshot showcases these development tasks:
These refined user stories help graphic designers, project managers, and developers track feature progression while providing clear, actionable tasks for the development team.
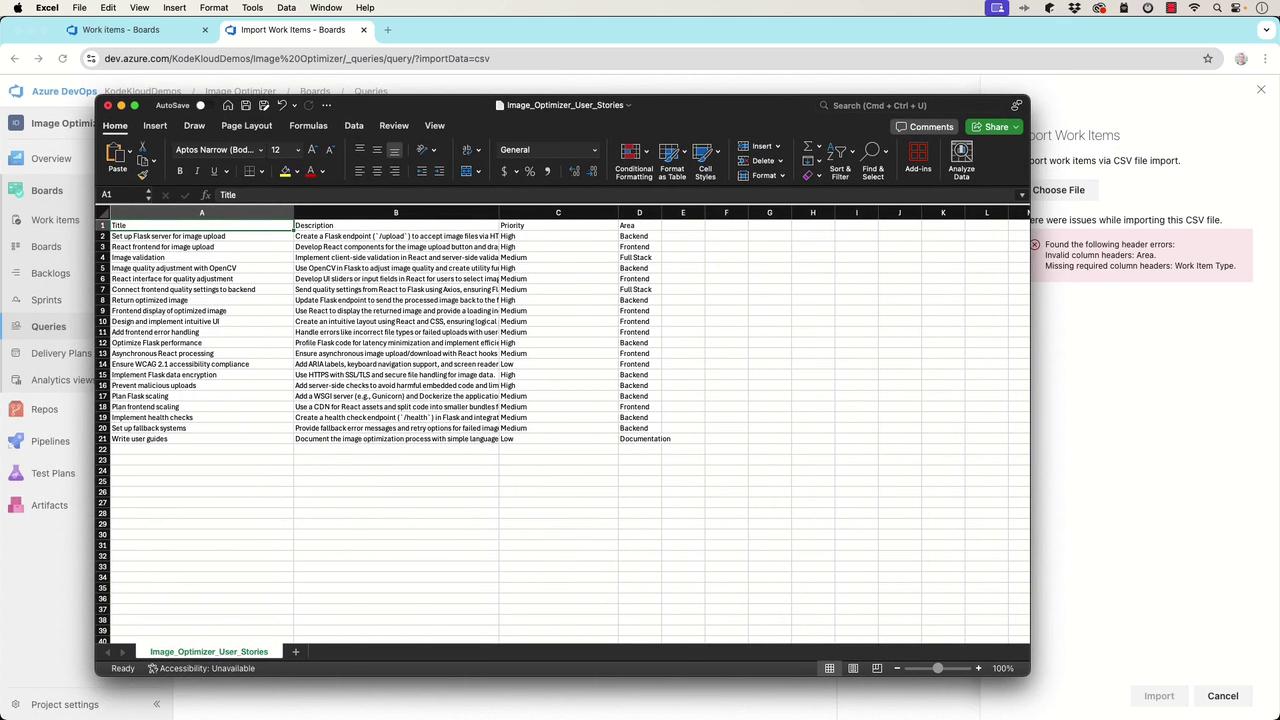
Next, we streamlined the process of importing these user stories into Azure DevOps. By copying the refined stories, we prompted ChatGPT to format them into a CSV file compatible with Azure DevOps. The model responded with:“User stories have been formatted into a CSV file compatible with Azure DevOps. You can download it here.”During import, you might encounter errors related to header names (e.g., “area” and “work item type”). Azure DevOps typically expects work item types such as epic, issues, or tasks. To resolve these issues:
Open the CSV file.
Modify the “work item type” field so that all entries are set to “Task” (or use underscores if required).
Adjust the “priority” field as necessary (e.g., using numerical values like 1, 2, 3, 4).
The edited CSV file is illustrated below:
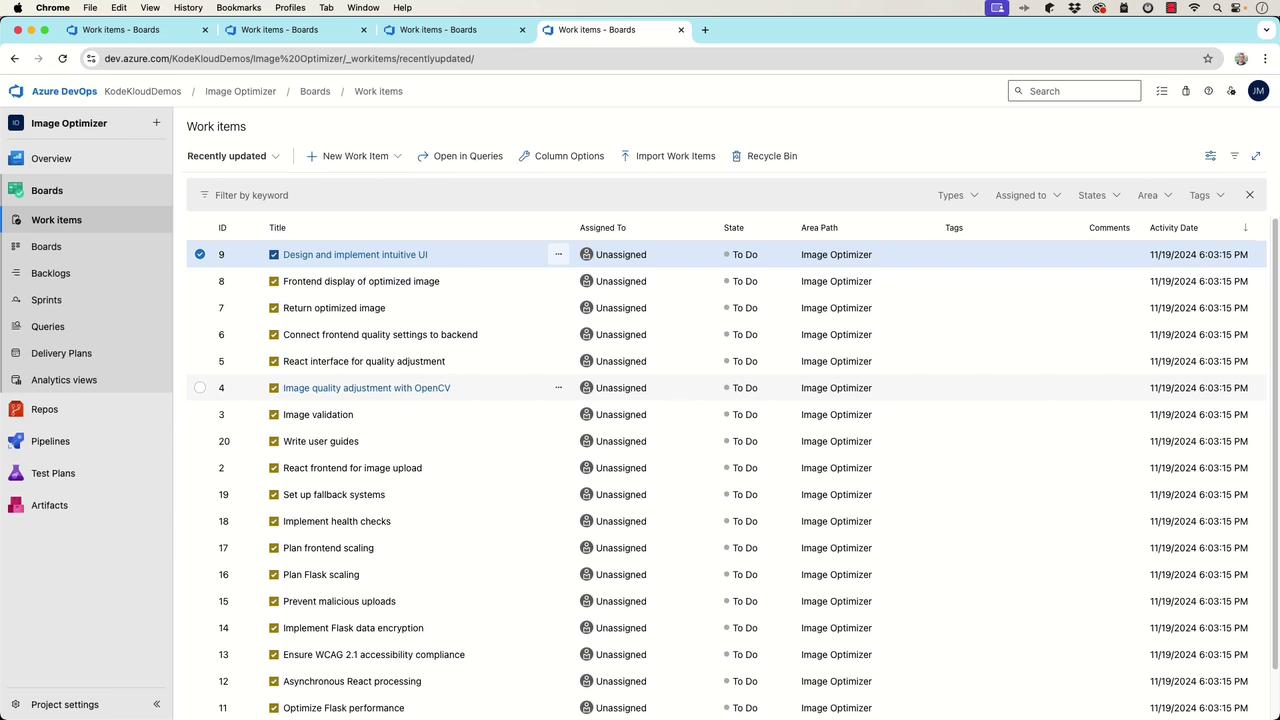
Once you correct the CSV and re-upload it, the tasks should import successfully. This successful import is demonstrated in the Azure DevOps board view:
Using automation to generate and format user stories can significantly reduce the manual labor involved in setting up your project management tools like Azure DevOps or Jira.
With all tasks successfully imported and clearly organized on your board, you now have a detailed to-do list ready for assignment and execution. In the next part of this lesson, we will transition to creating a technical specification document that outlines the chosen technologies and development guidelines for the project. This document will serve as a comprehensive reference for your development team.Stay tuned for the subsequent lesson on building a robust technical specification document.