> ## Documentation Index
> Fetch the complete documentation index at: https://notes.kodekloud.com/llms.txt
> Use this file to discover all available pages before exploring further.
# Getting the Repo Ready to Go Public
> This guide prepares an application for public release on GitHub, covering updates to key files like README and requirements.txt for easy setup.
In this guide, we prepare the application for public release on GitHub. Our application features well-commented code and detailed documentation. In this tutorial, you will learn how to update key files such as README and requirements.txt, ensuring others can easily set up and run the project.
## Updating Requirements
To begin, update the `requirements.txt` file so that others can install all necessary Python dependencies in their virtual environment.
1. Activate your virtual environment:
```bash theme={null}
source env/bin/activate
```
2. Update the dependency list by running:
```bash theme={null}
pip freeze > requirements.txt
```
This command captures all your installed packages, such as Flask, Flask-Cors, NumPy, OpenCV, and Pillow, among others. An example output might look like this:
```plaintext theme={null}
blinker==1.9.0
click==8.1.7
Flask==3.1.0
Flask-Cors==5.0.0
itsdangerous==2.2.0
Jinja2==3.1.4
MarkupSafe==2.0.1
numpy==1.21.3
opencv-python==4.10.0.84
pillow==11.0.0
Werkzeug==3.1.3
```
After updating `requirements.txt`, anyone can run:
```bash theme={null}
pip install -r requirements.txt
```
to install the required dependencies.
## Checking .gitignore
Before pushing your code to GitHub, verify that your `.gitignore` file excludes unnecessary directories. Common exclusions include:
* Python virtual environments (e.g., `venv`)
* Python cache directories (e.g., `__pycache__`)
* IDE-specific folders (e.g., `.vscode`, `.idea`)
* Frontend build directories (e.g., `node_modules`, `dist`)
Excluding these folders helps keep the repository clean and reduces clutter in version control.
## Updating the README
A comprehensive README is essential. Replace any placeholder titles (such as "super image optimizer") with a clear project title and detailed information. An effective README for this Python backend might include:
* A high-level overview of the project
* Installation instructions
* Usage guidelines
Below is an example snippet:
***
*Image optimizer is a simple tool designed to reduce image file sizes without compromising quality. It supports common formats like JPEG and PNG, although other formats (e.g., GIF, batch processing) are not currently supported. The tool operates as a web application.*
### Installation Instructions
1. **Clone the Repository**
```bash theme={null}
git clone https://github.com/JeremyMorgan/Super-Image-Optimizer.git
cd Super-Image-Optimizer/imageoptimizer.app
```
2. **Set Up the Virtual Environment**
```bash theme={null}
# On macOS/Linux
python3 -m venv venv
source venv/bin/activate
# On Windows
python -m venv venv
venv\Scripts\activate
```
3. **Install Dependencies**
```bash theme={null}
pip install -r requirements.txt
```
4. **Set Environment Variables (Optional)**
```bash theme={null}
# On macOS/Linux
export FLASK_APP=run.py
export FLASK_ENV=development
# On Windows
set FLASK_APP=run.py
set FLASK_ENV=development
```
5. **Run the Application**
You have two options to start the app:
* Using the Flask CLI:
```bash theme={null}
flask run
```
* Running the application directly:
```bash theme={null}
python run.py
```
***
## Using the Application
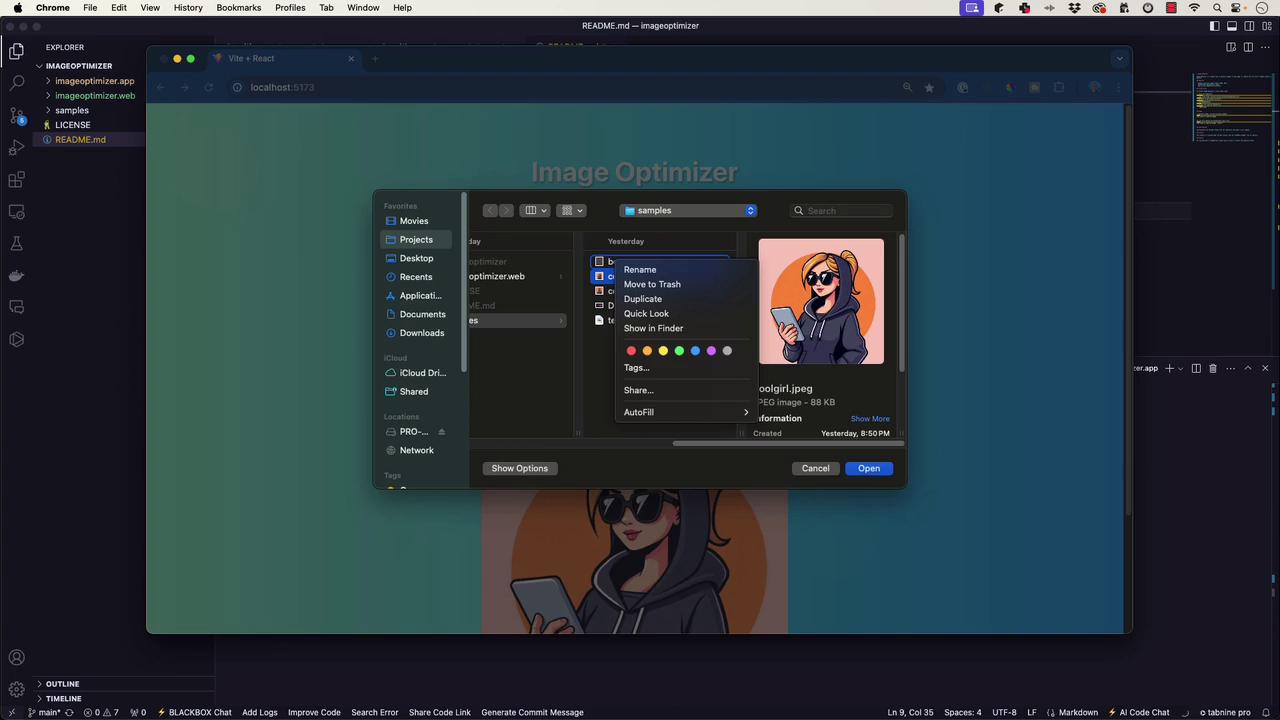
When you launch the image optimizer, the web interface should appear. For example, if you try to optimize a sample image named `coolgirl.jpeg`, you might notice that only one image is selected at a time, which confirms the current functionality.
## Further Project Setup and Contributions
This article also covers additional steps for setting up both backend and frontend components. For the Flask backend, ensure that:
* Your repository includes an updated README.
* The `.gitignore` file excludes unnecessary directories.
* Dependency management is accurate and up to date (repeat the `pip freeze > requirements.txt` command when needed).
For frontend components (if applicable), follow these steps:
1. **Clone the Frontend Repository**
```bash theme={null}
git clone https://github.com/JeremyMorgan/Super-Image-Optimizer.git
cd Super-Image-Optimizer/imageoptimizer.web
```
2. **Install Node.js Dependencies**
```bash theme={null}
npm install
npm run dev
```
Consider using AI tools like GitHub Copilot to refine portions of your README, but always manually verify the generated content to ensure it accurately reflects your project.
## Summary
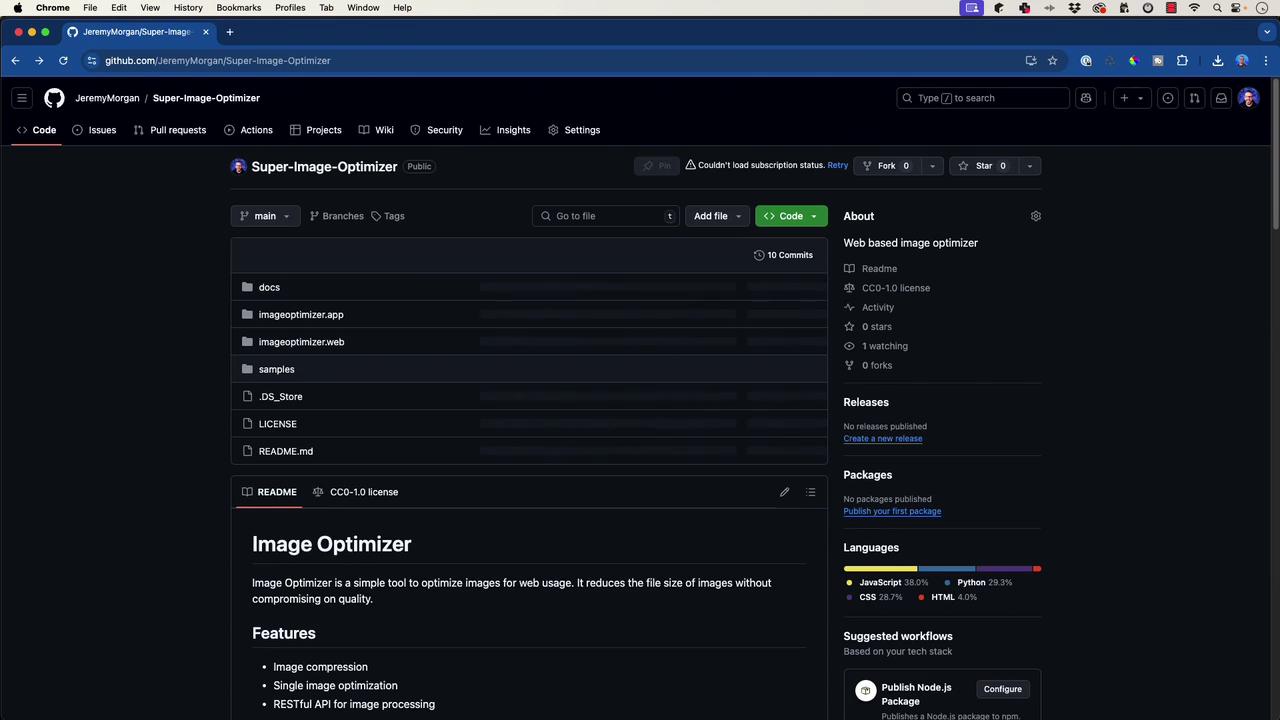
By updating the `requirements.txt`, verifying the `.gitignore` file, and creating a detailed README with clear installation and usage instructions, your image optimizer project is ready for public release on GitHub. This well-organized documentation and repository structure will help other developers easily clone, install, and contribute to the project.
Happy coding, and enjoy sharing your project with the community!