> ## Documentation Index
> Fetch the complete documentation index at: https://notes.kodekloud.com/llms.txt
> Use this file to discover all available pages before exploring further.
# Putting It to Work
> Guidance on tuning and deploying LLM infrastructure with preconfigured well-lit paths for baseline setups, prefill versus decode pools, and multi-GPU model sharding.
If you wanted to run this yourself, where would you start?
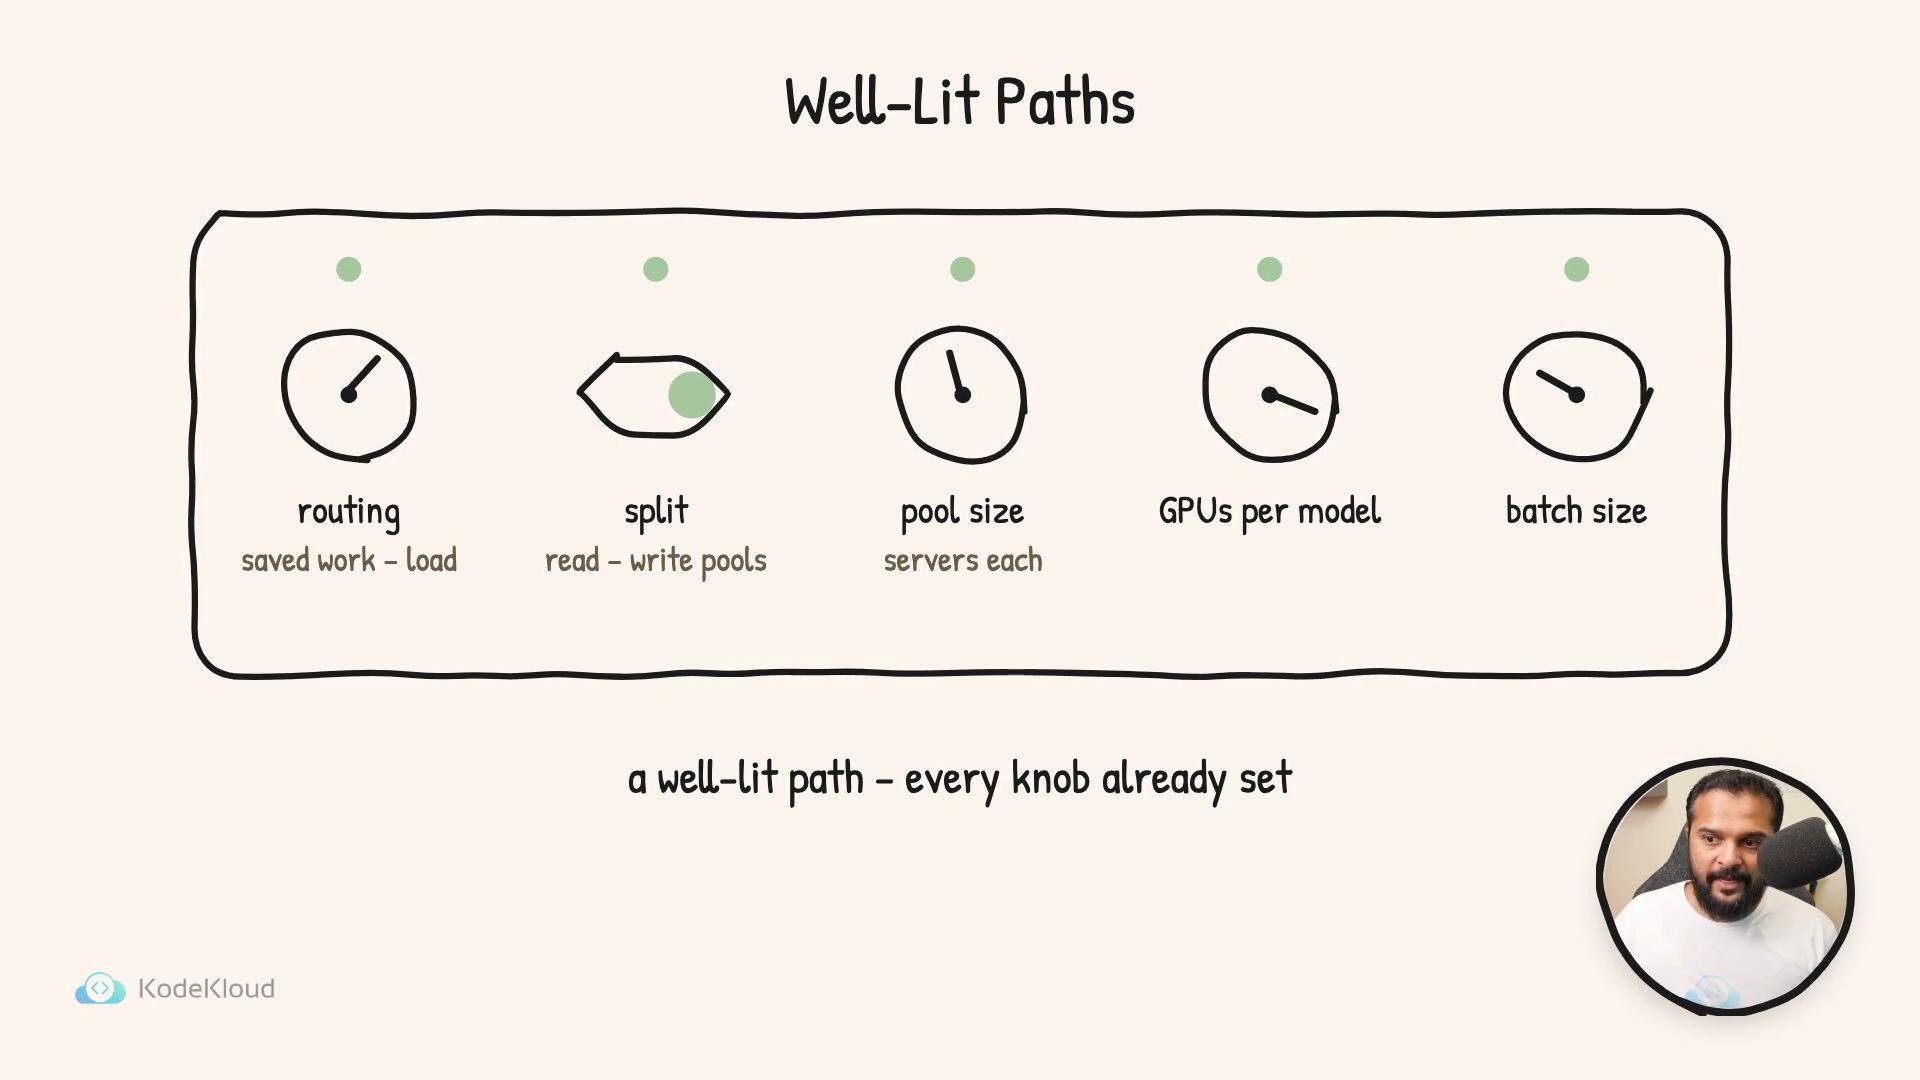
Tuning is one of the first practical challenges teams face when deploying an LLM infrastructure. Almost every design decision has an associated tunable knob: how strongly the router should prefer a node holding useful cached state; whether to split work into separate pools that read prompts (prefill) and those that generate tokens (decode); how many servers of each type to run; how to shard a model that does not fit on one GPU; and how many requests to batch on each server before latency or throughput degrades.
Each knob shifts latency, throughput, and cost. The correct settings depend on the model architecture, the GPU hardware, and your traffic patterns. Manually tuning all knobs can take weeks and still leave some settings suboptimal. To simplify this, llm-d offers “well-lit paths” — preconfigured recipes where each knob is set and the configuration has been measured on real hardware.
 There is a whole menu of well-lit paths, but three capture most deployment needs. The descriptions below preserve the original ordering and expand each option with practical guidance.
1. Optimized baseline
* Topology: one pool of identical servers.
* Routing: cache-aware routing steers requests toward nodes that already hold useful cached state.
* Sharding/splitting: none — the service is homogeneous.
* When to choose: small teams or early-stage deployments that need a simple, low-friction setup. This path gets you running quickly and provides a stable baseline for later tuning.
2. Prefill / Decode split
* Topology: two specialized pools — a prefill pool to read and tokenize prompts, and a decode pool to generate answers.
* Routing: a scheduler forwards work between prefill and decode pools, with sizing tuned independently.
* When to choose: long prompts, heavy context handling, or workloads where separating memory-heavy prefill from latency-sensitive decoding improves utilization and throughput.
3. Multi-GPU model sharding
* Topology: a single logical model is spread across multiple GPUs (often across machines), and the group acts like one server.
* Routing: remains the same as other paths — the router’s behavior does not change, only the fleet shape does.
* When to choose: models too large for a single GPU or when you need more aggregate model capacity than a single device can provide.
Start with the Optimized Baseline to get a running system quickly. Monitor latency, throughput, and GPU utilization, then evolve to the Prefill/Decode split or Multi-GPU sharding as model size and traffic patterns demand it.
Summary table — quick comparison of the three well-lit paths:
| Path | Topology | Key features | Best for |
| - | - | - | - |
| Optimized baseline | Single homogeneous pool | Cache-aware routing; no splits | Fast setup, small teams, general workloads |
| Prefill / Decode split | Two specialized pools | Separate prefill and decode stages; independent sizing | Long-context prompts, improved utilization |
| Multi-GPU model sharding | Model spread across GPUs/machines | Logical model acts as one server; supports very large models | Very large models that don't fit on one GPU |
Common tunable knobs (and what they affect)
* Router cache preference — pushes requests toward nodes with cached state (affects latency and cache hit rate).
* Prefill vs. decode pool sizing — balances memory-intensive prompt processing vs. compute-intensive decoding (affects throughput and utilization).
* GPUs per model / sharding strategy — allows models larger than a single GPU to run (affects feasibility and latency).
* Batch size per server — increases throughput at the cost of tail latency when batches wait to fill.
Tuning multiple knobs simultaneously without measurement can hide regressions. Always iterate with metrics: p50/p95 latency, throughput (tokens/sec), GPU utilization, and cost-per-request.
Getting started — a short checklist
1. Deploy the Optimized Baseline well-lit path.
2. Collect metrics: latency (p50/p95), throughput, GPU/memory utilization, and cache hit rates.
3. Identify bottlenecks: high decode CPU/GPU usage, low cache hit rate, or large-model memory pressure.
4. If prompts are long or utilization is uneven, test the Prefill / Decode split.
5. If the model does not fit on one GPU, plan Multi-GPU sharding and re-evaluate routing and batching.
6. Iterate: change one knob at a time, measure impact, and keep cost/performance targets in view.
Links and references
* [Kubernetes Basics](https://kubernetes.io/docs/concepts/overview/what-is-kubernetes/)
* [llm-d repository / docs](https://github.com/) (check your project-specific docs for exact configs and well-lit path names)
Start small, measure frequently, and use the well-lit paths as pragmatic, measured starting points for production LLM deployments.
This documentation is built and hosted on [Mintlify](https://mintlify.com), a developer documentation platform.
There is a whole menu of well-lit paths, but three capture most deployment needs. The descriptions below preserve the original ordering and expand each option with practical guidance.
1. Optimized baseline
* Topology: one pool of identical servers.
* Routing: cache-aware routing steers requests toward nodes that already hold useful cached state.
* Sharding/splitting: none — the service is homogeneous.
* When to choose: small teams or early-stage deployments that need a simple, low-friction setup. This path gets you running quickly and provides a stable baseline for later tuning.
2. Prefill / Decode split
* Topology: two specialized pools — a prefill pool to read and tokenize prompts, and a decode pool to generate answers.
* Routing: a scheduler forwards work between prefill and decode pools, with sizing tuned independently.
* When to choose: long prompts, heavy context handling, or workloads where separating memory-heavy prefill from latency-sensitive decoding improves utilization and throughput.
3. Multi-GPU model sharding
* Topology: a single logical model is spread across multiple GPUs (often across machines), and the group acts like one server.
* Routing: remains the same as other paths — the router’s behavior does not change, only the fleet shape does.
* When to choose: models too large for a single GPU or when you need more aggregate model capacity than a single device can provide.
Start with the Optimized Baseline to get a running system quickly. Monitor latency, throughput, and GPU utilization, then evolve to the Prefill/Decode split or Multi-GPU sharding as model size and traffic patterns demand it.
Summary table — quick comparison of the three well-lit paths:
| Path | Topology | Key features | Best for |
| - | - | - | - |
| Optimized baseline | Single homogeneous pool | Cache-aware routing; no splits | Fast setup, small teams, general workloads |
| Prefill / Decode split | Two specialized pools | Separate prefill and decode stages; independent sizing | Long-context prompts, improved utilization |
| Multi-GPU model sharding | Model spread across GPUs/machines | Logical model acts as one server; supports very large models | Very large models that don't fit on one GPU |
Common tunable knobs (and what they affect)
* Router cache preference — pushes requests toward nodes with cached state (affects latency and cache hit rate).
* Prefill vs. decode pool sizing — balances memory-intensive prompt processing vs. compute-intensive decoding (affects throughput and utilization).
* GPUs per model / sharding strategy — allows models larger than a single GPU to run (affects feasibility and latency).
* Batch size per server — increases throughput at the cost of tail latency when batches wait to fill.
Tuning multiple knobs simultaneously without measurement can hide regressions. Always iterate with metrics: p50/p95 latency, throughput (tokens/sec), GPU utilization, and cost-per-request.
Getting started — a short checklist
1. Deploy the Optimized Baseline well-lit path.
2. Collect metrics: latency (p50/p95), throughput, GPU/memory utilization, and cache hit rates.
3. Identify bottlenecks: high decode CPU/GPU usage, low cache hit rate, or large-model memory pressure.
4. If prompts are long or utilization is uneven, test the Prefill / Decode split.
5. If the model does not fit on one GPU, plan Multi-GPU sharding and re-evaluate routing and batching.
6. Iterate: change one knob at a time, measure impact, and keep cost/performance targets in view.
Links and references
* [Kubernetes Basics](https://kubernetes.io/docs/concepts/overview/what-is-kubernetes/)
* [llm-d repository / docs](https://github.com/) (check your project-specific docs for exact configs and well-lit path names)
Start small, measure frequently, and use the well-lit paths as pragmatic, measured starting points for production LLM deployments.
This documentation is built and hosted on [Mintlify](https://mintlify.com), a developer documentation platform.