Creating a Cloud9 Environment
Begin by clicking on the Create Environment button. Enter a name for your environment (for example, “demo”) and select your preferred environment type.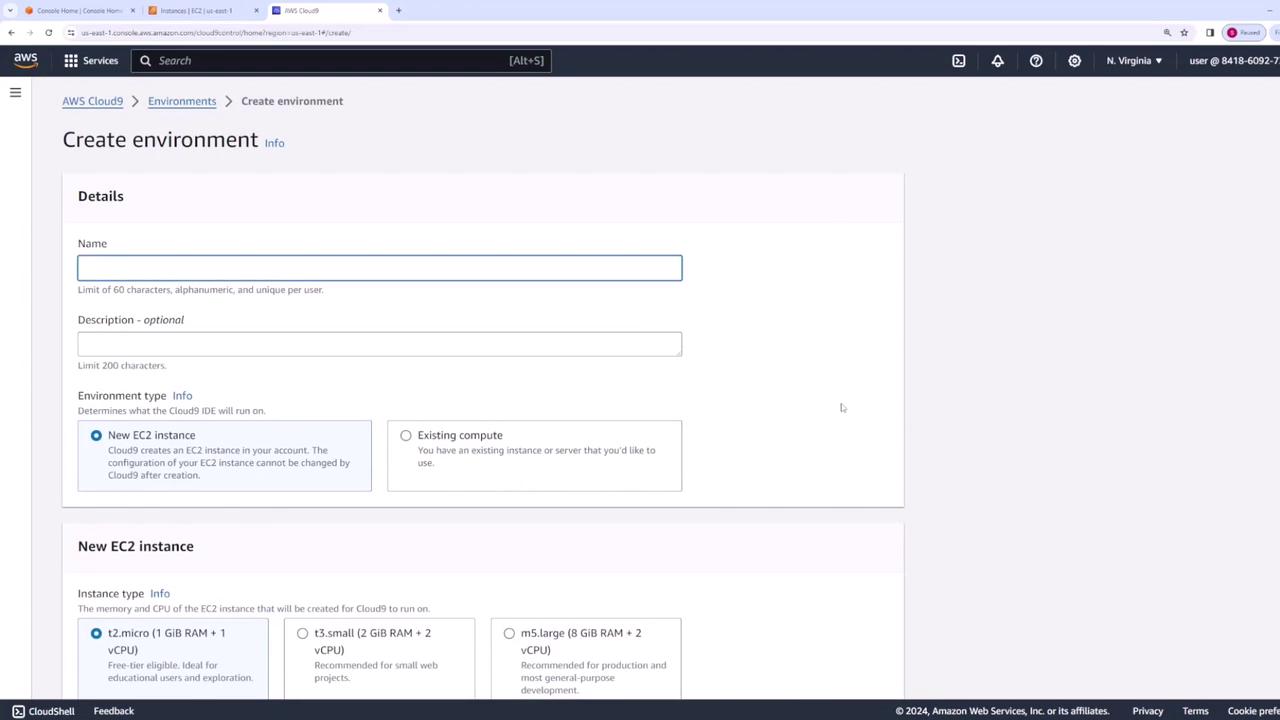
When configuring your environment, consider setting a timeout that reflects your usage patterns to manage resources more efficiently.
Accessing Your Cloud9 Environment
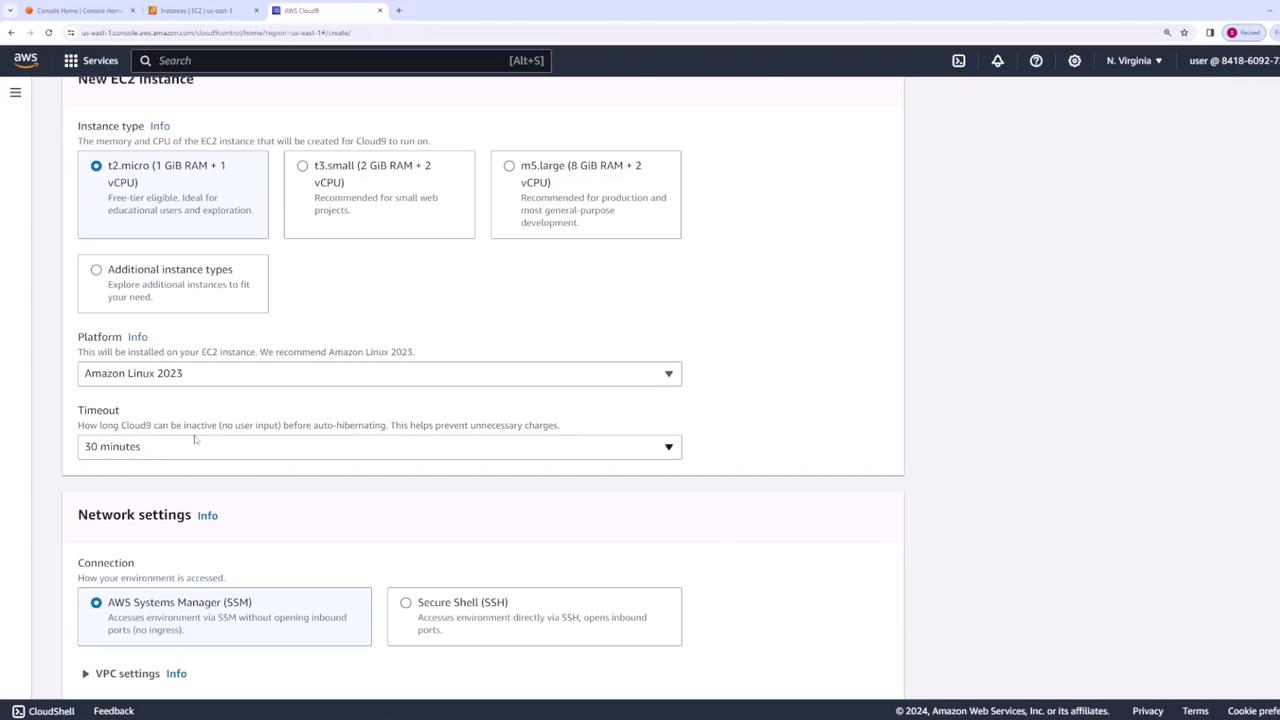
Next, determine how you want to access your Cloud9 environment. You can configure SSH for direct access or use AWS Systems Manager. Although you have the option to customize VPC and subnet settings, this demo will utilize the default VPC configuration. After all settings are in place, click Create. Once the environment is ready, click the Open button. This action launches your Cloud9 IDE in a new browser tab.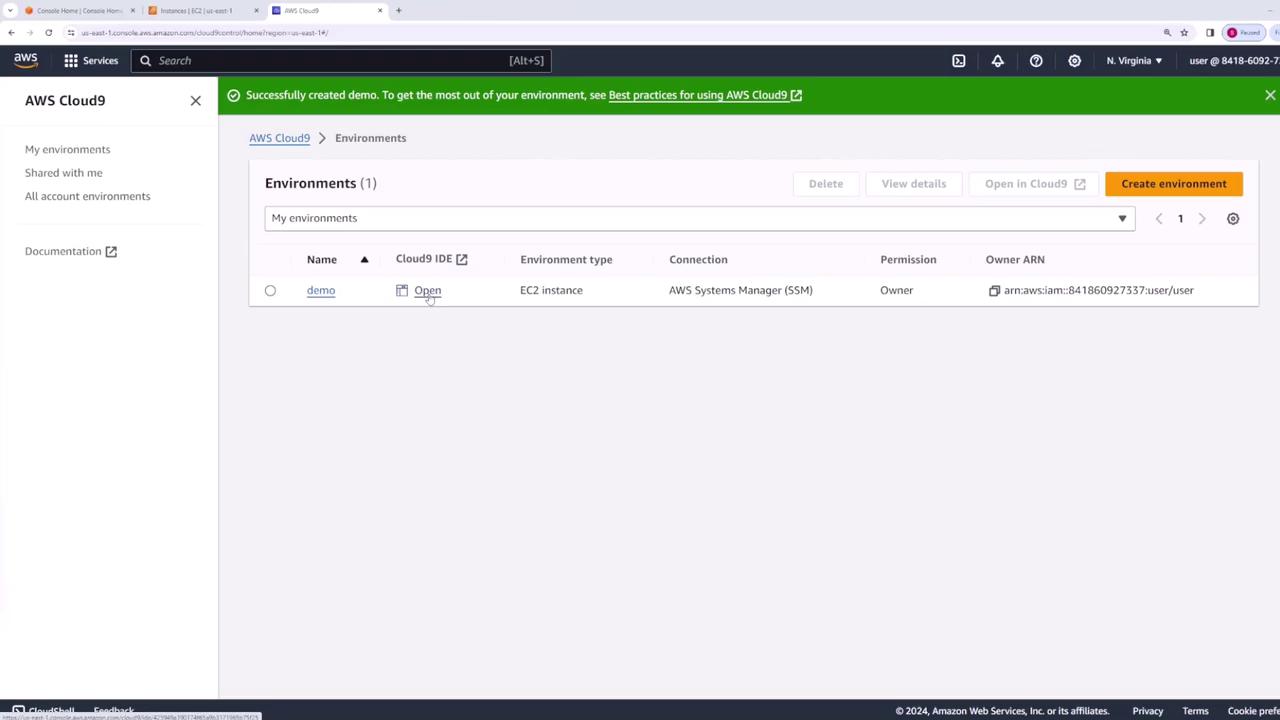
Exploring the Cloud9 IDE
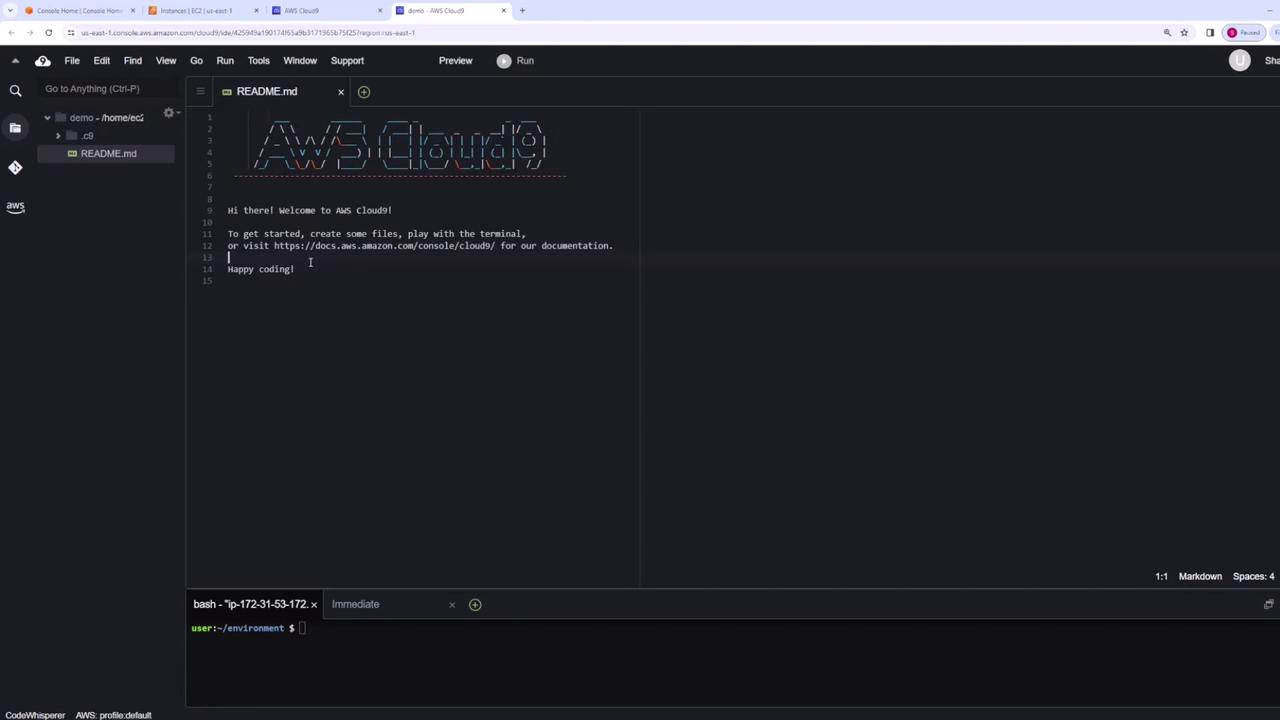
Upon launching, the Cloud9 interface presents several key features:- File Explorer: Located on the left, it displays all your source files, including a default README file.
- Built-in Terminal: Embedded at the bottom, this terminal is already configured with your AWS credentials and the AWS CLI.
- Project Organization: Easily create new folders (e.g., “src”) and files (e.g., “index.js”) to organize your projects.
Using the Integrated Terminal
The built-in terminal in Cloud9 simplifies running AWS CLI commands without additional configuration. For example, you can list directory contents and verify the AWS CLI version:Always verify that you are using the latest version of the AWS CLI to benefit from the latest features and security updates.
Integrated Git and AWS Explorer Features
AWS Cloud9 comes with built-in Git support accessible via a graphical interface. You can initialize repositories, commit changes, and manage your version control processes without leaving the IDE. Additionally, the AWS Explorer feature allows you to browse AWS resources—such as S3 buckets and ECS clusters—directly within Cloud9. This tight integration eliminates the need to alternate between the IDE and the AWS Management Console.Advanced Functionality and Collaboration
Cloud9 also offers advanced features to enhance your development experience:- Built-in Debugger: Quickly diagnose and fix issues in your code.
- Customizable Settings: Tailor your environment settings to match your workflow.
- Collaboration: Share your Cloud9 environment via URL and define access permissions (read-only or read-write) to collaborate effectively with your team.