> ## Documentation Index
> Fetch the complete documentation index at: https://notes.kodekloud.com/llms.txt
> Use this file to discover all available pages before exploring further.
# CodeCommit Demo part 1
> This guide demonstrates using AWS CodeCommit for repository creation, file uploads, branch management, commits, and pull requests, aimed at developers.
In this lesson, we will demonstrate how to use AWS CodeCommit by walking through the steps of creating a repository, uploading a file, managing branches, committing changes, and creating pull requests. This guide is ideal for developers looking to understand the workflow in AWS CodeCommit.
## Creating a Repository and Uploading a File
Begin by navigating to the CodeCommit service in your AWS console and create a new repository. Name it “myapp” (or any preferred name) and click **Create**. After the repository is created, you will be provided with instructions on how to connect to it. For example, you might see a command such as:
```bash theme={null}
git clone https://git-codecommit.us-east-1.amazonaws.com/v1/repos/myapp
```
This command will enable you to clone the repository to your local machine.
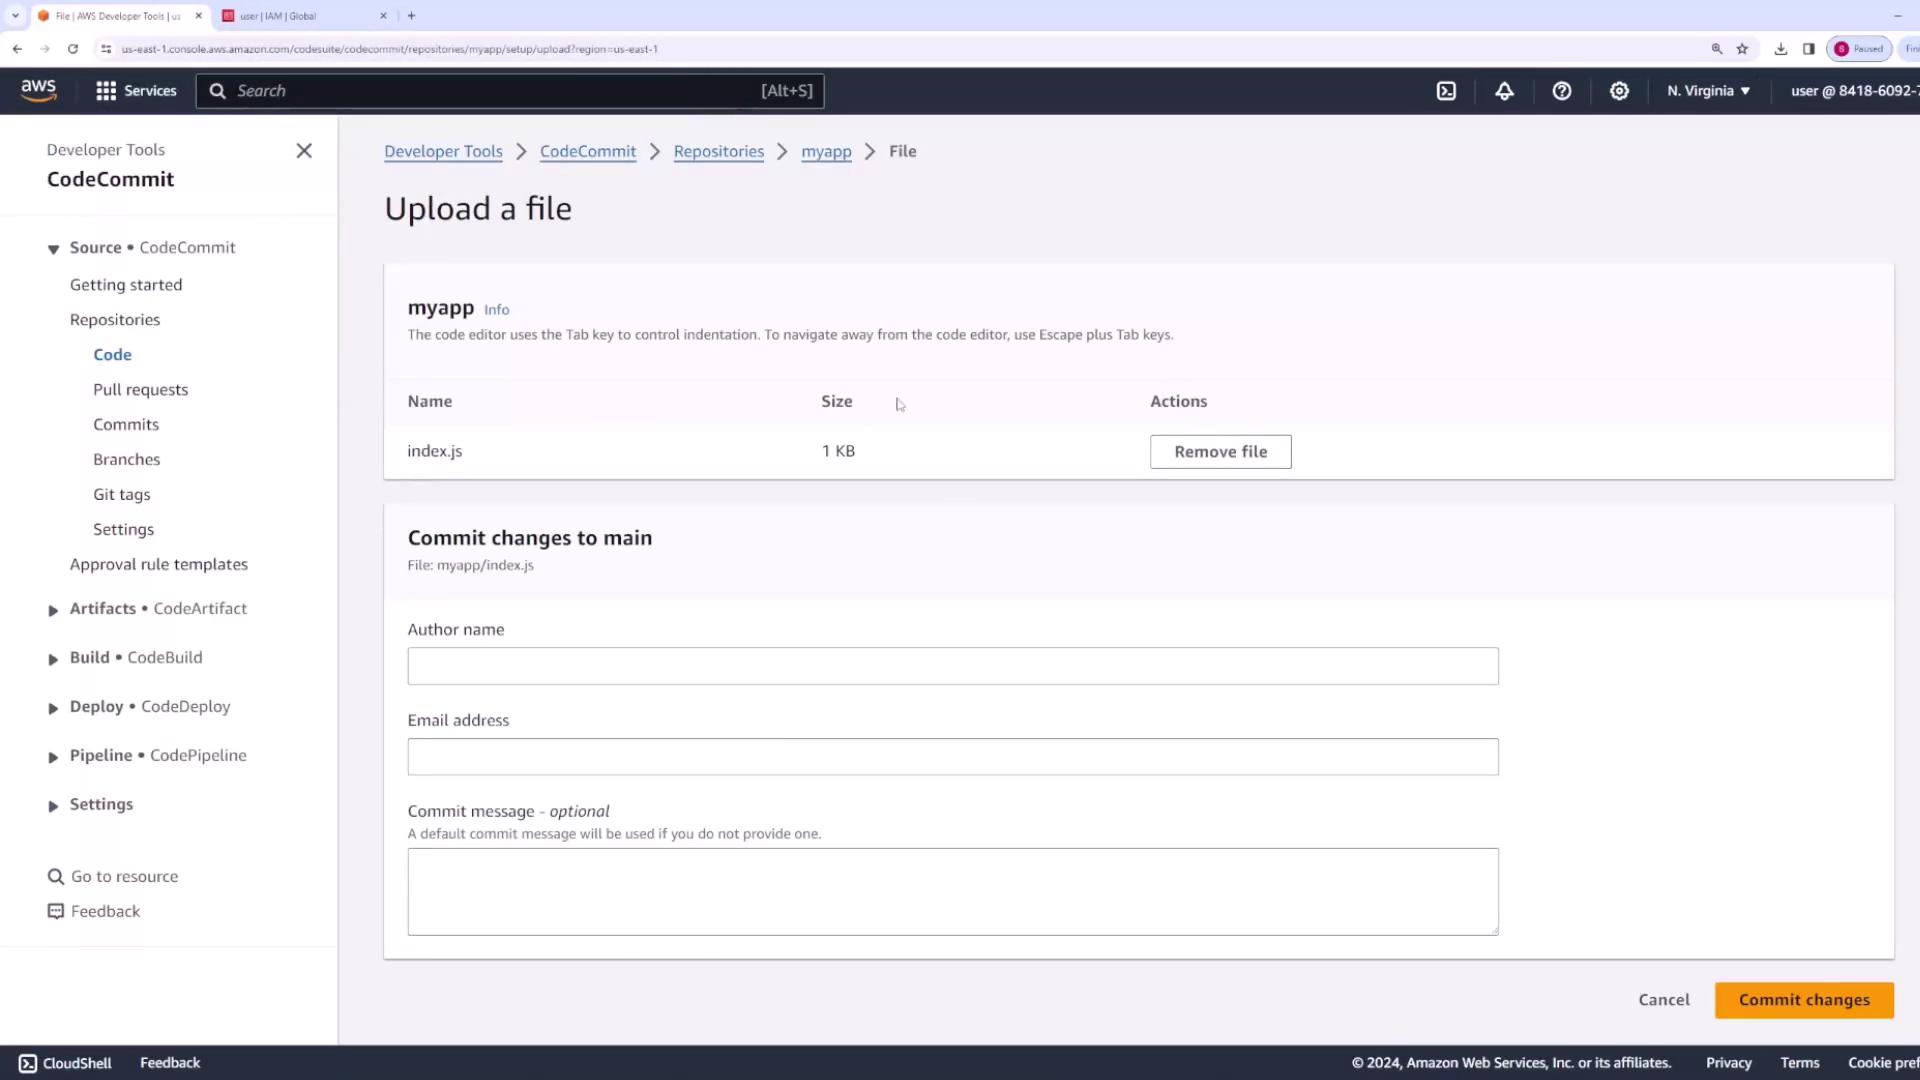
Instead of creating a file manually using the command line, you may choose to upload an existing file via the AWS CodeCommit user interface. To do this:
1. Click **Add file**.
2. Select **Upload file**.
3. Choose a file from your computer (for instance, `index.js`).
After selecting your file, enter the required author details (name and email) along with a commit message (e.g., "initial commit"). Once committed, the "myapp" repository will display the newly uploaded `index.js` file. You can inspect its contents directly within the CodeCommit interface.
## Viewing the Repository Contents
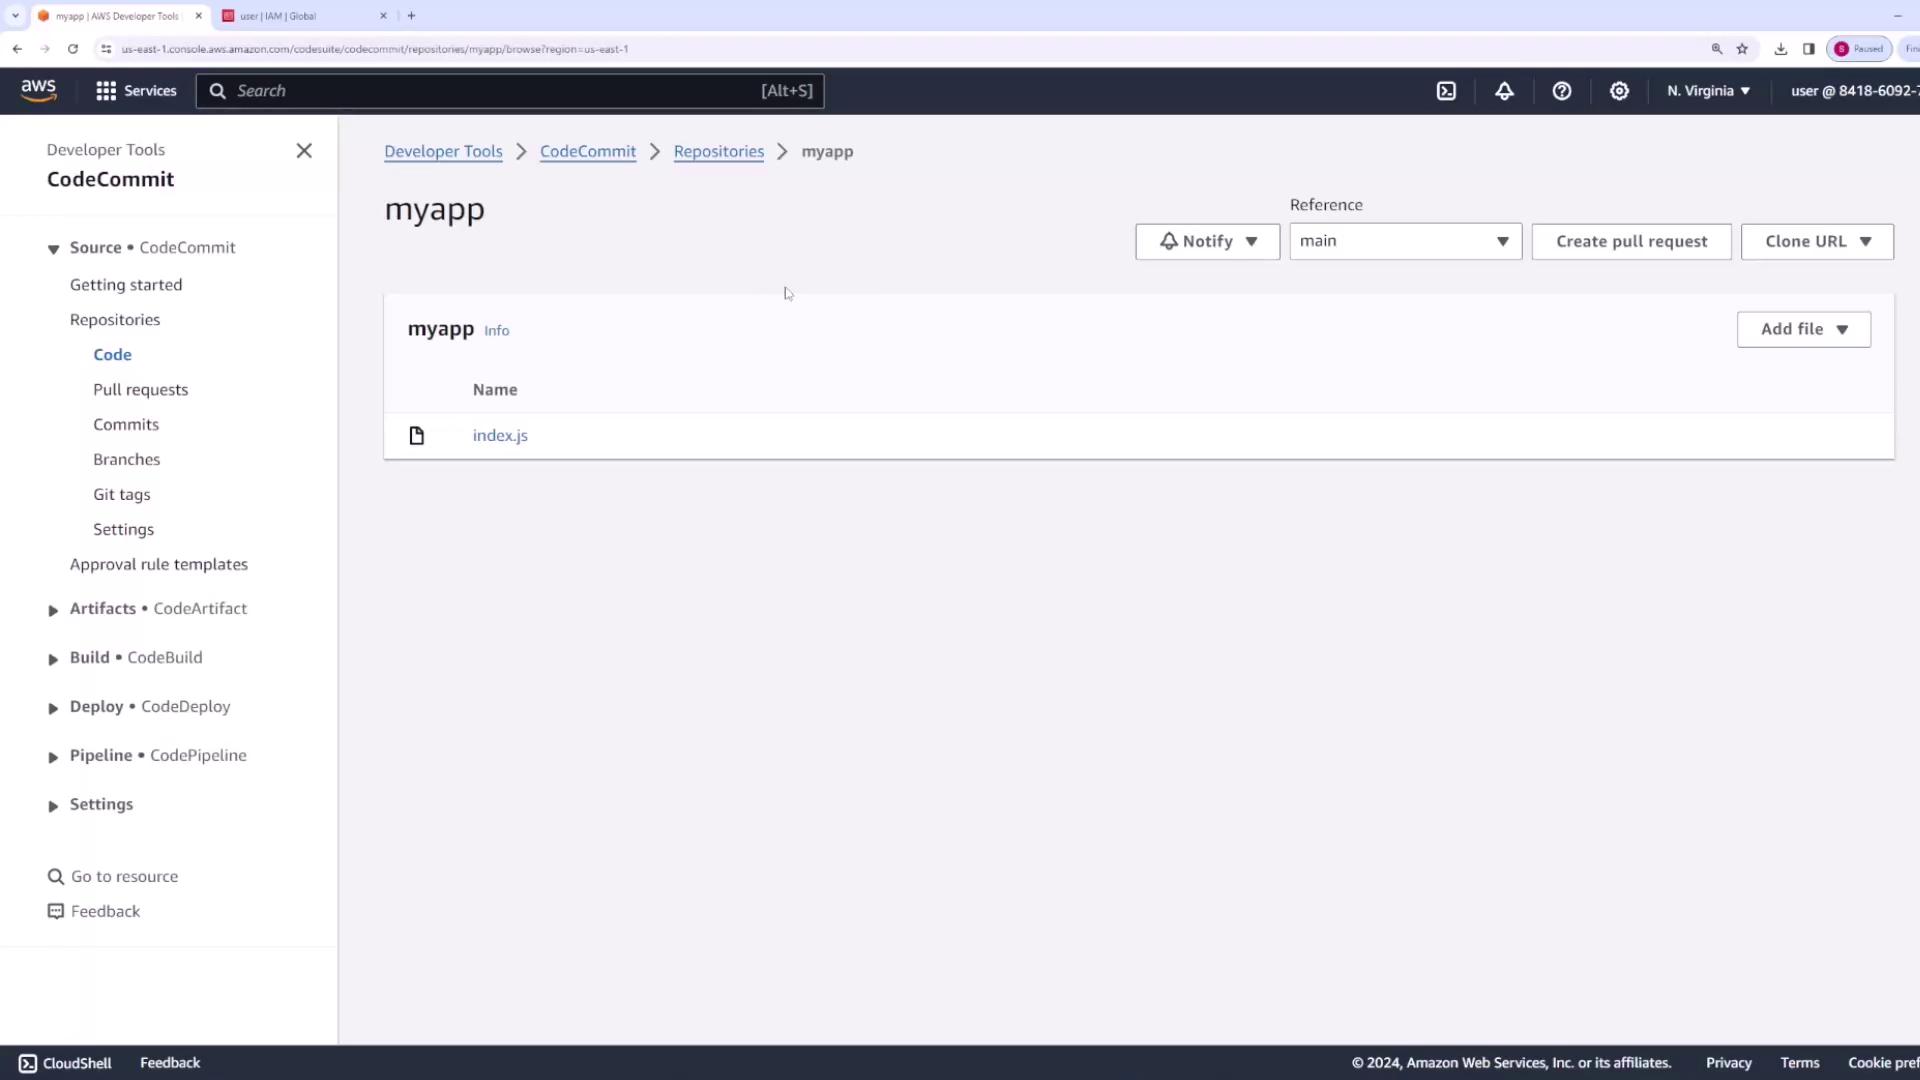
When inspecting the uploaded file, you will notice that the current branch is indicated in the interface. By default, CodeCommit creates a single branch (commonly named `main` or sometimes `master`). Here is an example of what the content of `index.js` might look like:
```javascript theme={null}
const express = require("express");
const app = express();
const port = 3000;
app.get("/", (req, res) => {
res.send("Hello World!");
});
app.listen(port, () => {
console.log(`Example app listening on port ${port}`);
});
```
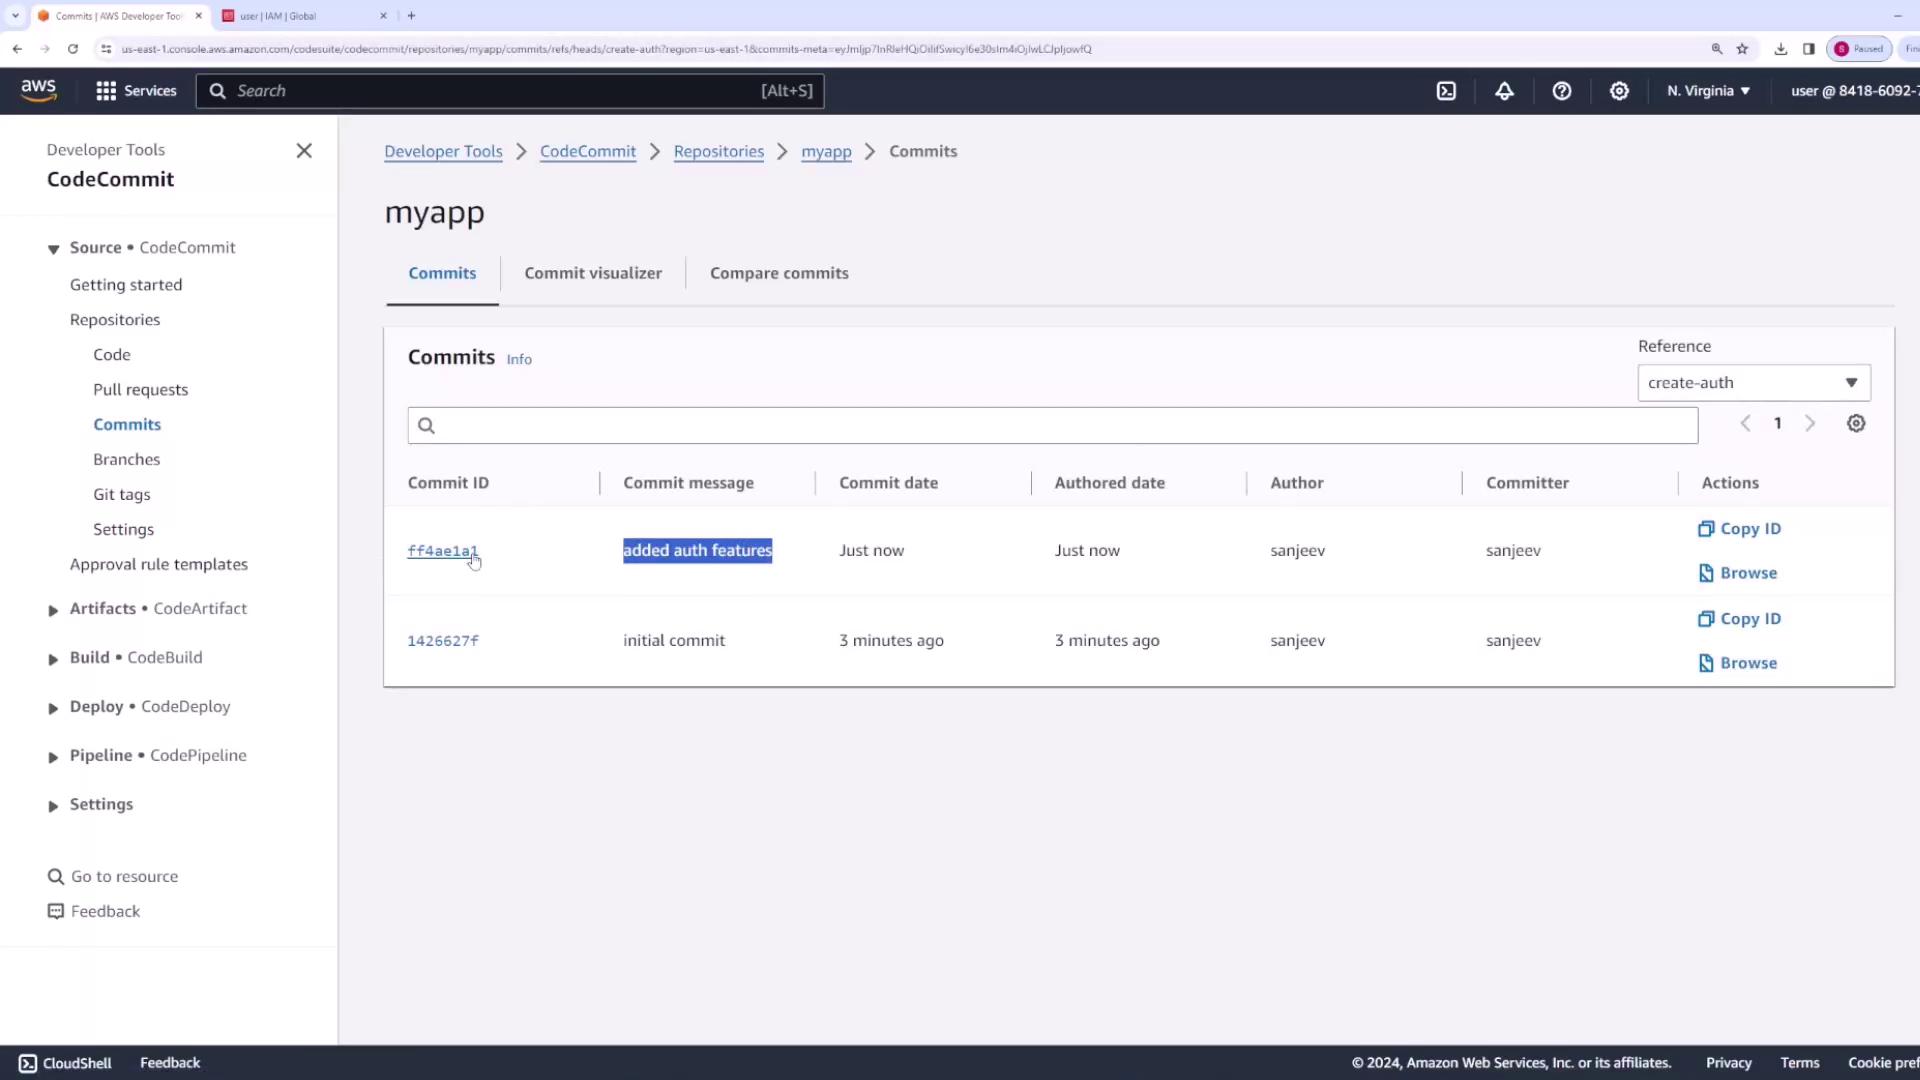
Additionally, the repository interface provides access to the commit history, displaying details such as the commit ID, filename, date, and author information. This makes it straightforward to track the changes made over time.
## Branching for Feature Development
Suppose your team wants to add a new feature (for example, implementing authentication) without impacting the main branch. The recommended approach is to create a new branch. Follow these steps:
1. Navigate to the **Branches** section.
2. Create a branch named `create-auth` derived from the main branch.
3. Switch to the `create-auth` branch and modify the `index.js` file as needed. For example, you might add a log statement to indicate the addition of authentication:
After editing, your modified `index.js` could appear as follows:
```javascript theme={null}
const express = require("express");
const app = express();
const port = 3000;
app.get("/", (req, res) => {
res.send("Hello World!");
});
console.log("added authentication");
app.listen(port, () => {
console.log(`Example app listening on port ${port}`);
});
```
Commit the changes on the `create-auth` branch with the appropriate author information and a commit message, such as "added auth features." Remember that these changes are isolated to the `create-auth` branch. Switching back to the main branch will show the `index.js` file without the authentication log.
Changes made on a feature branch allow your team to work concurrently without affecting the main codebase.
## Creating and Merging a Pull Request
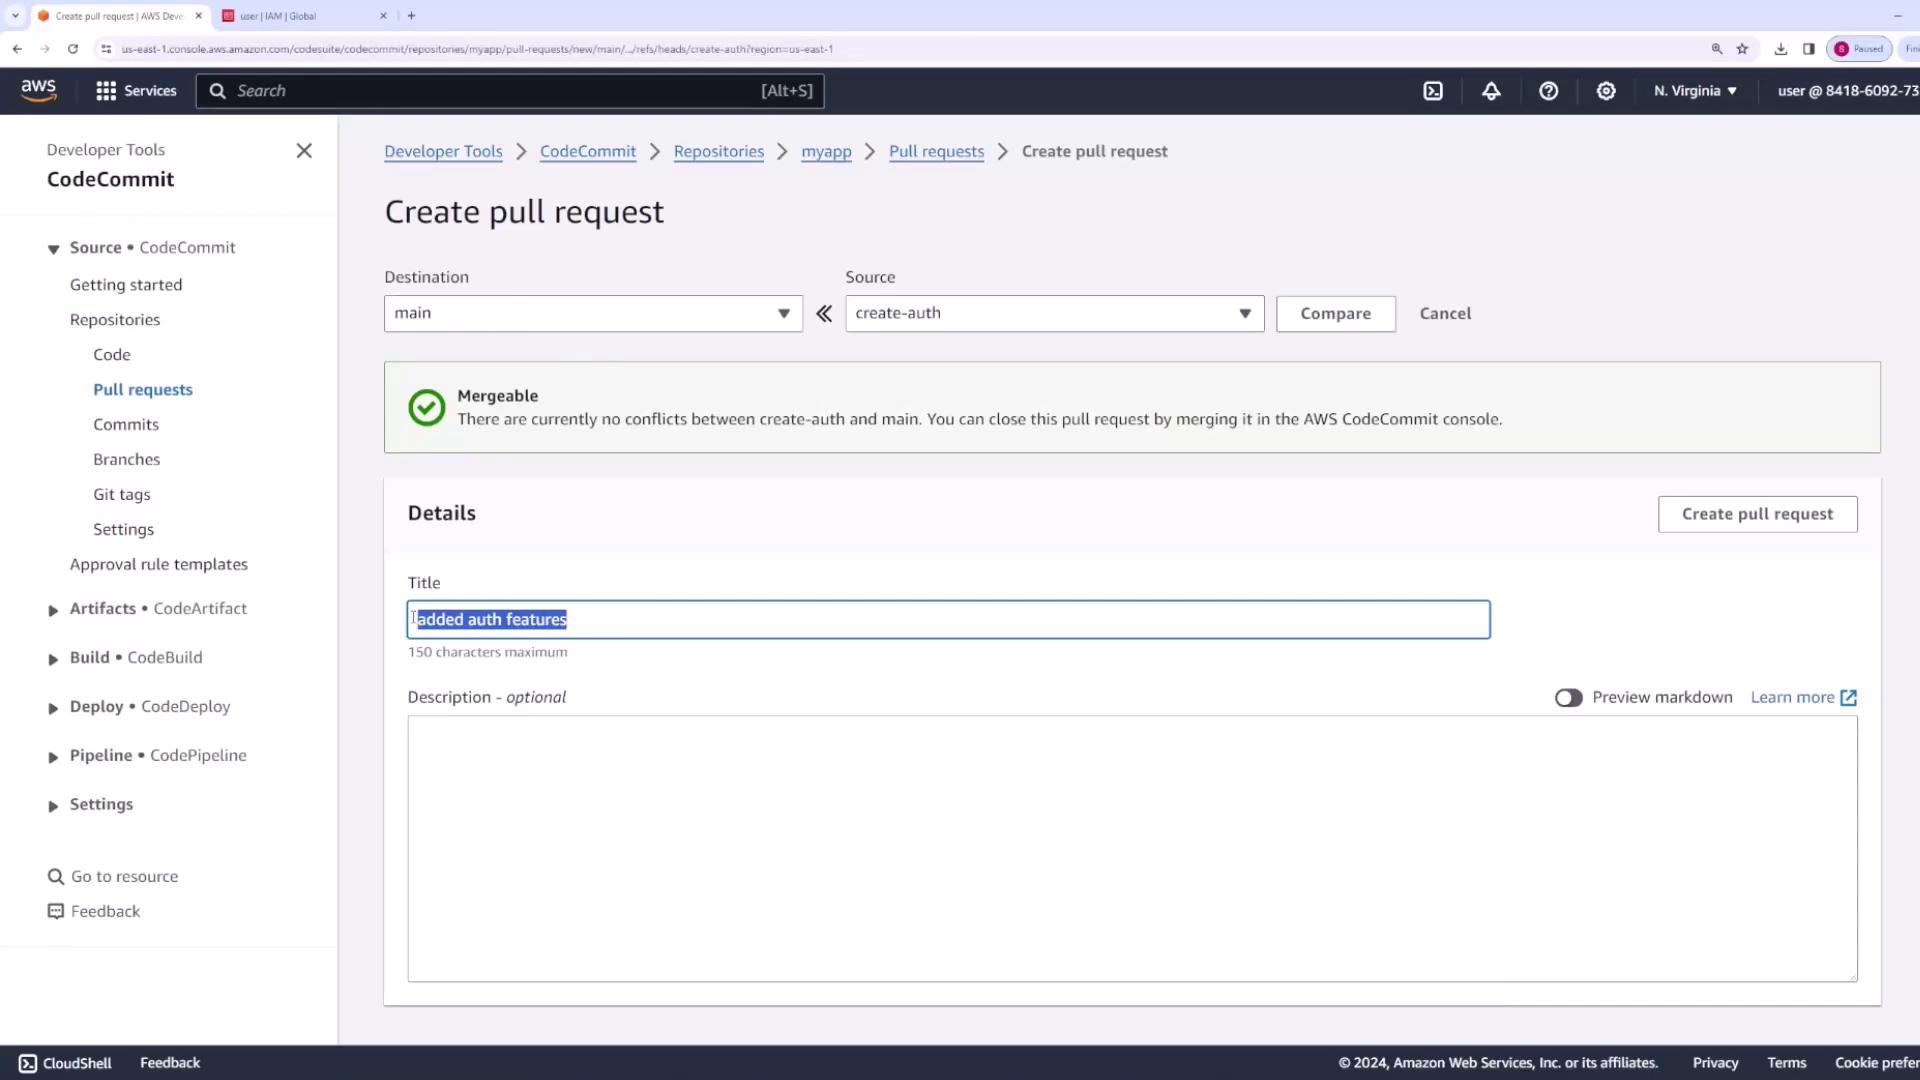
Once the new authentication feature has been tested and verified, you can merge the changes into the main branch by creating a pull request. The process involves:
1. Navigating to the **Pull Requests** section.
2. Setting the source branch to `create-auth` and the destination branch to the main branch.
3. Providing an appropriate title (e.g., "added auth features") and a detailed description.
4. Creating the pull request.
Once the team lead reviews and approves the pull request, merge it using the default merge strategy. The main branch will then include the updates from the authentication feature. The updated `index.js` file in the main branch will now look like this:
```javascript theme={null}
const express = require("express");
const app = express();
const port = 3000;
app.get("/", (req, res) => {
res.send("Hello World!");
});
console.log("added authentication");
app.listen(port, () => {
console.log(`Example app listening on port ${port}`);
});
```
## Reviewing Commit History
You can inspect the commit history for each branch independently. For example, when viewing the `create-auth` branch, the commit history will detail the changes made, such as the addition of the authentication log lines. This granular view is helpful for understanding the evolution of your codebase.
## Configuring Notifications and Triggers
Beyond code management, AWS CodeCommit allows you to configure notifications to alert your team whenever certain events occur (e.g., on new commits or pull request status changes). Notification rules can be set within the repository settings, enabling delivery through AWS Chatbot, SNS topics, or other integrations.
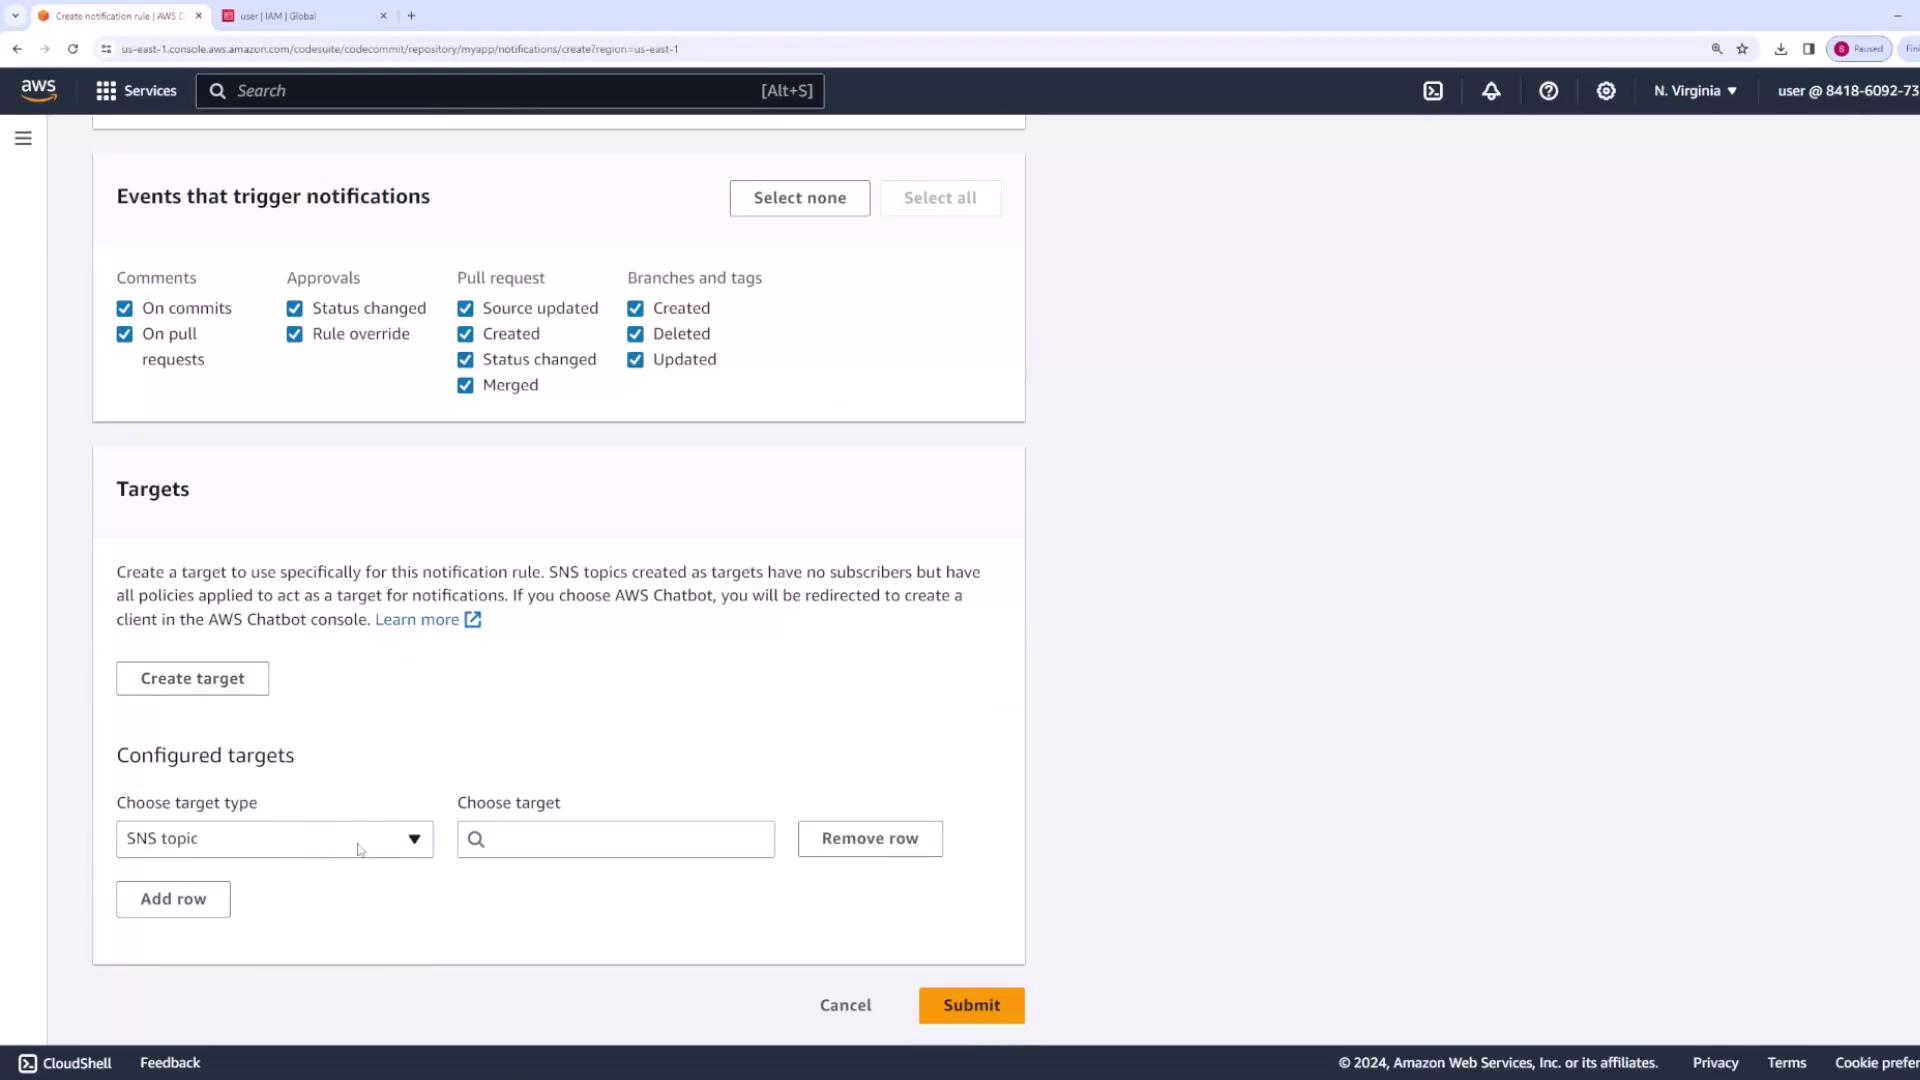
Similarly, you can set up triggers to capture specific event details. The triggers configuration allows you to select the events, branch names, and integration services (e.g., Amazon SNS or AWS Lambda) that should receive the event data.
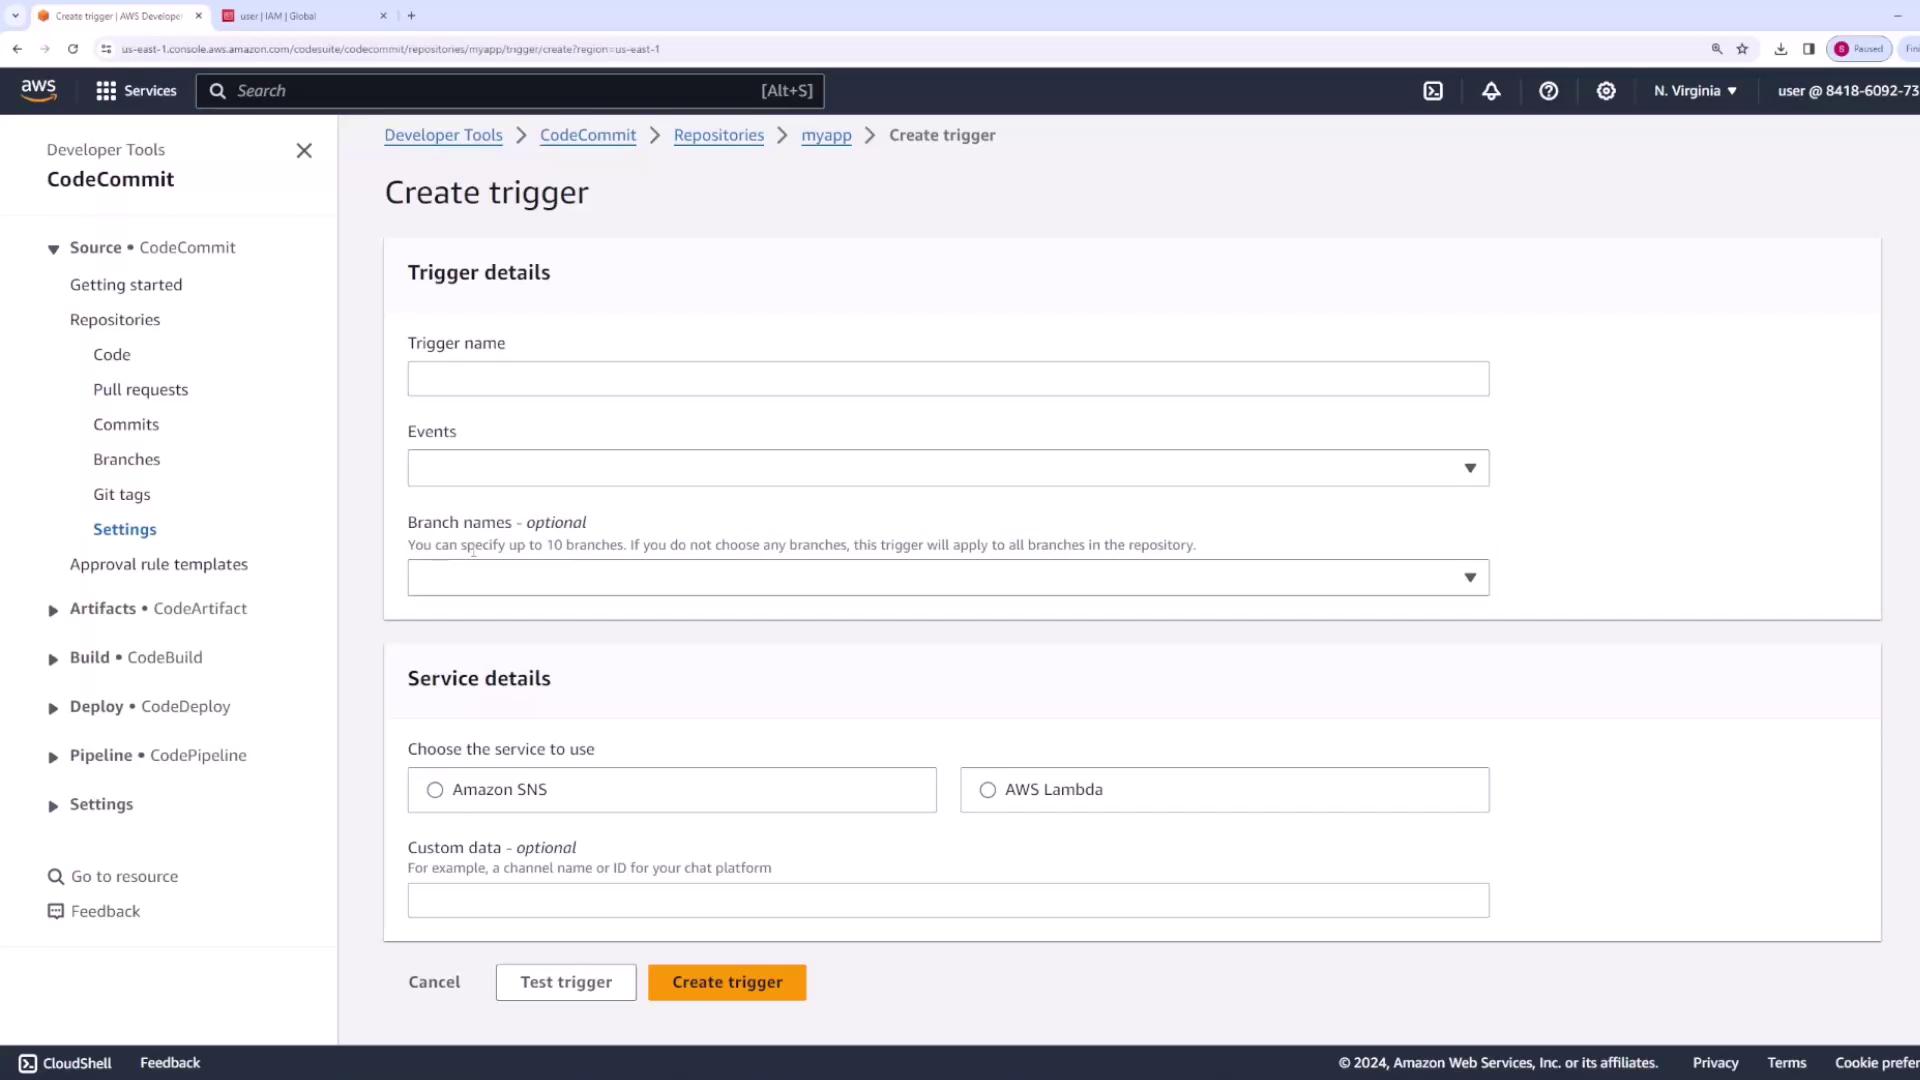
Configured notifications and triggers can help streamline your development workflow by ensuring the right team members are alerted to significant repository events.
## Conclusion
This concludes the first part of our CodeCommit demonstration. In the next lesson, we will explore how to clone your repository to your local machine and set up authentication, enabling seamless push and pull operations with AWS CodeCommit.
For more details on AWS CodeCommit and related developer tools, visit the [AWS CodeCommit Documentation](https://docs.aws.amazon.com/codecommit/latest/userguide/welcome.html).