When you register with your email, AWS sets up a root user using that email as the username along with your chosen password.
Step 1: Create Your AWS Account
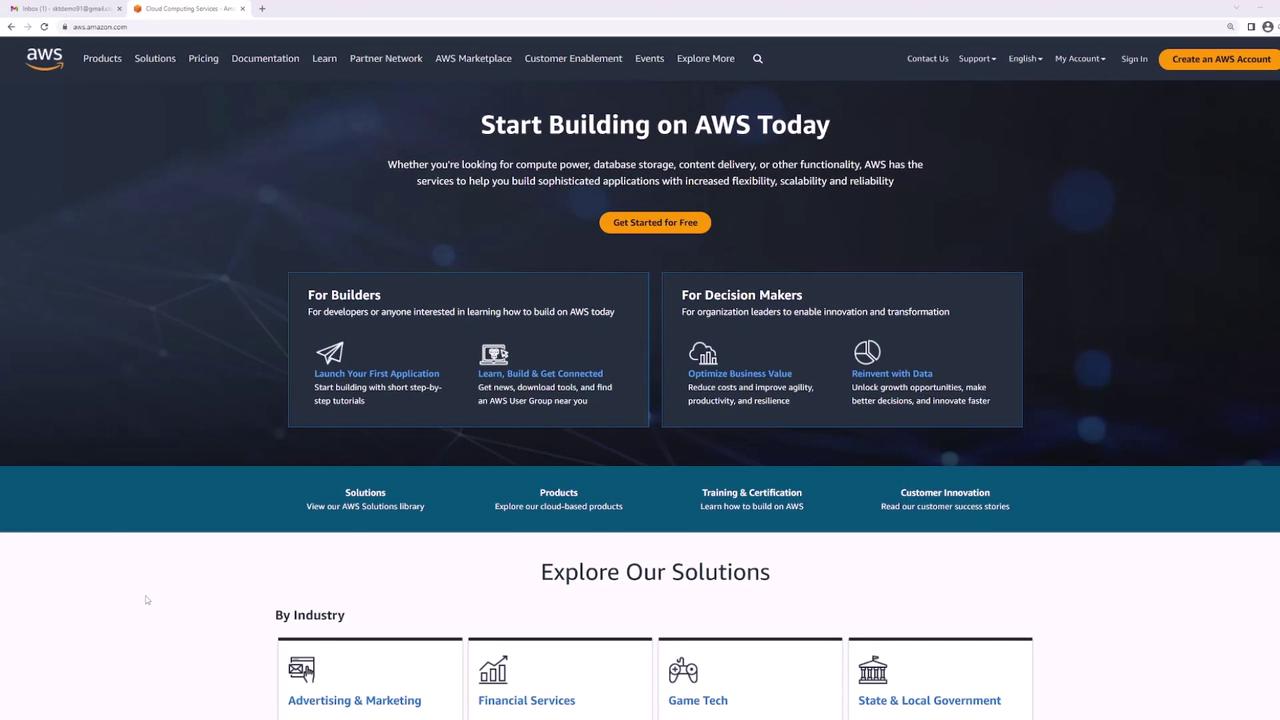
- Open your web browser and navigate to aws.amazon.com.
- Click the Create an AWS Account button located at the top right of the homepage.
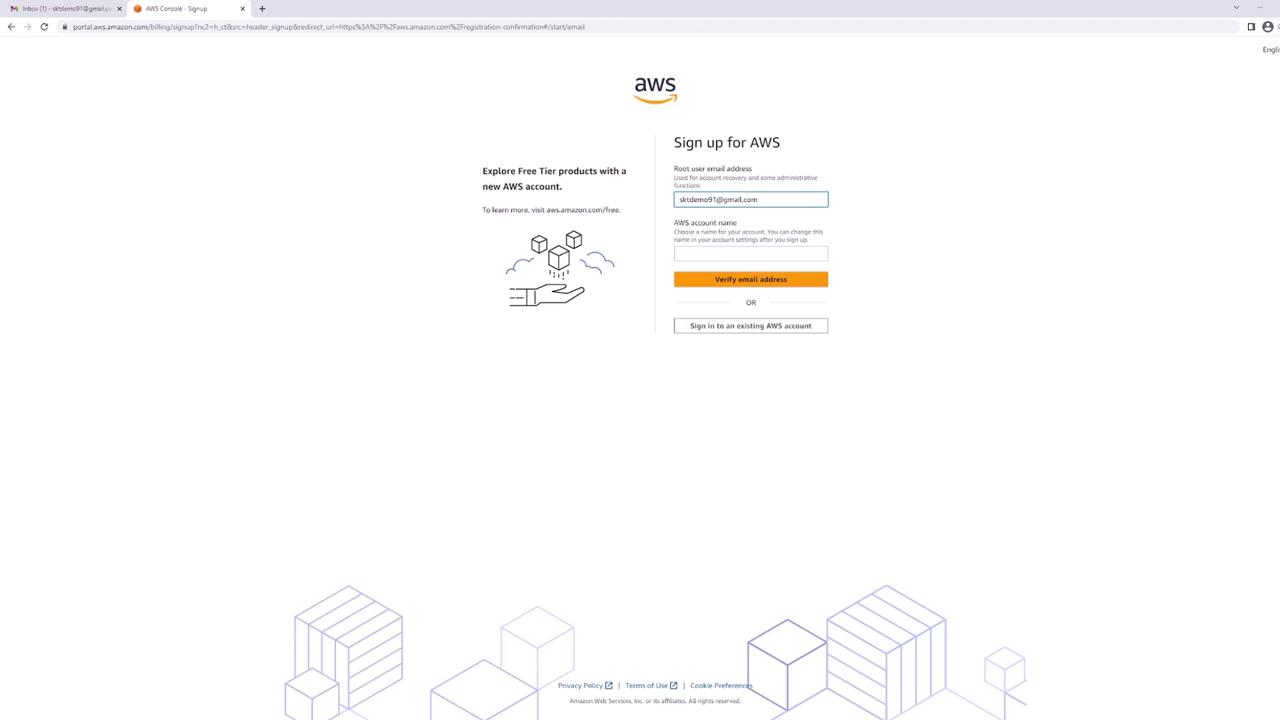
Step 2: Enter Account Details
On the account creation page, provide:- Email Address – This will serve as the login credential for your root user.
- Account Name – In this guide, it is set to “main”.
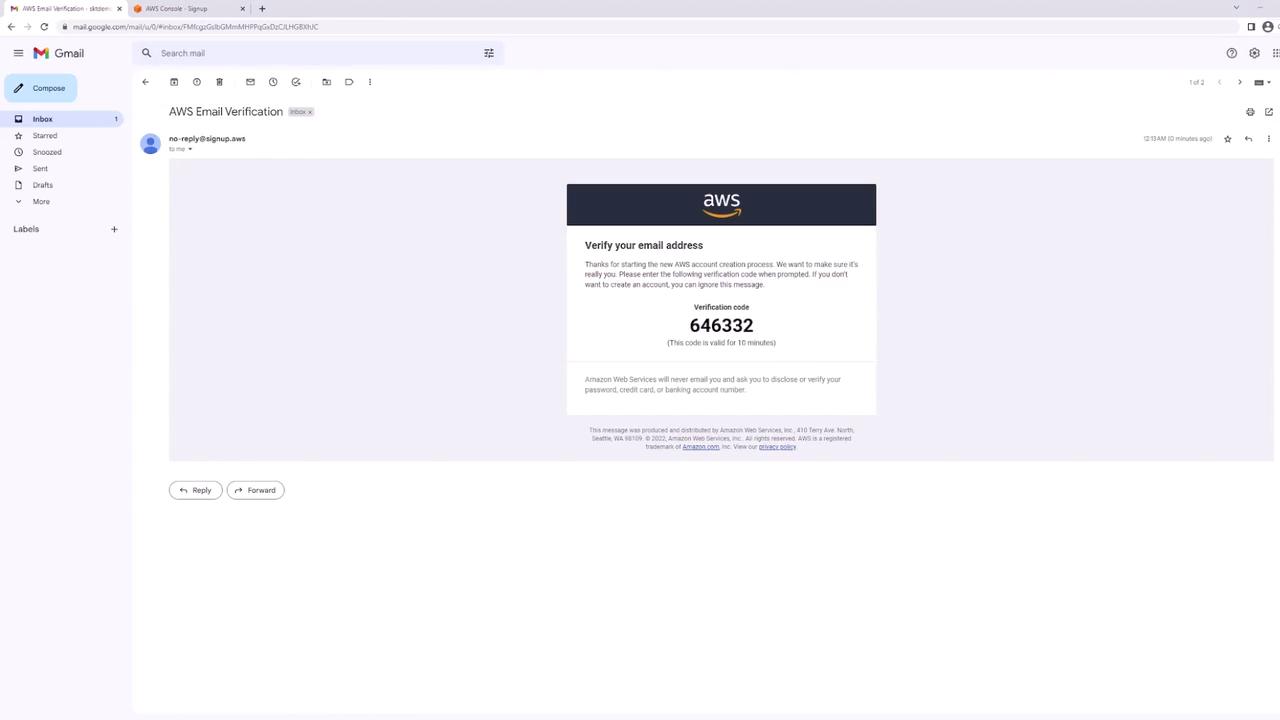
Step 3: Create a Secure Password
Create a secure password that includes:- An uppercase letter
- A lowercase letter
- A number
- A non-alphanumeric character
Step 4: Provide Contact Information
Next, provide your personal details. AWS will ask how you plan to use the service; choose Personal for this example. Fill in your name, phone number, country, address, city, state/province, and postal code. Be sure to agree to the terms and conditions by checking the appropriate box.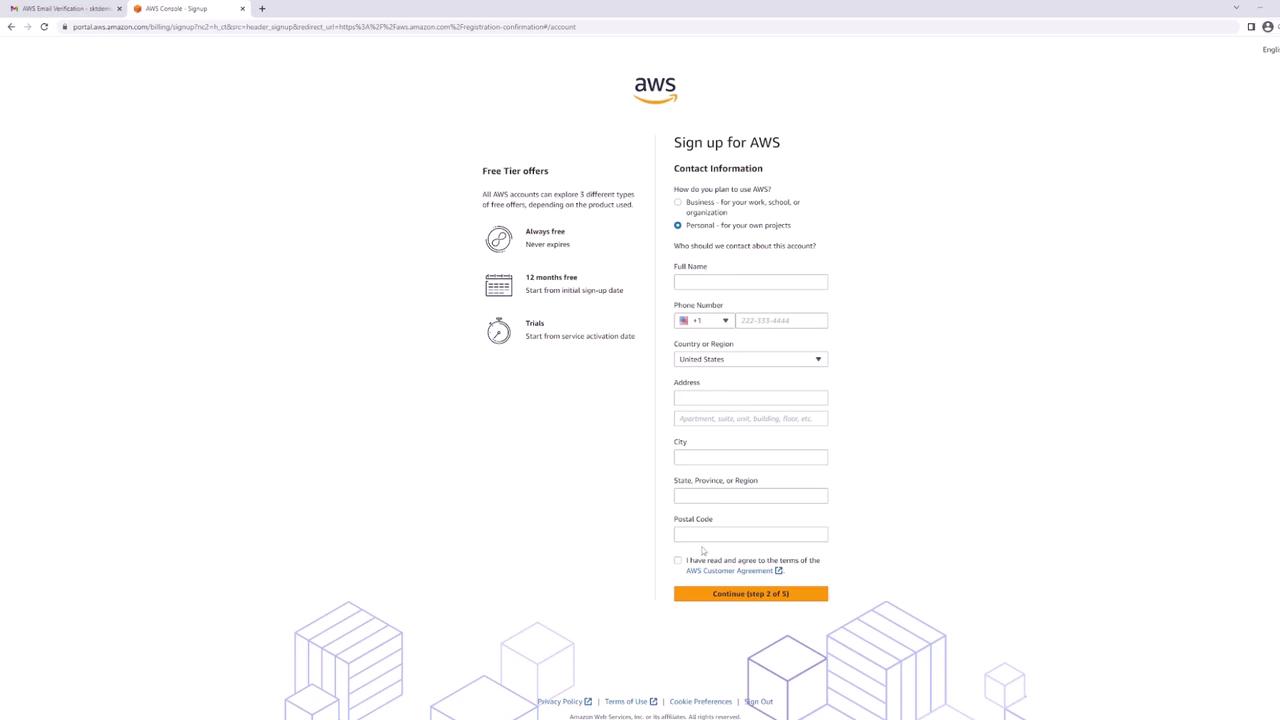
Personal information on this guide has been blurred out for privacy reasons.
Step 5: Enter Billing Information
Even if you plan to use the free tier, AWS requires billing information to verify your identity and charge any usage beyond free tier limits. Enter your credit card details and click Verify and Continue.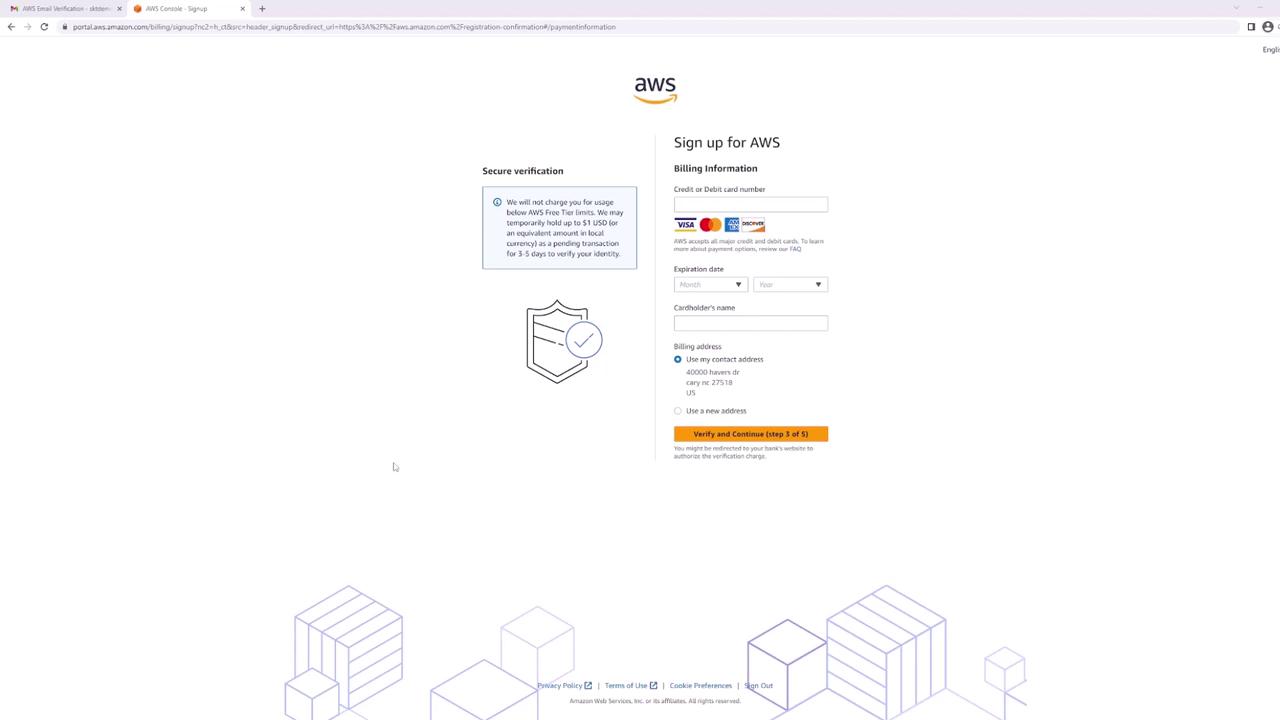
Always monitor your resources and remember to delete any that you are not using to avoid unexpected charges.
Step 6: Identity Confirmation
Confirm your identity via SMS or voice call. In this example, select SMS. Enter your phone number and complete the CAPTCHA security check. Once you receive the SMS code (e.g., “3425”) on your phone, enter it on the page and click Continue.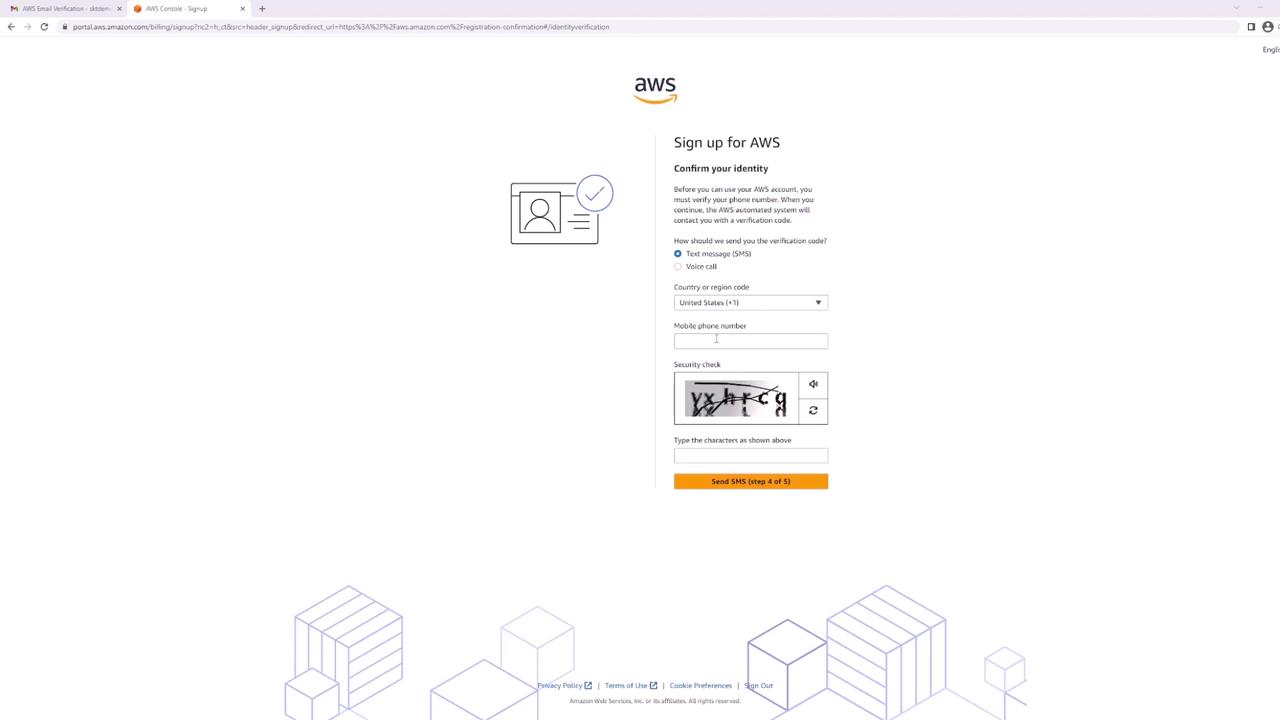
Step 7: Select a Support Plan
Choose a support plan that fits your needs. For this demonstration, select the Basic support plan available for free. If you plan to deploy production systems, consider a support plan that better aligns with your requirements. Click Complete Sign Up after making your selection.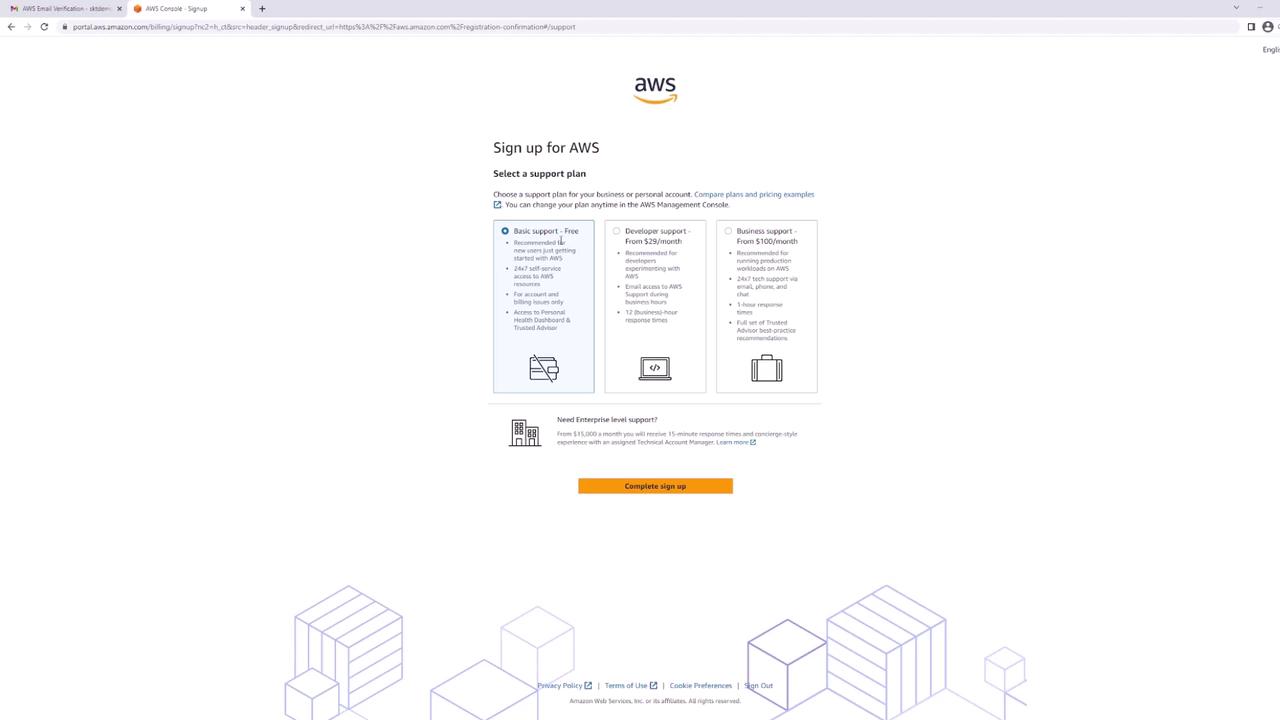
Step 8: Access the AWS Management Console
When registration is complete, sign in to the AWS Management Console using your email (as the username) and your password.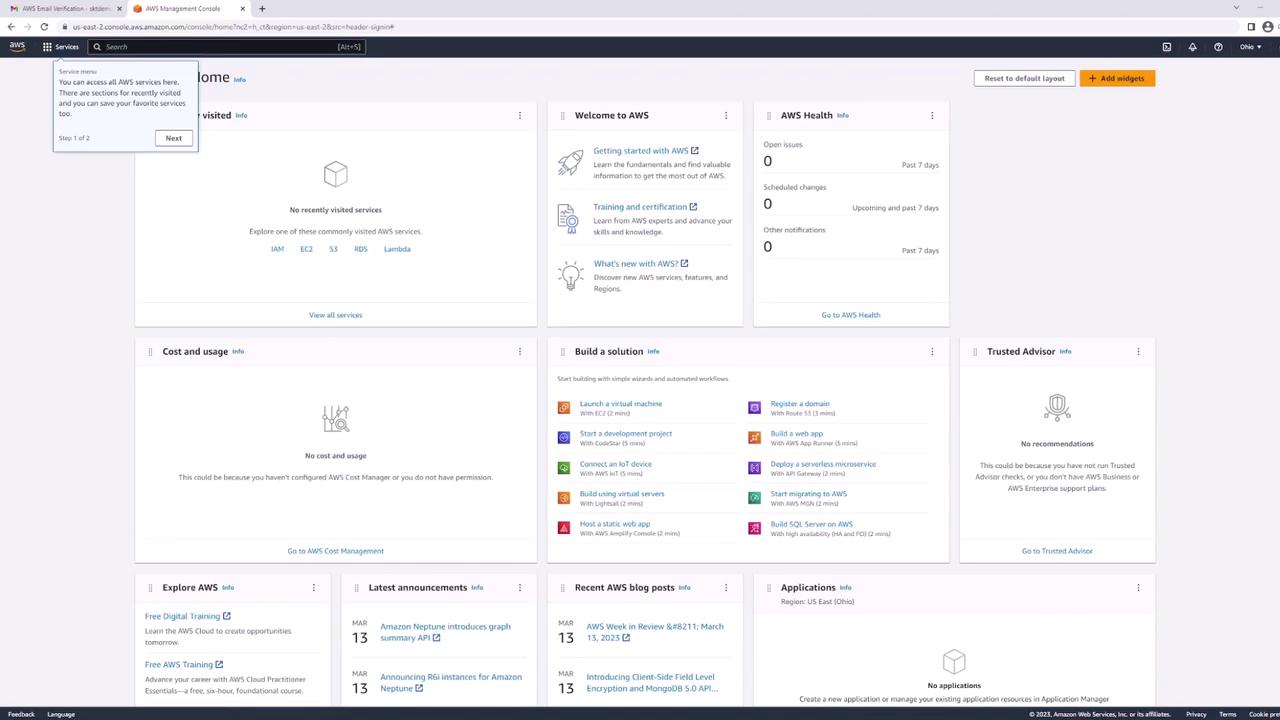
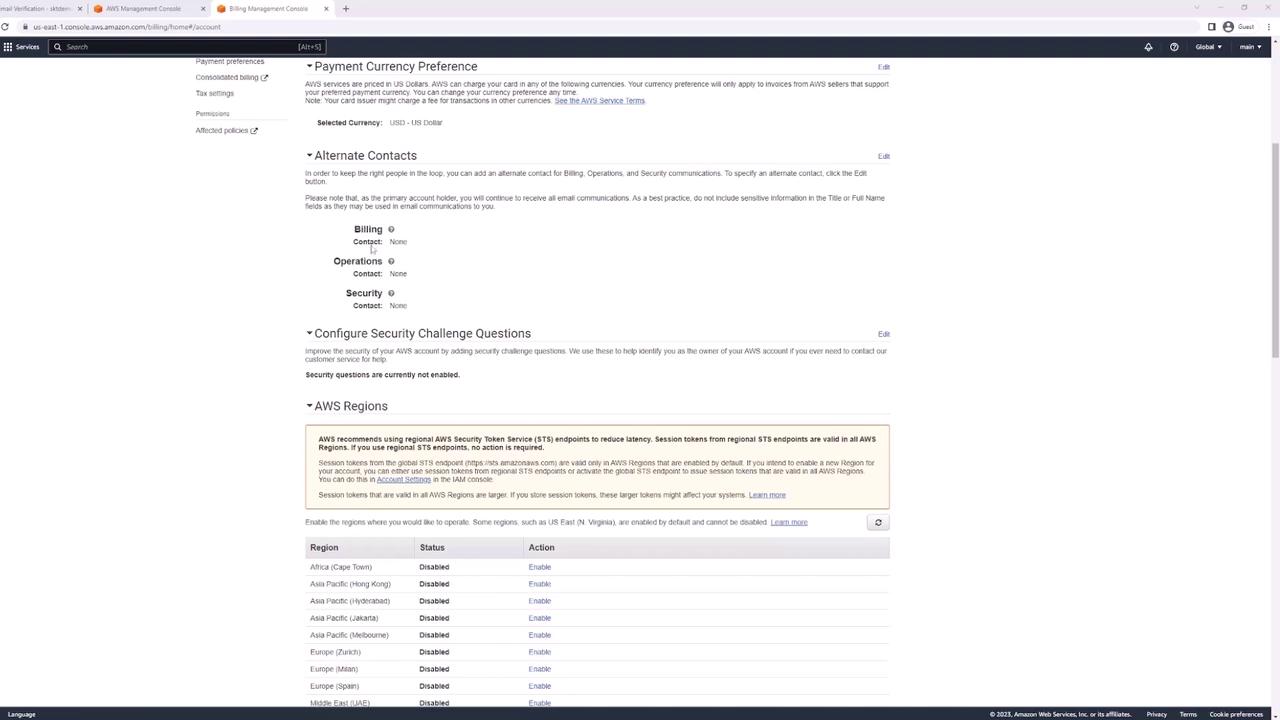

Your AWS account is now set up and ready for use. Explore AWS with confidence, and remember to monitor your resources regularly to prevent unwanted charges. For more insights and best practices, visit the AWS Documentation or AWS Management Console.