> ## Documentation Index
> Fetch the complete documentation index at: https://notes.kodekloud.com/llms.txt
> Use this file to discover all available pages before exploring further.
# AWS CDK Demo
> Learn to use AWS CDK for creating and managing AWS resources, including S3 bucket infrastructure, through installation, project initialization, deployment, and cleanup.
In this guide, you'll learn how to use the AWS Cloud Development Kit (CDK) to create and manage AWS resources. We'll cover installing prerequisites, initializing a CDK project, exploring generated files, and then deploying, verifying, and cleaning up a simple S3 bucket infrastructure.
***
## Prerequisites
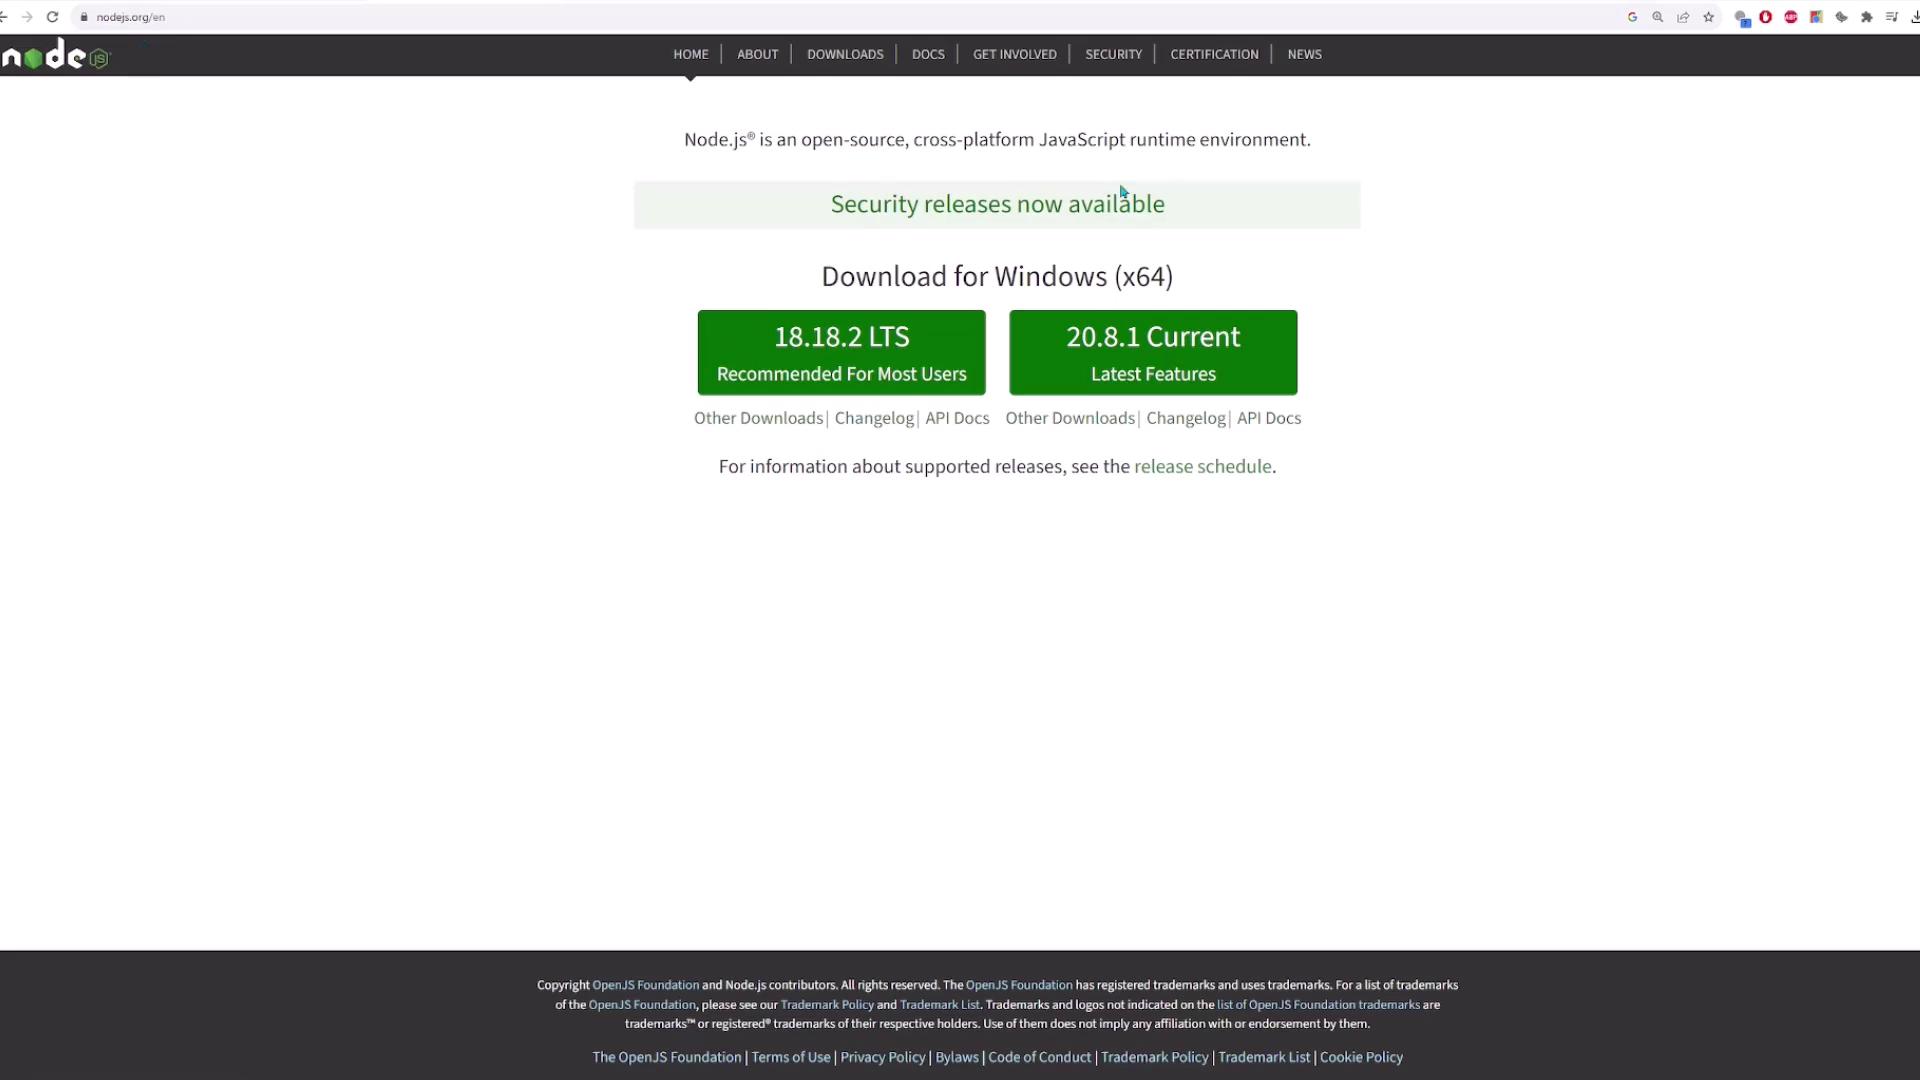
Before you begin with AWS CDK, ensure that [Node.js](https://nodejs.org/) is installed on your machine. Node.js comes with NPM (Node Package Manager), which is required to install the AWS CDK CLI tool.
After installing Node.js, run these commands to install and verify the AWS CDK CLI:
```bash theme={null}
aws sts get-caller-identity
```
```bash theme={null}
npm install -g aws-cdk
```
```bash theme={null}
cdk --version
```
Ensure Node.js is installed correctly by referring to the [Node.js documentation](https://nodejs.org/en/docs/). The site usually detects your operating system and provides the appropriate download options.
***
## Installing the AWS CDK CLI
Once Node.js and NPM are installed, you can install the AWS CDK CLI with:
```bash theme={null}
npm install -g aws-cdk
```
Then, verify your installation by running:
```bash theme={null}
cdk --help
```
You should see a list of available commands such as:
* `cdk list` (or `cdk ls`): List all stacks in the app.
* `cdk synth` (or `cdk synthesize`): Generate the CloudFormation template.
* `cdk bootstrap`: Deploy the CDK toolkit stack into your AWS environment.
* `cdk deploy`: Deploy your stack(s) to your AWS account.
* `cdk destroy`: Remove the deployed stack(s).
* `cdk diff`: Compare your local template with the deployed stack.
***
## Initializing a New CDK Project
To quickly get started with a new project, initialize a boilerplate application with:
```bash theme={null}
cdk init app --language python
```
If you prefer a sample project template that includes a demo application, you can run:
```bash theme={null}
cdk init sample-app --language python
```
This command creates multiple files and directories to jumpstart your CDK project:
* **Python Virtual Environment:** Isolates project dependencies.
* **Activation Script:** A file like `source.bash` (or equivalent for Mac/Linux) to activate the virtual environment.
* **requirements.txt:** Lists third-party dependencies (typically including `aws-cdk-lib` and `constructs`).
Example `requirements.txt` content:
```text theme={null}
aws-cdk-lib==2.101.0
constructs>=10.0.0,<11.0.0
```
* **README:** Contains instructions for installing dependencies and running commands:
```bash theme={null}
python -m venv .venv
cdk synth
pytest
```
* **cdk.json:** Contains project configuration. For example:
```json theme={null}
{
"app": "python app.py",
"watch": {
"include": [
"**"
],
"exclude": [
"README.md",
"cdk*.json",
"requirements*.txt",
"source.bat",
"**/__init__.py",
"python/__pycache__",
"tests"
]
},
"context": {
"@aws-cdk/aws-lambda:recognizeLayerVersion": true,
"@aws-cdk/core:checkSecretUsage": true,
"@aws-cdk/core:target-partitions": [
"aws",
"aws-cn"
]
}
}
```
* **app.py:** Initializes your CDK application and instantiates a stack:
```python theme={null}
#!/usr/bin/env python3
import aws_cdk as cdk
from cdk.cdk_stack import CdkStack
app = cdk.App()
CdkStack(app, "CdkStack")
app.synth()
```
* **Stack File (e.g., `cdk/cdk_stack.py`):** Initially defines resources like an SQS queue and an SNS topic with a subscription:
```python theme={null}
from constructs import Construct
from aws_cdk import (
Duration,
Stack,
aws_sqs as sqs,
aws_sns as sns,
aws_sns_subscriptions as subs,
)
class CdkStack(Stack):
def __init__(self, scope: Construct, construct_id: str, **kwargs) -> None:
super().__init__(scope, construct_id, **kwargs)
queue = sqs.Queue(
self, "CdkQueue",
visibility_timeout=Duration.seconds(300),
)
topic = sns.Topic(
self, "CdkTopic"
)
topic.add_subscription(subs.SqsSubscription(queue))
```
In this demo, we will comment out the SQS/SNS implementation to focus on creating an S3 bucket.
***
## Configuring the Python Virtual Environment
Set up your Python virtual environment and install the necessary packages:
1. **Create and Activate the Virtual Environment:**
```bash theme={null}
python -m venv .venv
```
On Windows, activate with:
```bat theme={null}
.venv\Scripts\activate.bat
```
On Mac/Linux, use:
```bash theme={null}
source .venv/bin/activate
```
2. **Install Dependencies:**
```bash theme={null}
pip install -r requirements.txt
```
Once these steps are completed, you're ready to work on your CDK project.
***
## Editing the CDK Stack for an S3 Bucket
For this demo, we'll modify the CDK stack to create an S3 bucket. First, update the import statements to include AWS S3 (and optionally AWS KMS if you need encryption):
```python theme={null}
from constructs import Construct
from aws_cdk import (
Duration,
Stack,
aws_s3 as s3,
aws_iam as iam,
aws_sqs as sqs,
aws_sns as sns,
aws_sns_subscriptions as subs,
)
# Additional imports (e.g., for encryption) can be added as required.
```
Then update the stack definition to include the S3 bucket:
```python theme={null}
class CdkStack(Stack):
def __init__(self, scope: Construct, construct_id: str, **kwargs) -> None:
super().__init__(scope, construct_id, **kwargs)
# Create a basic S3 bucket.
bucket = s3.Bucket(self, "My-kodekloud-cdk-bucket")
```
Remember that bucket names must be globally unique. The CDK will append extra characters to ensure uniqueness.
For advanced configurations such as encryption using a KMS key, you might use:
```python theme={null}
bucket = s3.Bucket(self, "MyEncryptedBucket",
encryption=s3.BucketEncryption.KMS
)
# To verify, you can access the encryption key:
# assert(bucket.encryption_key instanceof kms.Key)
```
In this demo, however, we use the basic bucket configuration.
***
## Synthesizing the CloudFormation Template
To generate the CloudFormation templates from your CDK app, run:
```bash theme={null}
cdk synth
```
This command synthesizes templates that detail the AWS resources like the S3 bucket and any related policies. A sample snippet of the generated output might be:
```text theme={null}
> cdk synth
Resources:
MykodekloudcdkbucketB75EFD9A:
Type: AWS::S3::Bucket
UpdateReplacePolicy: Retain
DeletionPolicy: Retain
Metadata:
aws:cdk:path: CdkStack/My-kodekloud-cdk-bucket/Resource
CDKMetadata:
Type: AWS::CDK::Metadata
Properties:
Analytics: v2:deflate64:...
```
***
## Configuring AWS Credentials
Before deploying, configure your AWS CLI credentials since the AWS CDK utilizes them for resource deployment. Run:
```bash theme={null}
aws configure
```
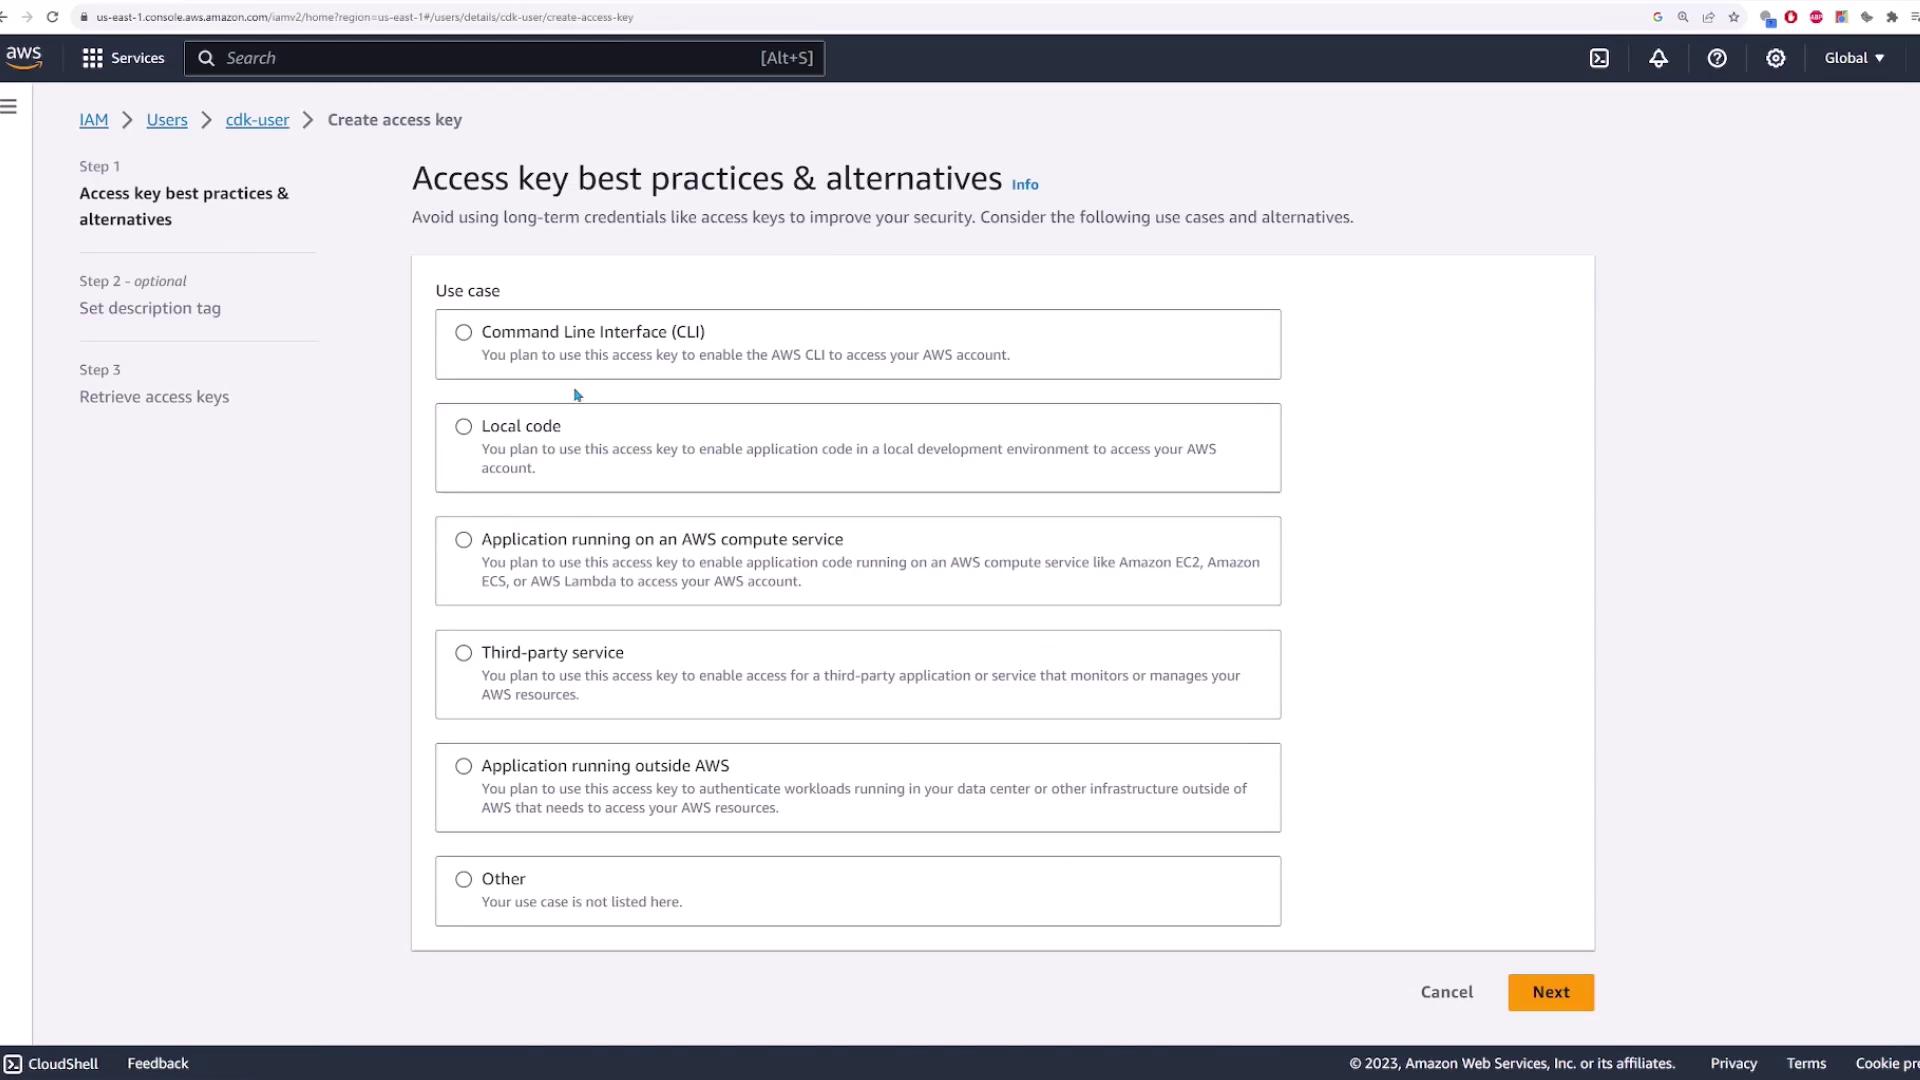
You will be prompted to enter your AWS Access Key ID, AWS Secret Access Key, default region, and output format. For example:
```text theme={null}
AWS Access Key ID [********************SQ5B]: AKIA4IAWSJ5UJ5XRRTMAI
AWS Secret Access Key [********************aRv]:
Default region name [us-east-1]:
Default output format [json]:
```
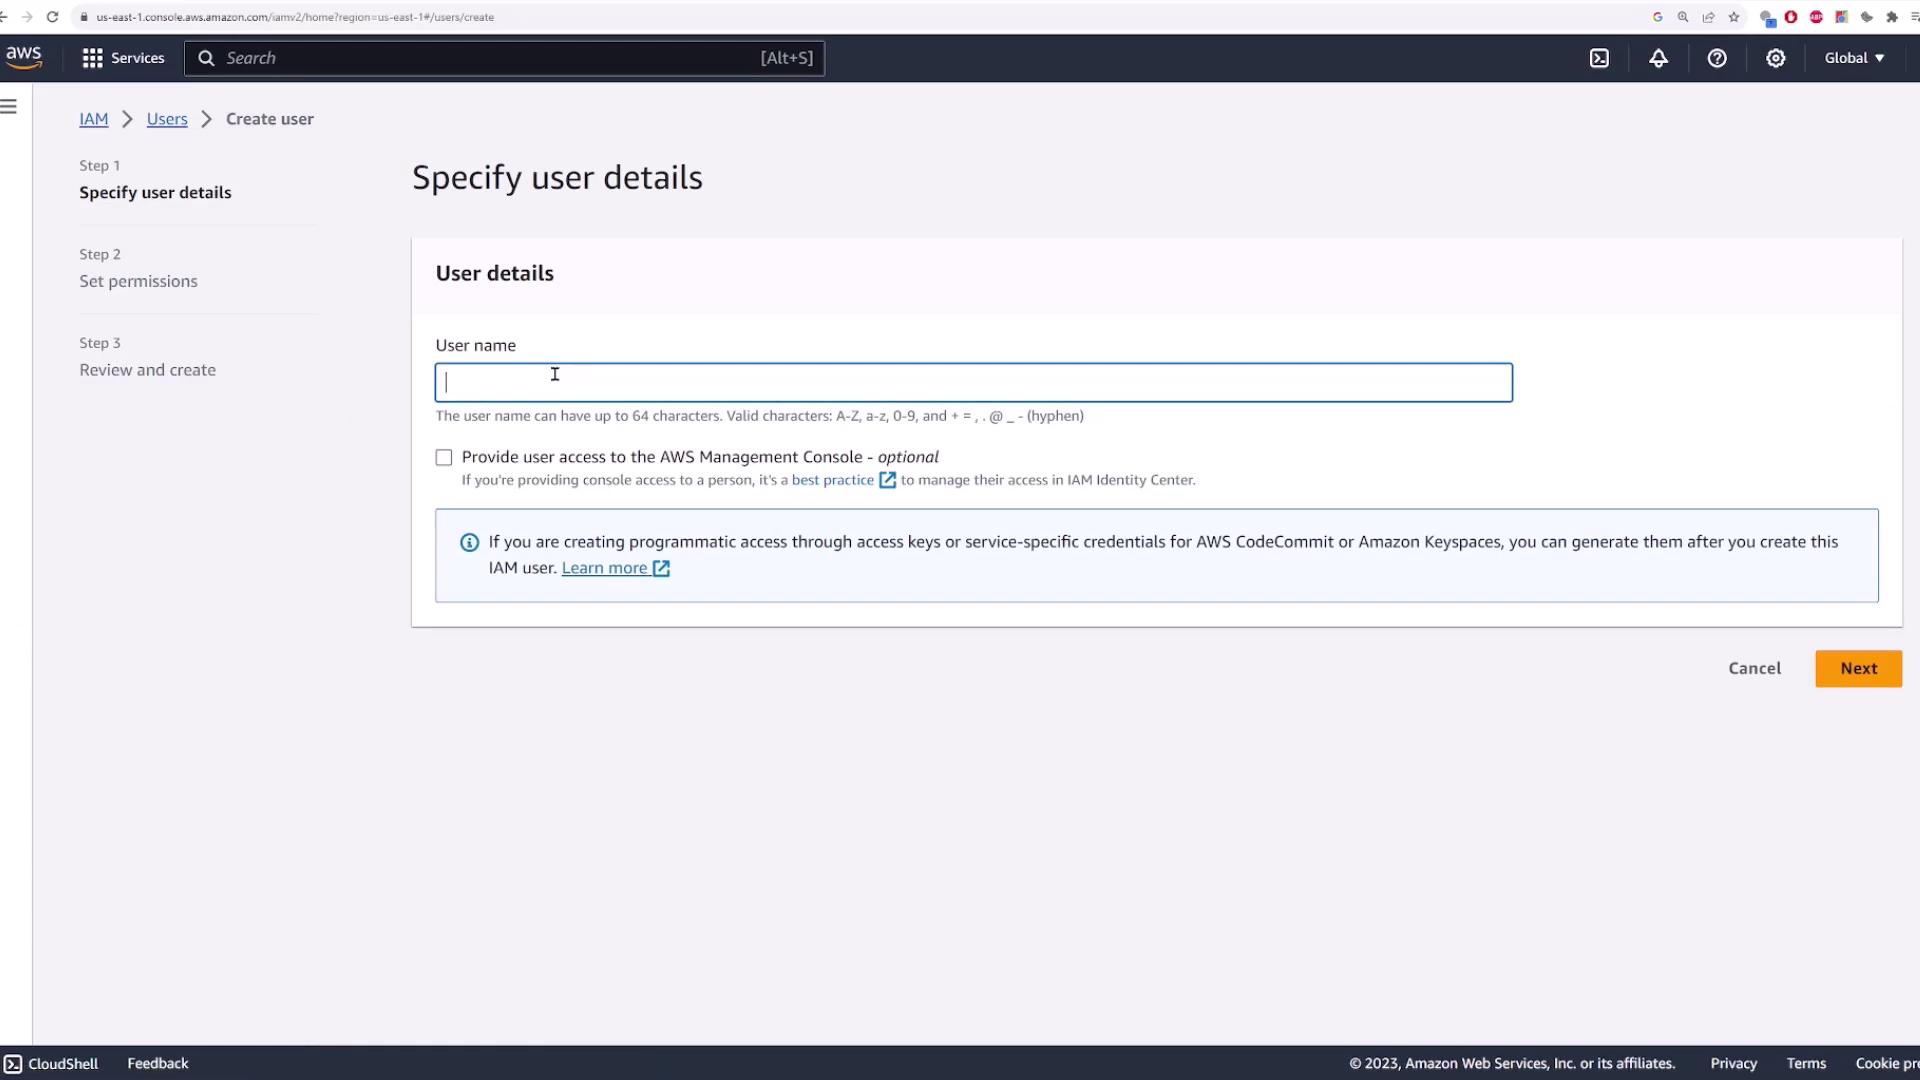
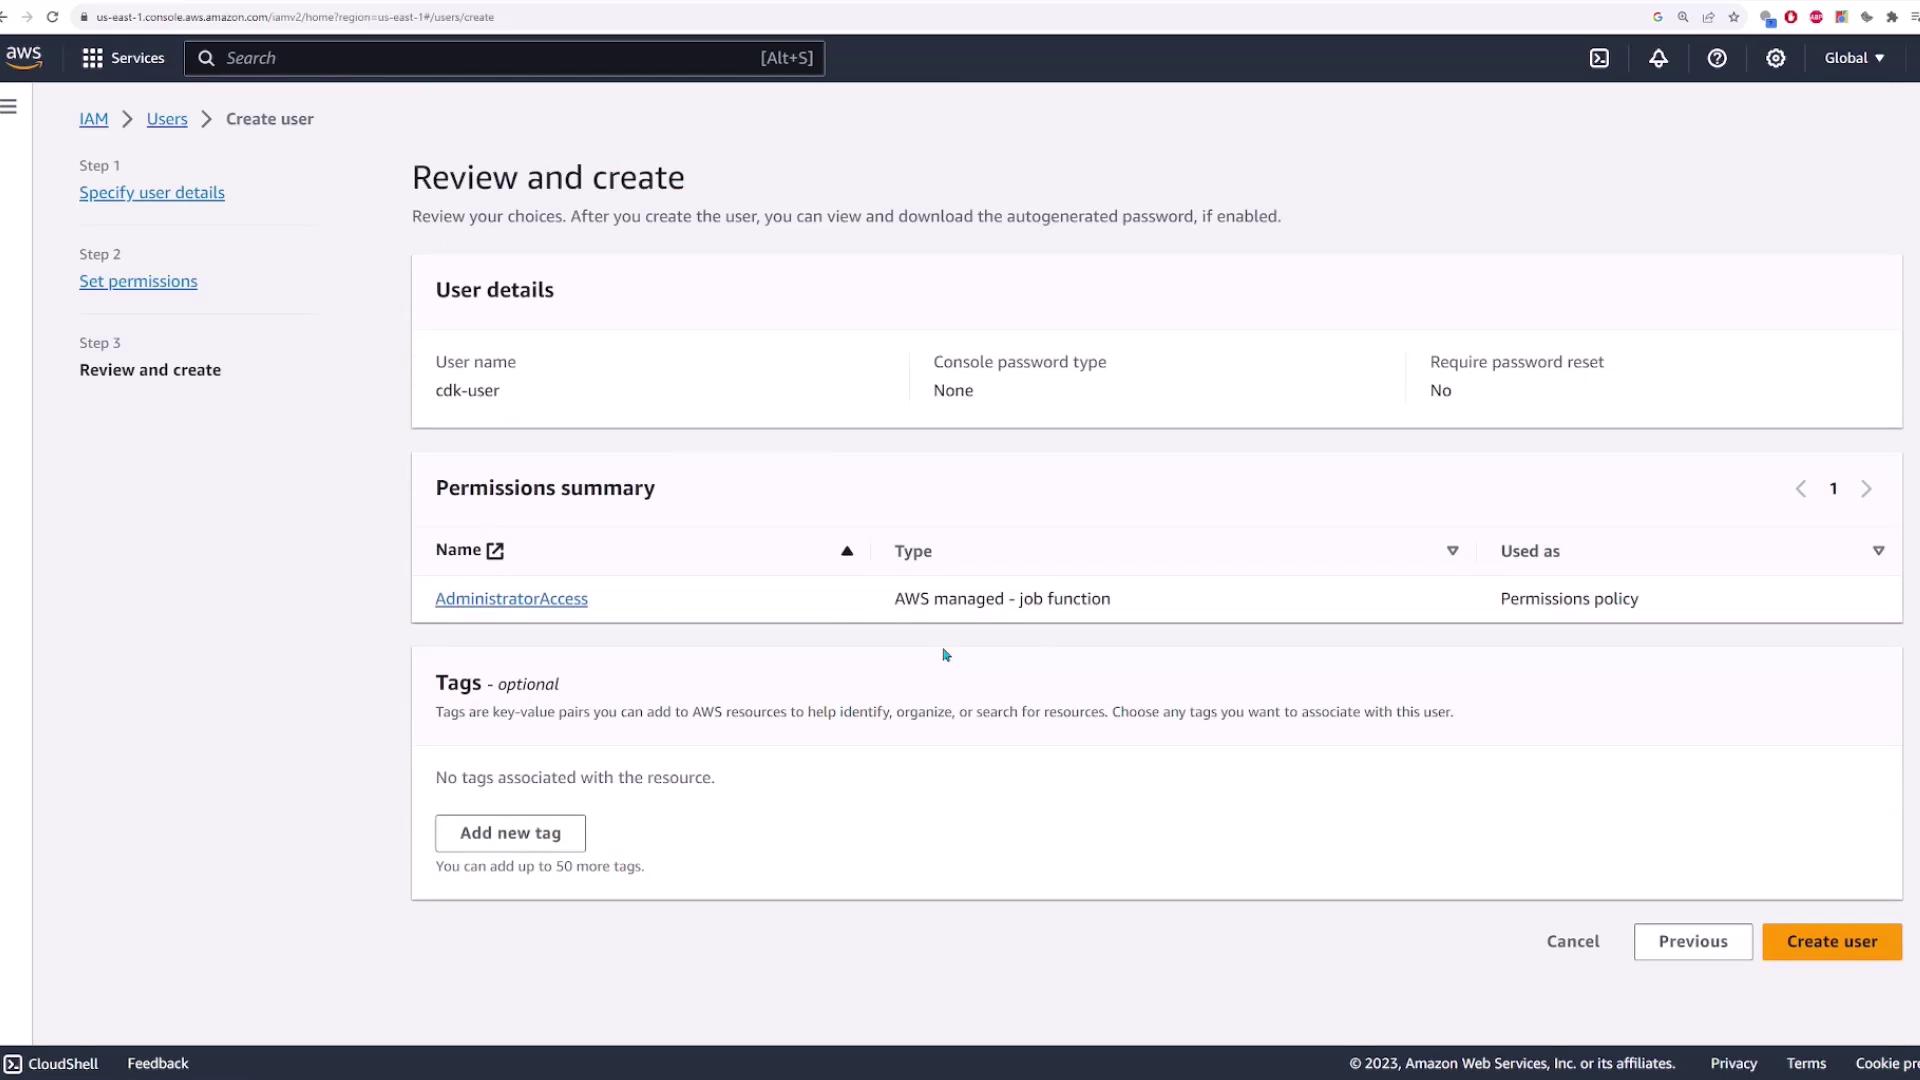
It is best practice to create a dedicated IAM user with limited permissions for CDK deployments in production. Avoid using full administrative privileges.
The following screenshots illustrate the process of creating an IAM user and generating access keys:
***
## Validating the Deployment with CDK Diff
Before deploying your changes, run a diff to compare your local template with what is currently deployed:
```bash theme={null}
cdk diff
```
The output will indicate which resources are set to be created, modified, or deleted. Since the S3 bucket hasn't been deployed yet, the diff output should reflect that a new S3 bucket will be created.
***
## Bootstrapping and Deploying the CDK Application
Certain environments require bootstrapping before deployment. If you encounter an error such as:
```text theme={null}
Error: CdkStack: SSM parameter /cdk-bootstrap/hnb659fds/version not found. Has the environment been bootstrapped? Please run 'cdk bootstrap'
```
Run the bootstrap command:
```bash theme={null}
cdk bootstrap
```
After successful bootstrapping, deploy your stack with:
```bash theme={null}
cdk deploy
```
During deployment, you will see messages indicating synthesis progress, publishing steps, and CloudFormation resource creation. An example output might include:
```text theme={null}
CdkStack: deploying... [1/1]
CdkStack: creating CloudFormation changeset...
...
Deployment time: 33.21s
Stack ARN:
arn:aws:cloudformation:us-east-1:841860927337:stack/CdkStack/b0a6b4c0-6bd7-11ee-9353-0a5897cc66
```
Once the deployment is complete, verify the S3 bucket in the AWS Management Console by refreshing the Buckets page.
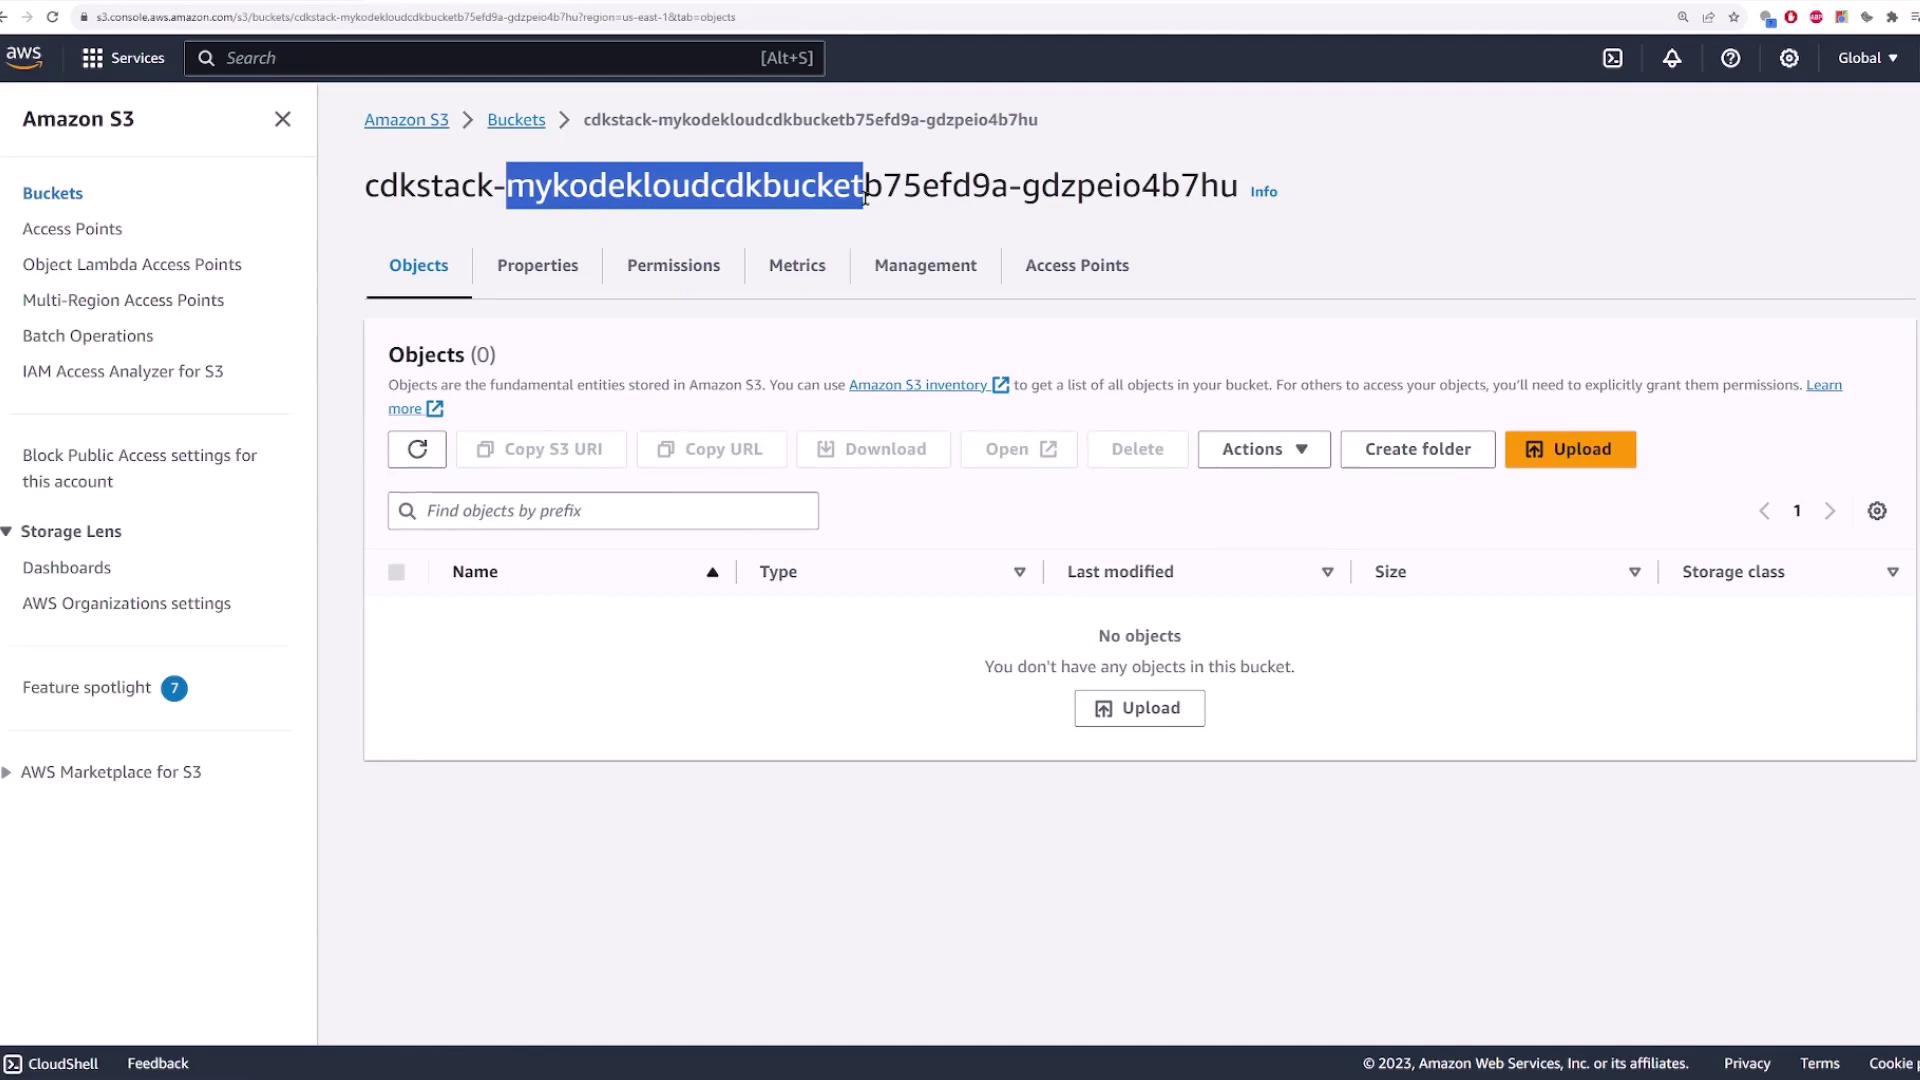
Also, inspect the CloudFormation console to ensure the stack was deployed correctly:
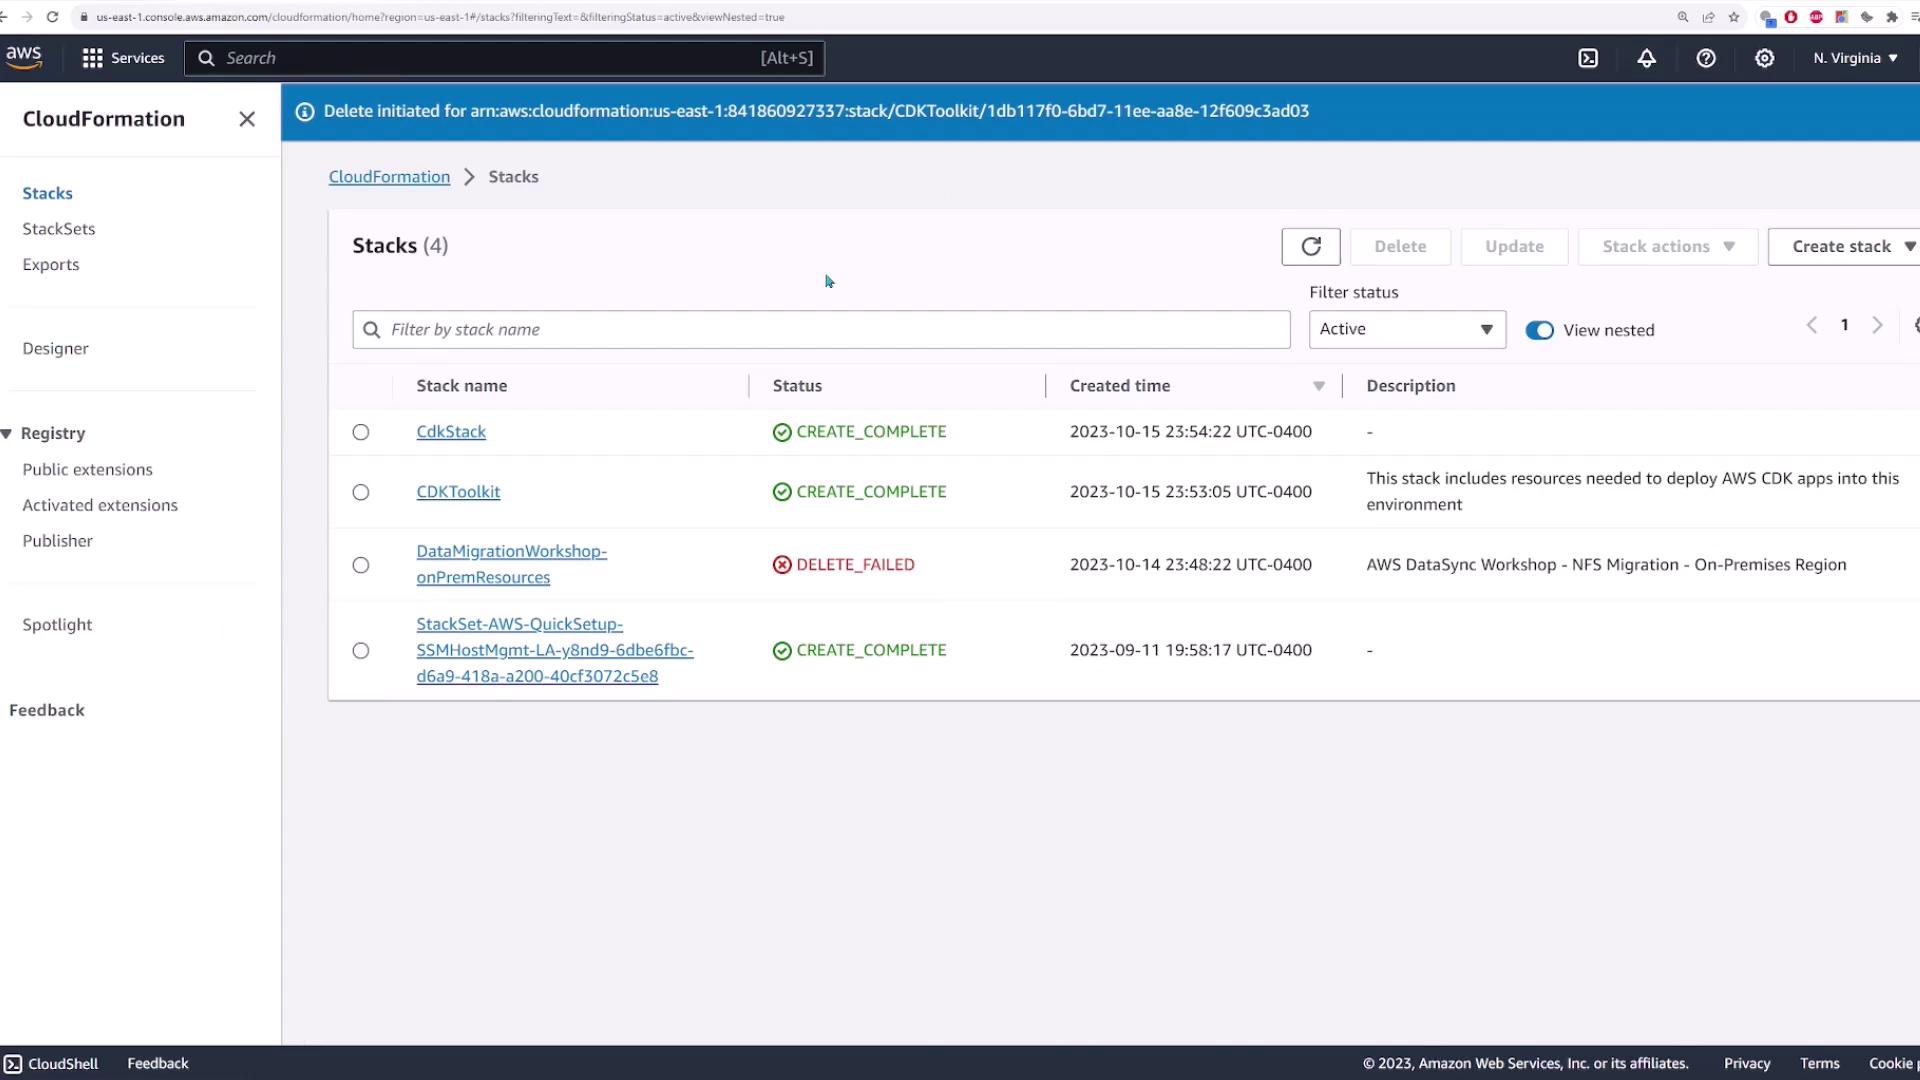
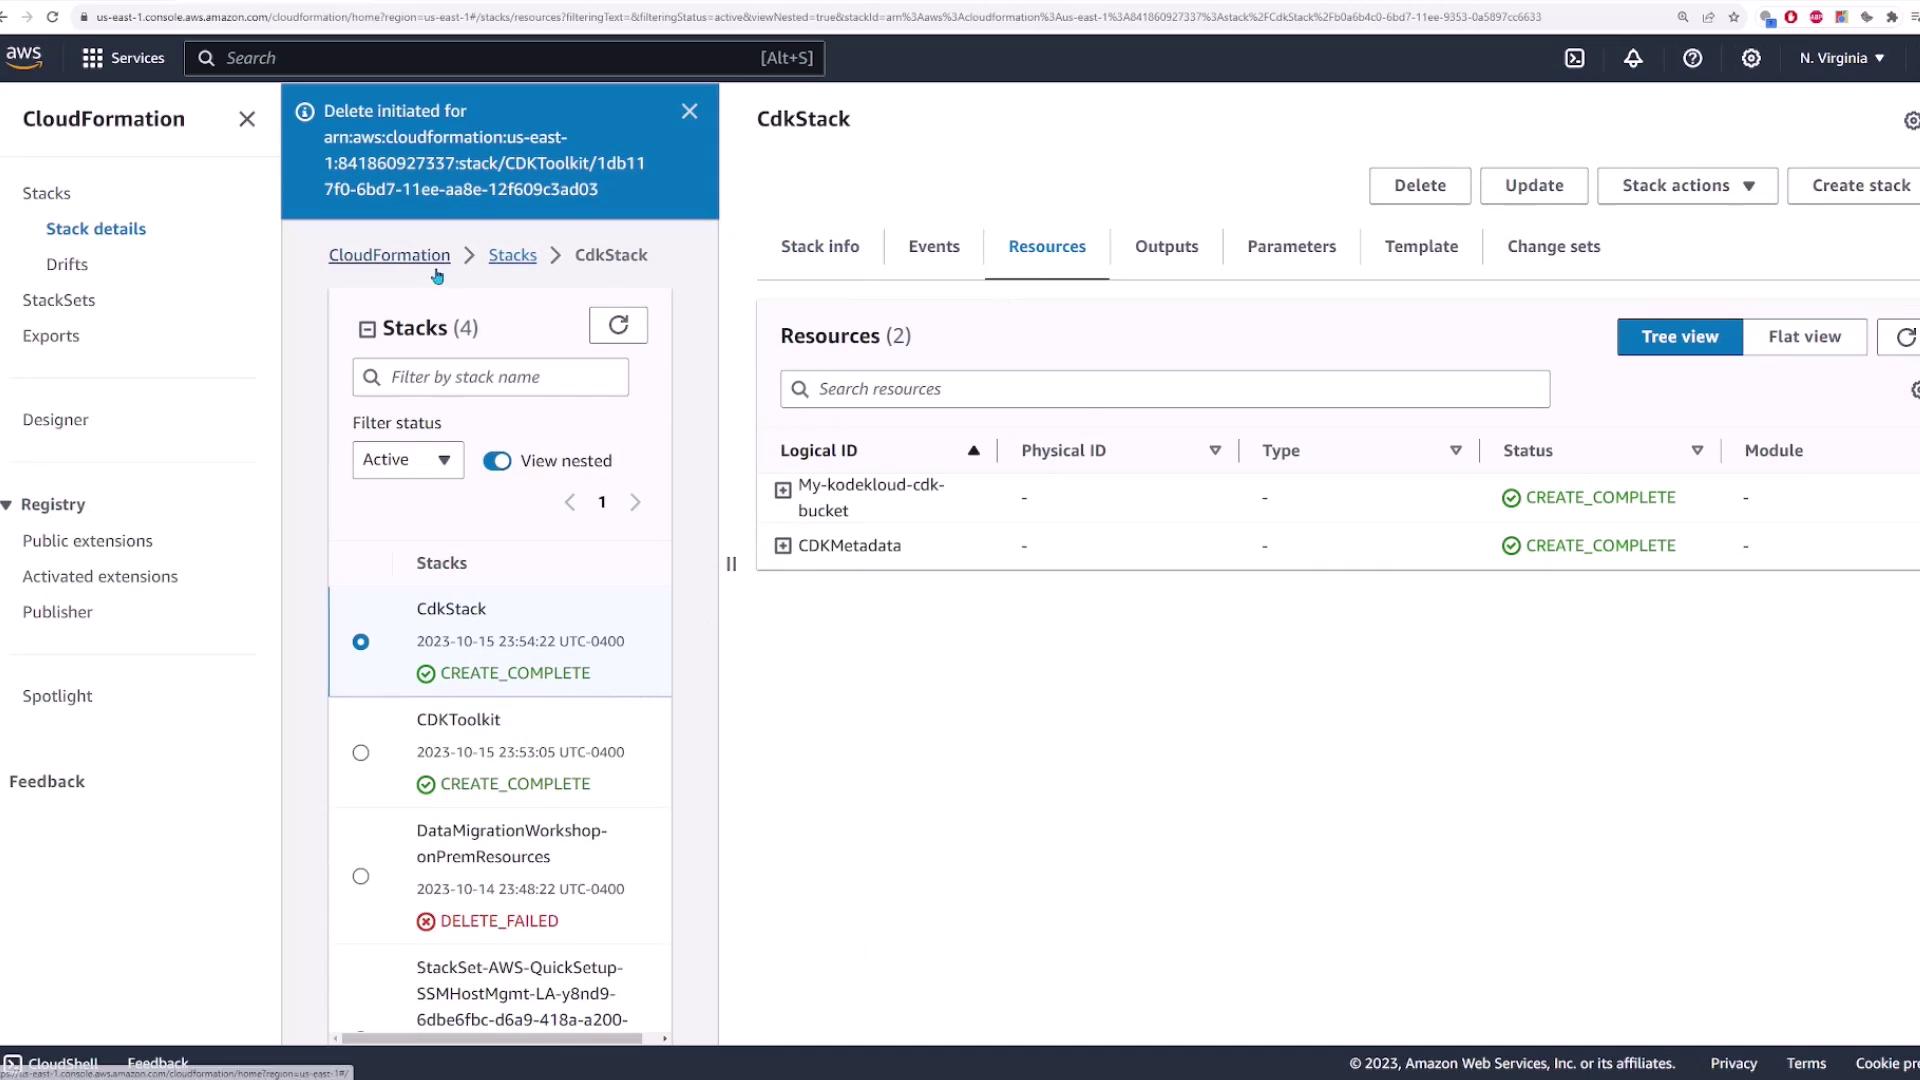
***
## Verifying the Deployed Template
After deployment, run the diff again to ensure that your deployed state matches your local configuration:
```bash theme={null}
cdk diff
```
Expected output:
```text theme={null}
Stack CdkStack
There were no differences
Number of stacks with differences: 0
```
This confirms that the deployed environment is in sync with your CDK application.
***
## Destroying the Stack
When you're finished with your demo, you can clean up your AWS environment by destroying the stack:
```bash theme={null}
cdk destroy
```
You'll be prompted to confirm deletion:
```text theme={null}
Are you sure you want to delete: CdkStack (y/n)? y
CdkStack: destroying... [1/1]
```
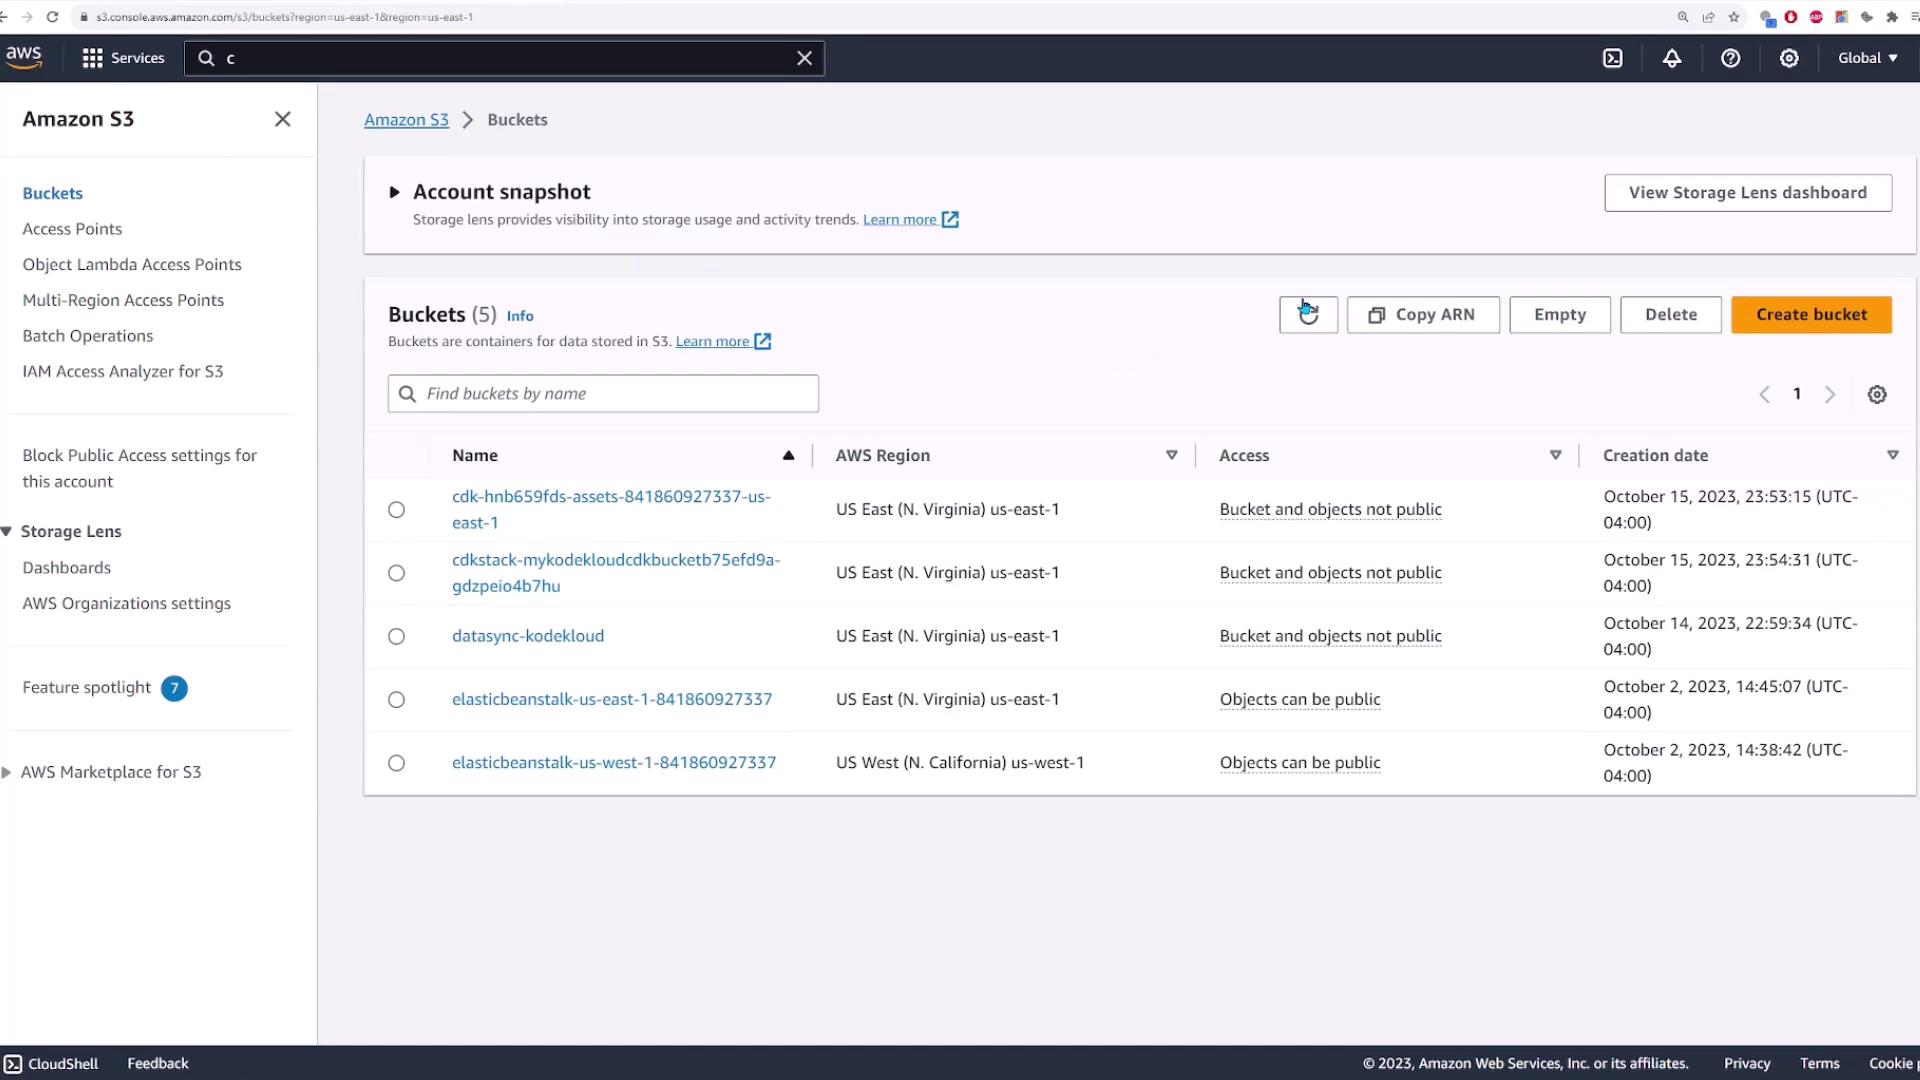
After destruction, confirm in the AWS console that both the CloudFormation stack and the S3 bucket have been removed.
***
## Conclusion
This guide provided an overview of using AWS CDK to manage AWS resources. You learned how to install and set up AWS CDK, initialize a Python project, modify the CDK stack to create an S3 bucket, deploy your infrastructure using CloudFormation, verify your deployment, and finally clean up resources.
Happy building with AWS CDK!