This lesson covers deploying an Amazon EC2 instance, securely connecting using a key pair, and managing the instance lifecycle.
In this lesson, you will learn how to deploy an Amazon EC2 instance, connect securely using a key pair, and manage the instance lifecycle. Follow the step-by-step instructions below.
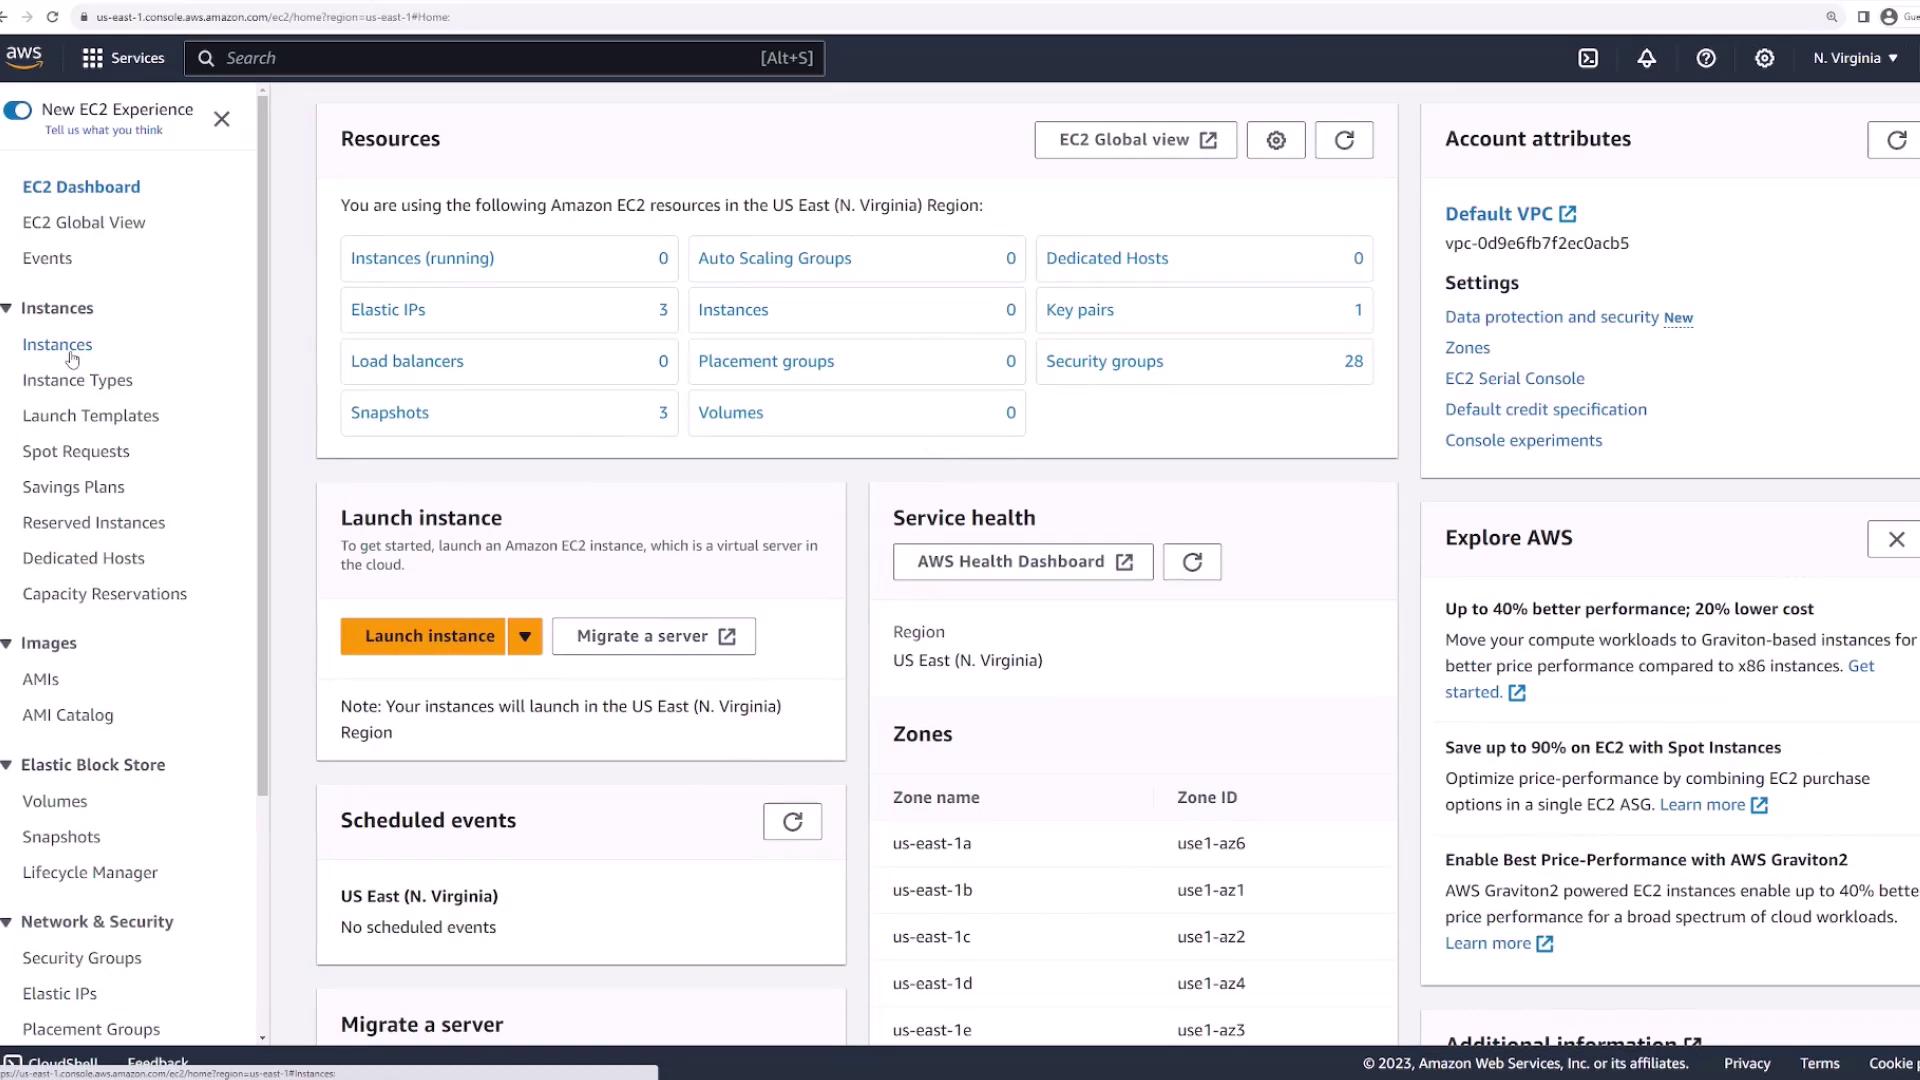
Begin by accessing the EC2 service from the AWS Management Console. In the EC2 dashboard, navigate to “Instances” where you will find a shortcut to launch a new instance:
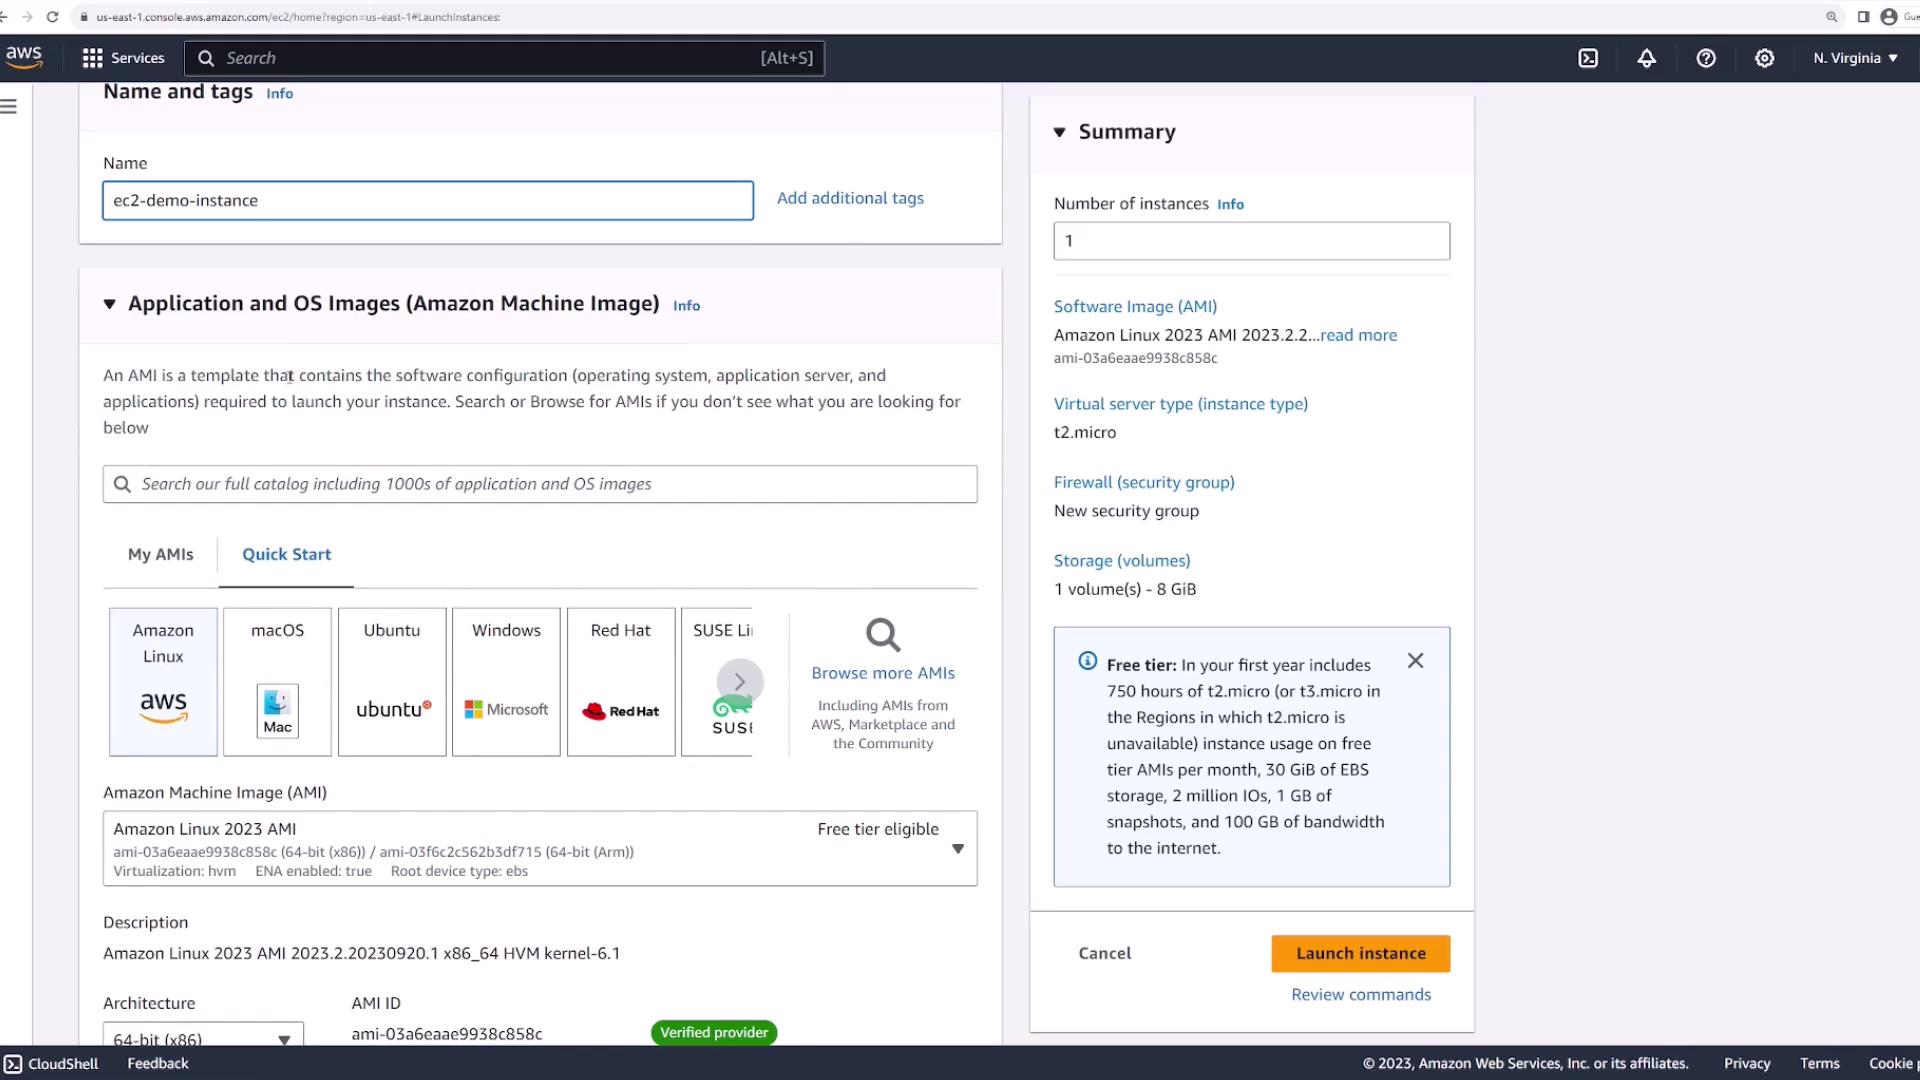
Click the Launch Instances button. First, assign a name to your instance (e.g., “EC2 demo instance”) and then select an Amazon Machine Image (AMI).
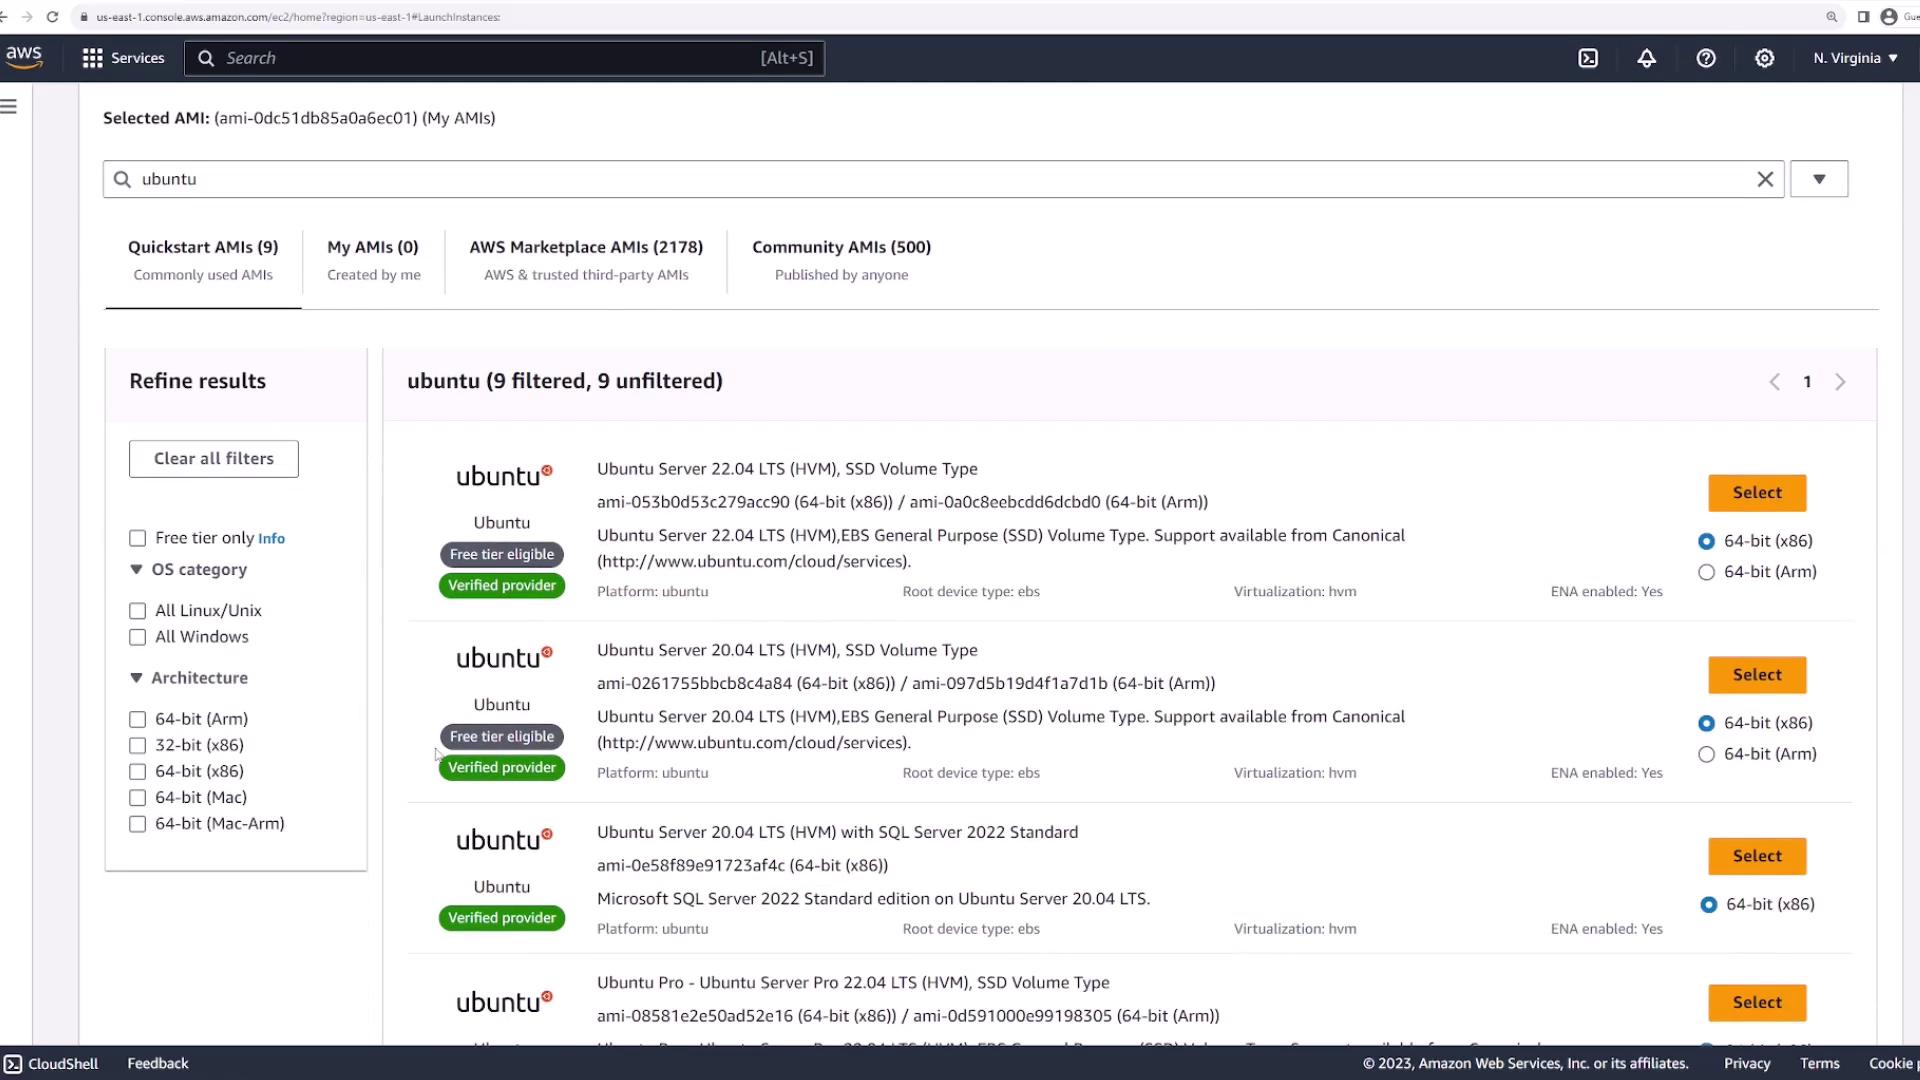
The chosen AMI serves as a blueprint by defining the operating system and including any pre-installed applications or services. You have the option to select popular AMIs like Amazon Linux, macOS, or Ubuntu in the Quick Start section. If you require a custom or specific AMI, use the “My AMIs” tab or search (e.g., type “Ubuntu”):
You may also explore the Amazon Marketplace for additional AMIs. In this demo, we select the Amazon Linux 2023 AMI from Quick Start. Remember, each AMI has a region-specific unique AMI ID. For instance, the AMI ID in Northern Virginia will differ from Ohio. Verify the AMI ID for your region before proceeding.
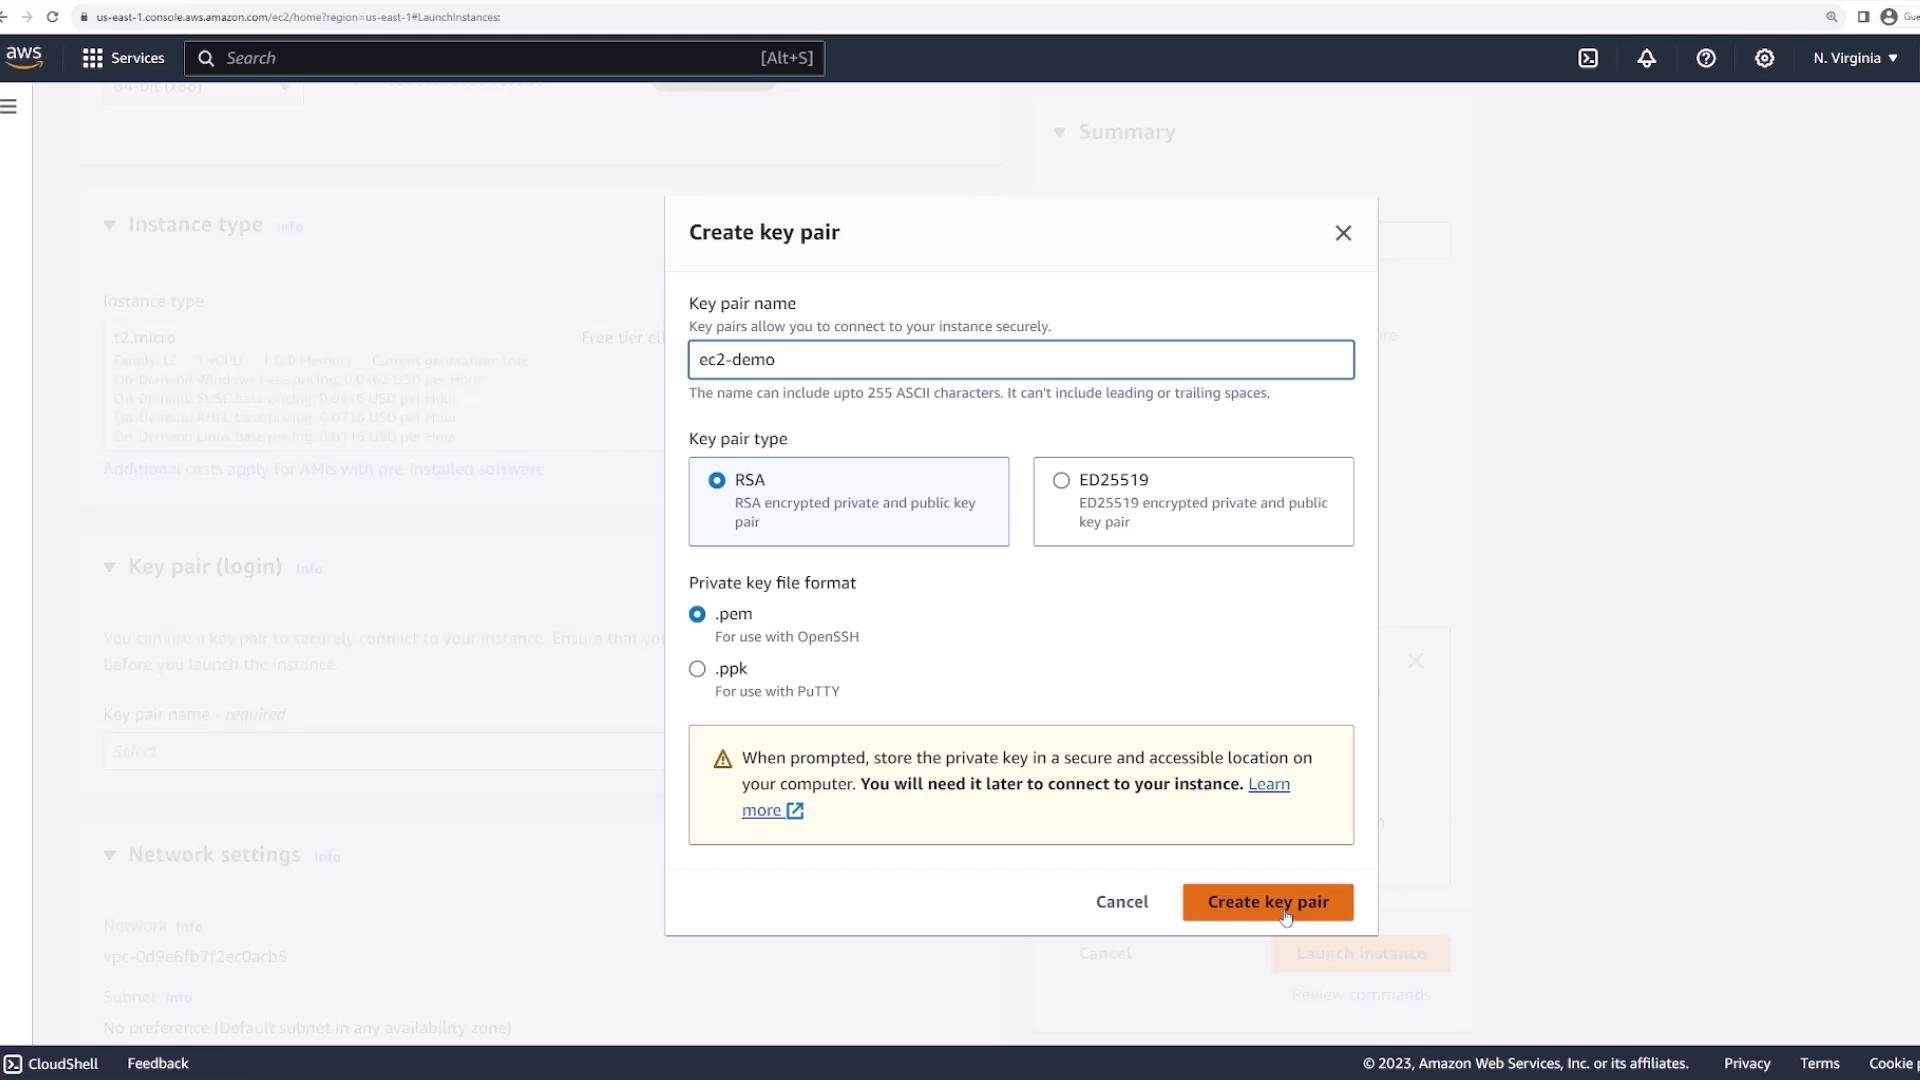
After selecting your AMI, choose an instance type that fits your workload. This demo uses a T2 micro instance, which is free tier eligible.Next, specify the key pair required for secure connection management. You can select an existing key pair or create a new one. To create a new key pair:
Select Create new key pair.
Enter a name, for example, “EC2 demo”.
Leave the RSA option and the .pem file format as default.
Click Create key pair and securely save the downloaded PEM file (e.g., “EC2.pem”).
Scroll down to the network settings. Choose the desired VPC and subnet (the default settings are pre-selected). Ensure that the instance is assigned a public IP address by enabling the appropriate option.Proceed to set up the Security Group. Either choose an existing security group or create a new one. A new security group by default allows SSH access. Unless you require customization, the default settings are sufficient.
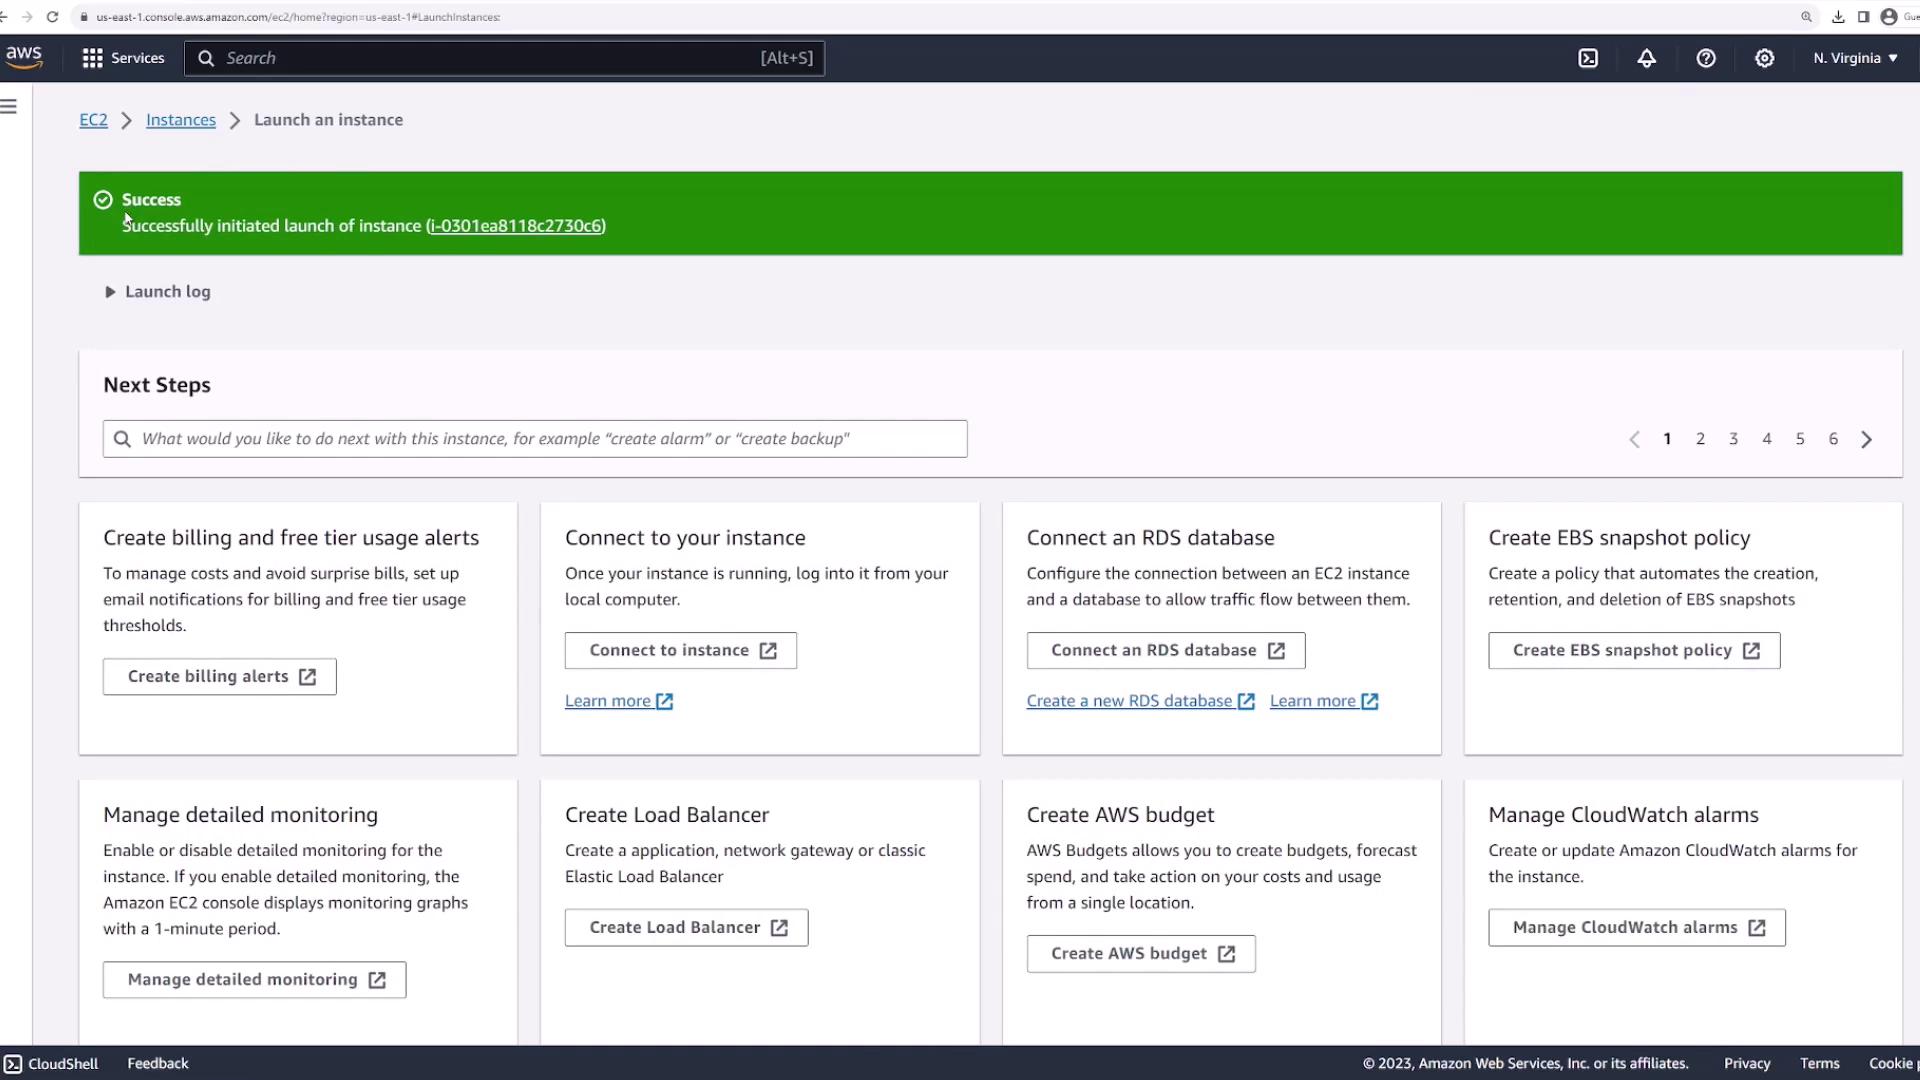
The storage configuration displays a default root volume (typically 8 GB). Additional volumes can be added later if needed. In the “Advanced Details” section, options such as Spot Instances, instance profiles, or auto recovery are available, but the default settings are appropriate for this demo.Once all options are configured, click the Launch Instance button. A confirmation message indicates that your instance (“EC2 demo instance”) has been successfully launched.
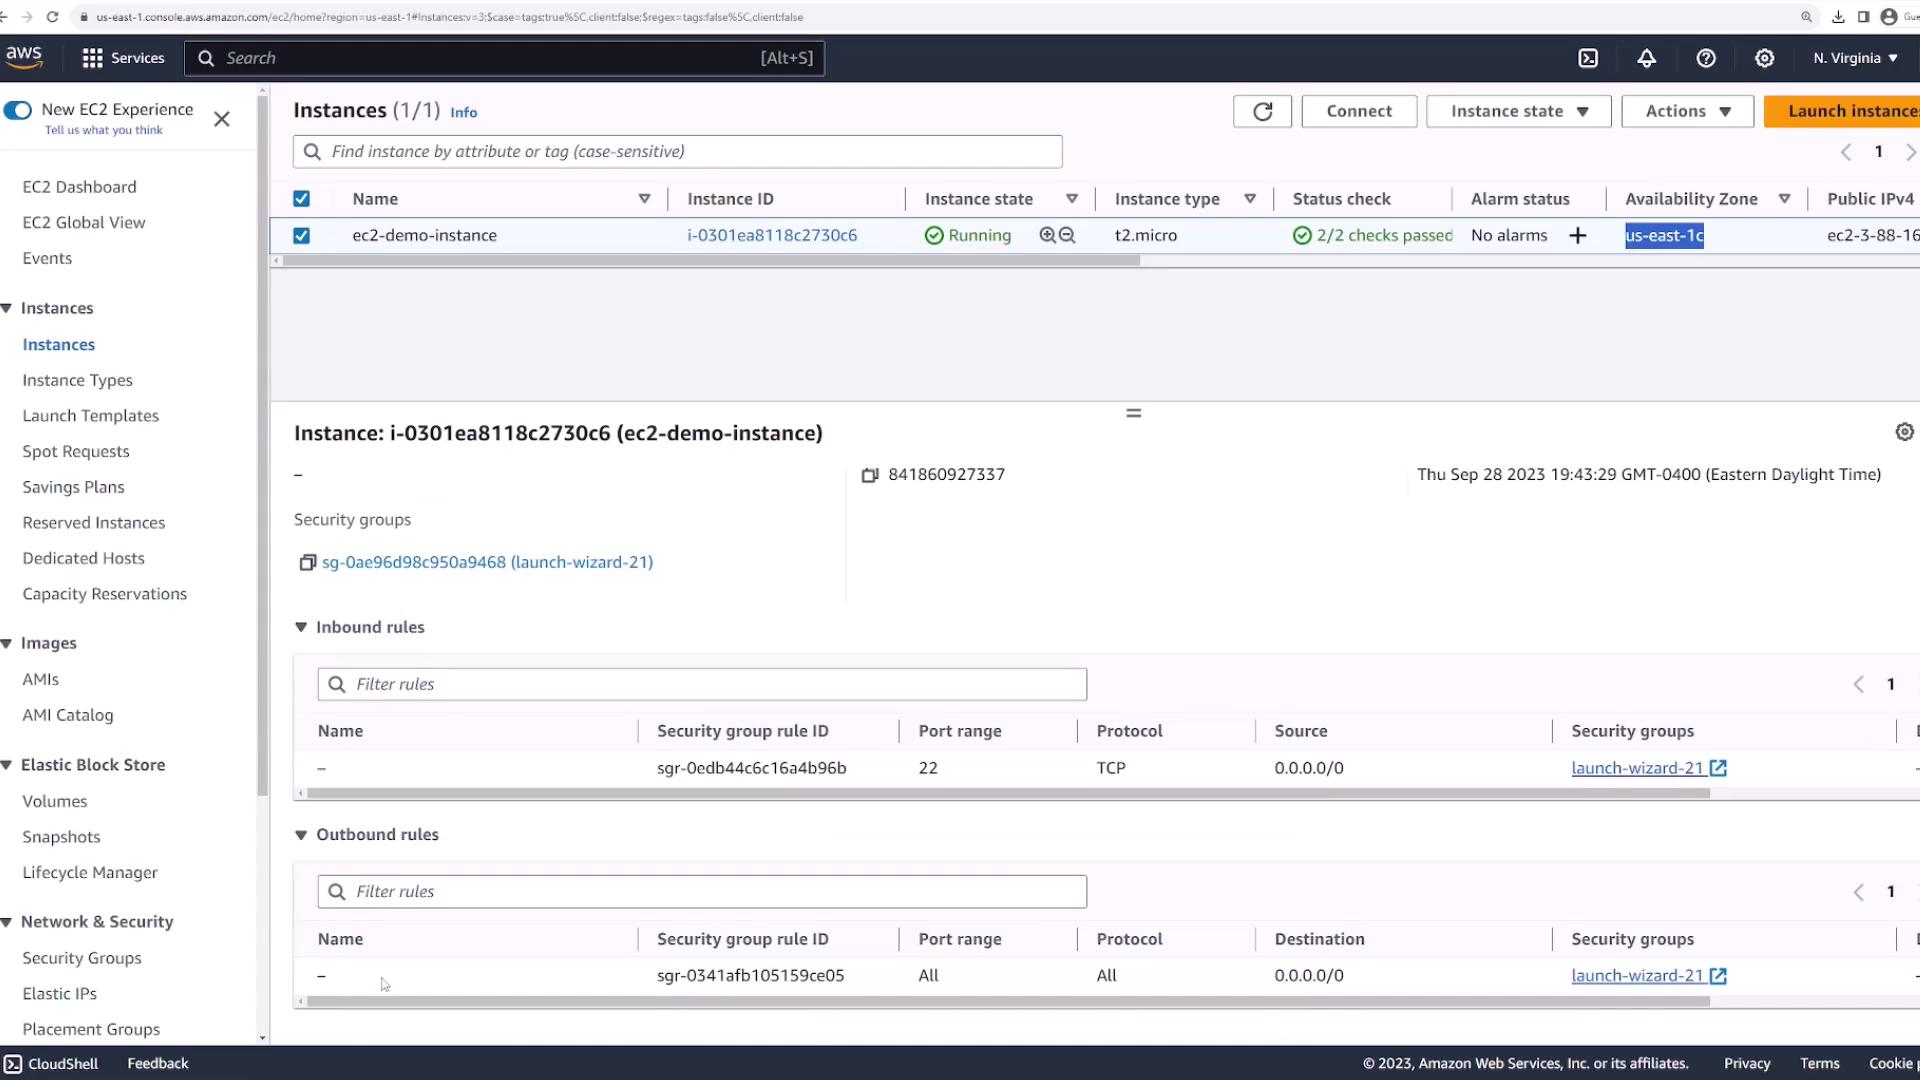
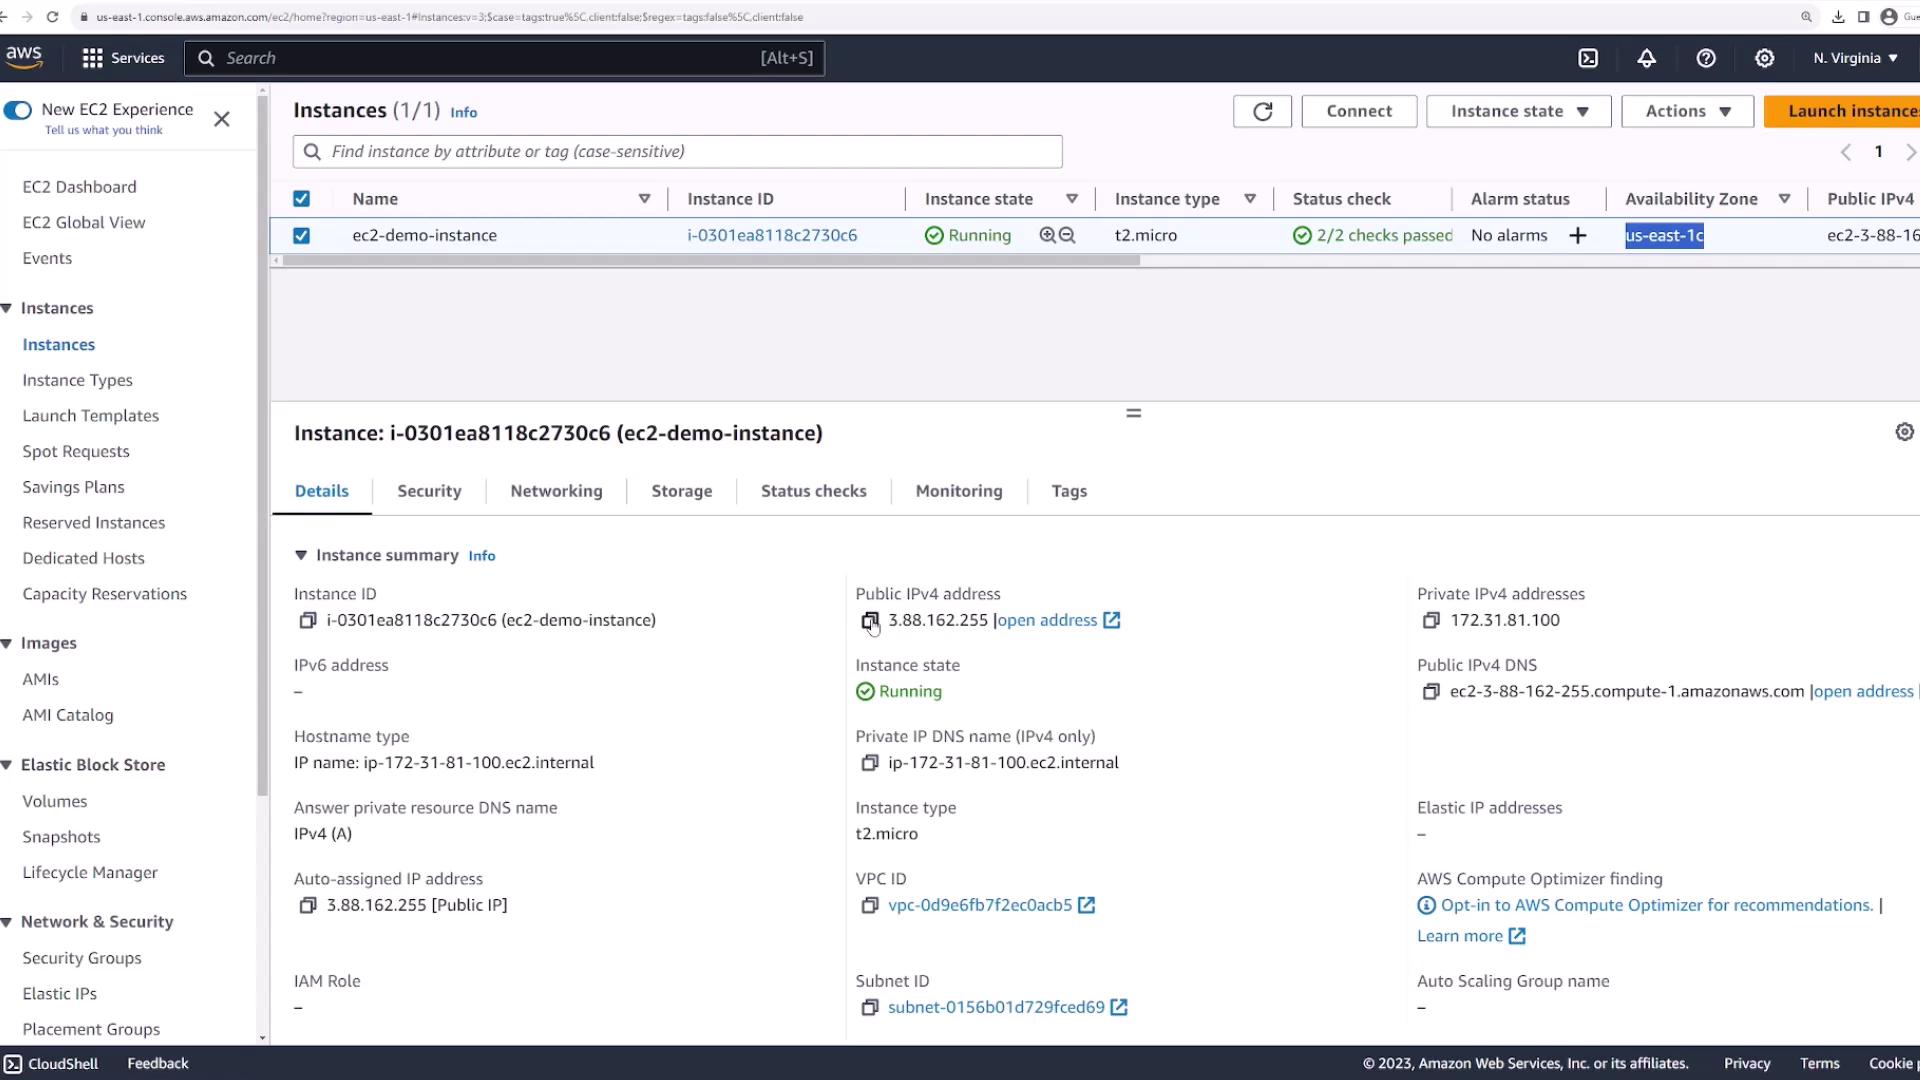
After launching your instance, go to the EC2 console and click the instance to review its details. Verify critical metadata such as the instance ID, state (e.g., running), instance type, public IP address, and public DNS name. These details are essential for managing and connecting to the instance.Additional instance information includes:
Security Group settings (SSH inbound and outbound rules)
Network configuration (VPC, subnet, public/private IP addresses, availability zone)
Storage data (volume ID, device name)
Monitoring metrics (CPU utilization, status checks)
Retrieve the instance’s public IP address or public DNS.
Open your terminal and navigate to the directory containing your PEM file (e.g., EC2.pem).
Confirm the presence of your PEM file:
Copy
Documents\scratch\aws-demo took 5s> lsec2.pem kubeseal-windows-installer/ main.pem main2.pem test.code-workspace test.yaml wacom.pemDocuments\scratch\aws-demo
Use the SSH command below, replacing “username” with the correct value as per your AMI documentation. For example, for Amazon Linux the default username is “ec2-user”:
When prompted with a security warning, type “yes” to add the host to your known hosts. Once connected, your terminal will switch to the EC2 instance shell:
Copy
Documents\scratch\aws-demo took 5s lsec2.pem kubeseal-windows-installer/ main.pem main2.pem test.code-workspace test.yaml wacom.pemDocuments\scratch\aws-demo ssh -i ec2.pem ec2-user@3.88.162.255The authenticity of host '3.88.162.255 (3.88.162.255)' can't be established. ED25519 key fingerprint is SHA256:kaXd1AucPPazbXb3o4W61zUjj1Qsh/zcHpchoQKuo. This key is not known by any other names. Are you sure you want to continue connecting (yes/no/[fingerprint])? yesWarning: Permanently added '3.88.162.255' (ED25519) to the list of known hosts. , # ~ ##### ~~ ### ~~ #/ ~v~ '- ~~~~ _.-._.-._/ /m/[ec2-user@ip-172-31-81-100 ~]$
To confirm your session environment, list the contents of the home directory:
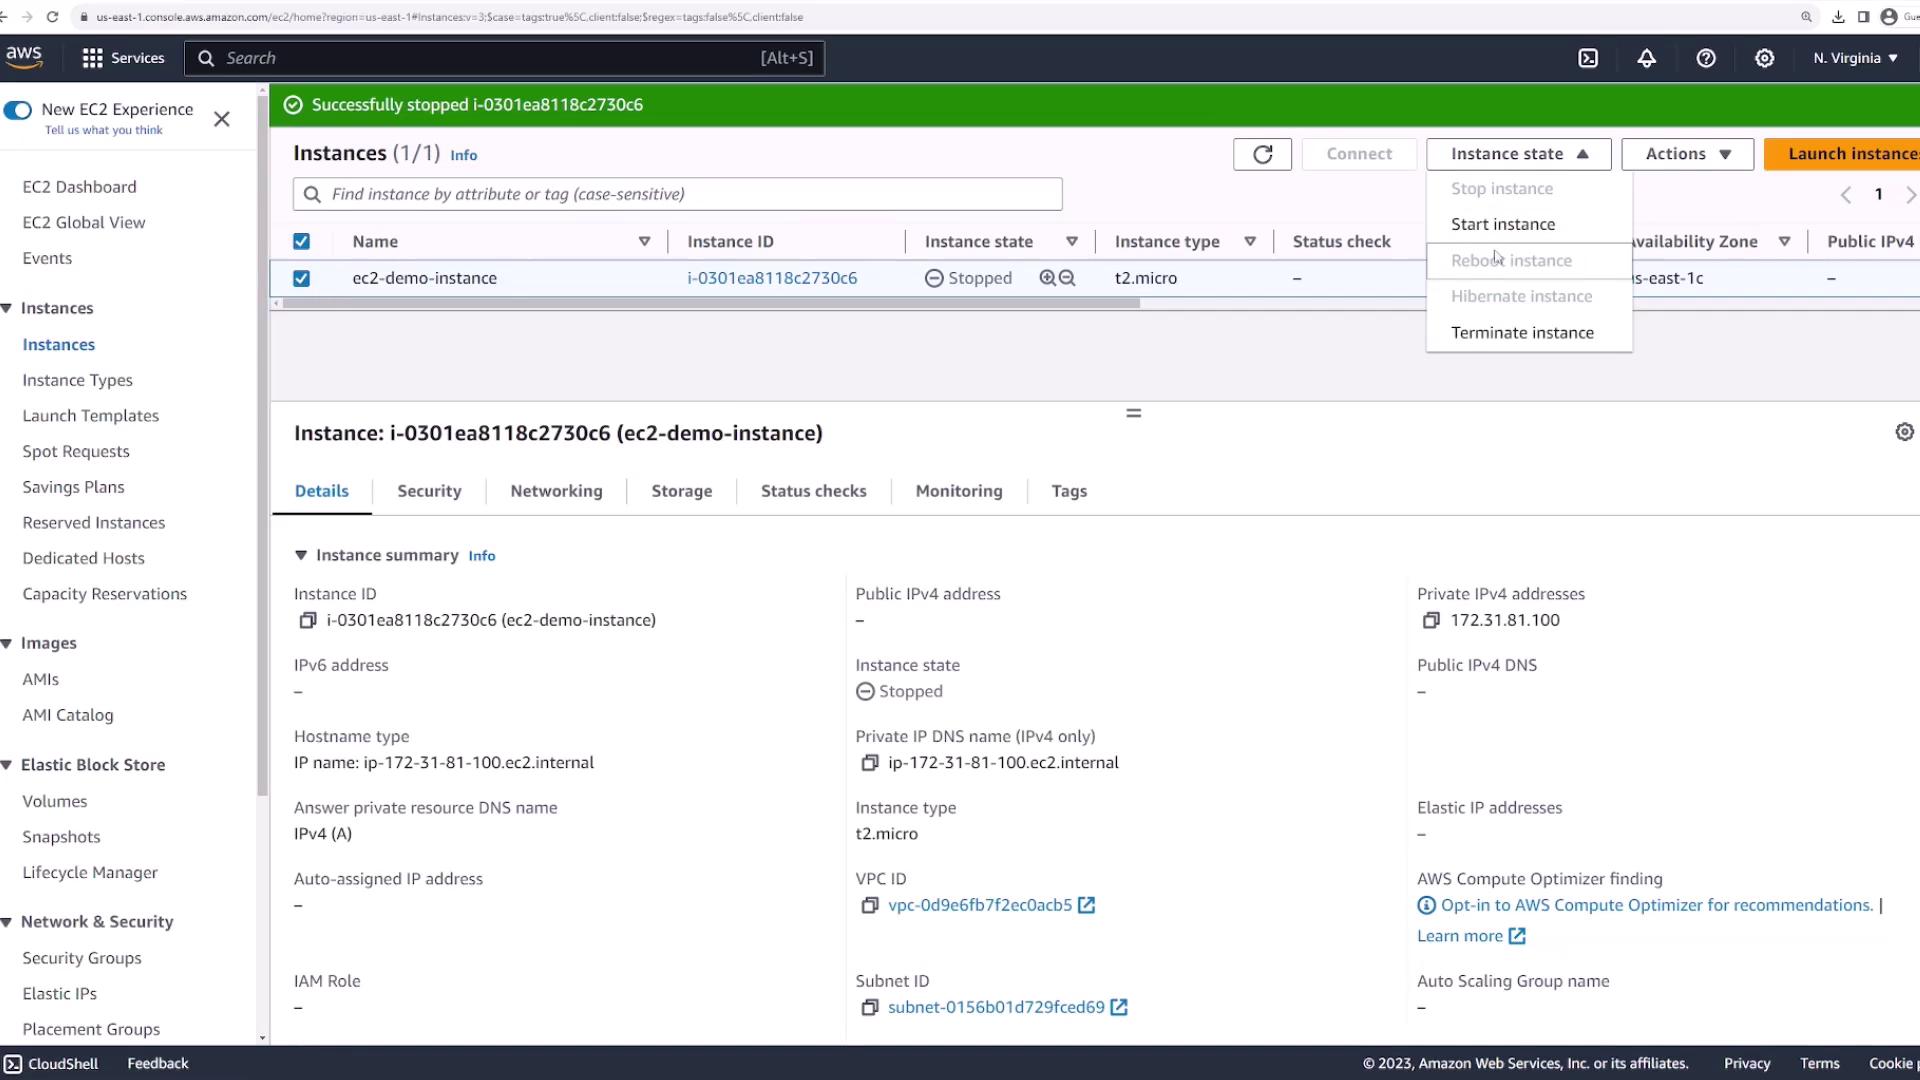
When you have finished using the instance, return to the AWS Management Console to manage its state.To stop the instance, select it and choose Stop Instance from the Instance State menu. The instance will change from running to stopping, and eventually to stopped.
Once the instance is stopped, you can either start it again, reboot, or hibernate. If you no longer need the instance and want to avoid additional charges, terminate it. The instance will enter a terminating state and then be deleted from your account.
Remember to terminate your EC2 instance if it is no longer needed. Unused instances may continue to incur costs.
This lesson has demonstrated how to deploy an Amazon EC2 instance, securely connect to it, and manage its lifecycle effectively. For more details on EC2 instance management and additional AWS services, visit the AWS Documentation.