AWS Certified Developer - Associate

AWS Fundamentals

S3 Basics Demo

In this guide, you'll learn how to create and manage an Amazon S3 bucket using the AWS Management Console. We will cover accessing the S3 service, creating a bucket, uploading files, organizing objects, and deleting the bucket—all while exploring key S3 features.


Accessing the S3 Service

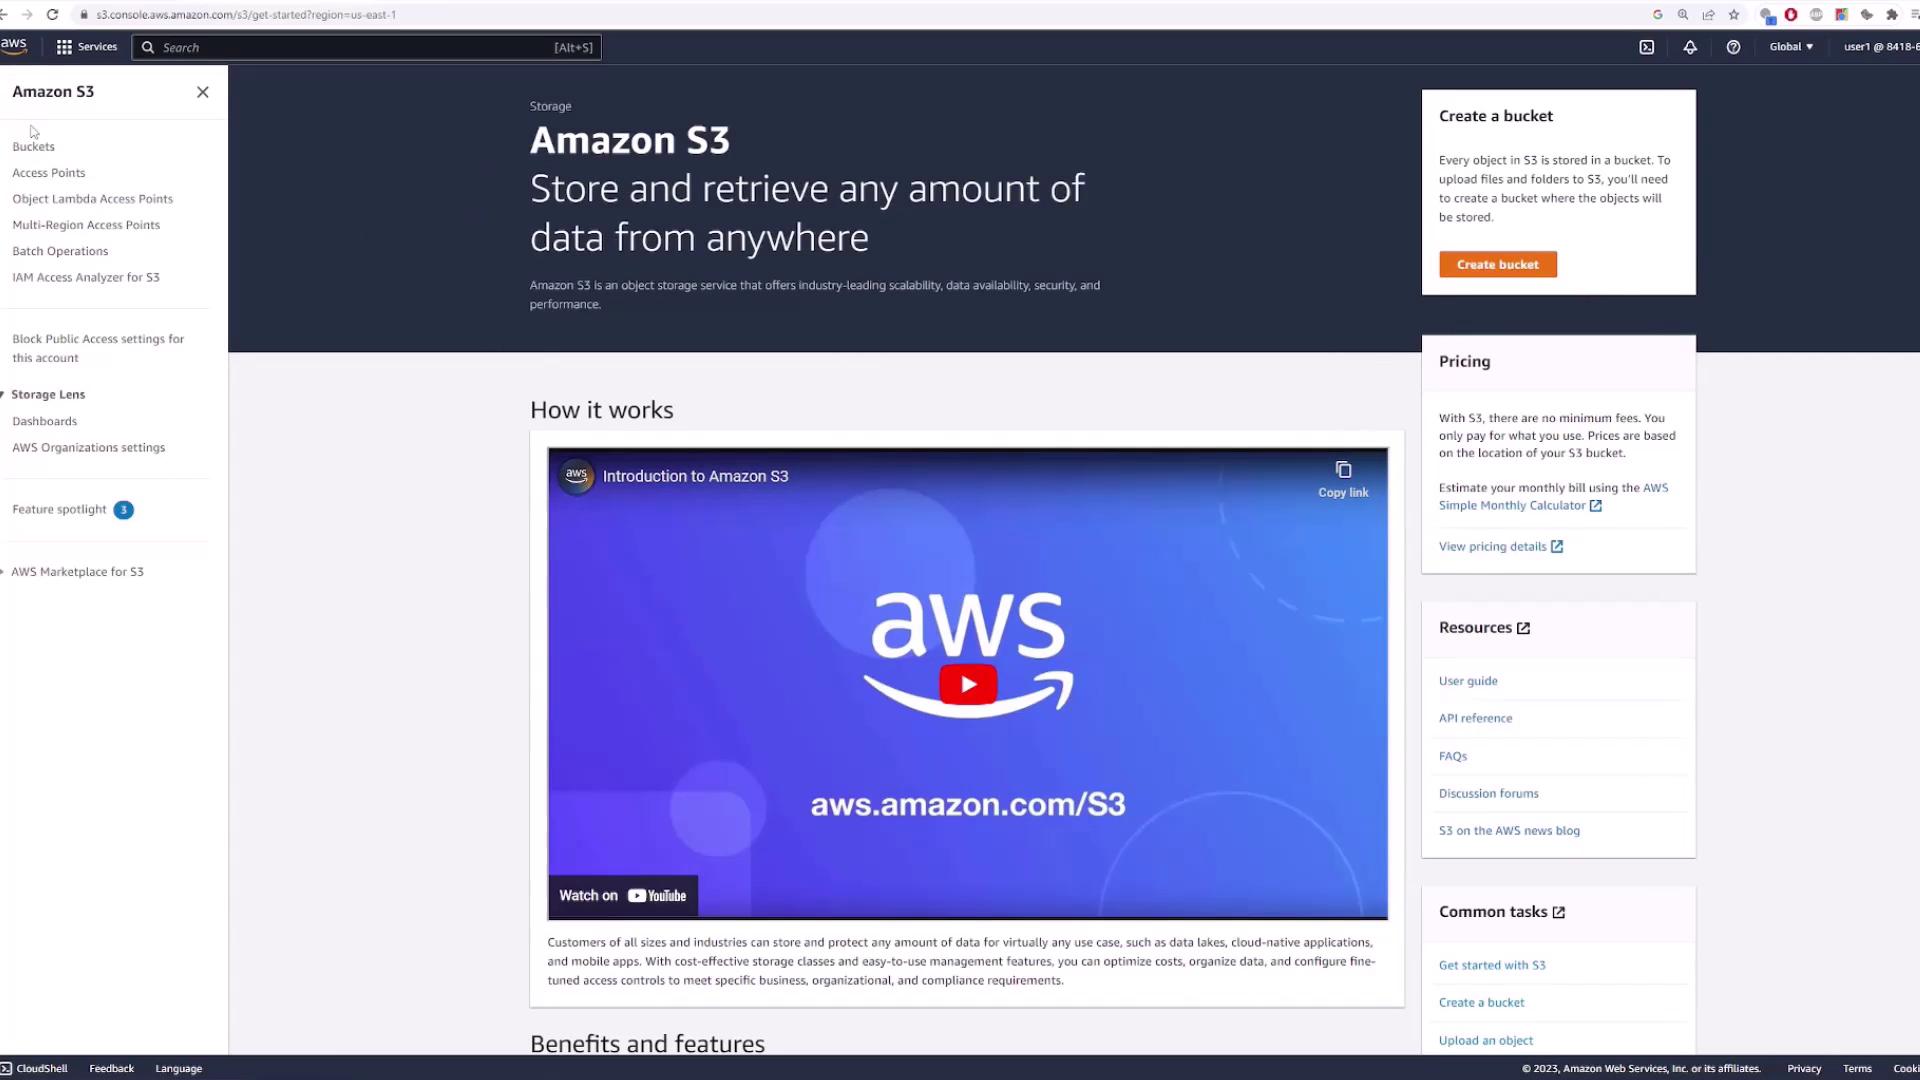
Begin by logging in to the AWS Management Console. In the search bar, type "S3" to locate and access the S3 service. This page allows you to manage your buckets. If you have not created any buckets yet, you'll see a prompt to create one; otherwise, a list of your existing buckets will be displayed.

The image shows the AWS Management Console with a search for "S3," displaying various related services and features like S3, S3 Glacier, AWS Snow Family, and AWS Transfer Family.

The image shows the Amazon S3 console interface, highlighting features like creating a bucket, pricing, and resources, with a video introduction to Amazon S3.


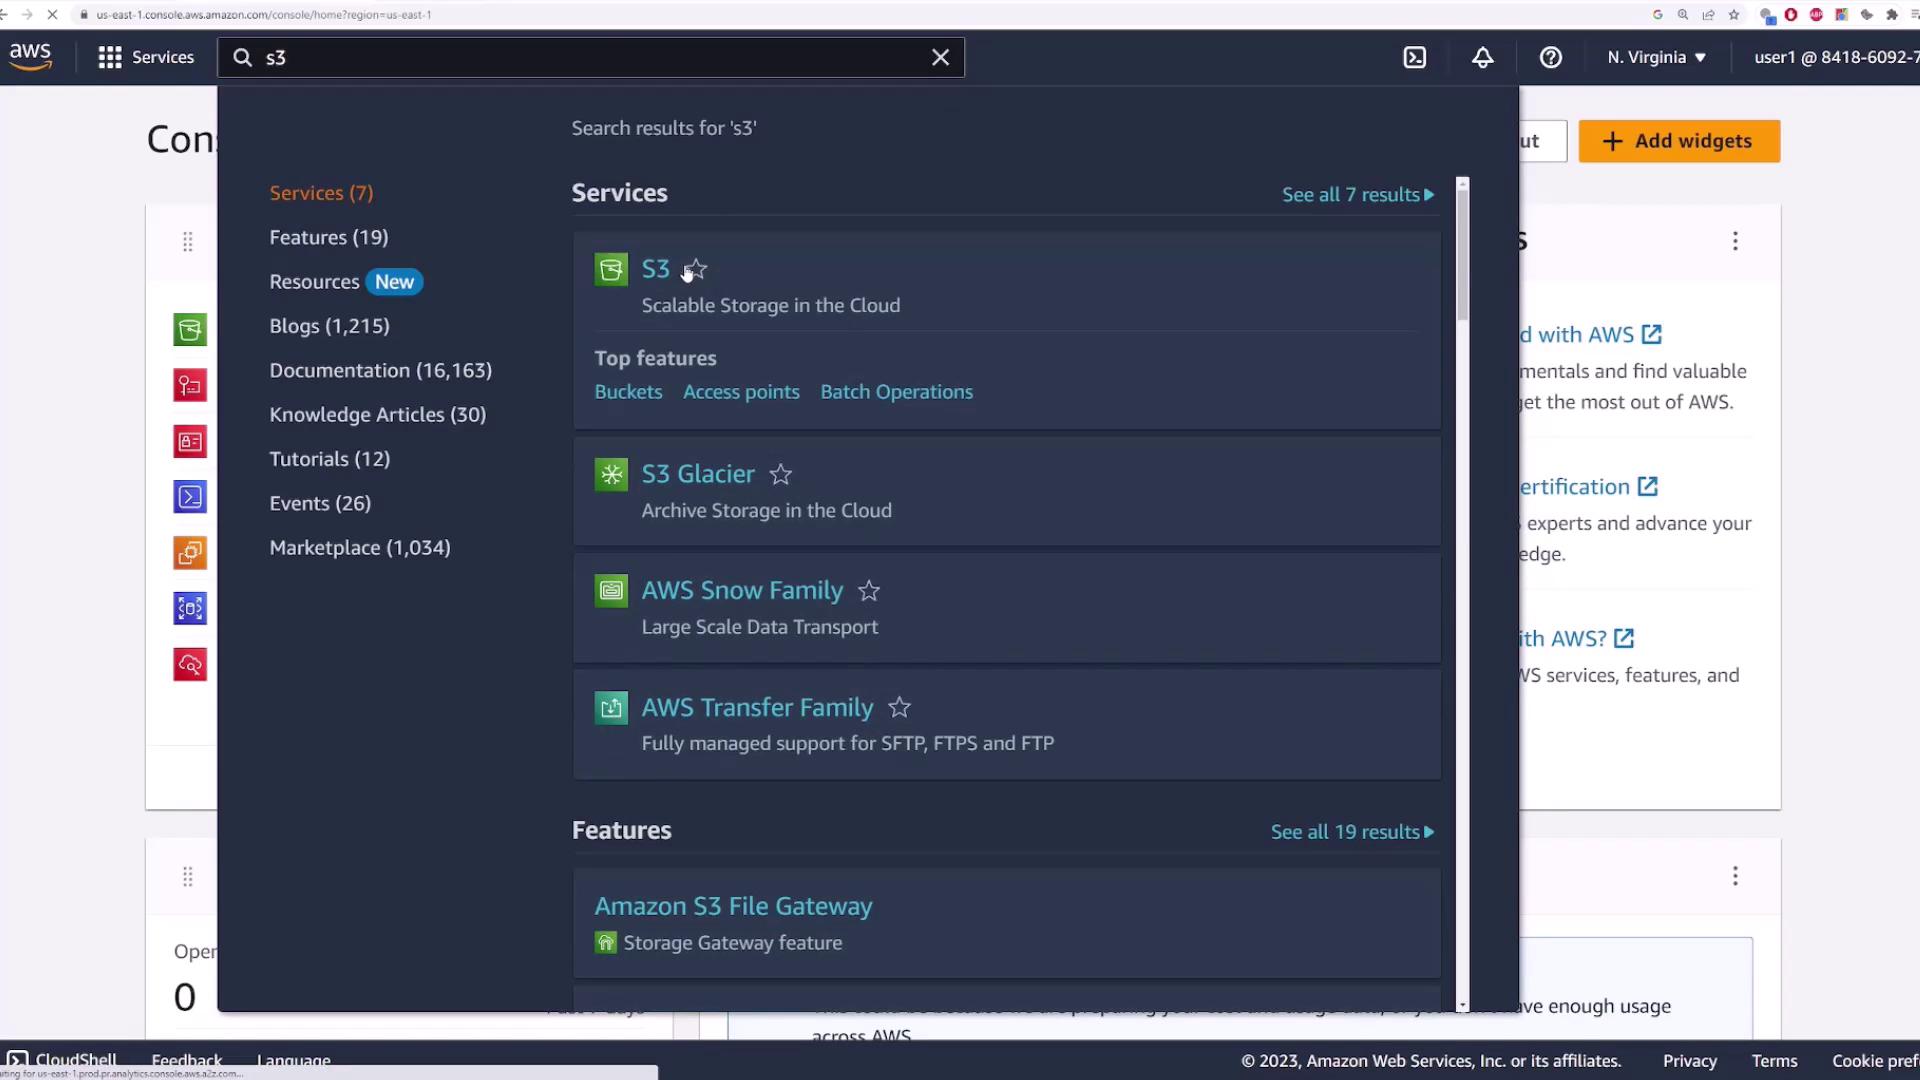
Understanding S3’s Global Namespace

Amazon S3 uses a global namespace, meaning that all your buckets across regions are displayed together. The specific region for a bucket is selected only during creation, not in the overall management interface.

The image shows an Amazon S3 console interface with an account snapshot and a list of AWS regions. There are no buckets created, and a "Create bucket" button is visible.

When you create your first bucket, you will be prompted to choose a specific AWS region.


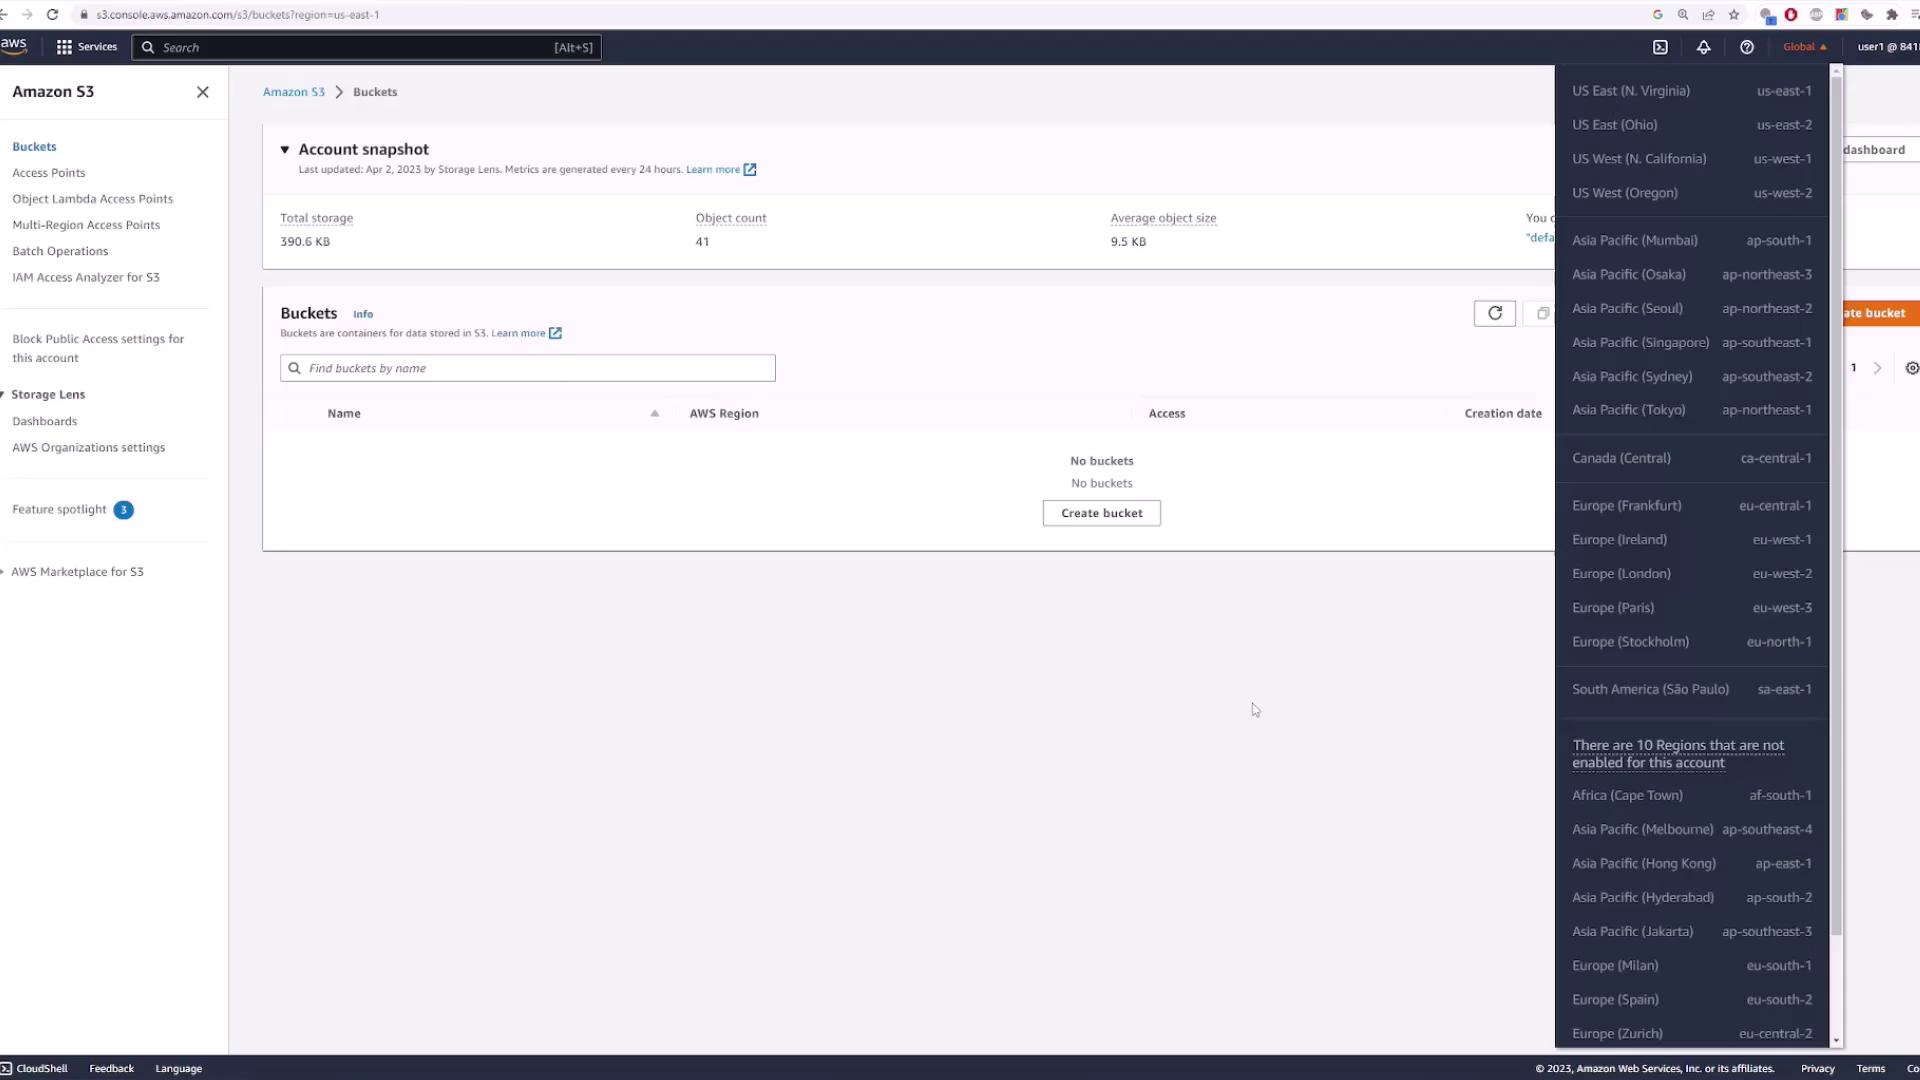
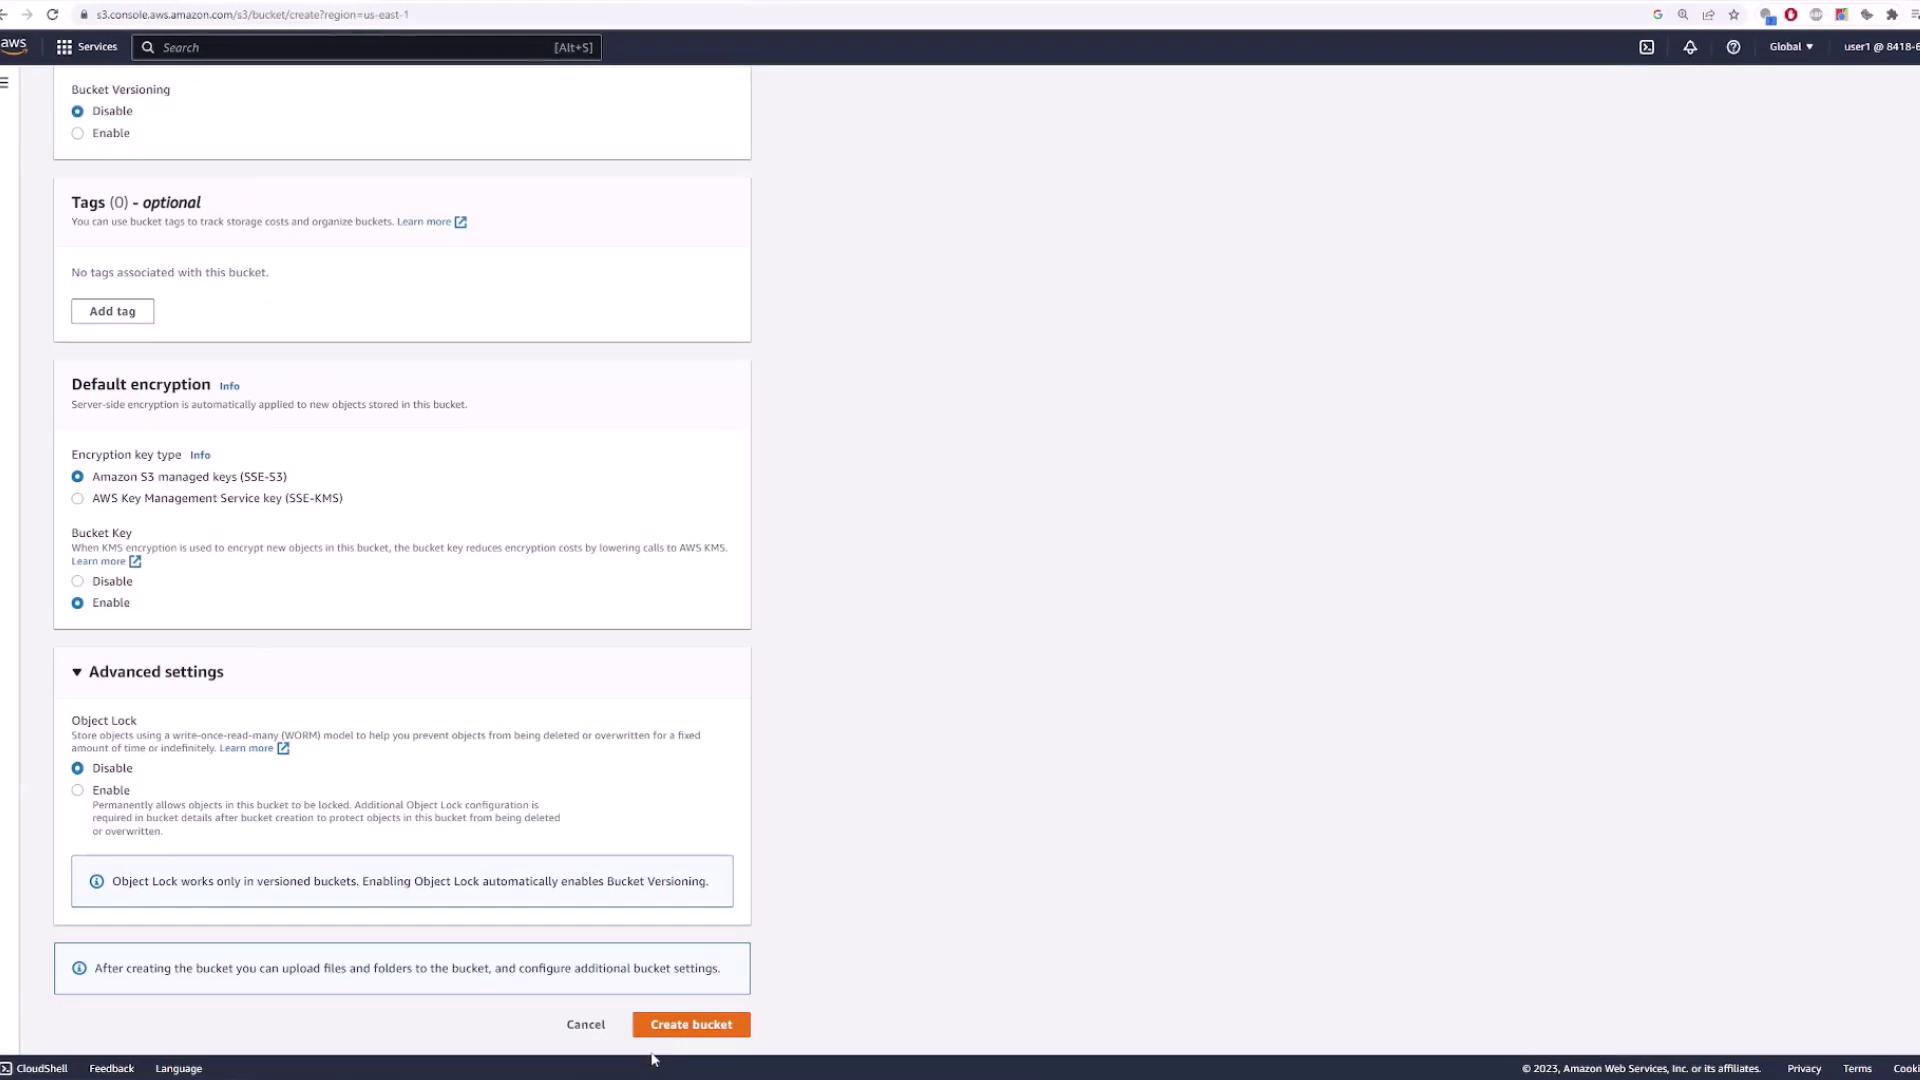
Creating Your First Bucket

Click on the Create bucket button. You must provide a unique bucket name since bucket names in S3 are globally unique. For this demo, we’ll use "KK-demo-123". If you need more information on naming conventions, consult the AWS documentation.

The image shows a screenshot of the AWS S3 "Create bucket" configuration page, including fields for bucket name, AWS region, and object ownership settings.

Next, select your desired region, for example, US East 1. You can also copy settings from an existing bucket, but for this introduction, the default settings for object ownership and block public access are sufficient. Finally, click Create bucket.

The image shows an AWS S3 bucket creation interface with options for bucket versioning, tags, default encryption, and advanced settings. The "Create bucket" button is visible at the bottom.

After successfully creating the bucket, it will appear in your list along with details such as its region and creation date.

The image shows an Amazon S3 dashboard with details of a bucket named "kk-demo-123" in the US East (N. Virginia) region. The account snapshot indicates total storage of 390.6 KB with 41 objects.

Click on the bucket name to access its details.


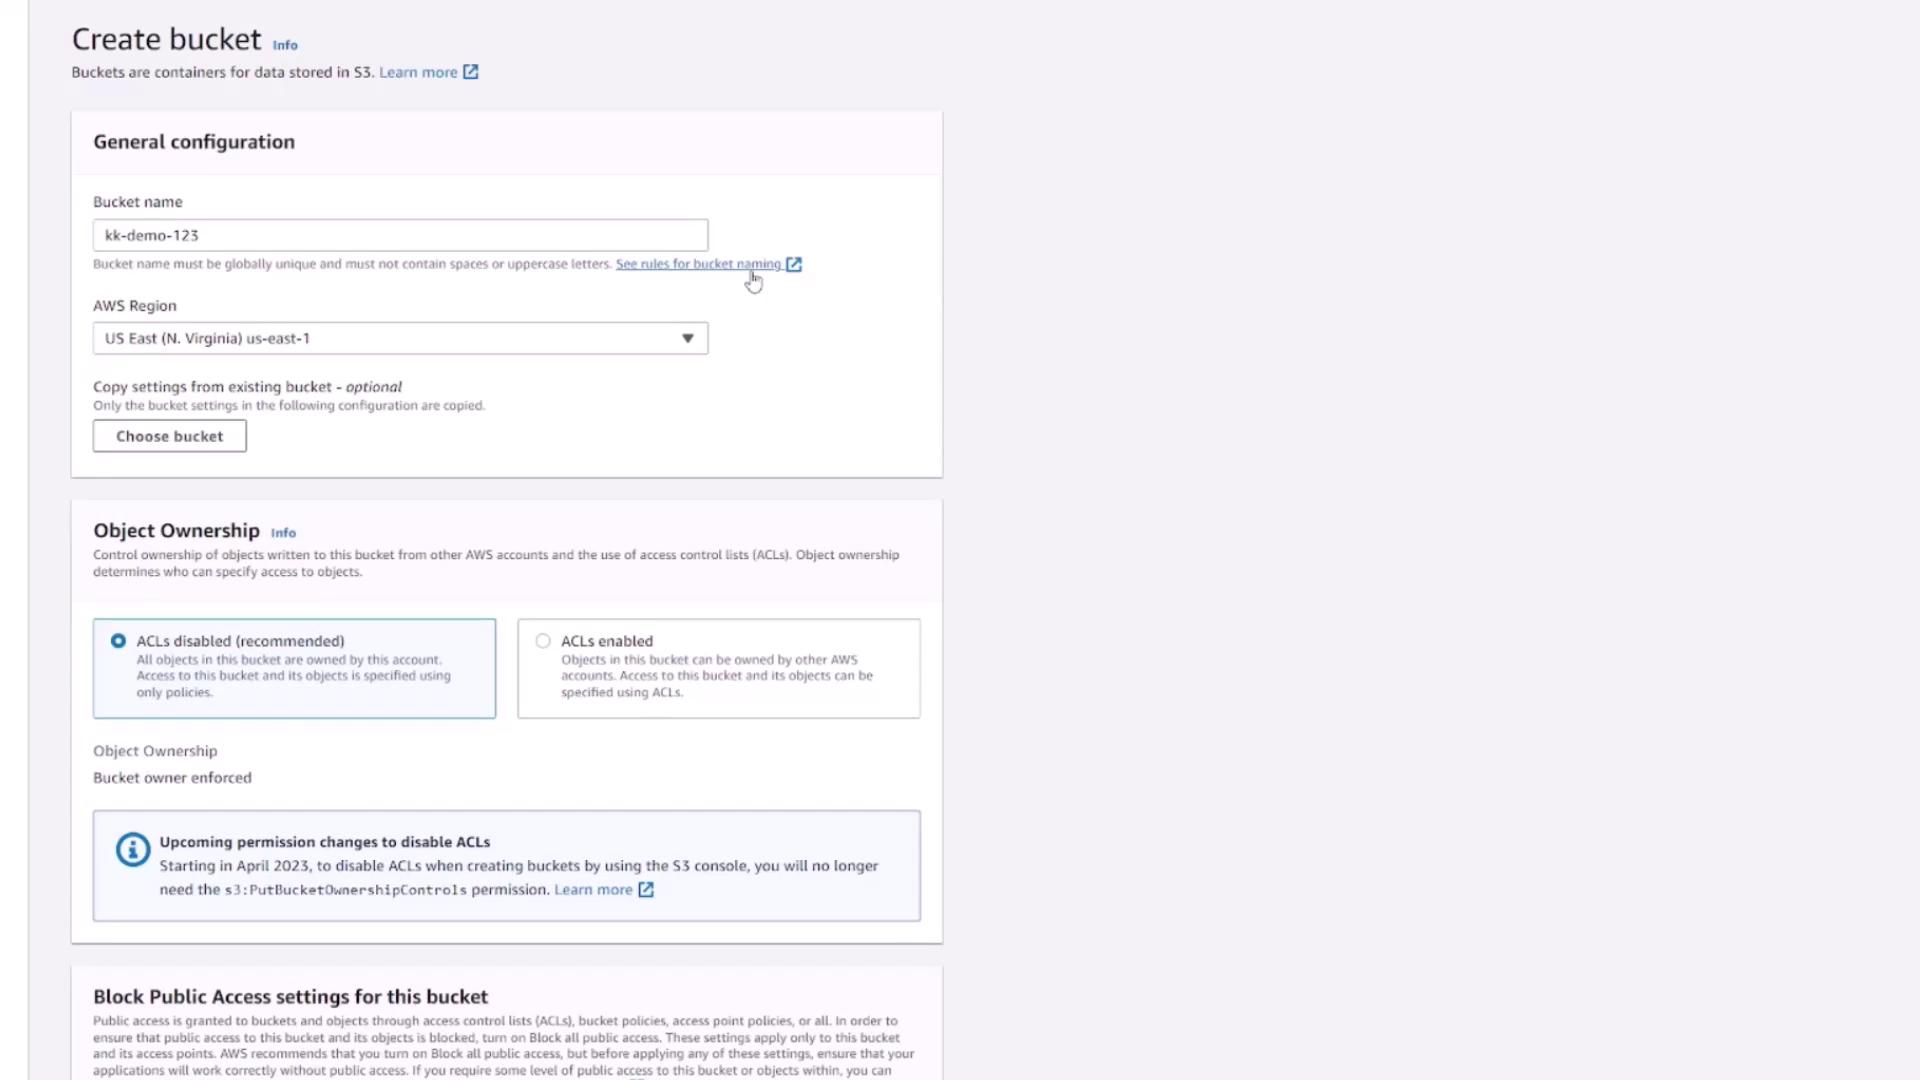
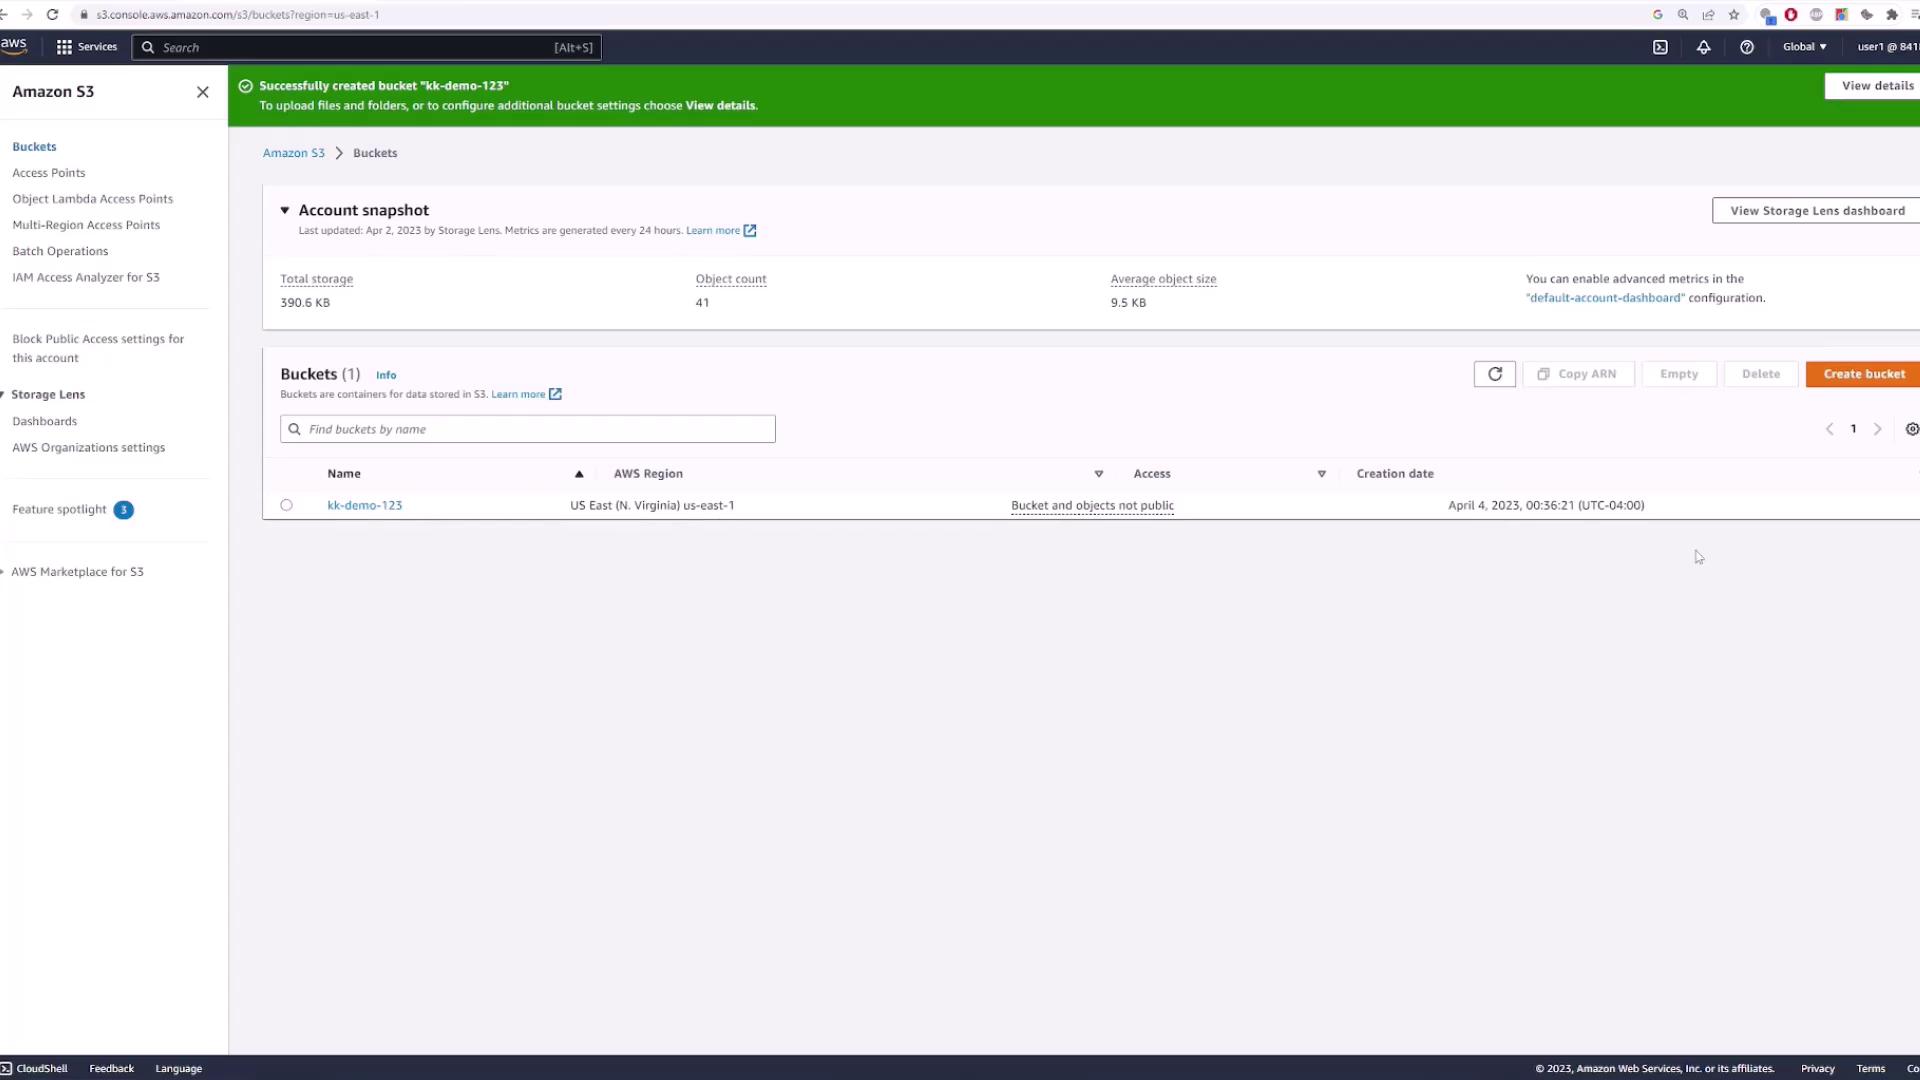
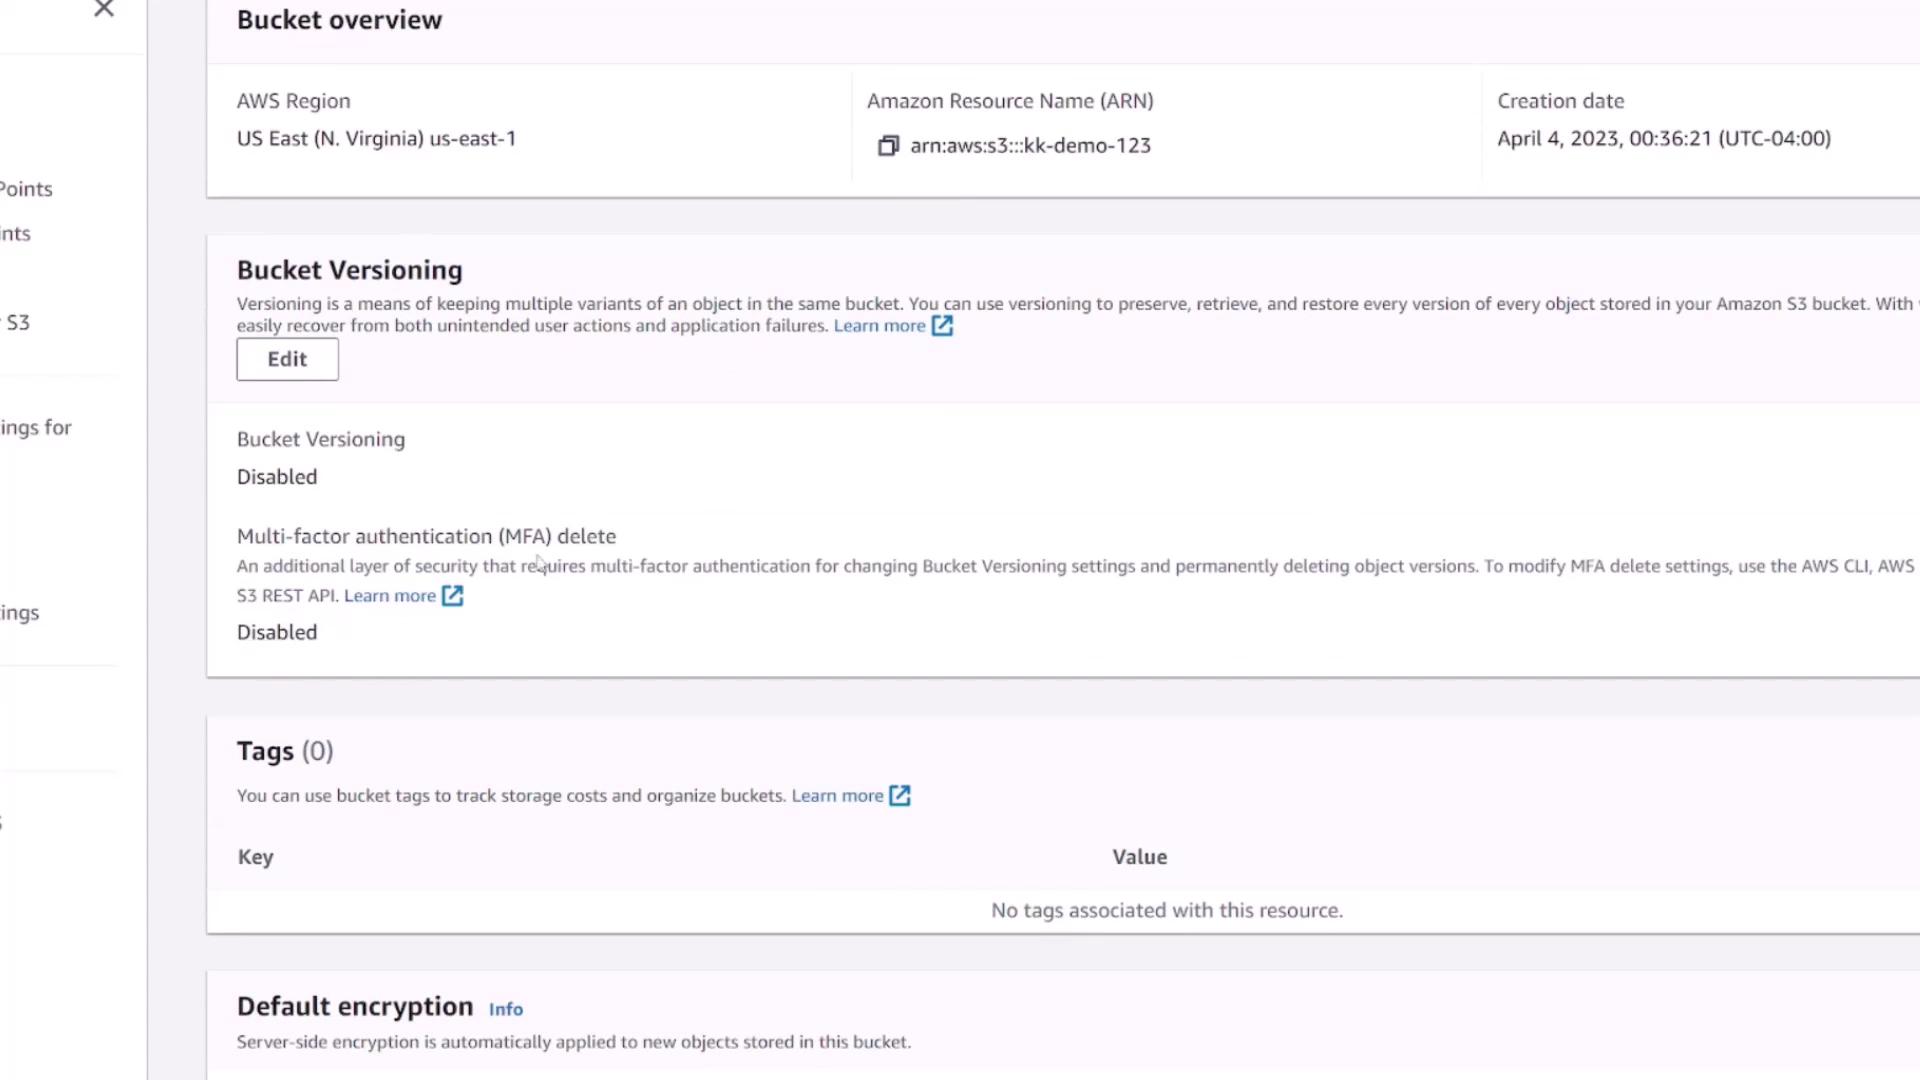
Exploring Bucket Contents and Properties

Once inside your bucket, you'll notice the Objects page where you can view or upload files—initially, this will be empty.
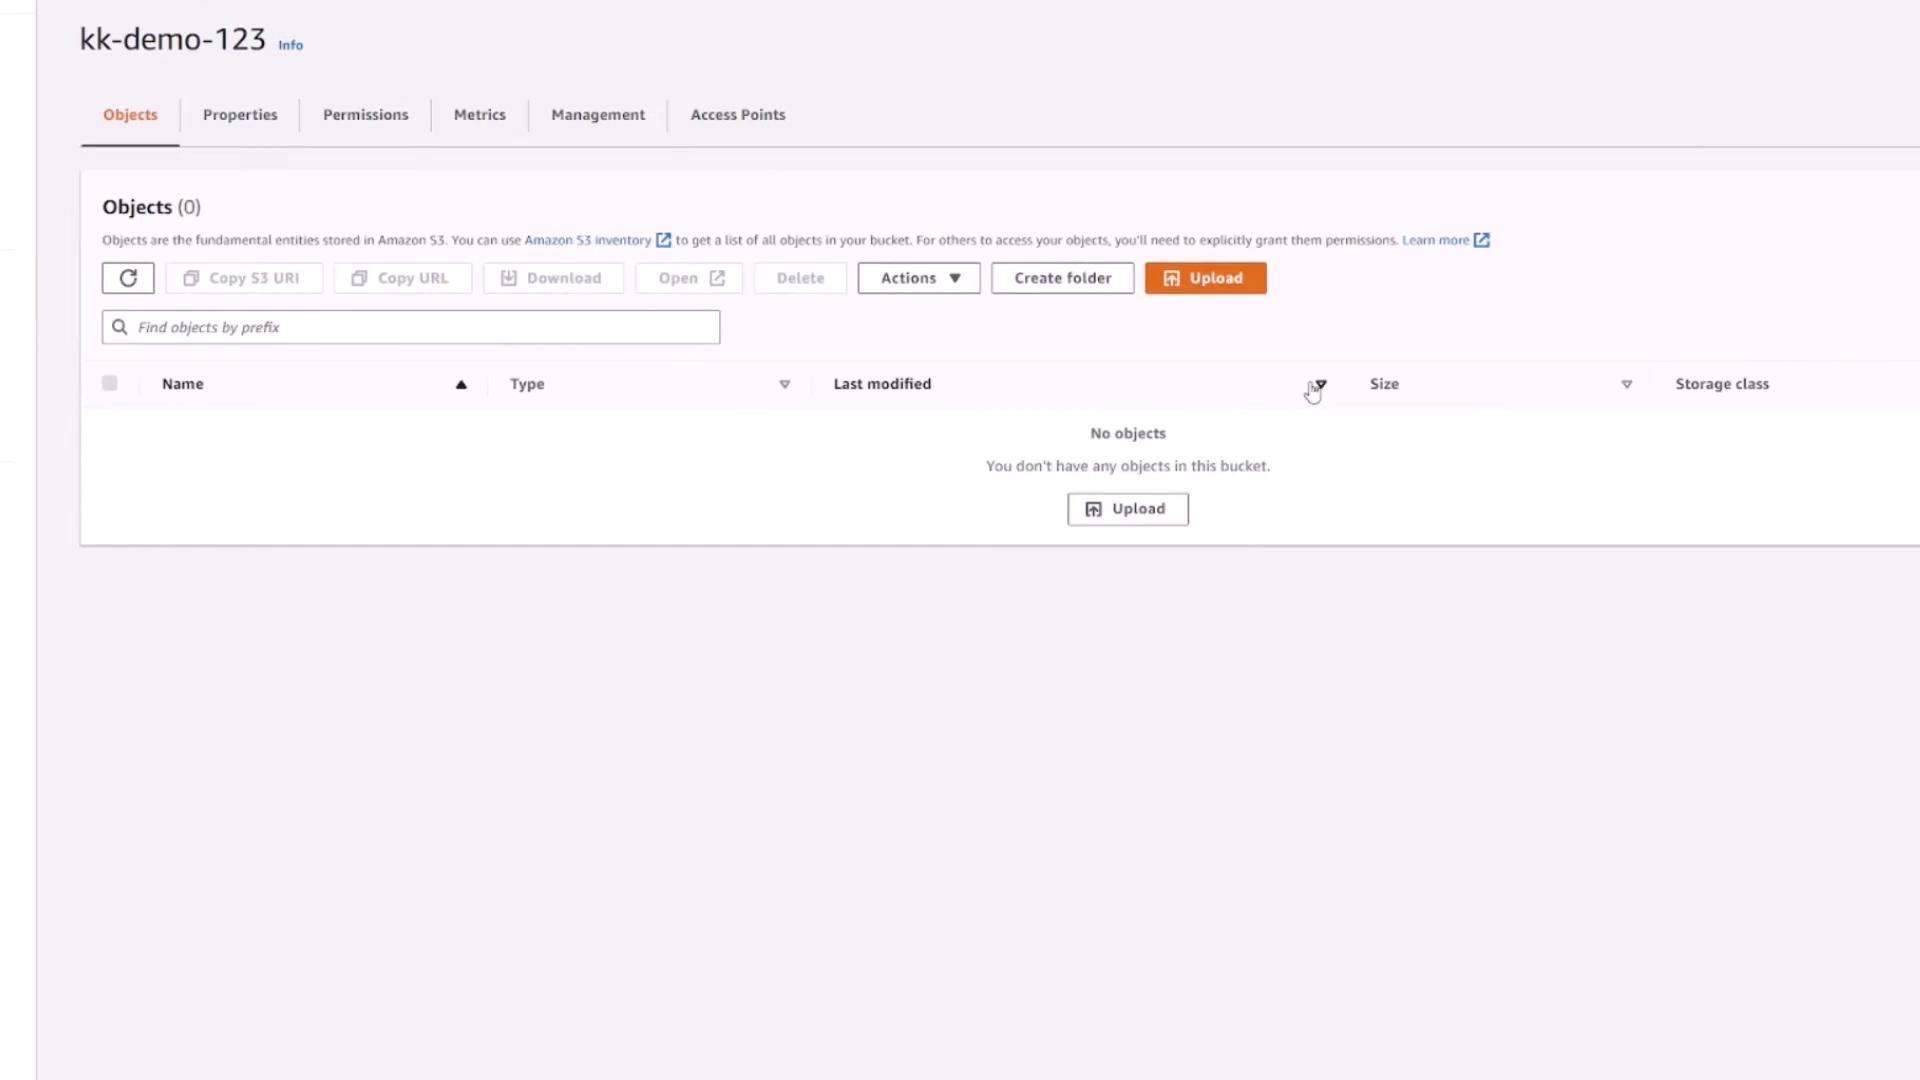
The image shows an Amazon S3 bucket interface named "kk-demo-123" with no objects uploaded. The interface includes options to upload files, create folders, and manage settings.

Switch to the Properties tab to review key configuration details, including:

  • Region
  • ARN (Amazon Resource Name)
  • Bucket creation date
  • Versioning status (disabled by default)

The image shows an AWS S3 bucket overview with details about bucket versioning, multi-factor authentication, tags, and default encryption settings.

Other available settings include server access logging, CloudTrail data events, and static website hosting. In the Permissions tab, manage the access rules for your bucket. By default, the bucket is private and accessible only to you.

The image shows an Amazon S3 bucket permissions settings page, indicating that the bucket and objects are not public, with public access blocked.

Additional metrics are available under the Metrics section, and advanced configurations like lifecycle policies, replication rules, inventory configurations, and access points can be found under Management.


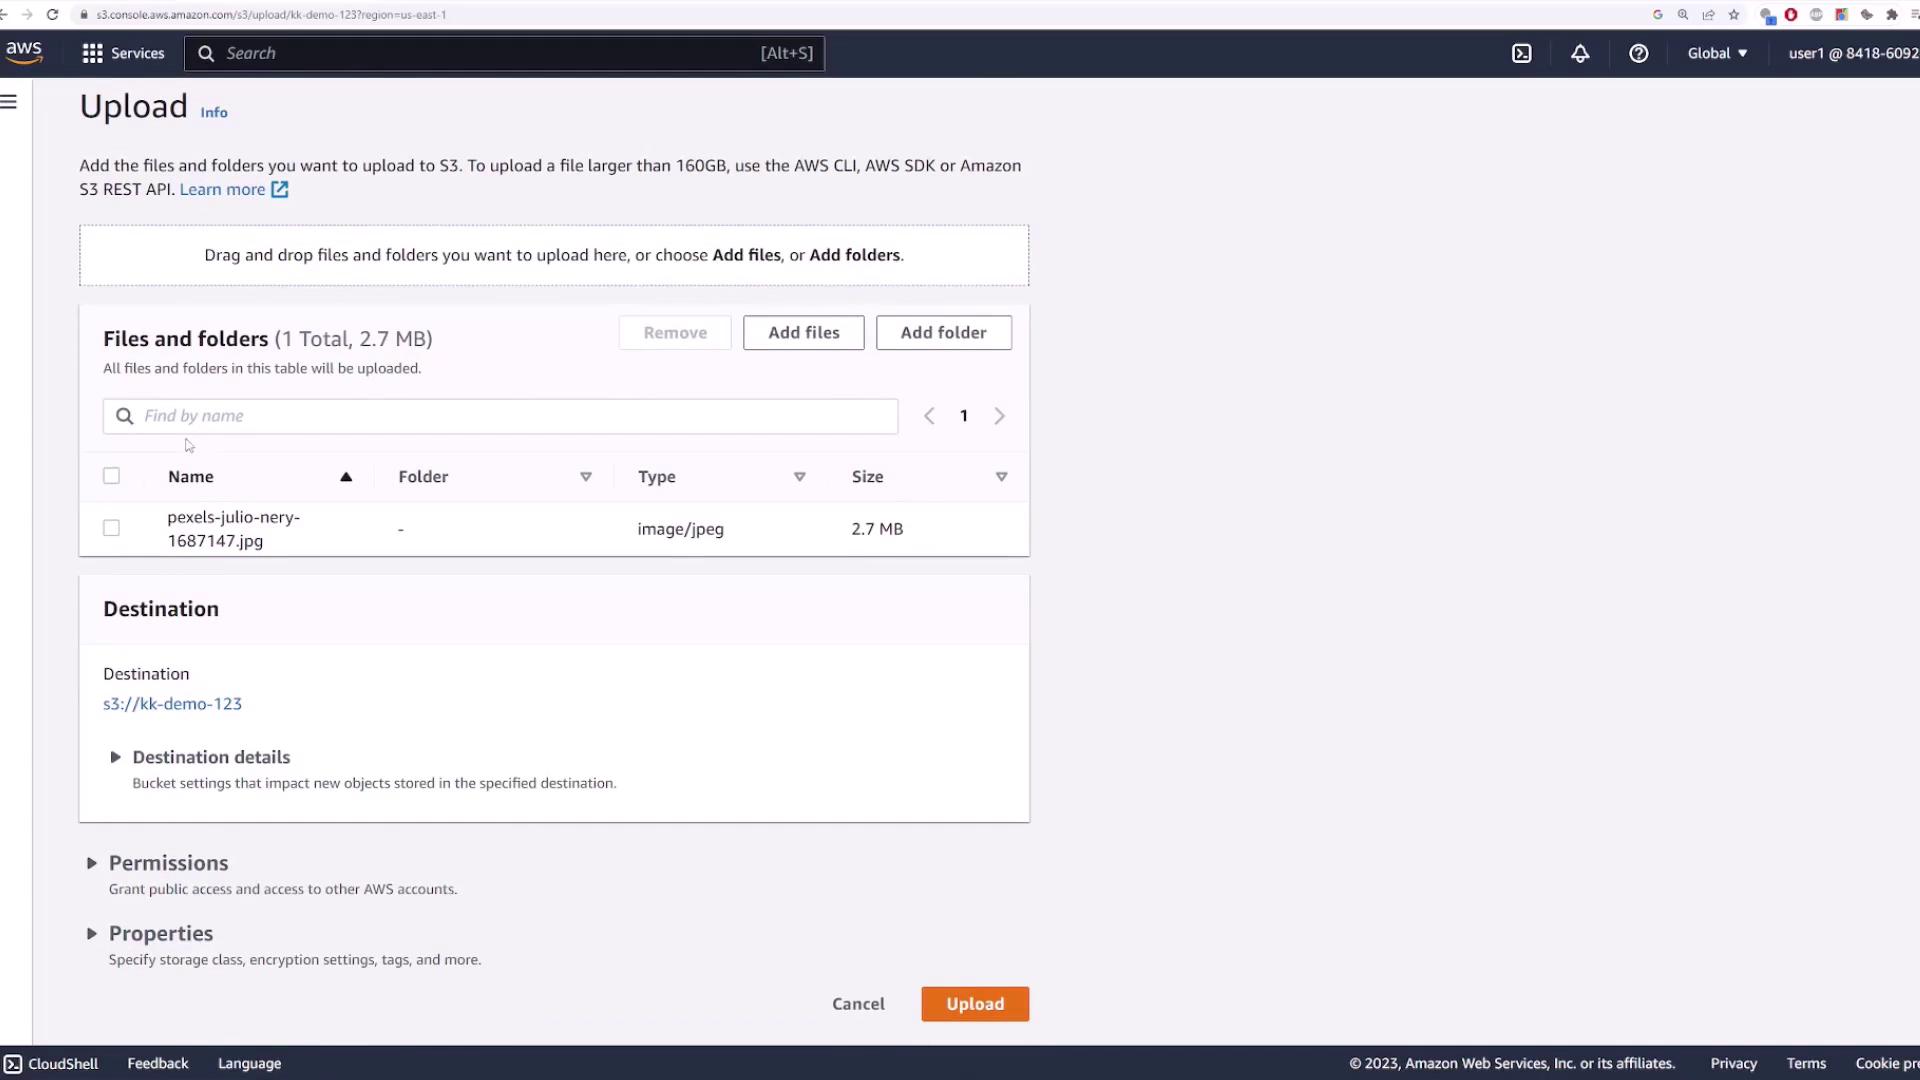
Uploading Files to the Bucket

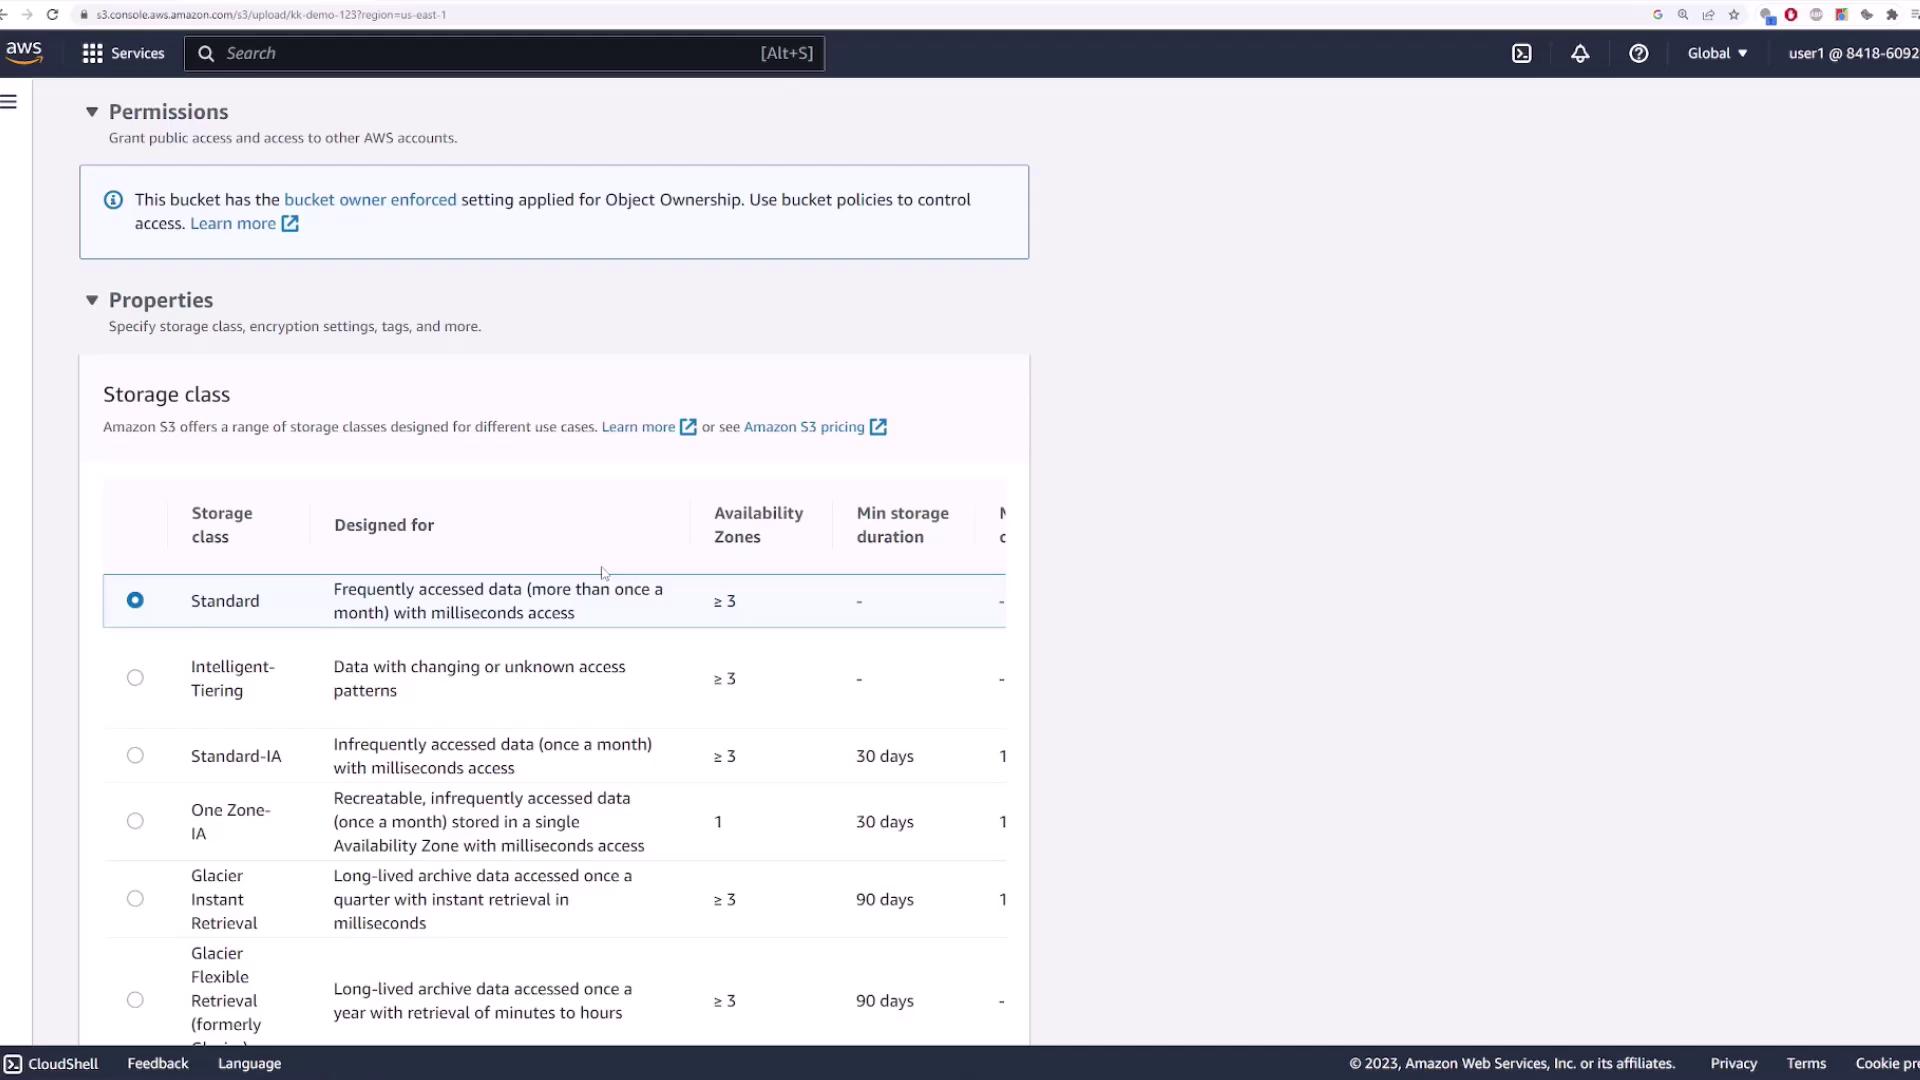
To add files, navigate back to the Objects page and click Upload. You can drag-and-drop files or use the file selection dialog.

Tip: When uploading, ensure that your files comply with S3’s naming conventions and that you understand the available storage class options. These options balance cost, access frequency, and redundancy.

For instance, you can upload a photo file, after which the file details such as size and type (e.g., JPEG) will be displayed.

The image shows an AWS S3 upload interface with a file named "pexels-julio-nery-1687147.jpg" ready to be uploaded to the "kk-demo-123" bucket. The file is 2.7 MB in size.

During the upload, you can modify settings like versioning and permissions. If left unchanged, the file inherits the bucket’s default settings. S3 also offers multiple storage classes, which you can select based on your requirements.

The image shows an Amazon S3 console screen displaying storage class options and their properties, such as availability zones and minimum storage duration.

After confirming the upload, a green check mark will appear to signal success. Click the file to view its detailed properties including:

  • Region and file size
  • Last modified date
  • Unique URI and ARN
  • Direct object URL
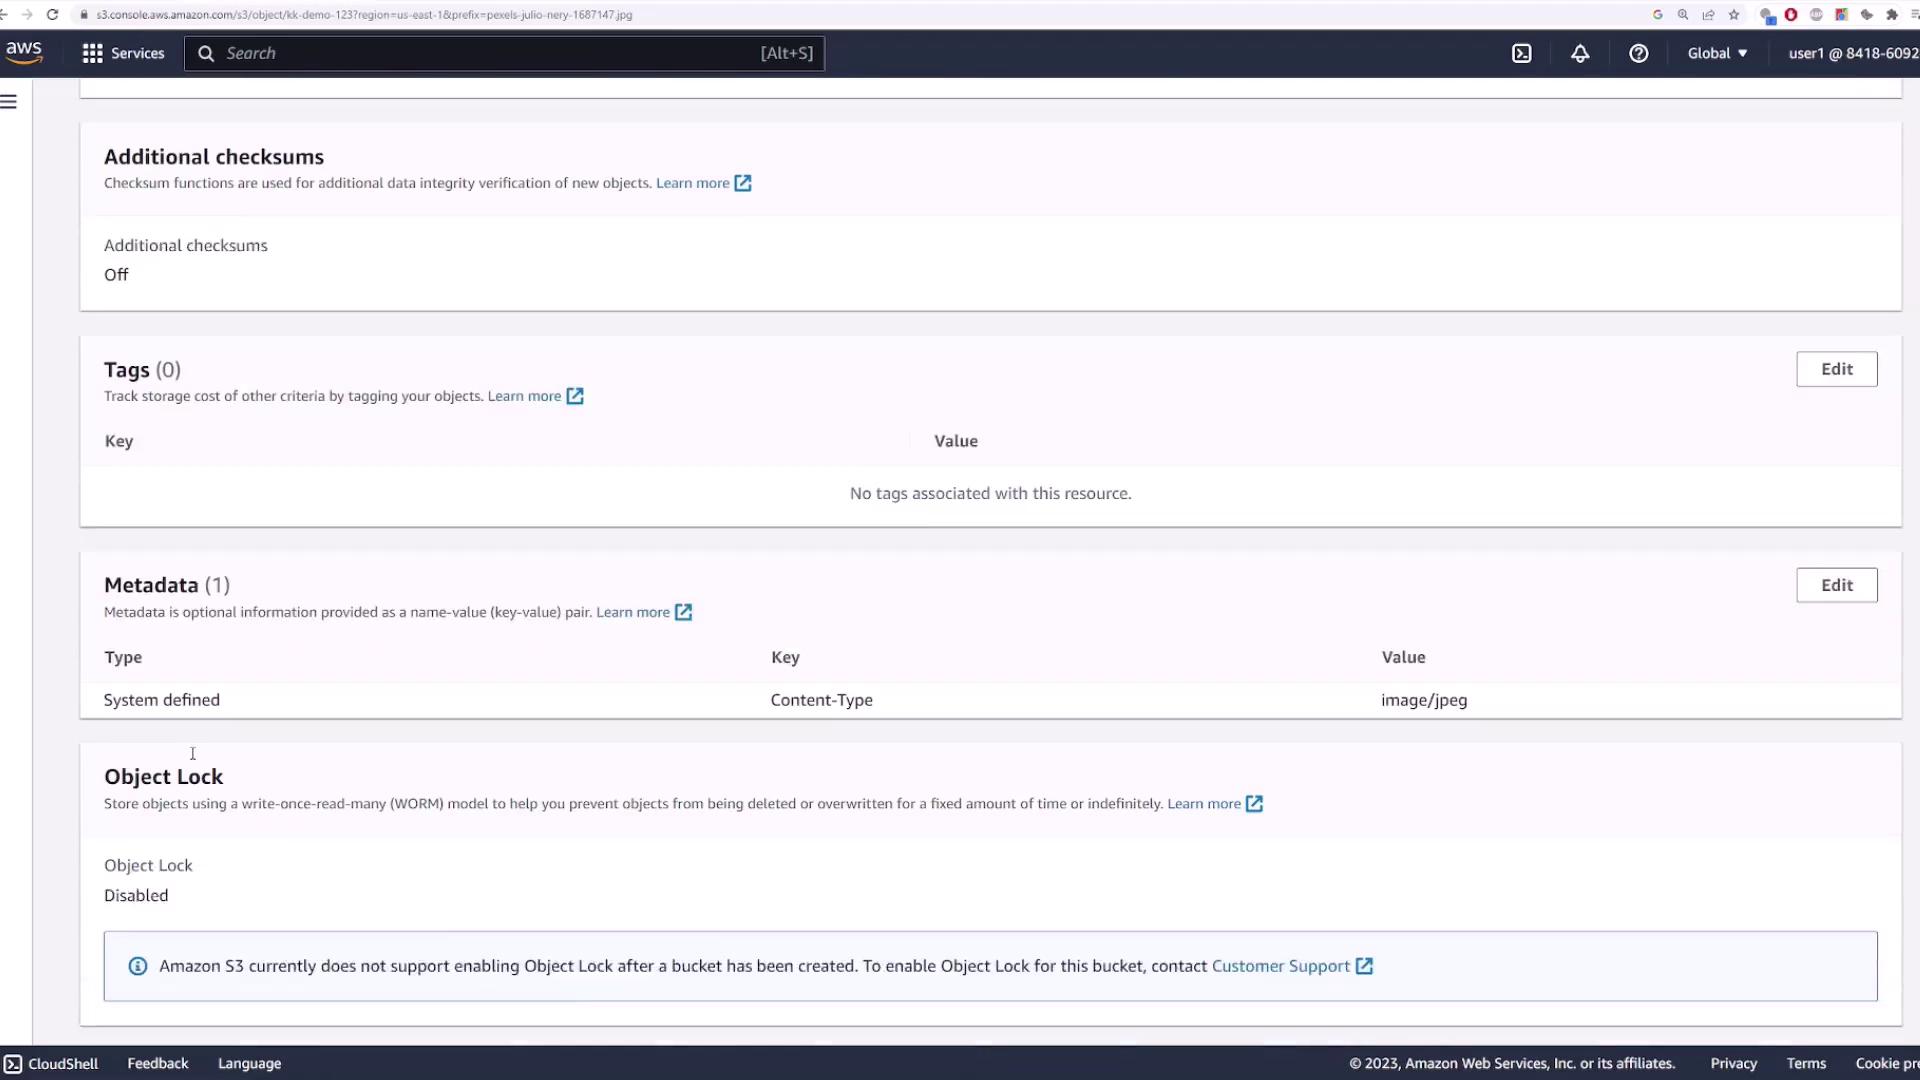
  • Additional settings like object lock, storage class, and server-side encryption

The image shows an Amazon S3 console interface displaying details about an object, including sections for additional checksums, tags, metadata, and object lock settings.


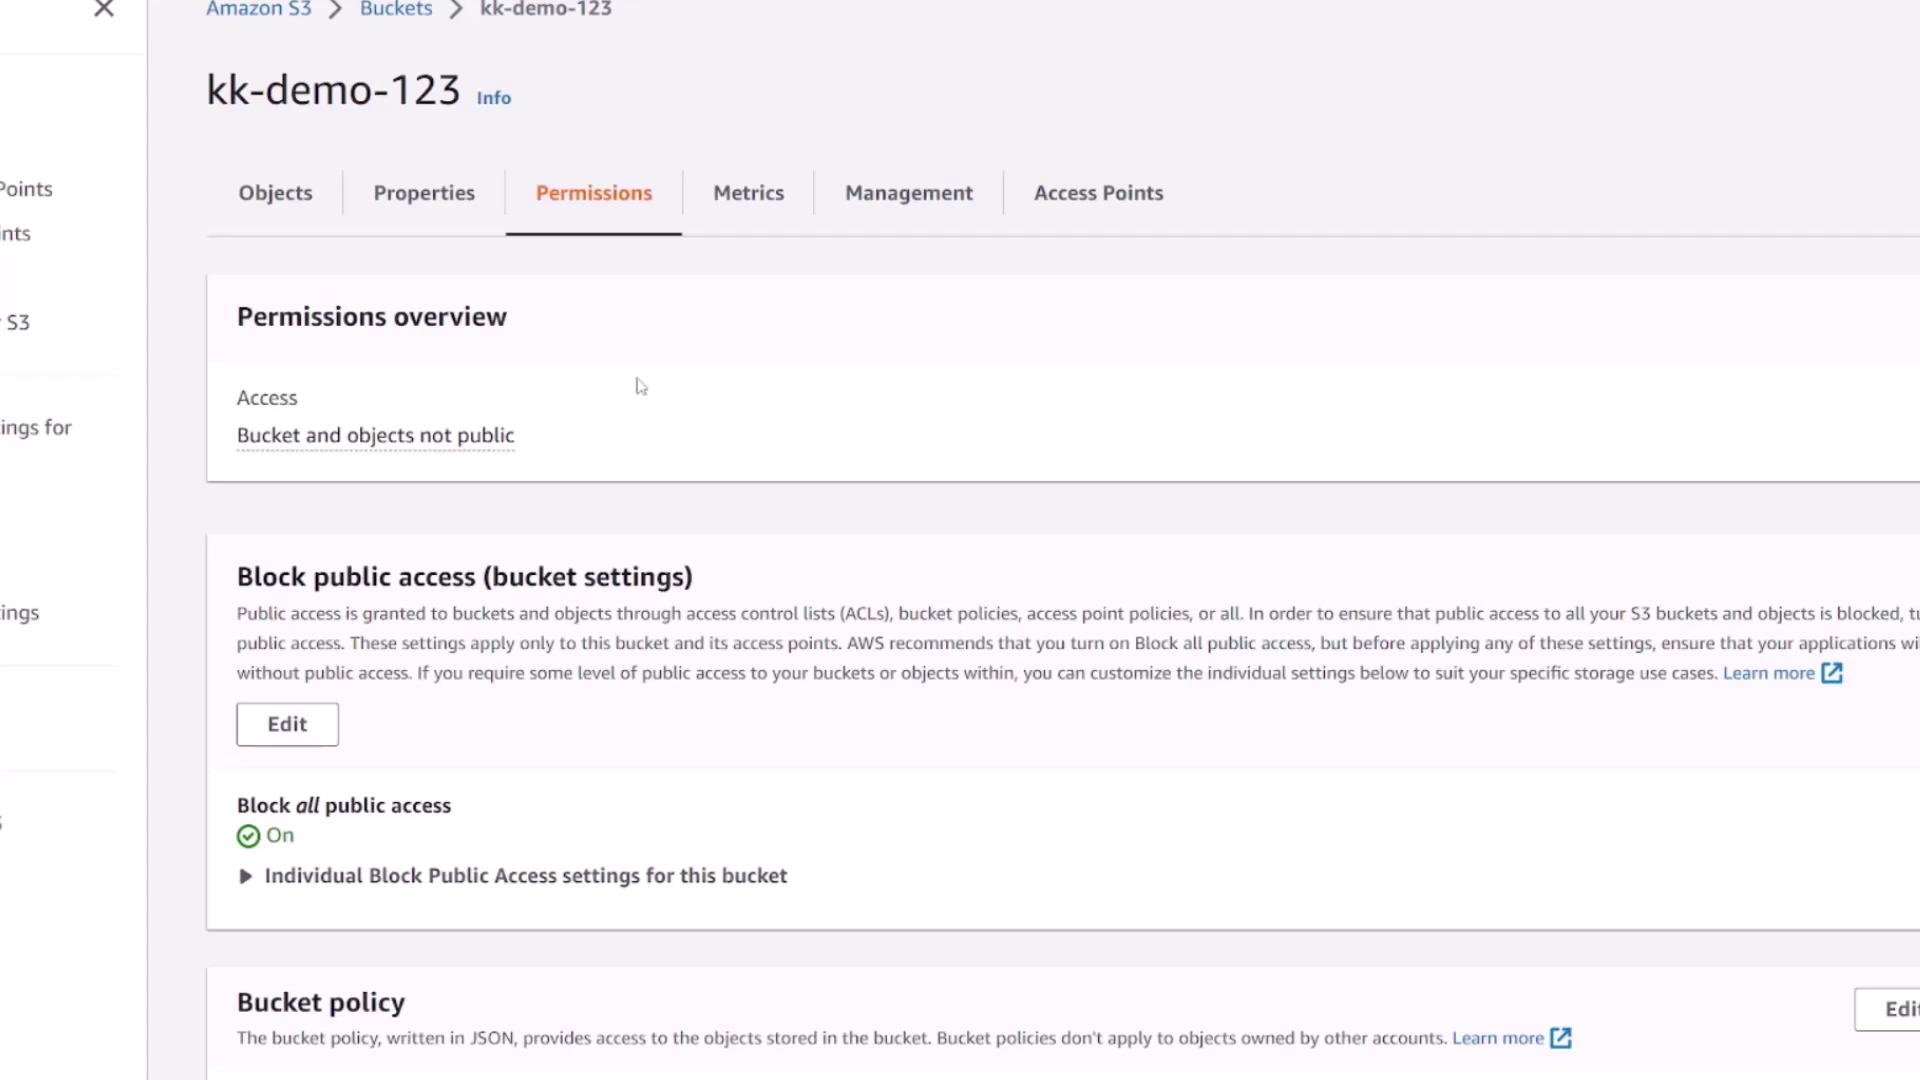
Accessing Files: Authenticated vs. Public Users

When you click the file’s URL as a public (unauthenticated) user, you will see an access denied message:

<Error>
    <Code>AccessDenied</Code>
    <Message>Access Denied</Message>
    <RequestId>PYW004S2RAZJBVDC</RequestId>
    <HostId>ibsVnlokTmiJkuXW/MjiamVADURSB1TvwBq2LKvw9e5u/RyLkNqAWF+xtbFDK[iu]</HostId>
</Error>

This occurs because, by default, S3 buckets and their content are private. If you access the file using the Open button in the S3 interface while authenticated, the URL will include your authentication credentials, granting access to the file.

Security Reminder: Always ensure that your S3 bucket permissions match your security requirements. Use authenticated access for sensitive data or adjust permissions if you need to allow public access for specific files.


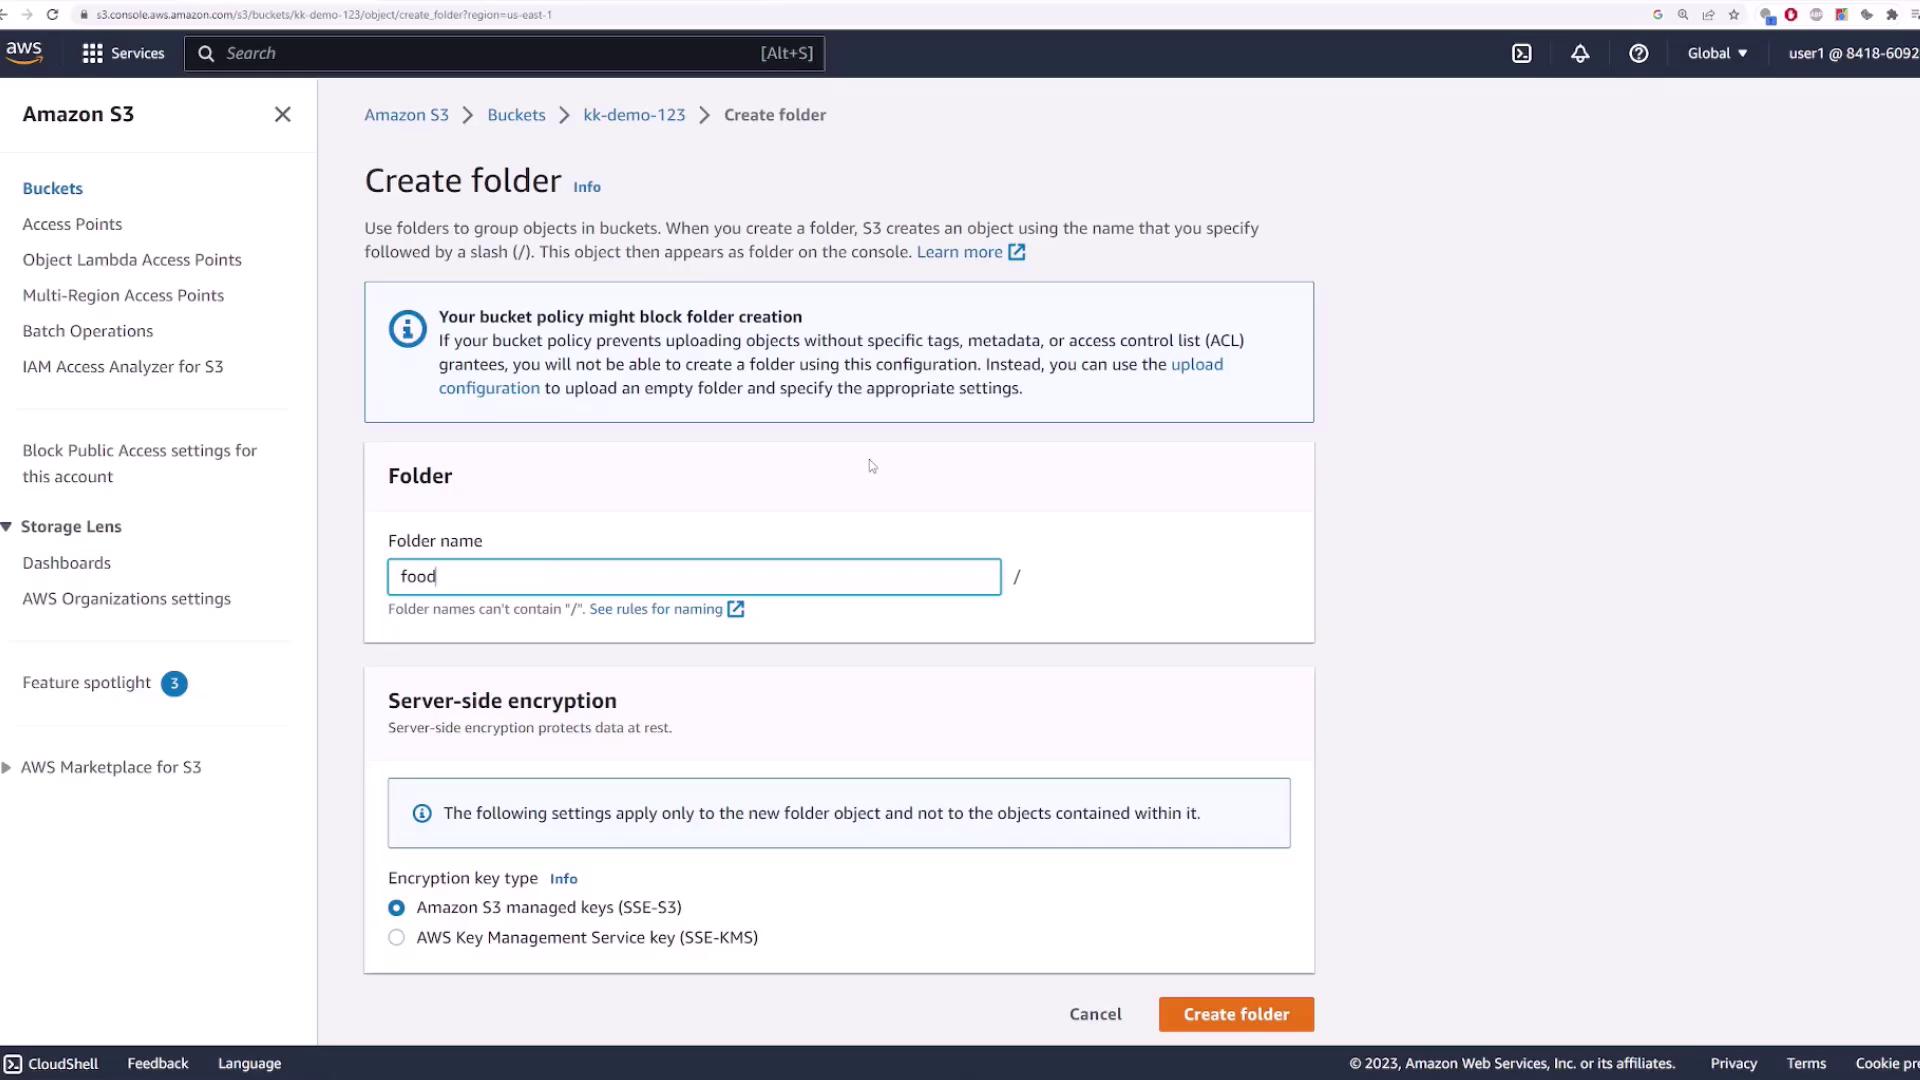
Creating Folders and Organizing Files

Although Amazon S3 employs a flat storage structure without true folders, folder-like organization can be simulated using prefixes in object names.

Follow these steps to create a folder:

  1. Click Create folder.
  2. Name the folder (for example, "food").
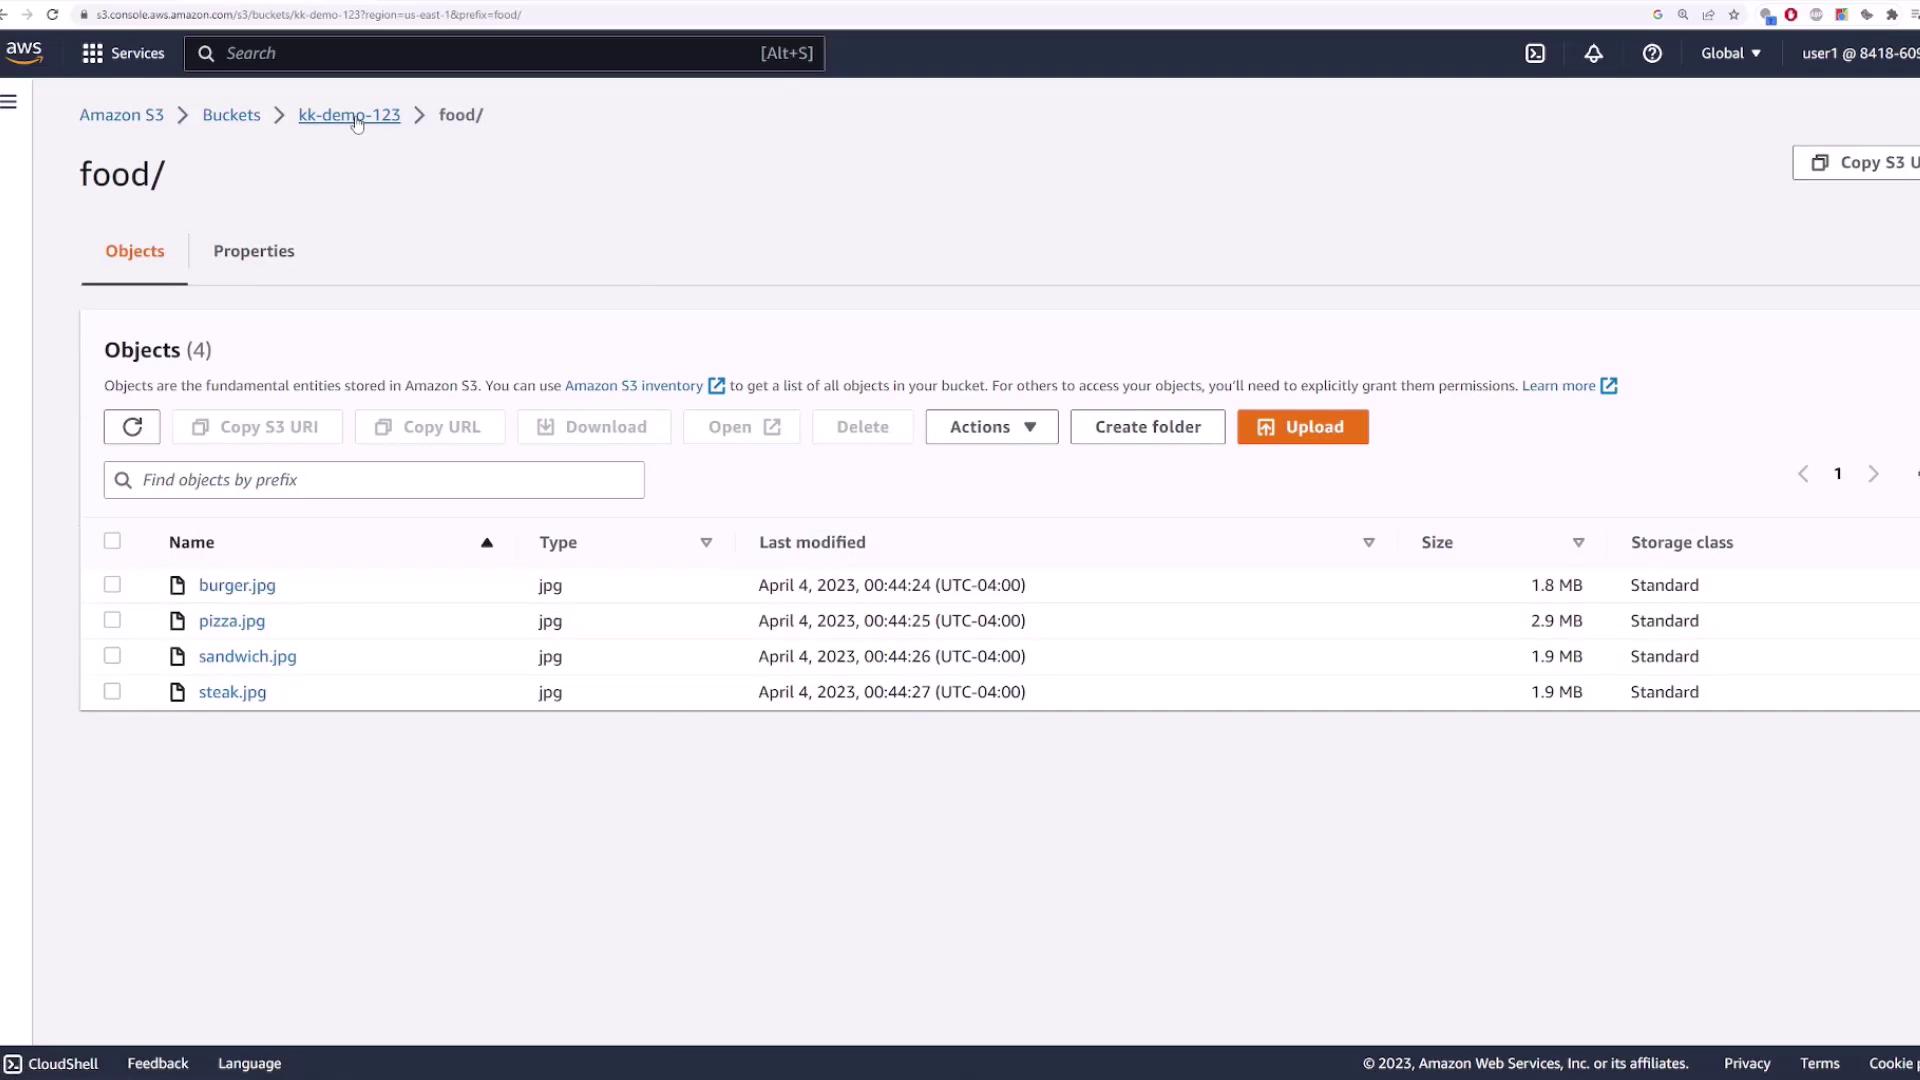
  3. Open the newly created folder and upload additional files, such as high-resolution food images.

The image shows an Amazon S3 interface where a user is creating a folder named "food" with options for server-side encryption.

After creating the folder, both the original file and folder will be visible in your bucket. Files uploaded within the folder will have keys prefixed with the folder name (e.g., "food/burger.jpg").

The image shows an Amazon S3 console with a bucket named "kk-demo-123" containing four image files: burger.jpg, pizza.jpg, sandwich.jpg, and steak.jpg.

Click Open on any file to access it with your authenticated user credentials.


Deleting Files and Moving Objects
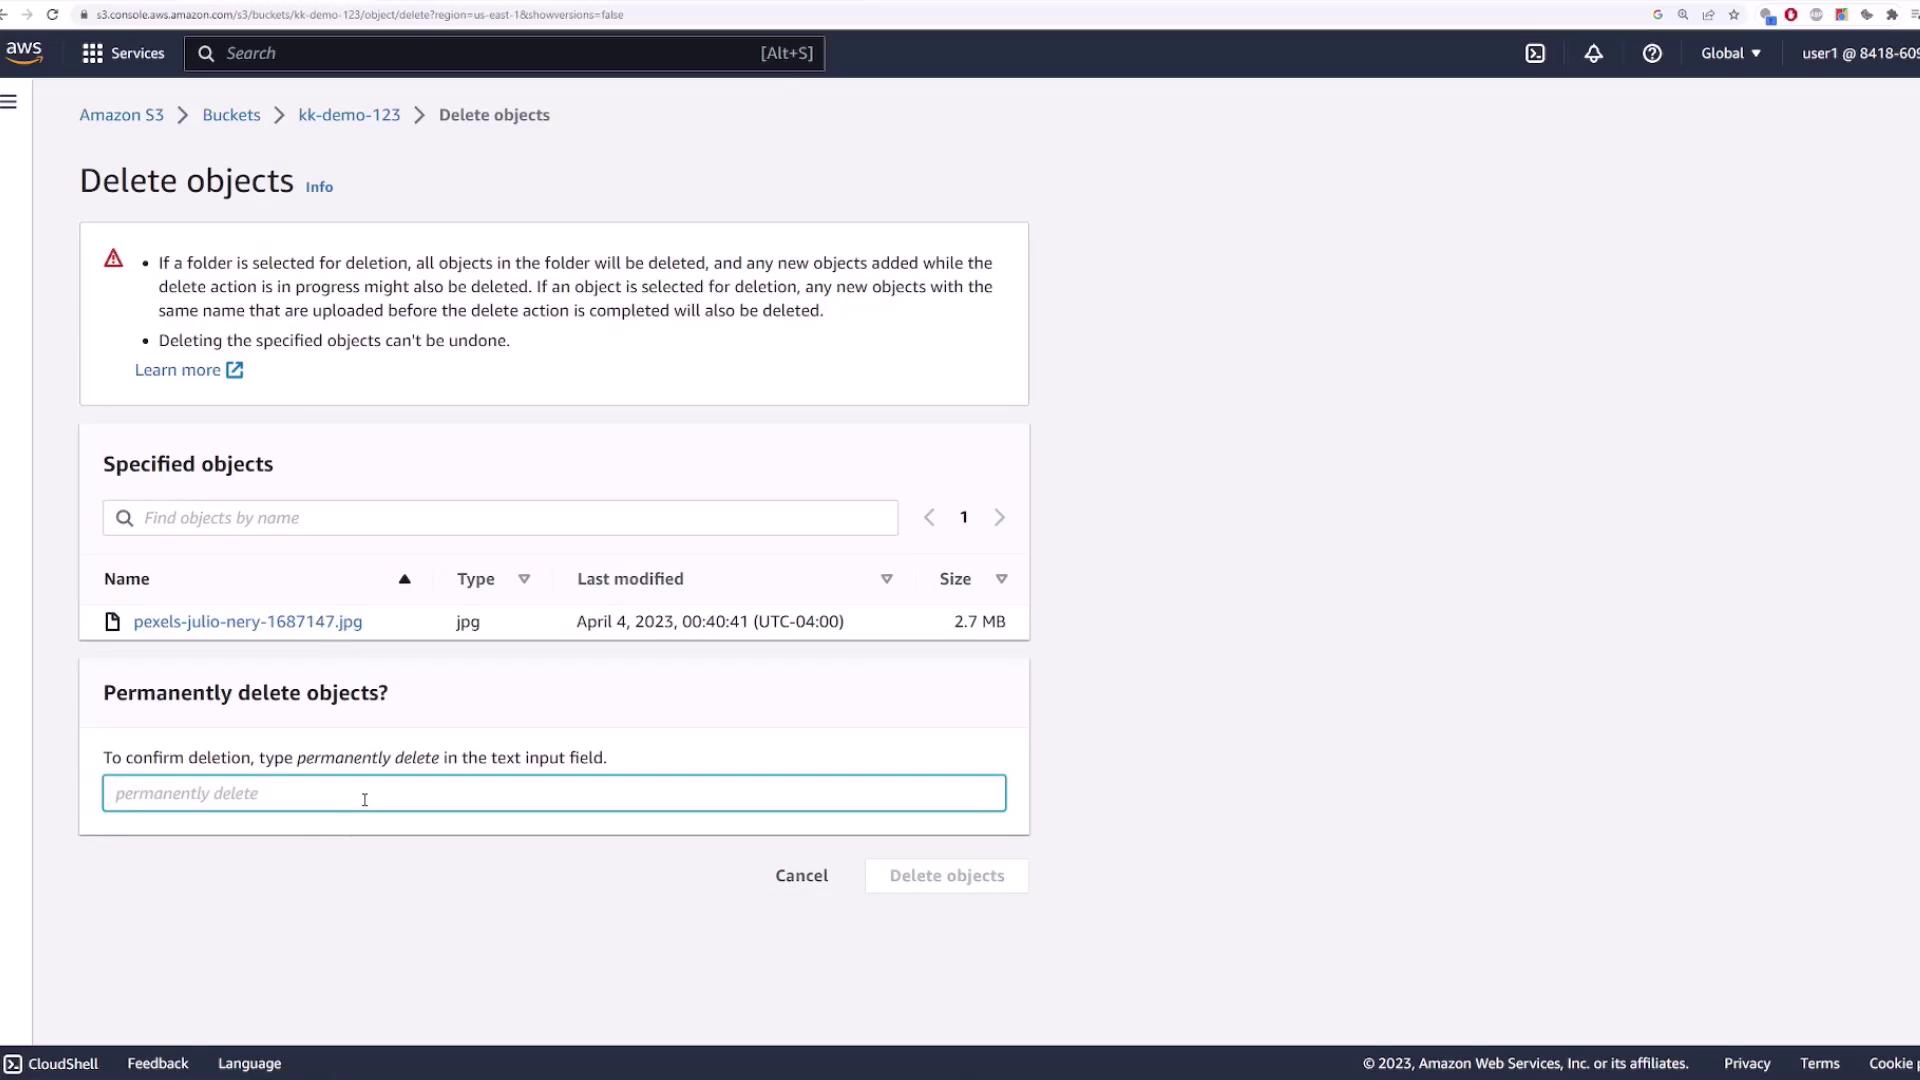
To delete a file:

  1. Select the file.
  2. Click Delete.
  3. Confirm by typing "permanently delete".
    Note: If versioning is disabled, the file will be permanently removed.
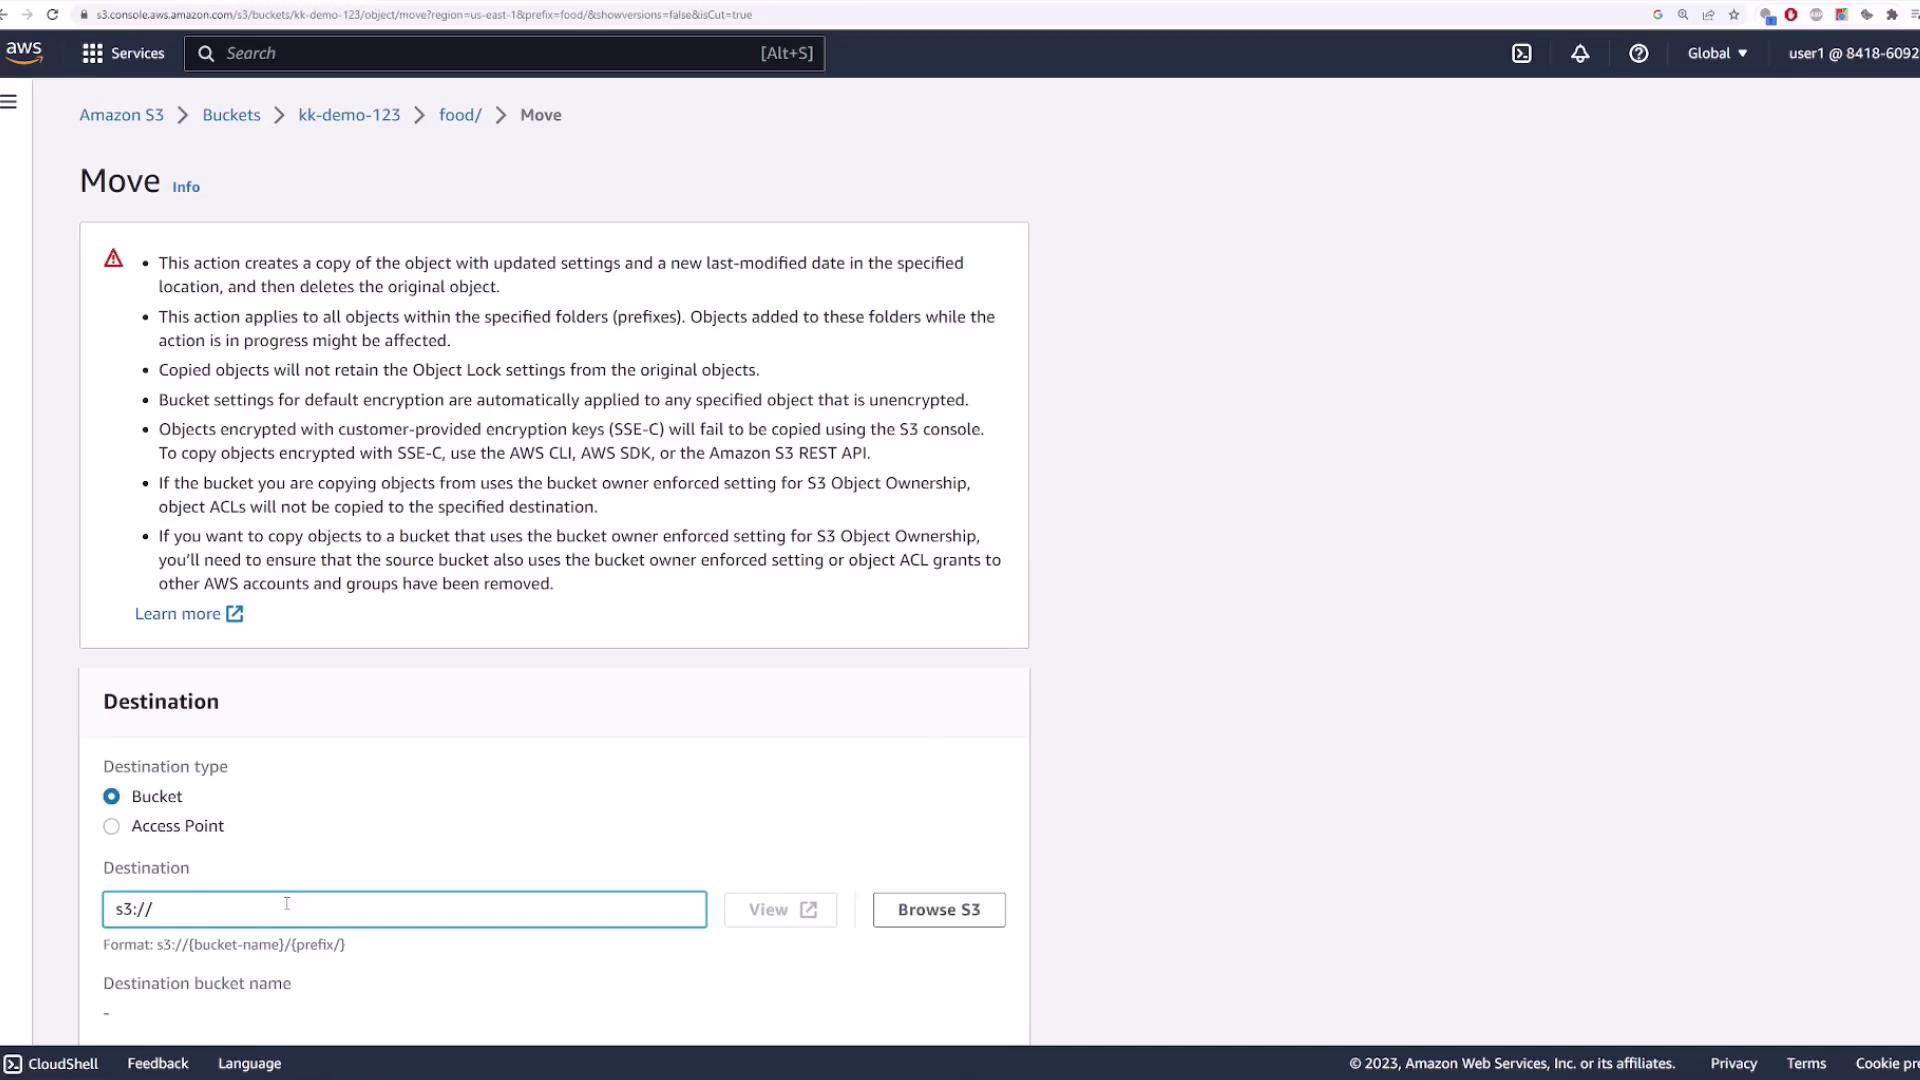
The image shows an Amazon S3 interface for deleting objects, with a file named "pexels-julio-nery-1687147.jpg" selected for deletion. The user is prompted to type "permanently delete" to confirm the action.

Moving files between folders is straightforward:

  1. Select the file.
  2. Choose Actions and then Move.
  3. Provide the full destination path by updating the object key prefix. For example, to move a file to a "test" folder, the key might change to S3://[bucket-name]/test/[file-name].
  4. Alternatively, you can use the browse feature to select the destination folder.

The image shows an Amazon S3 console interface for moving objects, with instructions and a destination input field for specifying the S3 bucket path.

The system then updates the object's key to reflect the new folder prefix.


Deleting the Bucket

Before deleting a bucket, ensure that it is empty. An error will occur if you try to delete a bucket containing objects.

Steps to delete the bucket:

  1. Select the bucket and click Delete.
  2. If the bucket is not empty, click the option to empty it and confirm the action by typing "permanently delete".
  3. Once the bucket is empty, proceed to delete it by typing the bucket's name when prompted to confirm the deletion.

After these steps, the bucket will be deleted successfully.


This concludes our comprehensive introduction to managing Amazon S3 buckets. We explored how to create a bucket, upload and organize files, manage permissions, and safely delete buckets. For more details on S3 features and best practices, refer to the official Amazon S3 documentation.

Watch Video

Watch video content

Previous
S3 Basics