This guide explores using AWS EventBridge to build event-driven architectures with EC2 instance events and custom application events.
In this guide, we’ll explore how to work with AWS EventBridge to build event-driven architectures. You will learn how to generate events triggered by changes to your AWS resources—specifically when EC2 instance statuses change—and how to use these events to invoke Lambda functions. Additionally, we’ll demonstrate how to create and send custom events from your application code.
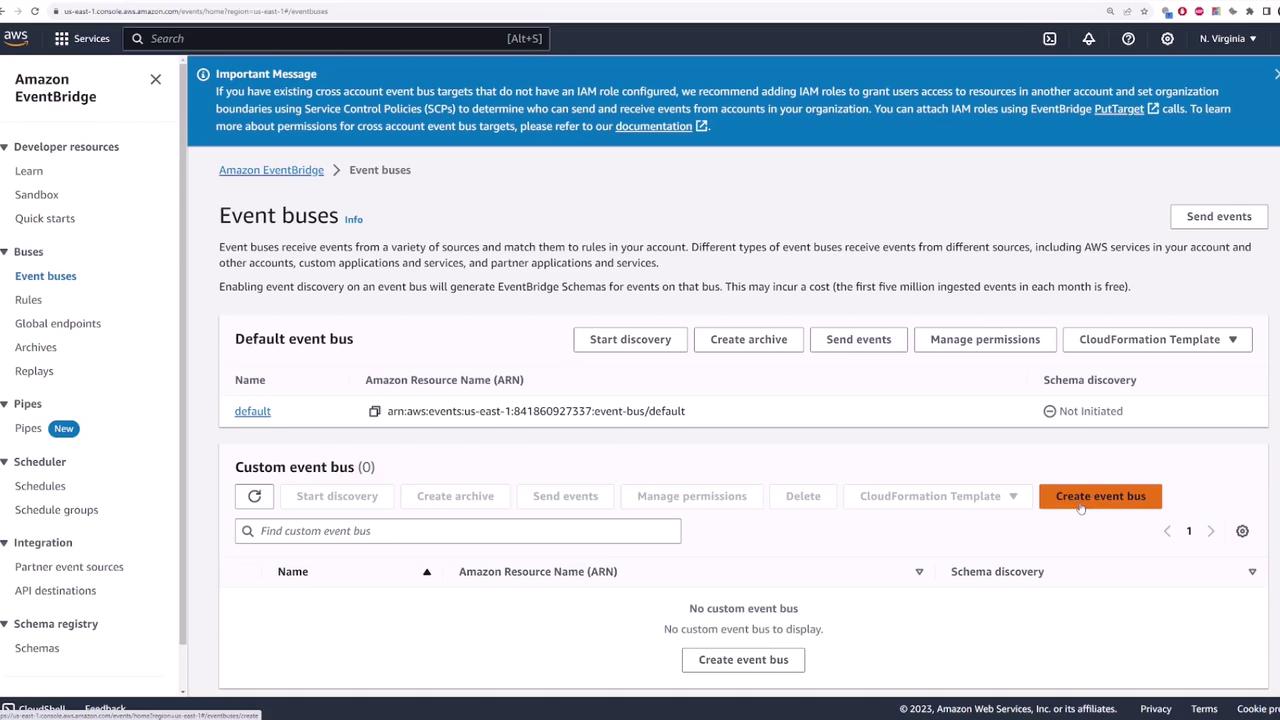
Every AWS account starts with a default EventBridge event bus. You can send events to this default bus or create custom event buses as required. For the purpose of this demo, we will use the default event bus.Navigate to the Event Buses section in the EventBridge console. You will see a display similar to the image below, featuring the default event bus along with the option to create a custom bus if needed.
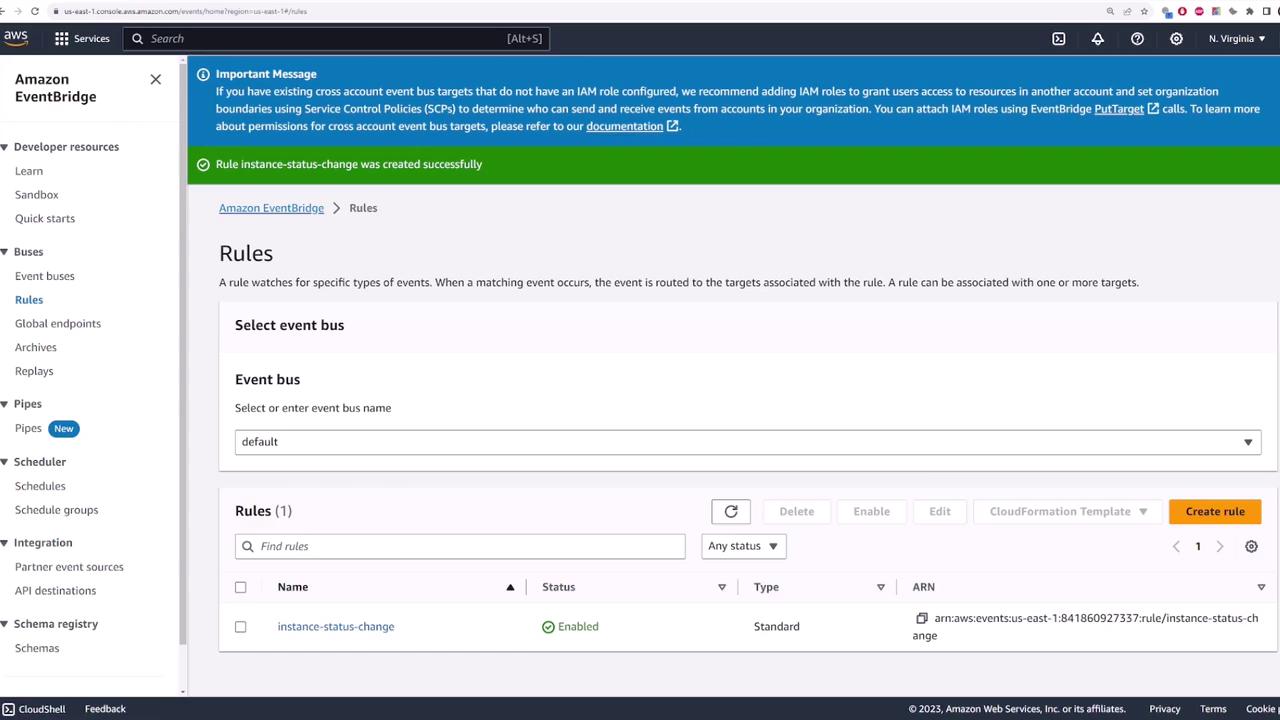
Proceed to the Rules section where you define which events will trigger specific actions. Click on Create Rule. You will be prompted to choose an event bus for the rule; here, select the default event bus.Assign a meaningful name (for example, “instance-status-change”) and provide a description. You have the option to trigger the rule either by an event pattern or on a scheduled basis (similar to a cron job). For this demo, choose the event pattern option.
Configuring an Event Pattern for EC2 Instance Changes
Follow these steps to configure your rule to capture EC2 instance events:
Choose AWS services as the event source and select EC2.
Under event types, select EC2 Instance State-change Notification.
For simplicity, this demo captures any state change. (You can further tailor the event pattern by specifying states such as “running”, “stopped”, “terminated”, or “shutting-down”.)
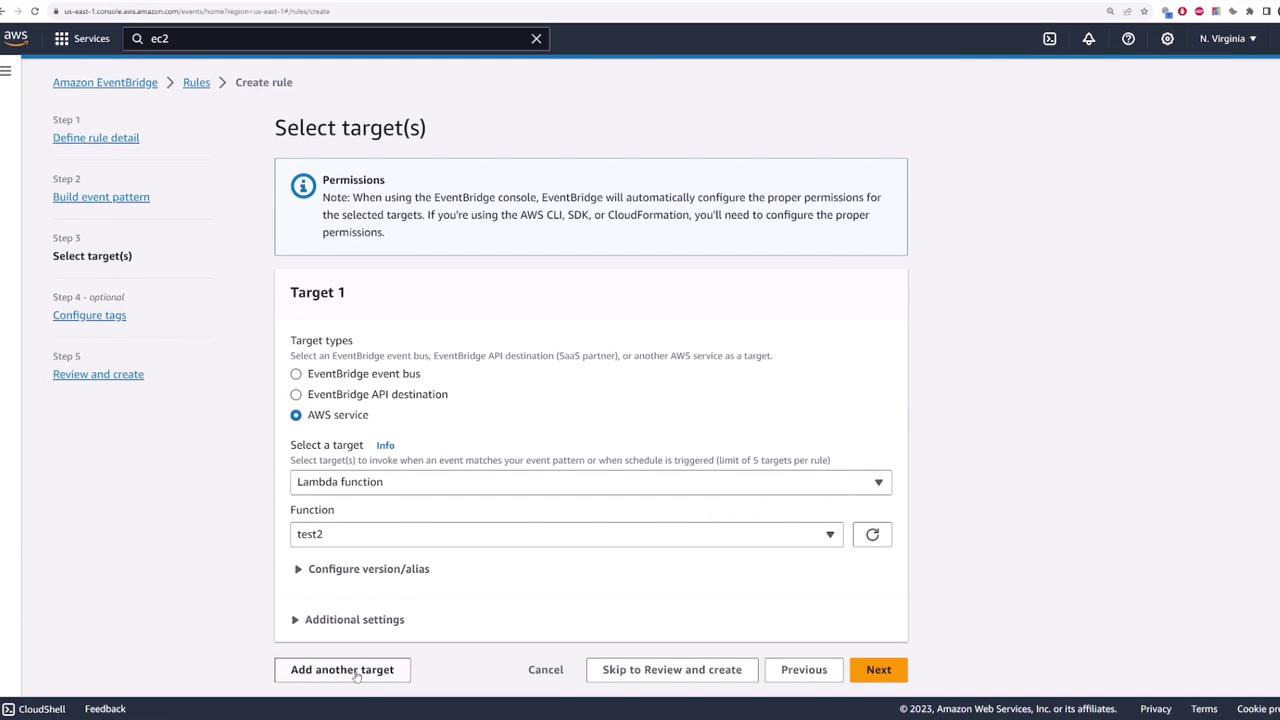
After confirming your event pattern, designate the target for the rule. In this demo, the target is a Lambda function that logs the event details. Below is a sample Lambda function code:
After selecting your target (for example, a Lambda function named “test one”), complete the tagging and review steps, then click Create rule. Your EventBridge rule is now active.
To test the configured rule, access the EC2 console and select a running instance. Change its state (for example, stop the instance) to trigger the event.Once the instance status changes, EventBridge emits an event that invokes the Lambda function. Check the CloudWatch logs of the Lambda function to confirm that the event has been received. A typical log entry might include details such as the source (“aws.ec2”), detail type (“EC2 Instance State-change Notification”), and the state of the instance.
Apart from AWS-generated events, you can create custom events from your own application code. This demo includes an Express.js-based Node.js API that sends a custom event when a new user signs up.
The code below demonstrates how to set up an Express.js API that triggers an event at the /signup endpoint. It utilizes the AWS SDK’s EventBridge client to post the custom event:
This API accepts POST requests containing a JSON payload (e.g., { "username": "user1" }) and sends a custom event to EventBridge with the source “my-app” and detail type “New User”.
Configuring an EventBridge Rule for the Custom Event
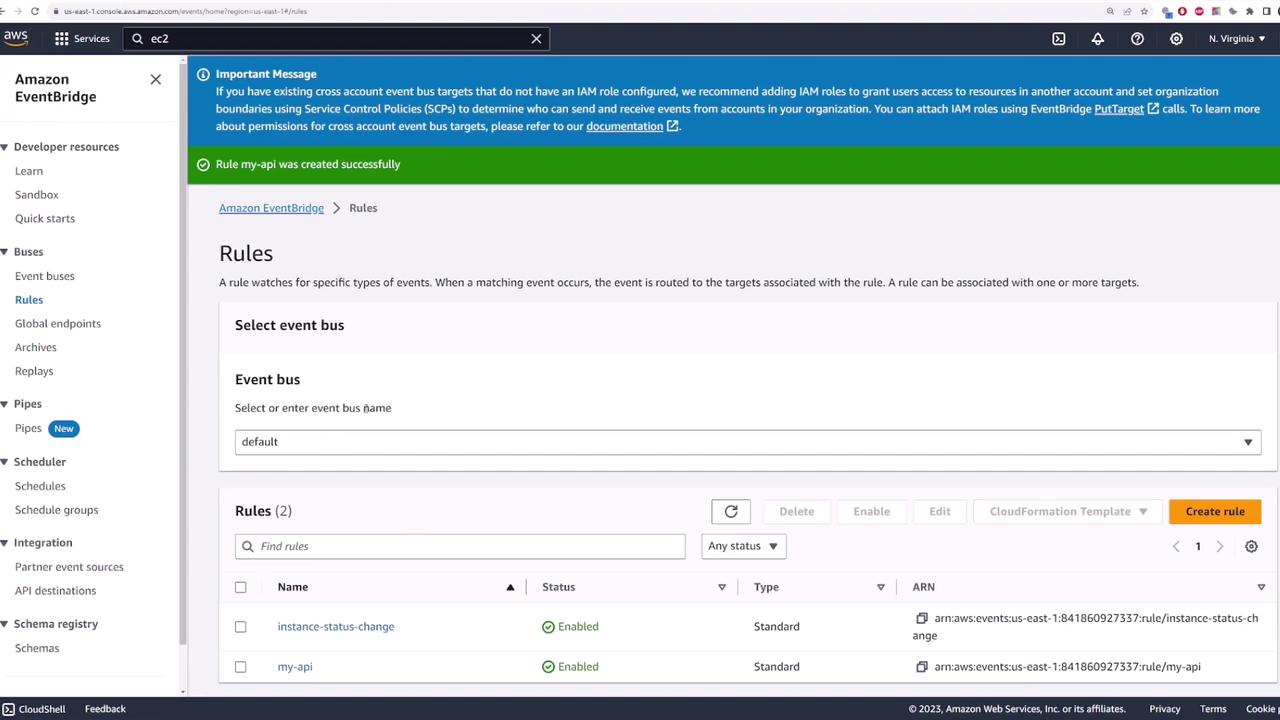
Return to the EventBridge console and create a new rule tailored for your custom event. Instead of an AWS provided event pattern, select Custom pattern and paste the following JSON:
Choose the target for this rule (for example, a Lambda function named “test two”) and complete the rule creation.
After the rule is set up, test the event directly from the Event Bus by clicking Send event. Enter the source (“my-app”), detail type (“New User”), and additional event details as shown in the example:
Copy
{ "username": "user1"}
Verify the event reception by inspecting the logs of the Lambda function “test two”. An example log entry might be:
This tutorial has walked you through configuring AWS EventBridge to trigger Lambda functions based on both AWS-generated events—like EC2 instance state changes—and custom events generated by your applications. By leveraging EventBridge rules and custom event patterns, you can seamlessly integrate AWS services with your own applications to create scalable, event-driven architectures.Happy coding!