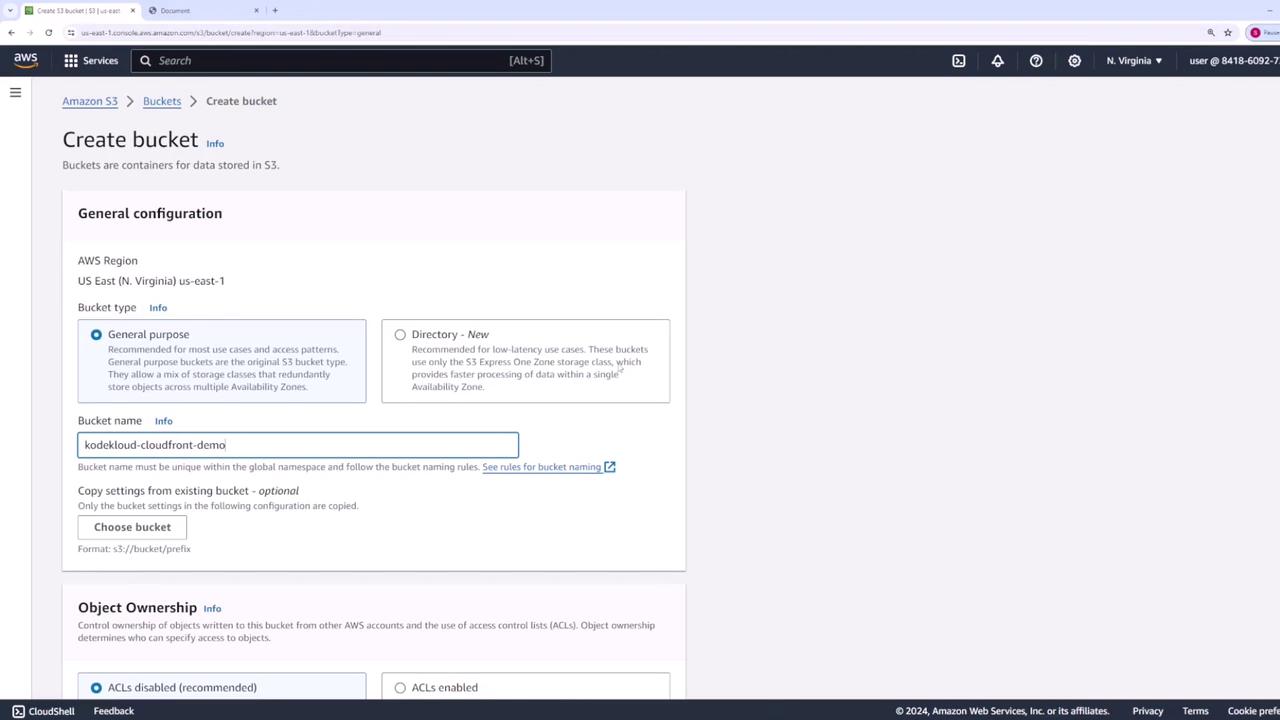
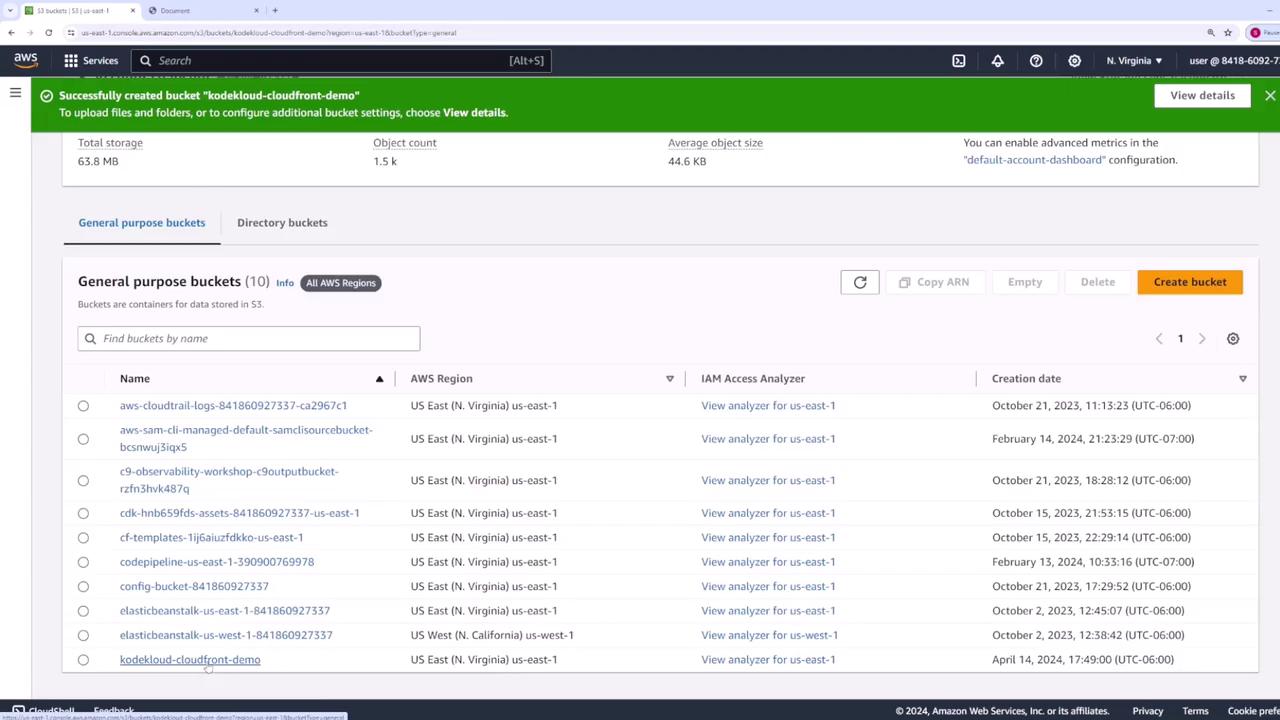
Step 1: Setting Up the S3 Bucket
Begin by creating an S3 bucket to host your web application files.- In the AWS S3 console, click on Create bucket.
- Name your bucket (e.g., “kodekloud-cloudfront-demo”) and leave the default settings unchanged.
Verifying File Access
Trying to access one of the files via its public URL will result in an “Access Denied” error because no public access policies are configured. Inspecting the bucket’s permissions confirms that there is no bucket policy enabled, thereby blocking public access.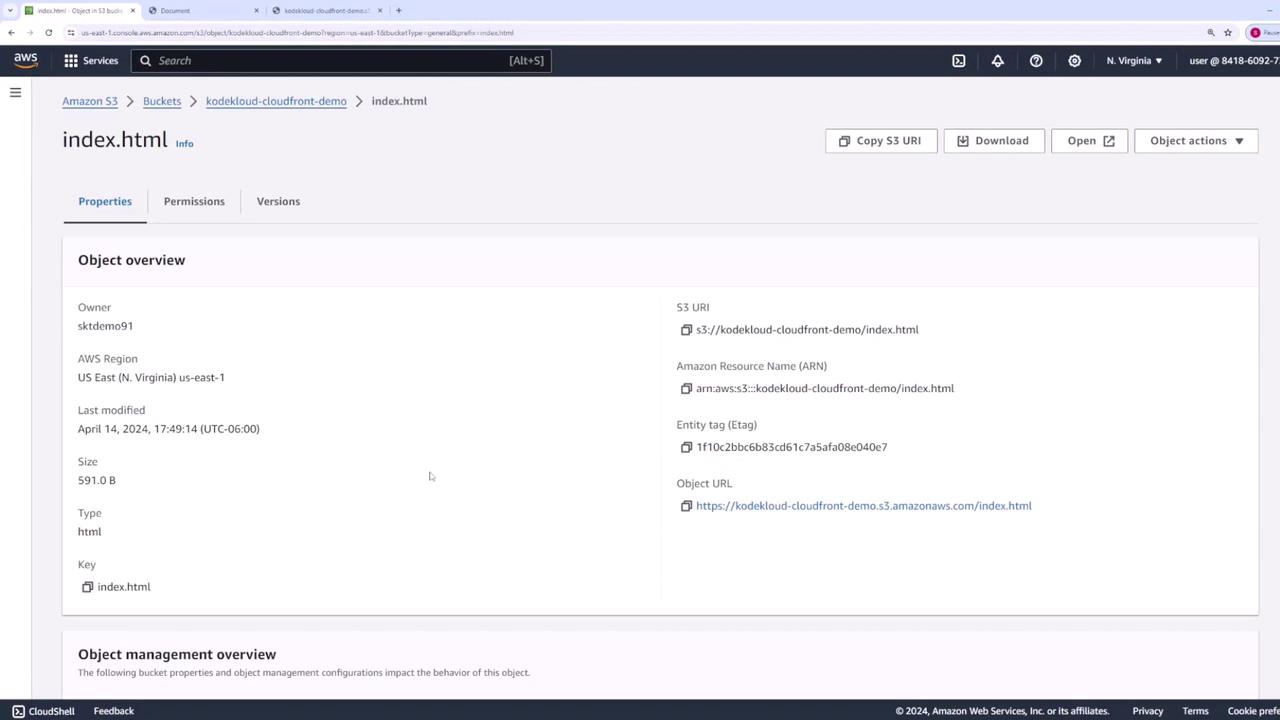
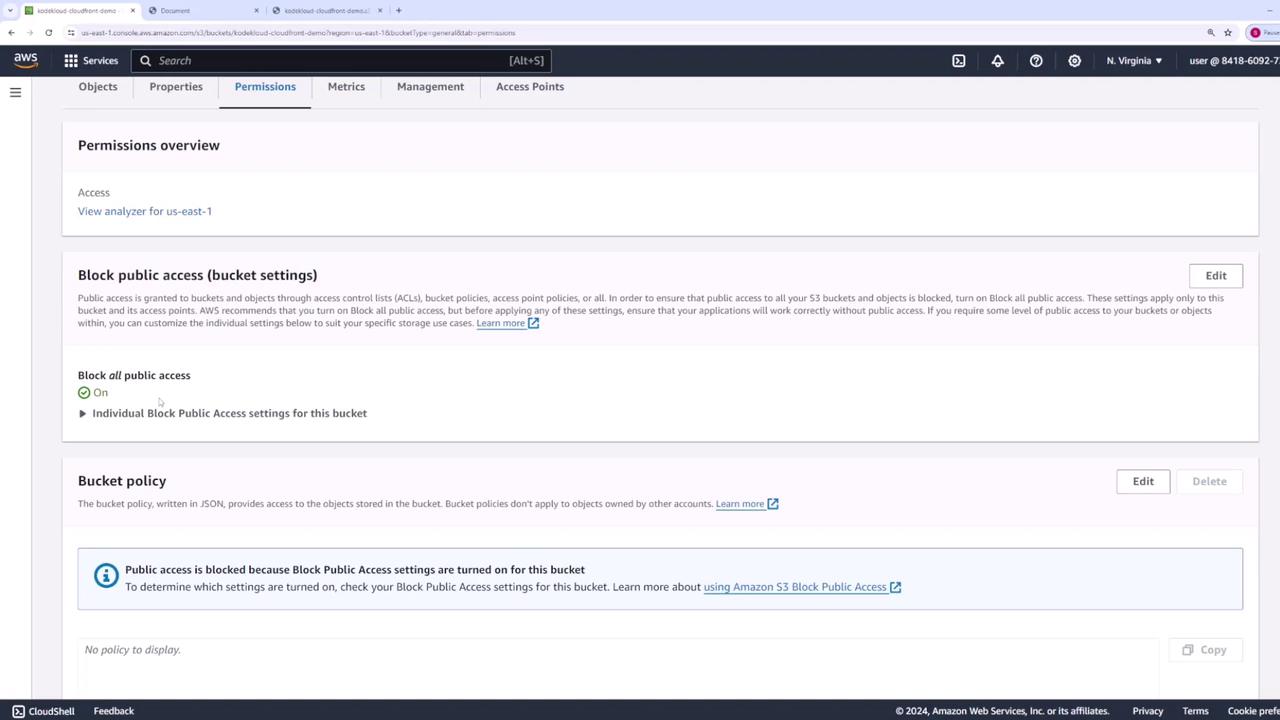
Since CloudFront will act as the access point for your content, you can keep the S3 bucket secured and configure CloudFront to retrieve the files on your behalf.
Step 2: Creating a CloudFront Distribution
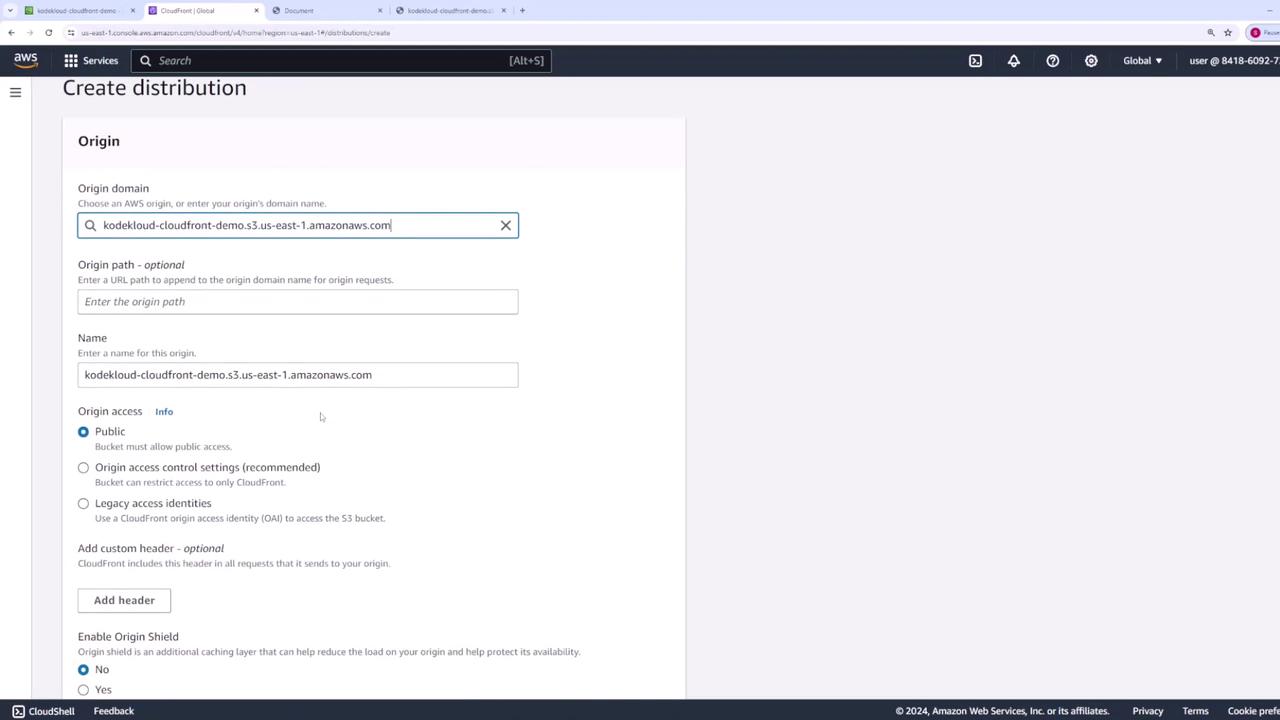
Now, set up a CloudFront distribution to serve your S3 content:- Open the CloudFront console and click Create Distribution.
- Choose the S3 bucket (“kodekloud-cloudfront-demo”) as the origin.
- Optionally, specify an origin path; if not needed, leave it as default.
- You may provide a custom origin name or use the default one.
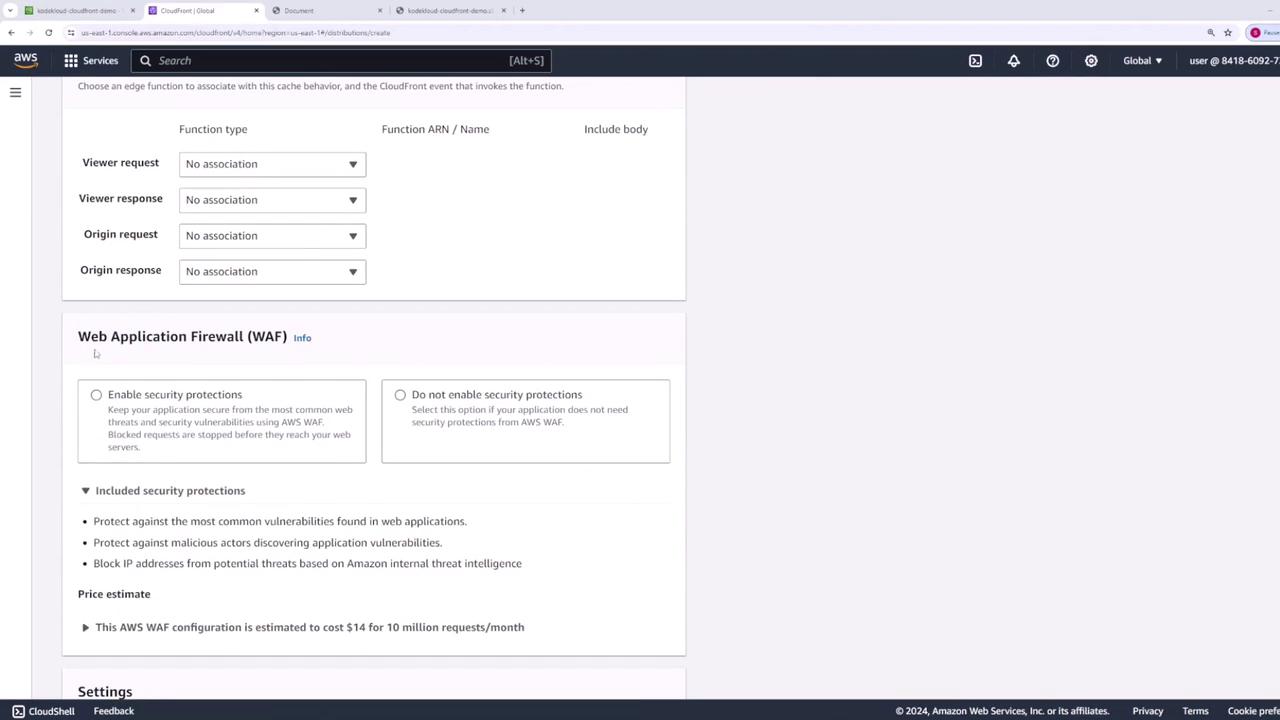
- Under Cache Behavior, retain the default settings, and scroll down to view additional configuration options.
Configuring Additional Settings
Configure the following additional settings:- Disable the Web Application Firewall (WAF) for this demonstration.
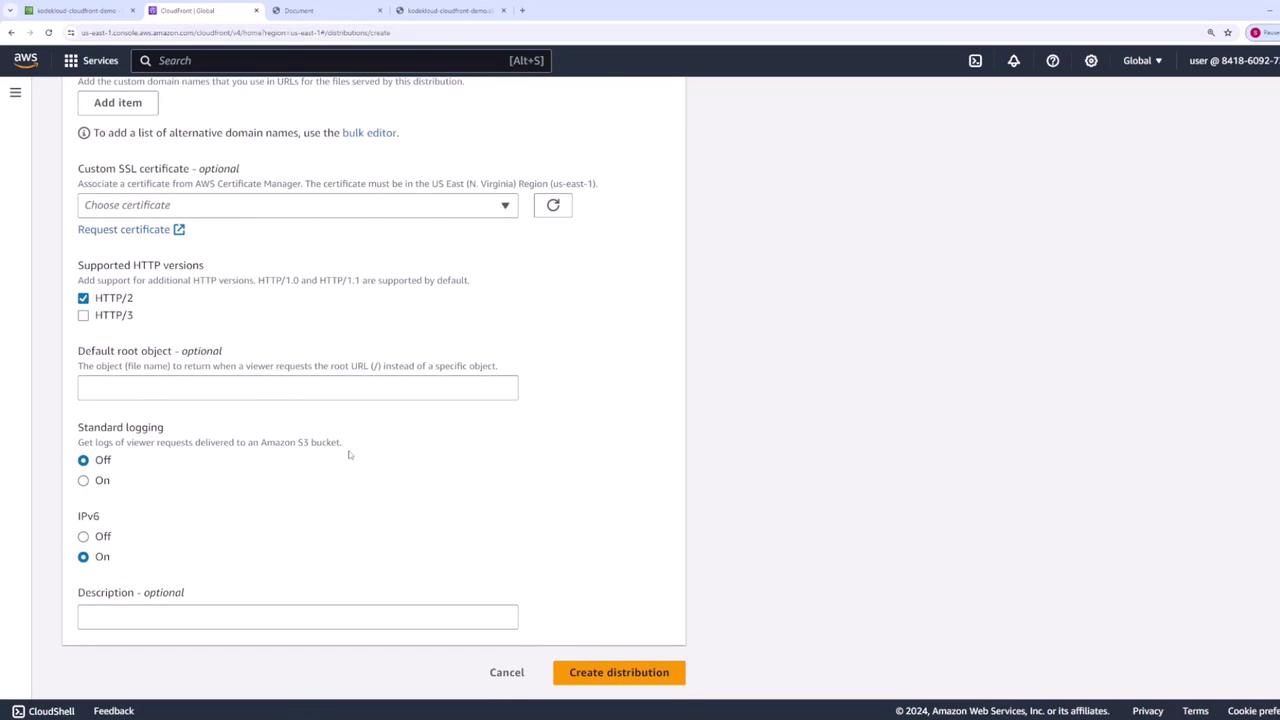
- Choose the appropriate price class—select “Use all edge locations” for a global cache.
- Custom SSL certificates are unnecessary for this demo.
- Set the Default Root Object to “index.html” to ensure users accessing the root URL are directed to the proper file.
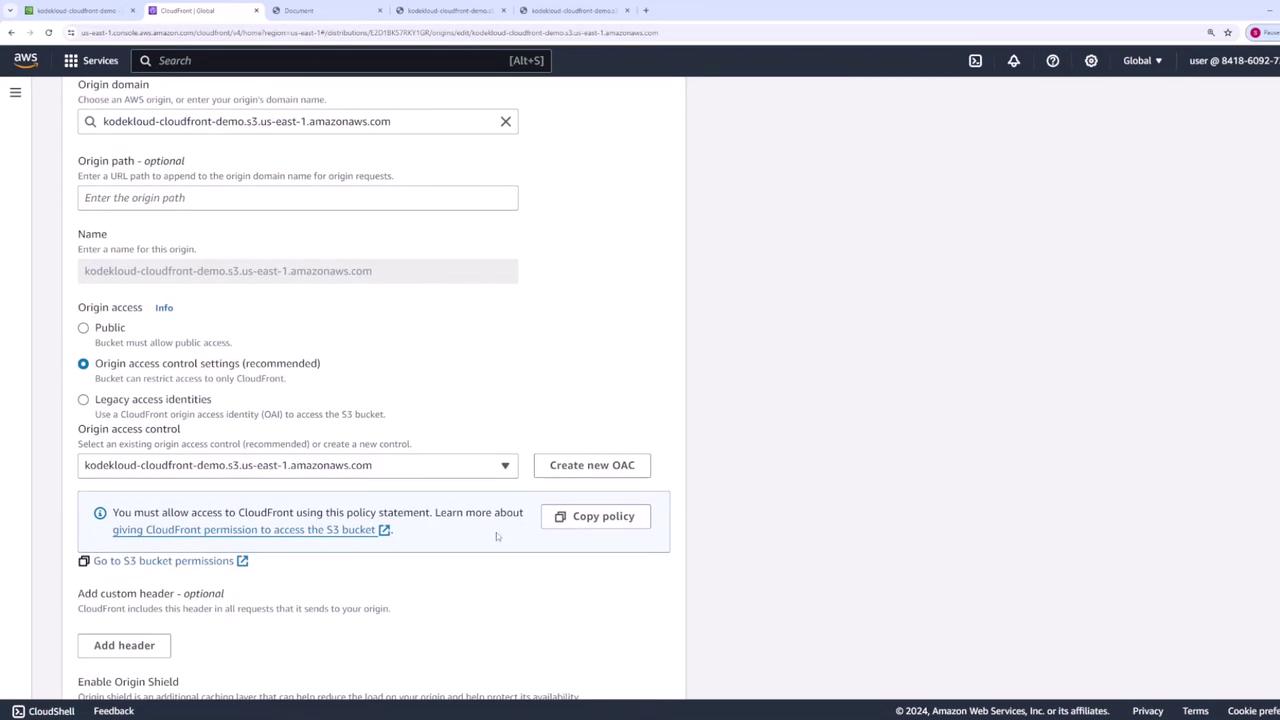
Step 3: Updating the S3 Bucket Policy
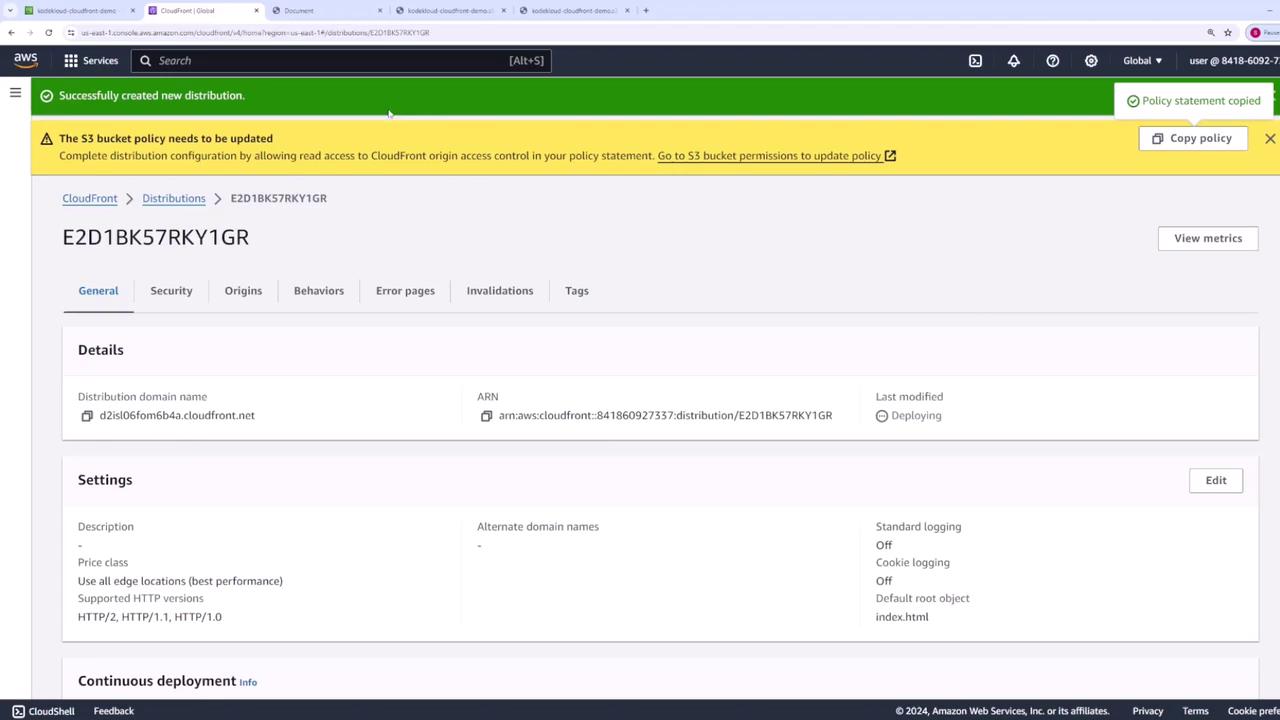
To allow CloudFront to access your S3 files, update the bucket policy as follows:- In the CloudFront console, click Copy Policy.
- Go to your S3 bucket’s Permissions tab.
- Paste the copied policy into the Bucket Policy editor. An example policy appears as:
Step 4: Testing the Distribution
Once CloudFront finishes deploying (this may take several minutes), confirm that your distribution’s state is “Enabled” from the CloudFront distributions list. Copy the distribution domain name provided by CloudFront. By accessing the domain (with just a forward slash), CloudFront will serve the default root object—index.html. The first request retrieves files from S3, and subsequent requests are served from the CloudFront cache, greatly reducing load times.
Step 5: Understanding Cache Settings
By default, CloudFront caches content for 24 hours (86,400 seconds). To check these settings, edit the default behavior and click View Policy under Cache Key or Cache Policy Settings.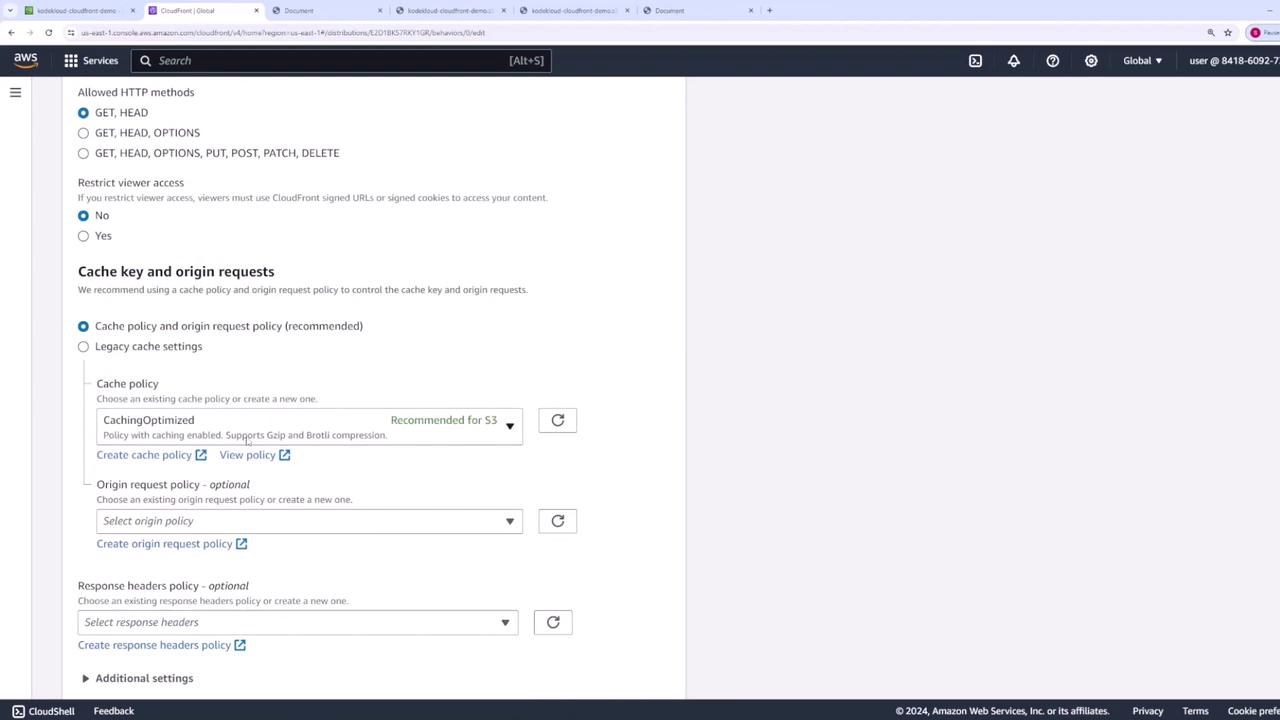
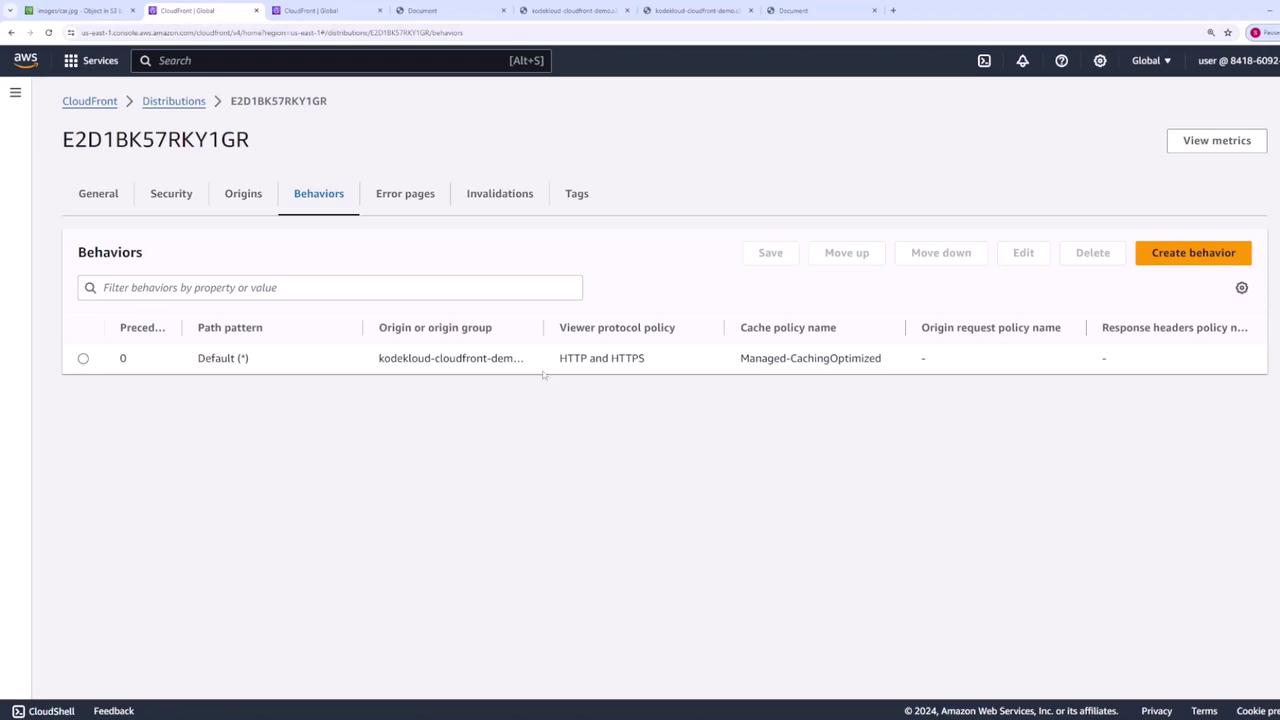
Step 6: Demonstrating Cache Invalidation
To demonstrate cache invalidation, imagine updating a cached file. Suppose you have an image named “car.jpg” initially displaying a red car. If you upload an updated “car.jpg” (showing a blue car) to the S3 bucket, it will overwrite the current file.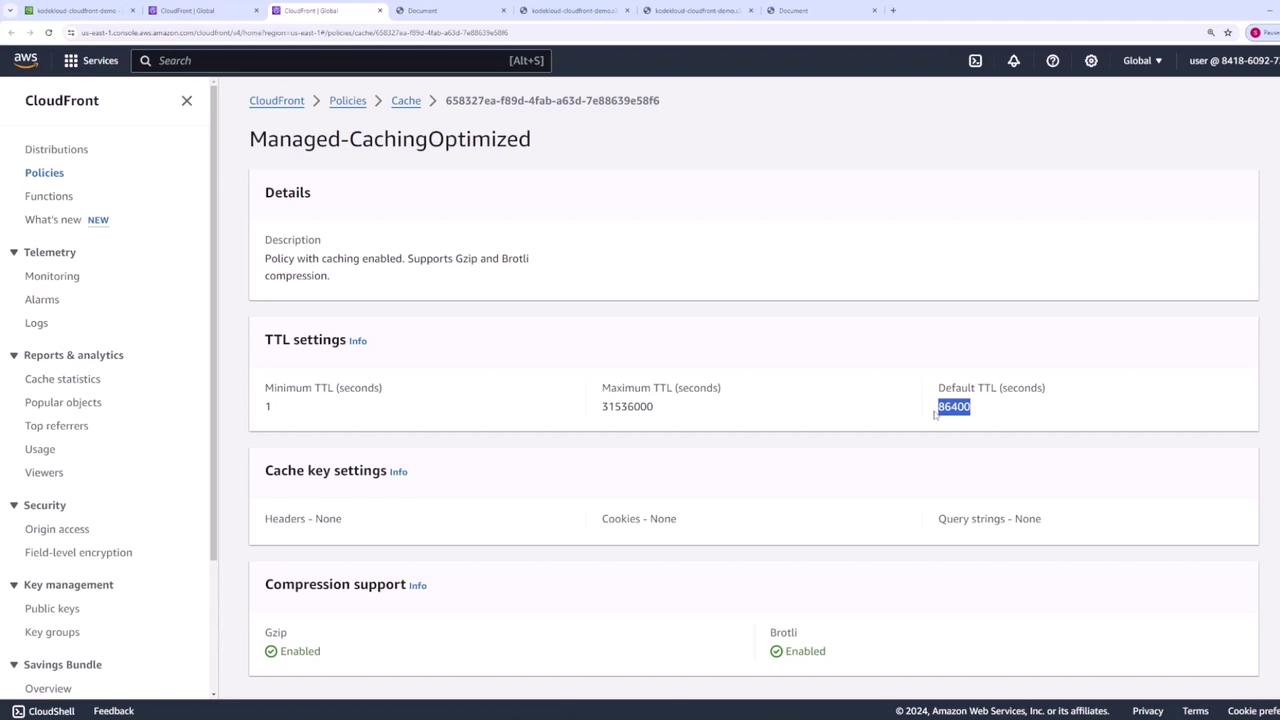
- In the CloudFront console, go to the Invalidations section and create a new invalidation.
- Specify the object path to invalidate. You can use ”/*” to invalidate all files or target a specific file (e.g., “/images/car.jpg”).

Conclusion
This demo has shown you how to configure an S3 bucket and set up an AWS CloudFront distribution to effectively serve and cache web application assets. We also covered how to update the S3 bucket policy to permit CloudFront access, understand cache TTL settings, and perform manual cache invalidation to ensure users receive the most updated content.For further reading on CloudFront and AWS architecture, check out the AWS CloudFront Documentation.