AWS Certified Developer - Associate

Containers on AWS

ECR Demo

In this lesson, you will learn how to work with the Amazon Elastic Container Registry (ECR) to create repositories and push Docker images. This step-by-step guide demonstrates the entire process.

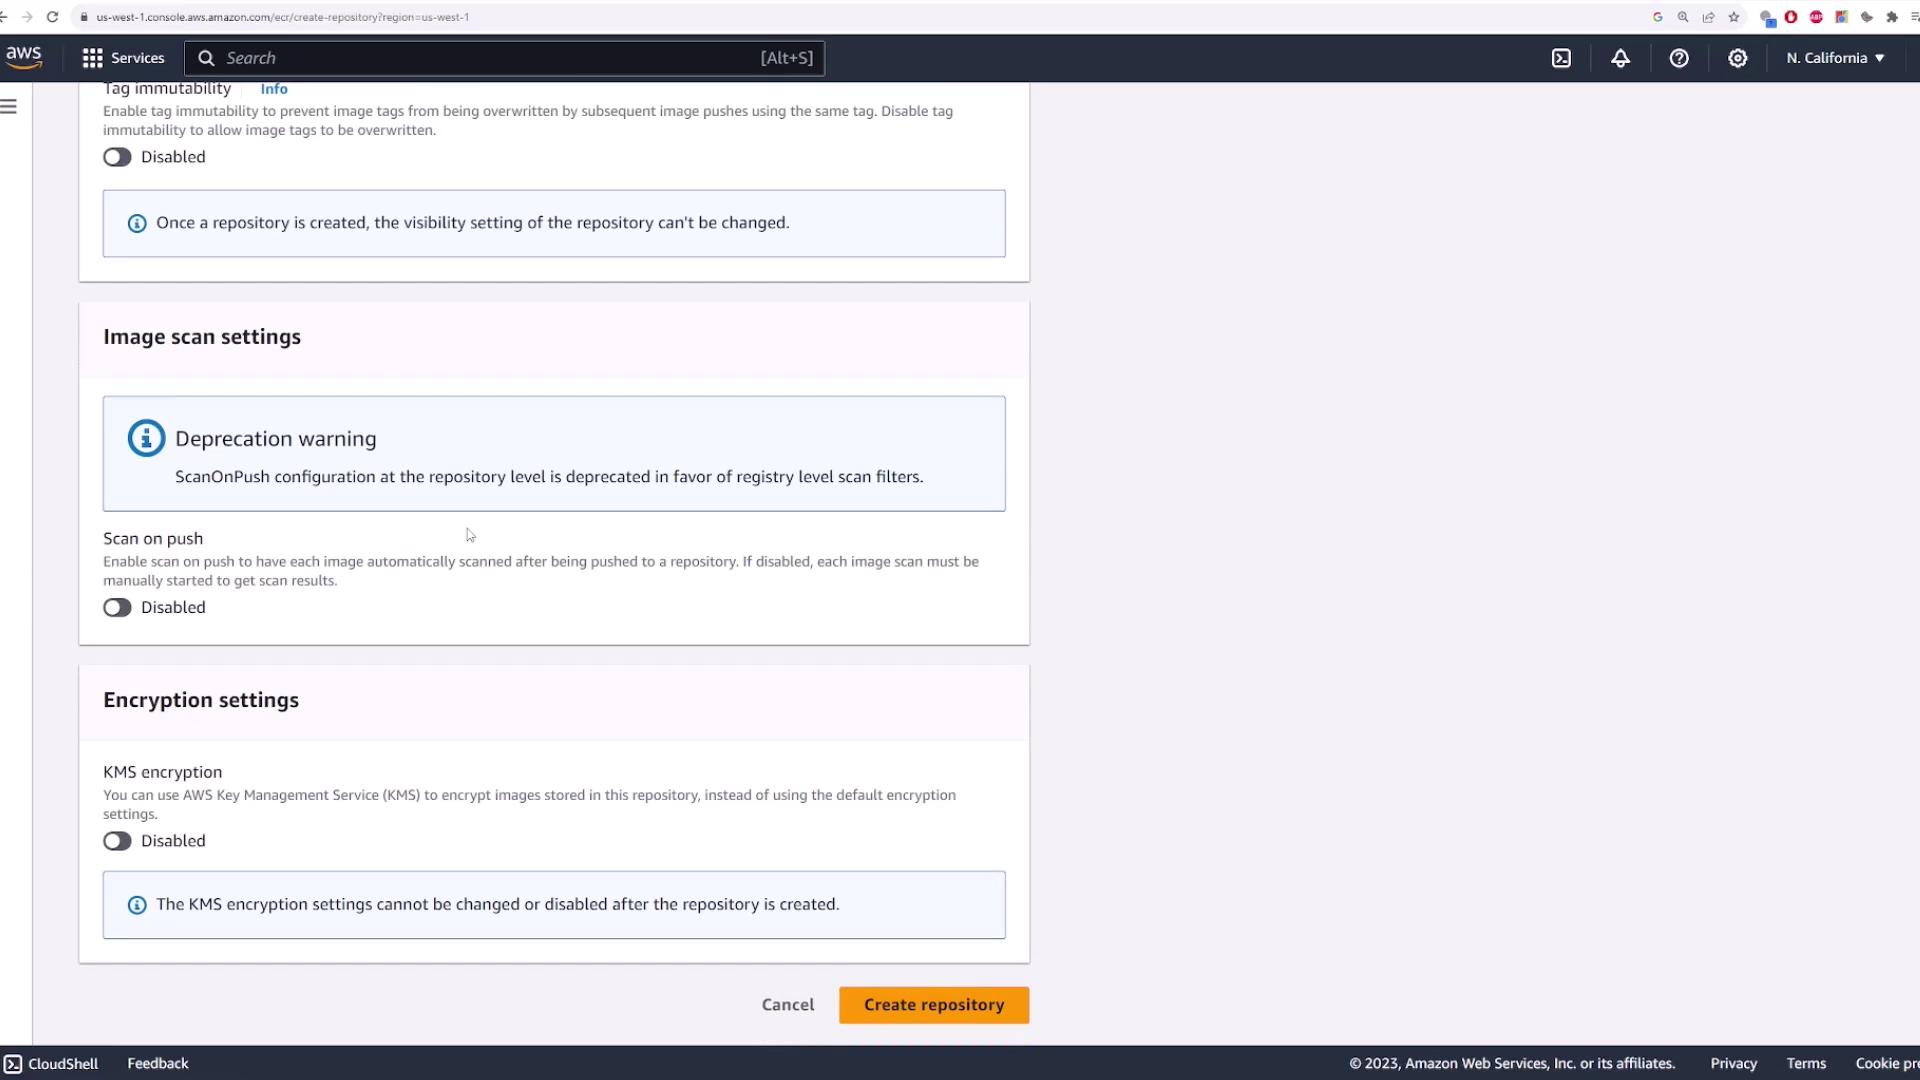
Creating an ECR Repository

Start by searching for "ECR" in the AWS Management Console. Once you locate the service, choose to create a repository. You can either click the "Create repository" button directly or navigate to "Repositories" and then click "Create repository."

The image shows the Amazon Elastic Container Registry (ECR) webpage, highlighting features like sharing and deploying container software, with sections on how it works, benefits, pricing, and getting started.

On the "Create repository" page, begin by configuring the general settings. Under visibility, select between a private and a public repository. A public repository allows unauthenticated pulls (although only you can push images), whereas a private repository requires authentication for access. For this demo, we use a private repository. Note that once a repository is created, you cannot change its visibility.

Next, provide a name for your repository (e.g., "ECR demo"). This name becomes part of the image's URL (formatted as "your-account-id/repository-name").

The image shows the "Create repository" page on Amazon ECR, where settings like visibility, repository name, and tag immutability are being configured.

Optional settings—such as tag immutability, scan on push, and encryption—can be configured here. For this demonstration, these options remain disabled.

The image shows a section of the AWS console for creating a repository, with options for image scan settings and encryption settings. There is a deprecation warning about "ScanOnPush" and a button to create the repository.

Click "Create repository" to complete the setup. At this point, your ECR demo repository is created and empty, meaning no images have been pushed yet.

The image shows the Amazon Elastic Container Registry (ECR) interface with a private repository named "ecrdemo" listed, including details like URI, creation date, and settings.

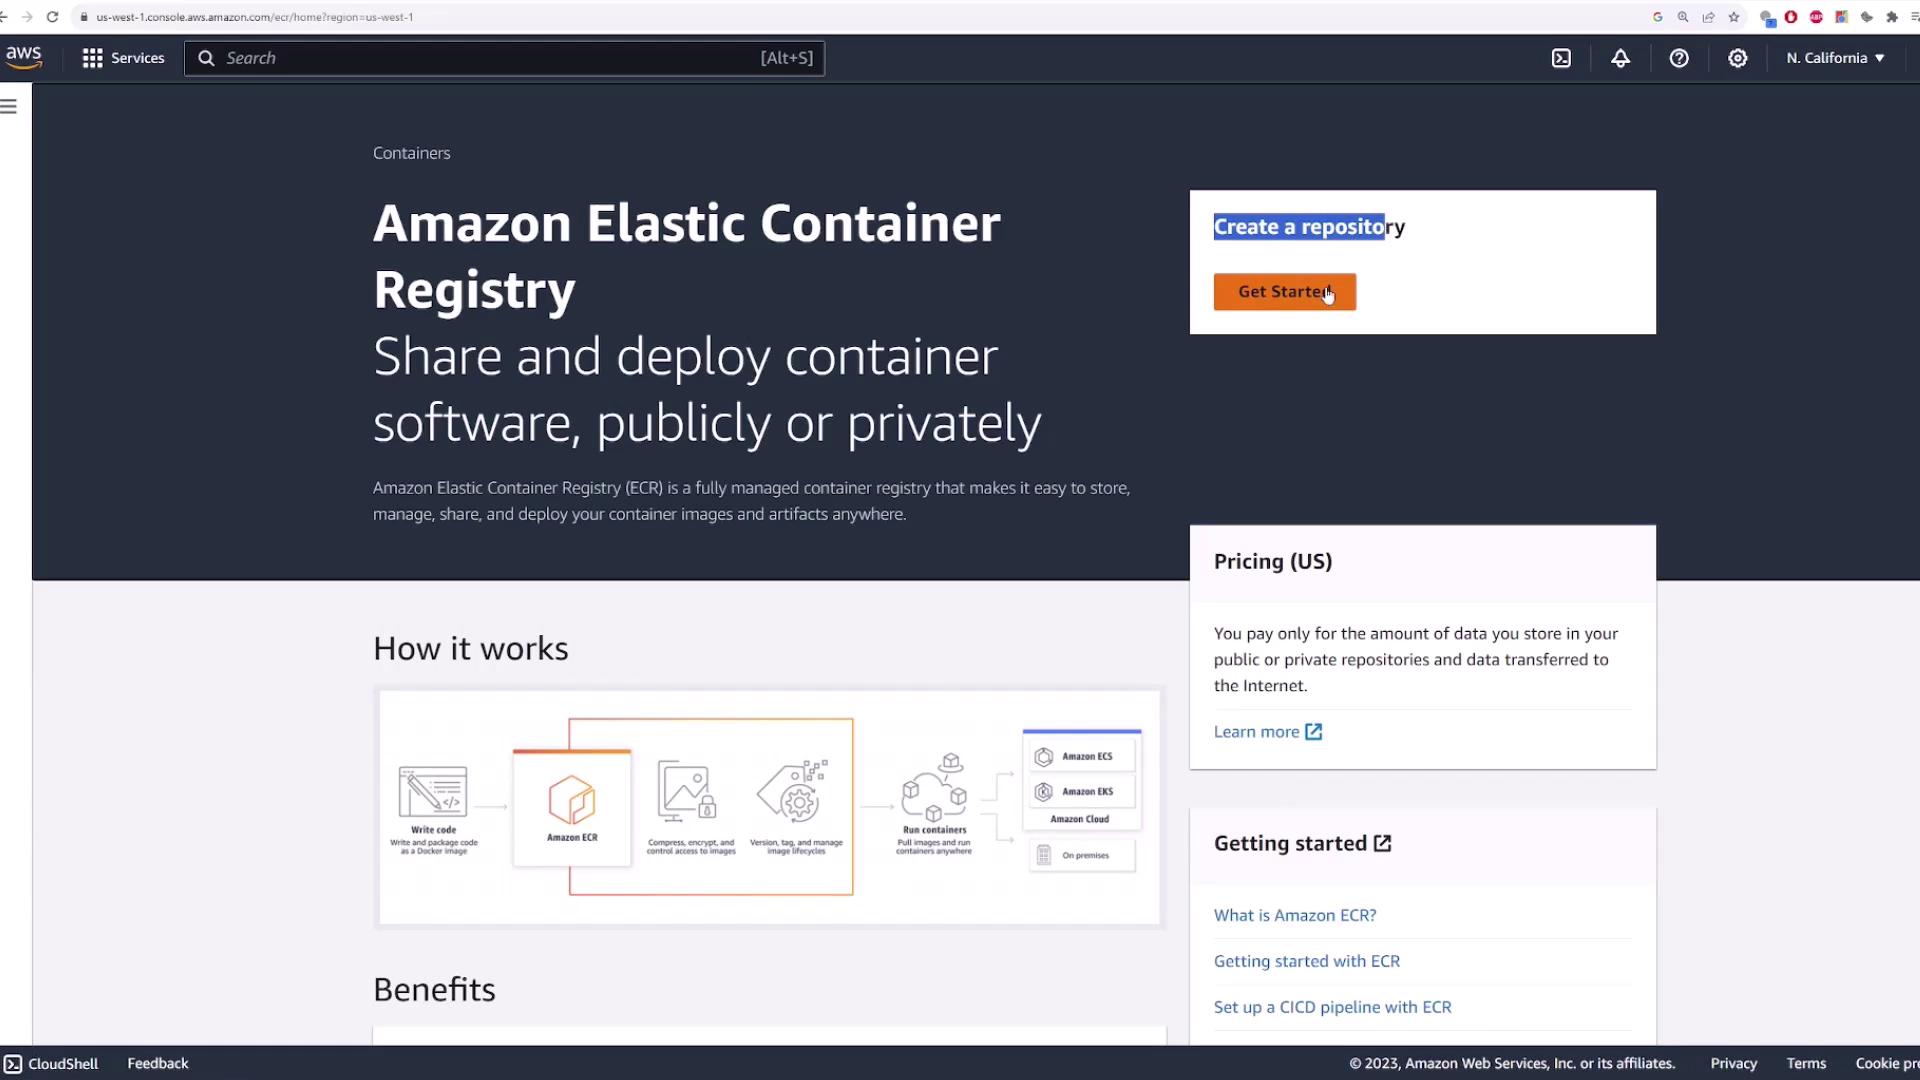
Pushing a Docker Image to ECR

To push a Docker image to your repository, AWS provides a set of commands. Begin by authenticating Docker with ECR using the AWS CLI, which retrieves a login password and pipes it to Docker. Run the following command:

aws ecr get-login-password --region us-west-1 | docker login --username AWS --password-stdin 841860927337.dkr.ecr.us-west-1.amazonaws.com

Note: Ensure the AWS CLI is installed and configured with your access keys. If you're on an EC2 instance, consider assigning an IAM role with the appropriate permissions instead of using static credentials.

After authentication, build your Docker image and tag it with your repository URI. Use the commands below to complete the process:

aws ecr get-login-password --region us-west-1 | docker login --username AWS --password-stdin 841860927337.dkr.ecr.us-west-1.amazonaws.com
docker build -t ecrdemo .
docker tag ecrdemo:latest 841860927337.dkr.ecr.us-west-1.amazonaws.com/ecrdemo:latest
docker push 841860927337.dkr.ecr.us-west-1.amazonaws.com/ecrdemo:latest

Once the Docker image is built and pushed, running docker image ls will list your image locally. Remember that your image must be tagged in the exact format, including your account ID, region, and repository name, before pushing it to ECR.

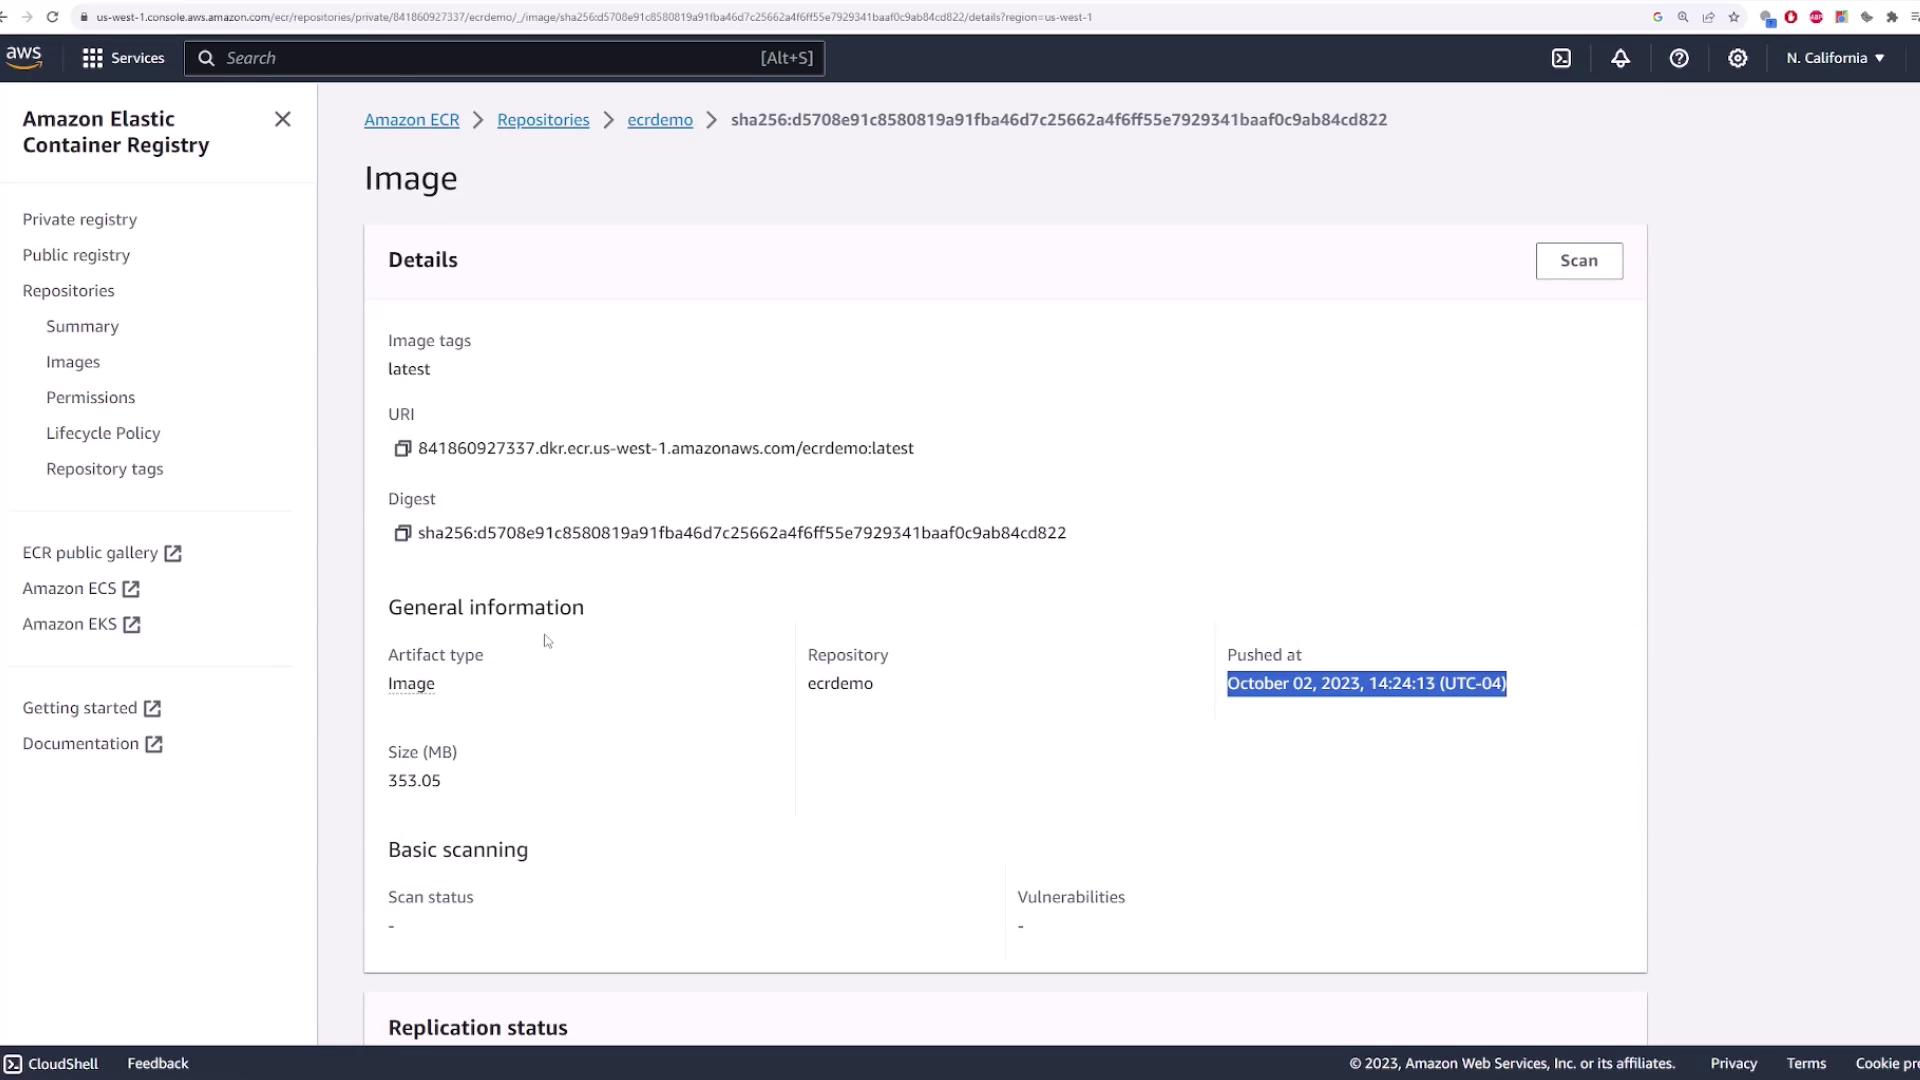
After pushing, the AWS console will show the image details such as tags, URI, digest, and the push date.

The image shows the Amazon Elastic Container Registry (ECR) interface displaying details of a container image, including its tags, URI, digest, and push date.

Deploying the Image from ECR

To verify that your image is deployable from ECR, try pulling the image on a server. First, remove the local copy of the image to simulate a fresh pull:

docker image ls
docker image rm 841860927337.dkr.ecr.us-west-1.amazonaws.com/ecrdemo:latest
docker image ls

Then, run a container from the image. Docker will pull it from the ECR repository if it isn’t available locally:

docker run --name app -p 3000:3000 841860927337.dkr.ecr.us-west-1.amazonaws.com/ecrdemo

When executing this command, you should see output similar to:

Unable to find image '841860927337.dkr.ecr.us-west-1.amazonaws.com/ecrdemo:latest' locally
latest: Pulling from ecrdemo
Digest: sha256:d5708e91c8580819a91fba467c25662a4f6ff55e7929341baaf0c9ab84cd822
Status: Downloaded newer image for 841860927337.dkr.ecr.us-west-1.amazonaws.com/ecrdemo:latest
Server is running on port 3000

In a new terminal window, verify the deployment by running:

curl localhost:3000

You should receive an HTML response confirming that the application (such as an ECS project page) is functioning correctly. An example of the HTML output might be:

<!DOCTYPE html>
<html lang="en">
<head>
    <meta charset="UTF-8" />
    <meta http-equiv="X-UA-Compatible" content="IE=edge" />
    <meta name="viewport" content="width=device-width, initial-scale=1.0" />
    <link rel="stylesheet" href="css/style.css" />
    <title>Document</title>
</head>
<body>
    <h1>ECS Project 2</h1>
</body>
</html>

Tip: Always ensure that you use the full image name (AccountID.dkr.ecr.region.amazonaws.com/repository-name) when pushing or running your Docker images. This guarantees that Docker pulls the image from ECR regardless of the deployment platform, be it EC2, Kubernetes, ECS, or another orchestrator.

Summary

This demonstration covered the process of:

  • Creating an ECR repository with proper configuration.
  • Authenticating Docker with ECR using AWS CLI.
  • Building, tagging, and pushing a Docker image.
  • Verifying the image's deployability by pulling and running it in a container.

In the next lesson, we’ll explore additional deployment scenarios and other AWS options that can enhance your container workflows.

For further reading on container deployment best practices, visit AWS Documentation or explore container orchestration with Kubernetes Basics.

Watch Video

Watch video content

Previous
ECR