AWS Certified Developer - Associate

Containers on AWS

Updating ECS Task Demo

In this lesson, we will explore different deployment options available within Amazon ECS. You will learn how to deploy a demo application on AWS Fargate, and then perform a seamless upgrade when a new version of the application becomes available.

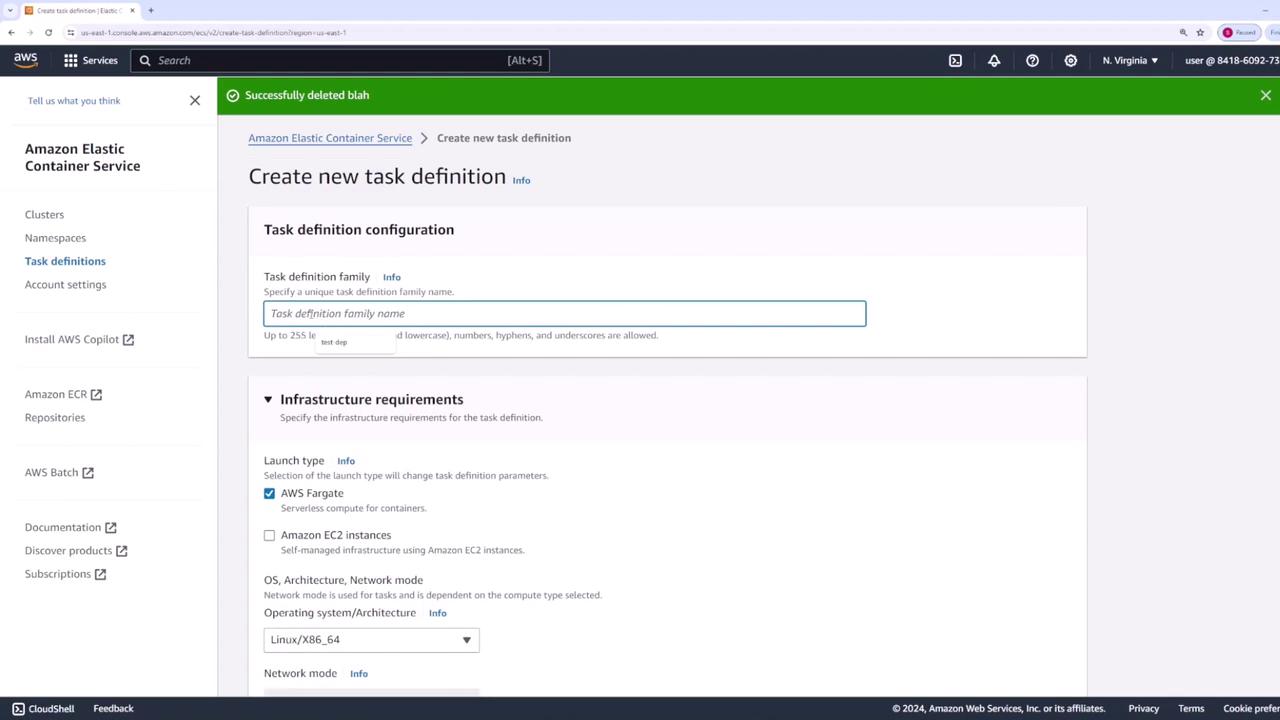
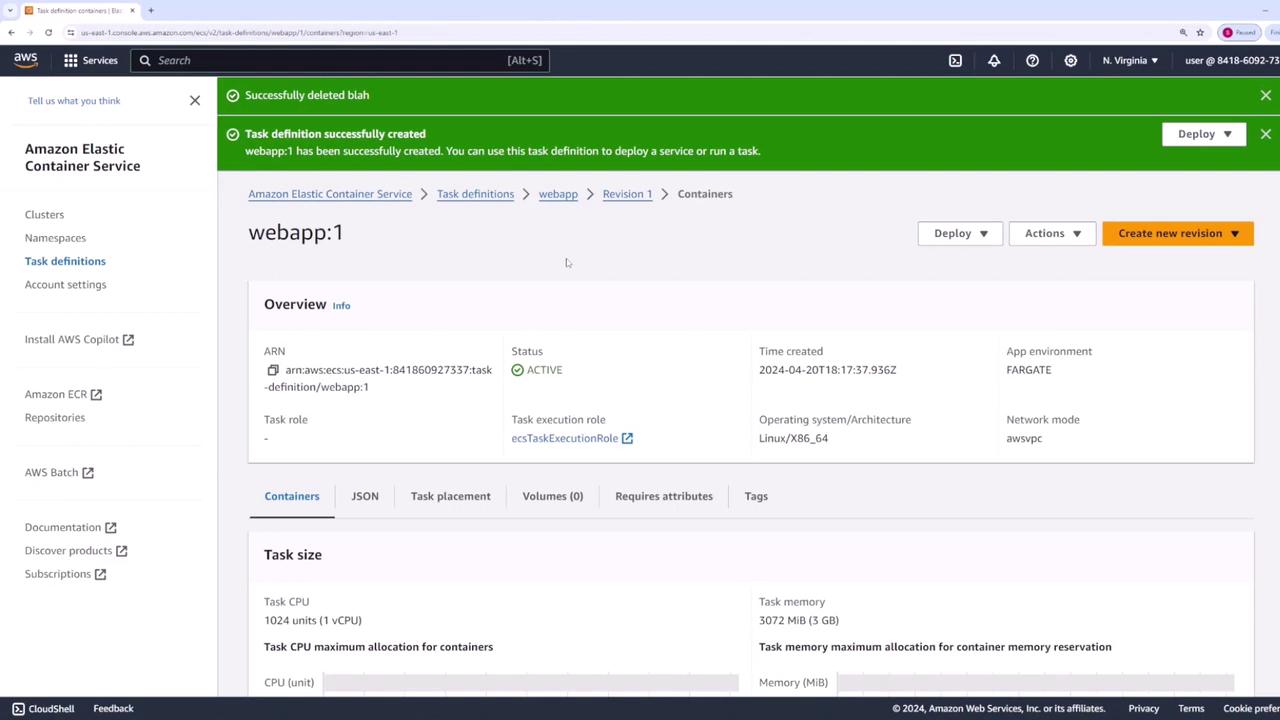
Creating the Task Definition

Begin by navigating to the "Task Definitions" section in the AWS ECS console and create a new task definition:

  1. Name the task definition "web app."
  2. Select the launch type "AWS Fargate."
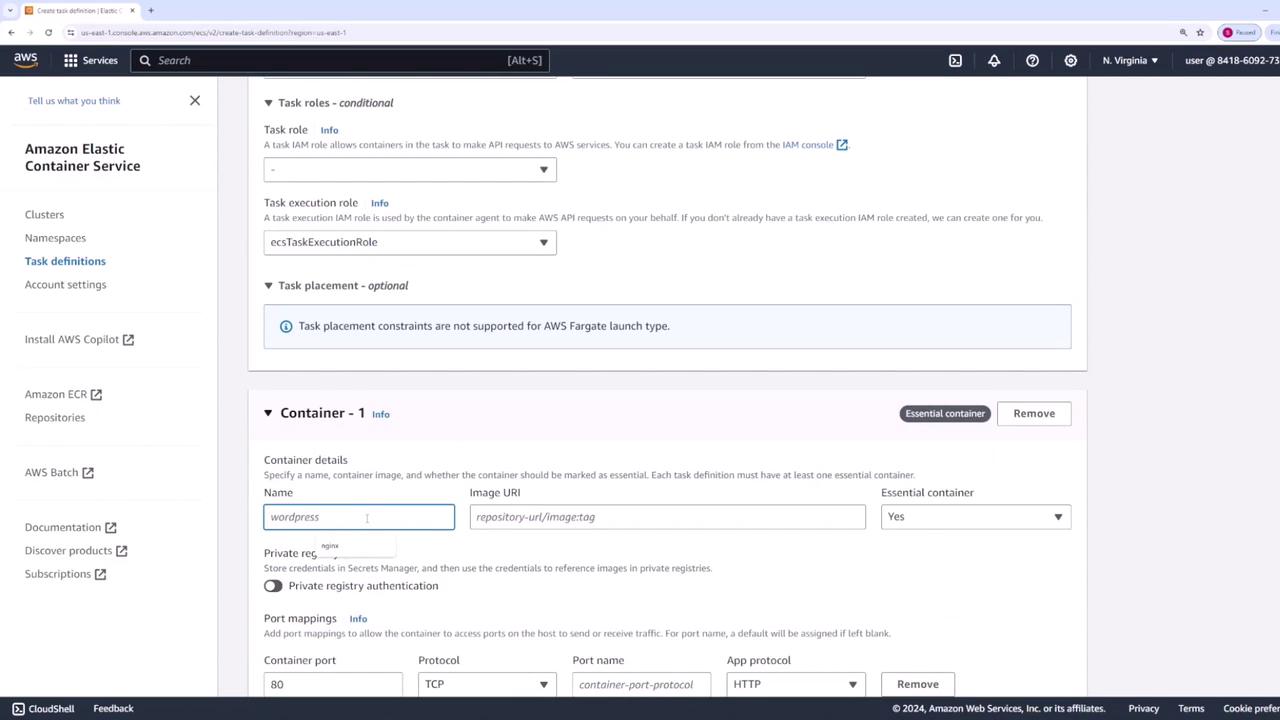
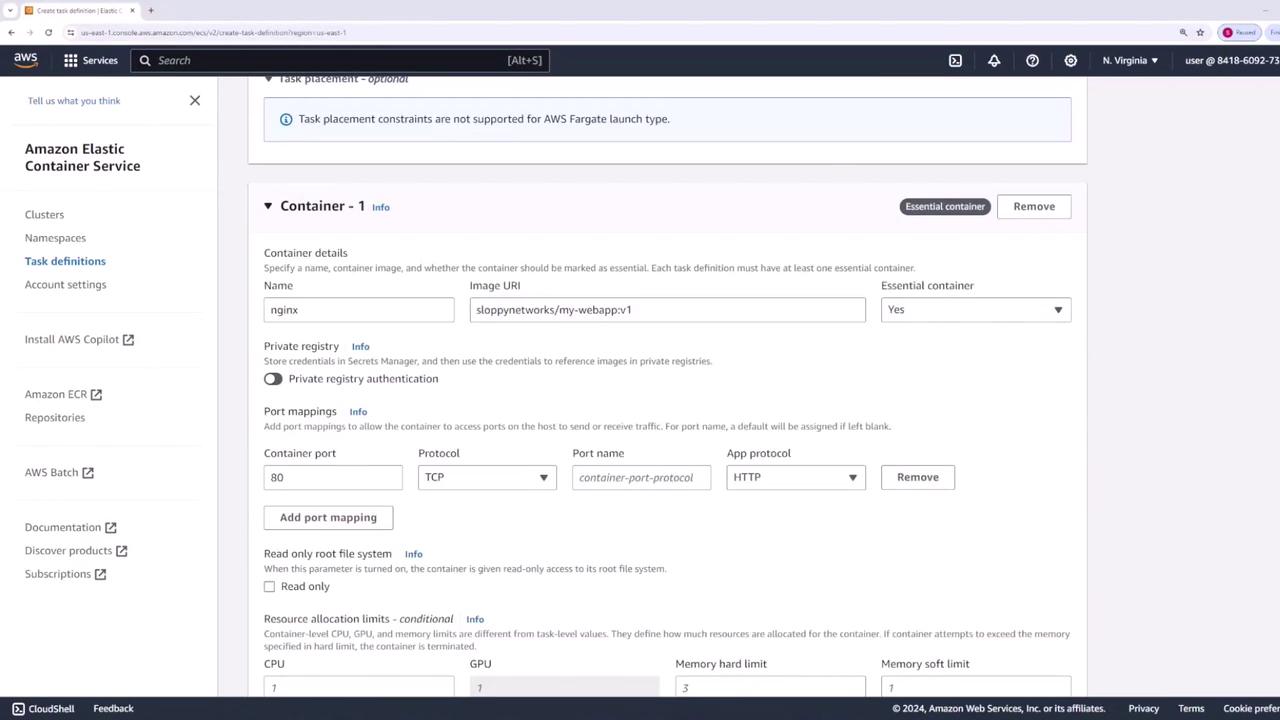
  3. Use the default task size settings, as this demo employs an Nginx container.

The image shows the AWS Elastic Container Service interface for creating a new task definition, with options for task definition configuration and infrastructure requirements. The interface includes fields for entering a task definition name and selecting launch types like AWS Fargate.

Next, configure the container settings. For this demo, the container image "my-dash-web-app" is available in three different versions (v1, v2, and v3). Start with version v1 and later update the service to version v2.

The image shows a screenshot of the Amazon Elastic Container Service (ECS) console, specifically the task definition creation page, where container details such as name, image URI, and port mappings are being configured.

Ensure that the container listens on port 80, which is the default port for Nginx:

The image shows a configuration screen for creating a task definition in Amazon Elastic Container Service (ECS), detailing container settings such as name, image URI, port mappings, and resource allocation.

Keep the CPU resource settings at their default values:

The image shows a screenshot of the Amazon Elastic Container Service (ECS) interface, specifically the task definition creation page, where resource allocation limits and environment variables can be configured.

Once all settings have been reviewed and confirmed, create the task definition.

Creating the ECS Service

With the task definition ready, you can now create your first ECS service within your cluster:

  1. Navigate to your main cluster and click "Create Service."
  2. Choose the launch type "Fargate."
  3. For the application type, select "Service" and use the "web app" task definition.
  4. Set the revision to version one (v1) and name your service "web app."
  5. Define the desired task count as five (i.e., five containers will run).

For deployment type, you can choose from the following:

  • Rolling Update: Updates a few containers at a time until the new version is fully deployed.
  • Blue-Green Deployment: Managed via CodeDeploy.

For this demo, select the Rolling Update option. With the minimum running tasks set at 100%, ECS ensures that five tasks remain running during updates. The maximum running tasks are set at 200%, allowing up to ten tasks (five existing plus five new) during a deployment.

The image shows a configuration page for creating a service in Amazon Elastic Container Service (ECS), with options for service name, type, desired tasks, and deployment settings.

Tip

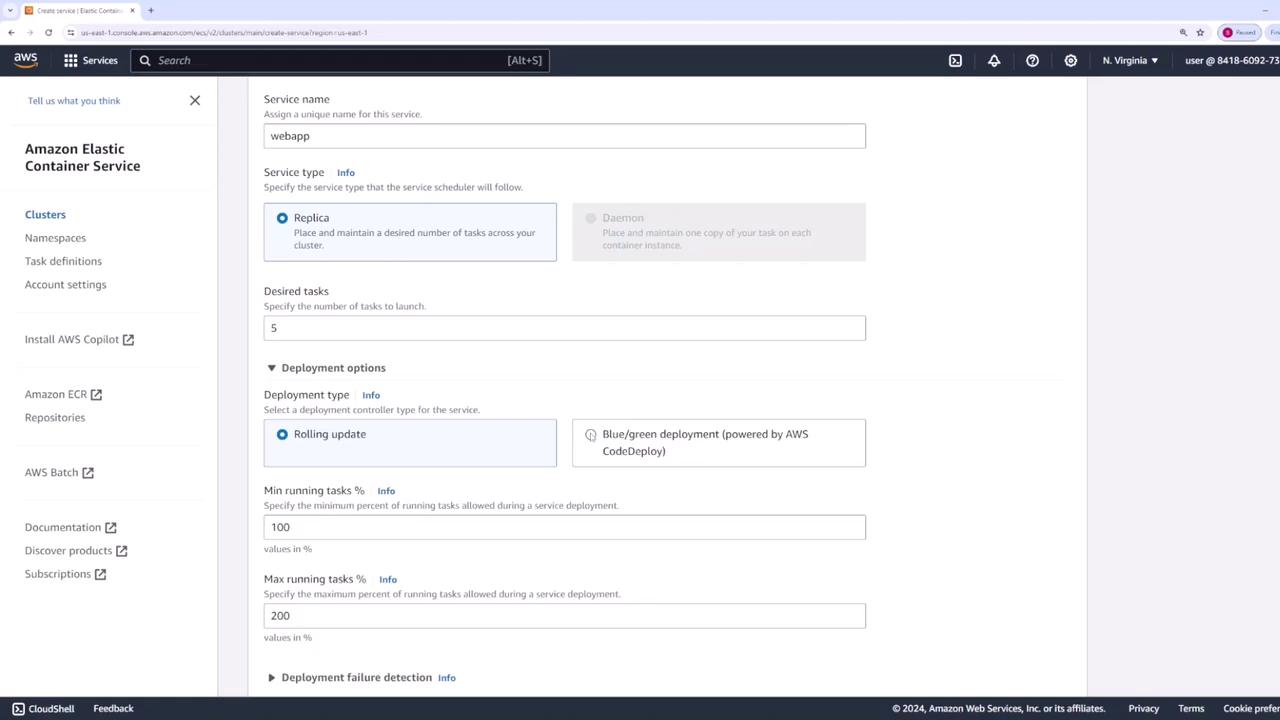
If you lower the minimum running percentage (for example, to 50%), fewer tasks might run temporarily before the new version is fully deployed. For this tutorial, we maintain it at 100%.

Networking and Load Balancer Configuration

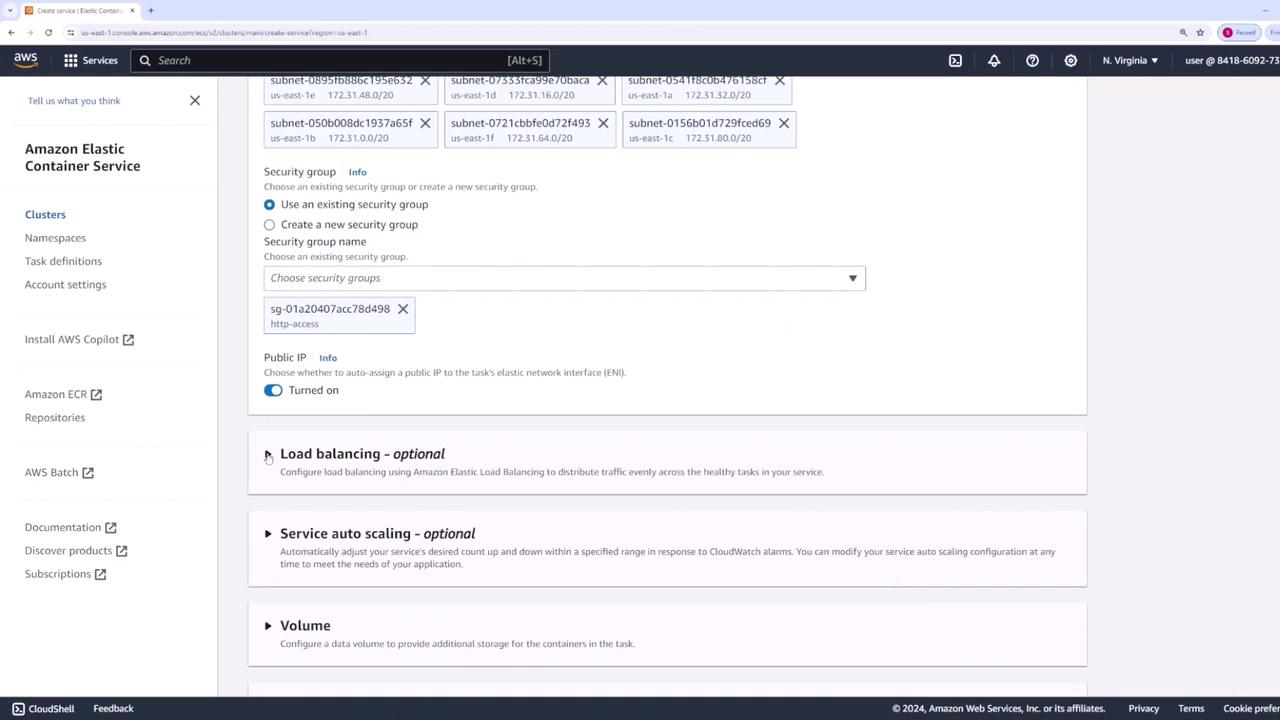
  1. In the networking section, retain the default subnets and VPC.
  2. Update the security group to allow HTTP access for the Nginx container.
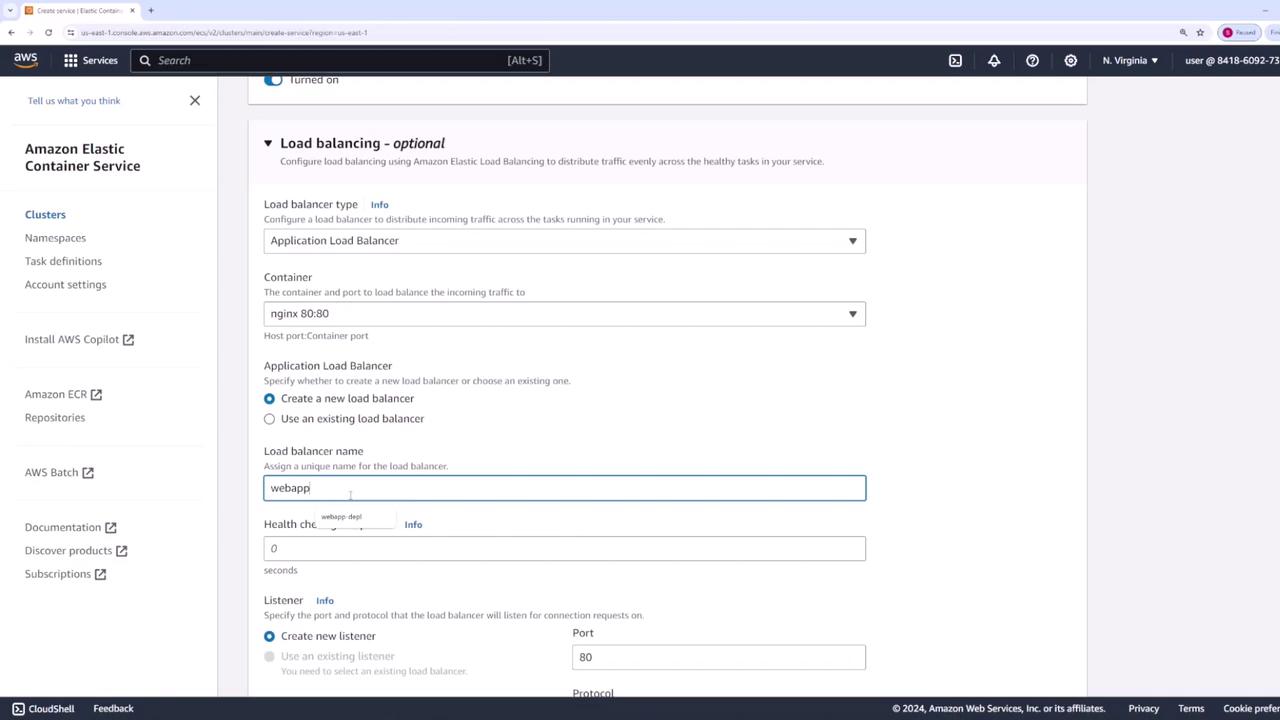
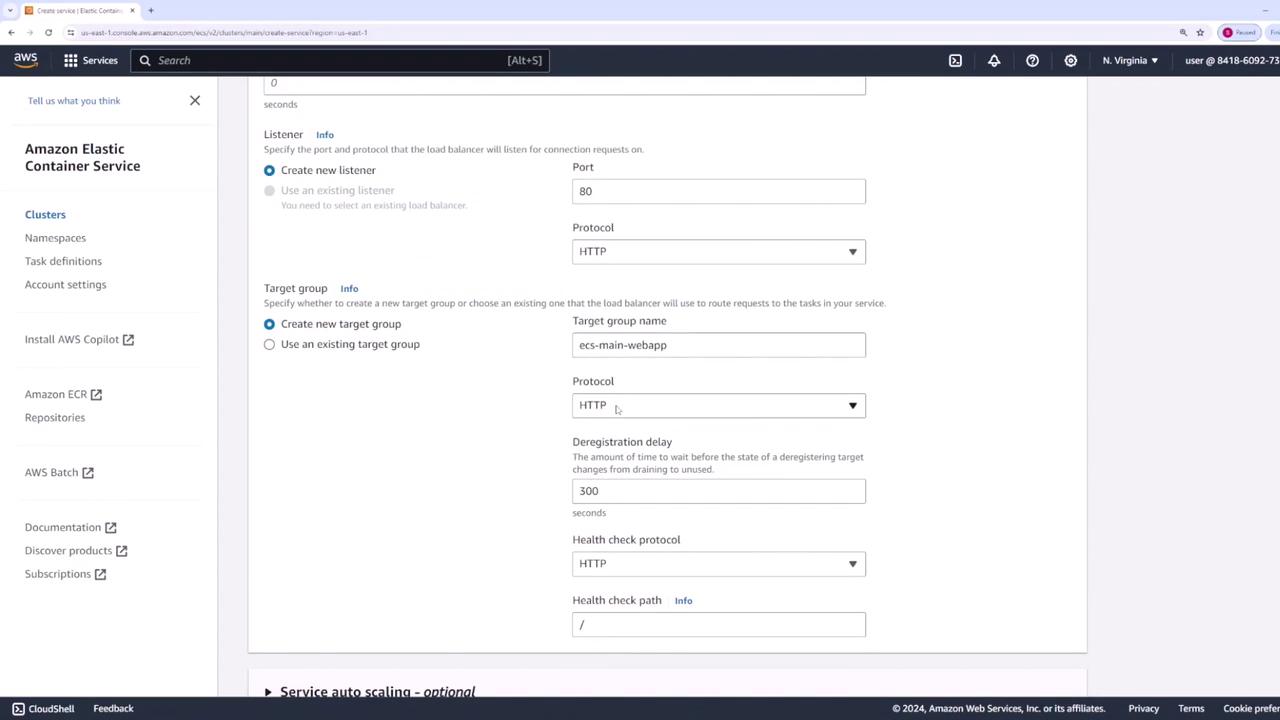
  3. Create a load balancer to forward traffic to Nginx on port 80 and name it "web app - lb."

The image shows a configuration screen for Amazon Elastic Container Service (ECS) on the AWS Management Console, with options for security groups, load balancing, service auto-scaling, and volume settings.

Establish a new listener on port 80 and configure a corresponding target group that utilizes the HTTP protocol.

The image shows a configuration screen for setting up load balancing in Amazon Elastic Container Service (ECS), where options for load balancer type, container, and listener settings are being specified.

The image shows a configuration screen for creating a service in Amazon Elastic Container Service (ECS), including options for setting up a listener and target group with HTTP protocol.

After finalizing these settings, create the service. Once deployed, verify that five tasks are running by checking the ECS dashboard.

The image displays an Amazon Elastic Container Service (ECS) dashboard with a task definition named "webapp:1" that has been successfully created and is active. It shows details like task size, environment, and execution role.

The image shows the Amazon Elastic Container Service (ECS) dashboard, displaying the health and metrics of a service named "webapp," which is active with 5 running tasks and all targets healthy.

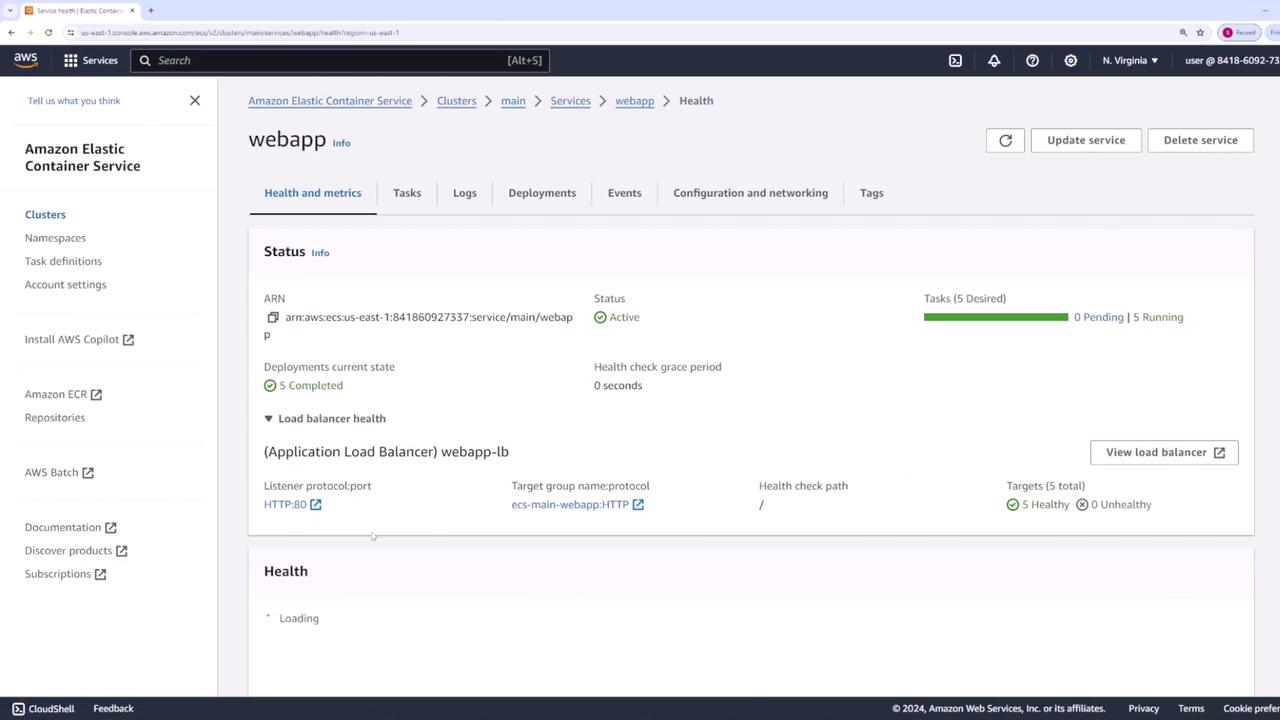
Verifying the Deployment

To confirm that your application has been successfully deployed:

  1. Click on the load balancer associated with the service.
  2. Copy the load balancer's DNS name.
  3. Open the DNS name in a web browser.

If version v1 is deployed correctly, you should see a page displaying "version one."

The image shows the Amazon Elastic Container Service (ECS) interface displaying a list of running tasks for a service named "webapp." Each task is running on Fargate with a status of "Running" and a health status of "Unknown."

Updating the Service to Version Two

To update the application to version v2, follow these steps:

  1. Return to the ECS console and select the "web app" task definition.
  2. Create a new revision by updating the container image tag from v1 to v2.
  3. Update the service configuration to use revision two.

The image shows an Amazon Elastic Container Service (ECS) dashboard with details of a task definition named "webapp:2," indicating its active status and configuration settings like CPU and memory allocation.

When updating the service:

  • Select "Update" and then change the revision setting to two.
  • Retain the same deployment settings (100% minimum and 200% maximum) to ensure that new tasks are fully deployed before the old ones are decommissioned.
  • Click "Update" to trigger the deployment.

During the rollout, ECS will temporarily run up to 10 tasks (5 from version v1 and 5 from version v2). Once all new tasks are confirmed as running, ECS will gradually remove the older version (v1) tasks. Refresh the service dashboard to monitor the transition.

After the deployment completes, you should see that the running tasks now reference version v2 of the application.

Conclusion

This lesson demonstrated the following key steps:

  • Creation of a task definition for an Nginx container.
  • Deployment of an ECS service with load balancing on AWS Fargate.
  • Use of a rolling update mechanism to perform a zero-downtime transition from version v1 to v2.

Next Steps

For more information on ECS deployments and best practices, explore the following resources:

Happy deploying!

Watch Video

Watch video content

Previous
Updating ECS Task
Next
ECR