> ## Documentation Index
> Fetch the complete documentation index at: https://notes.kodekloud.com/llms.txt
> Use this file to discover all available pages before exploring further.
# EC2 Userdata demo
> Guide showing how to use EC2 user data with cloud-init to install, start, and enable nginx automatically on an instance's first boot.
This guide demonstrates how to use EC2 user data to run an initialization script automatically when a new Amazon EC2 instance boots. Using user data (via cloud-init) lets you perform first-boot configuration such as installing packages, starting services, or bootstrapping applications without SSHing into the instance.
Goal: Launch an EC2 instance that installs, starts, and enables nginx on first boot so the web server is reachable immediately after initialization.
Prerequisites:
* An AWS account with permissions to launch EC2 instances.
* A key pair to access the instance (optional for this demo since configuration is via user data).
* A security group that allows HTTP (80) and HTTPS (443) inbound access.
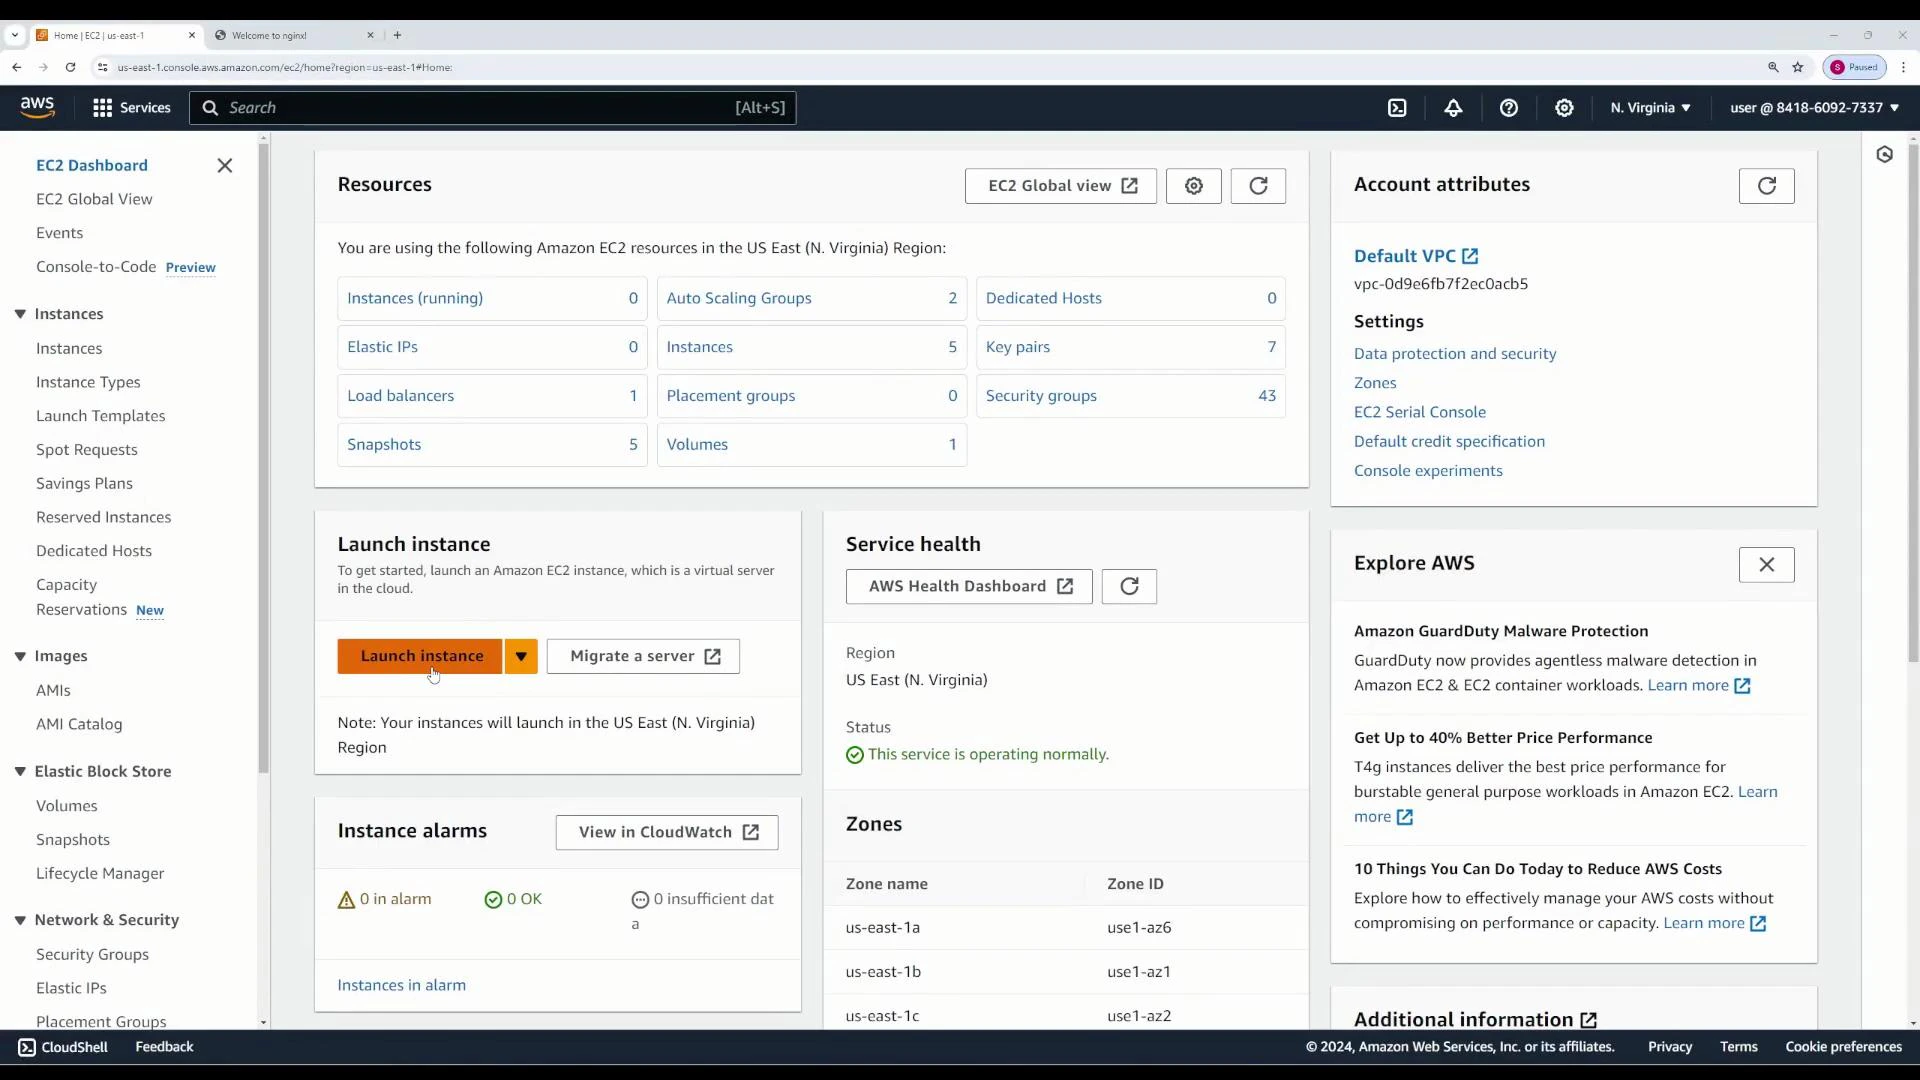
Step 1 — Launch a new EC2 instance
* Open the EC2 console and click "Launch instance".
* Give the instance a descriptive Name (for example, userdata-demo).
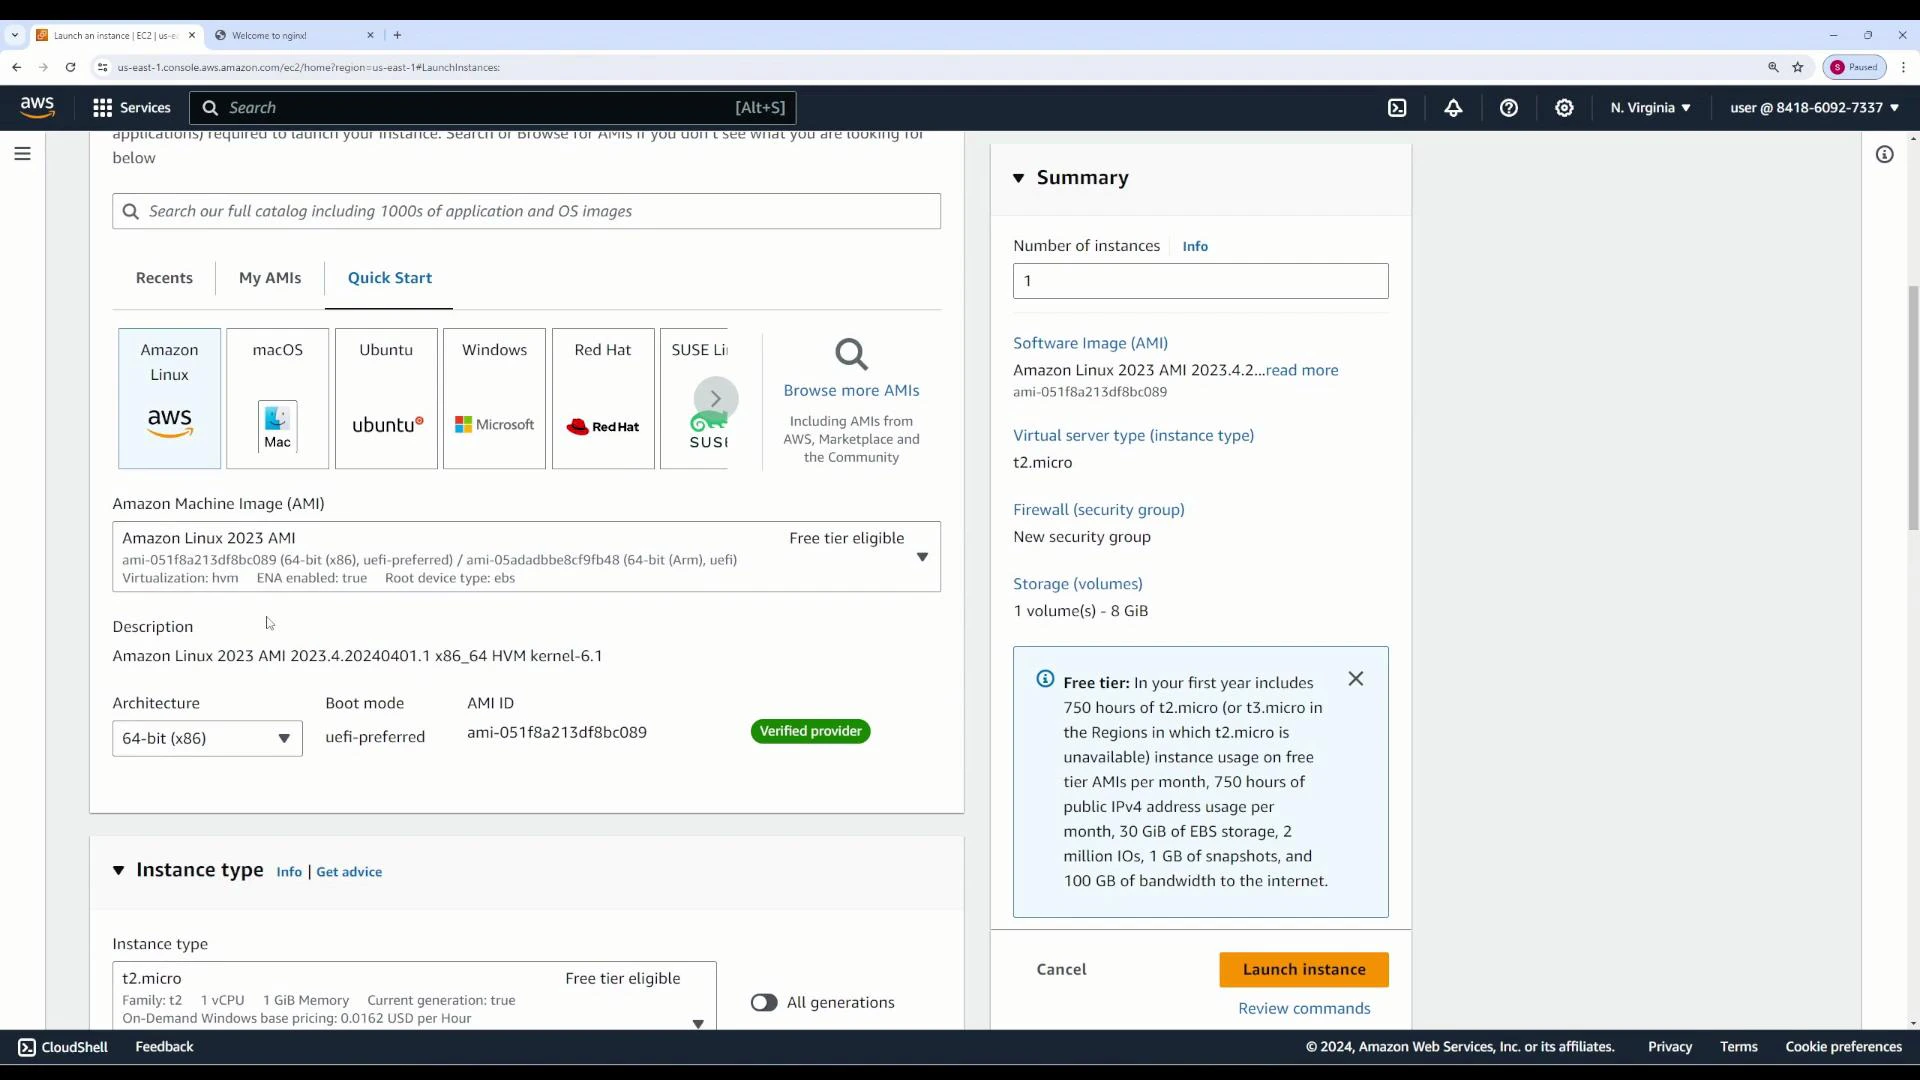
* Select an Amazon Linux AMI (or another supported Linux AMI that uses yum).
 Step 2 — Choose instance configuration
* Choose an appropriate instance type (t2.micro is fine for testing and is often within the AWS Free Tier).
* Select your key pair or create one if you plan to SSH later.
* Configure networking and storage as needed.
Step 3 — Configure Security Group
Allow inbound access so nginx can serve traffic. At minimum, allow:
| Protocol | Port | Source | Purpose |
| -------- | ---- | ------------------------ | -------------------------------- |
| TCP | 80 | 0.0.0.0/0 | HTTP (nginx default) |
| TCP | 443 | 0.0.0.0/0 | HTTPS (if serving TLS) |
| TCP | 22 | \/32 (optional) | SSH access — restrict to your IP |
Step 4 — Add your user data script
Open Advanced Details on the launch page and paste the script into the User data field (you can also upload a file). The script below runs as root during the instance's first boot and uses yum to install nginx, then starts and enables it:
```bash theme={null}
#!/bin/bash
sudo yum install -y nginx
sudo systemctl start nginx
sudo systemctl enable nginx
```
User data scripts run as root on first boot via cloud-init. If you need to troubleshoot, check /var/log/cloud-init-output.log on the instance for the script's output and any error messages.
Step 5 — Launch and verify
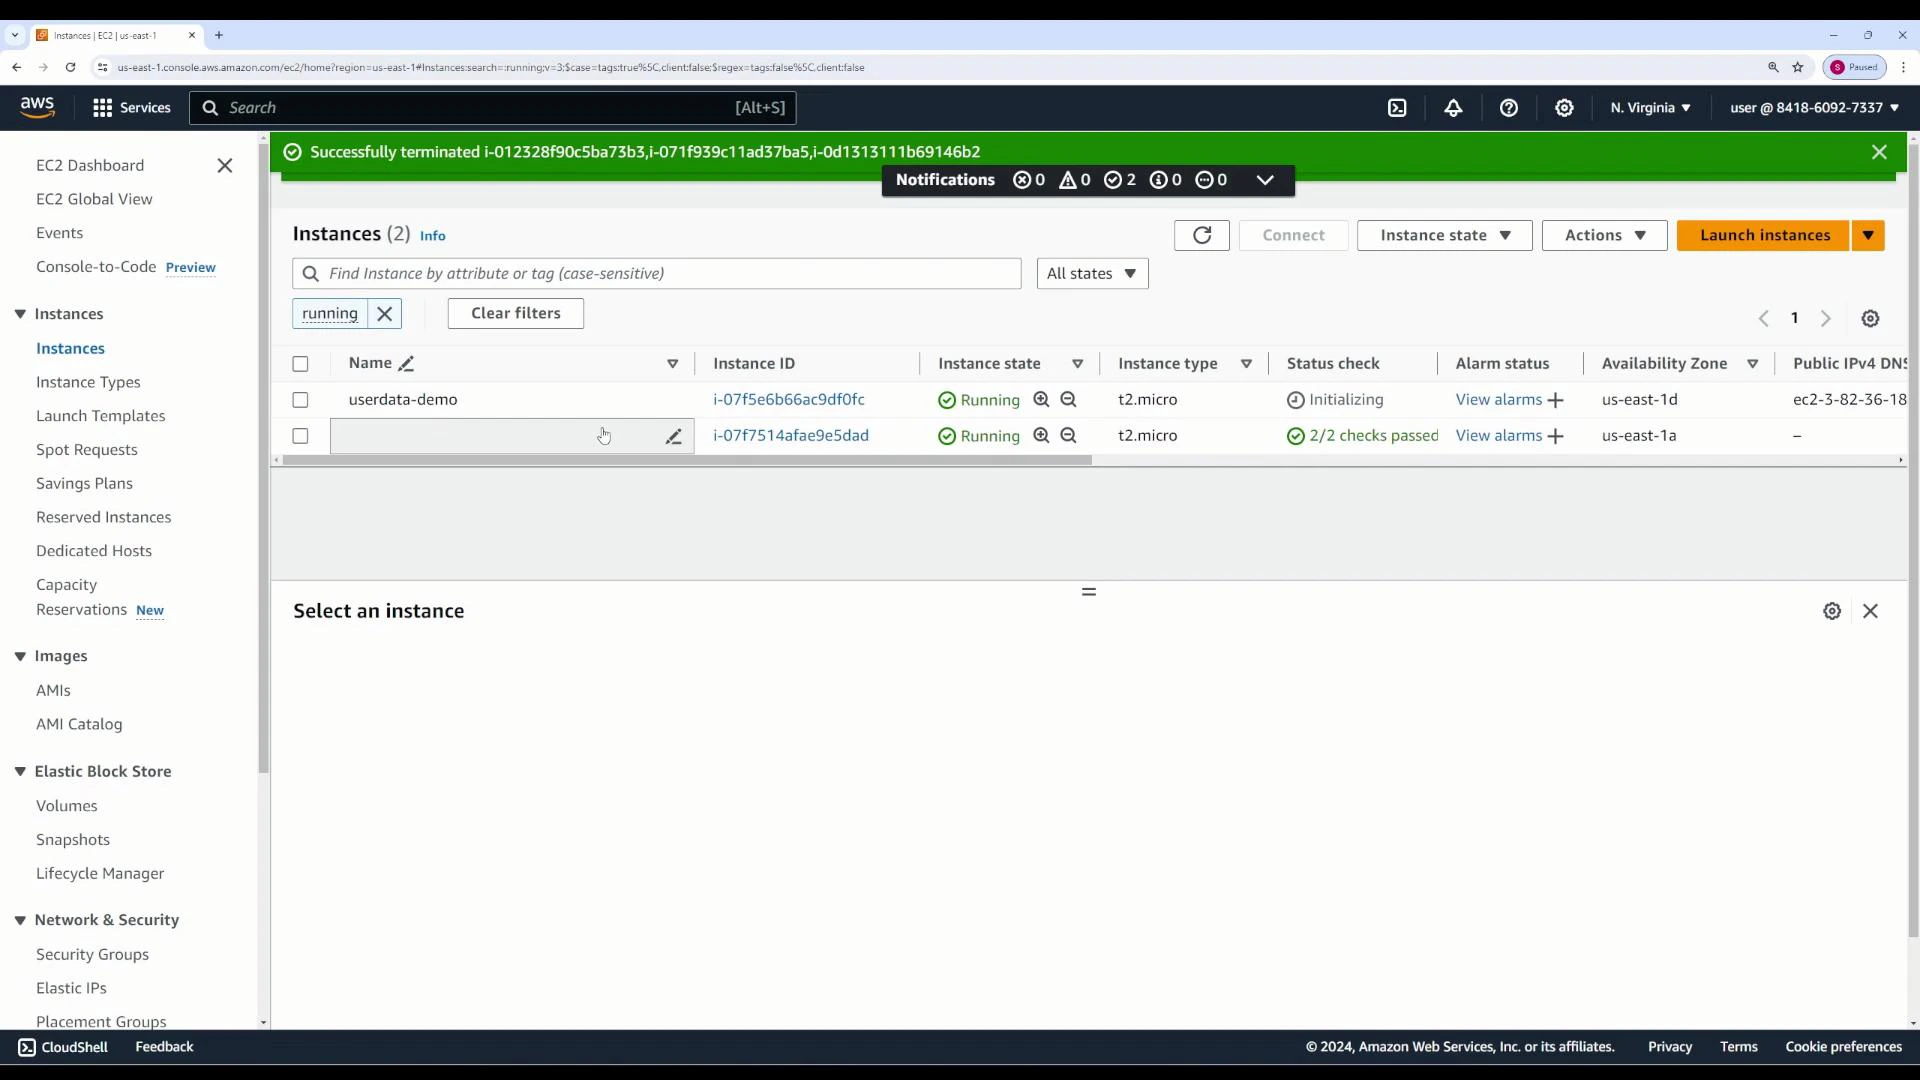
* Launch the instance and wait for its status checks to pass.
* From the EC2 Instances page, note the instance's Public IPv4 address or Public DNS.
Step 2 — Choose instance configuration
* Choose an appropriate instance type (t2.micro is fine for testing and is often within the AWS Free Tier).
* Select your key pair or create one if you plan to SSH later.
* Configure networking and storage as needed.
Step 3 — Configure Security Group
Allow inbound access so nginx can serve traffic. At minimum, allow:
| Protocol | Port | Source | Purpose |
| -------- | ---- | ------------------------ | -------------------------------- |
| TCP | 80 | 0.0.0.0/0 | HTTP (nginx default) |
| TCP | 443 | 0.0.0.0/0 | HTTPS (if serving TLS) |
| TCP | 22 | \/32 (optional) | SSH access — restrict to your IP |
Step 4 — Add your user data script
Open Advanced Details on the launch page and paste the script into the User data field (you can also upload a file). The script below runs as root during the instance's first boot and uses yum to install nginx, then starts and enables it:
```bash theme={null}
#!/bin/bash
sudo yum install -y nginx
sudo systemctl start nginx
sudo systemctl enable nginx
```
User data scripts run as root on first boot via cloud-init. If you need to troubleshoot, check /var/log/cloud-init-output.log on the instance for the script's output and any error messages.
Step 5 — Launch and verify
* Launch the instance and wait for its status checks to pass.
* From the EC2 Instances page, note the instance's Public IPv4 address or Public DNS.
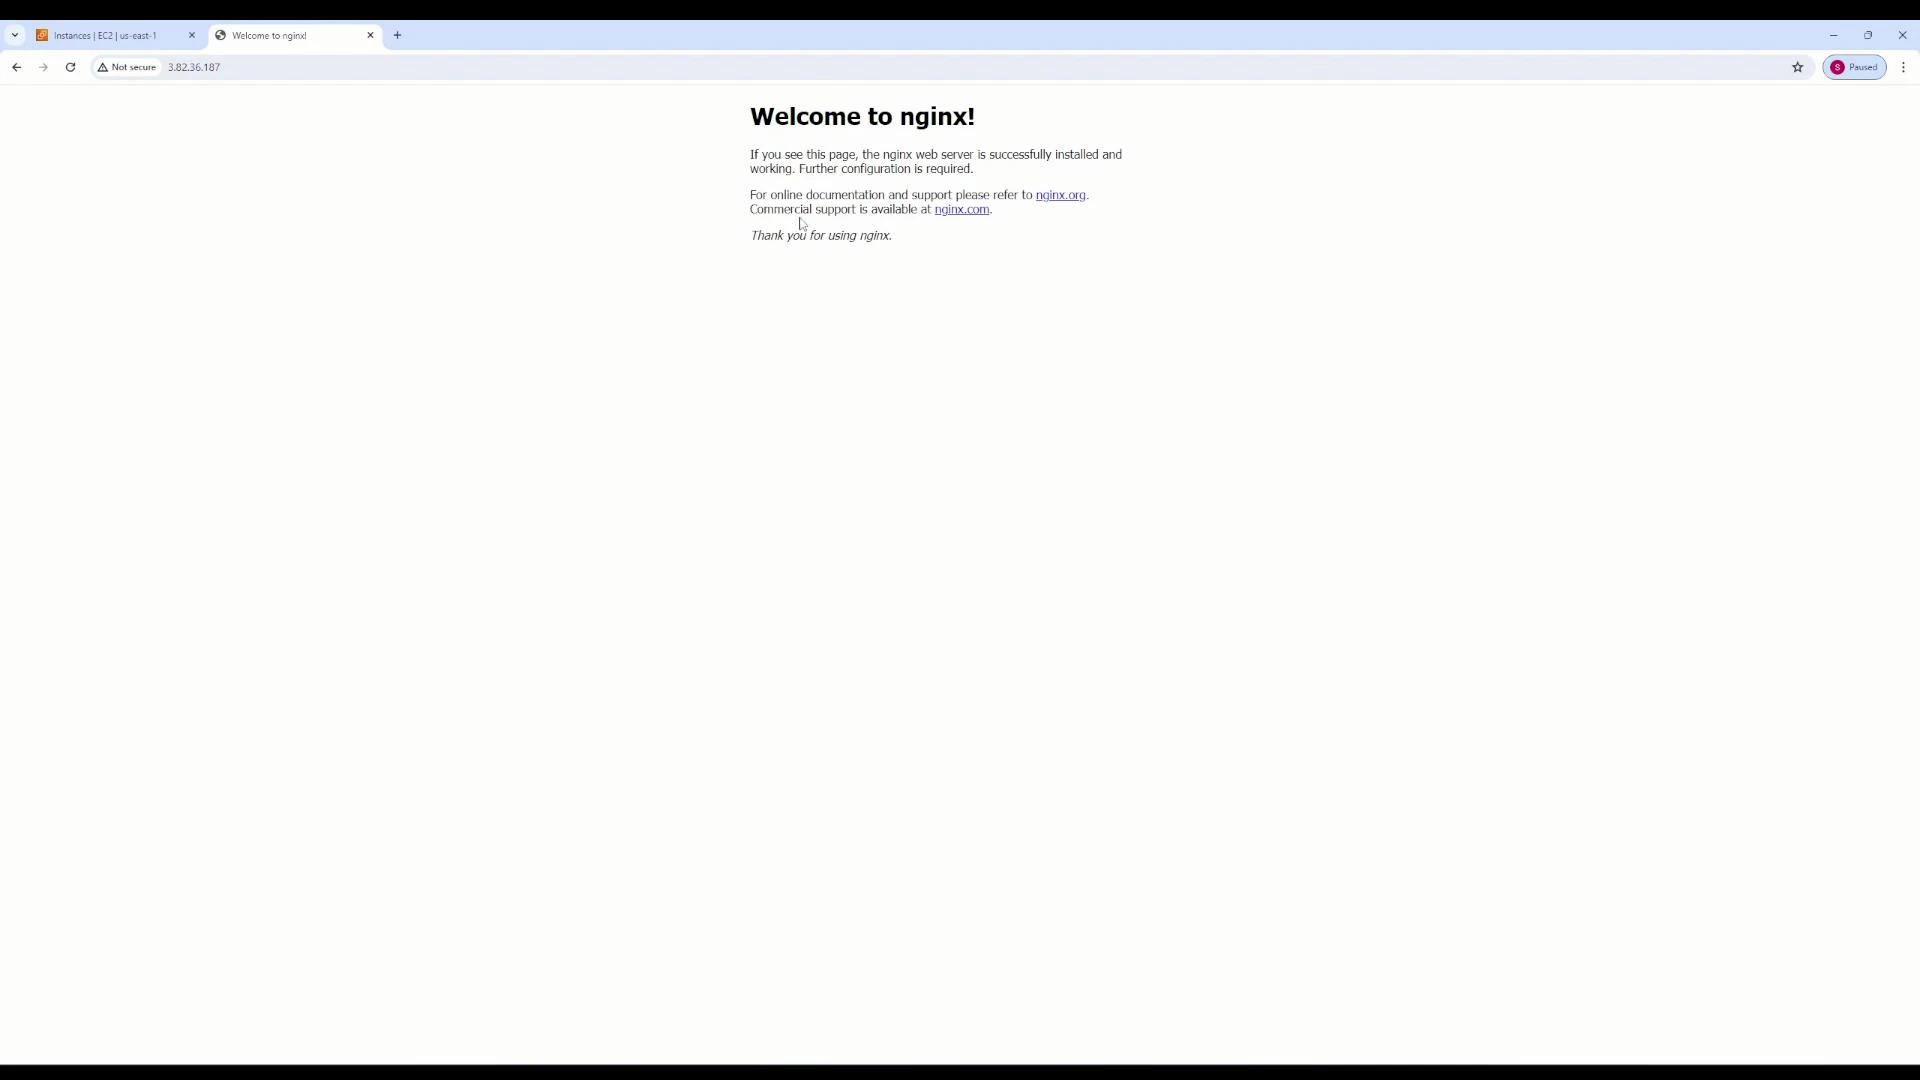
 Open a browser and navigate to http\://\ (replace \ with the instance address). You should see the default nginx welcome page, confirming the user data script installed and started nginx successfully.
 Troubleshooting tips
* Confirm the instance has a public IP and the security group allows inbound HTTP.
* Verify cloud-init ran by inspecting /var/log/cloud-init.log and /var/log/cloud-init-output.log on the instance.
* If the package manager fails, ensure your chosen AMI supports yum (Amazon Linux / RHEL / CentOS) or adjust the script for apt (Ubuntu/Debian).
User data runs only during the instance's initial boot. To re-run initialization you can: bake a new AMI with the changes, use configuration management (Ansible/Chef/Puppet), or manually re-run scripts via SSH or with cloud-init's re-run options.
Links and references
* [Amazon EC2 User Guide — Running Commands on Your Linux Instance at Launch](https://docs.aws.amazon.com/AWSEC2/latest/UserGuide/user-data.html)
* [cloud-init Documentation](https://cloud-init.io/)
* [nginx Official Site](https://nginx.org/)
* [Amazon Linux AMI](https://aws.amazon.com/amazon-linux-ami/)
Troubleshooting tips
* Confirm the instance has a public IP and the security group allows inbound HTTP.
* Verify cloud-init ran by inspecting /var/log/cloud-init.log and /var/log/cloud-init-output.log on the instance.
* If the package manager fails, ensure your chosen AMI supports yum (Amazon Linux / RHEL / CentOS) or adjust the script for apt (Ubuntu/Debian).
User data runs only during the instance's initial boot. To re-run initialization you can: bake a new AMI with the changes, use configuration management (Ansible/Chef/Puppet), or manually re-run scripts via SSH or with cloud-init's re-run options.
Links and references
* [Amazon EC2 User Guide — Running Commands on Your Linux Instance at Launch](https://docs.aws.amazon.com/AWSEC2/latest/UserGuide/user-data.html)
* [cloud-init Documentation](https://cloud-init.io/)
* [nginx Official Site](https://nginx.org/)
* [Amazon Linux AMI](https://aws.amazon.com/amazon-linux-ami/)