Learn to deploy a web server on AWS and configure an Auto Scaling group to adjust server numbers based on load.
In this lesson, you’ll learn how to deploy a simple web server on AWS and configure an Auto Scaling group. The Auto Scaling group will automatically adjust the number of servers based on load or other policies you define. This guide walks you through navigating the EC2 service, creating a launch template, configuring the Auto Scaling group, setting up a load balancer, and testing the scaling functionality.
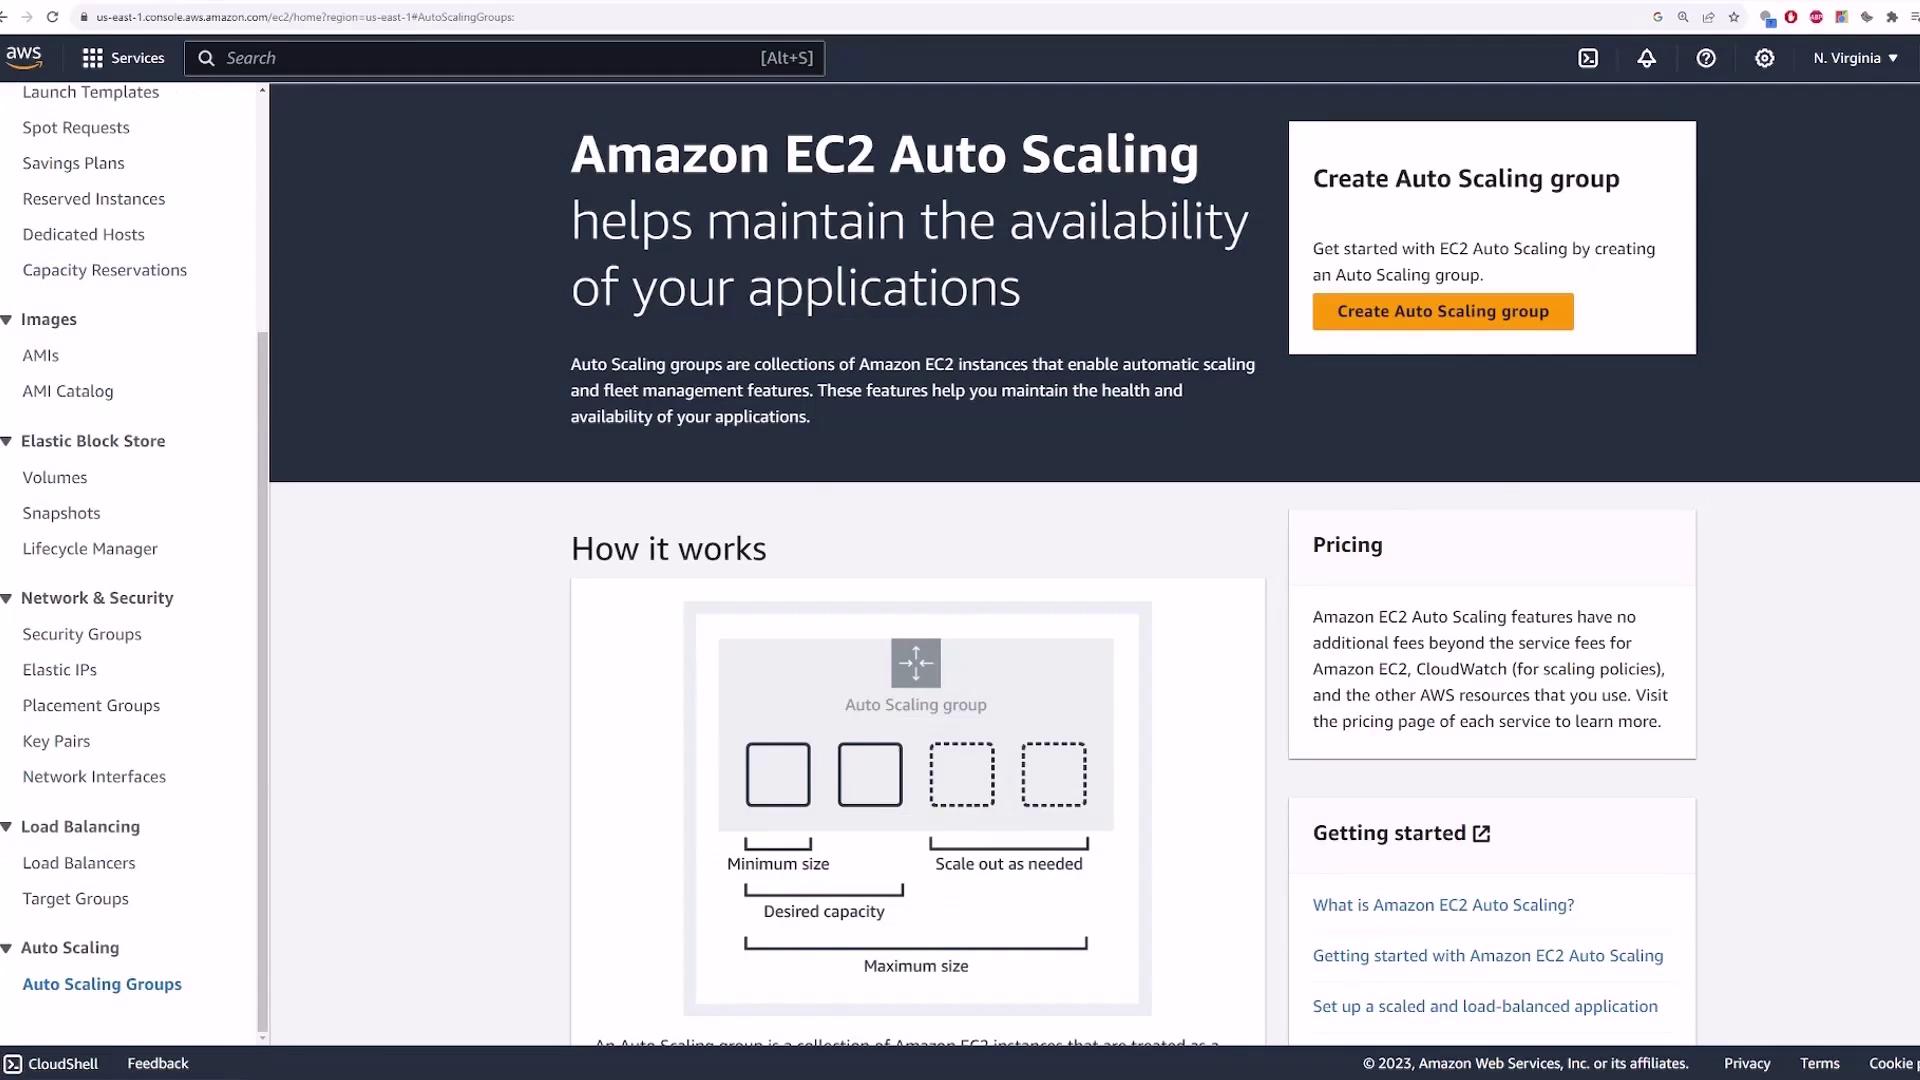
Begin by searching for the EC2 service in the AWS console. Scroll down and select the Auto Scaling groups option, then click Create Auto Scaling group.
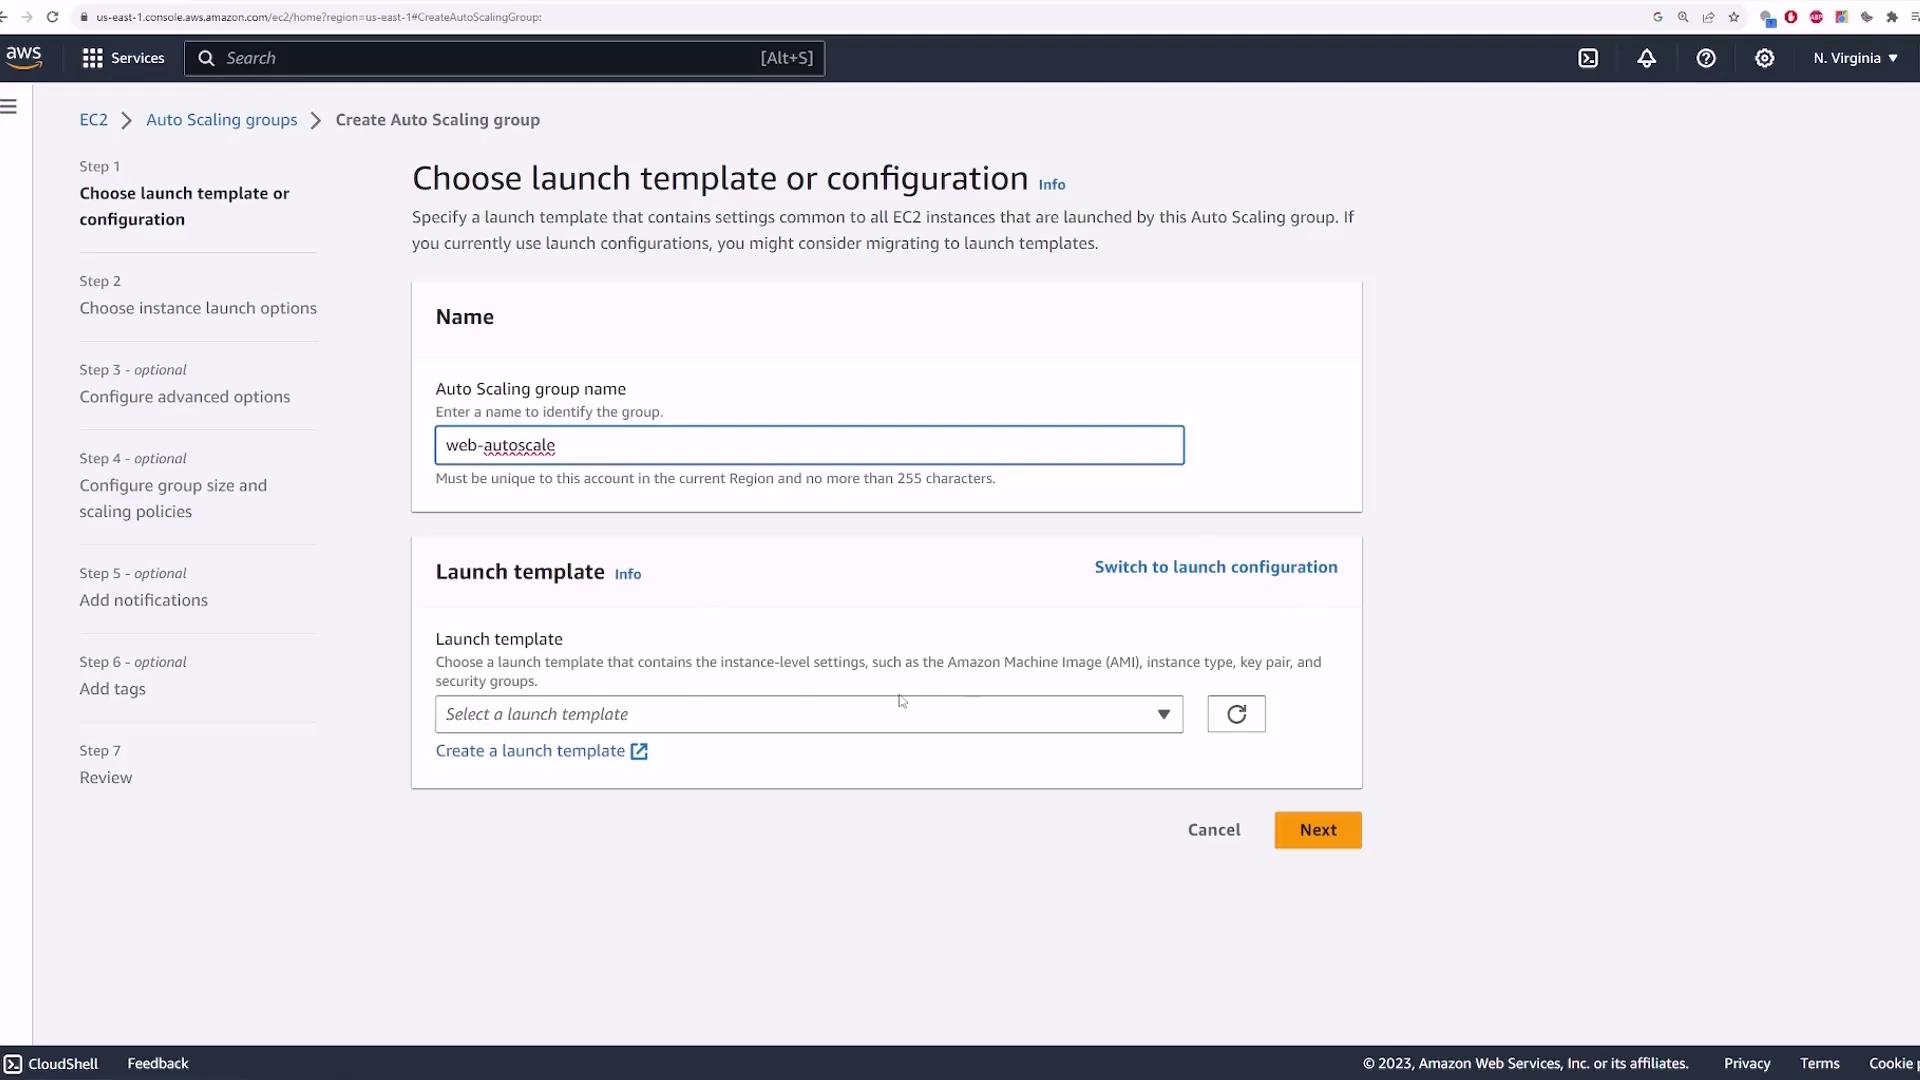
Enter a name for the group (e.g., “web auto scale”) and specify either a launch template or a launch configuration. A launch template is recommended because it provides more customization options such as EC2 instance type, key pair, and security groups.
Since you might not have a launch template already available, click on Create launch template. This action will open a new tab where you can define the EC2 instance settings.
(Optional) Add tags or select a source template if you wish to build upon an existing configuration.
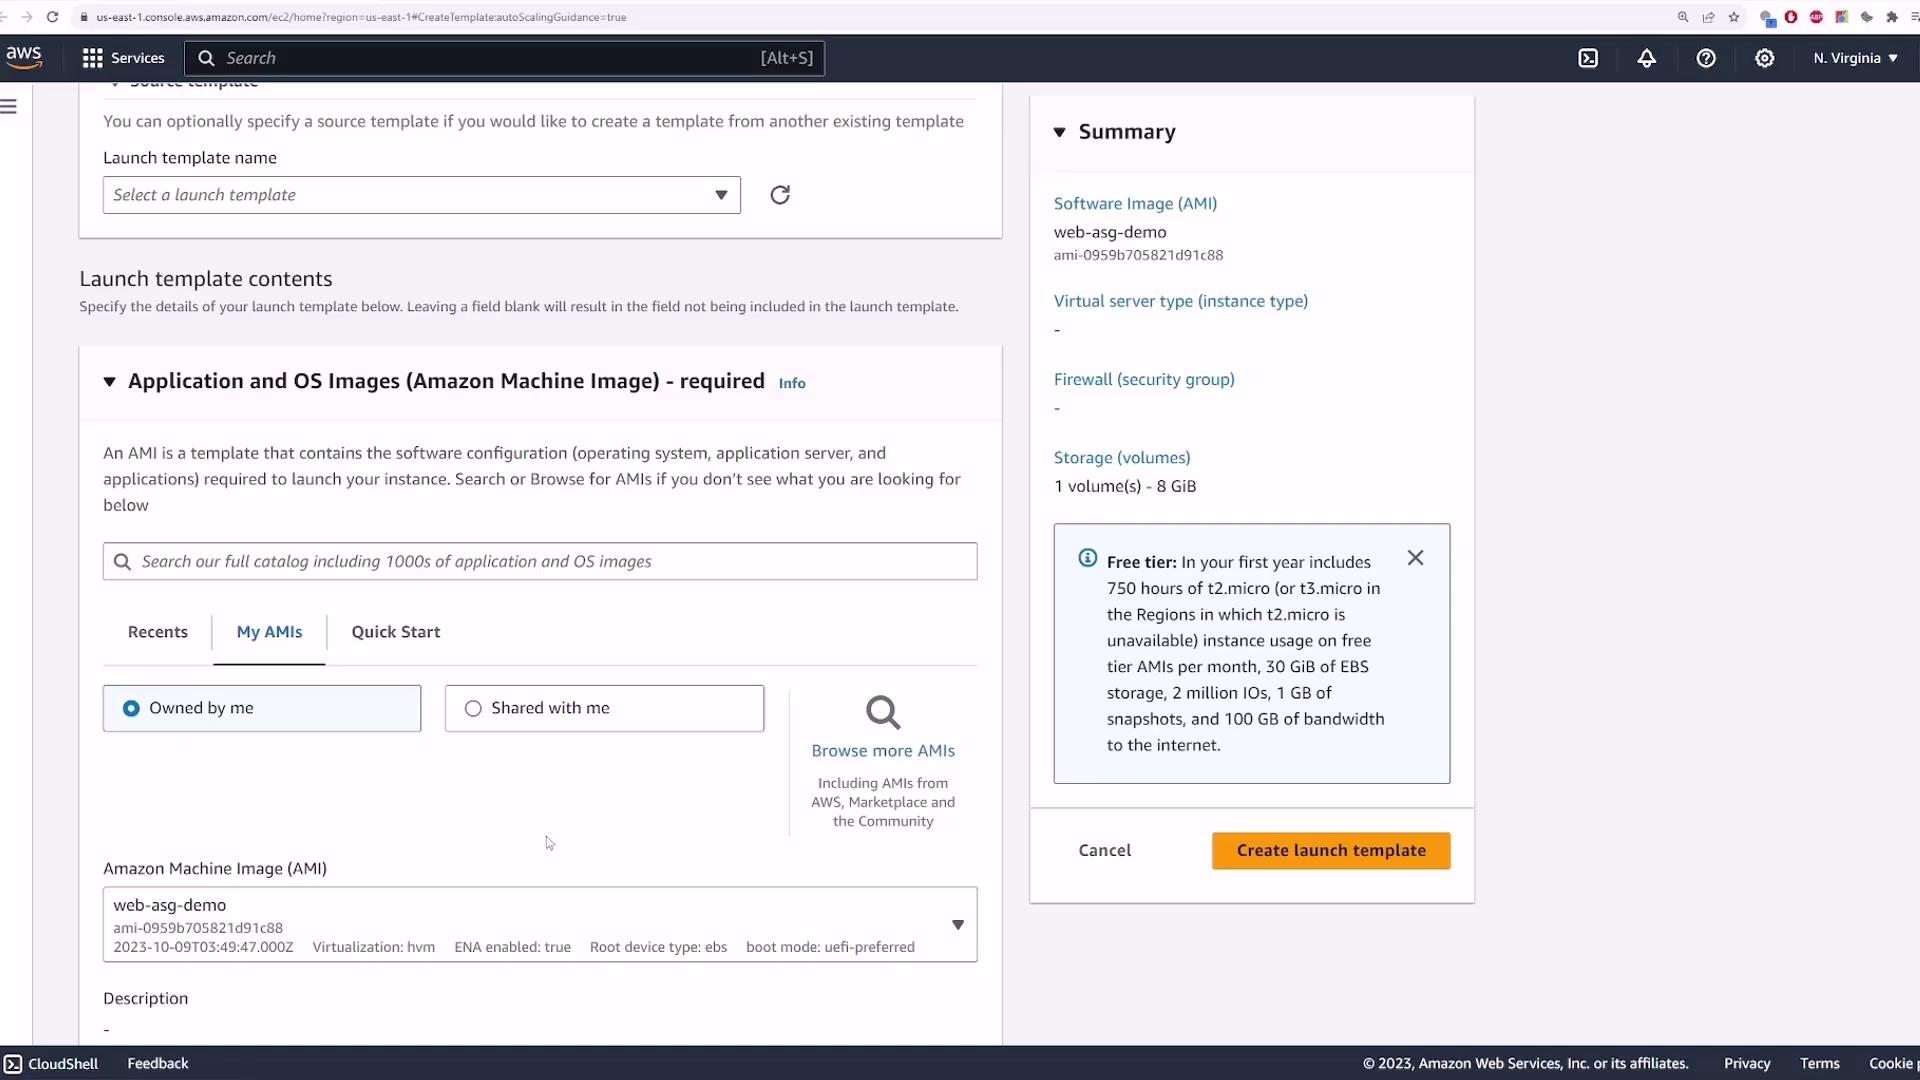
Scroll down to the Amazon Machine Image (AMI) section. Select your custom AMI by choosing “Owned by me” and picking the AMI named web ASG demo. This AMI is pre-configured with a simple Linux distribution running an Nginx server.
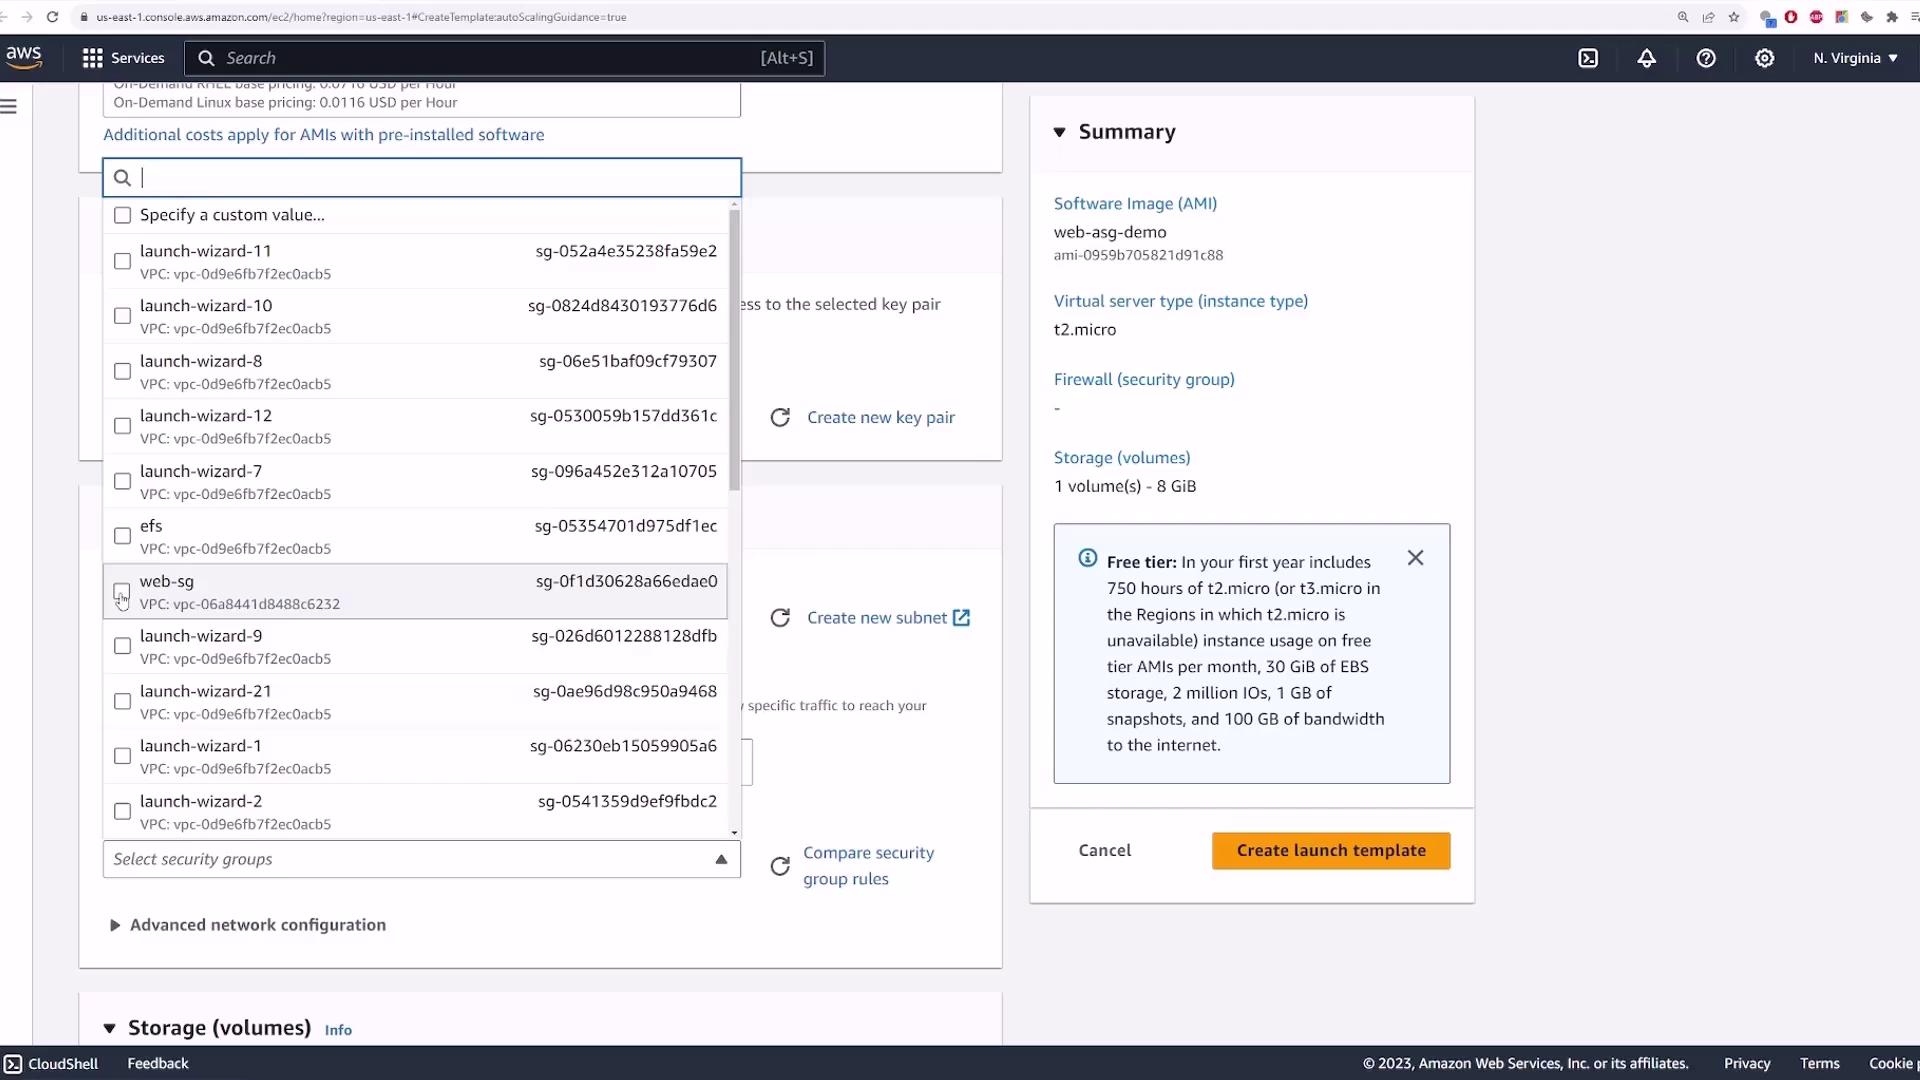
Next, select the appropriate instance type (e.g., T2 Micro for free tier eligibility) and choose your key pair (for example, “main”). In the network settings—although these can be adjusted later in the Auto Scaling group settings—you can leave the subnet section blank for multi-group usage; however, ensure you select the correct security group (e.g., “web SG”) to permit HTTP traffic on port 80.
You may leave storage options, resource tags, and advanced settings at their default values. Finally, click Create launch template. This action creates a launch template called “my web template” (version 1), which you can update later if needed.
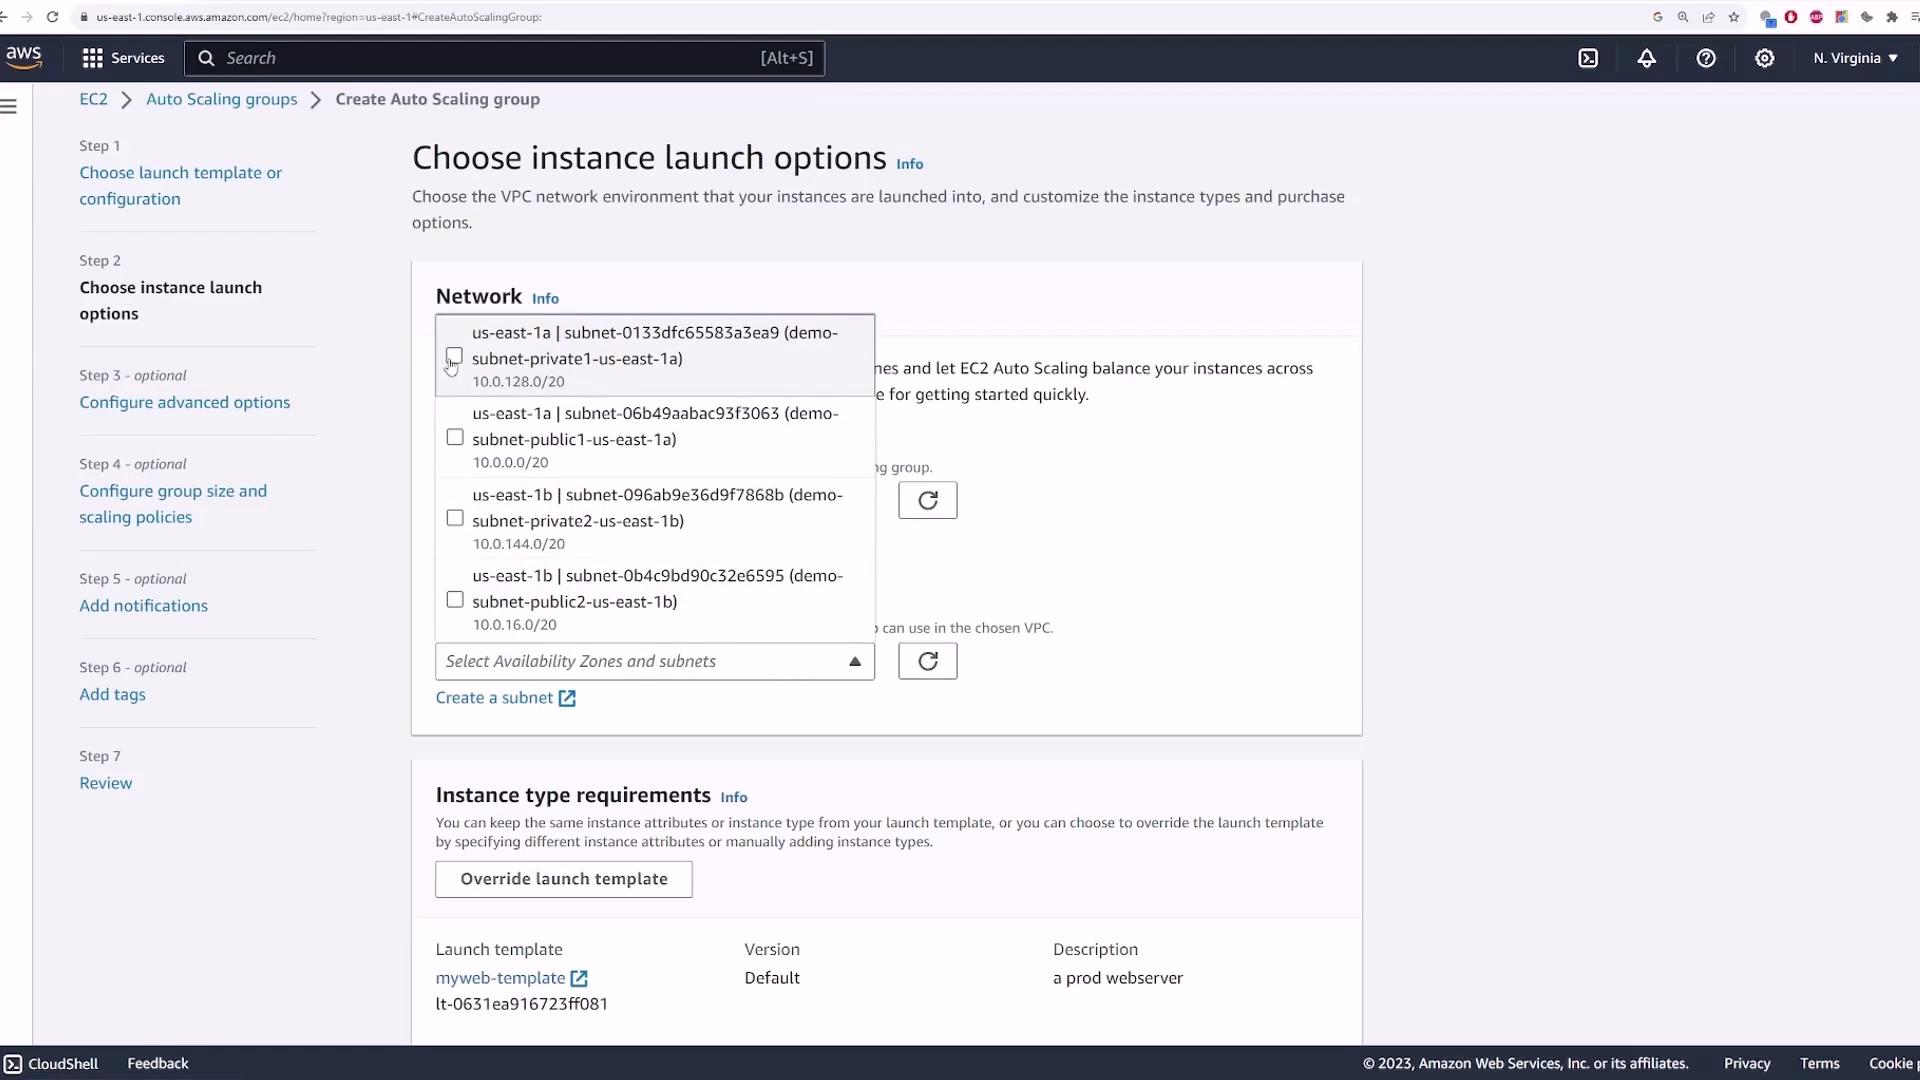
Return to the Auto Scaling group tab and refresh the page to see your newly created launch template. Select my web template and ensure that version one is chosen.Scroll down to review and confirm your configuration. Next, choose the VPC (for example, “demo VPC”) and select the appropriate availability zones and subnets for deployment. If you plan to use a load balancer that sits in public subnets, deploy the EC2 instances in private subnets.
If needed, you can override the launch template settings (for example, the instance type) within the Auto Scaling group configuration page. Otherwise, leave the settings as defined and click Next.
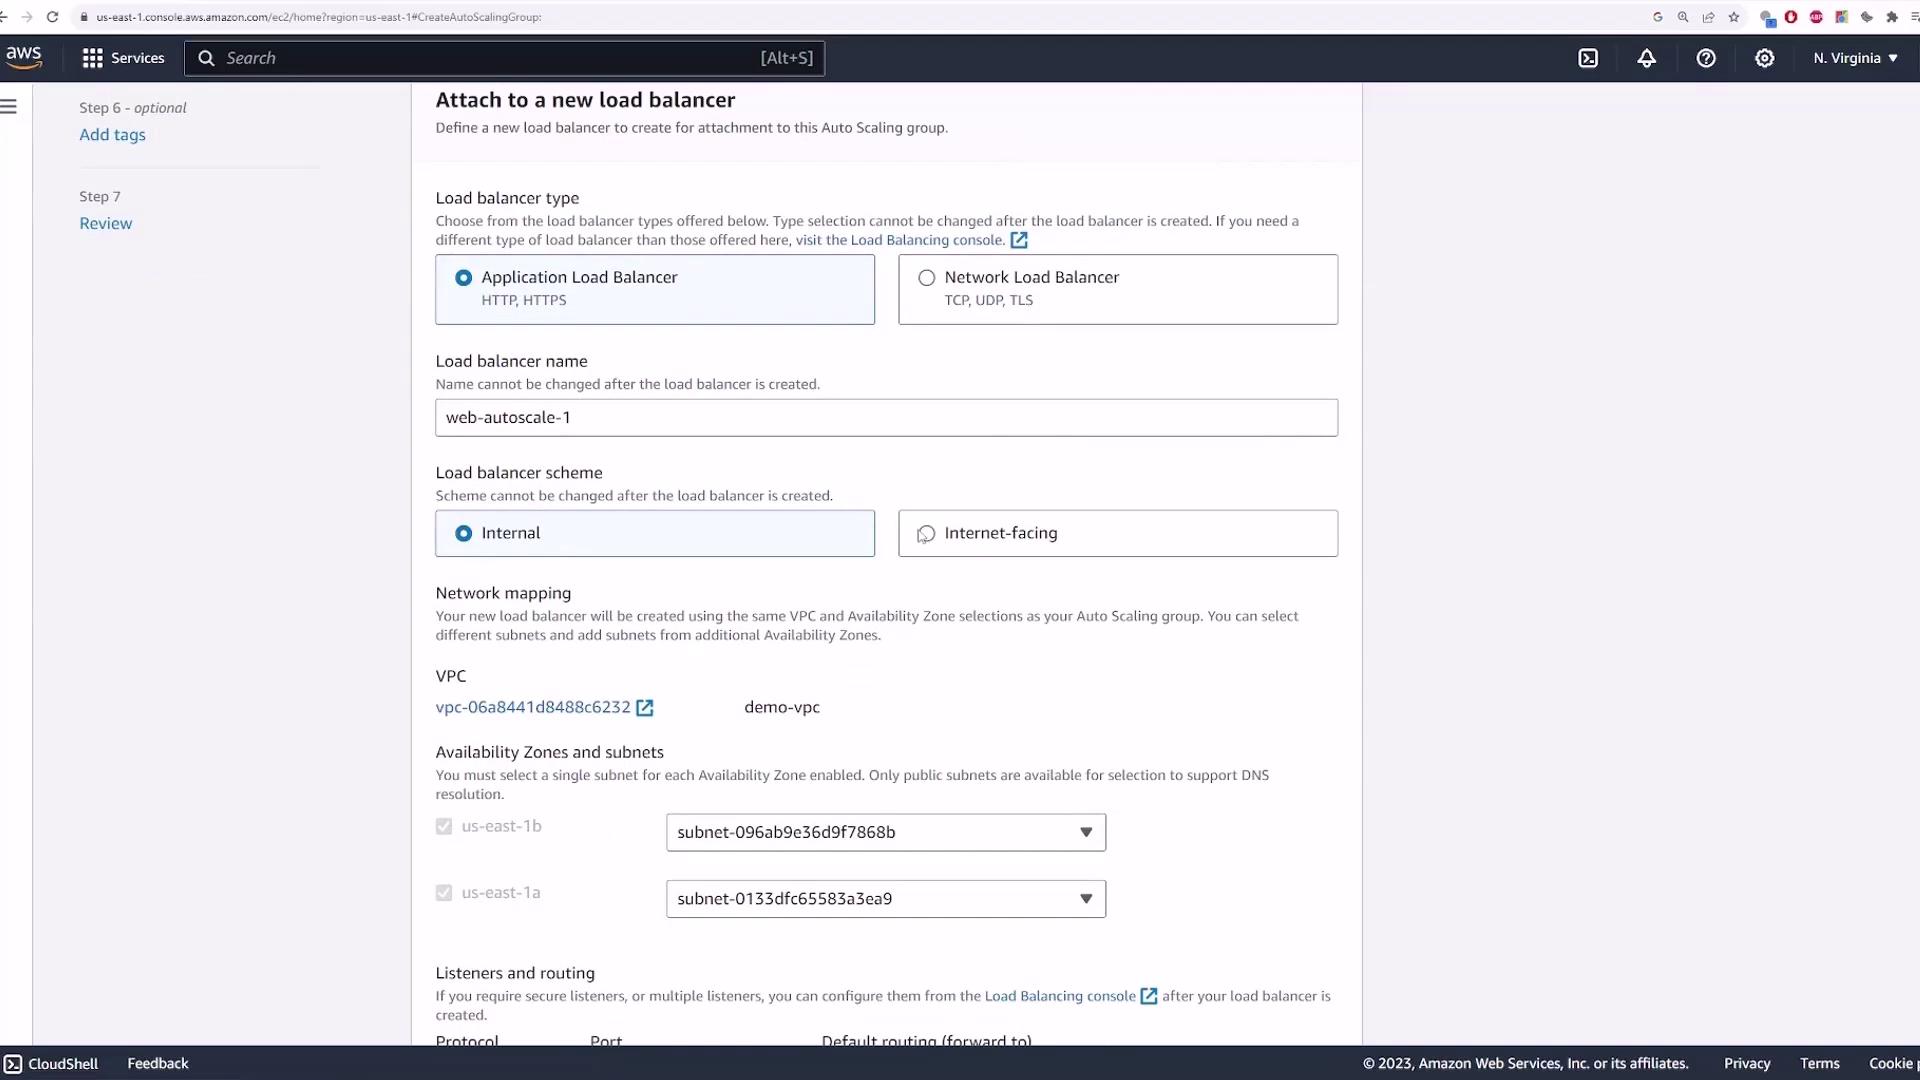
At the next step, select the option to create a load balancer. Choose Create a new load balancer and then select an Application Load Balancer—a suitable choice for web servers. Use a default name (e.g., “web auto scale one”) and select internet facing as the scheme to handle public HTTP traffic.Select the public subnets for your load balancer. By default, HTTP traffic is handled on port 80. You will also need to create a target group to forward the load balancer traffic to your EC2 instances. Name the target group (e.g., “web auto scale one tg”) and add any optional tags if required. Additional settings like VPC peering, health checks (with a default grace period of 300 seconds), and CloudWatch metrics can also be configured.
Define your scaling capacity as follows:
Desired Capacity: 1
Minimum Capacity: 1 (ensuring at least one server is always active)
Maximum Capacity: 3 (to handle high load scenarios)
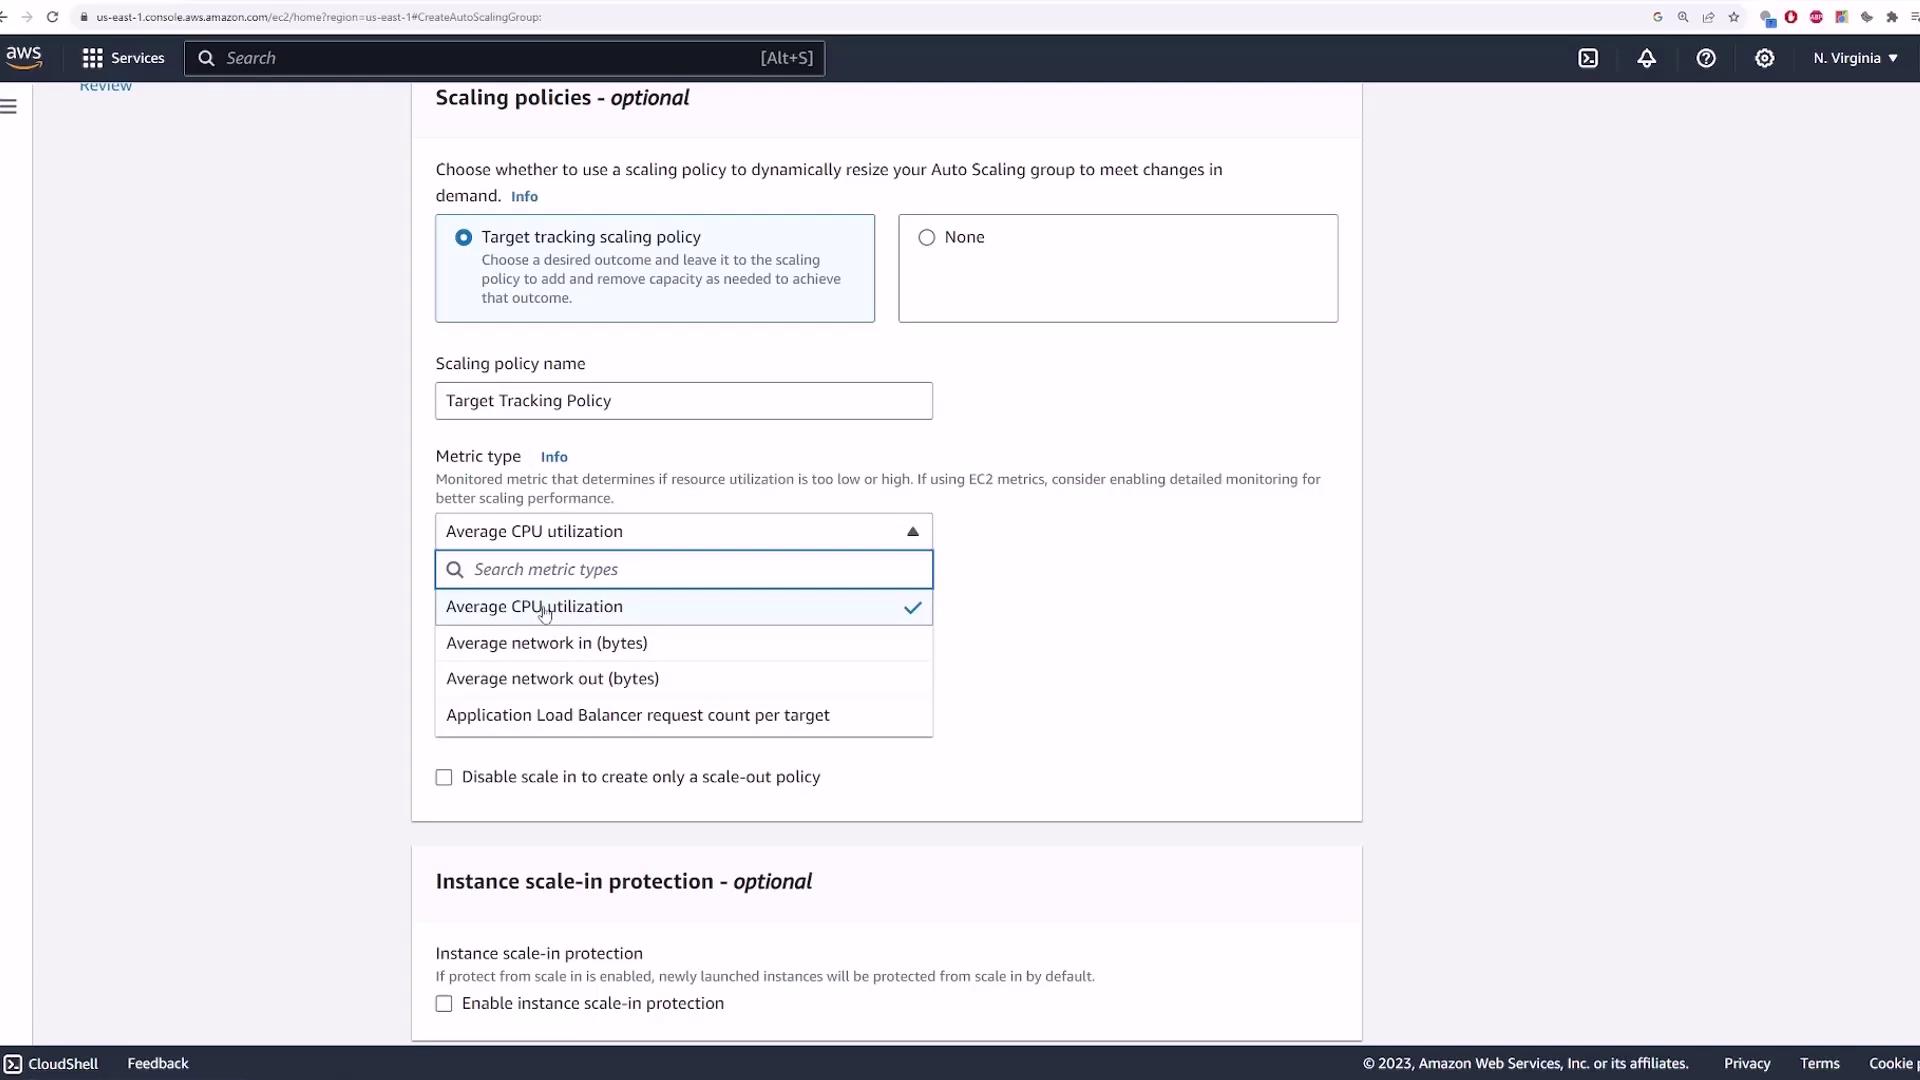
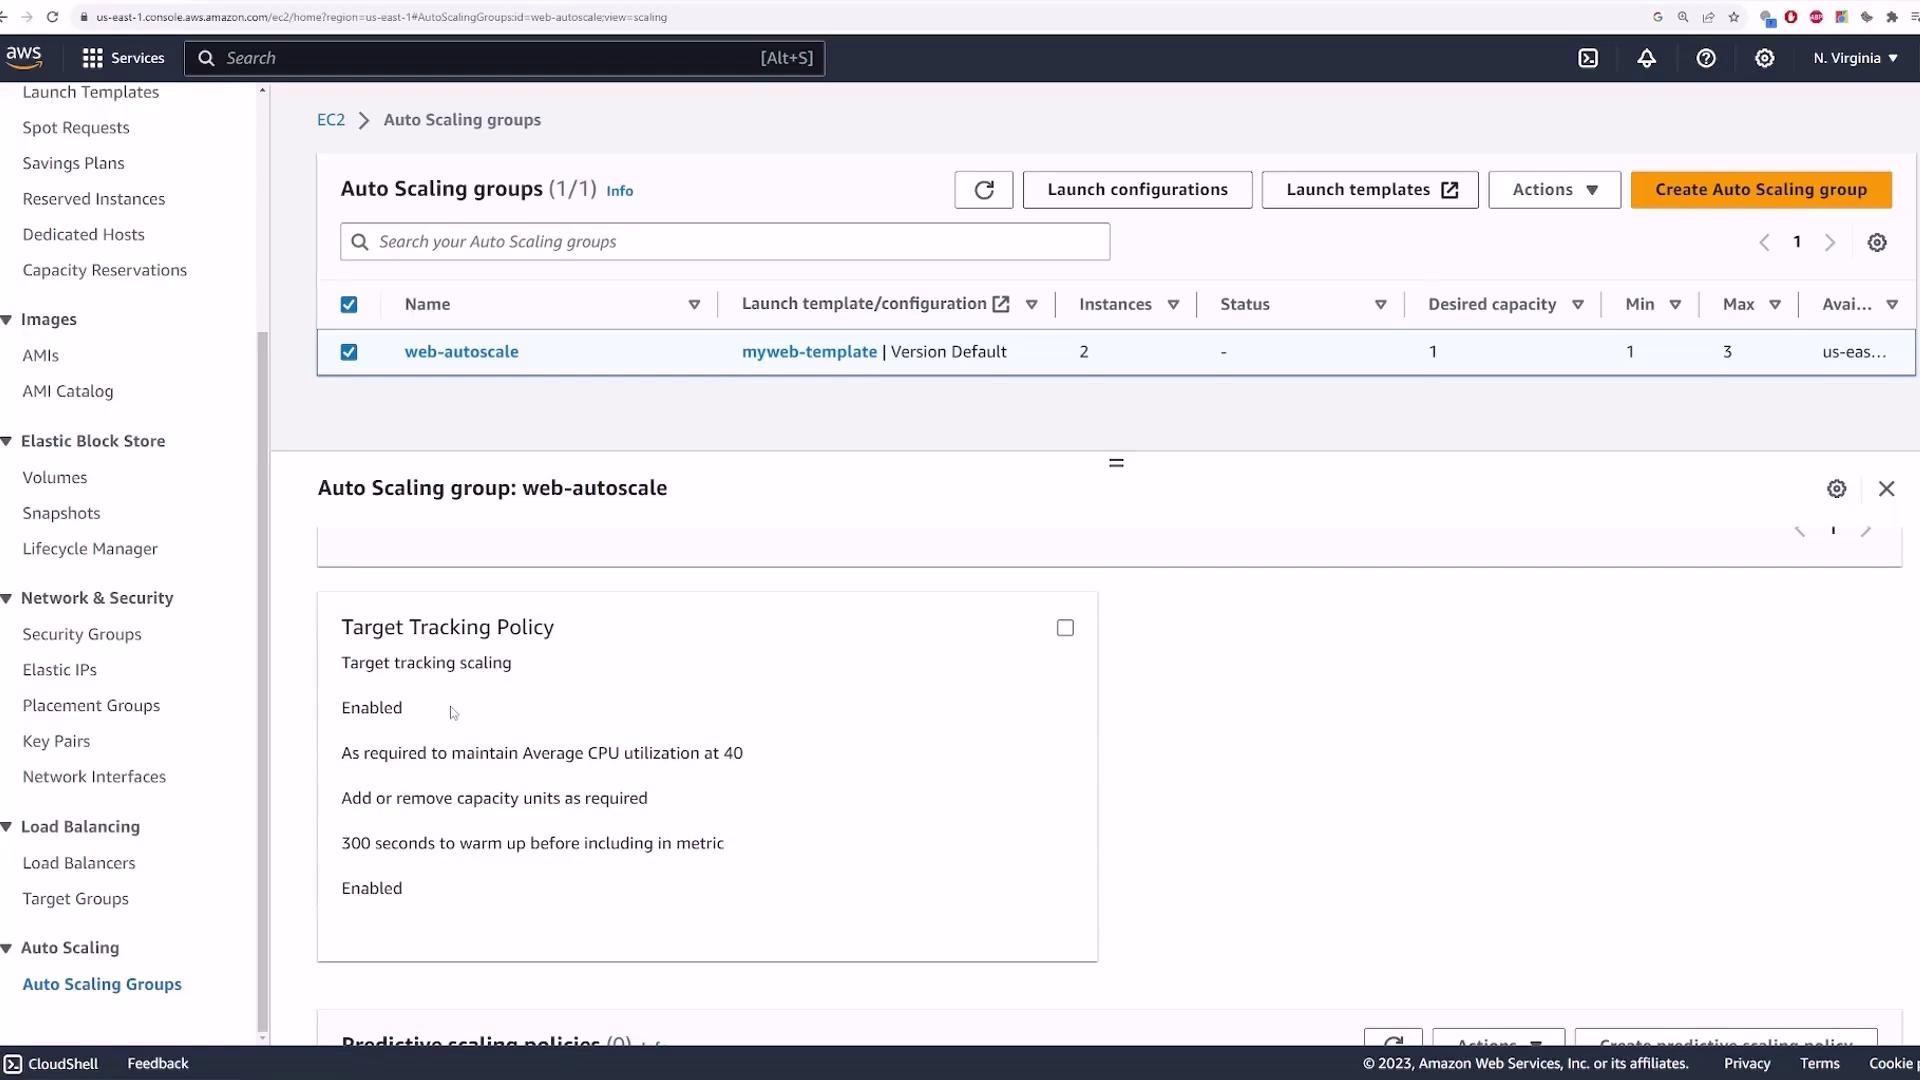
Next, configure a target tracking scaling policy:
Set the Metric Type to “Average CPU utilization.”
Define the target value to maintain around 40% CPU usage (adjust according to your application requirements).
Features like instant warm-up and instant scale protection are optional and can typically remain on default settings.
After reviewing all configuration pages, including notifications and resource tags, click Create Auto Scaling group. AWS will then provision the specified EC2 instance, set up the load balancer, and configure the target group.
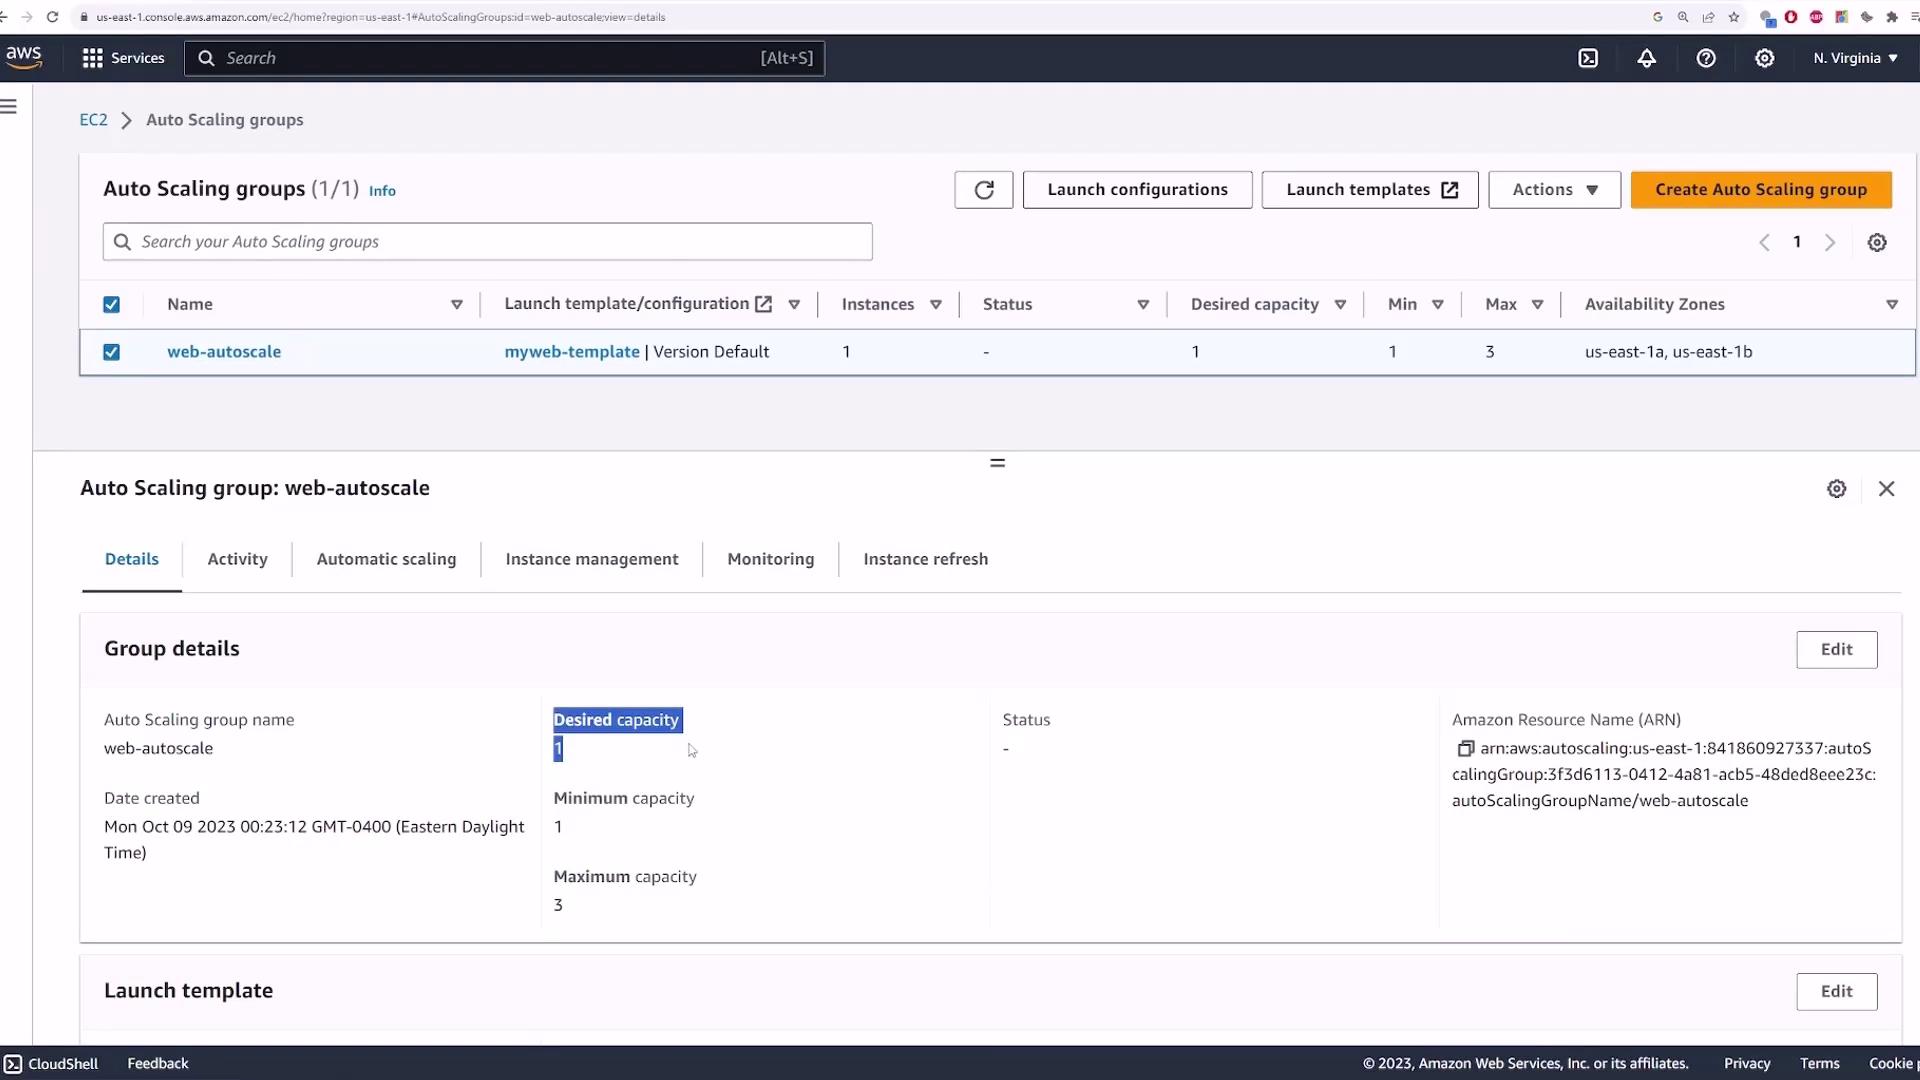
After creation, click on your Auto Scaling group to verify its settings:
Desired Capacity: 1
Minimum Capacity: 1
Maximum Capacity: 3
Examine the launch template details, network configurations, and load balancer association. Click on the load balancer to inspect its target group where the registered EC2 instance should appear.
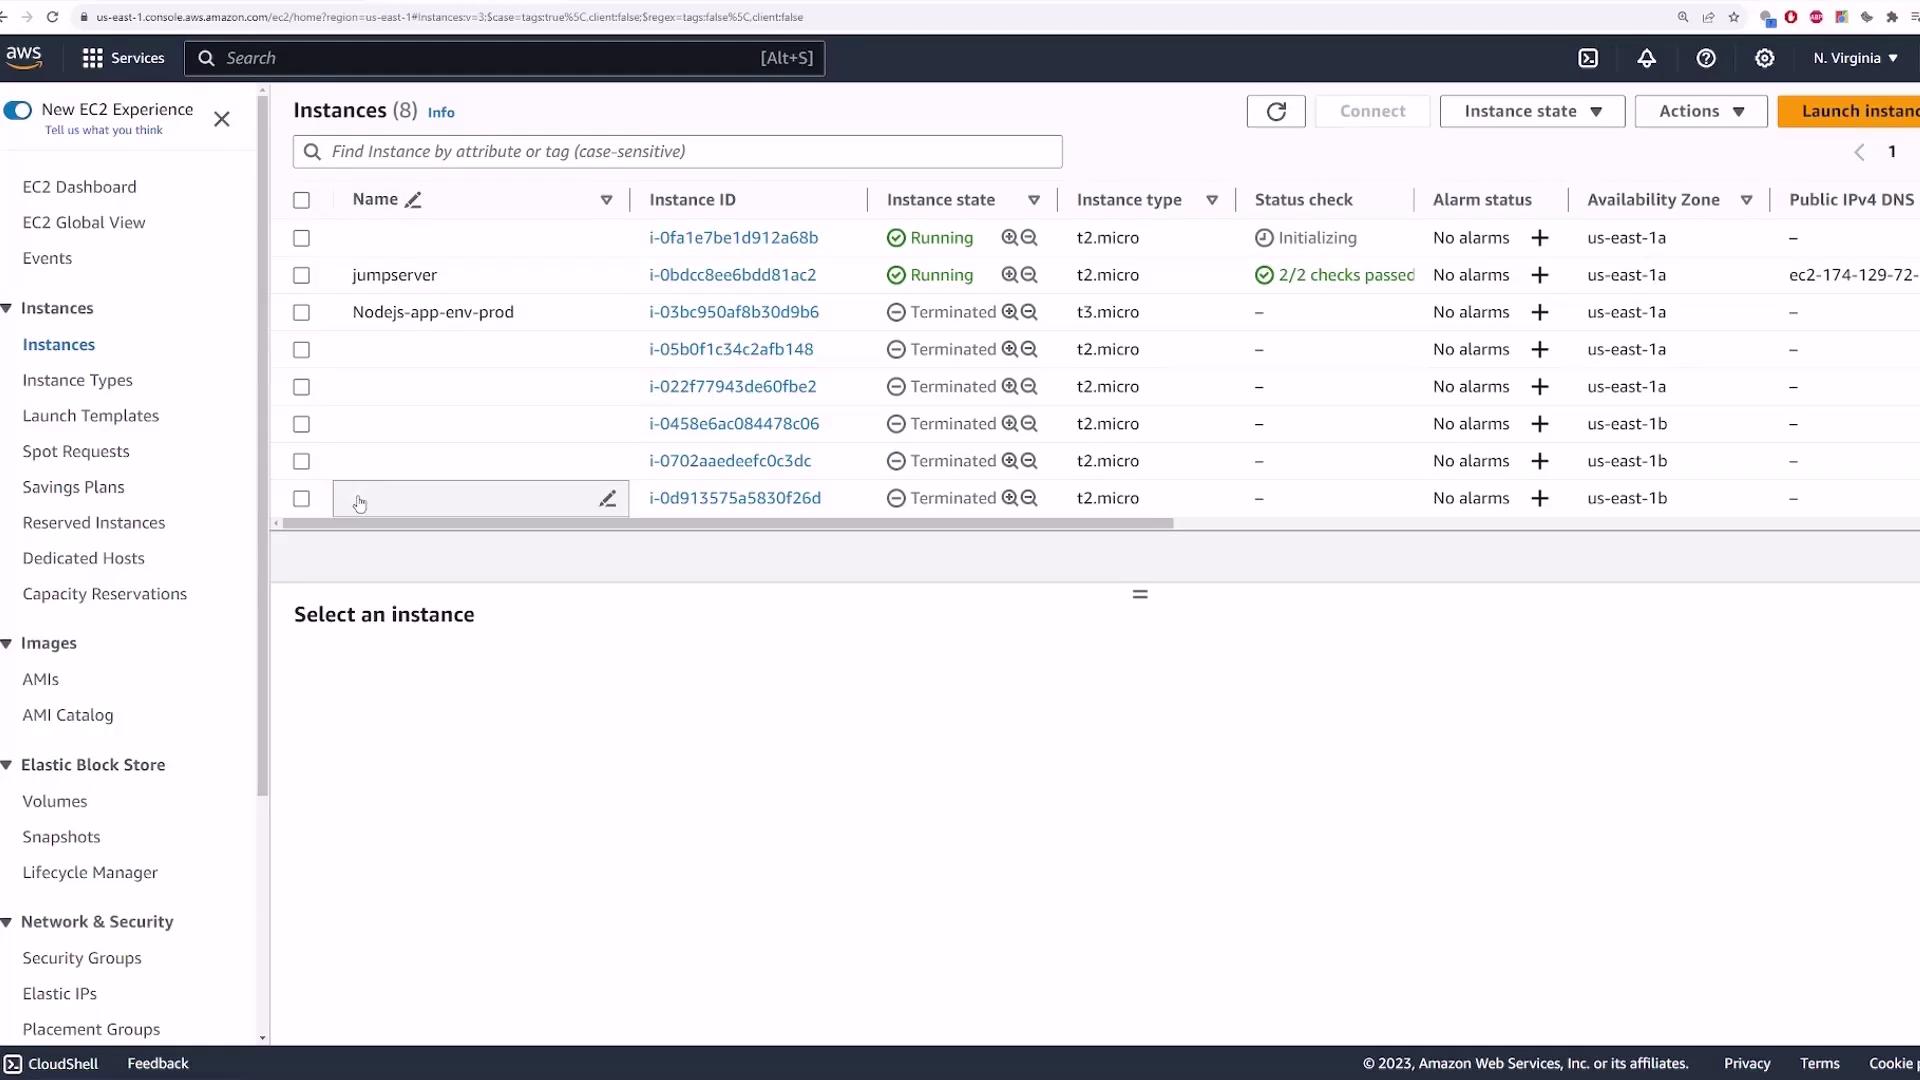
Next, navigate to the load balancers section to review and, if necessary, modify the security group settings. Additionally, verify that your EC2 instances list shows the instance provisioned by the Auto Scaling group (it might be labeled “initializing” during startup).
Copy the DNS name of the load balancer and access it via a web browser. You should see a message such as “Welcome to KodeKloud,” confirming that the EC2 instance is accessible through the load balancer.
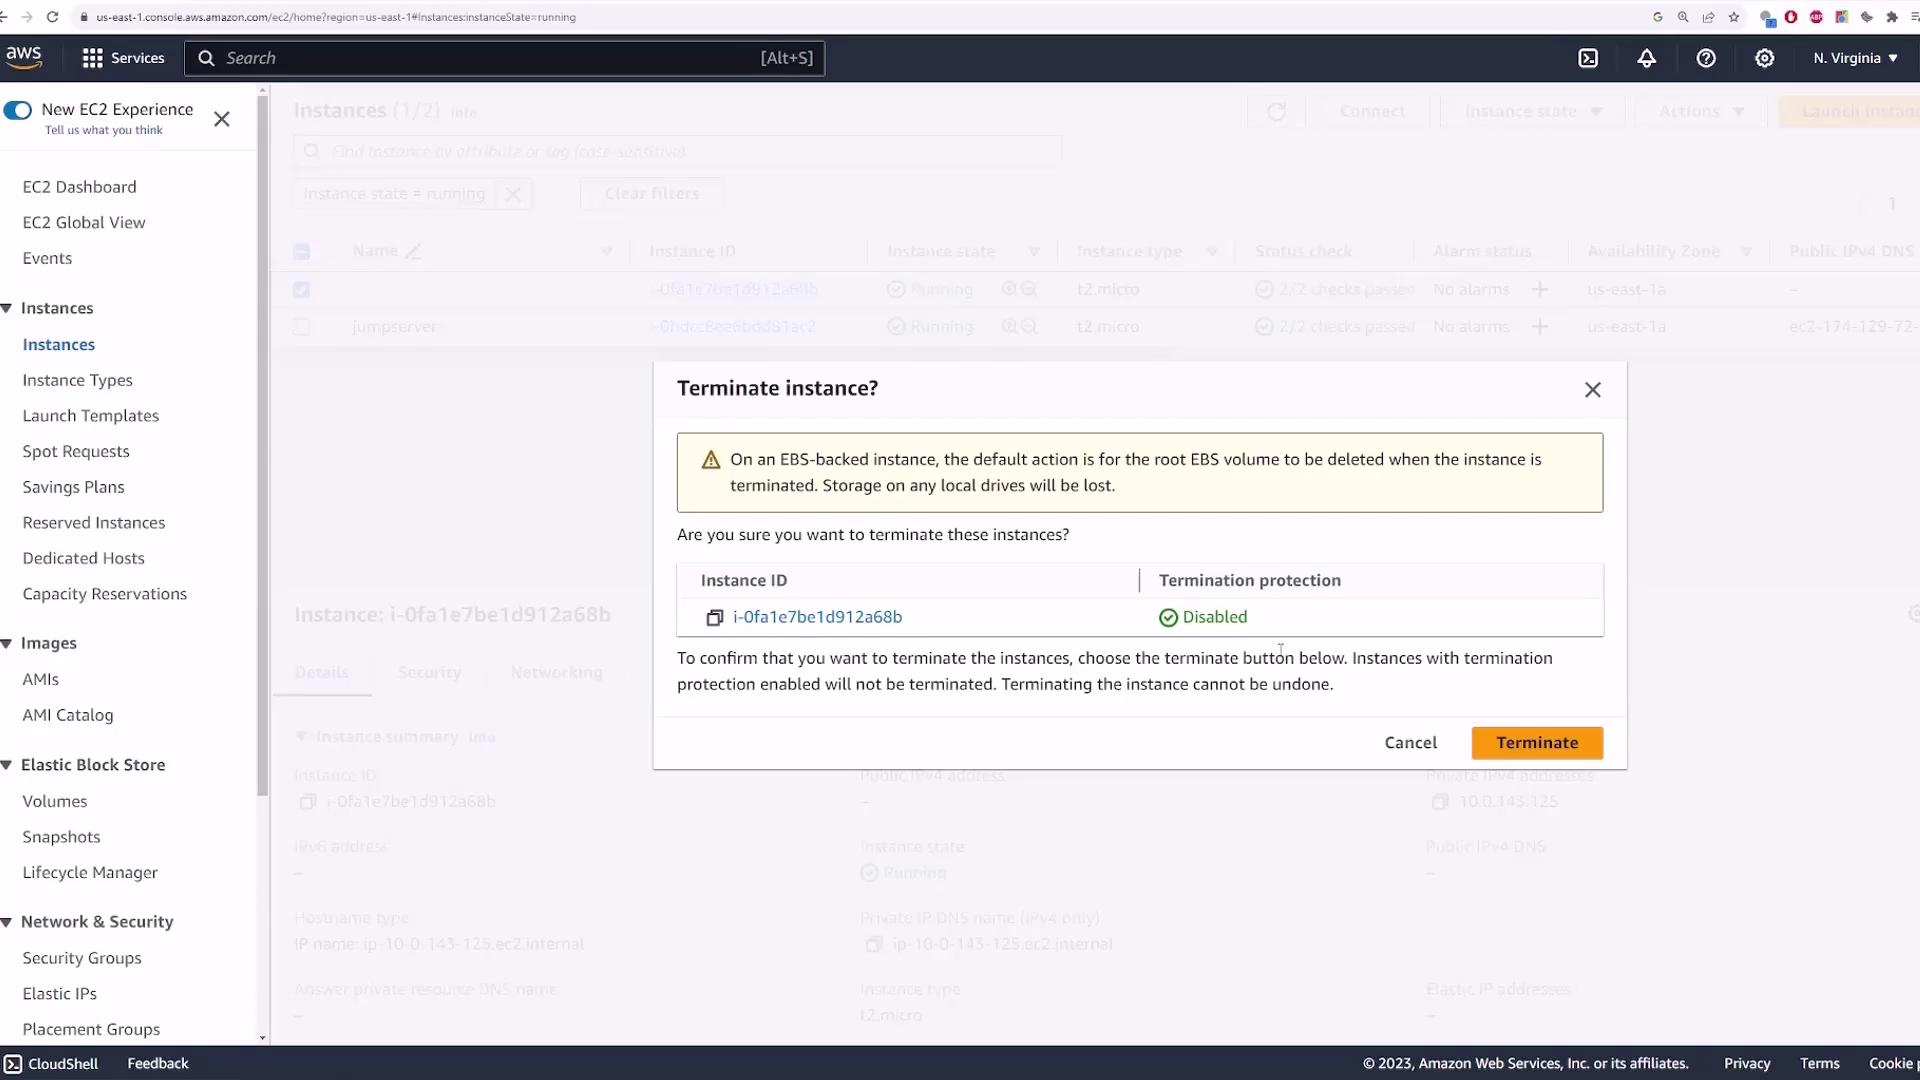
To test the Auto Scaling behavior, manually terminate the EC2 instance managed by the Auto Scaling group. This action simulates a failure and forces the group to launch a new instance to meet the desired capacity.
Immediately after termination, the Auto Scaling group detects that the number of instances has fallen below the desired capacity and automatically launches a new instance. You can confirm this action by reviewing the Auto Scaling activity log, which will display the instance termination and replacement events.
To further verify the efficiency of the scaling policy, simulate high CPU usage on your instance. Follow these steps:
Connect to your EC2 instance via SSH:
Copy
Last login: Mon Oct 9 03:54:57 2023 from 173.73.184.248[ec2-user@ip-10-0-11-68 ~]$ ssh -i main.pem ec2-user@10.0.129.234#~ #####~~ ###|~~ #/__ https://aws.amazon.com/linux/amazon-linux-2023~~ v~'->Last login: Mon Oct 9 04:31:41 2023 from 10.0.11.68[ec2-user@ip-10-0-129-234 ~]$
Once connected, run the following command to monitor CPU usage:
Copy
top - 04:33:30 up 3 min, 2 users, load average: 0.01, 0.04, 0.01Tasks: 114 total, 1 running, 113 sleeping, 0 stopped, 0 zombie%Cpu(s): 0.0 us, 6.2 sy, 0.0 ni, 93.8 id, 0.0 wa, 0.0 hi, 0.0 si, 0.0 stMiB Mem : 949.4 total, 572.5 free, 1.0 used, 217.6 buff/cacheMiB Swap: 0.0 total, 0.0 free, 0.0 used. 650.5 avail Mem PID USER PR NI VIRT RES SHR S %CPU %MEM TIME+ COMMAND 1 root 20 0 105164 16364 10024 S 0.0 1.7 00:00.86 systemd ...
Trigger a stress test to simulate high CPU load:
Copy
[ec2-user@ip-10-0-129-234 ~]$ stress -c 1
After starting the stress test, run top again to verify the CPU usage spikes to 100%:
Copy
top - 04:34:00 up 4 min, 2 users, load average: 0.29, 0.10, 0.03Tasks: 116 total, 2 running, 114 sleeping, 0 stopped, 0 zombie%Cpu(s): 100.0 us, 0.0 sy, 0.0 ni, 0.0 id, 0.0 wa, 0.0 hi, 0.0 si, 0.0 stMiB Mem : 949.4 total, 572.3 free, 159.4 used, 217.7 buff/cacheMiB Swap: 0.0 total, 0.0 free, 0.0 used. 650.3 avail Mem PID USER PR NI VIRT RES SHR S %CPU %MEM TIME+ COMMAND 2556 ec2-user 20 0 3512 112 0 R 99.7 0.0 0:19.71 stress ...
With the CPU utilization exceeding the target threshold of 40%, the Auto Scaling group triggers the scale-up policy and launches additional instances (up to a maximum of three). Validate this change by checking the Auto Scaling activity log for an increase in the desired capacity.
After refreshing your EC2 instances list, you should now see three instances running for your Auto Scaling group.
Setting up a target tracking scaling policy based on CPU utilization.
Testing the Auto Scaling behavior by terminating an instance and simulating high CPU loads.
Remember to delete your Auto Scaling group after testing by selecting it and choosing the delete option. This will remove the Auto Scaling group along with its associated resources.