AWS Certified Developer - Associate

Networking Fundamentals

Internet Gateway Demo

In this lesson, you will learn how to convert a private subnet into a public subnet so that any EC2 instance deployed within becomes accessible from the Internet. We will create a VPC, a subnet, and then attach an Internet Gateway—all from scratch.

Create a VPC

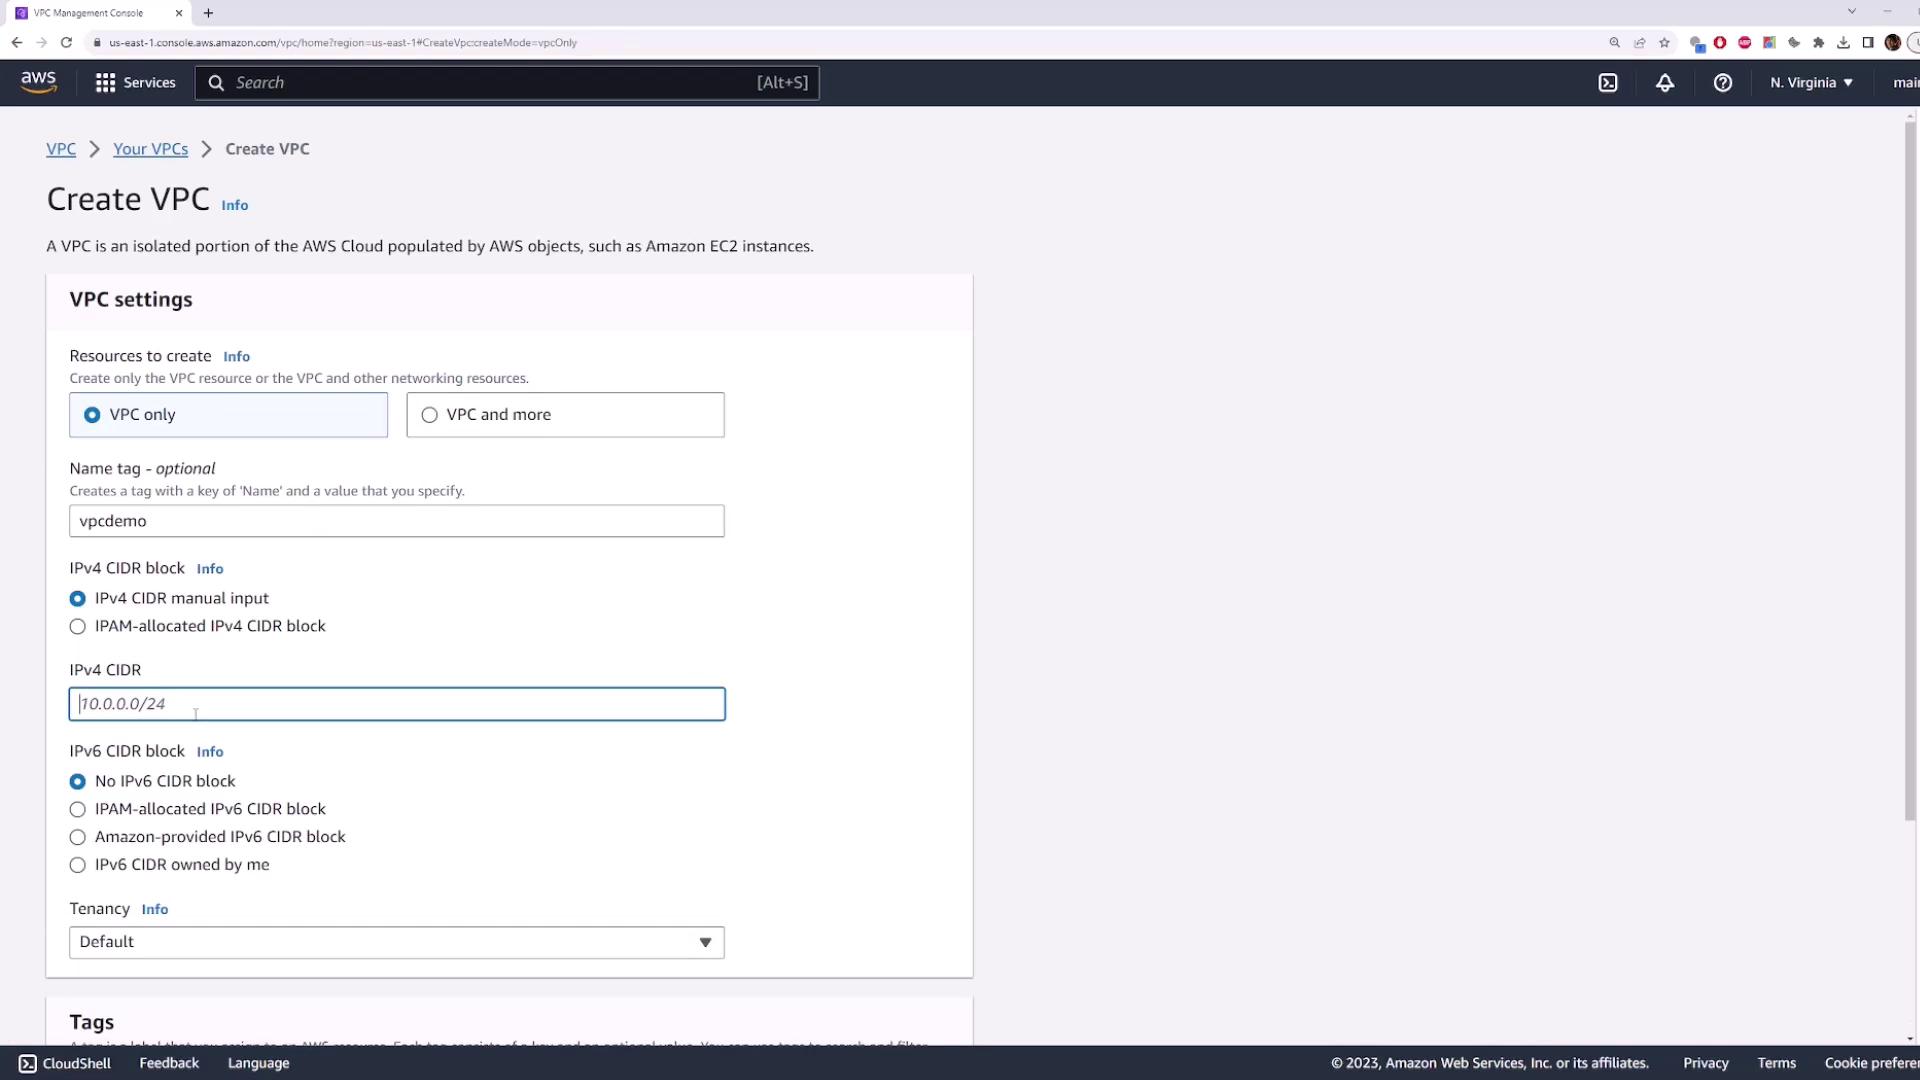
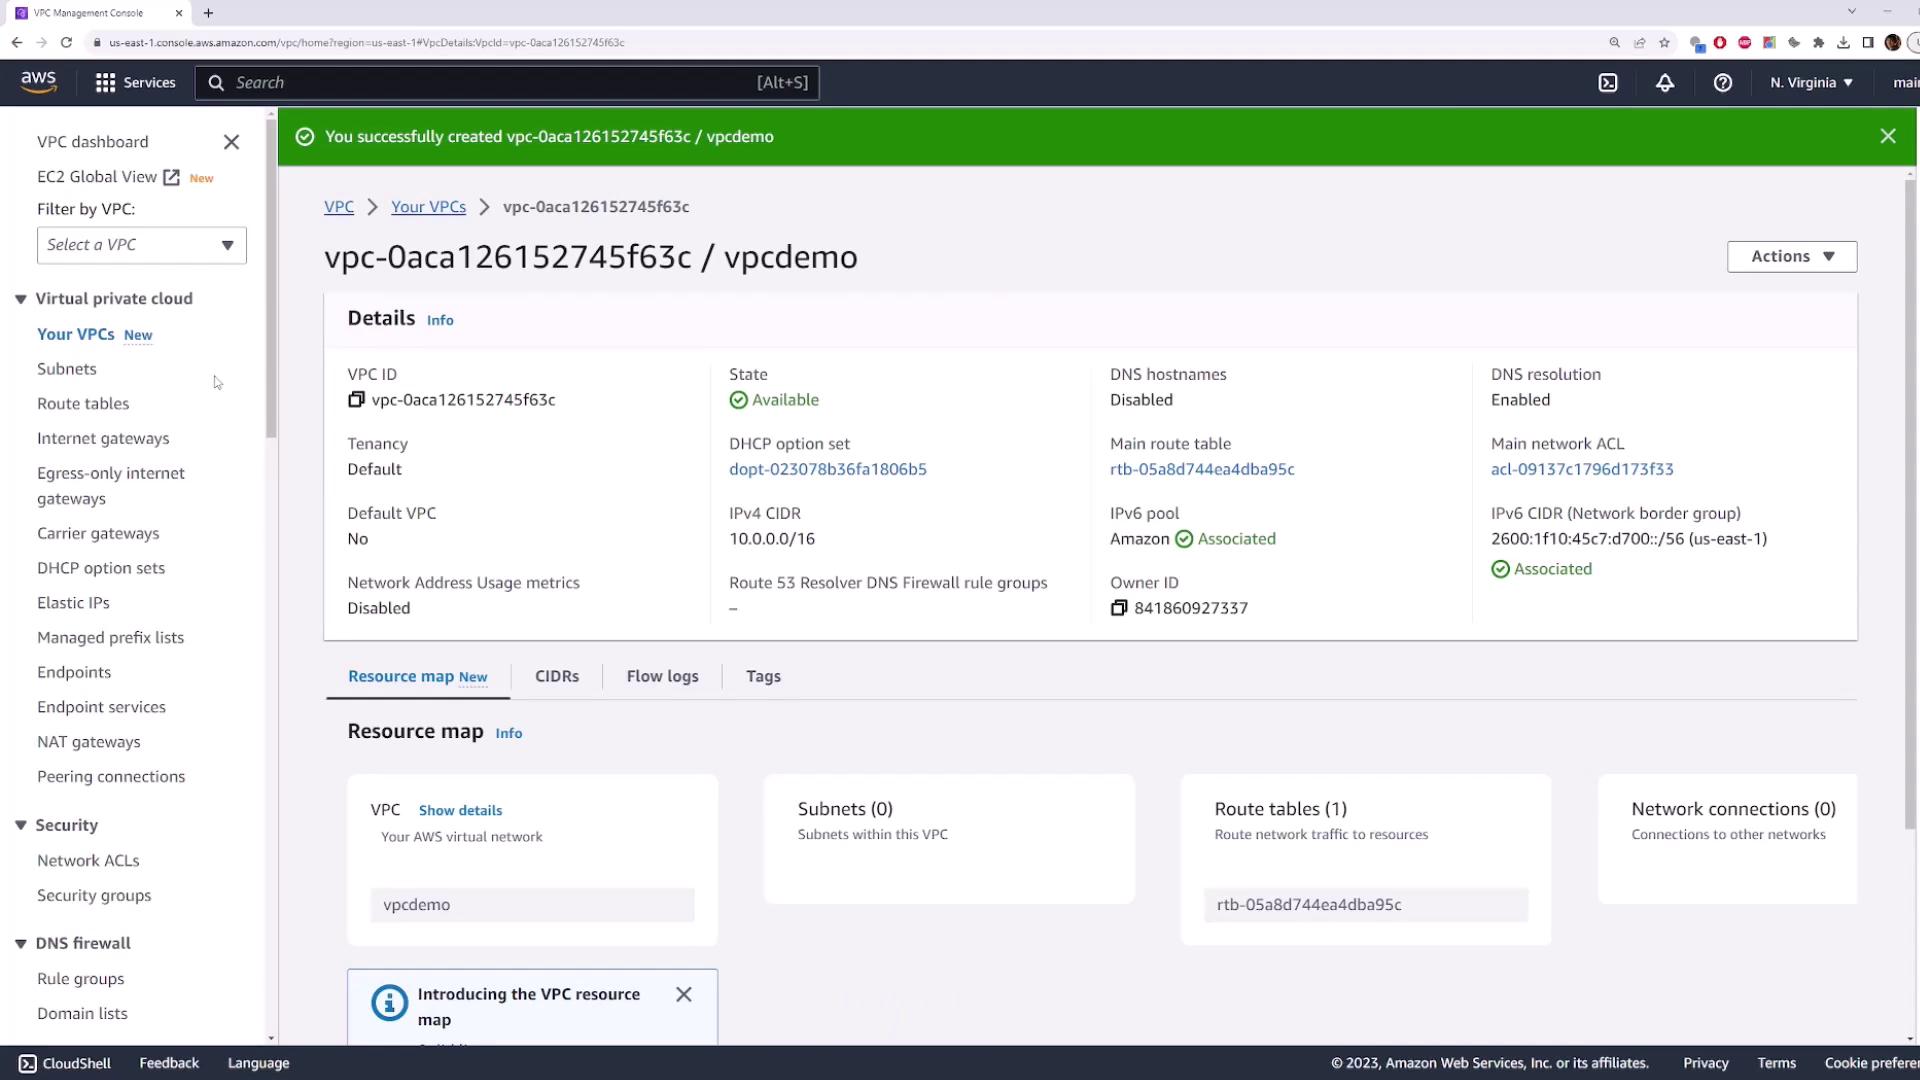
First, log into the AWS Management Console and navigate to the VPC page. Create a new VPC using the IPv4 CIDR block 10.0.0.0/16. (Assigning an IPv6 CIDR block is optional for this exercise.)

The image shows the AWS Management Console interface for creating a VPC, with options to configure VPC settings such as name tag, IPv4 CIDR block, and tenancy.

Create a Subnet

Next, create a subnet within the newly created VPC. Name this subnet "public subnet" and assign it the CIDR block 10.0.1.0/24.

The image shows an AWS Management Console screen displaying details of a Virtual Private Cloud (VPC) named "vpcdemo," including its state, CIDR block, and associated resources.

After creating the subnet, deploy an EC2 instance into it. By default, an instance launched into this subnet will not have Internet access.

The image shows an AWS VPC Management Console screen with a notification indicating a subnet has been successfully created. The subnet is listed as "public-subnet" and is in the "Available" state.

Launch an EC2 Instance

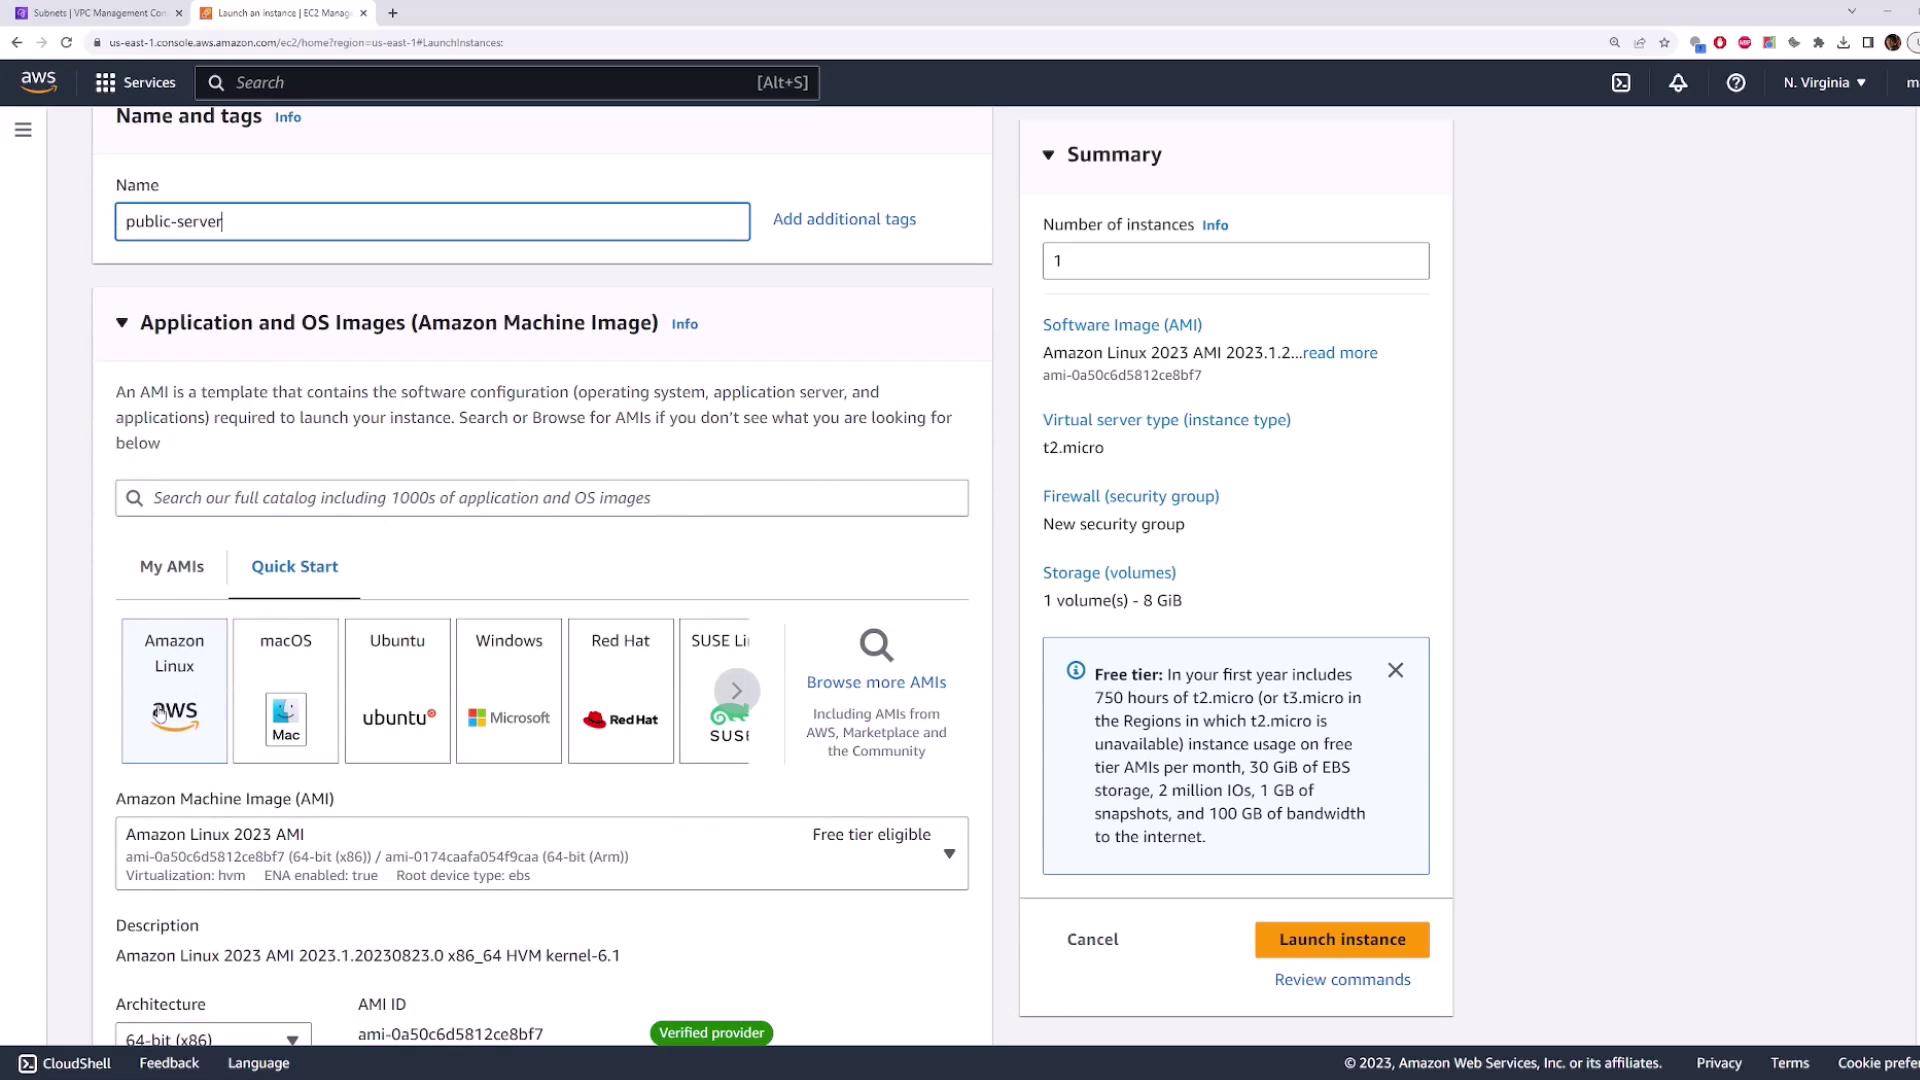
  1. Open the EC2 page in a new tab and click on Launch Instance.
  2. Name the instance (e.g., "my public server") and select the Amazon Linux AMI.
  3. Choose the default instance type (t2.micro – covered by the free tier) and select an existing key pair for SSH access.

The image shows an AWS EC2 instance launch configuration screen, where a user is selecting an Amazon Machine Image (AMI) and configuring instance details like the instance type and security group.

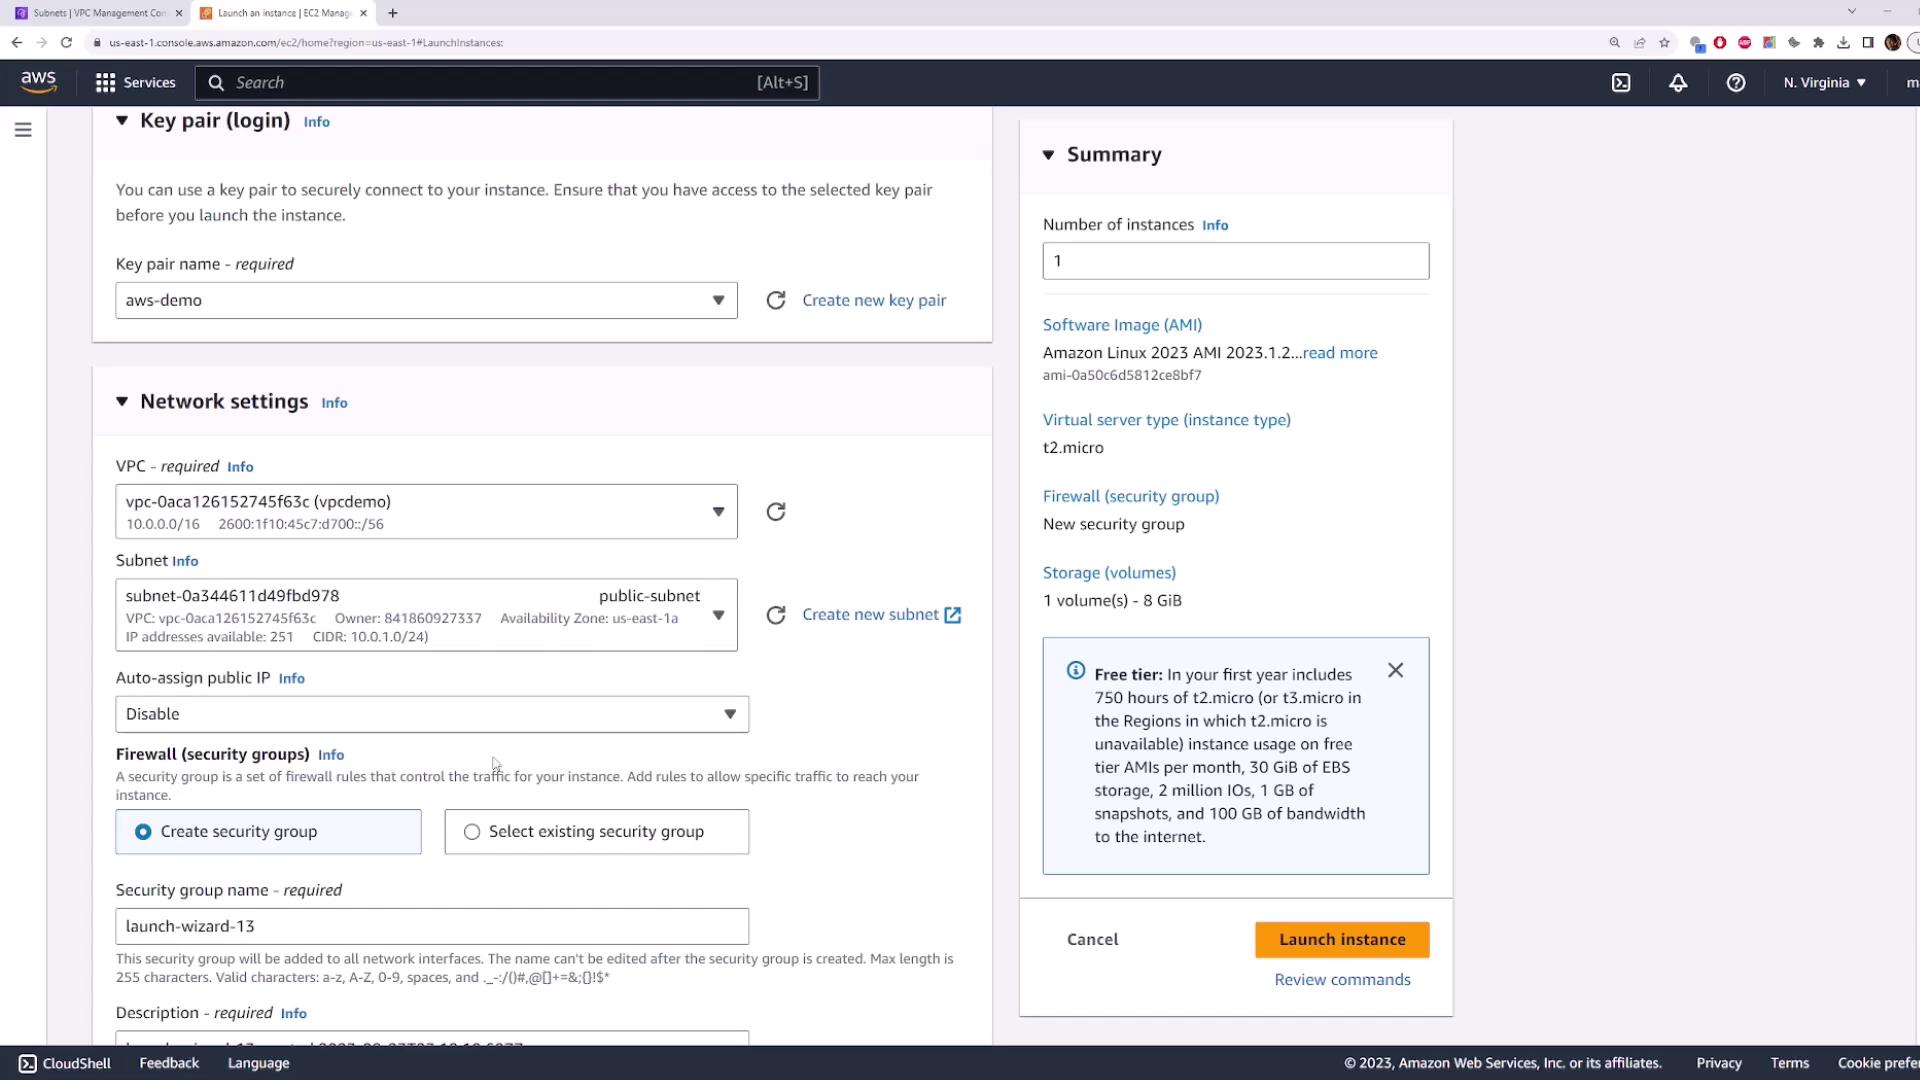
Under Network Settings, edit the configuration to select the VPC you created earlier. With only one subnet available (the public subnet), select it and enable Auto-assign Public IP so that the instance receives a public IP address.

This image shows the AWS EC2 instance launch configuration page, detailing key pair, network settings, and a summary of the instance specifications.

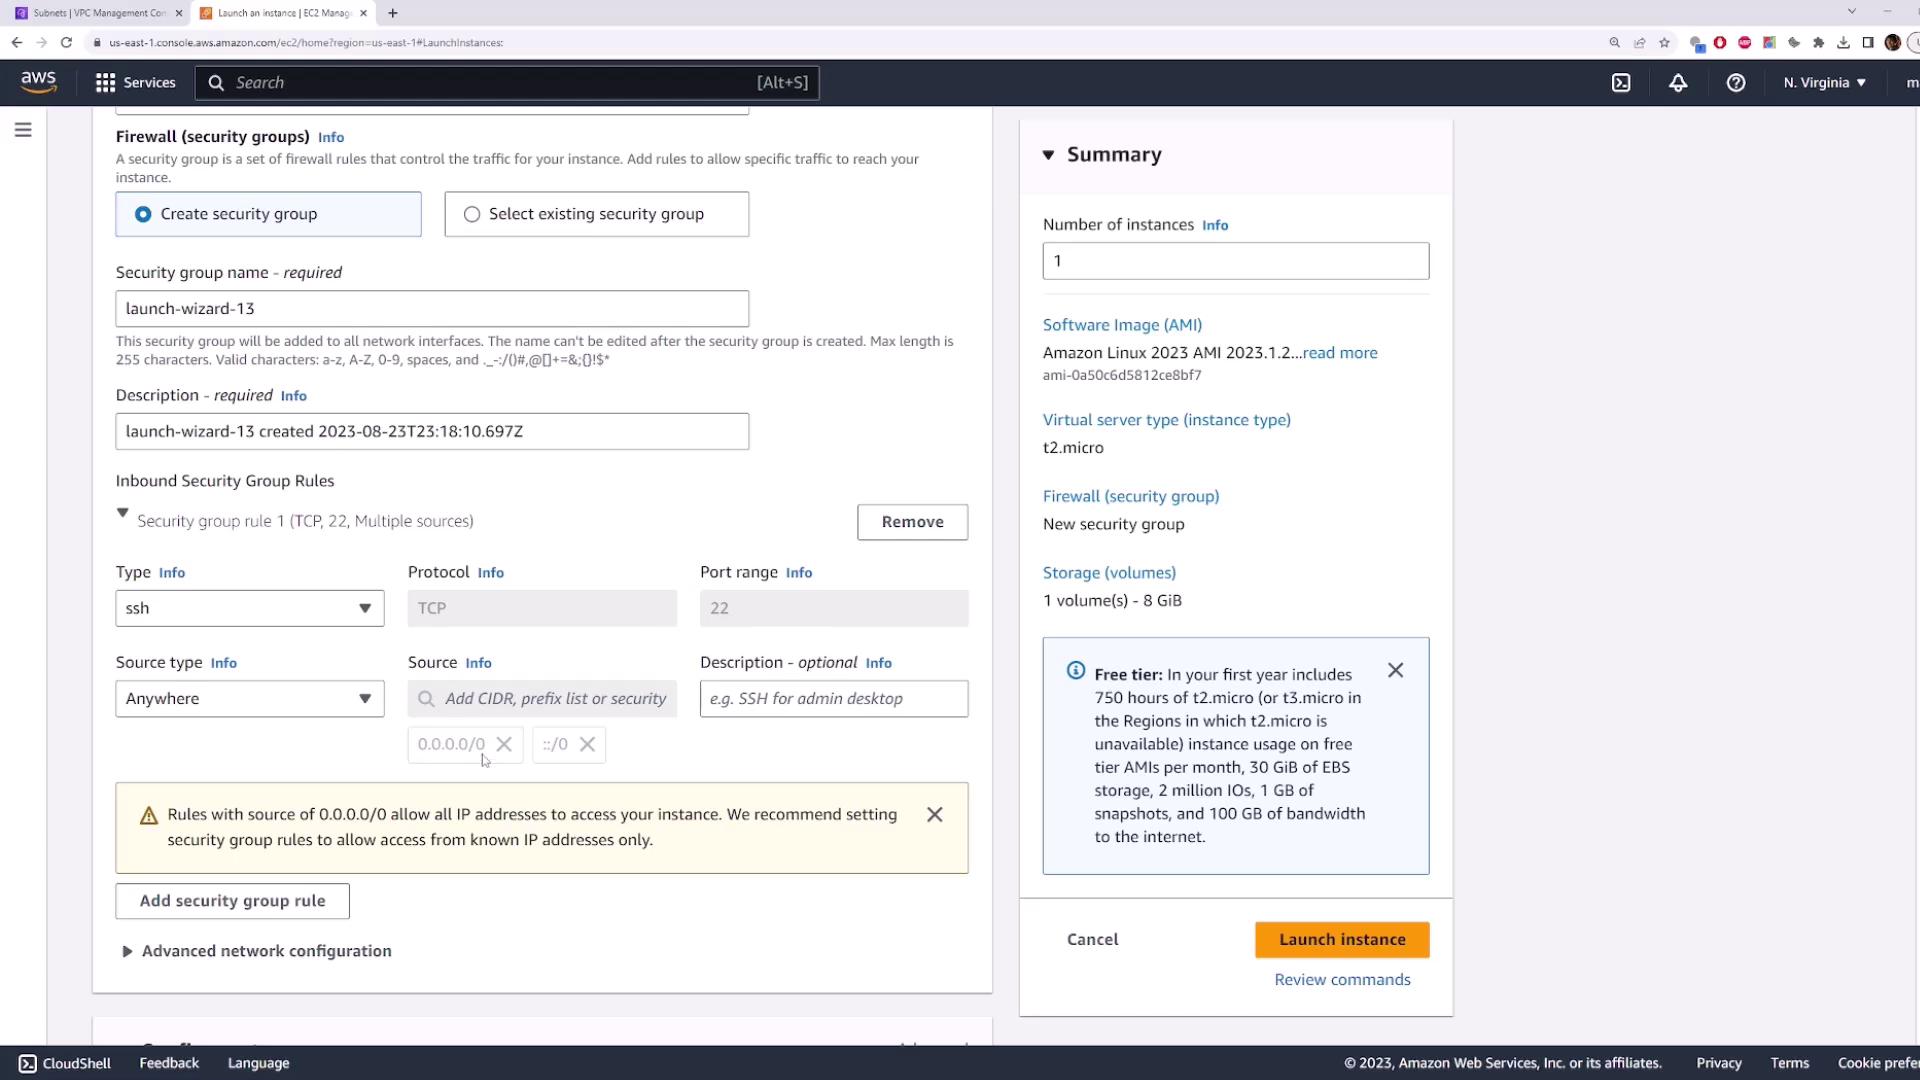
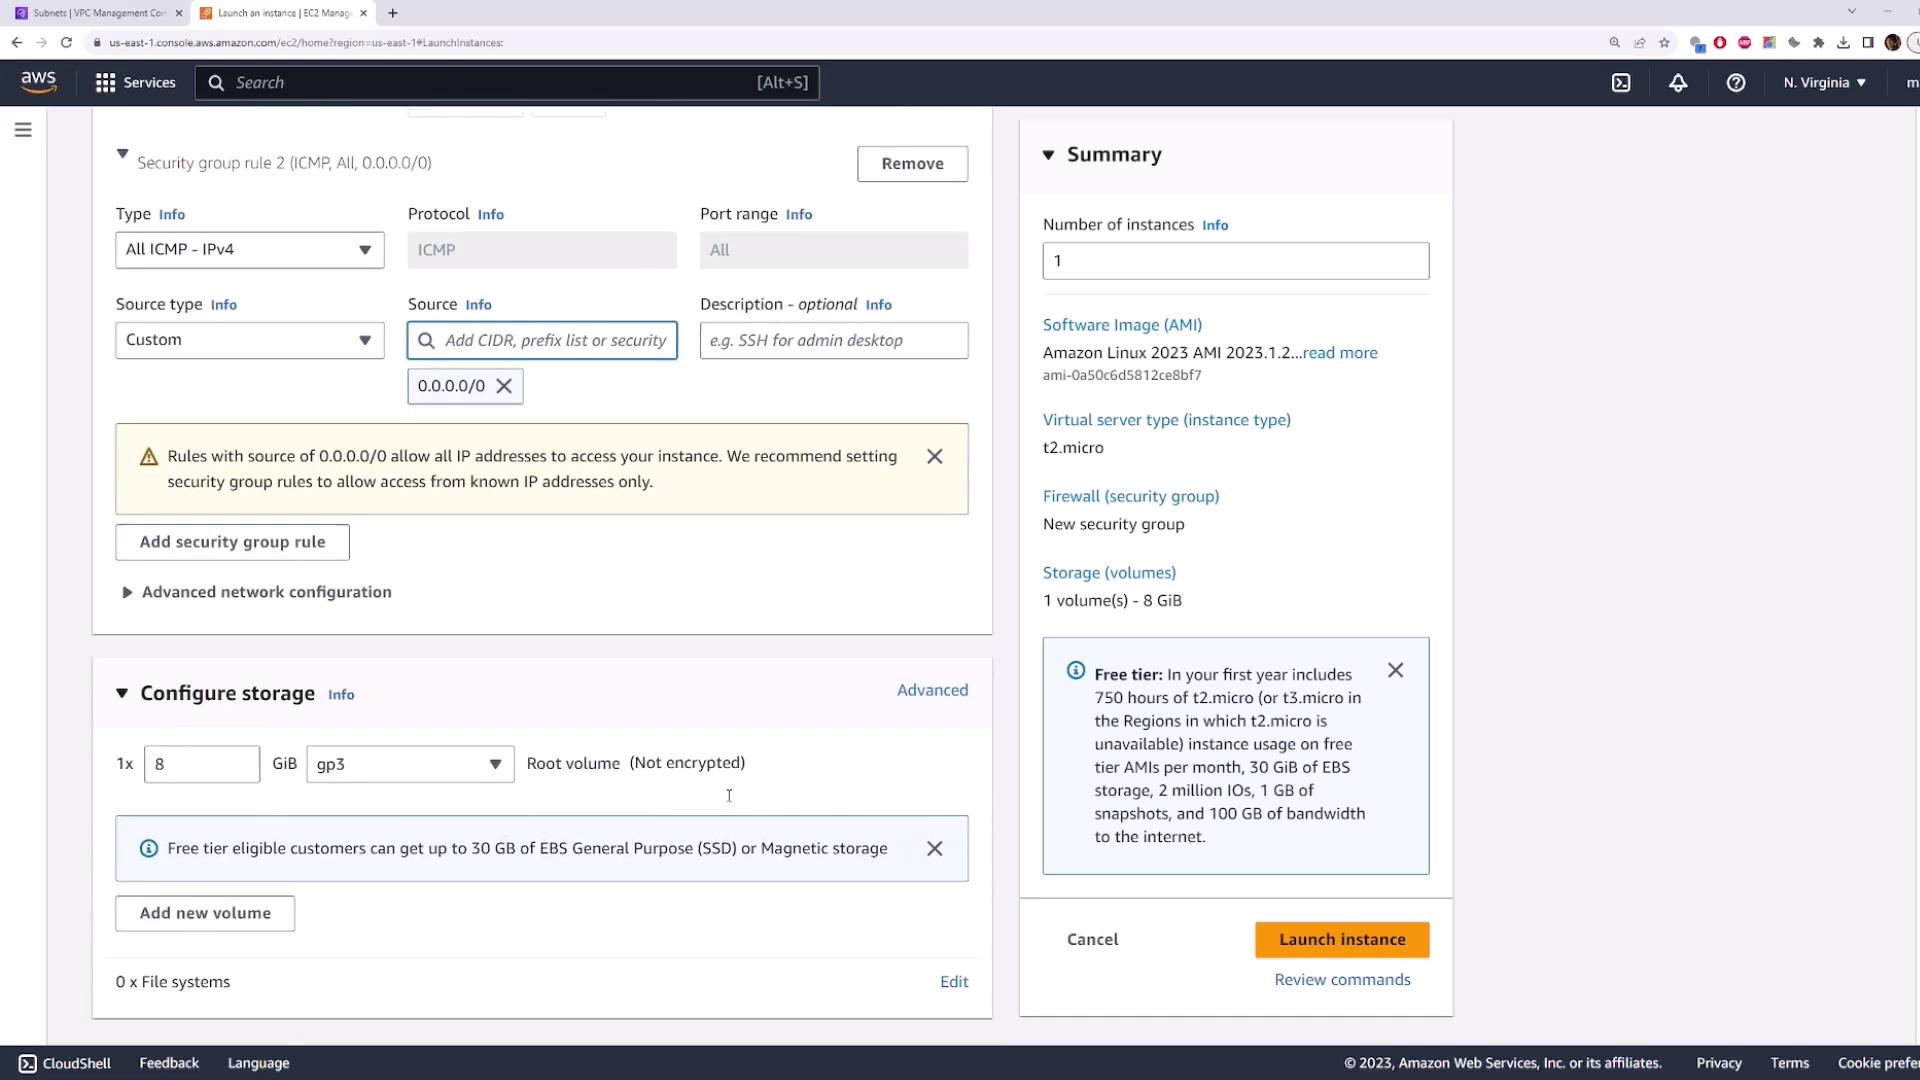
Next, configure the security group. The default security group allows SSH (port 22) from any IP (0.0.0.0/0). Optionally, you can add an ICMP rule to allow ping traffic. Proceed to launch the instance.

The image shows an AWS EC2 instance setup screen, detailing security group configurations and instance summary information. It includes options for creating a security group and setting inbound security rules for SSH access.

The image shows an AWS EC2 instance launch configuration screen, detailing security group rules, storage options, and a summary of the instance settings.

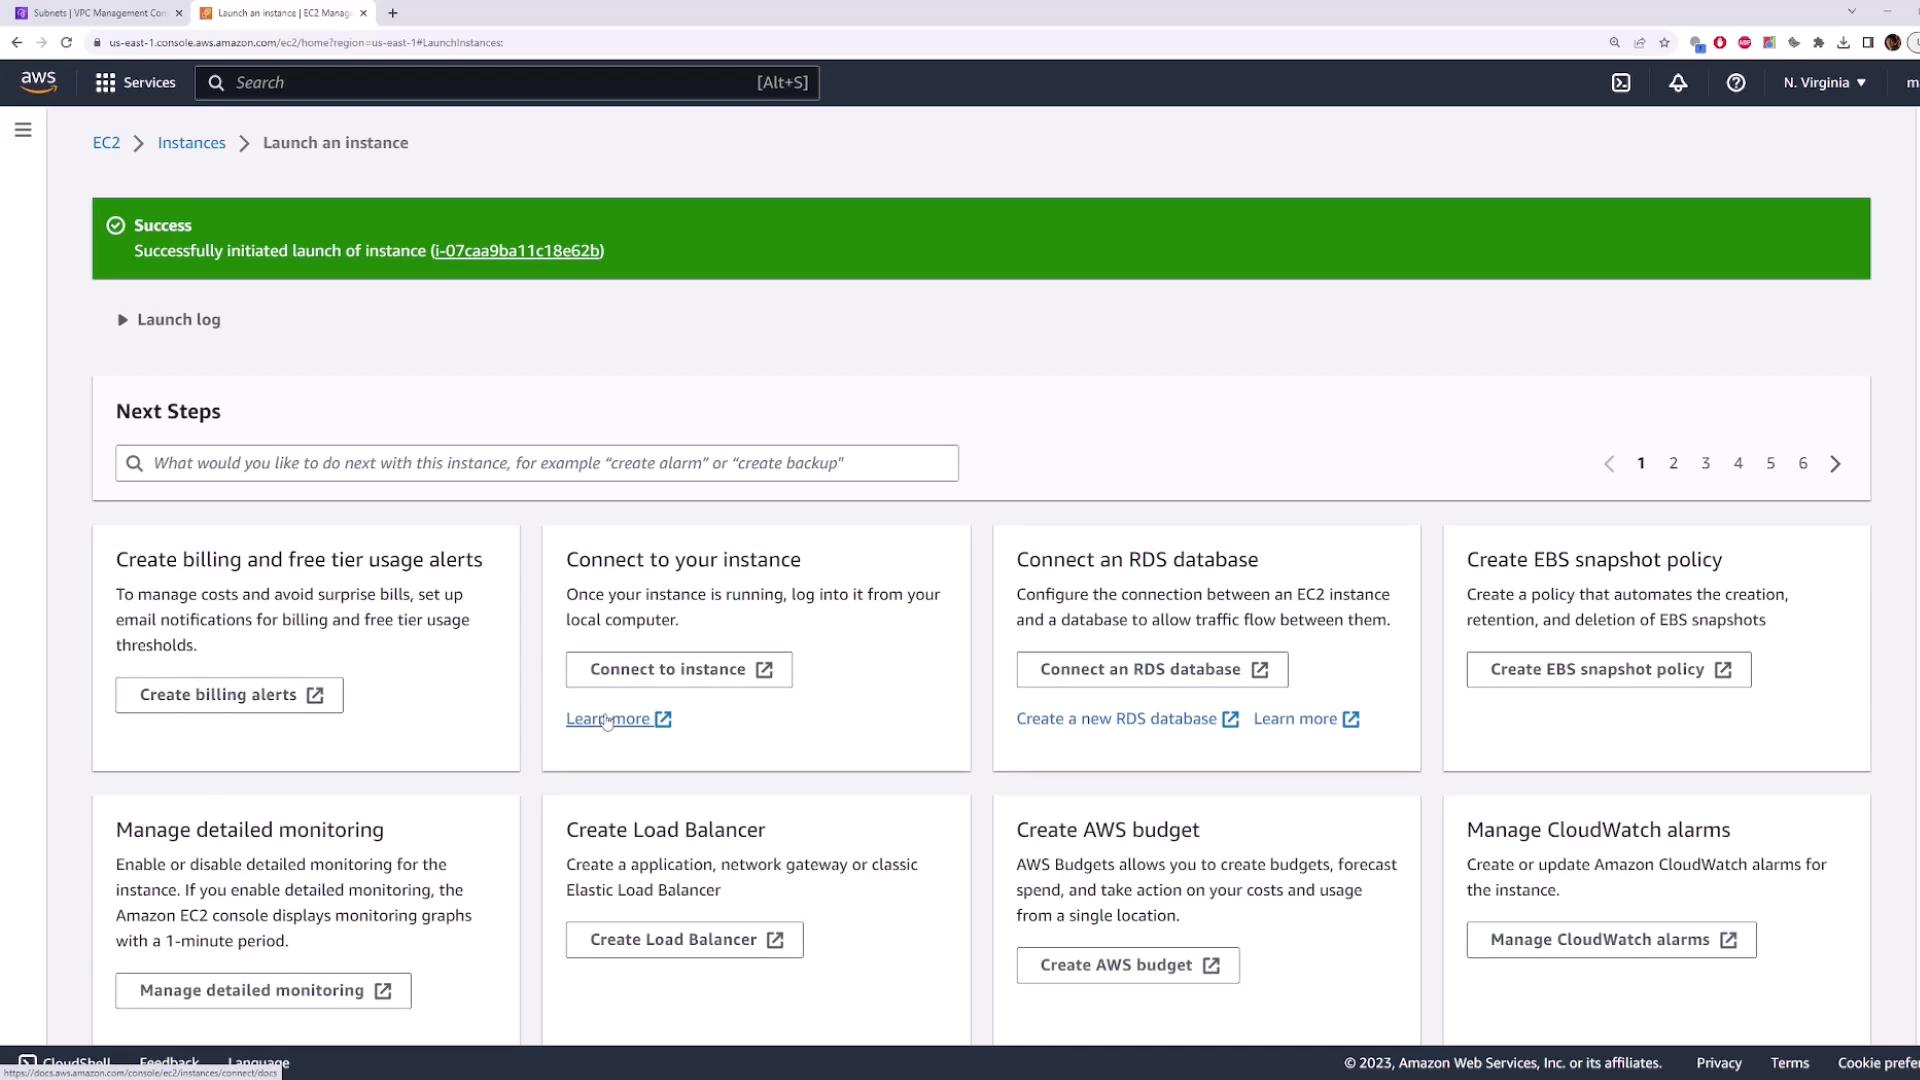
Wait a few moments until the instance is initialized. Then, check the instance list to confirm that the server is running and has been assigned a public IP address.

The image shows an AWS EC2 management console with a success message indicating the launch of an instance, along with various next step options like creating billing alerts and connecting to the instance.

Review the instances view to verify that the instance is running and note its public IP address. Even though a public IP is assigned, the instance remains unreachable from the Internet by default.

The image shows an AWS EC2 management console with details of two instances, one terminated and one running, including instance IDs, types, and public IP addresses.

Test network connectivity by pinging or attempting to SSH into the instance. For example, run the following commands in your terminal:

ping 54.159.89.36
ssh -i aws-demo.pem [email protected]

Note

Both the ping and ssh commands will hang or time out because the subnet is private and lacks the necessary Internet routing configuration.

Attach an Internet Gateway

To enable Internet connectivity, you must create and attach an Internet Gateway to your VPC.

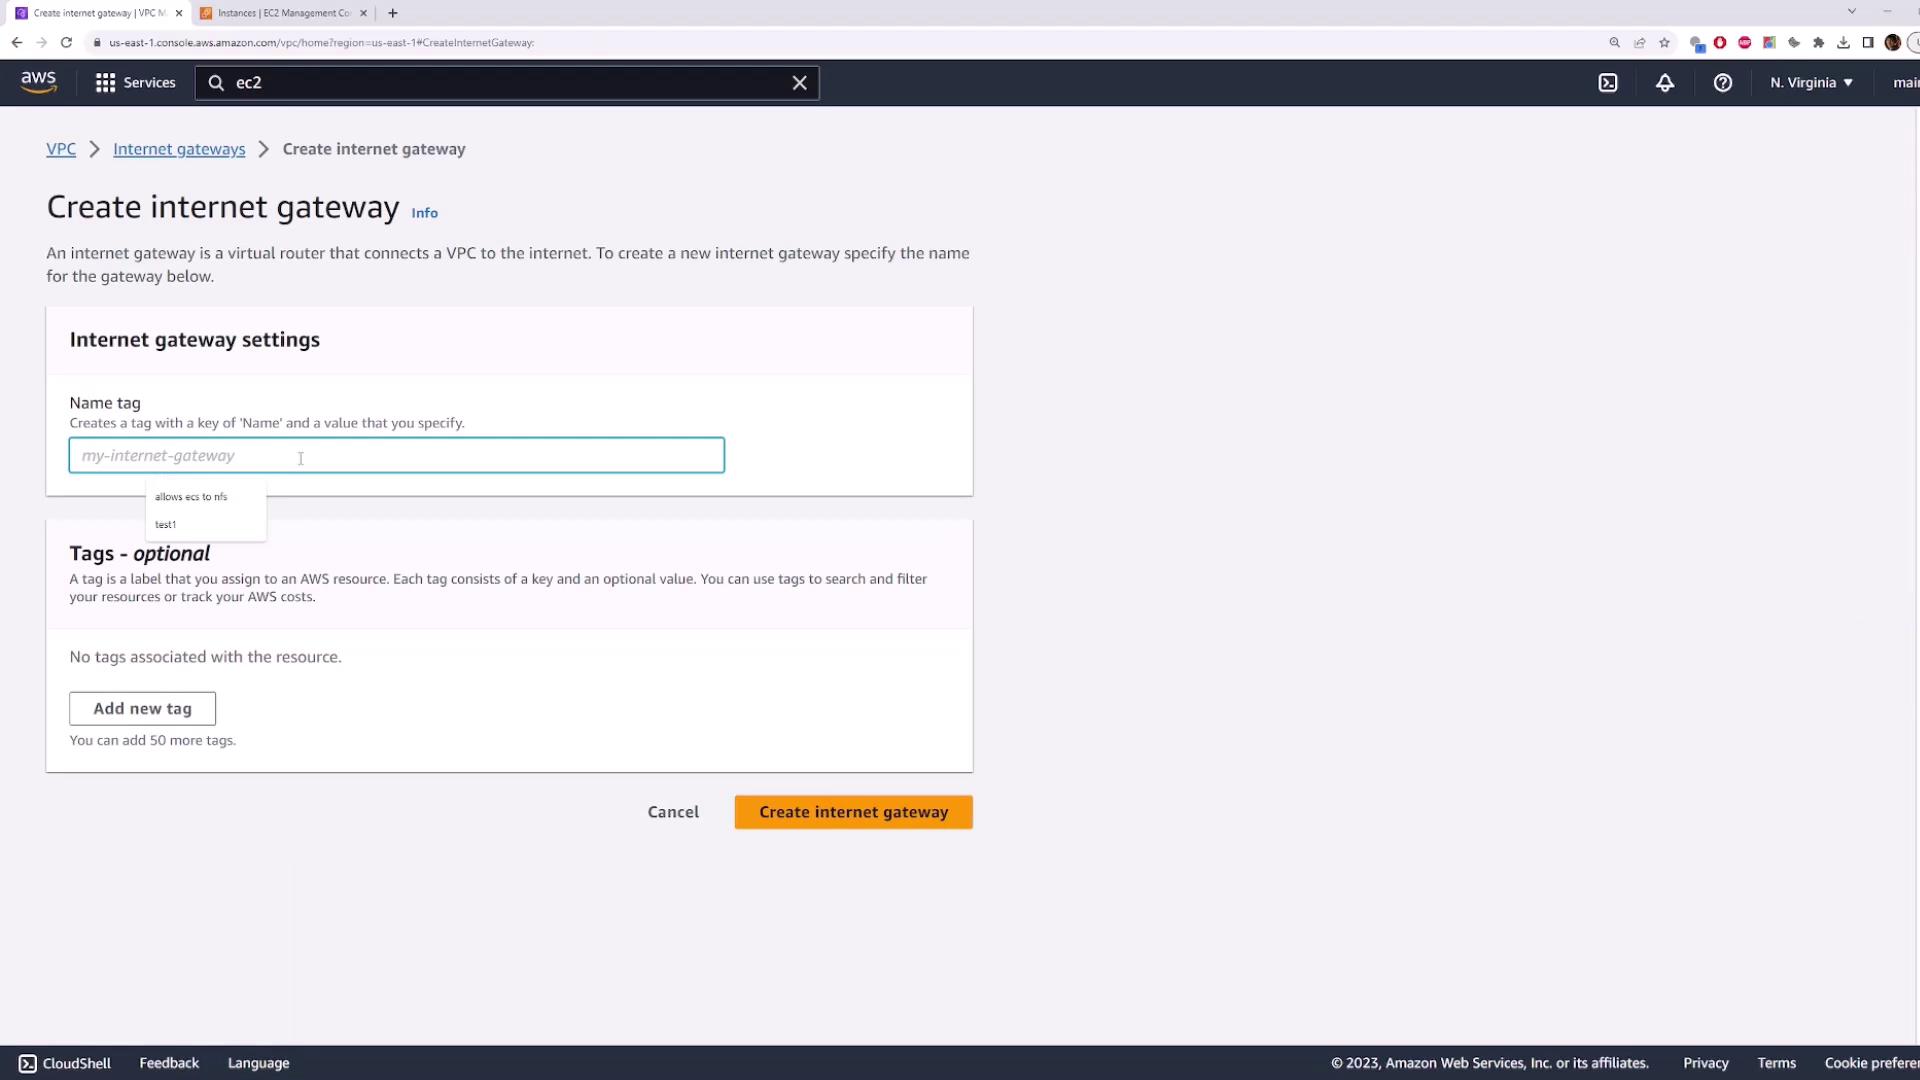
  1. Return to the VPC page and click on the Internet Gateway section.
  2. Create a new Internet Gateway and give it a name (e.g., "my-internet-gateway").
  3. Attach the newly created Internet Gateway to your VPC.

The image shows an AWS console page for creating an internet gateway, with fields for entering a name tag and optional tags.

The image shows an AWS Management Console screen displaying details of an internet gateway with ID "igw-0ba052187bca5e574" that is attached to a VPC. The gateway is tagged with the name "my-igw."

Even after attaching the Internet Gateway, the instance remains unreachable because the route table of the subnet has not been updated. Re-run the ping command to confirm the connection still fails.

Update the Route Table

Next, update the route table to direct traffic destined for the Internet through the Internet Gateway. Follow these steps:

  1. Check the subnet's route table using the "Route Table" tab in the VPC console. You will notice that only a local route exists.
  2. Edit the default route table or create a new custom route table (e.g., "public route table") associated with your VPC.
  3. Associate the route table with the public subnet.
  4. Add a default route (0.0.0.0/0) that directs all Internet-bound traffic to the Internet Gateway.

The image shows an AWS Management Console screen displaying details of a route table within a VPC, including route destinations and their statuses.

After saving the changes, the routing configuration enables Internet access for the EC2 instance. Test the connectivity again by running:

# Attempt to ping and then SSH into the EC2 instance
ping 54.159.89.36
ssh -i aws-demo.pem [email protected]

Initially, the ping may time out, but after a short period the requests should succeed. A successful ping output might resemble:

Pinging 54.159.89.36 with 32 bytes of data:
Reply from 54.159.89.36: bytes=32 time=27ms TTL=112

Note

It may take a few moments for the new routing configuration to propagate.

Conclusion

By following this lesson, you have successfully transformed a private subnet into a public subnet. You accomplished this by creating and attaching an Internet Gateway to your VPC and updating the route table to include a default route for Internet traffic. As a result, any EC2 instance launched into this subnet can now be accessed from the Internet—provided that the necessary network ACLs and security group rules allow the traffic.

All resources deployed in this subnet are now officially public.

For further details, refer to the AWS Documentation.

Watch Video

Watch video content

Previous
Internet Gateway