AWS Certified Developer - Associate
Networking Fundamentals
NAT Gateway Demo
In this tutorial, we will walk through the steps to configure a NAT gateway so that an EC2 instance within your Virtual Private Cloud (VPC) can access the internet for outbound communications while restricting direct inbound access. This ensures that your EC2 instance can make outbound connections without exposing it to unsolicited inbound traffic.
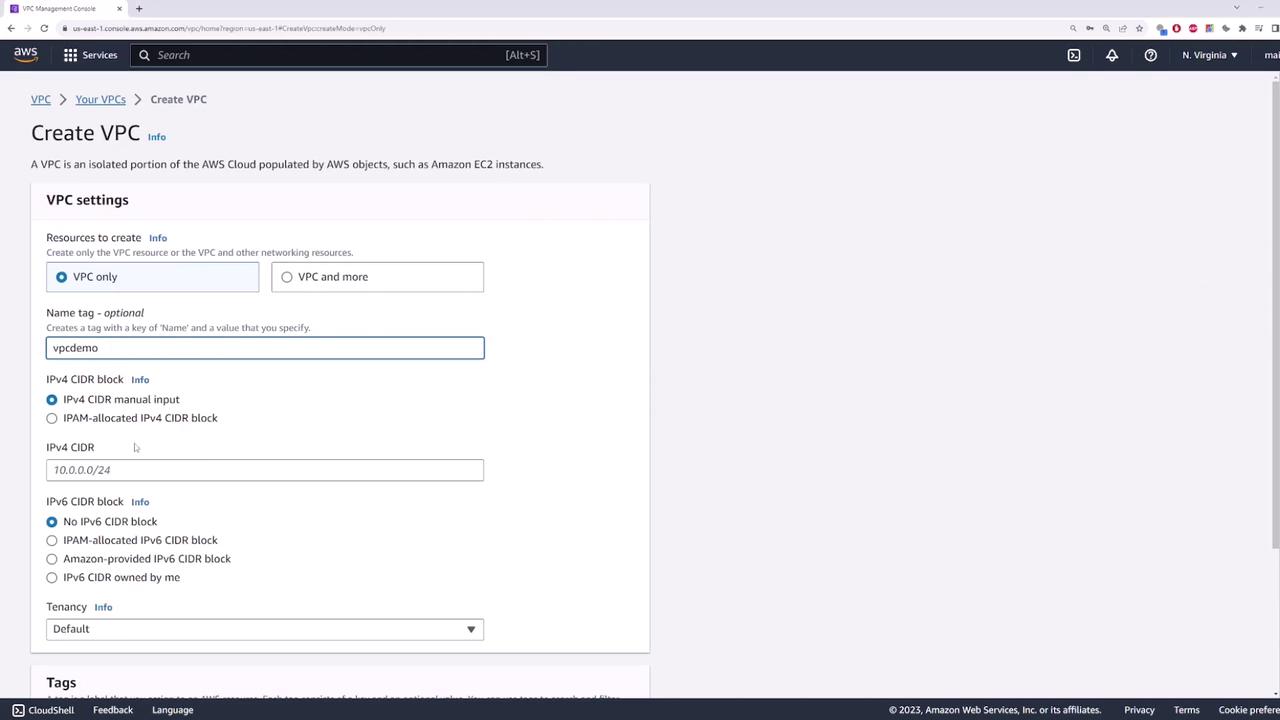
Step 1: Create a Dummy VPC
Begin by creating a dummy VPC with the CIDR block 10.0.0.0/16. For this demonstration, IPv6 is not required.
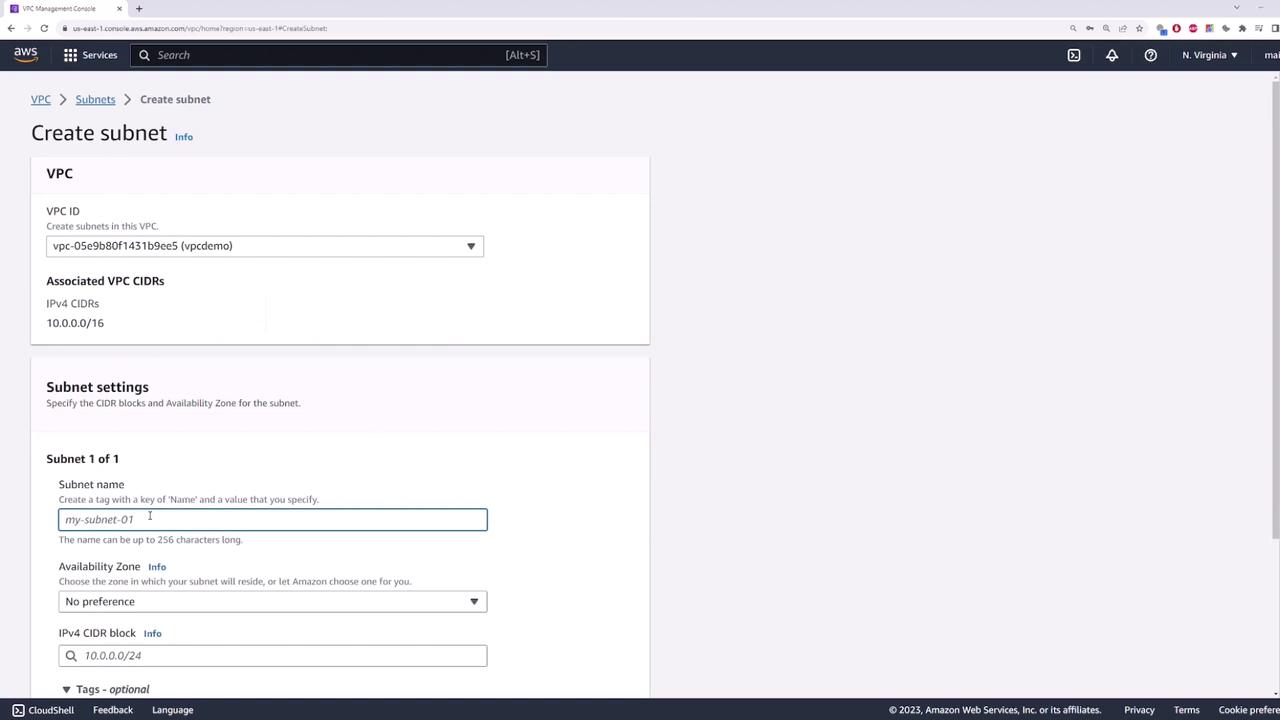
Step 2: Create a Private Subnet
Next, create a subnet that will serve as your private subnet where the EC2 instance will be deployed. Name the subnet "private subnet" and assign it the CIDR block 10.0.1.0/24.
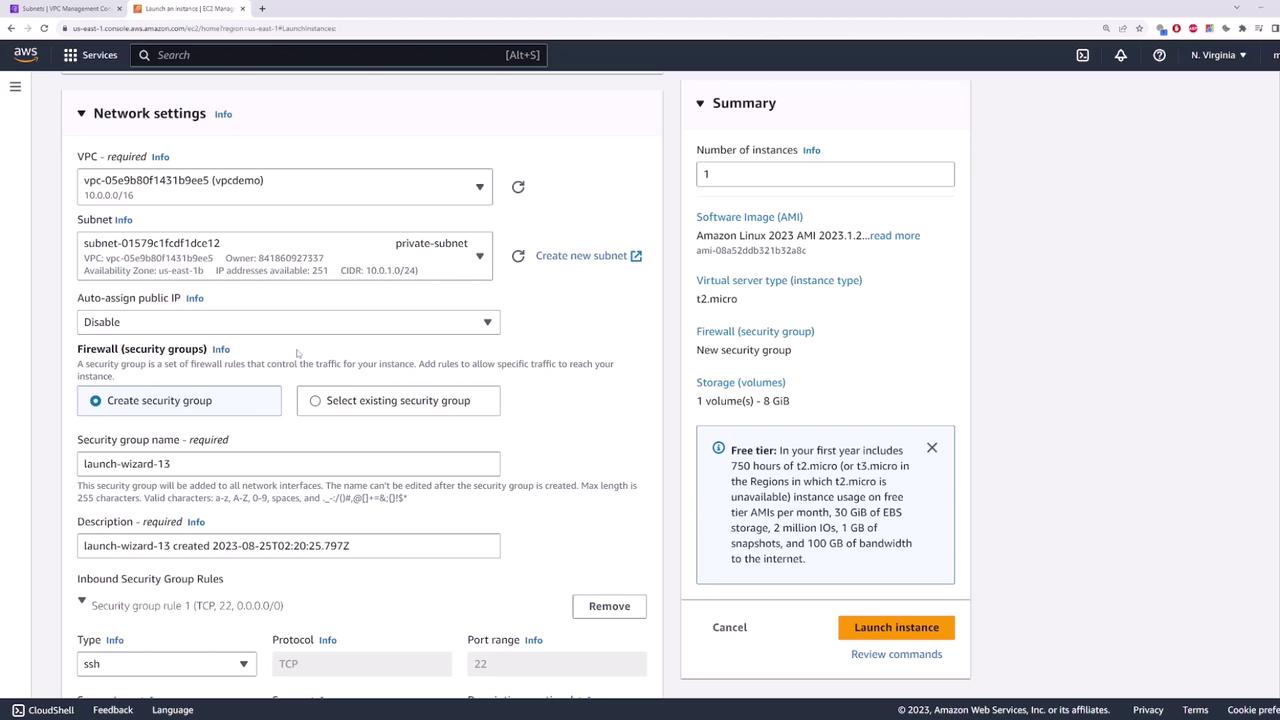
Step 3: Launch an EC2 Instance
Open the EC2 console and deploy an instance within the private subnet. Follow these guidelines:
- Name the instance "private server".
- Use the default Amazon Linux image.
- Under network settings, select your VPC (e.g., "demo") and choose the private subnet.
- Do not assign a public IP address since the instance will access the internet via the NAT gateway.
- Use the default security group, then launch the instance.
After launching the instance, verify that it does not have a public IP address. This confirmation ensures that the instance remains private and is accessible only within the VPC (for example, via VPN).
Step 4: Attach an Internet Gateway and Create a Public Subnet
Before deploying the NAT gateway, attach an Internet Gateway (IGW) to your VPC because NAT gateways must reside in a public subnet.
Create and Attach an Internet Gateway
Create an Internet Gateway and attach it to your VPC.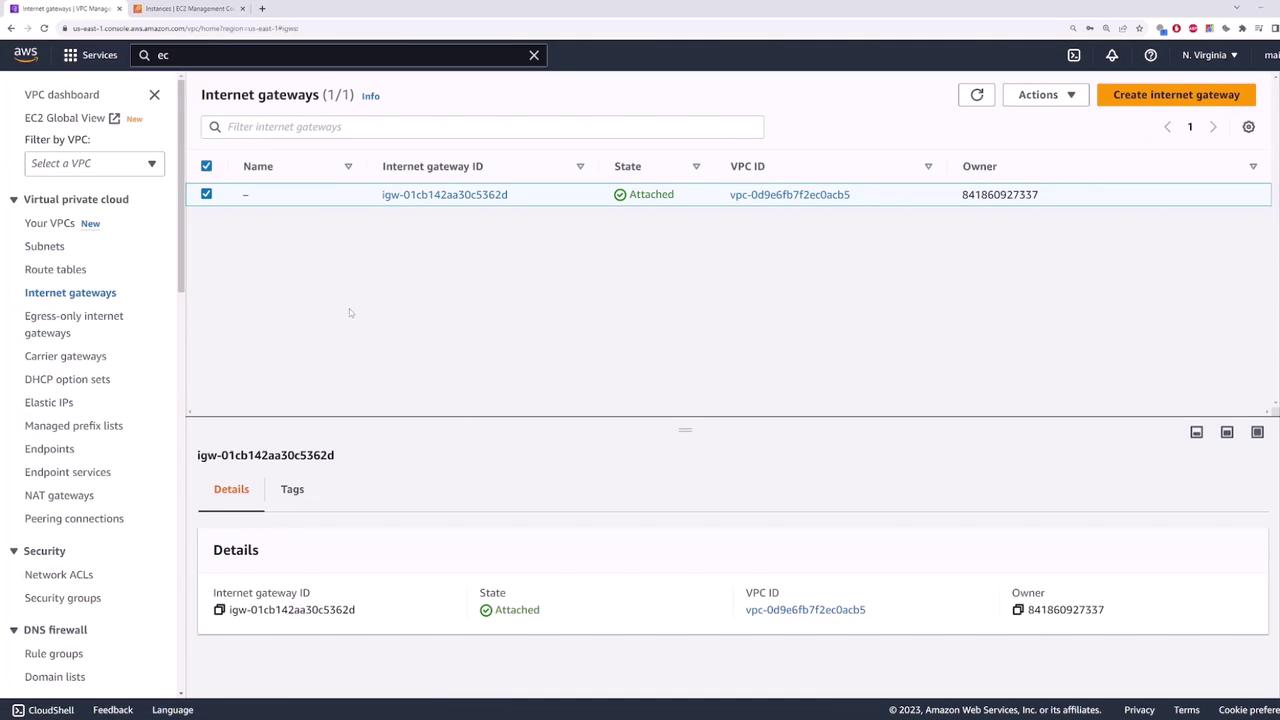
Confirm the Attachment
Confirm that the Internet Gateway is attached to your VPC.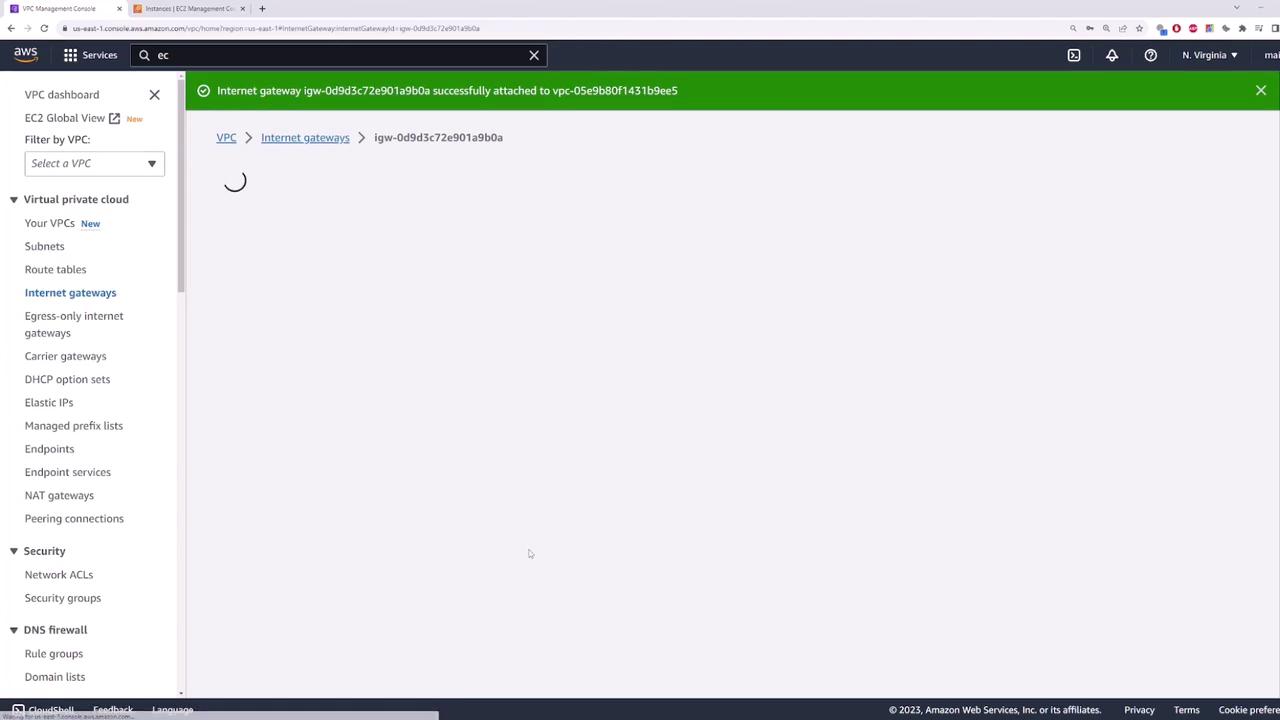
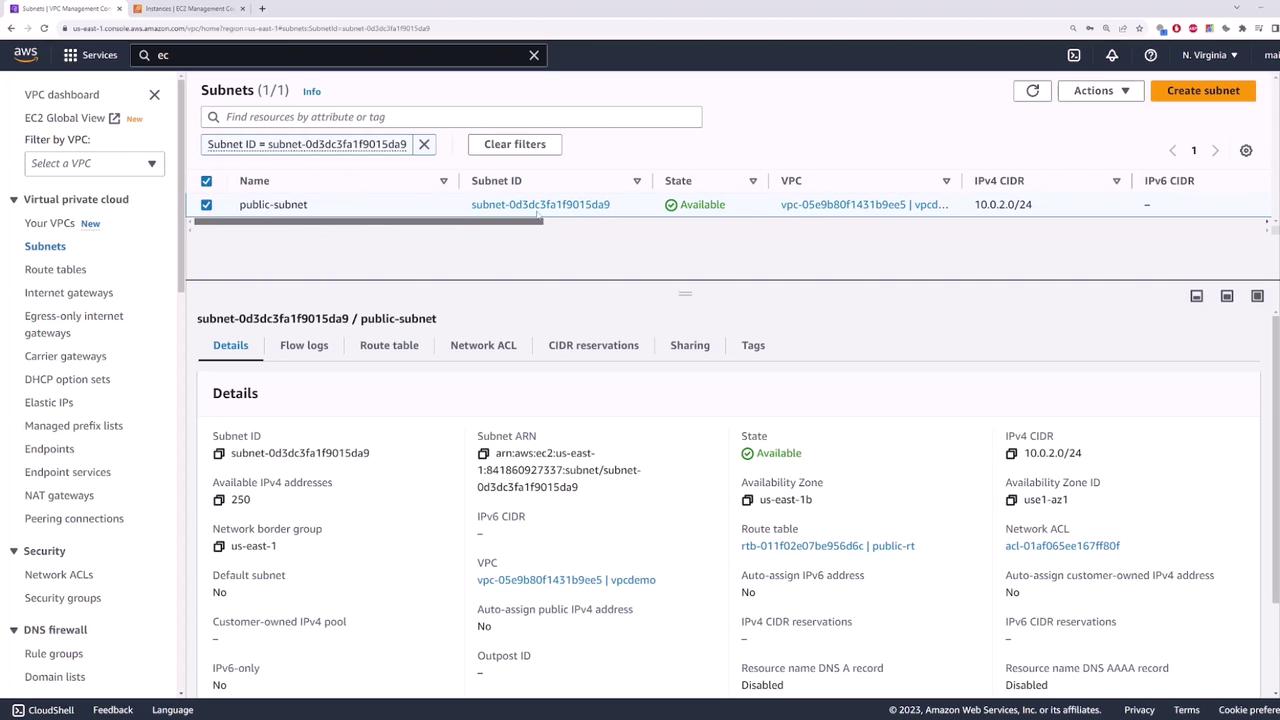
Create a Public Subnet
Create a public subnet named "public-subnet" and assign it the CIDR block 10.0.2.0/24.
Step 5: Configure Route Tables
Now, you'll set up route tables to direct traffic appropriately.
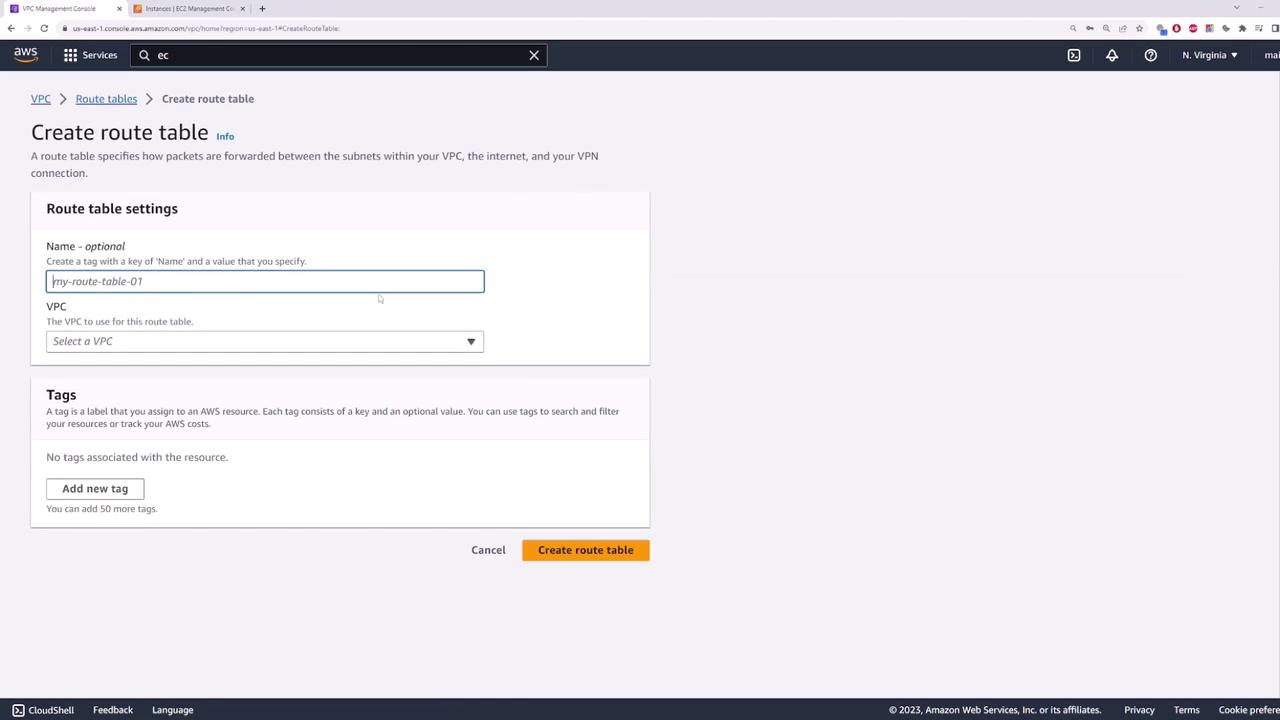
Create Route Tables
- Create a route table named "public route table" associated with your VPC (e.g., "demo").
- Then, create another route table named "private route table" for the private subnet.
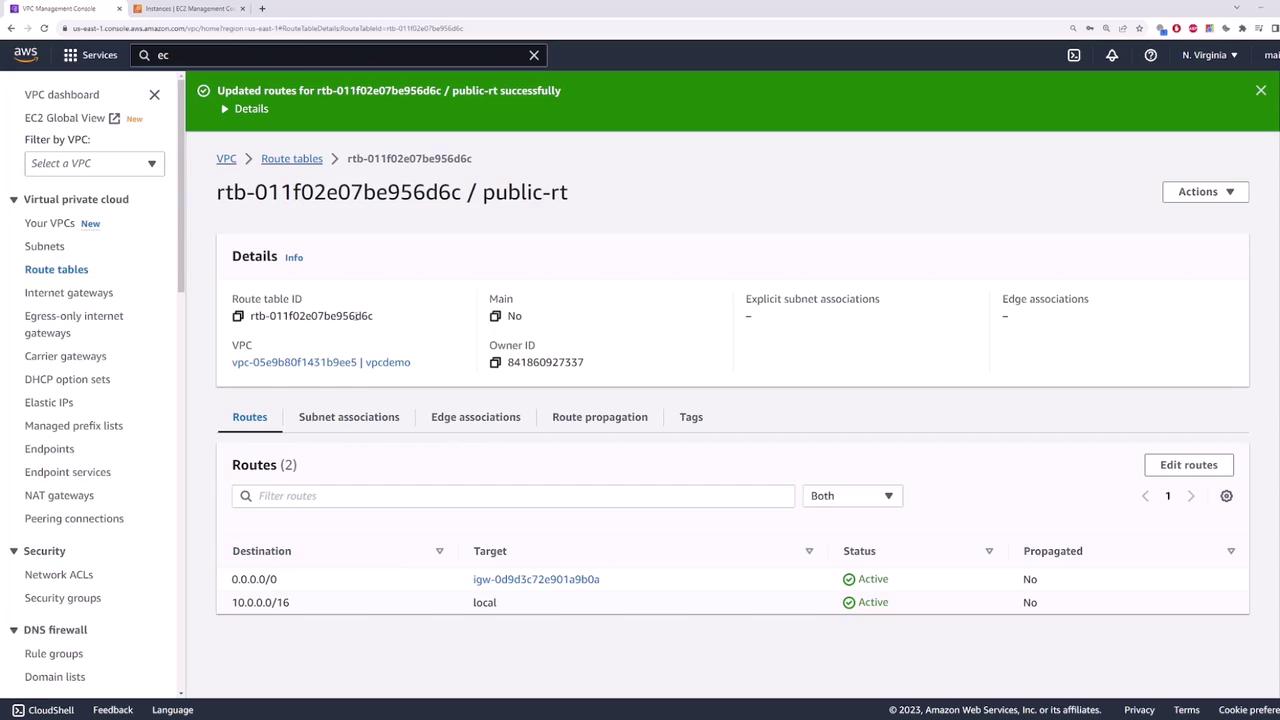
Define Routes and Associations
- For the public route table, add a default route that directs traffic to the Internet Gateway. Associate the public subnet with this route table.
- Associate the private route table with your private subnet. This table will later be updated to route outbound traffic through the NAT gateway.
Step 6: Deploy the NAT Gateway
With the subnets and route tables configured, deploy your NAT gateway as follows:
Create a NAT Gateway
Navigate to the NAT gateways section and create a new NAT gateway. Provide a name, select the public subnet ("public-subnet"), and allocate an Elastic IP address to ensure the gateway maintains a fixed IP address.Update the Private Route Table
Once the NAT gateway is created, go back to the private route table and add a default route that points to the newly created NAT gateway. Save the changes.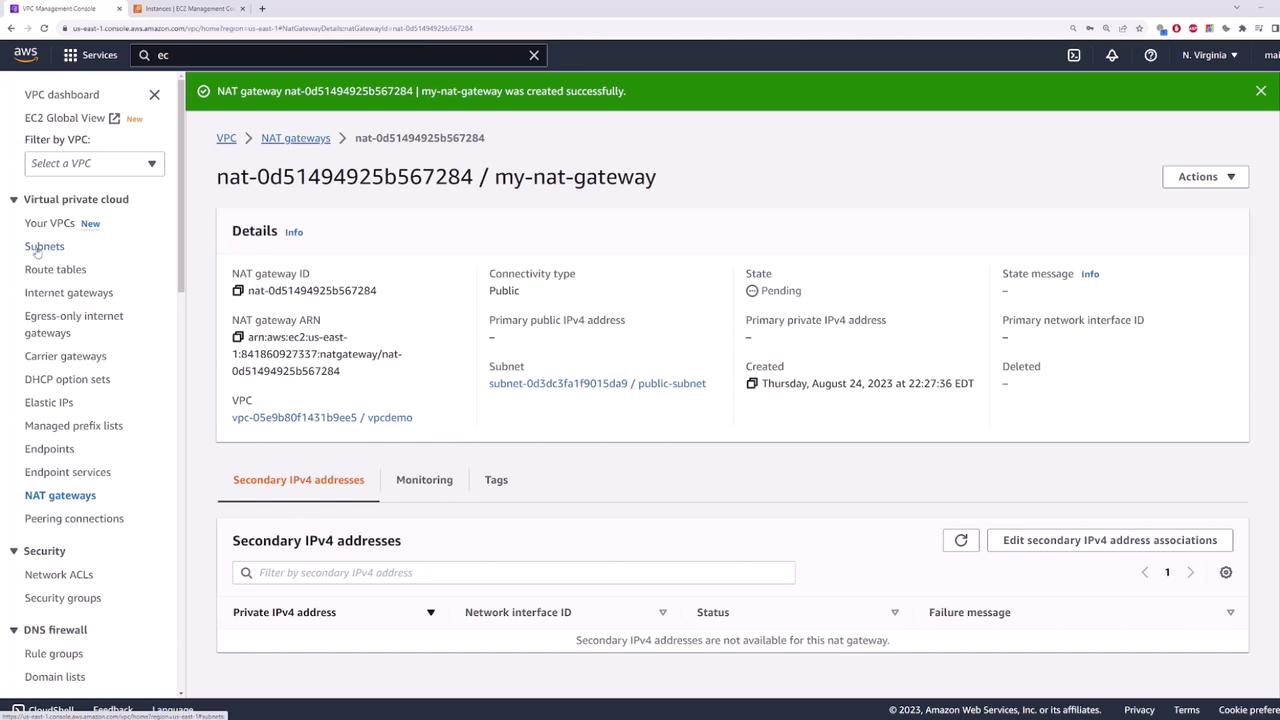
Note
NAT gateways may initially appear in a “pending” state as they initialize. In production environments, it is recommended to deploy multiple NAT gateways across different availability zones to ensure high availability. If one availability zone fails, instances in that zone will have uninterrupted access to the internet through a NAT gateway in another zone.
Final Verification
At this point, your configuration allows the EC2 instance in the private subnet to access the internet through the NAT gateway while remaining inaccessible from external networks. To review the network details and confirm the setup, check the VPC subnet information.
By following these steps, you have successfully set up a secure architecture that enables outbound internet connectivity for your EC2 instance via a NAT gateway, while maintaining strict inbound access controls.
Watch Video
Watch video content