AWS Certified Developer - Associate

Networking Fundamentals

Routing Demo

In this tutorial, we explore route tables in AWS – viewing their details, understanding their association with subnets, and modifying their routes. Although advanced features of route tables are beyond the scope of this lesson, you will learn the basics of viewing a route table, examining its associated subnets, and updating its routes to suit your network requirements.

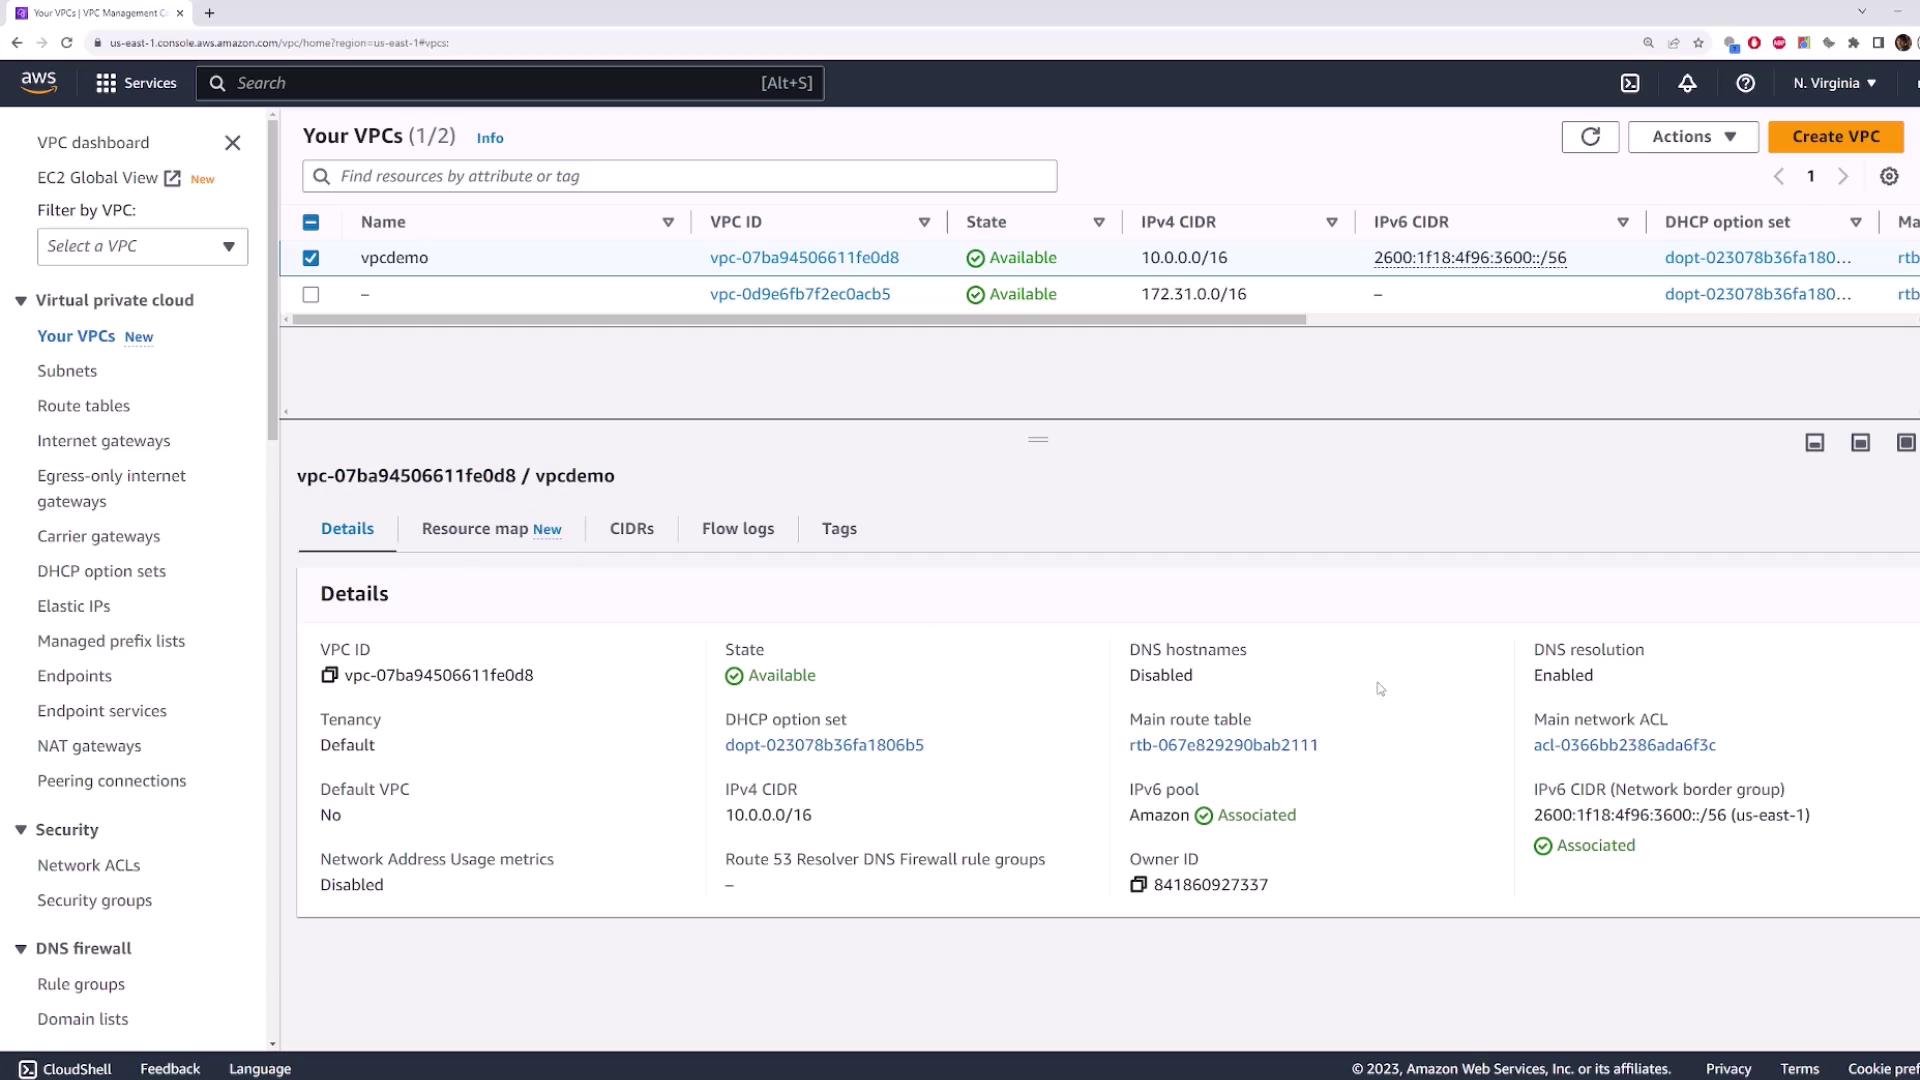
Creating a Demo VPC and Subnets

Begin by creating a demo VPC named "VPC demo" with a predefined CIDR block and enabled IPv6. Then, set up two subnets:

  • Subnet One:

    • CIDR Block: 10.0.1.0/24
    • Associated IPv6 CIDR block.
  • Subnet Two:

    • CIDR Block: 10.0.2.0/24
    • The availability zone is chosen automatically.

When you create the VPC and subnets, AWS automatically assigns the default (main) route table to any subnet that doesn’t have an explicit association.

The image shows an AWS VPC management console with details of a VPC named "vpcdemo," including its ID, state, and CIDR information. The console displays various options and settings related to virtual private clouds.

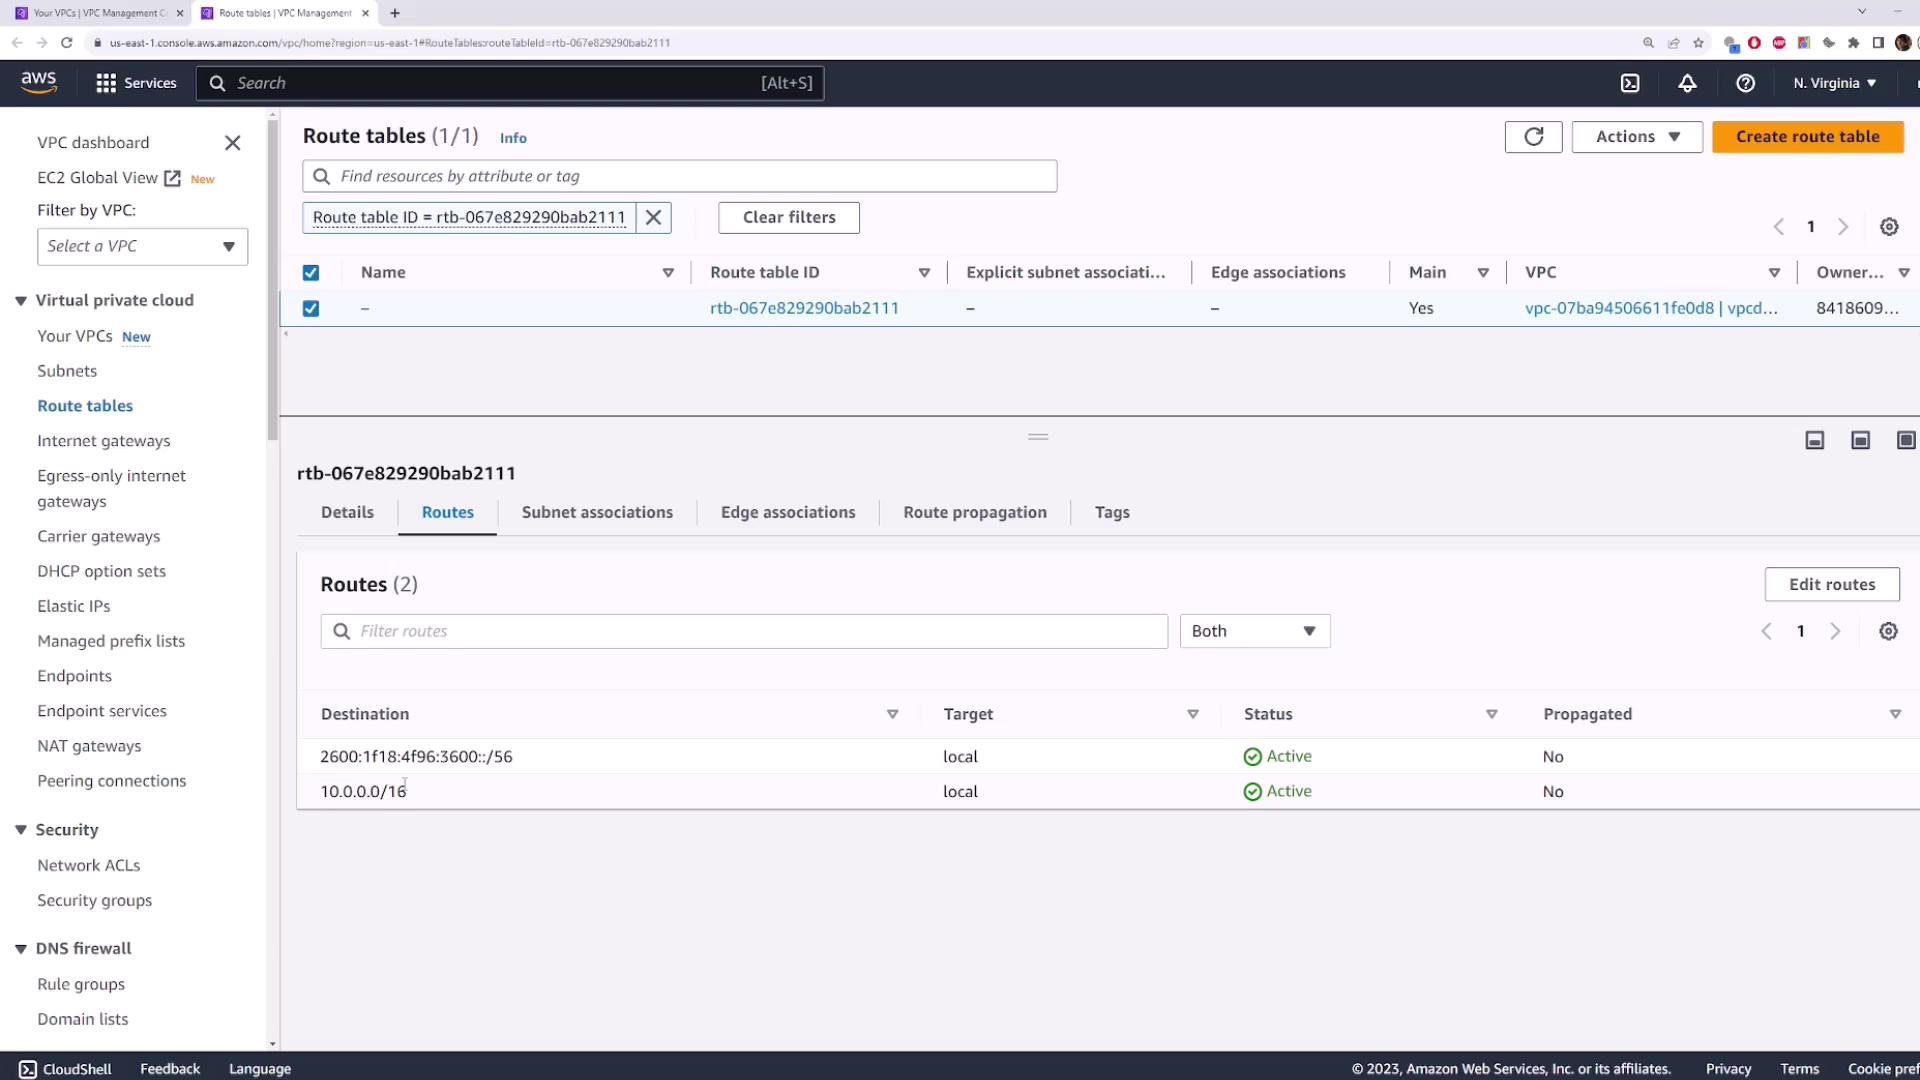
Exploring the Default Route Table

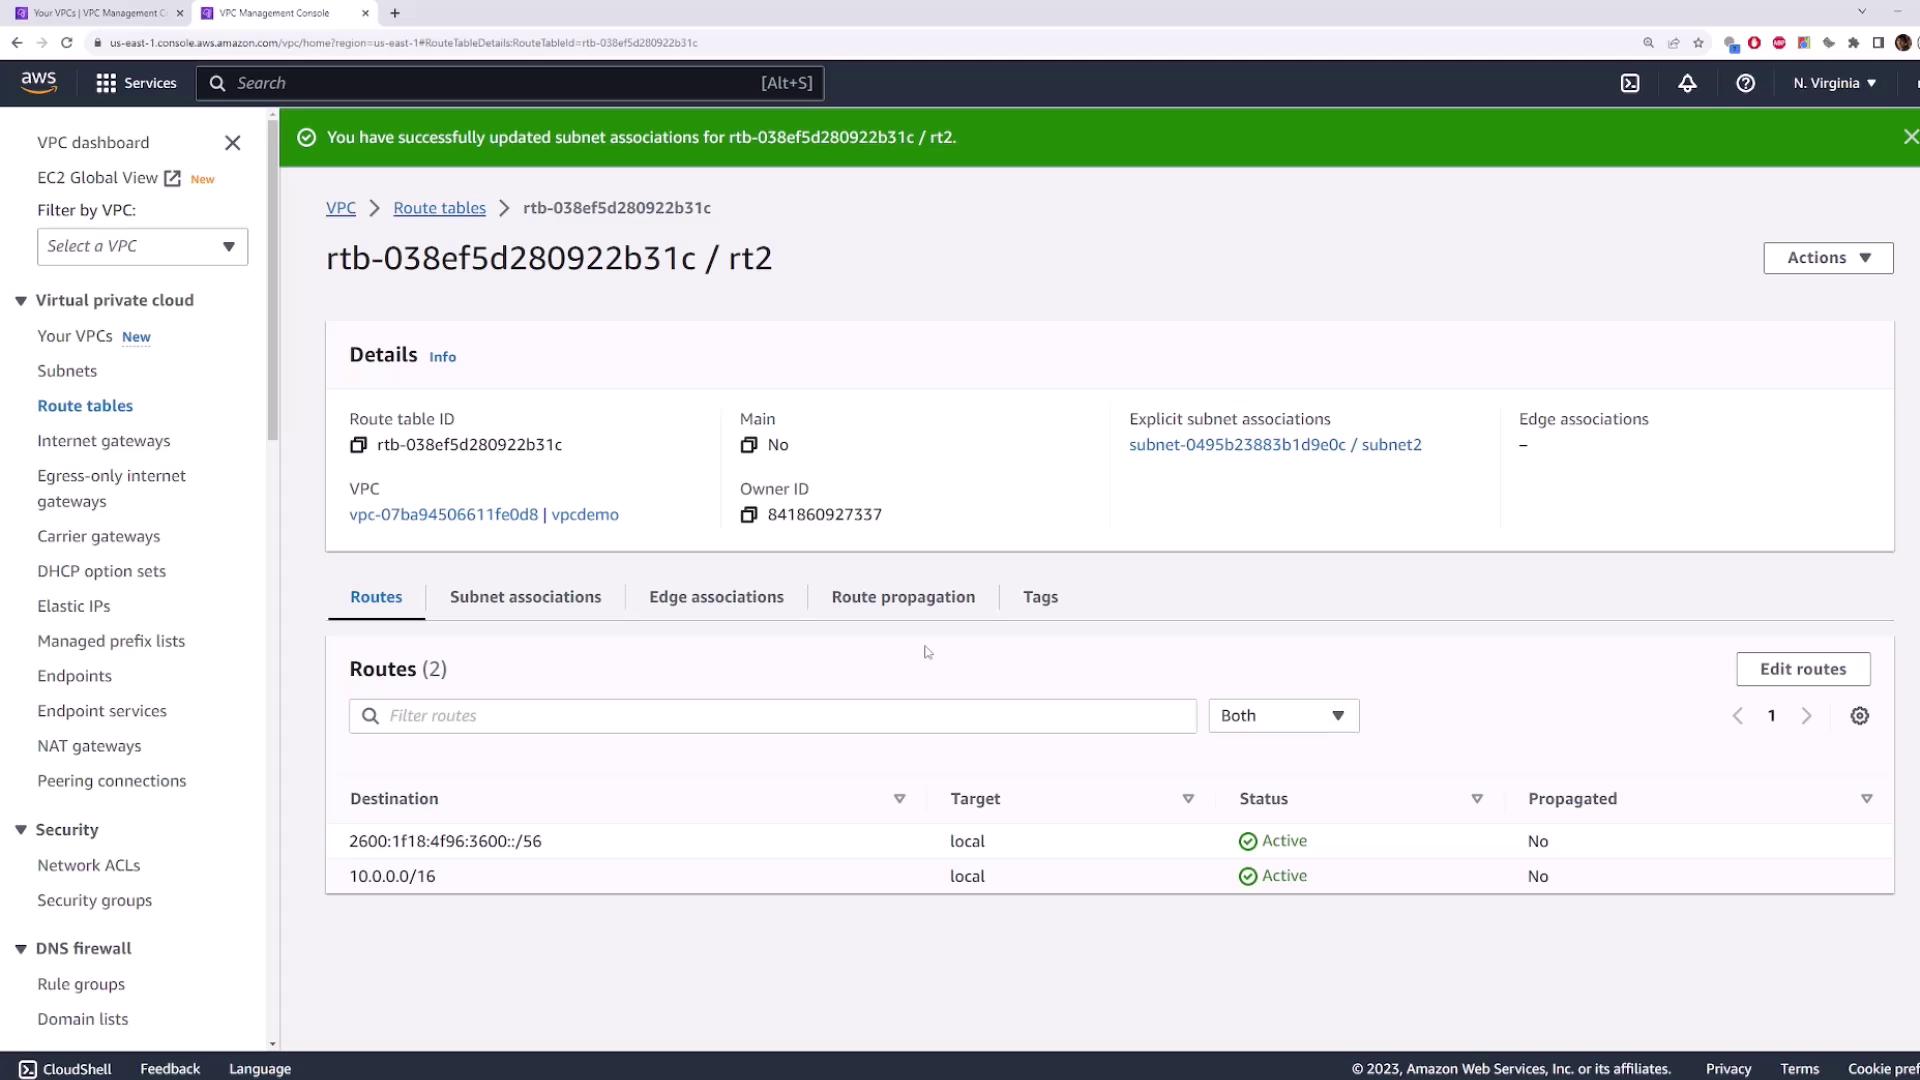
Navigate to the VPC section and open the main route table in a new tab. In this route table, you will observe two default entries:

  • A local route for IPv4: All traffic destined for IP addresses within the VPC CIDR block is routed internally.
  • A corresponding local route for IPv6.

Note that while there may be no explicit subnet associations displayed, both subnets automatically inherit the routes from this main route table.

The image shows an AWS VPC management console displaying a route table with two active routes. The routes are listed with their destinations, targets, and statuses.

The image shows an AWS VPC Management Console screen displaying route tables and subnet associations. It highlights subnets without explicit associations in a specific VPC.

When an EC2 instance within either subnet sends a packet, the route table reviews the destination IP and selects the closest matching rule to route that packet.

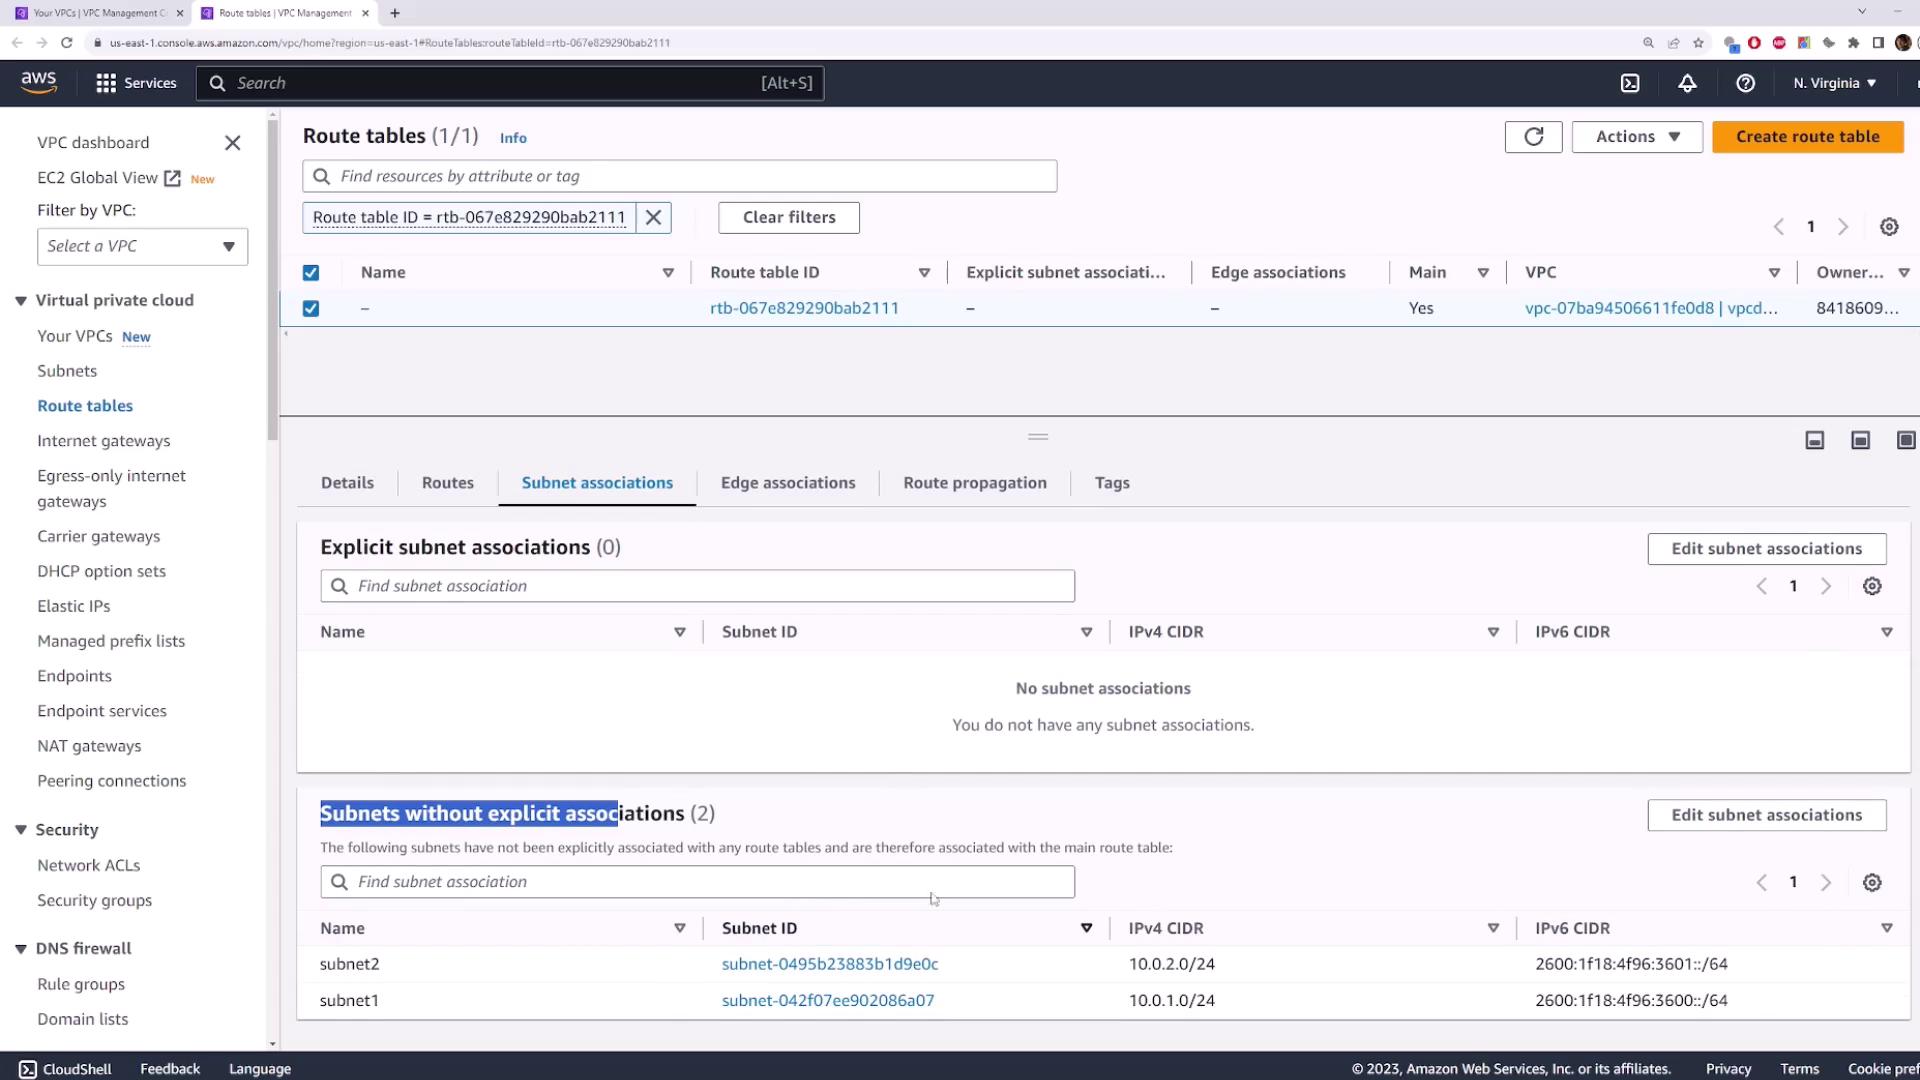
Creating and Associating a Custom Route Table

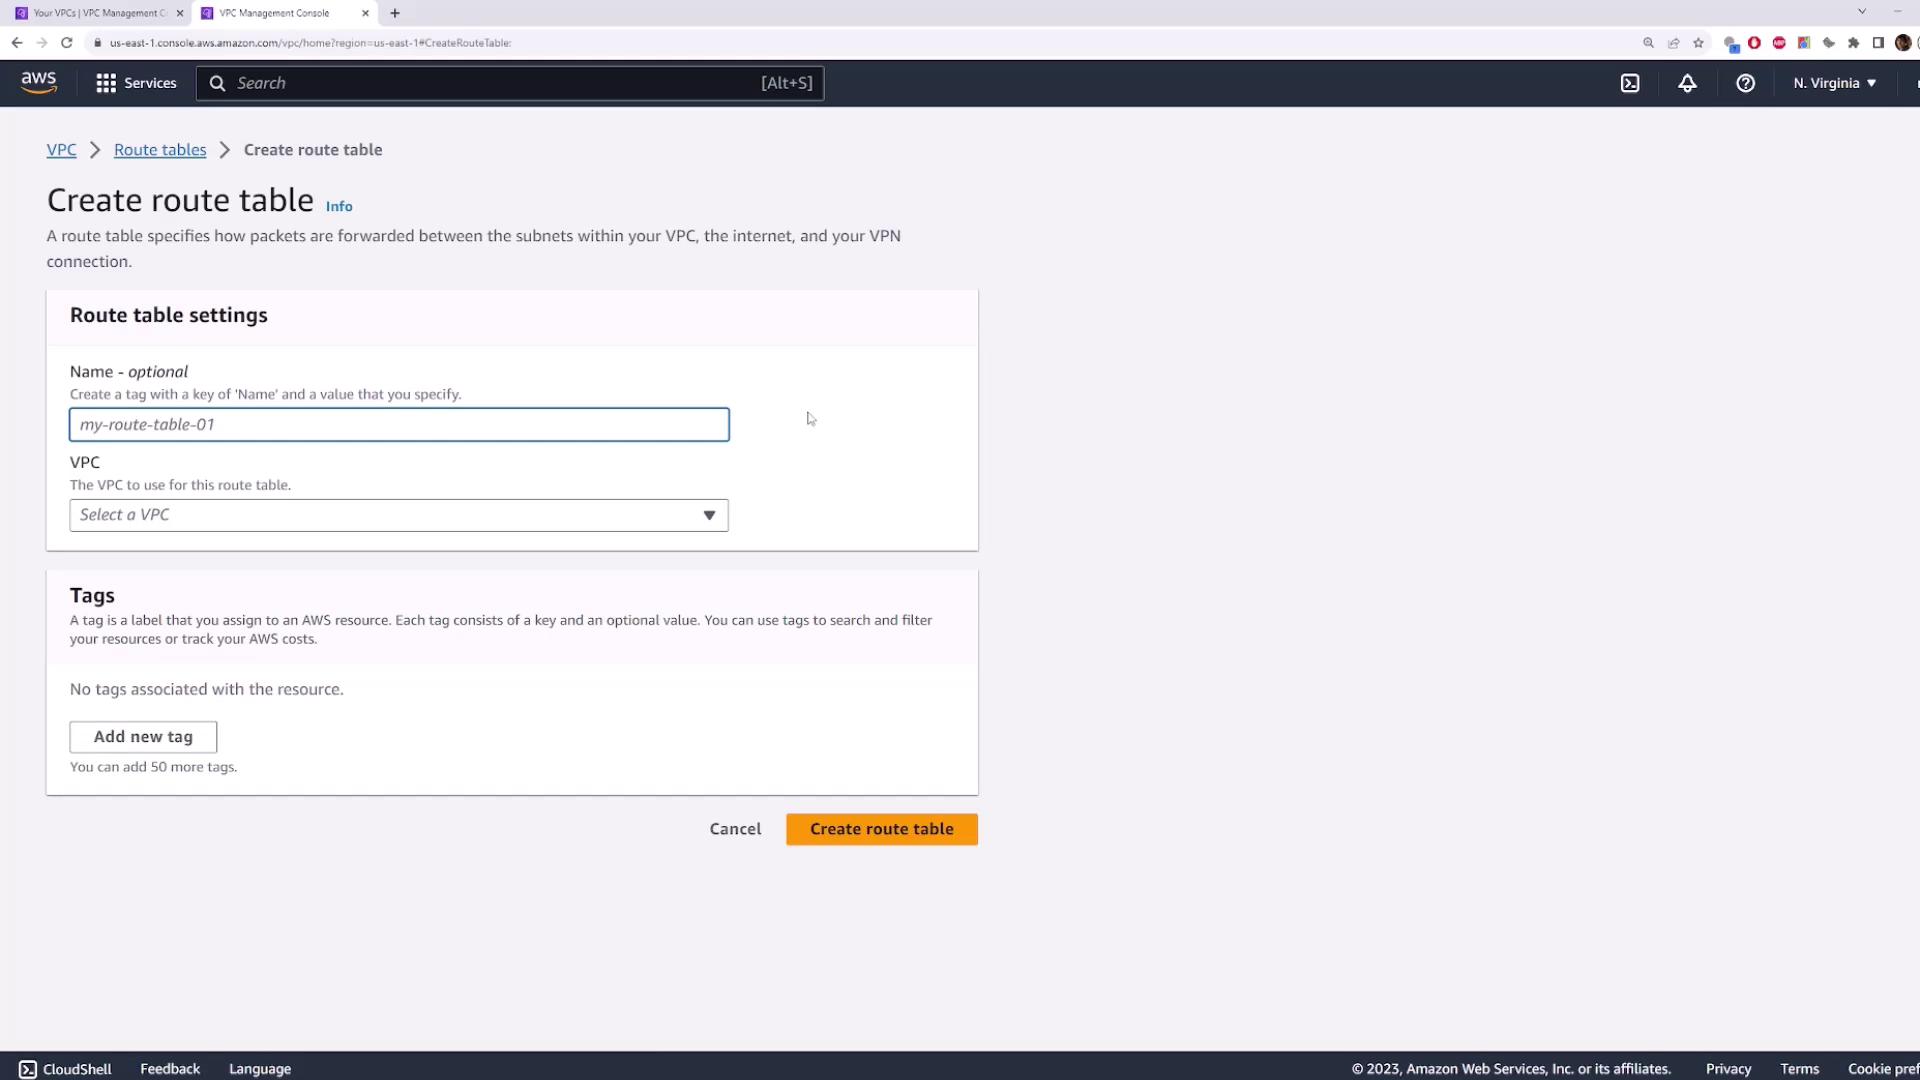
You can also create a custom route table tailored to your needs. Follow these steps:

  1. Navigate to the Route Tables section and create a new route table (for example, name it "Route Table One") selecting your "VPC demo."
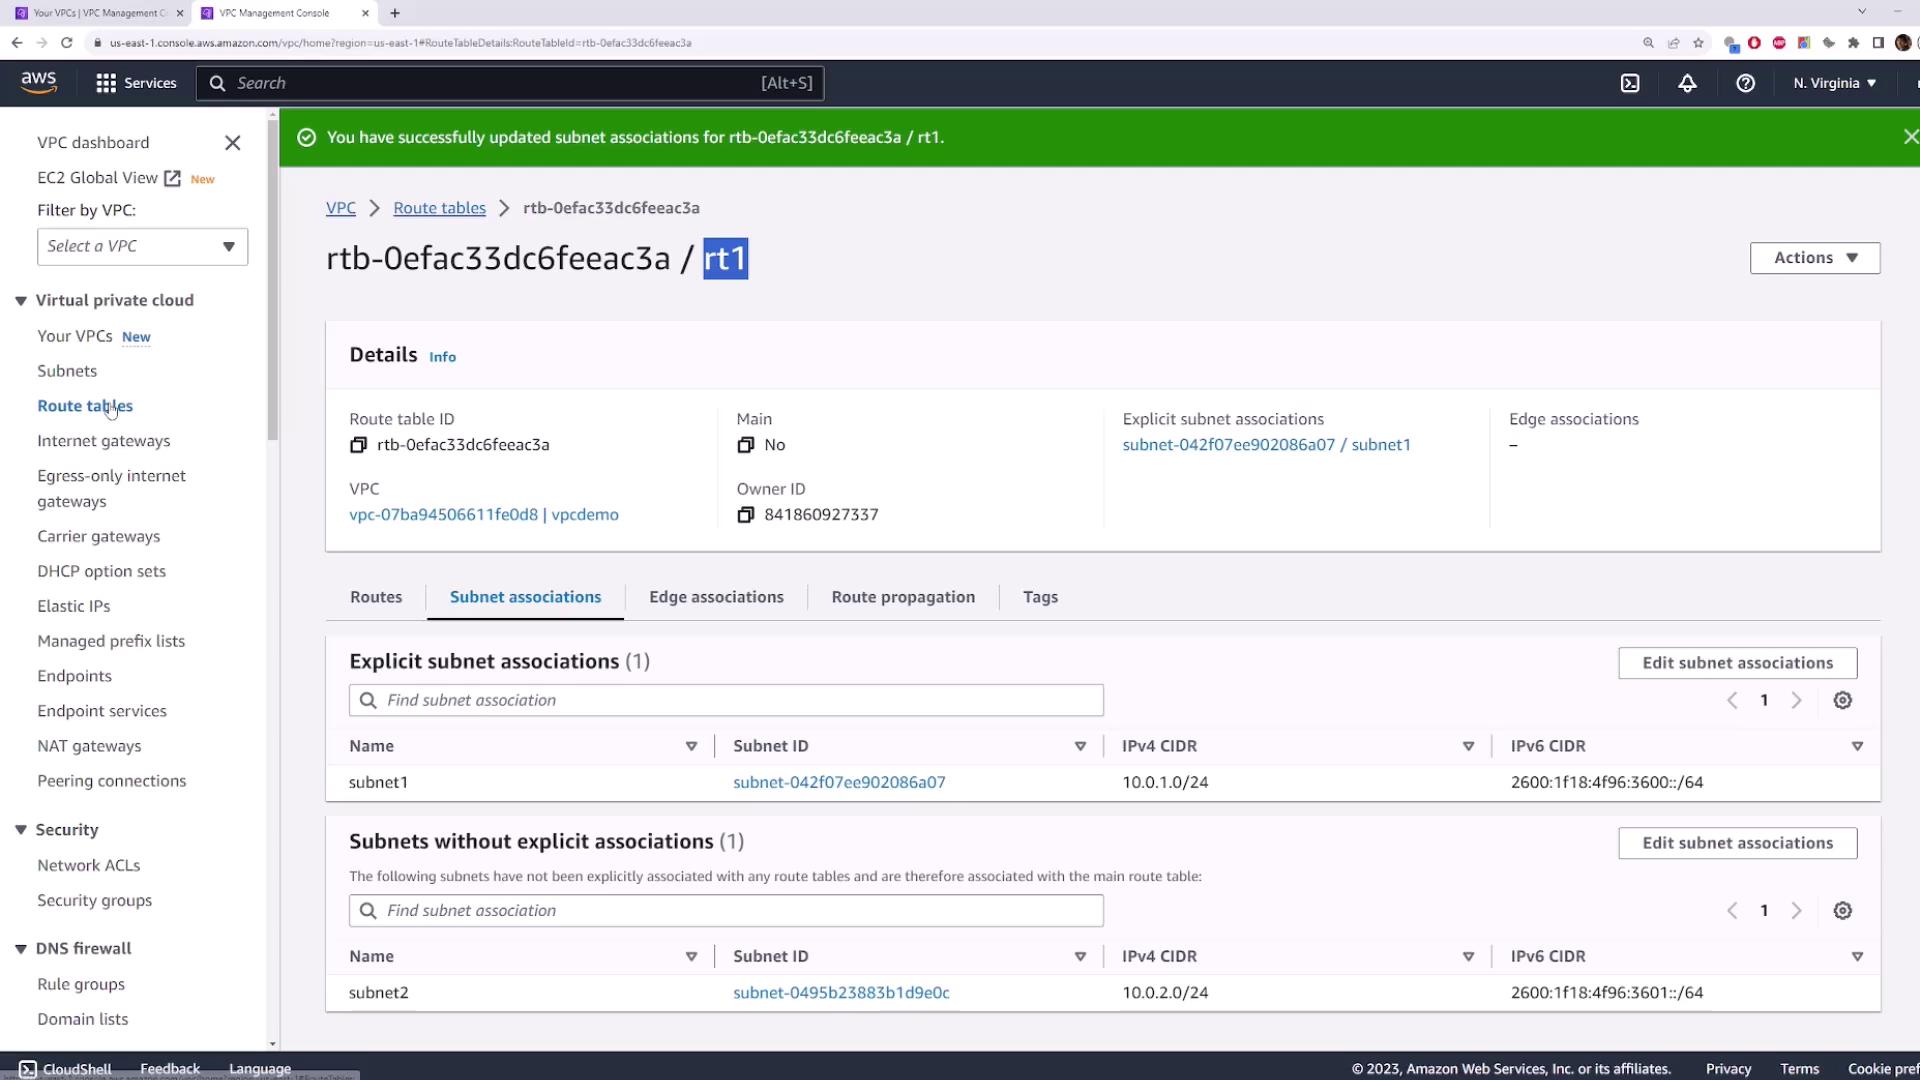
  2. By default, the new route table will not be associated with any subnets. Edit the subnet associations to add Subnet One.
  3. Once Subnet One is linked with "Route Table One," all traffic from that subnet adheres to the rules defined in this custom route table.

The image shows the AWS Management Console interface for creating a route table, with fields for naming the route table and selecting a VPC. There is also an option to add tags.

For additional flexibility, you may create another route table for Subnet Two. While it is not mandatory to have a unique route table per subnet, separating them allows you to manage different routing requirements – such as differentiating between public subnets (with internet access) and private subnets (without internet access).

The image shows an AWS VPC Management Console screen displaying details of a route table, including subnet associations and related information. The interface includes options for editing subnet associations and viewing various network components.

Finally, note that the console may display additional views of route tables:

The image shows an AWS VPC Management Console screen displaying details of a route table, including its ID, associated subnets, and active routes.

Editing Routes

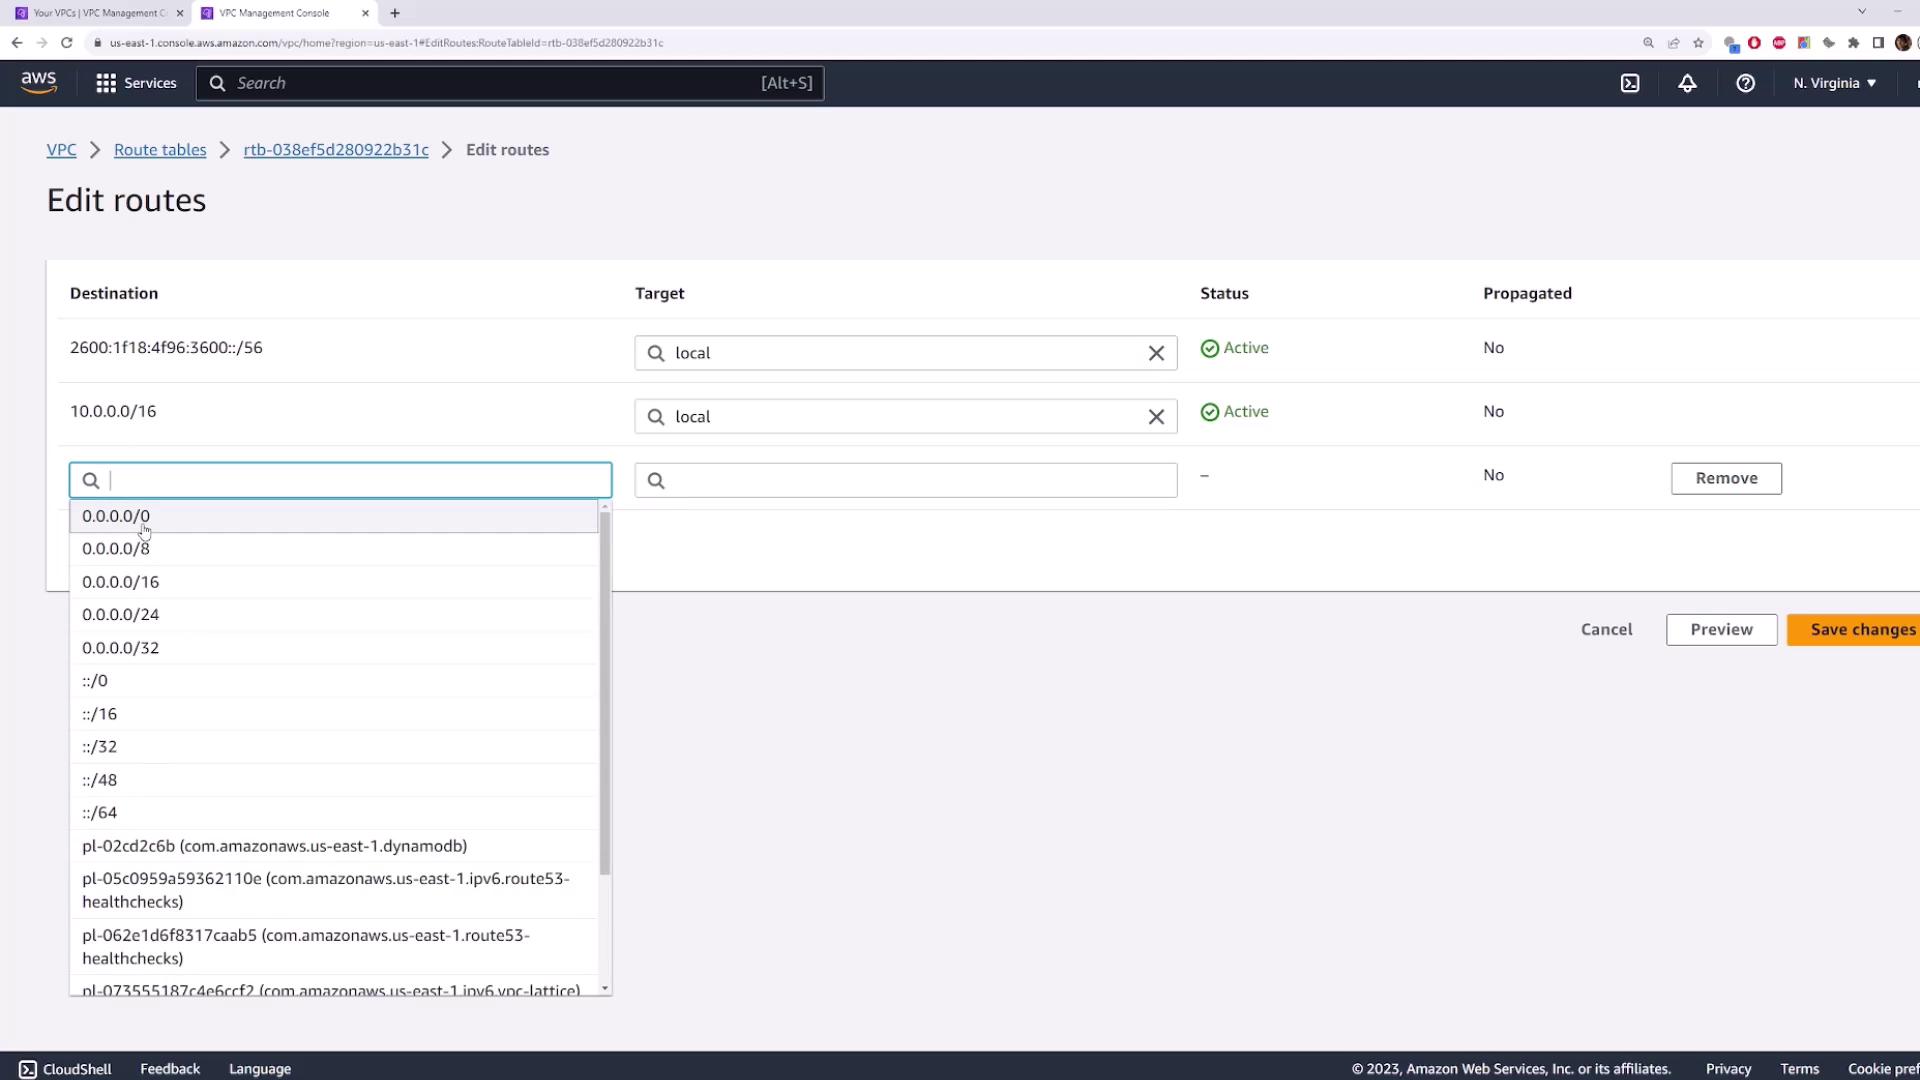
To update or add routes in a route table:

  1. Select your target route table and click the option to edit routes.
  2. Click “Add route” to include a new rule. For example, adding a default route with the destination "0.0.0.0/0" ensures that any packet not matching another rule follows this default path.
  3. Specify the target for the new route; your choices include an internet gateway, a NAT gateway, or routing locally.
  4. Save your changes to update the route table accordingly.
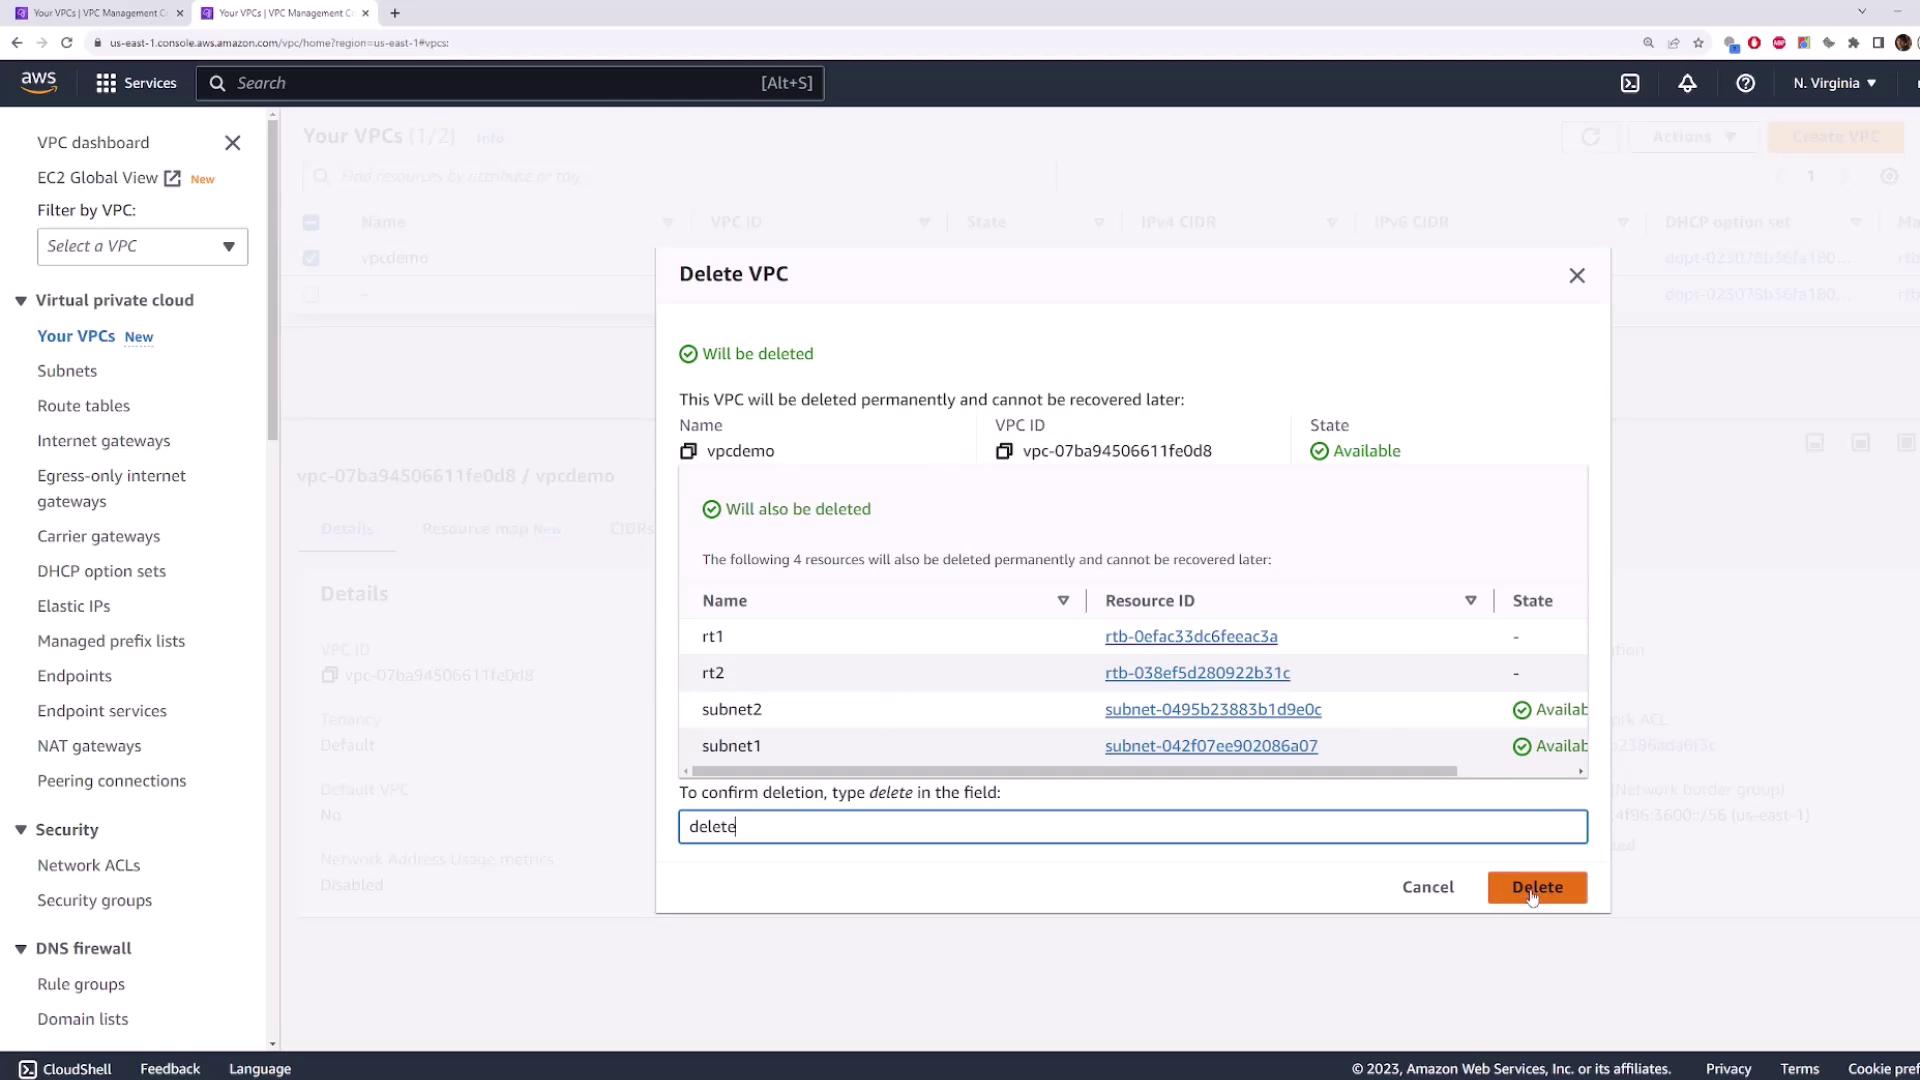
The image shows the AWS VPC Management Console with a route table being edited. It displays destinations, targets, and their statuses, with a dropdown menu for selecting routes.

When a packet arrives, the route table determines the appropriate route by checking the destination IP against its routing rules and selecting the closest match.

Cleanup

Cleanup Reminder

After completing your testing, it is important to delete the created resources to avoid incurring unnecessary charges. Simply delete the VPC ("vpcdemo"), and AWS will automatically remove all associated subnets and route tables.

The image shows an AWS management console screen where a user is in the process of deleting a VPC named "vpcdemo" along with its associated resources. The user has typed "delete" to confirm the action.

Conclusion

In this guide, you learned how to view, create, and modify route tables and manage subnet associations within an AWS VPC. This foundational knowledge is essential for designing scalable network architectures and ensuring efficient traffic routing in your cloud environment.

Watch Video

Watch video content

Practice Lab

Practice lab

Previous
Routing in VPCs