This article demonstrates using the AWS SAM CLI to create, deploy, and update a basic Lambda function application.
In this guide, we demonstrate how to use the AWS SAM CLI to create, deploy, and update a basic Lambda function application. We’ll cover installing the SAM CLI, creating a sample Hello World Lambda function, deploying it using SAM, and efficiently updating your function using the SAM sync command.
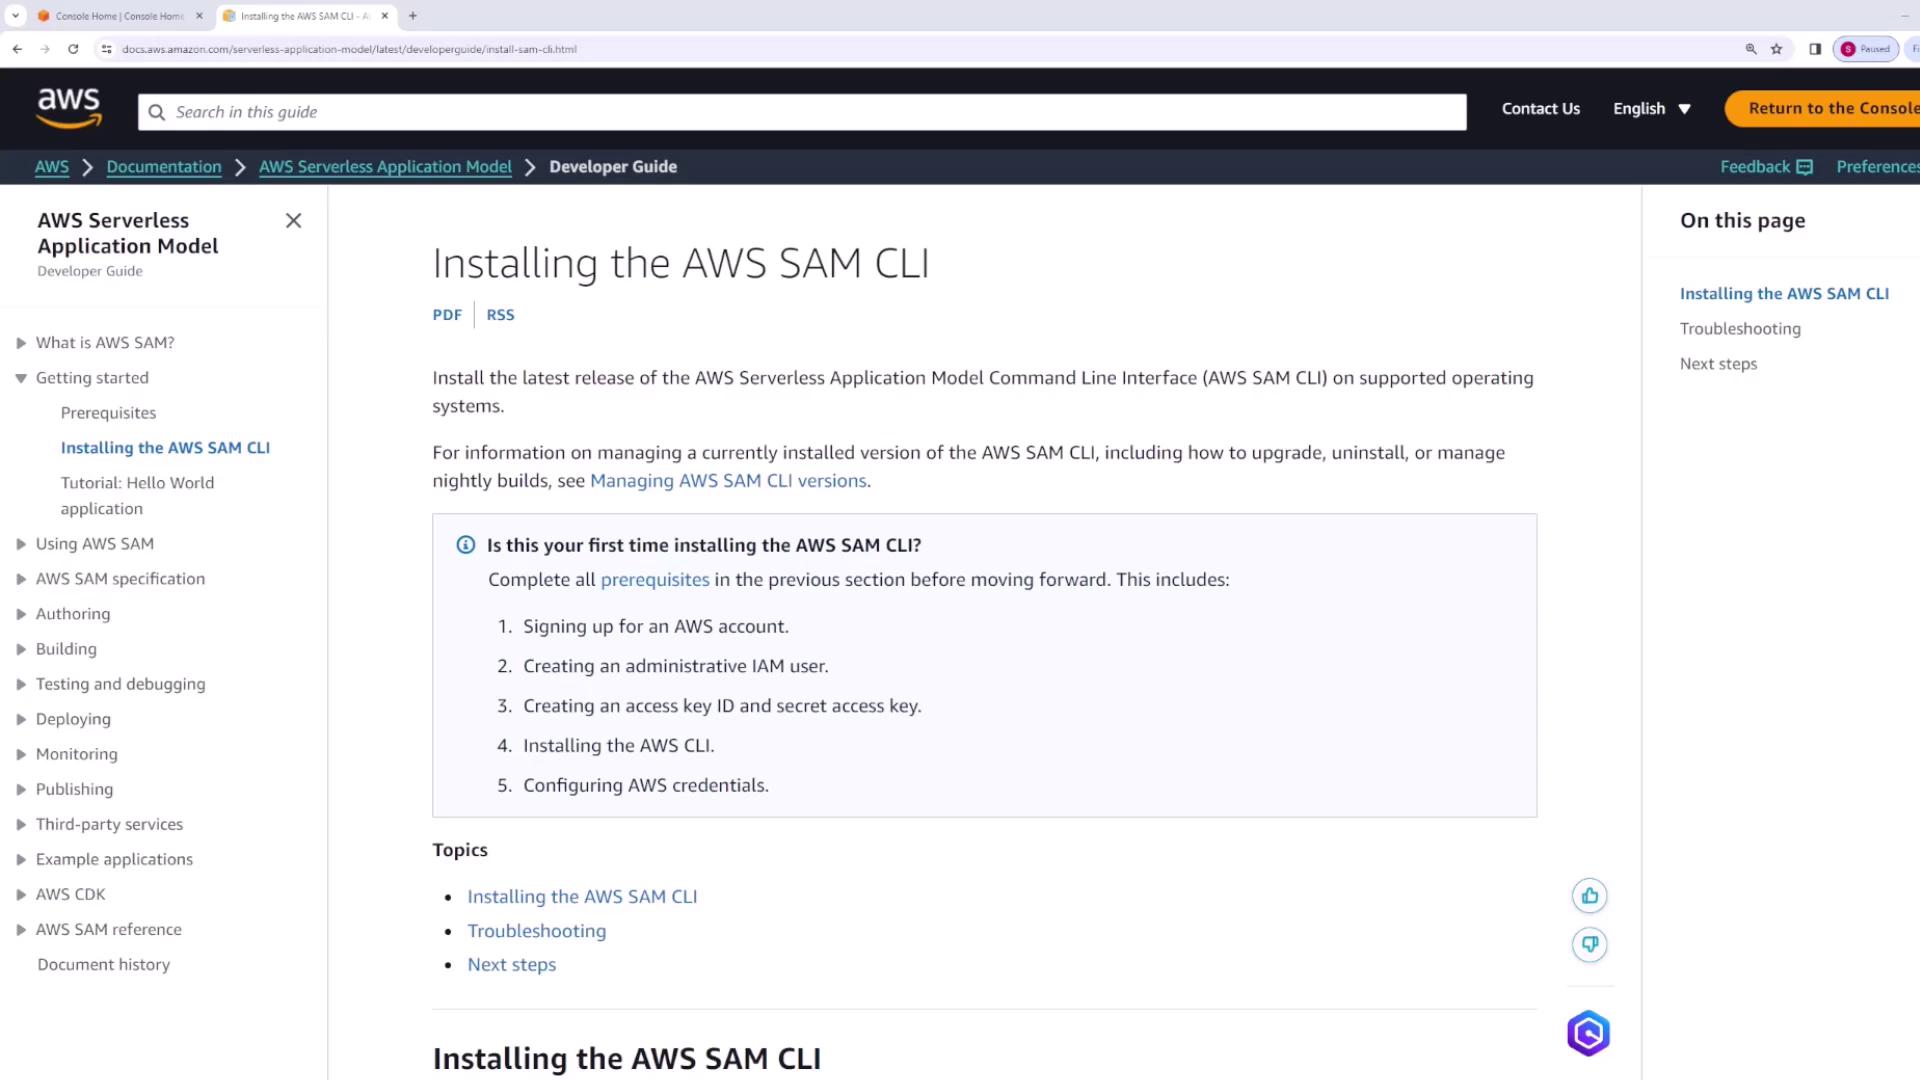
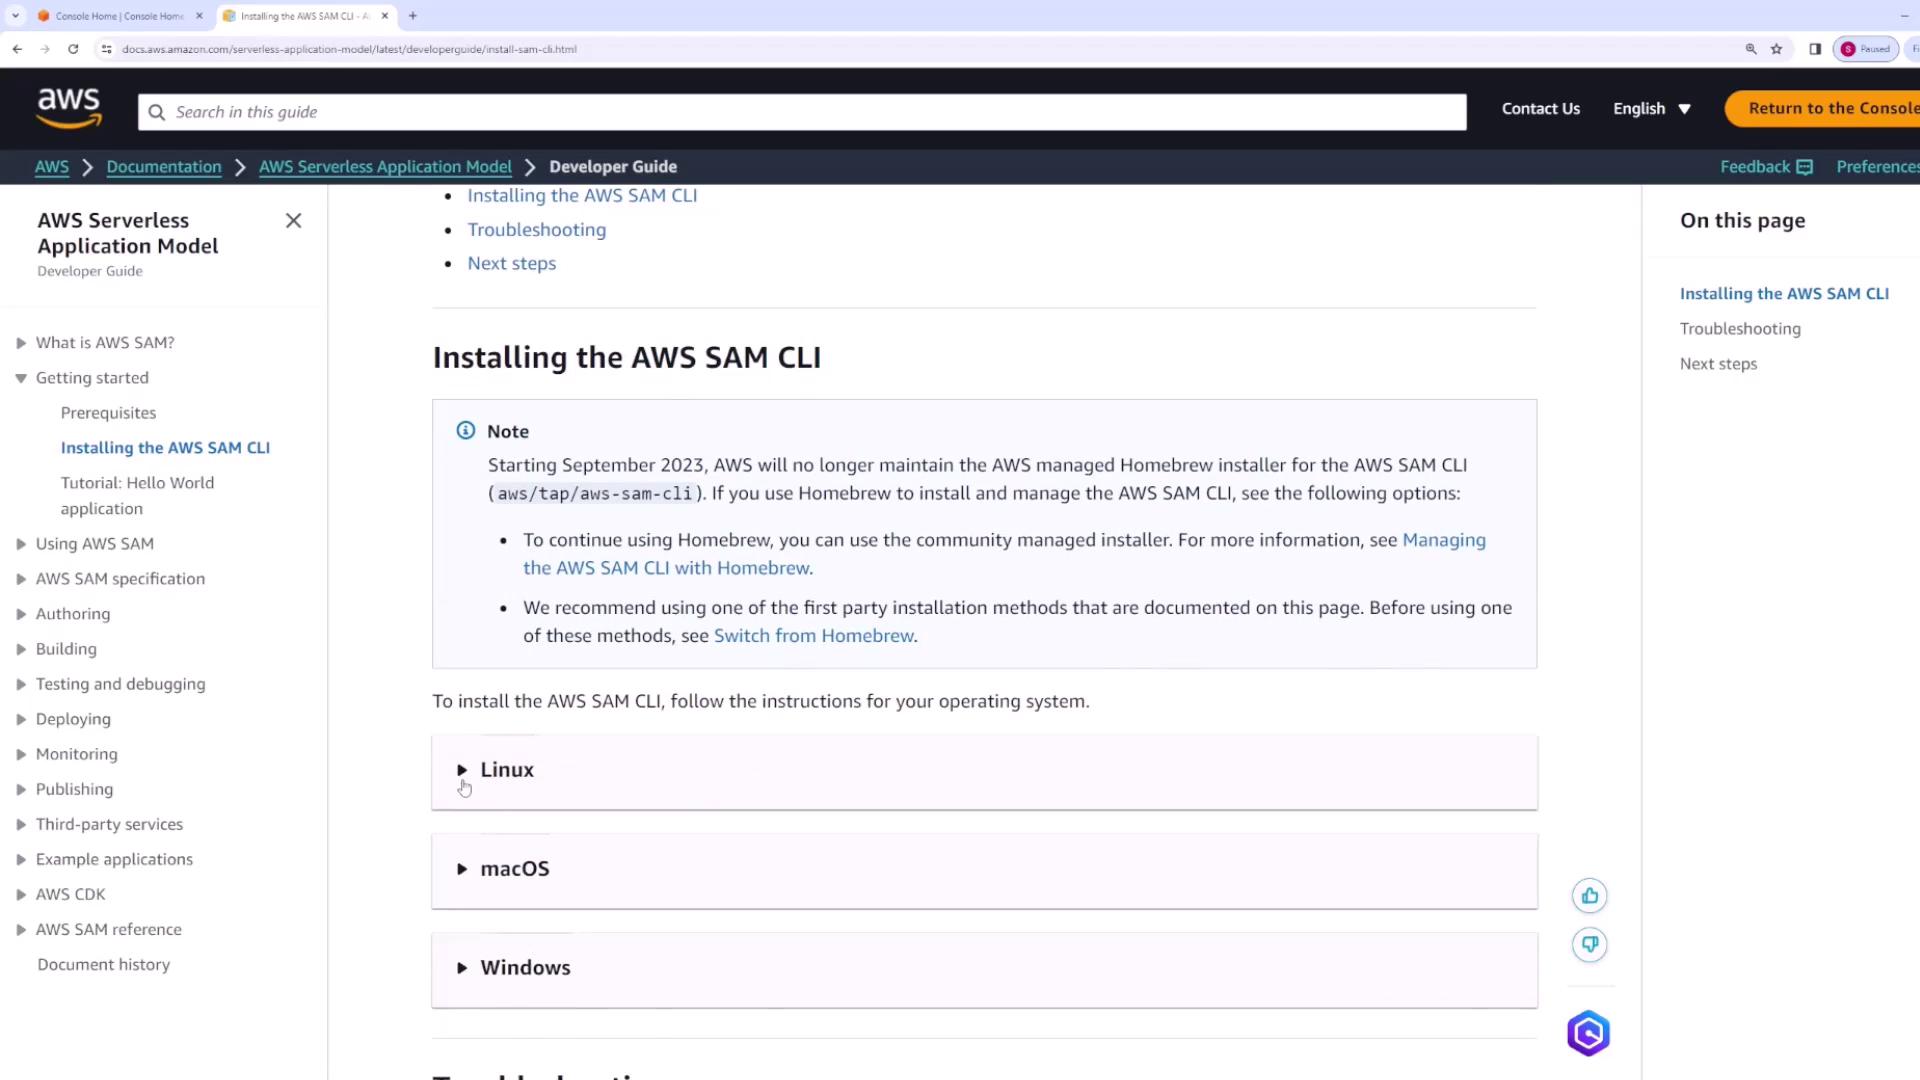
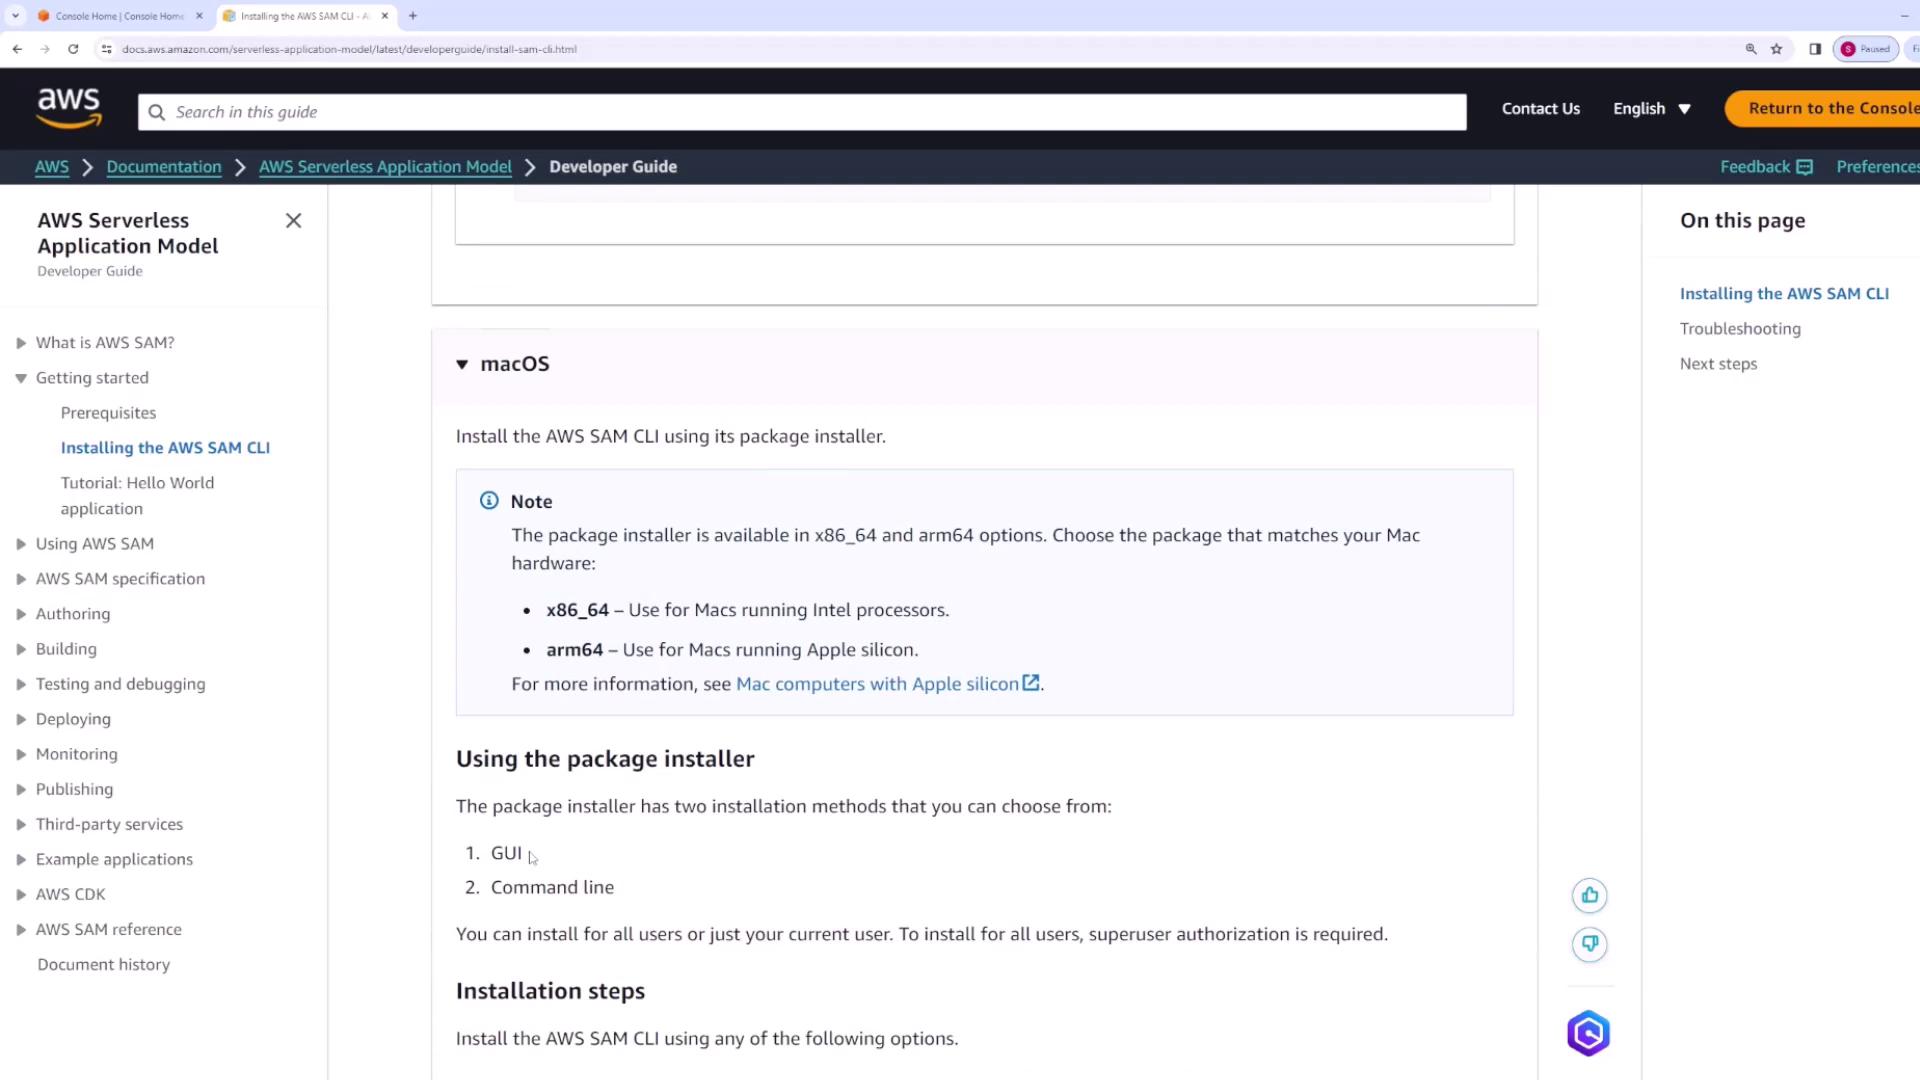
Before you begin, review the AWS Serverless Application Model Developer Guide’s Getting Started section for installation instructions specific to your operating system. For instance, when following the Linux instructions, you will find a downloadable installer.
Likewise, Linux and macOS users have dedicated installers or package options, while Windows users can download and run the appropriate installer.
After installation, verify it by running:
Copy
sam --version
You should see output similar to:
Copy
SAM CLI, <latest version>
For example, on a Windows machine, the command might return:
Copy
Microsoft Windows [Version 10.0.22631.3296](c) Microsoft Corporation. All rights reserved.C:\Users\sanje\OneDrive\Documents\courses-sanjeev-desktop\aws-developer-associate\MAS-Basics>sam --versionSAM CLI, version 1.114.0C:\Users\sanje\OneDrive\Documents\courses-sanjeev-desktop\aws-developer-associate\MAS-Basics>
It’s also recommended to review available commands and options by running:
Copy
sam --help
Some essential commands include:
docs – Opens the CLI documentation in your browser.
init – Bootstraps a new AWS SAM application.
build – Builds your serverless function code.
sync – Synchronizes your changes with AWS.
package and deploy – Package and deploy your Lambda functions and configurations.
In this section, we will manually create the files for our Lambda function. In future demos, we will use the SAM CLI init command to bootstrap projects.
Create a file called template.yaml in your project root. This file documents your serverless application resources. Below is a basic configuration defining a Lambda function resource named HelloWorld:
Since no samconfig.toml file exists initially, SAM will prompt you for deployment options. An example session might look like:
Copy
Configuring SAM deploy======================Looking for config file [samconfig.toml] : Not foundSetting default arguments for 'sam deploy'==============================Stack Name [sam-app]:AWS Region [us-east-1]:Confirm changes before deploy [y/n]: yAllow SAM CLI IAM role creation [Y/n]: yDisable rollback [y/N]: nSave arguments to configuration file [Y/n]: ySAM configuration file [samconfig.toml]:SAM configuration environment [default]:
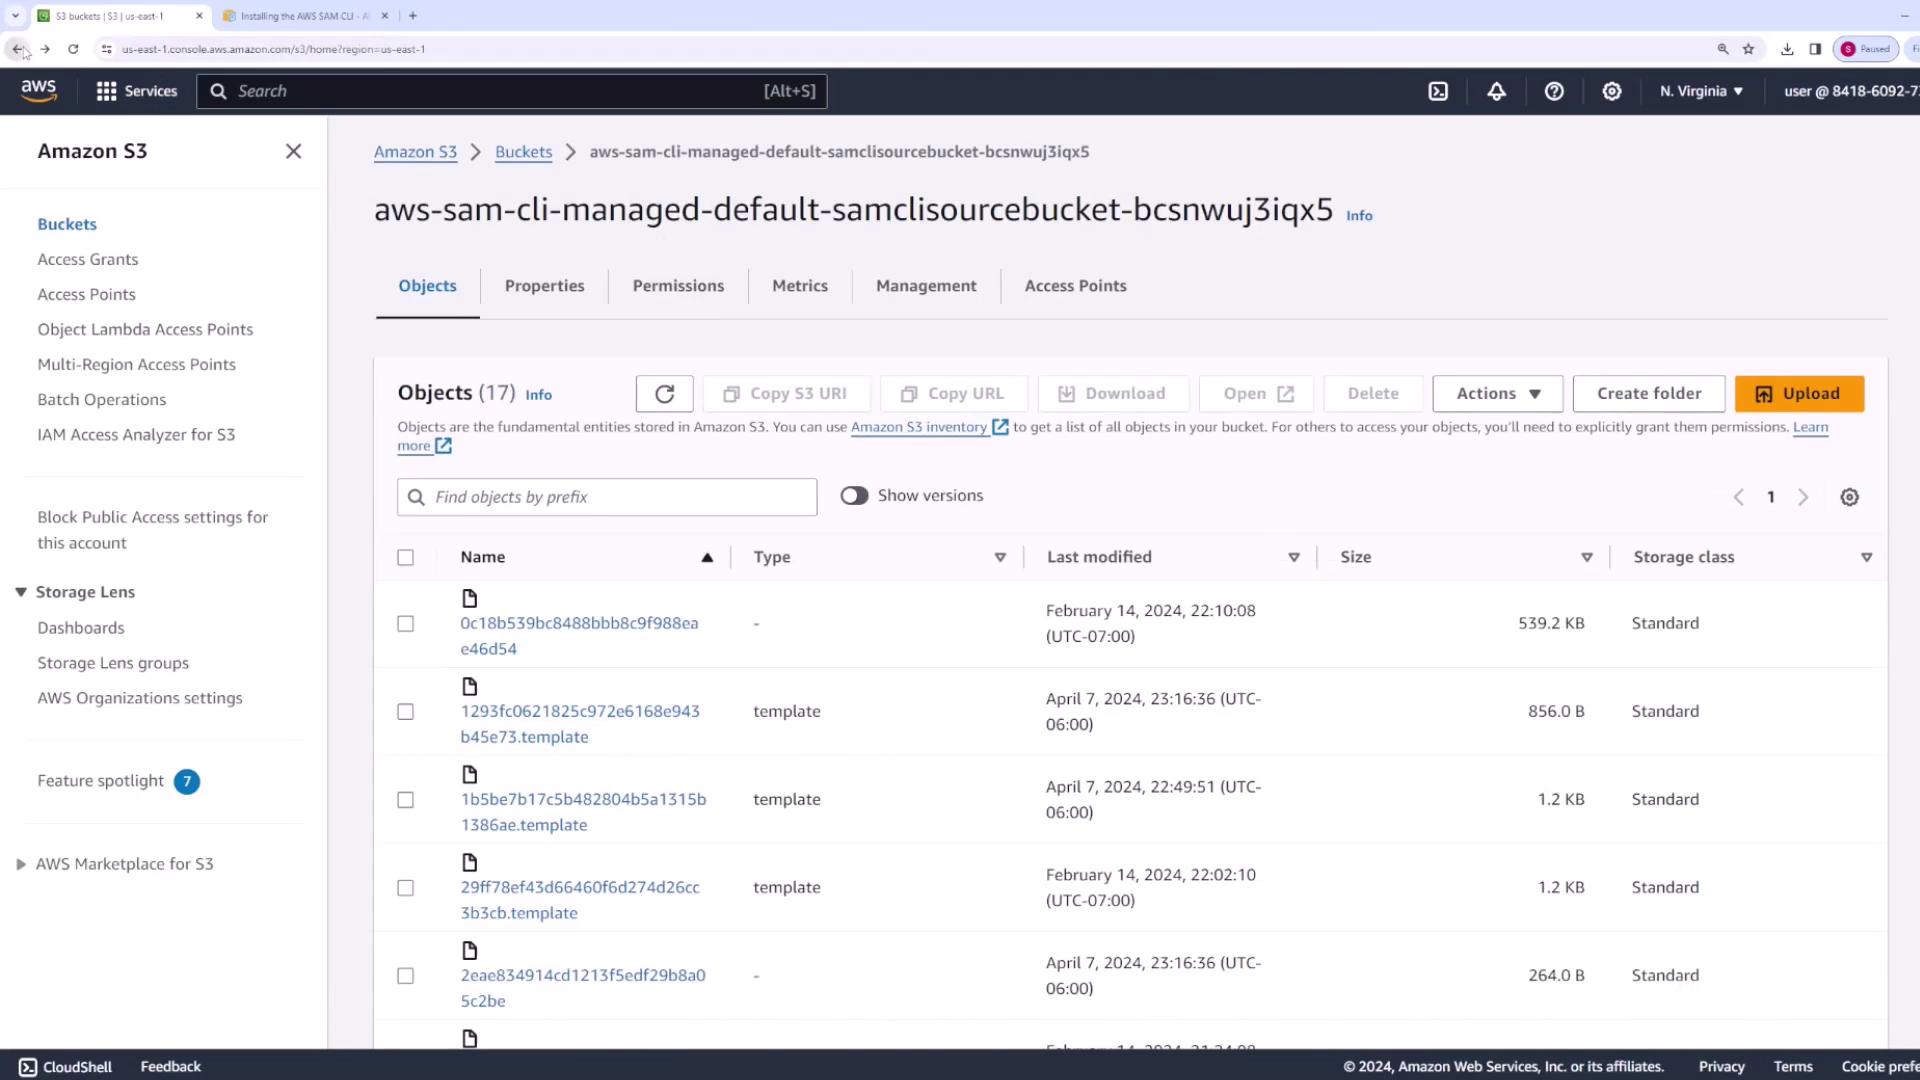
Confirm the prompts to save your deployment preferences. SAM packages your code to an S3 bucket and creates a CloudFormation stack with the necessary resources.An example output might include:
Copy
Deploying with following values==============================Stack name : sam-appRegion : us-east-1Confirm changeset : TrueDisable rollback : FalseDeployment s3 bucket: aws-sam-cli-managed-default-samclisourcebucket-bcsnwuJ3iqx5Capabilities : ["CAPABILITY_IAM"]Parameter overrides : {}Signing Profiles : {}Initiating deployment=======================Uploading template to sam-app/...Waiting for changeset to be created...
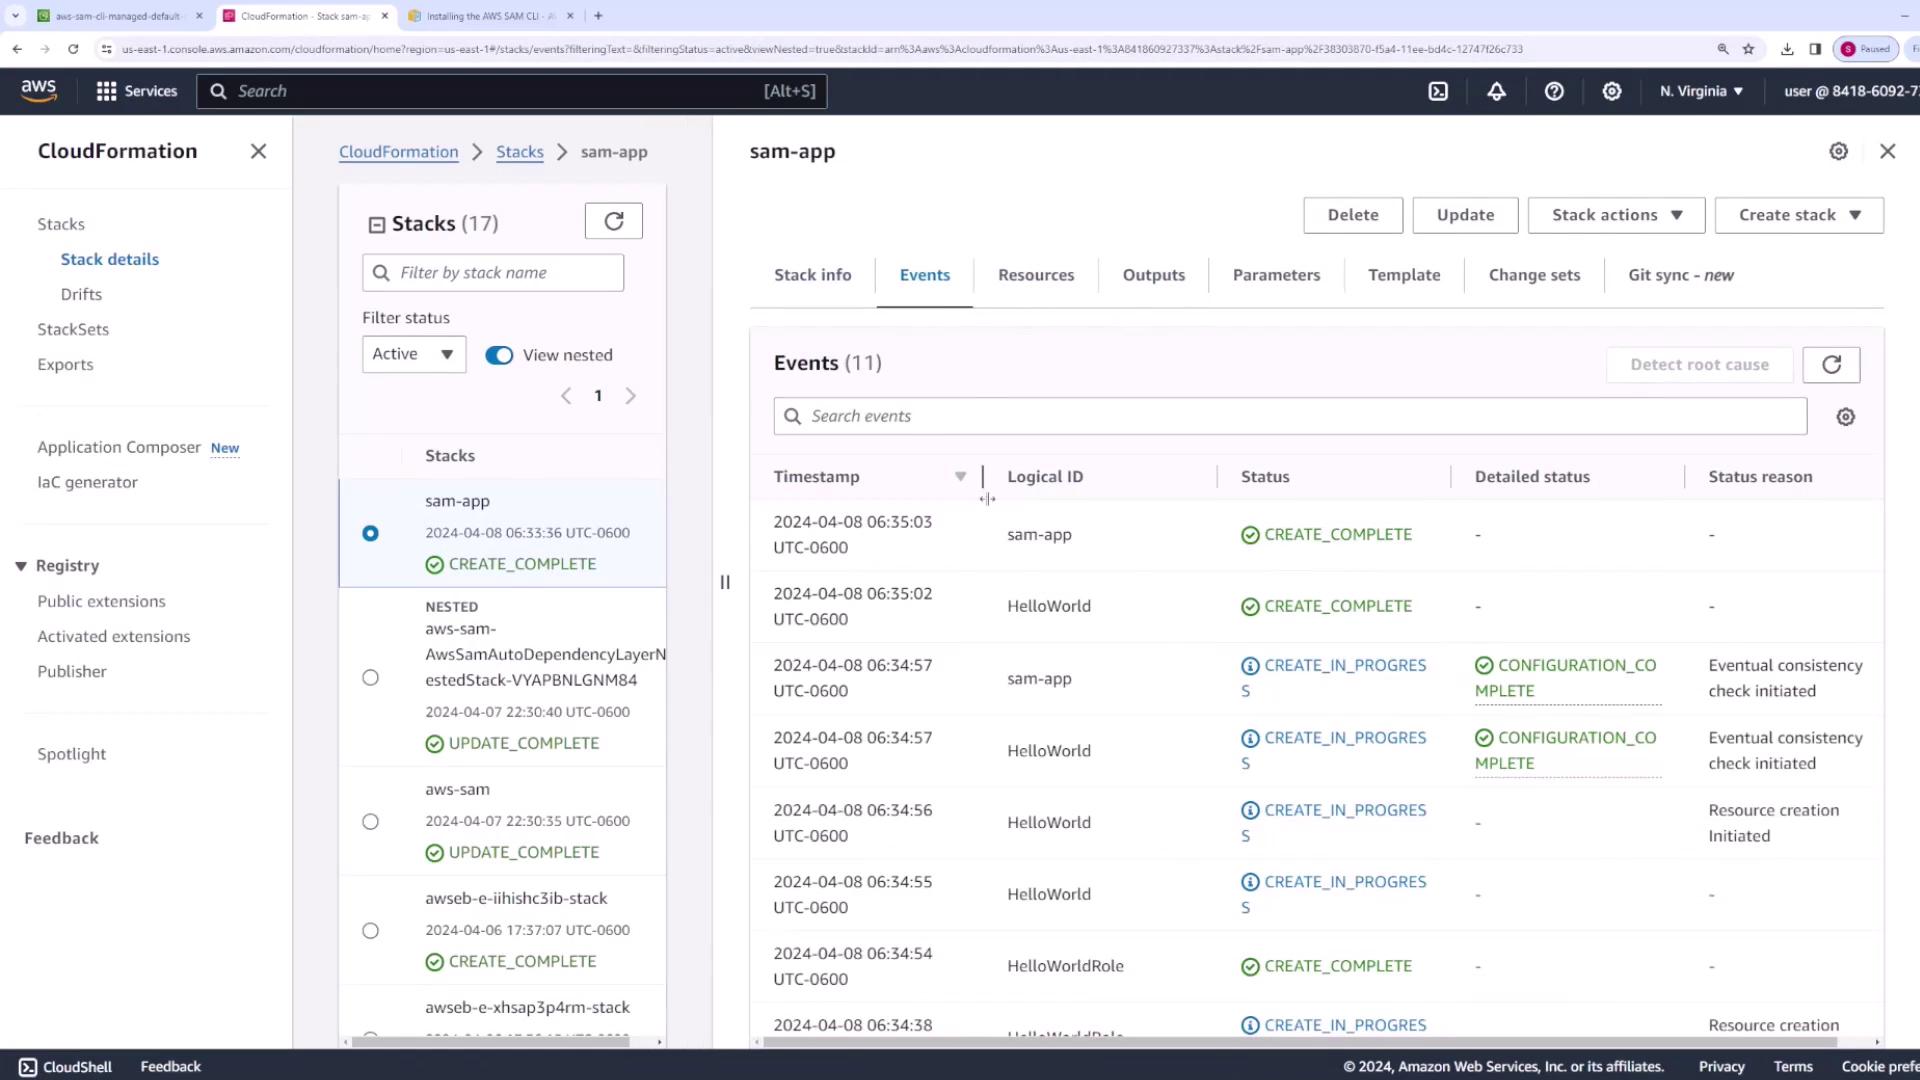
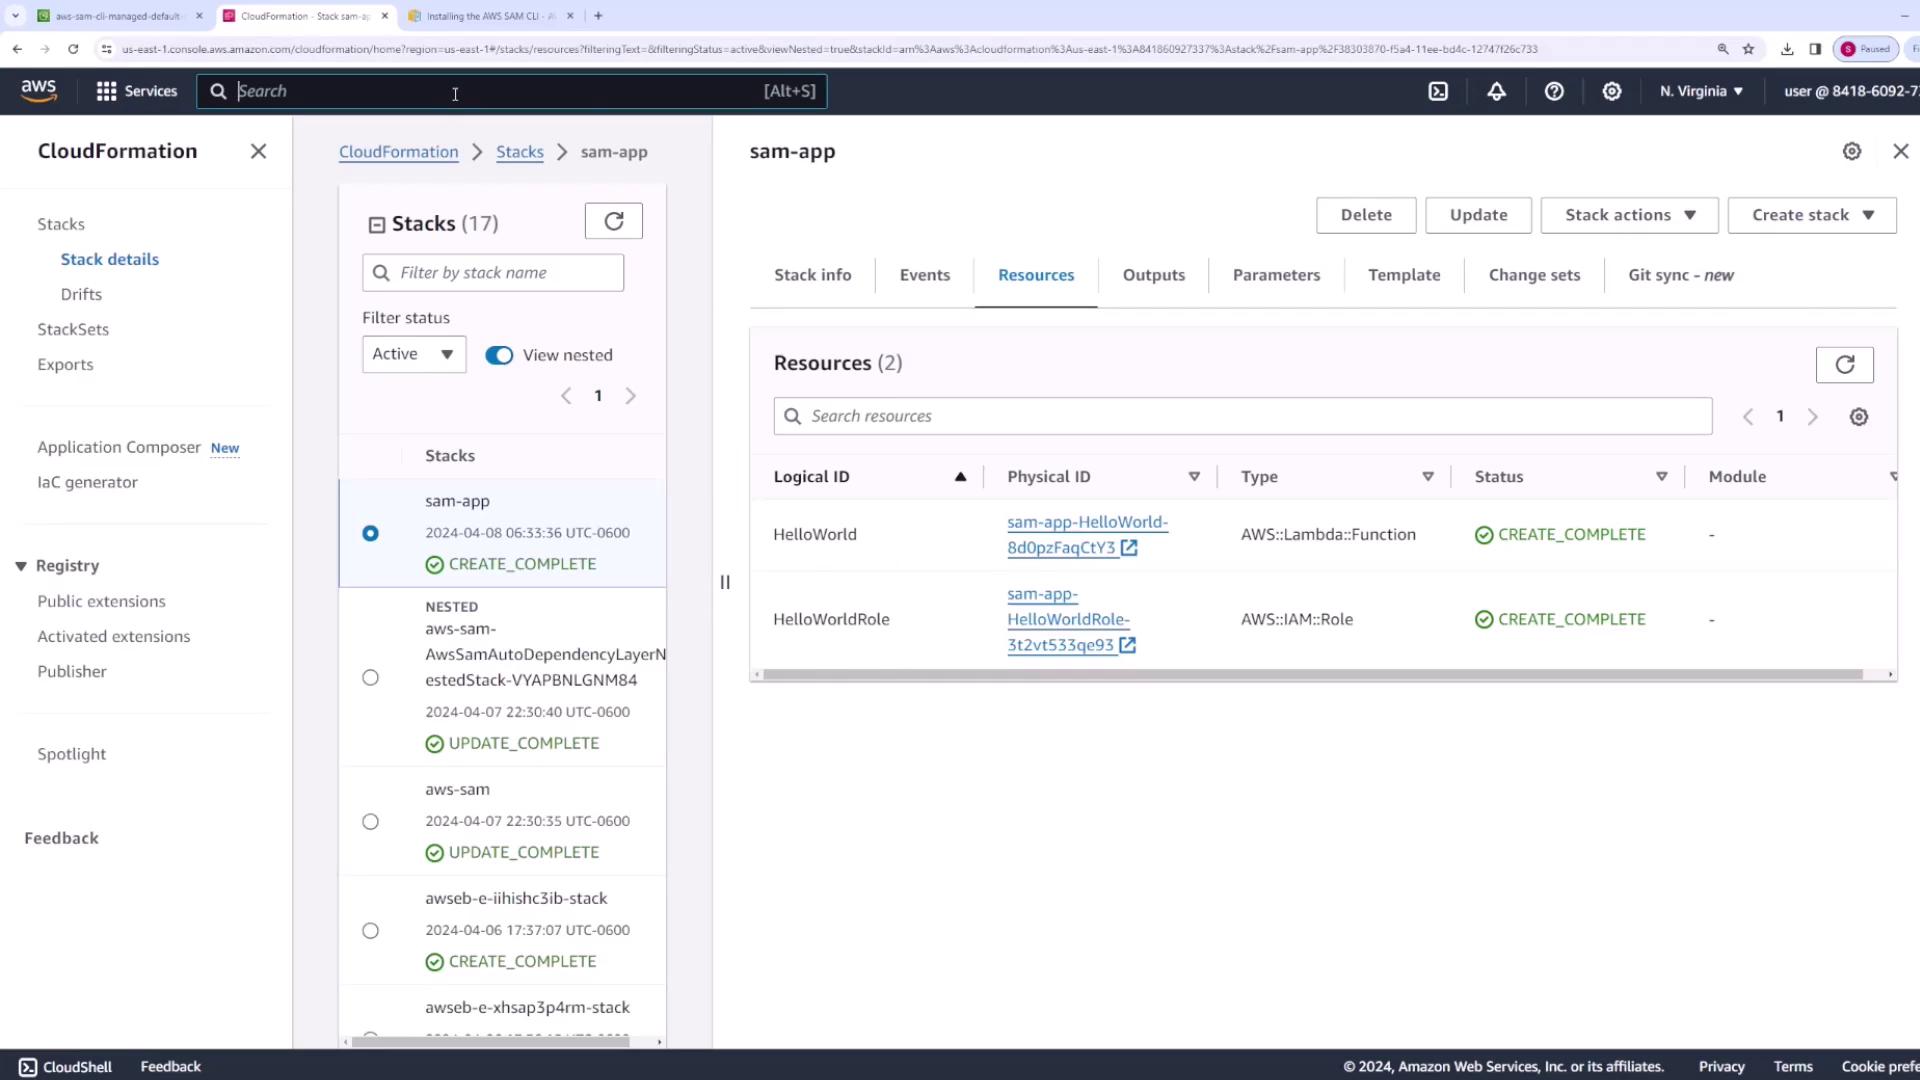
Once you review and confirm the changeset by responding with y, CloudFormation provisions the required resources, including an IAM role and the Lambda function.
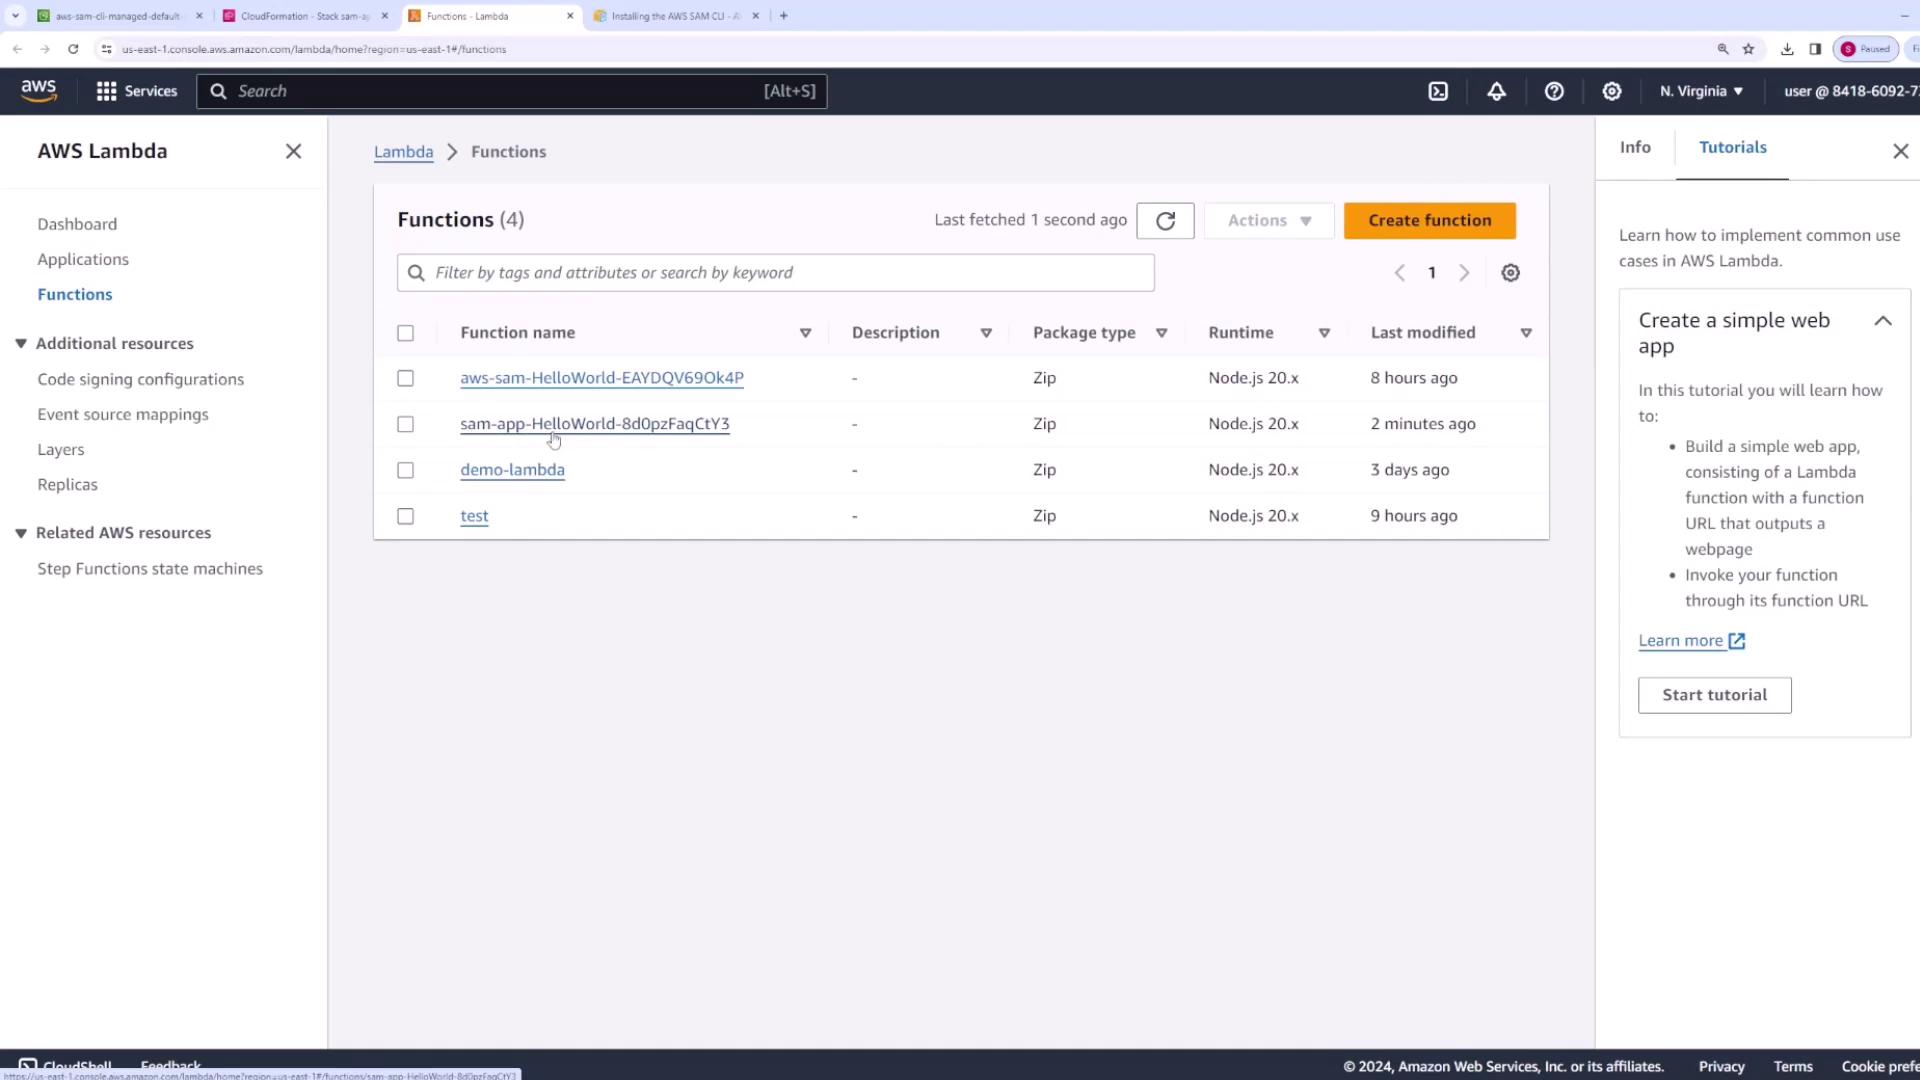
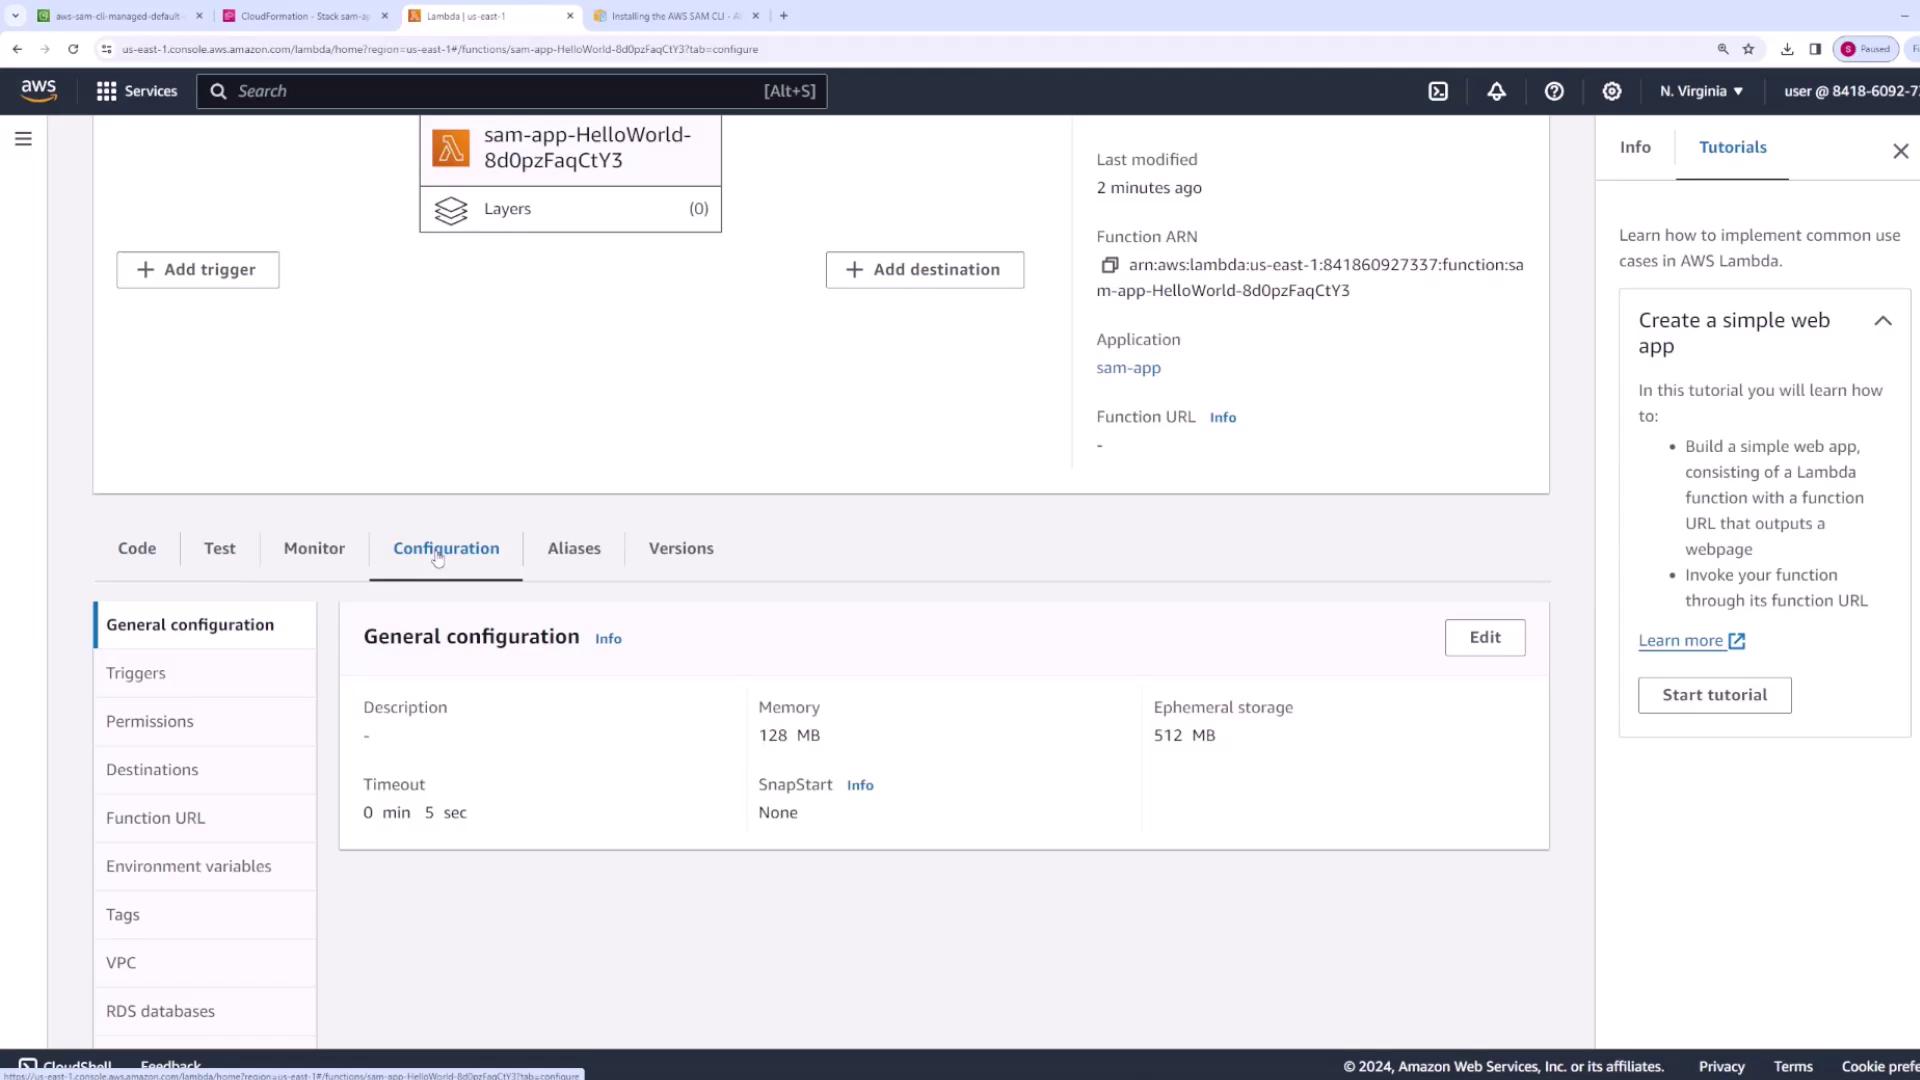
Visit the Lambda console to verify the deployed function. Check the function’s code, memory settings (128 MB), timeout (5 seconds), and the attached IAM role.
Selecting the function will display its configuration details:
For iterative development, rather than performing a full deploy each time you modify your code, use the SAM sync command to update your function quickly.For example, after changing the response message in app.js, update the code like this:
Copy
export const handler = async (event) => { console.log(event); const response = { statusCode: 200, body: JSON.stringify("Hello from Lambda! this is v2"), }; return response;};
Next, invoke the function again from the CLI:
Copy
sam remote invoke HelloWorld --stack-name sam-app
If a full deployment feels too slow for development, run:
Copy
sam sync --stack-name sam-app
Initially, this command might perform a full redeploy. On subsequent changes, it will watch your local files and automatically sync updates to AWS, providing a fast feedback loop.The CLI output may look like this:
Copy
Syncing Lambda Function HelloWorld...Building codeuri: C:\... \hello-world, runtime: nodejs20.x ...Finished syncing Lambda Function HelloWorld.
Review the updated behavior either in the Lambda console or by invoking the function via the CLI.
The SAM CLI also provides a way to list the resources and endpoints deployed by your SAM application. To do this, run:
Copy
sam list resources
This command will show resources such as the HelloWorld Lambda function and its IAM role. If your application includes API Gateway endpoints, they will also be listed.After a guided deployment, your configuration details are stored in samconfig.toml. An example configuration might be:
When you’re finished testing, clean up the deployed resources by running:
Copy
sam delete
The CLI will prompt you for confirmation before deleting the CloudFormation stack and the associated S3 artifacts. For example:
Copy
Are you sure you want to delete the stack sam-app in the region us-east-1 ? [y/N]: yAre you sure you want to delete the folder sam-app in S3 which contains the artifacts? [y/N]: y- Deleting S3 object with key sam-app/......Deleted successfully
This process ensures that no unnecessary resources are left running, which can help avoid unwanted charges.
This concludes our introductory demonstration of working with the AWS SAM CLI. In our next article, we’ll explore more advanced functionalities of the SAM CLI and discuss further optimization techniques for your development workflow.Happy coding!