Learn to integrate an Application Load Balancer with an AWS Lambda function for processing requests and returning responses.
In this lesson, you’ll learn how to integrate an Application Load Balancer with an AWS Lambda function. The load balancer distributes incoming requests to your Lambda function, which processes the requests and returns appropriate responses.
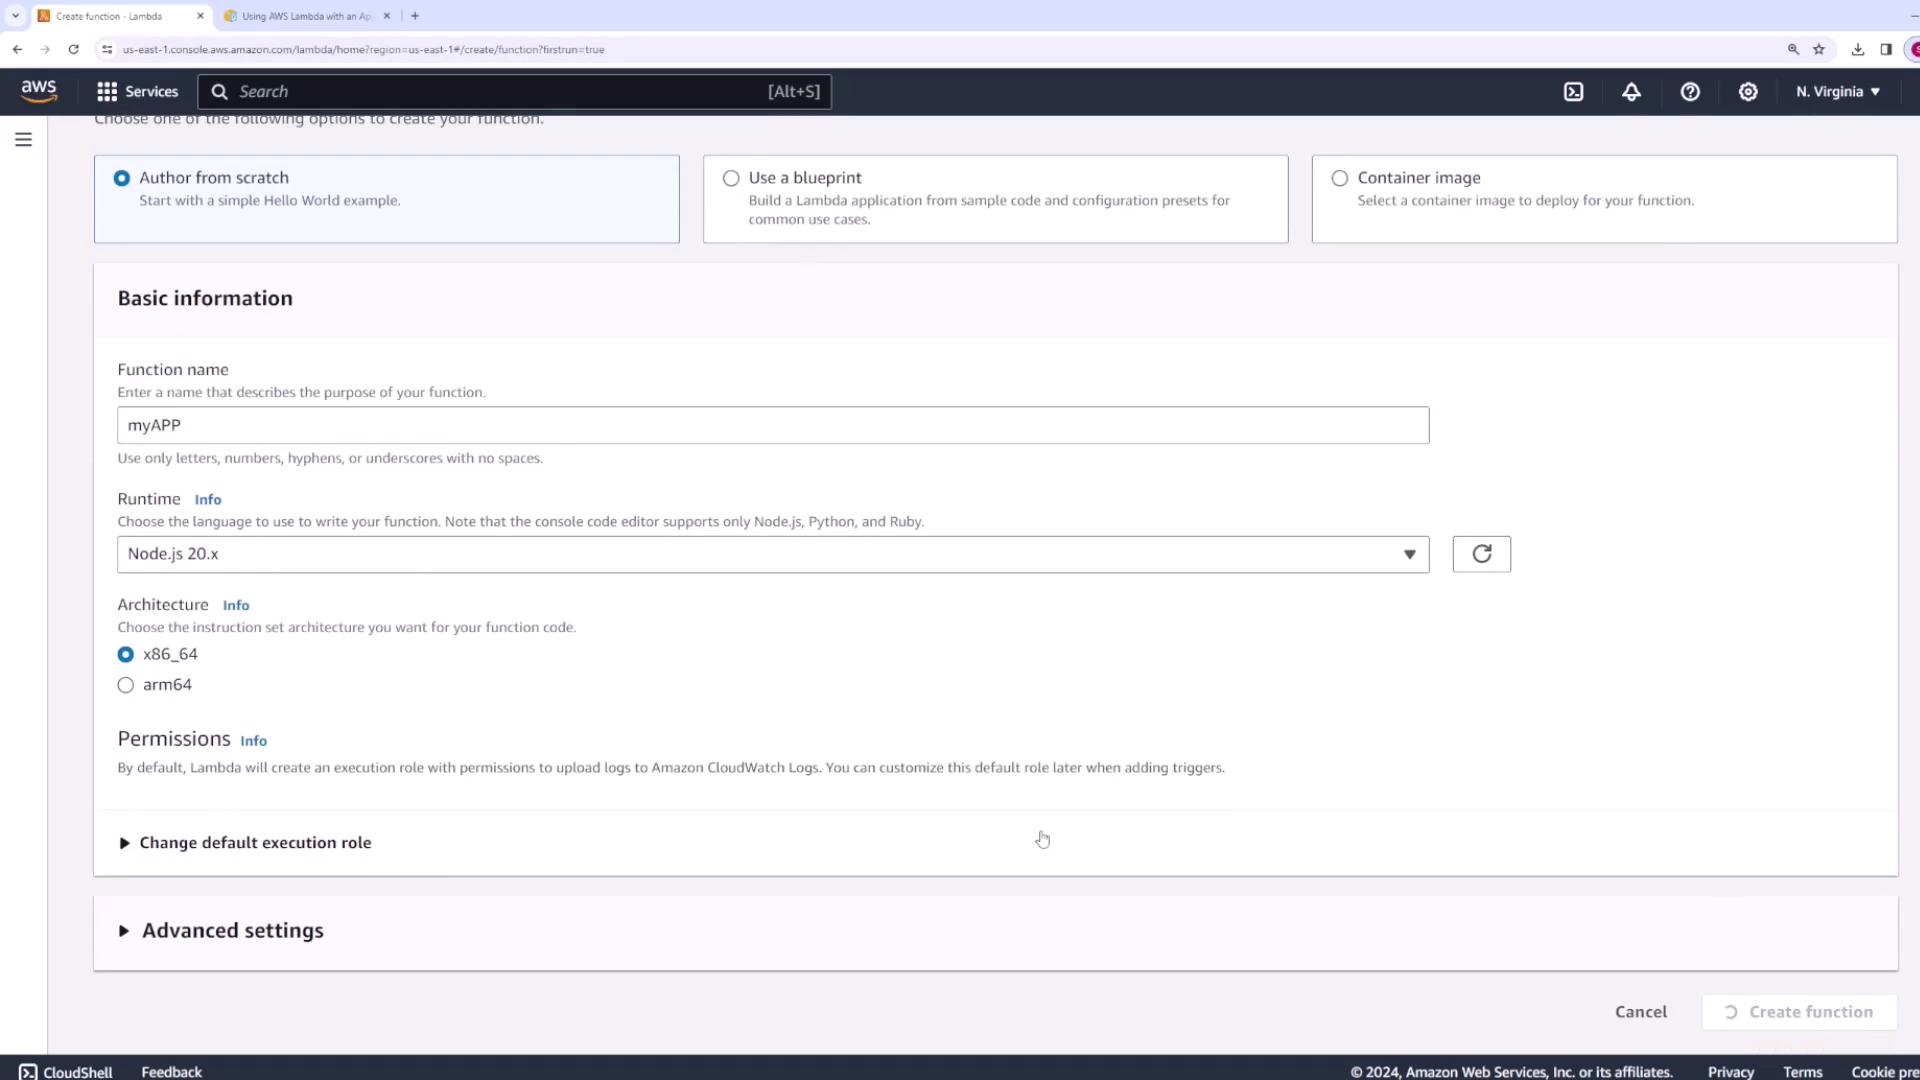
Begin by creating a simple Lambda function using the Node.js runtime from the AWS Lambda console. For this demo, we are naming the function “my app” (the exact name is not critical). This function logs the incoming event and returns a response with a status code of 200 along with a message.
Enter the following code for your Lambda function:
Deploy your changes. Once the deployment is successful, your Lambda function will log the event and return the message. You can verify the update in the AWS Lambda console.
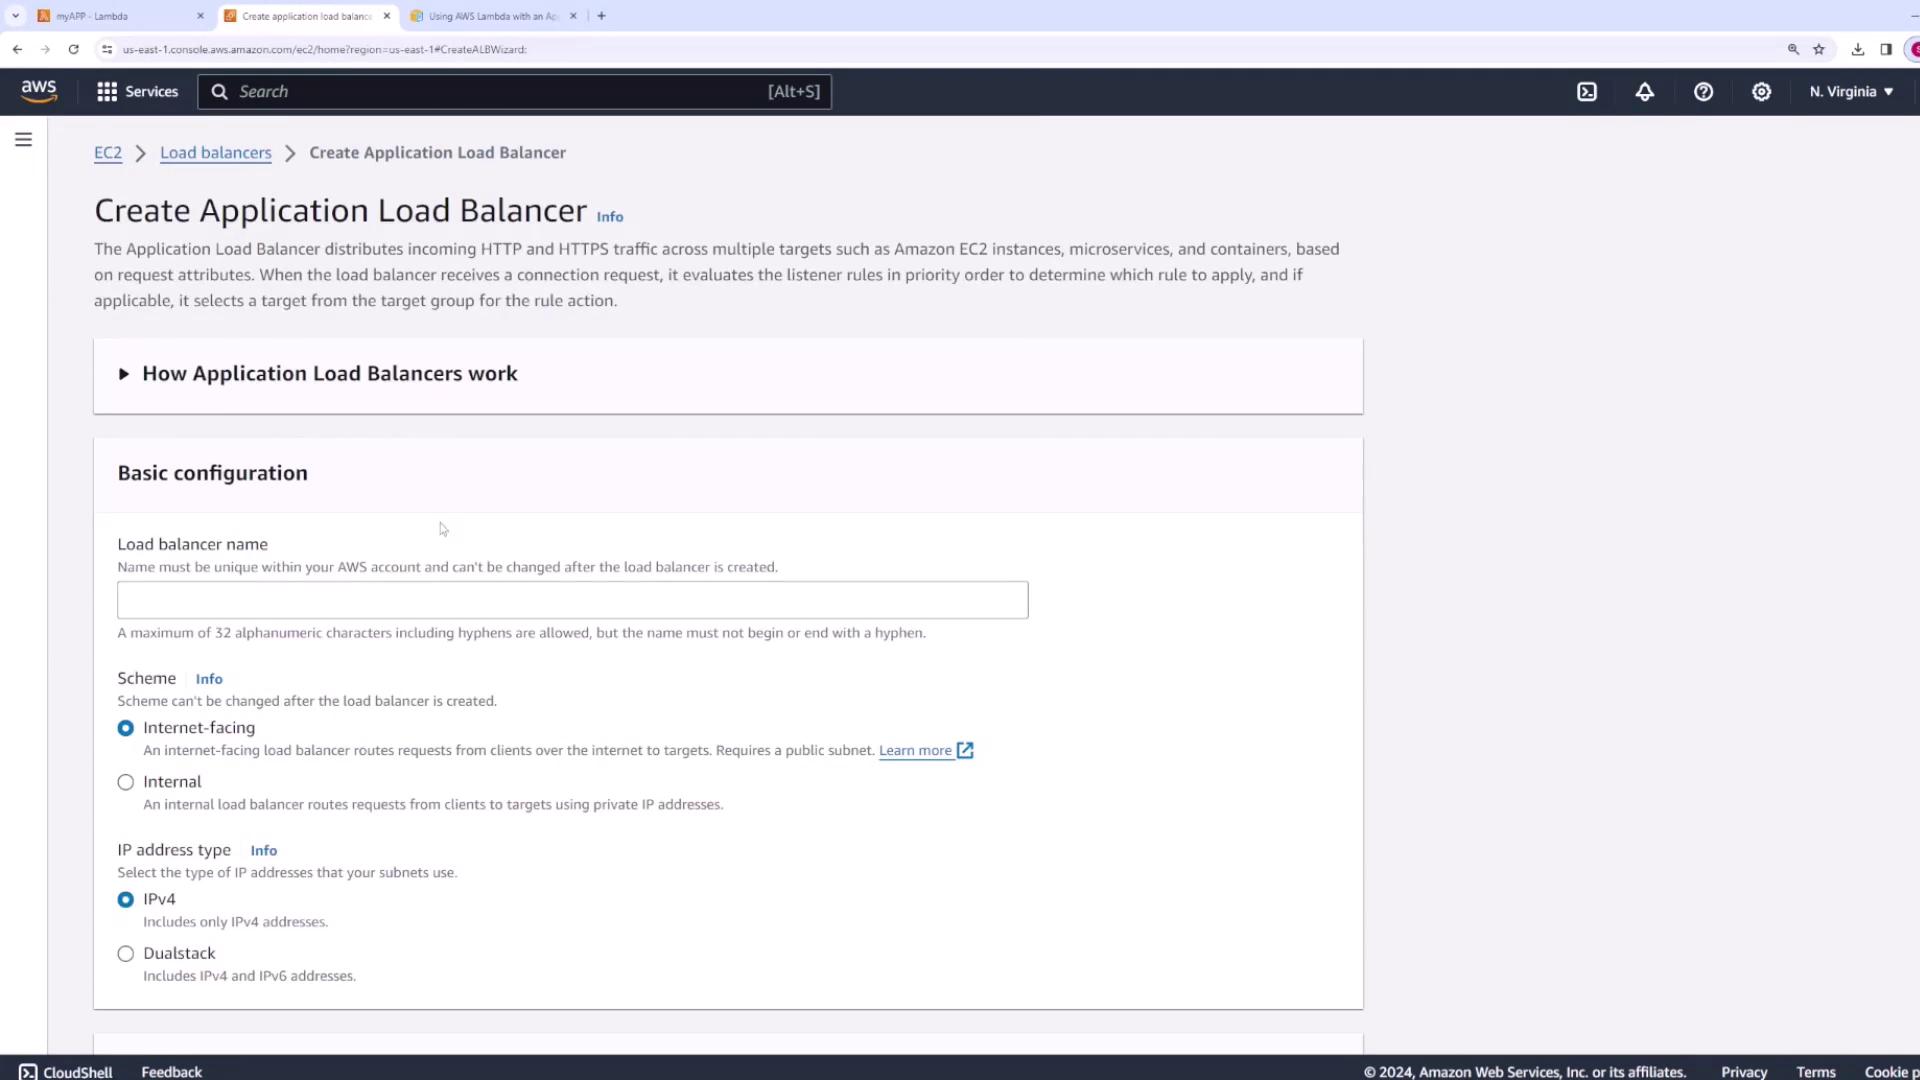
Next, set up the Application Load Balancer that will forward requests to your Lambda function. In the AWS Management Console, navigate to the Load Balancer service and choose to create a new Application Load Balancer.
Configure the following settings:
Name your load balancer (e.g., “Lambda LB”).
Set the scheme to internet-facing.
Use IPv4.
Select your desired VPC (the default VPC is acceptable).
Choose a security group that allows web traffic on port 80 (or port 443 for HTTPS).
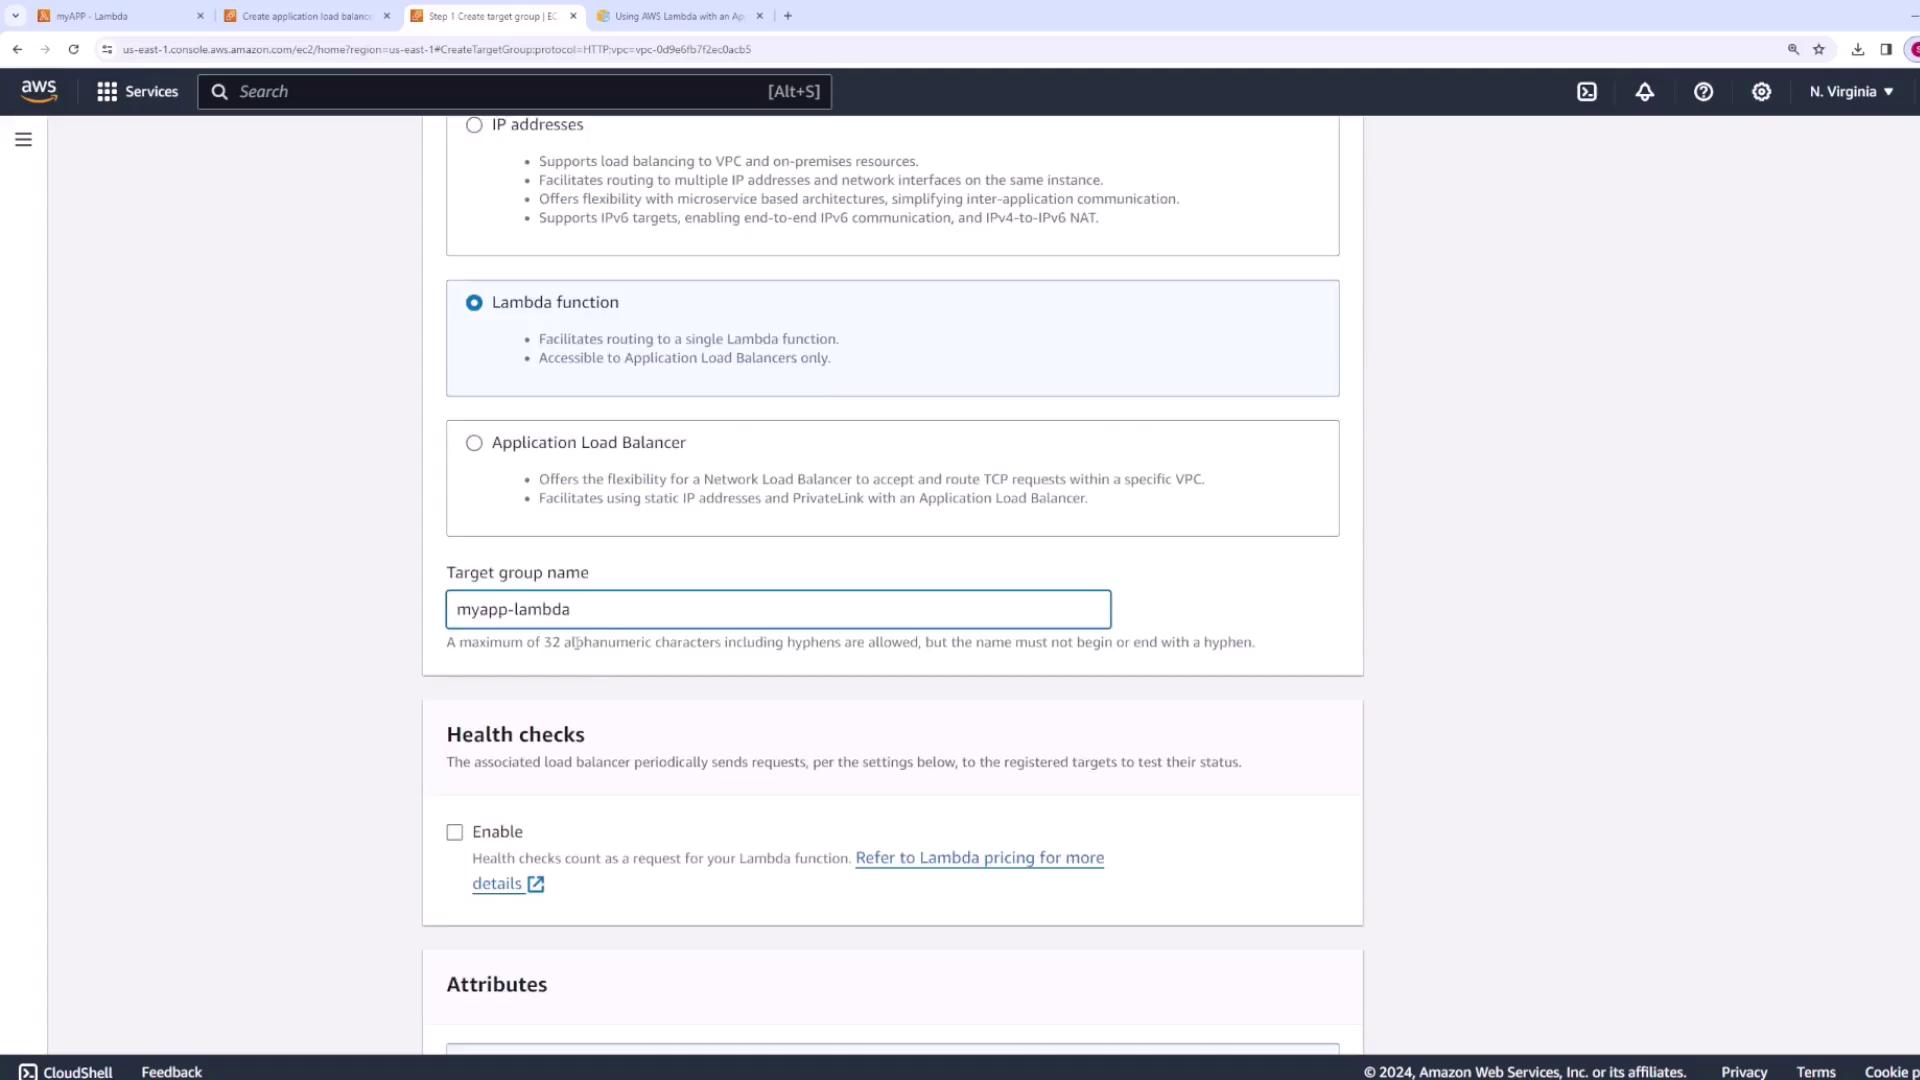
Set up the listeners for your load balancer. For a web application, create a listener on port 80 (and port 443 if using HTTPS). When configuring the target group:
Select Lambda function as the target type.
Name the target group (e.g., “my app Lambda”).
Choose your Lambda function directly or register it by entering its ARN.
Keep the version as “latest” and create the target group.
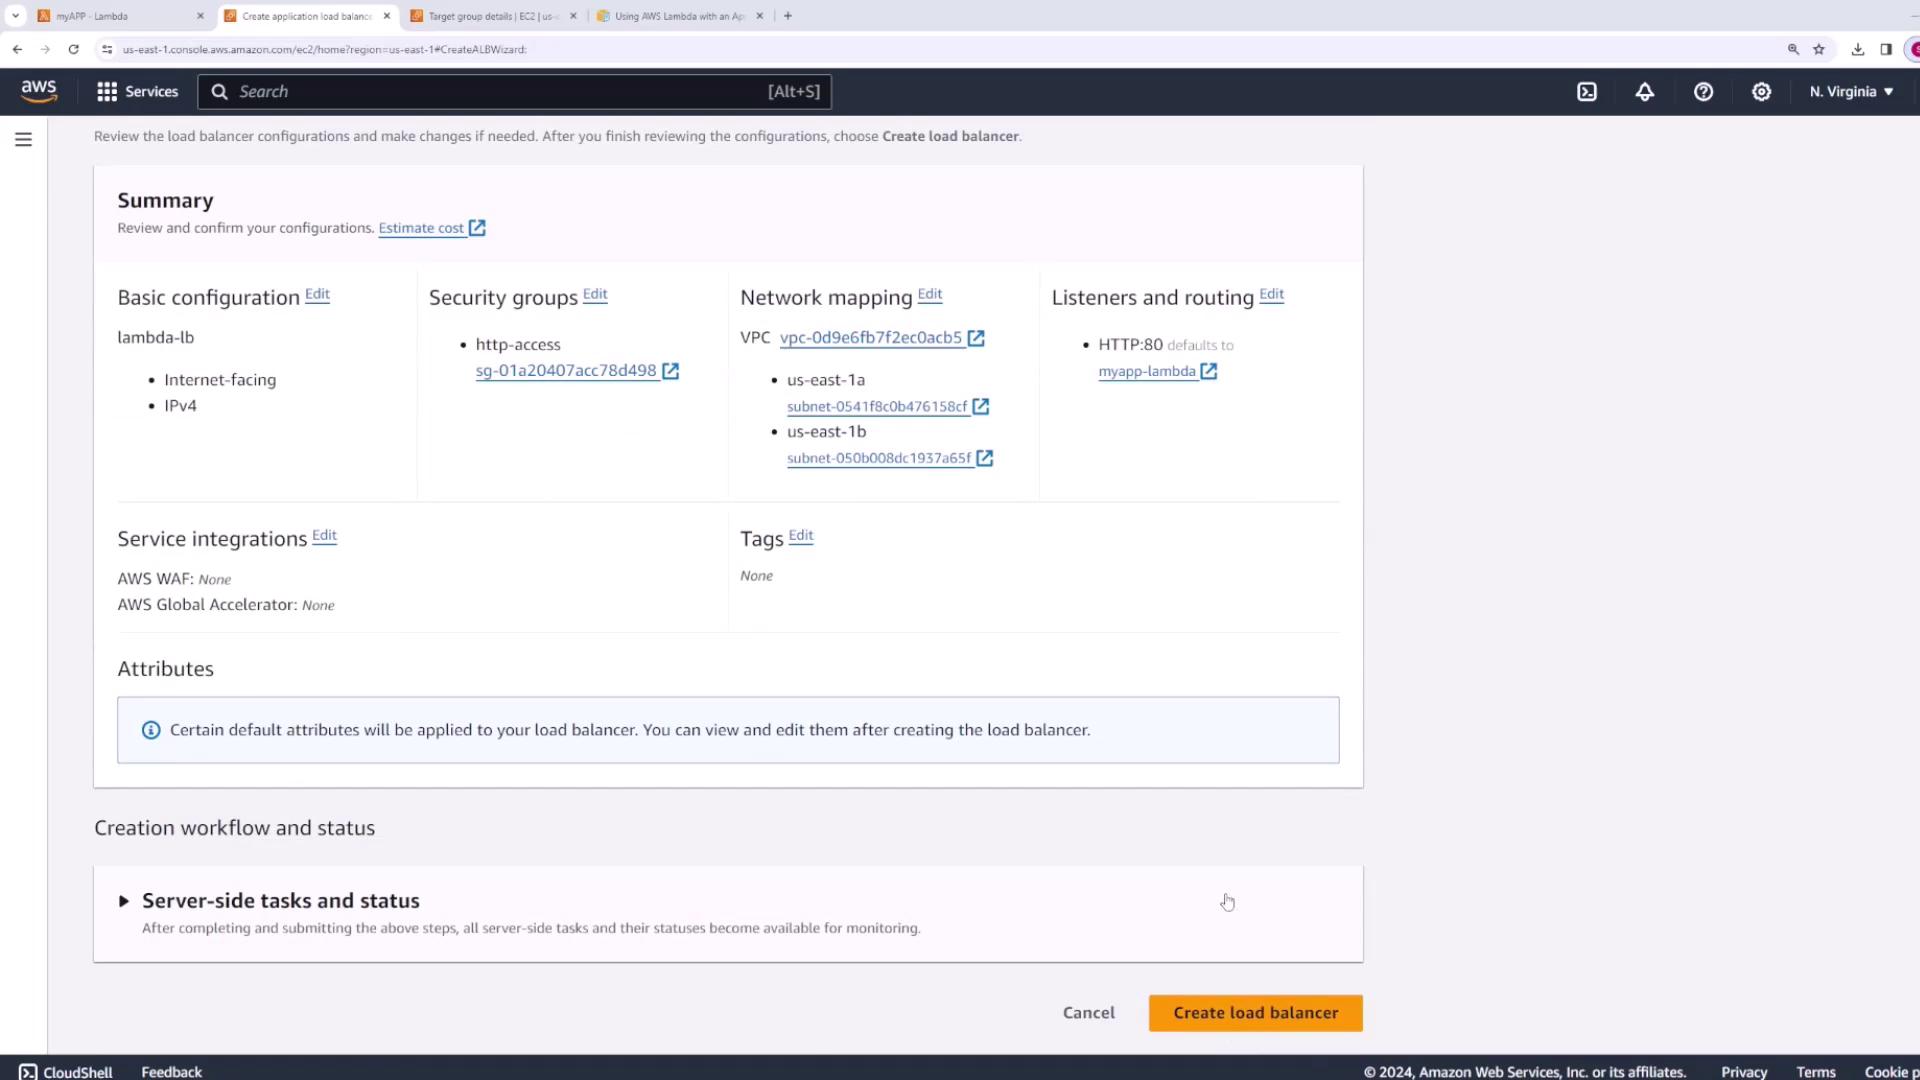
After registering your target, return to the load balancer configuration and refresh the view. Your target group (“my app Lambda”) should now be visible. Proceed to create the load balancer.
Review the summary of your settings:
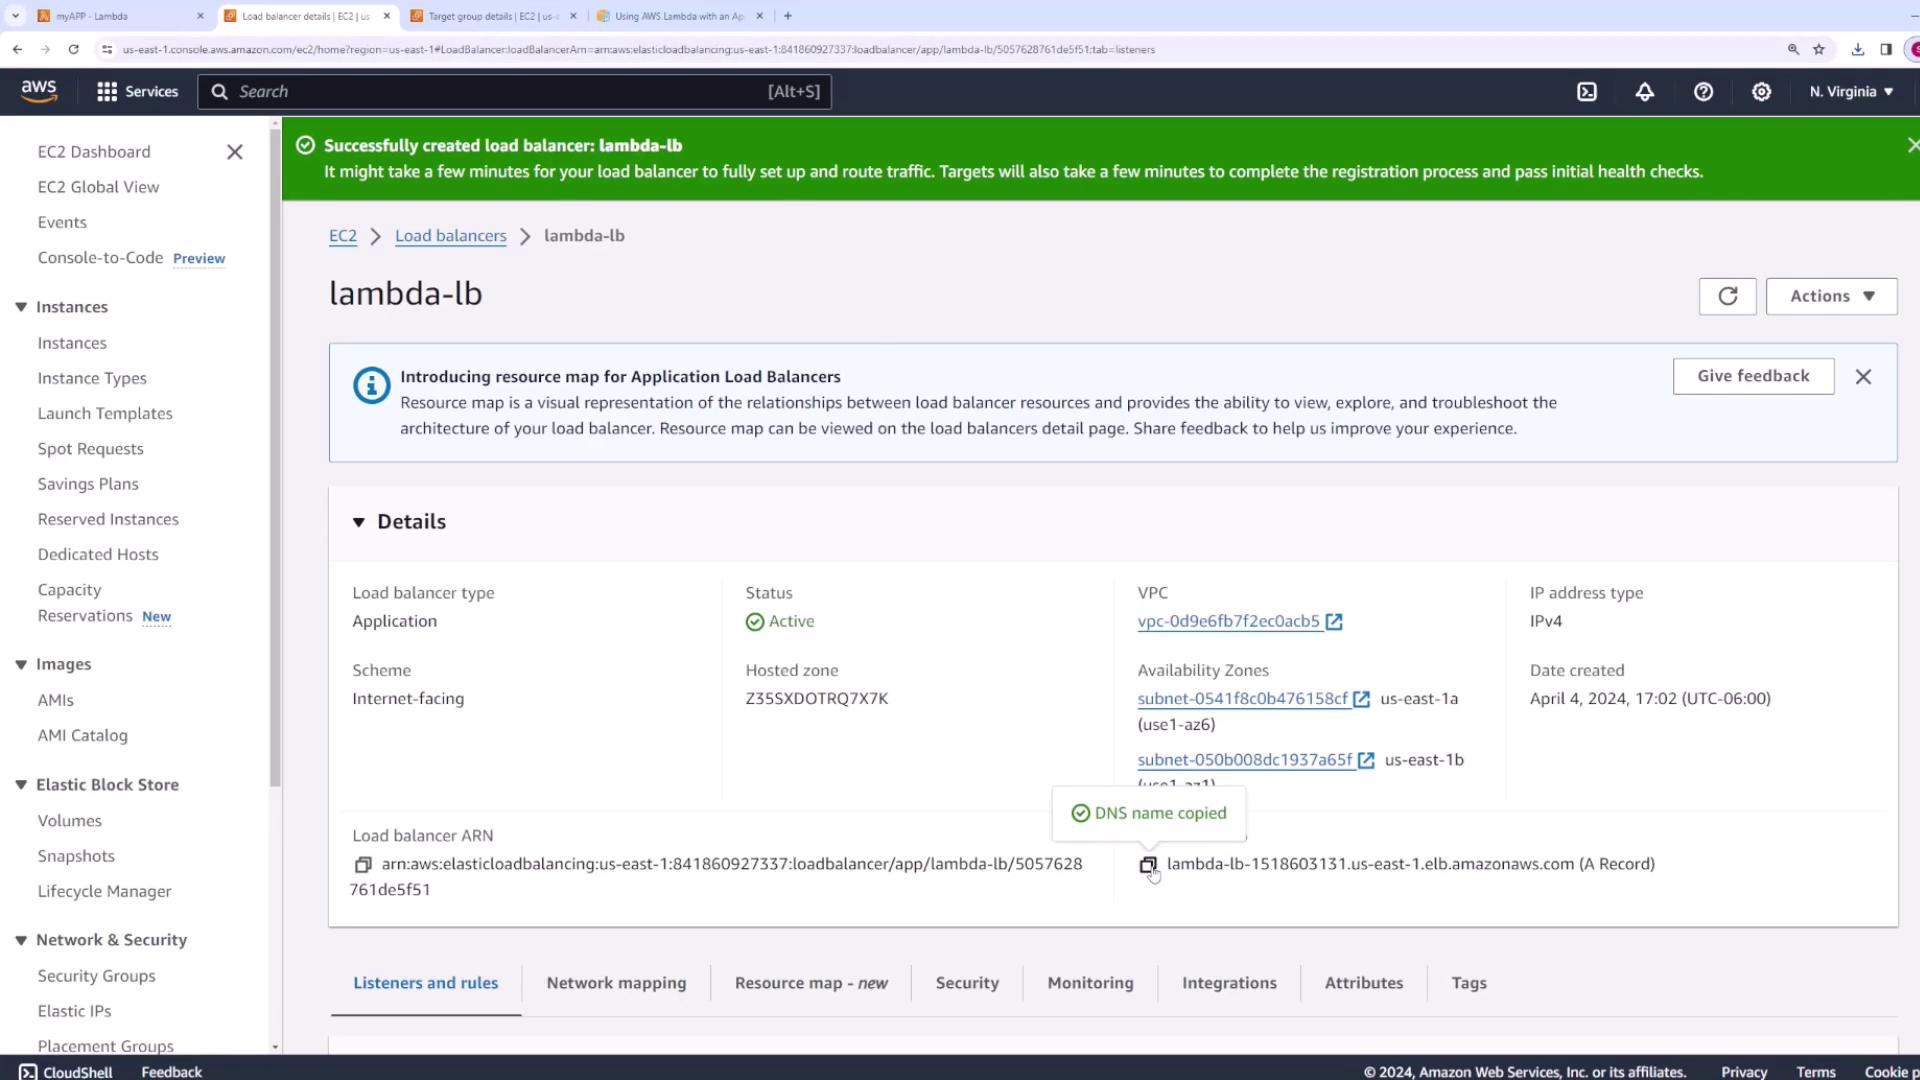
Click Create Load Balancer and allow a few minutes for initialization. You can verify the load balancer’s provision by checking its DNS entry in the Amazon Elastic Compute Cloud (EC2) console.
Testing the Integration and Correcting the Content Type
Open your browser and paste the DNS entry of the load balancer. Initially, you might find that your browser downloads a file instead of displaying the response properly. This occurs because the Lambda function response omits the Content-Type header.When you open the downloaded file in a text editor, you’ll see “Hello from Lambda”. To resolve this, update your Lambda function to include a Content-Type header in the response. Choose one of the following formats based on your content type:For an API (JSON response):
Deploy the updated code. Now, when you access the DNS entry, the load balancer forwards the request to Lambda, and you will see the response rendered properly in your browser.
When using an API, the browser will display the JSON response directly:Hello from Lambda!
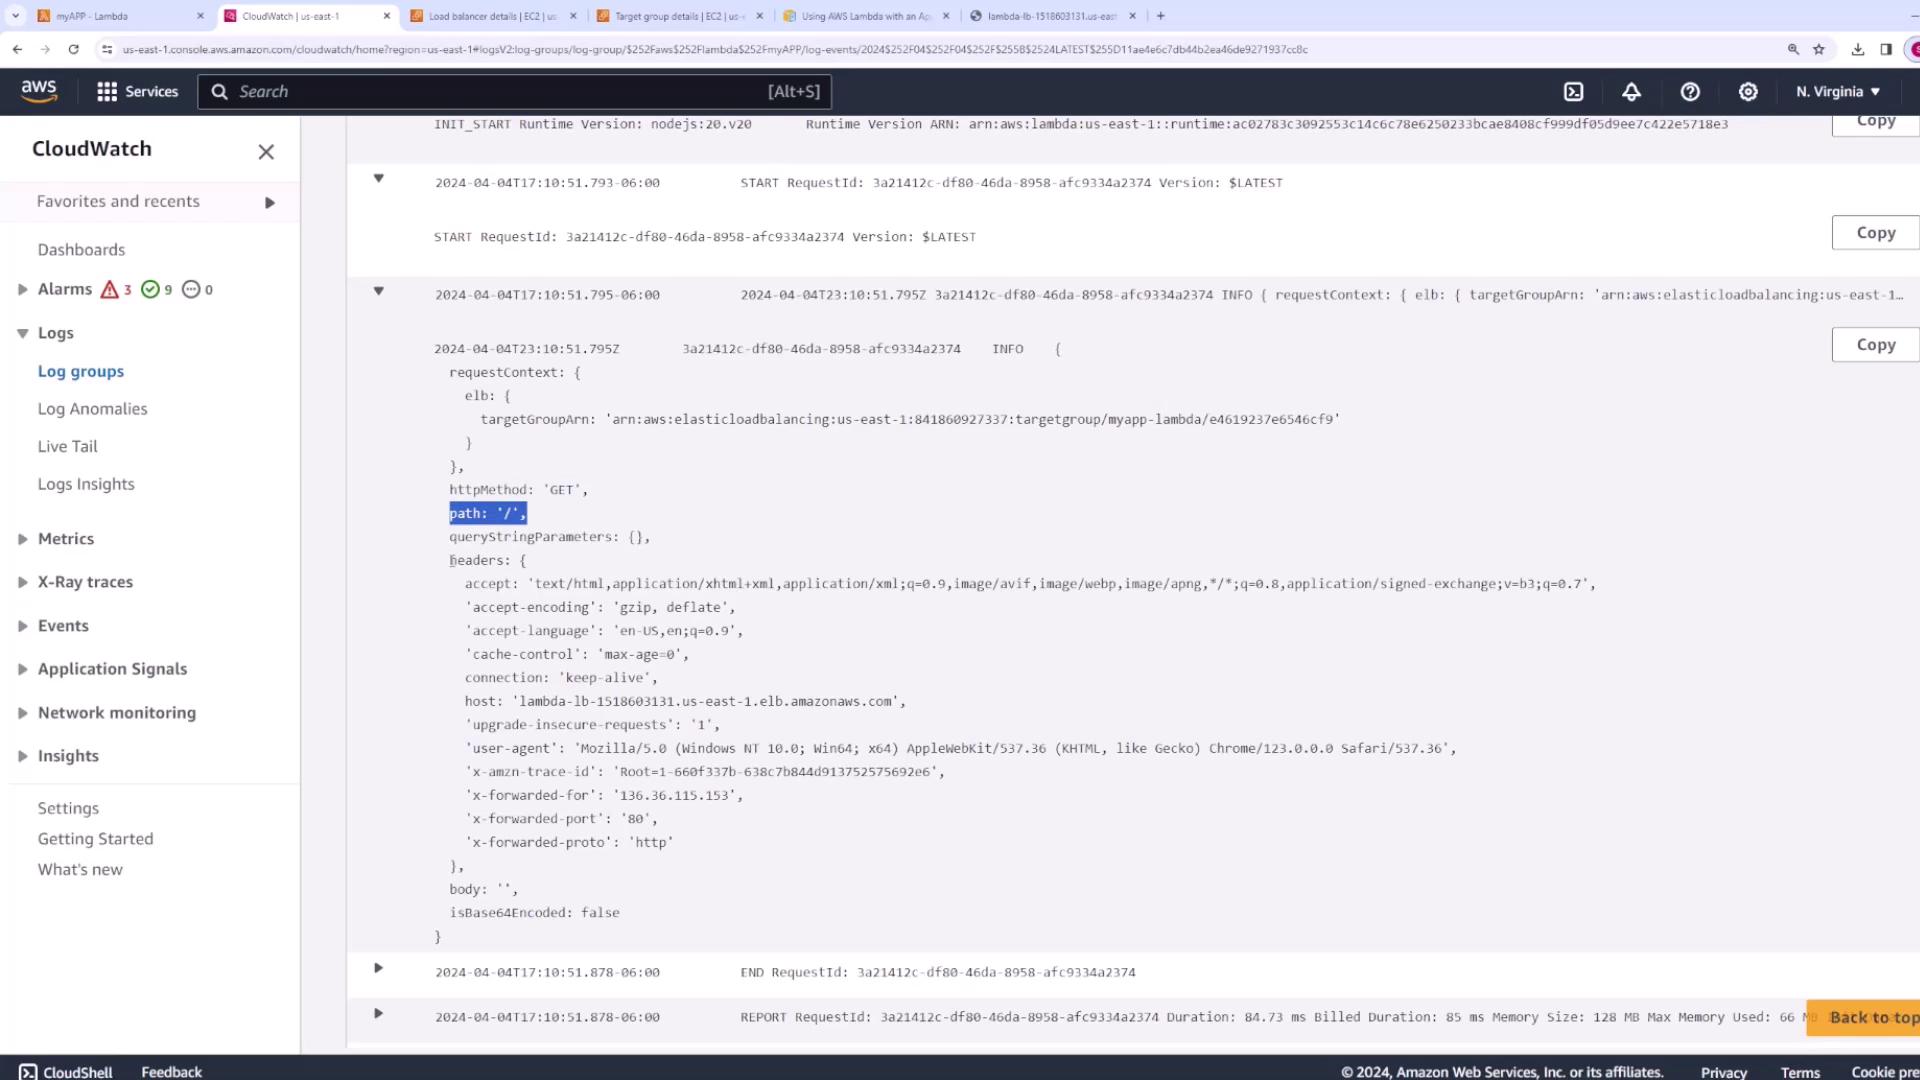
Your Lambda function logs this event, and you can inspect the details in CloudWatch Logs.
To view these logs, navigate to the “Monitor” tab of your Lambda function’s page and open CloudWatch Logs. Here, you’ll find information such as the HTTP method, path, query string parameters, and headers.
In this lesson, you successfully set up an Application Load Balancer to route client requests on port 80 to an AWS Lambda function. You learned how to create a Lambda function, configure a load balancer along with its listener and target group, and properly format the Lambda response by including the Content-Type header. Finally, you examined the structure of the event object passed to your Lambda function via CloudWatch Logs. This integration provides a scalable and cost-effective strategy for building modern applications using AWS Lambda behind an Application Load Balancer.Happy deploying!