Creating and Attaching an EBS Volume
Start by navigating to the US East (us-east-1) region in your AWS Management Console. In this lab, you’ll create an EBS volume to attach to server one. Ensure the volume is in the same Availability Zone as server one—in this example, “us-east-1a”.- Go to the Volumes section and click on Create Volume.

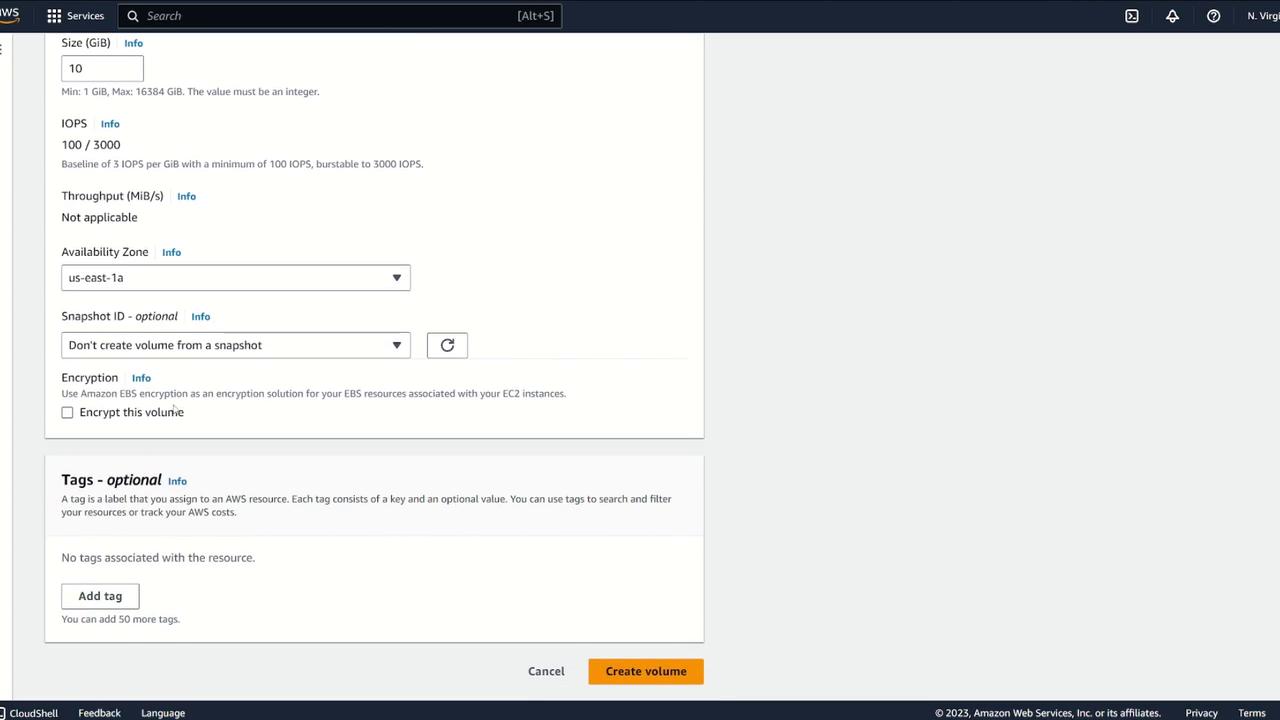
- Select the volume type (default is acceptable) and set the volume size to 10 GB. It is essential to choose the correct Availability Zone—here, “us-east-1a”. You may enable encryption as needed, but for this demonstration it remains disabled.
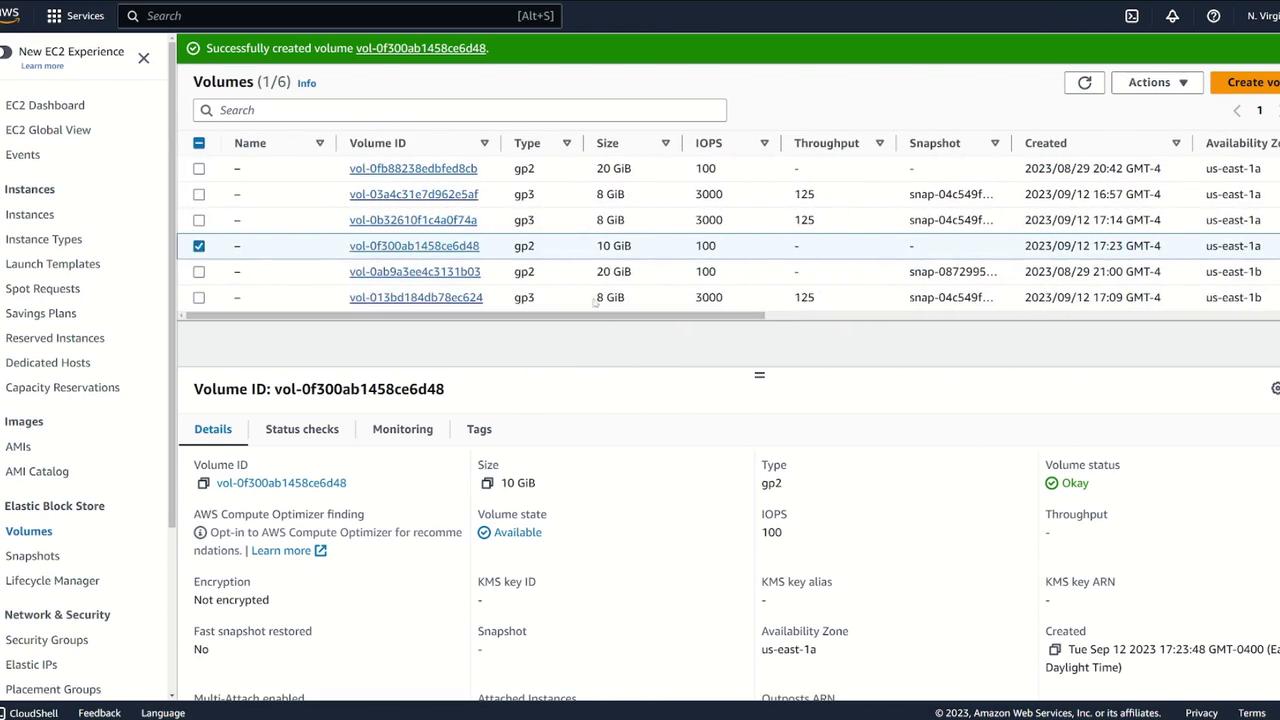
- Once the volume is created, verify that it appears in the console with an “available” status:
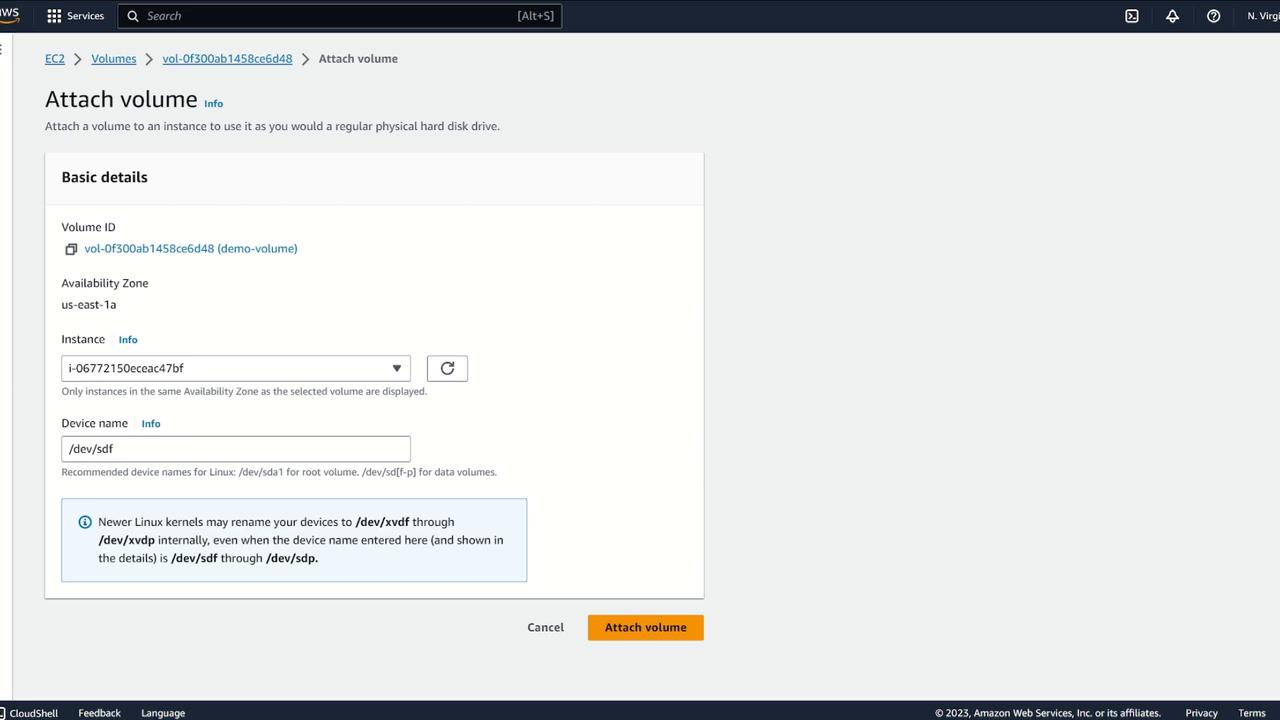
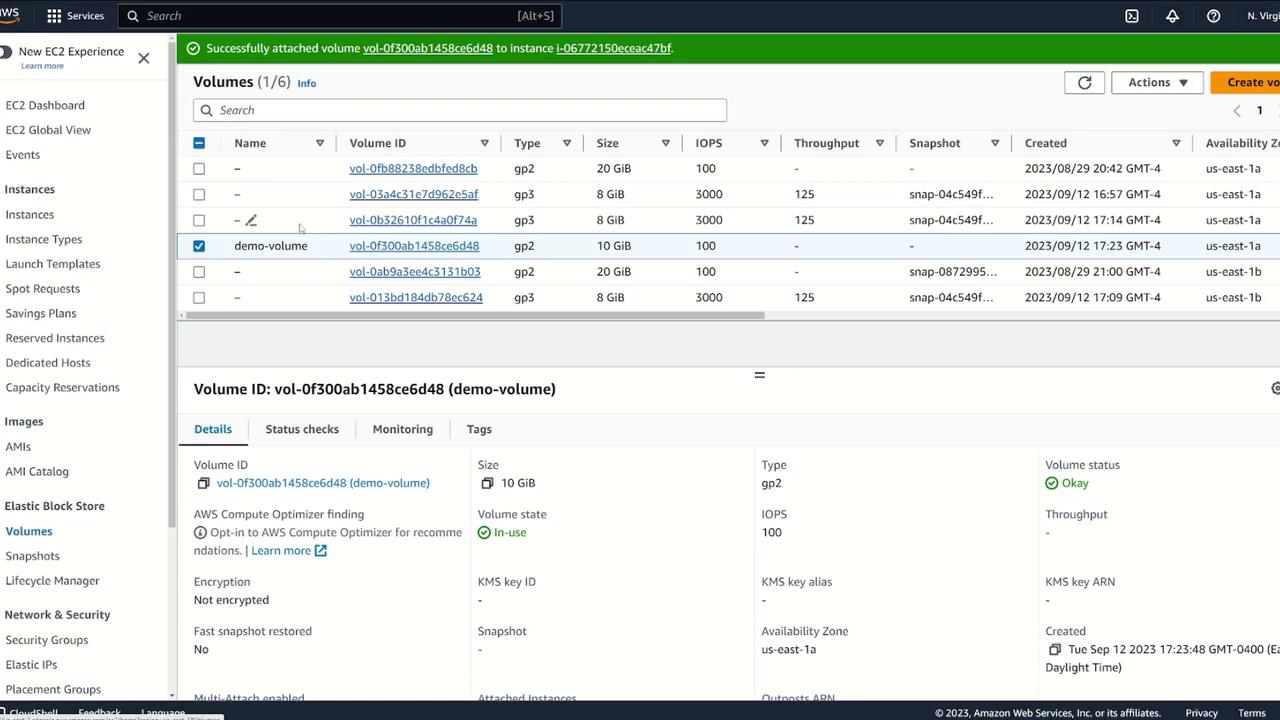
- Assign a suitable name (for example, “demo volume”). When the volume is available, select it, choose Actions, and then click on Attach Volume. The management console will show EC2 instances within the same Availability Zone—select server one.
Verifying and Formatting the EBS Volume on Server One
After attaching the volume, connect to server one via your terminal and follow these steps:-
List the block devices using:
Code:
lsblk
You should see the root device (e.g., xvda) and the new 10GB device (xvdf). An example output:Code:
[ec2-user@ip-10-0-8-197 ~]$ lsblk NAME MAJ:MIN RM SIZE RO TYPE MOUNTPOINTS xvda 202:0 0 8G 0 disk ├─xvda1 202:1 0 8G 0 part / └─xvda127 259:0 0 1M 0 part └─xvda128 259:1 0 10M 0 part xvdf 202:80 0 10G 0 disk
-
Confirm that the new volume does not yet have a filesystem:
Code:
sudo file -s /dev/xvdf
Expected output example:Code:
/dev/xvdf: data
-
Format the volume with an XFS filesystem:
Code:
sudo mkfs -t xfs /dev/xvdf
-
Re-run the file command to confirm the filesystem is now recognized:
Code:
sudo file -s /dev/xvdf
Expected output:Code:
/dev/xvdf: SGI XFS filesystem data (blksz 4096, inosz 512, v2 dirs)
Mounting the Filesystem
Next, create a mount point and mount the new filesystem:-
Create a directory (e.g., “ebsdemo”) and mount the device:
Code:
sudo mkdir /ebsdemo sudo mount /dev/xvdf /ebsdemo
-
Confirm the mount by checking the disk usage:
Code:
df -k
Example output:Code:
Filesystem 1K-blocks Used Available Use% Mounted on devtmpfs 4096 0 4096 0% /dev tmpfs 486092 0 486092 0% /dev/shm tmpfs 191596 2844 191596 2% /run /dev/xvda1 8310764 1561336 6749428 19% / tmpfs 486096 0 486096 0% /tmp tmpfs 97216 0 97216 0% /run/user/1000 /dev/xvdf 10420224 105704 10314520 2% /ebsdemo
The above mount is temporary. After a reboot, you’ll need to update your
/etc/fstab file to automate the mounting process.Configuring /etc/fstab for Persistence
To automatically remount the EBS volume on reboot:-
Retrieve the unique UUID of the volume:
Code:
sudo blkid
Look for the entry corresponding to/dev/xvdf. An example output:Code:
/dev/xvdf: UUID=“04fddc8e-3441-4518-986c-a32254c0e925” BLOCK_SIZE=“512” TYPE=“xfs”
-
Edit the
/etc/fstabfile to add the new entry:Code:
sudo vi /etc/fstab
-
Append a new line (do not modify existing entries) similar to the following:
Code:
UUID=78de5e87-1c4f-4c4a-abba-d469bbc45143 / xfs defaults,noatime 1 1 UUID=2594-F04B /boot/efi vfat defaults,noatime,uid=0,gid=0,umask=0077,shortname=winnt,x-systemd.automount 0 2 UUID=04fddc8e-3441-4518-986c-a32254c0e925 /ebsdemo xfs defaults,nofail
-
Save, exit the editor, and then test the configuration without rebooting:
Code:
sudo mount -a
-
Confirm the volume is properly mounted:
Code:
df -k
Testing the EBS Volume
Validate that the volume is functioning correctly:-
Change to the mounted directory and create a test file:
Code:
cd /ebsdemo sudo bash -c ‘echo “I made this file on server one” > demo.txt’
-
List the files and display the contents of the test file:
Code:
ls cat demo.txt
Detaching and Reattaching the EBS Volume to Another Instance
This section demonstrates the portability of an EBS volume between EC2 instances.-
Unmount the Volume on Server One:
-
First, ensure you are outside the mounted directory:
Code:
cd ~ sudo umount /ebsdemo
-
Verify the unmount using:
Code:
df -k
-
First, ensure you are outside the mounted directory:
-
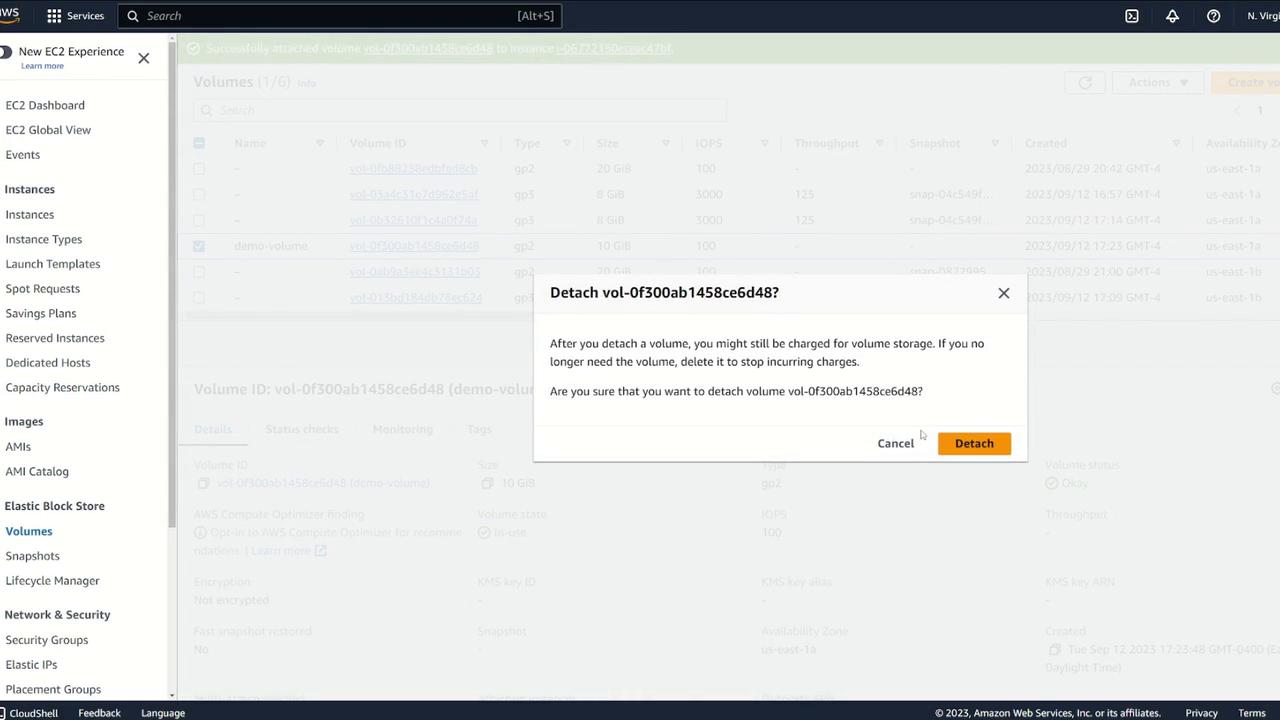
Detach the Volume via AWS Console:
- Navigate to the EBS volume details in the AWS Management Console.
- Select the “demo volume”, click Actions, and then select Detach Volume.
-
Attach the Volume to Server Two:
- Once detached, select Attach Volume and choose server two. Ensure server two is in the same Availability Zone.
-
Log in to server two and verify the volume attachment by running:
Code:
lsblk
-
Confirm the presence of the XFS filesystem:
Code:
sudo file -s /dev/xvdf
-
Mount the Filesystem on Server Two:
-
Create the mount point and mount the volume:
Code:
sudo mkdir /ebsdemo sudo mount /dev/xvdf /ebsdemo
-
Change into the directory, list the files, and display the test file content:
Code:
cd /ebsdemo ls cat demo.txt
-
Create the mount point and mount the volume: