Website Structure Overview
Your website comprises the following files: • index.html – Contains the main website content.• index.css – Provides styling for the website.
• 404.html – Displays a custom error page when a user requests a non-existent resource.
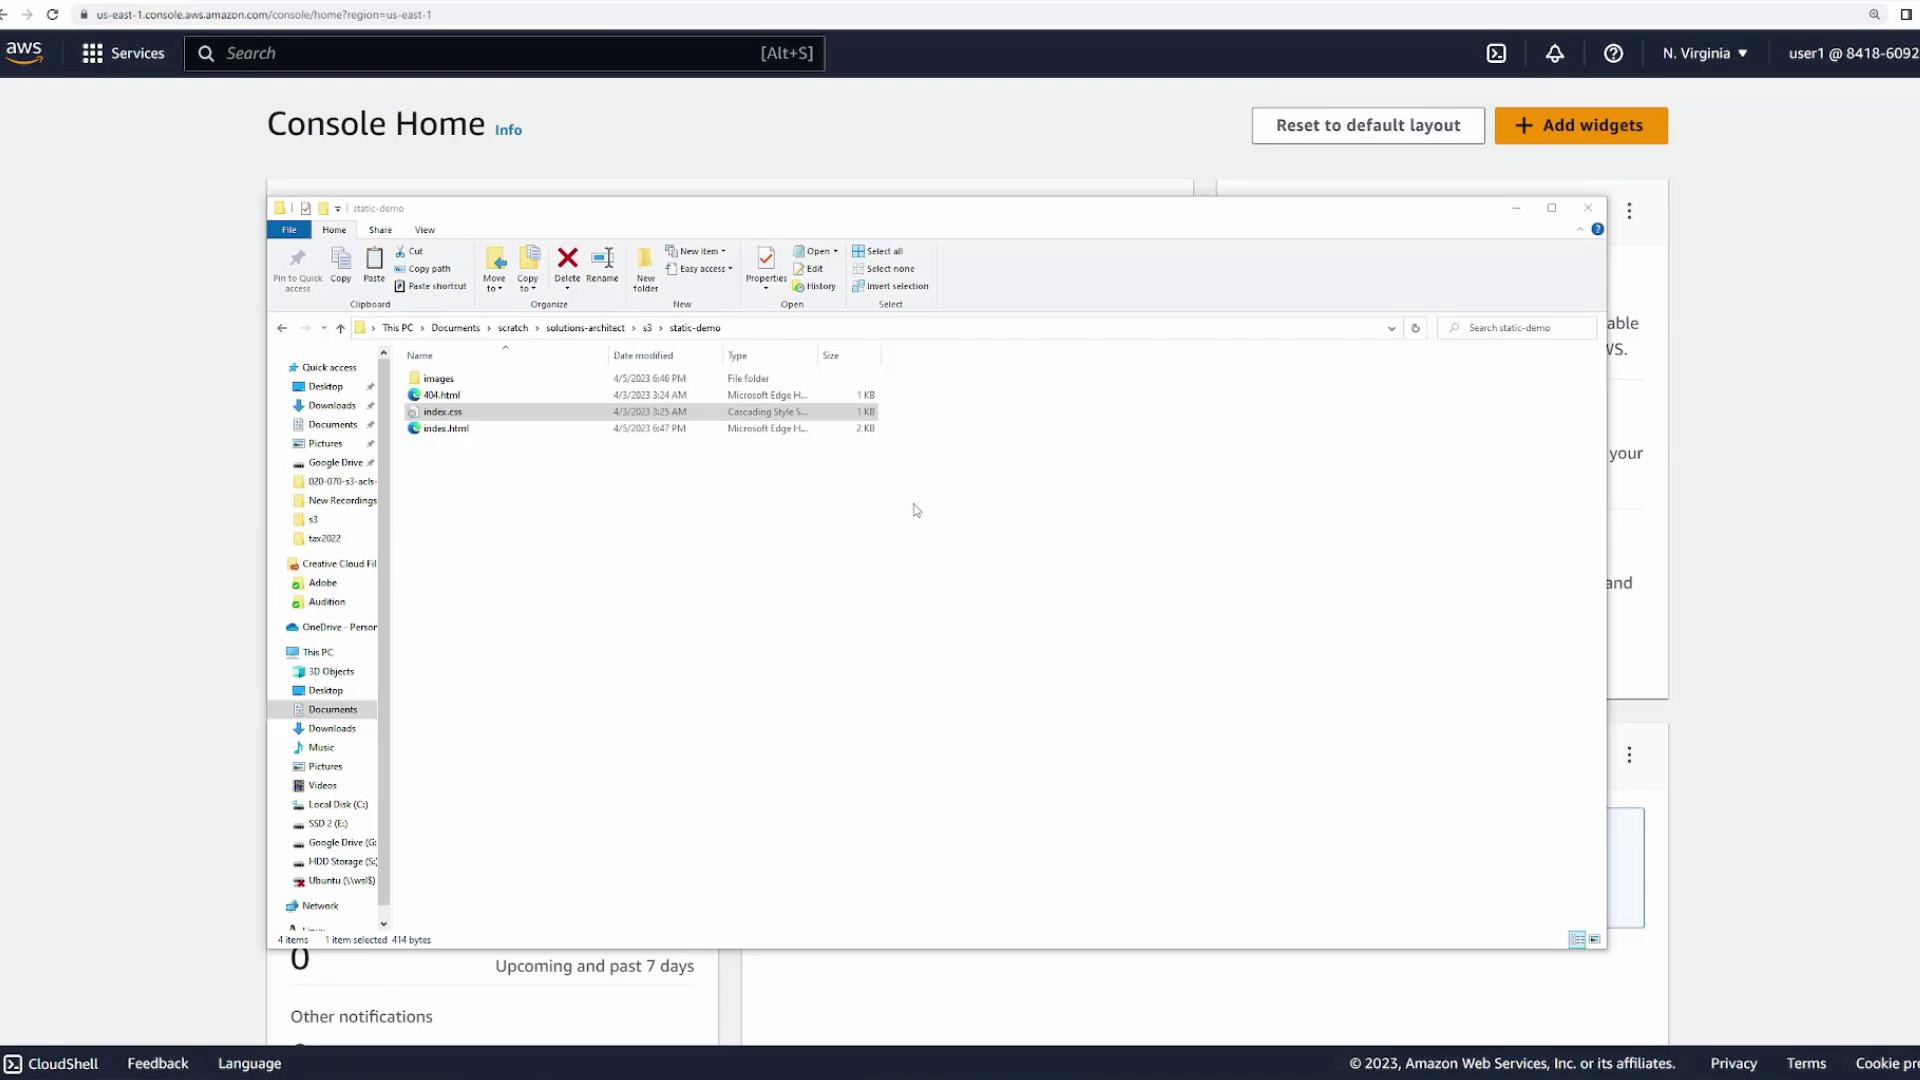
• images folder – Contains images that the website loads. Below is an image illustrating the AWS Console Home page alongside a Windows File Explorer window that displays the “static-demo” folder with HTML and CSS files.
index.html
The index.html file structures the primary content of your website. When a user navigates to your site, the browser requests this file, which then loads the linked CSS and images.404.html
The 404.html file customizes the error page displayed when a user attempts to access a non-existent page or file. This enhances user experience by providing a clear message for unavailable content.Creating the S3 Bucket and Uploading Files
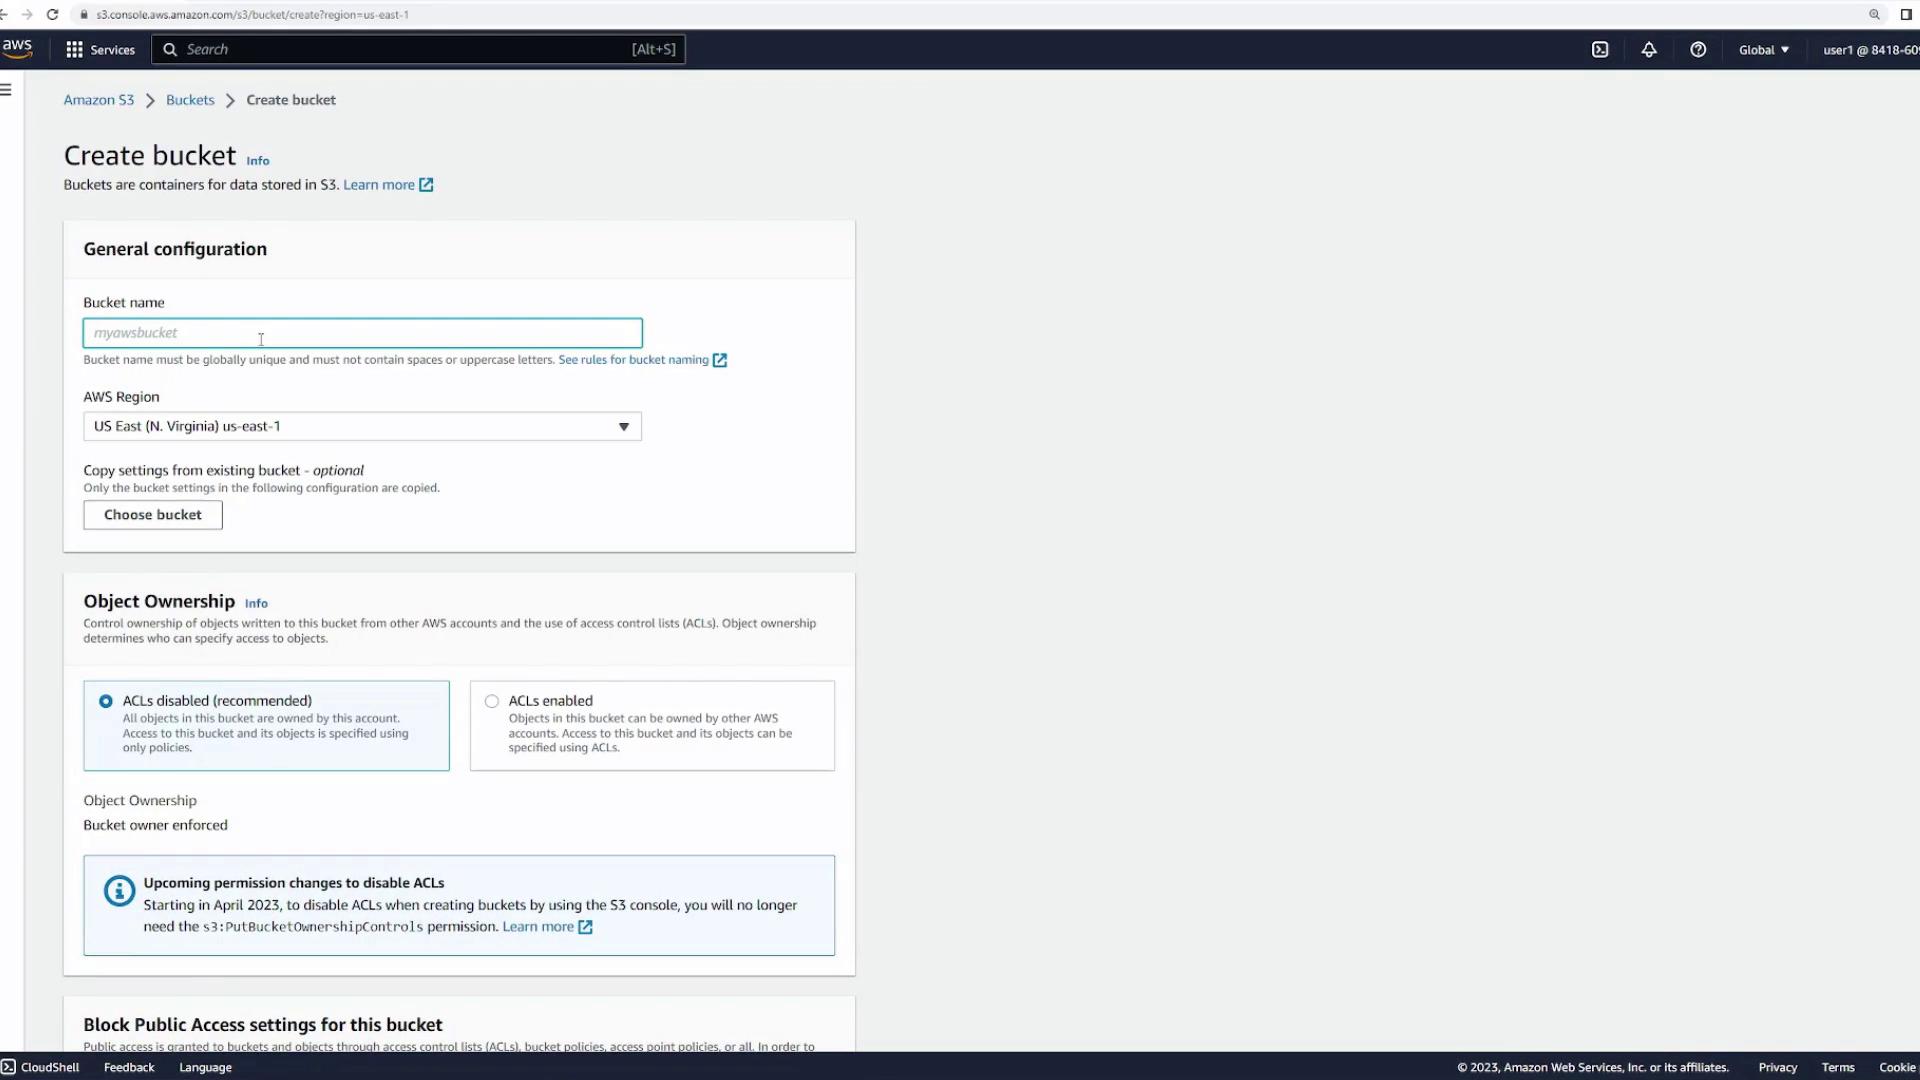
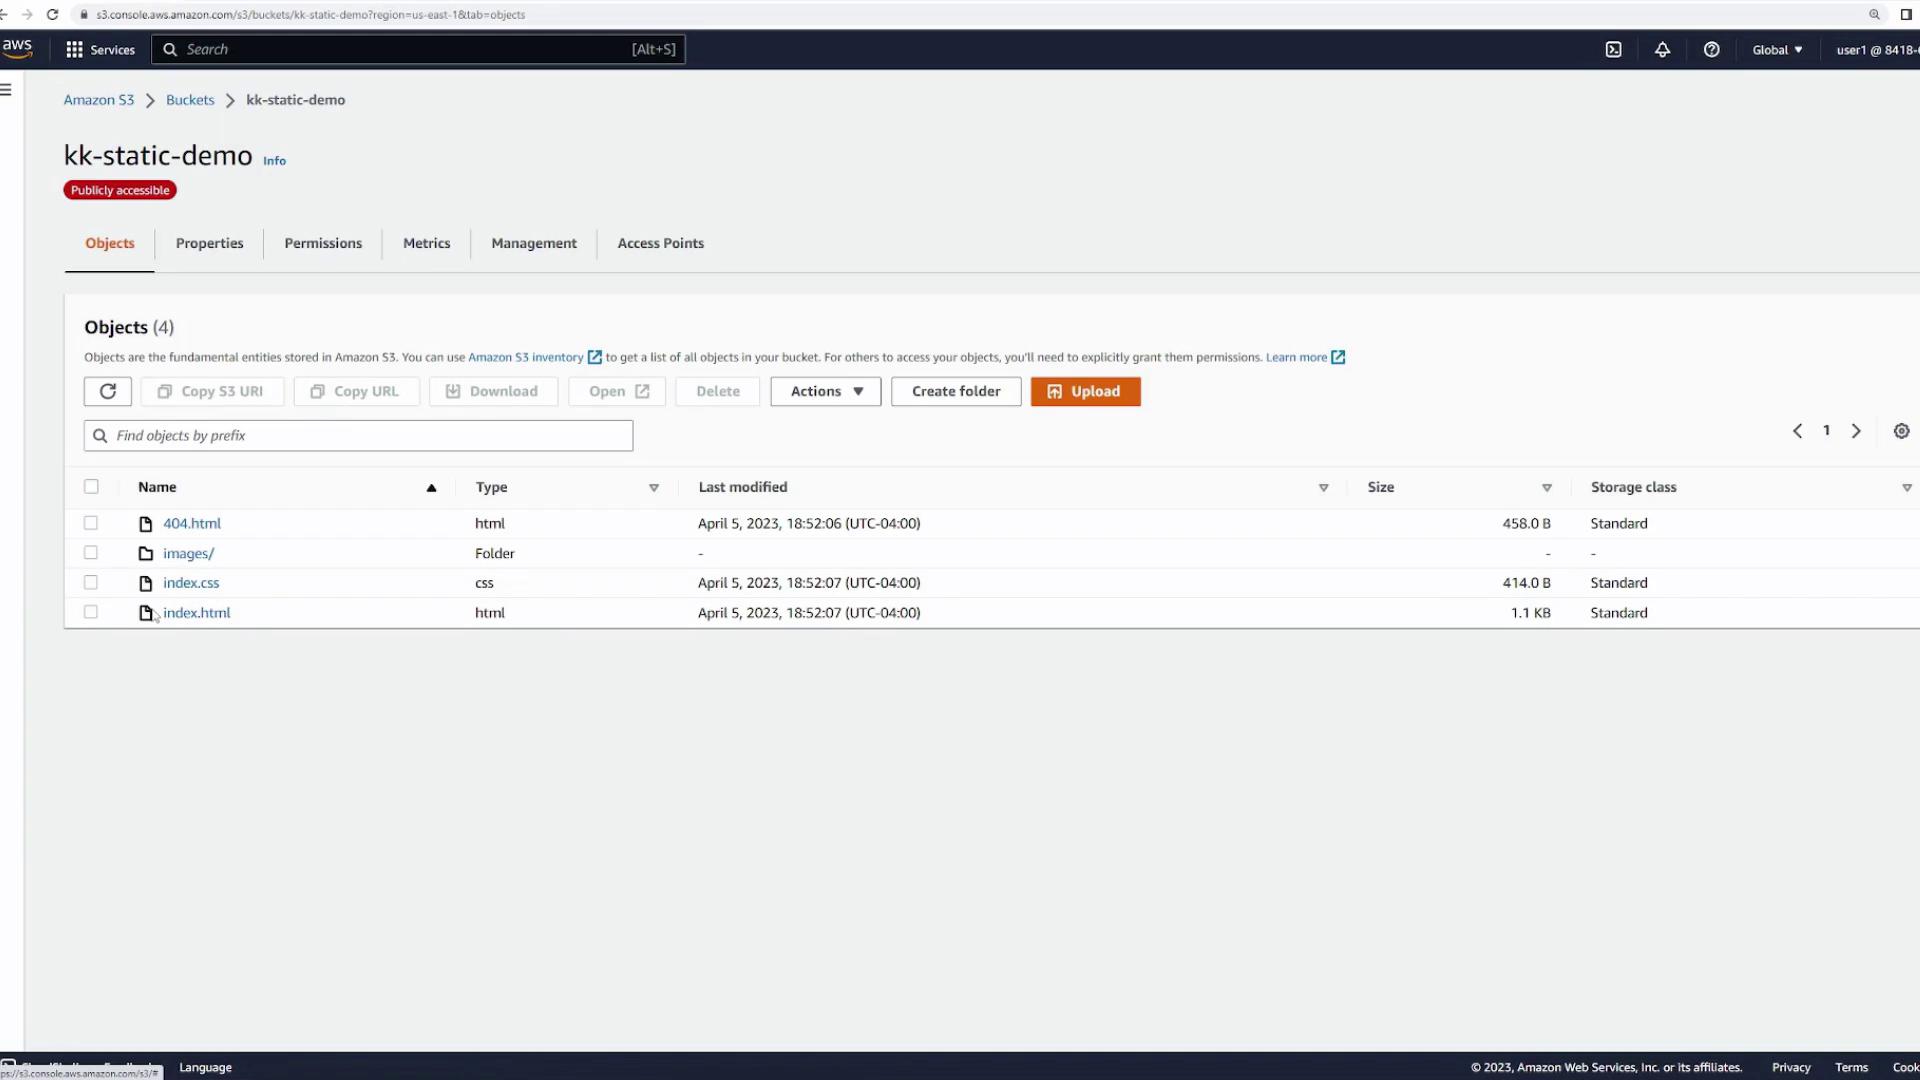
Follow these steps to create an S3 bucket and upload your website files:- Open the AWS S3 console and create a new bucket. Name it (for example) “static-demo” and keep the default settings.
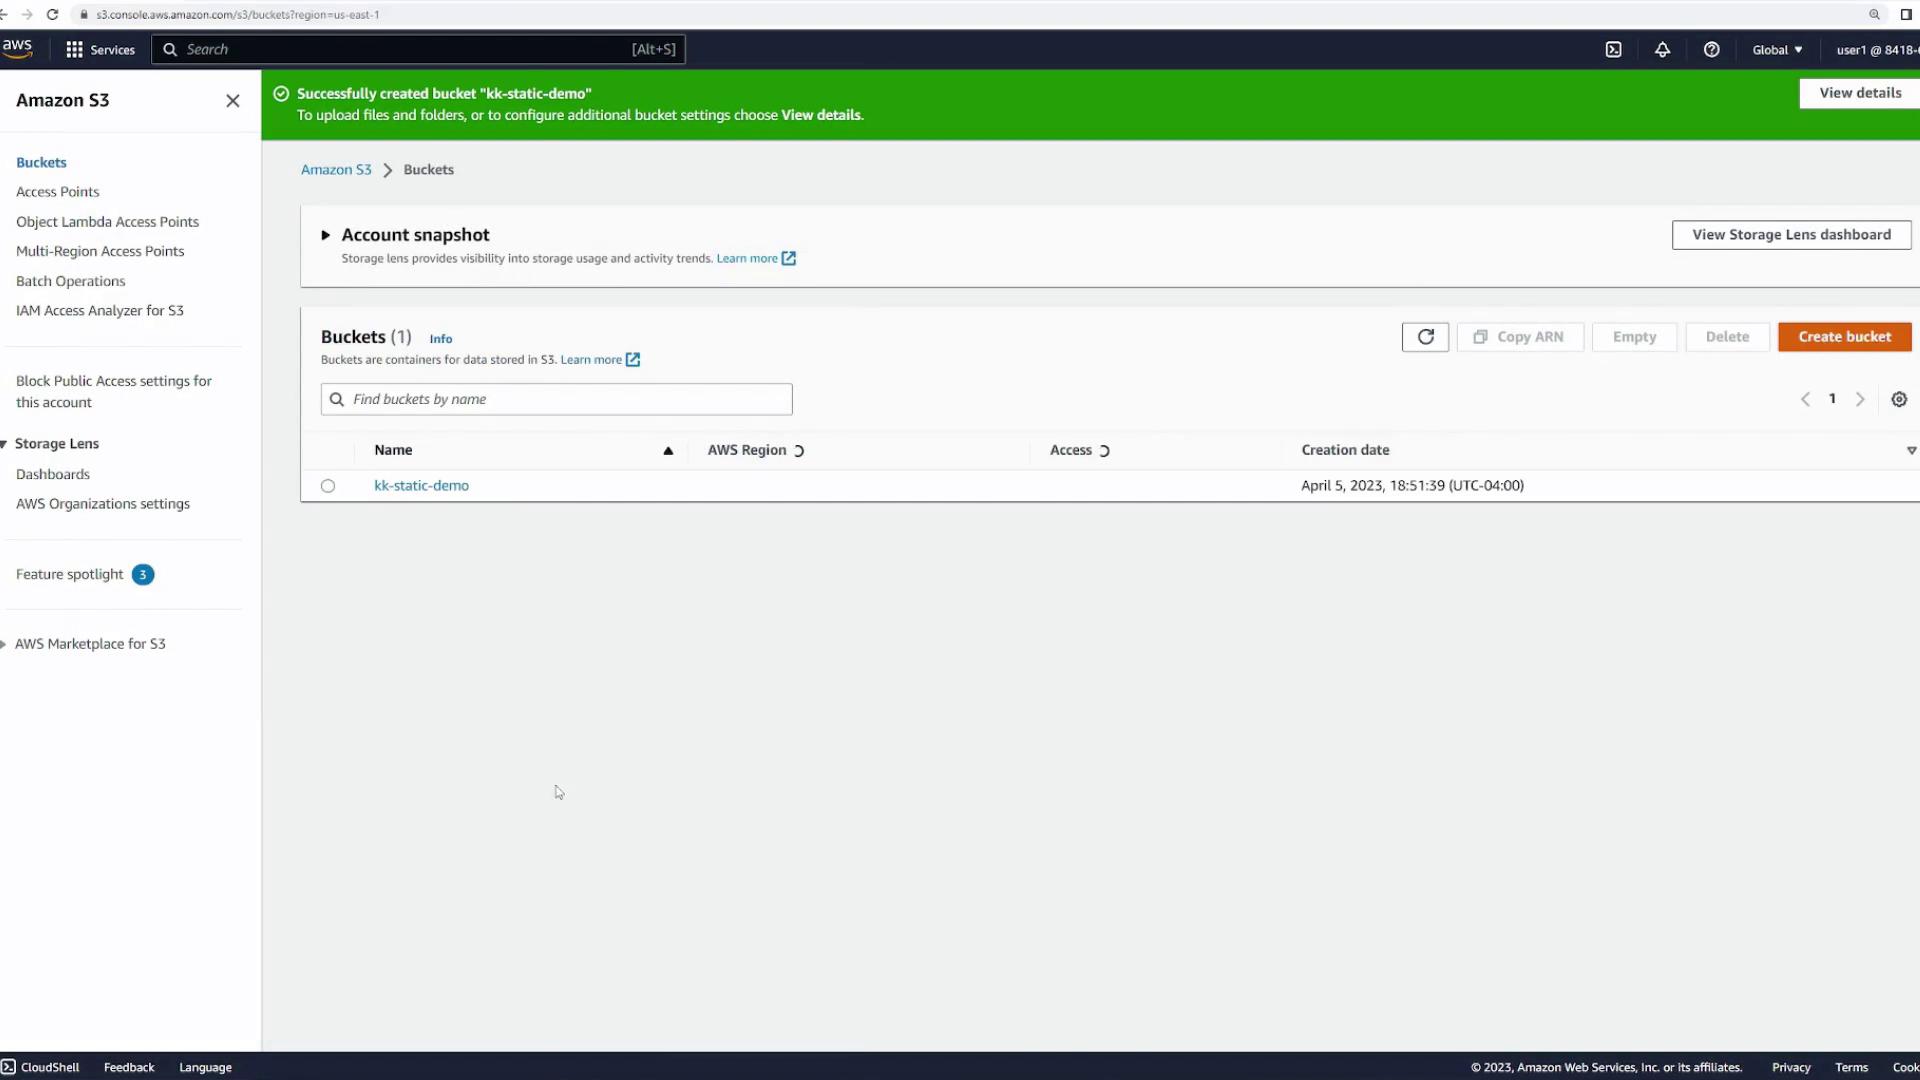
- After bucket creation, the AWS console displays a confirmation message.
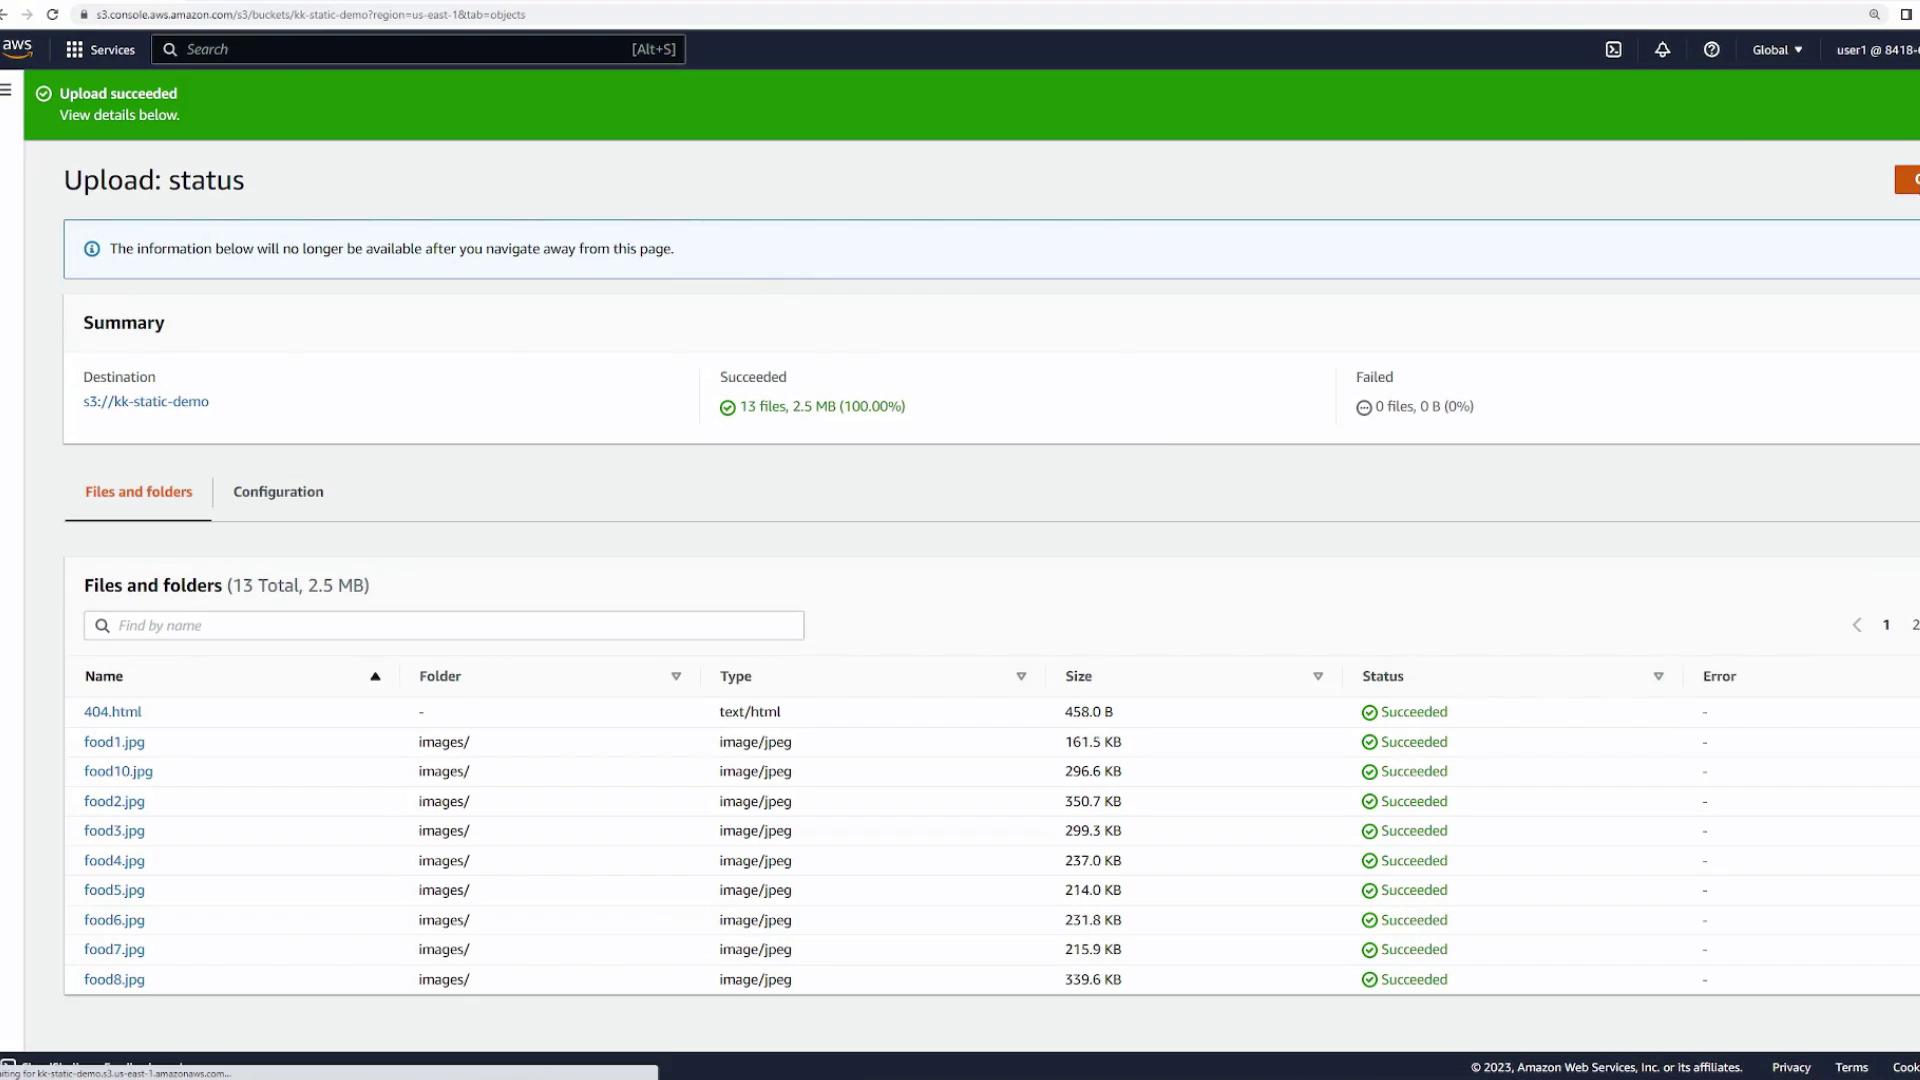
- Next, drag and drop all website files (HTML, CSS, images, etc.) into the newly created bucket. Depending on the number of images and files, the upload may take a short while.
Enabling Static Website Hosting
To serve your website through S3, you must enable static website hosting:- In your bucket, open the Properties tab and scroll down to the S3 Static Website Hosting section.
- Click Edit and enable static website hosting.
- Specify the following details:
- Index Document: index.html
- Error Document: 404.html
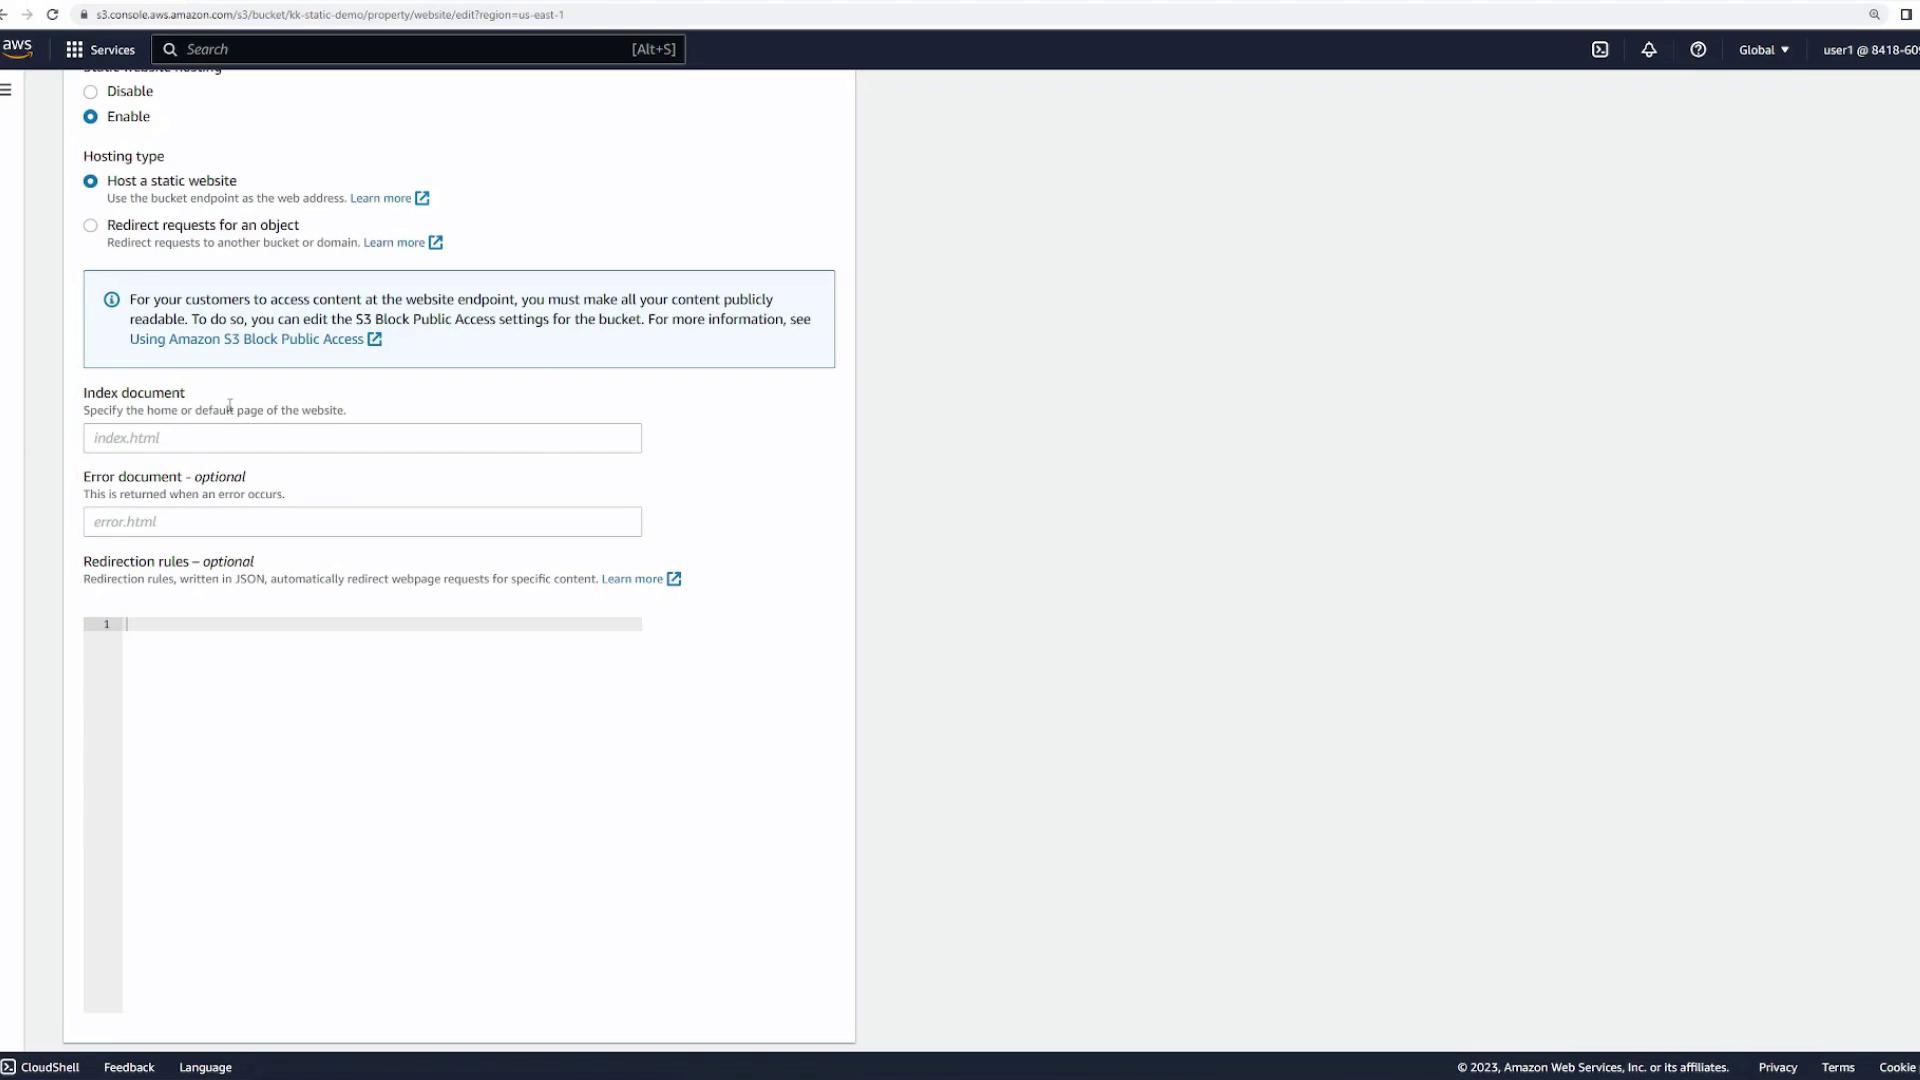
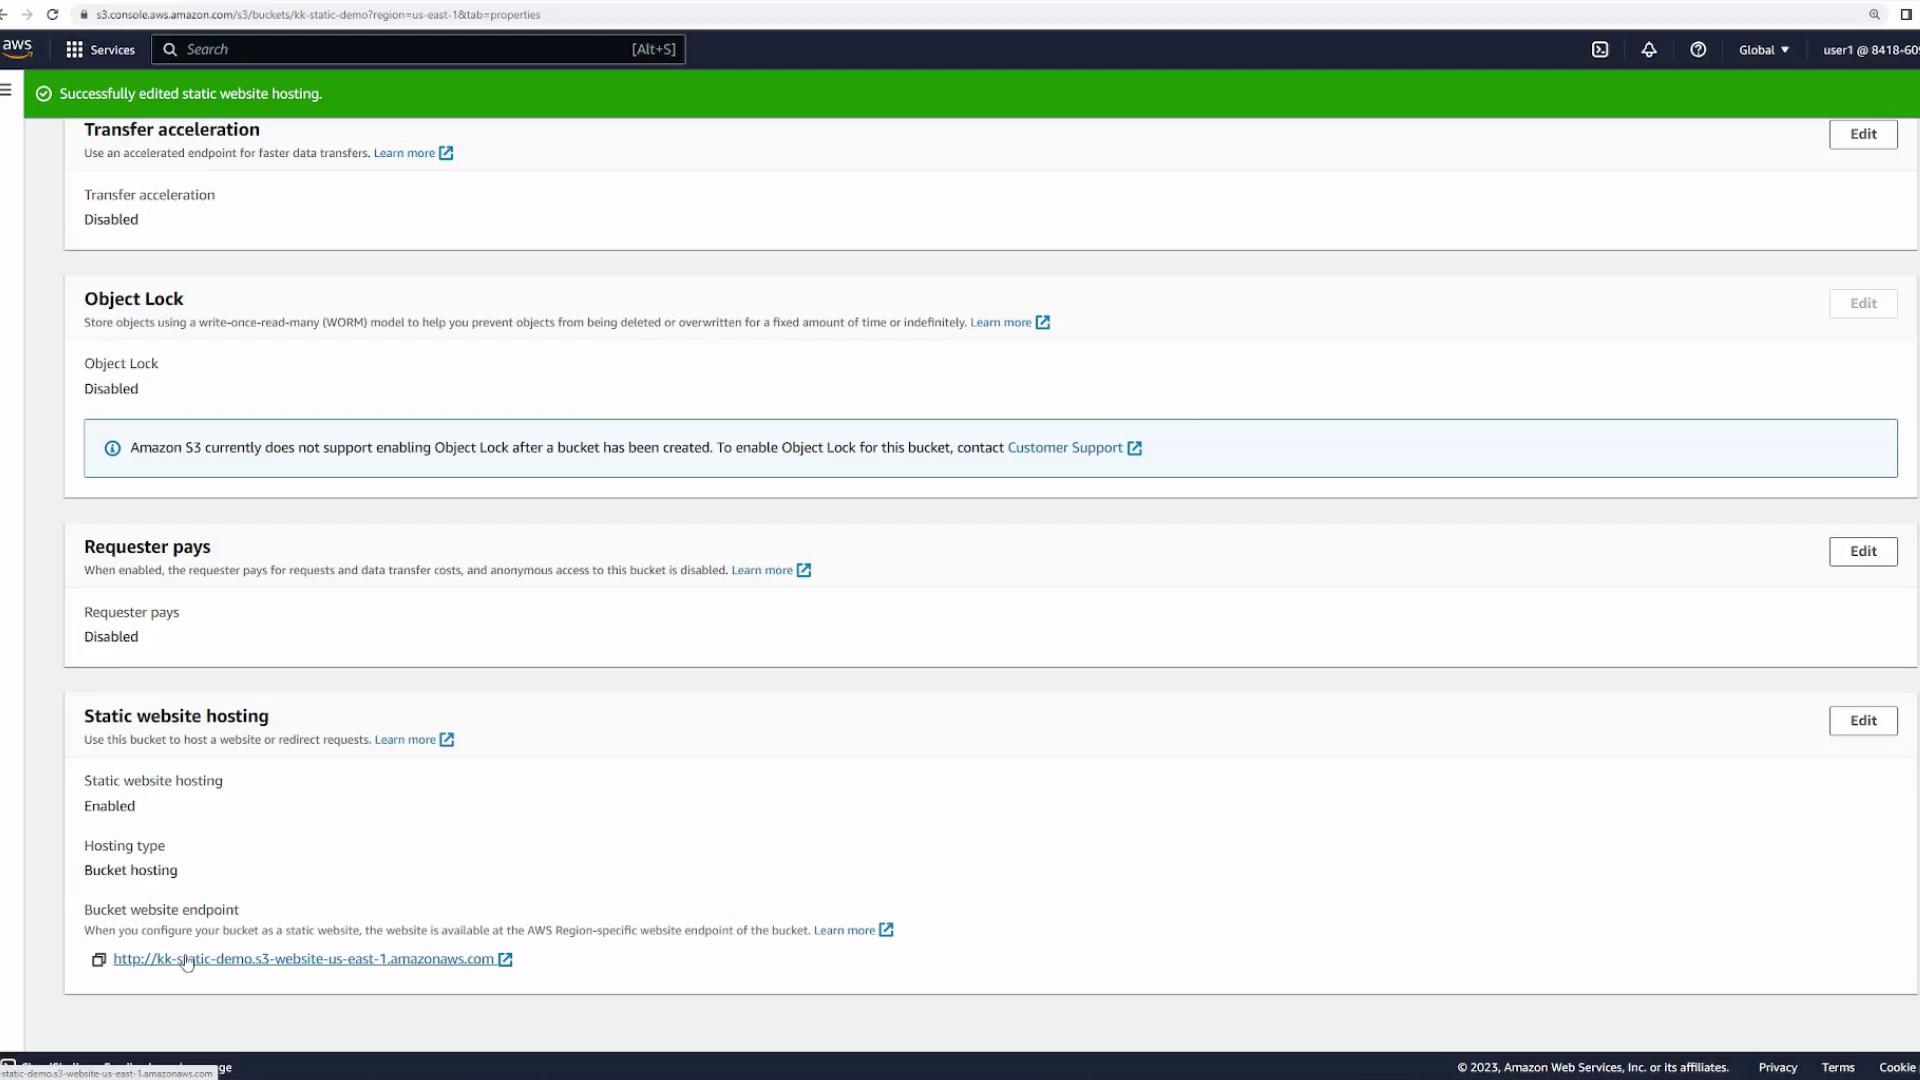
- Save your configuration. The console will provide a URL that serves as your website’s public endpoint.
Before your website is fully accessible, you’ll need to update bucket permissions to allow public access.
Updating Bucket Permissions for Public Access
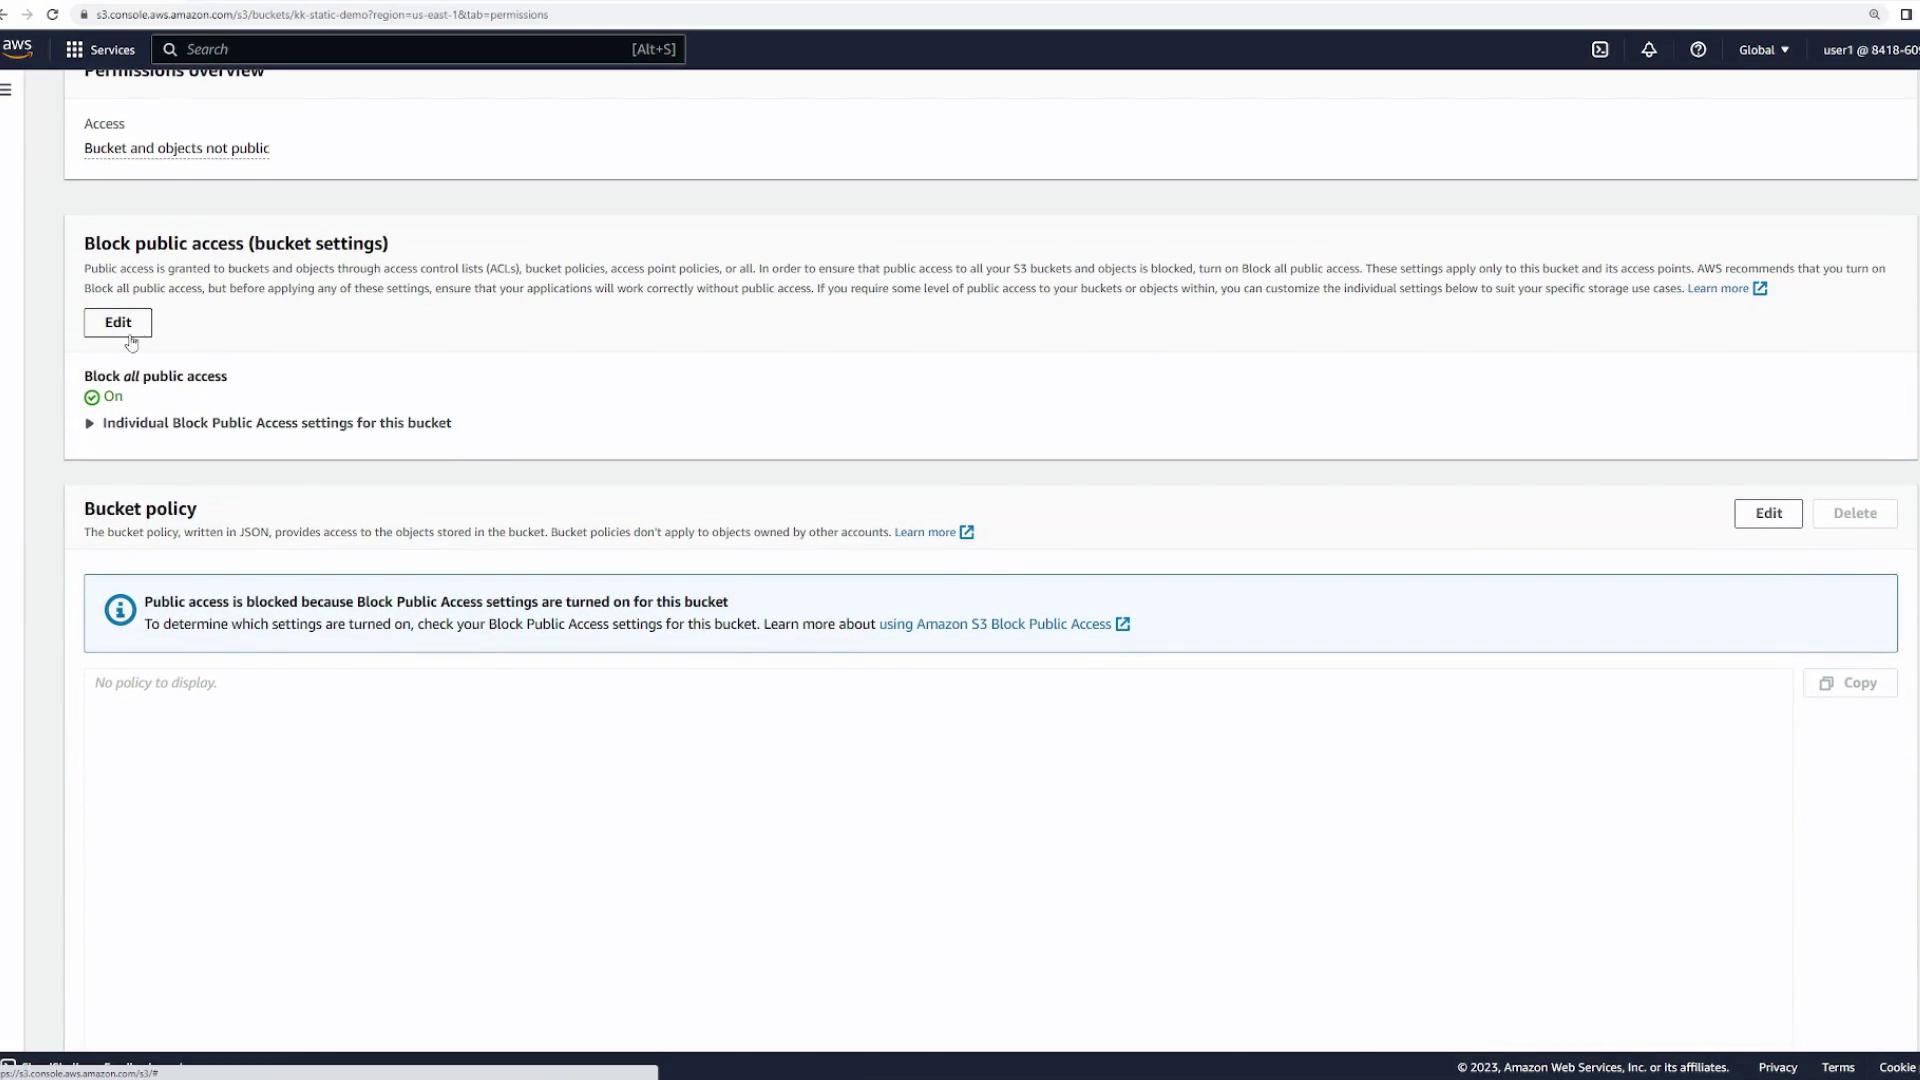
By default, S3 buckets are not publicly accessible. To adjust this:- Go to the Permissions tab of your bucket.
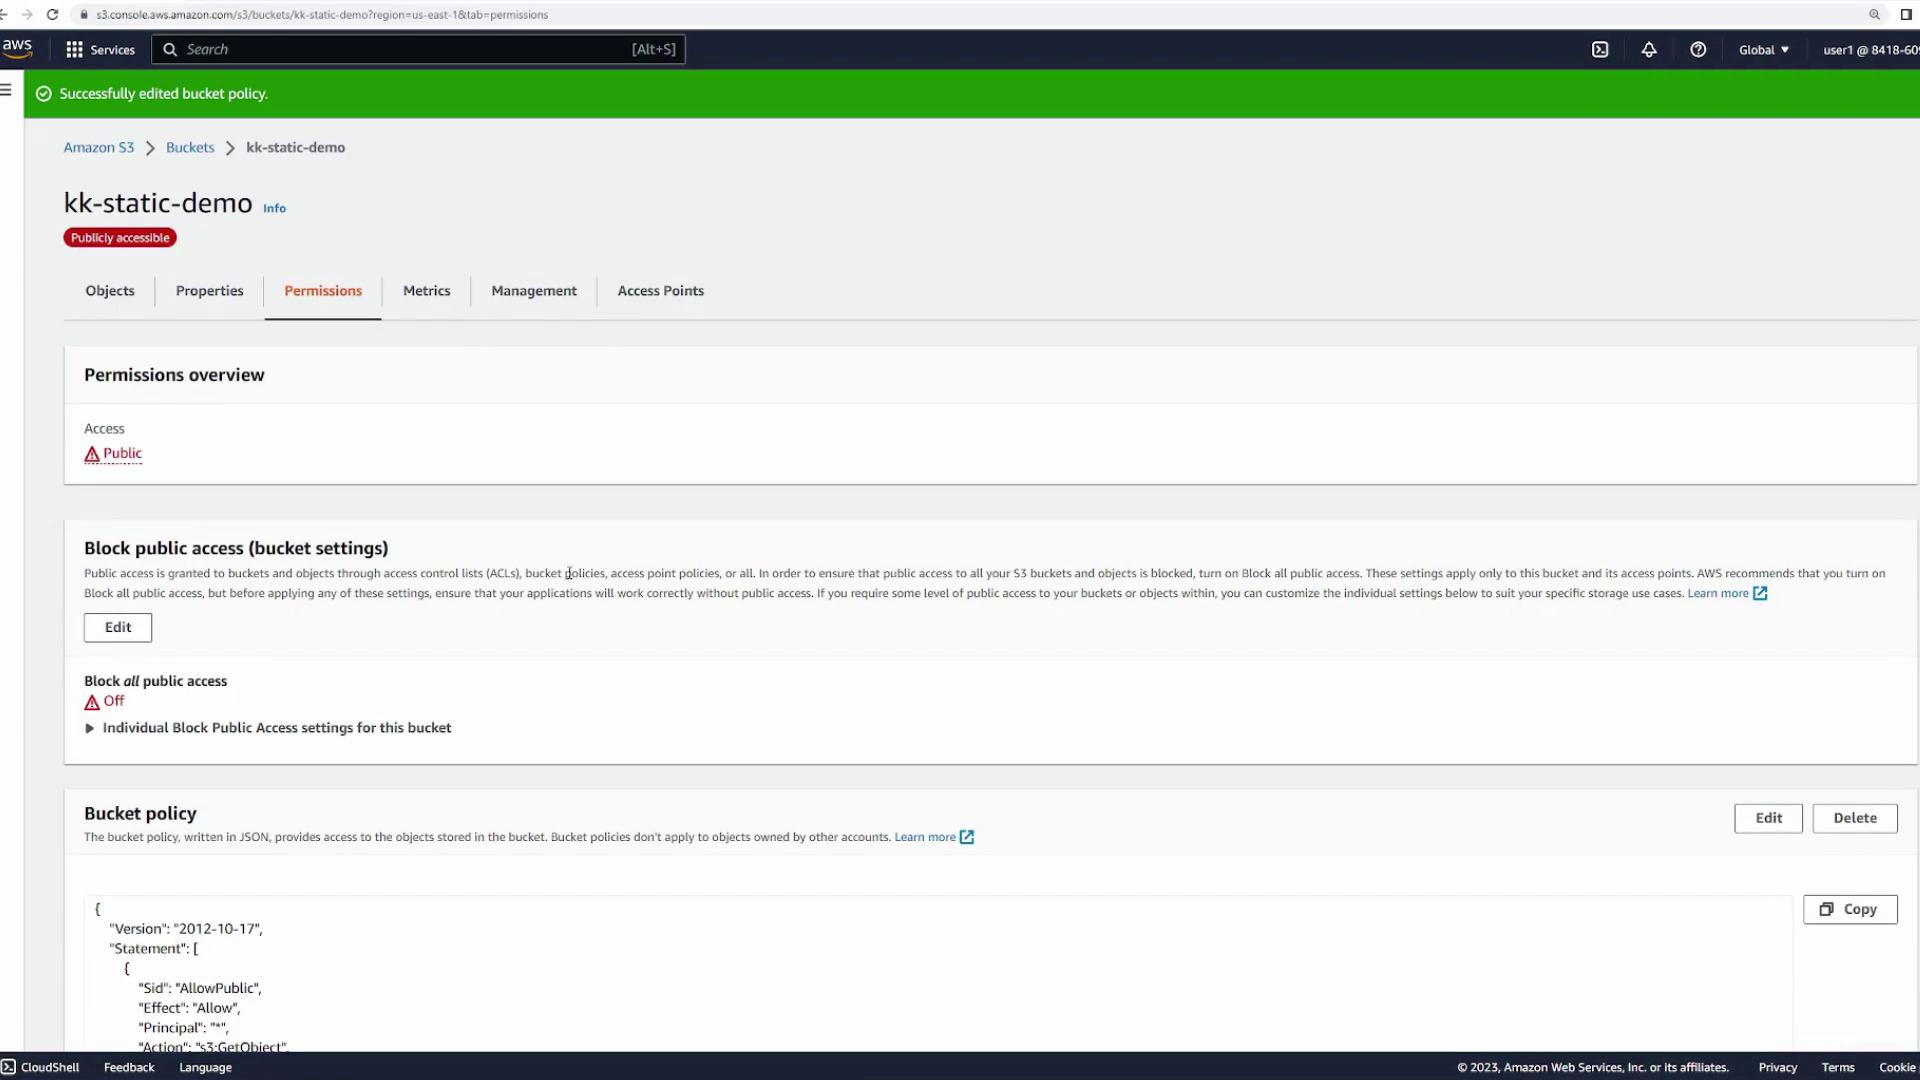
- Disable the Block all public access setting.
Configuring the Bucket Policy
To grant public read access, open the bucket policy editor and add a statement similar to the example below. Replace “your-bucket-name” with the actual name of your bucket:s3:GetObject) without the ability to delete or modify them.
Save the policy. The bucket will now be publicly accessible.
Verifying the Website
Return to the Properties tab of your bucket and use the provided website URL to test your site: • If you navigate to the base URL, index.html loads by default.• For specific files, append their path (e.g.,
/images/food1.jpg loads that image).• If a non-existent file is requested, the custom 404.html error page appears.
Optimizing your S3-hosted static website for search engines involves ensuring that your HTML files include meta tags and relevant keywords, and that your website structure is easy to navigate.
By following these steps, you can efficiently host and publicly serve your website using an S3 bucket. Enjoy your scalable, cost-effective hosting solution on Amazon S3!