> ## Documentation Index
> Fetch the complete documentation index at: https://notes.kodekloud.com/llms.txt
> Use this file to discover all available pages before exploring further.
# S3 Storage Classes Demo
> This guide explains how to set and modify storage classes for files in Amazon S3.
In this guide, you'll learn how to set the storage class when uploading a file to [Amazon S3](https://learn.kodekloud.com/user/courses/amazon-simple-storage-service-amazon-s3) and modify the storage class for an existing file.
## Creating an S3 Bucket
First, create a new S3 bucket. For demonstration purposes, we will name the bucket **"kk-sc-demo"** and use the default configuration settings.
## Uploading a File and Setting the Storage Class
After creating the bucket, click on **Upload** to add a file. Select any file from your local system. As you proceed with the upload process, navigate to the **Properties** section. Here you can set the desired storage class. By default, the storage class is set to **"Standard."**
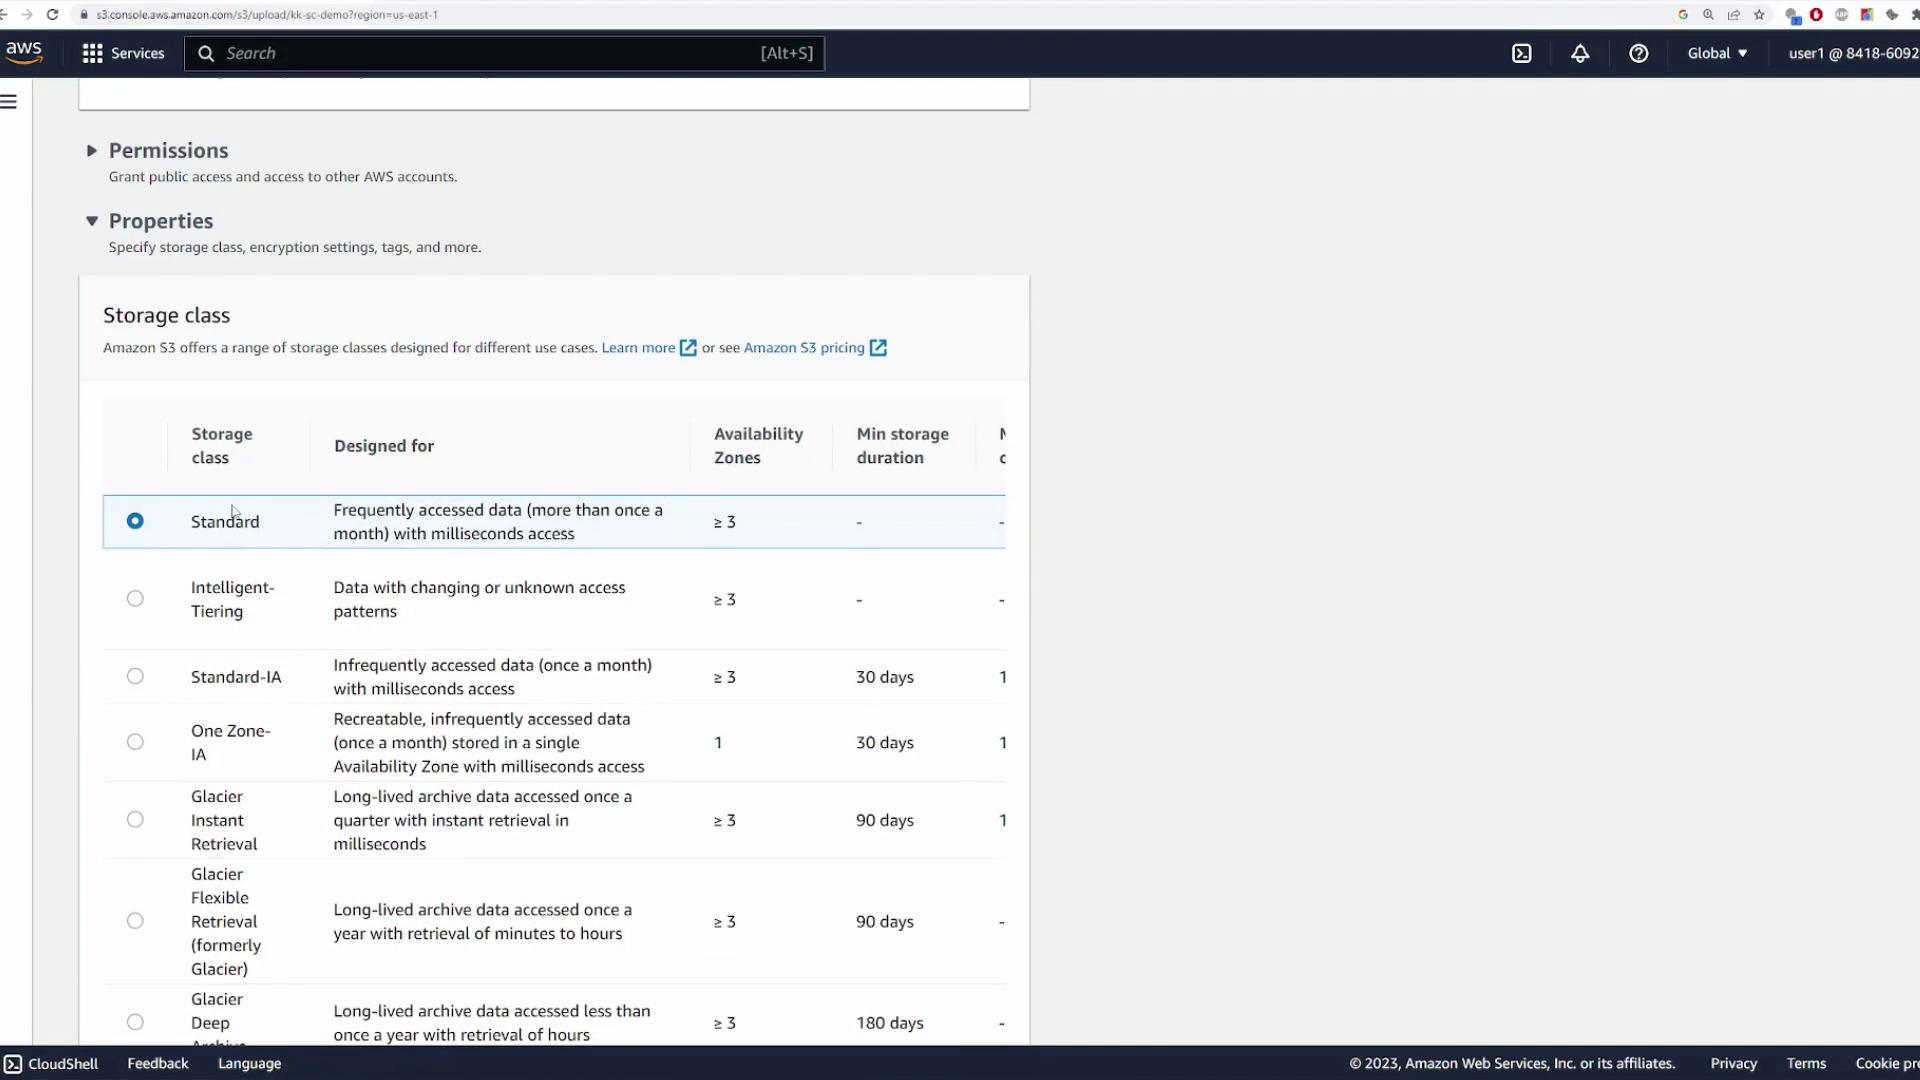
For this demonstration, choose **"One Zone-Infrequent Access"** as the storage class. Once selected, click **Upload** to complete the process.
After uploading, verify that the file's storage class is set to **"One Zone-Infrequent Access"** by checking the file details in the S3 console.
## Modifying the Storage Class of an Existing File
If you wish to change the storage class after the file has been uploaded, follow these steps:
1. Navigate to the file's **Properties** tab in the Amazon S3 console.
2. Locate the storage class section.
3. Select the new storage class (for example, **"Standard"**) from the options provided.
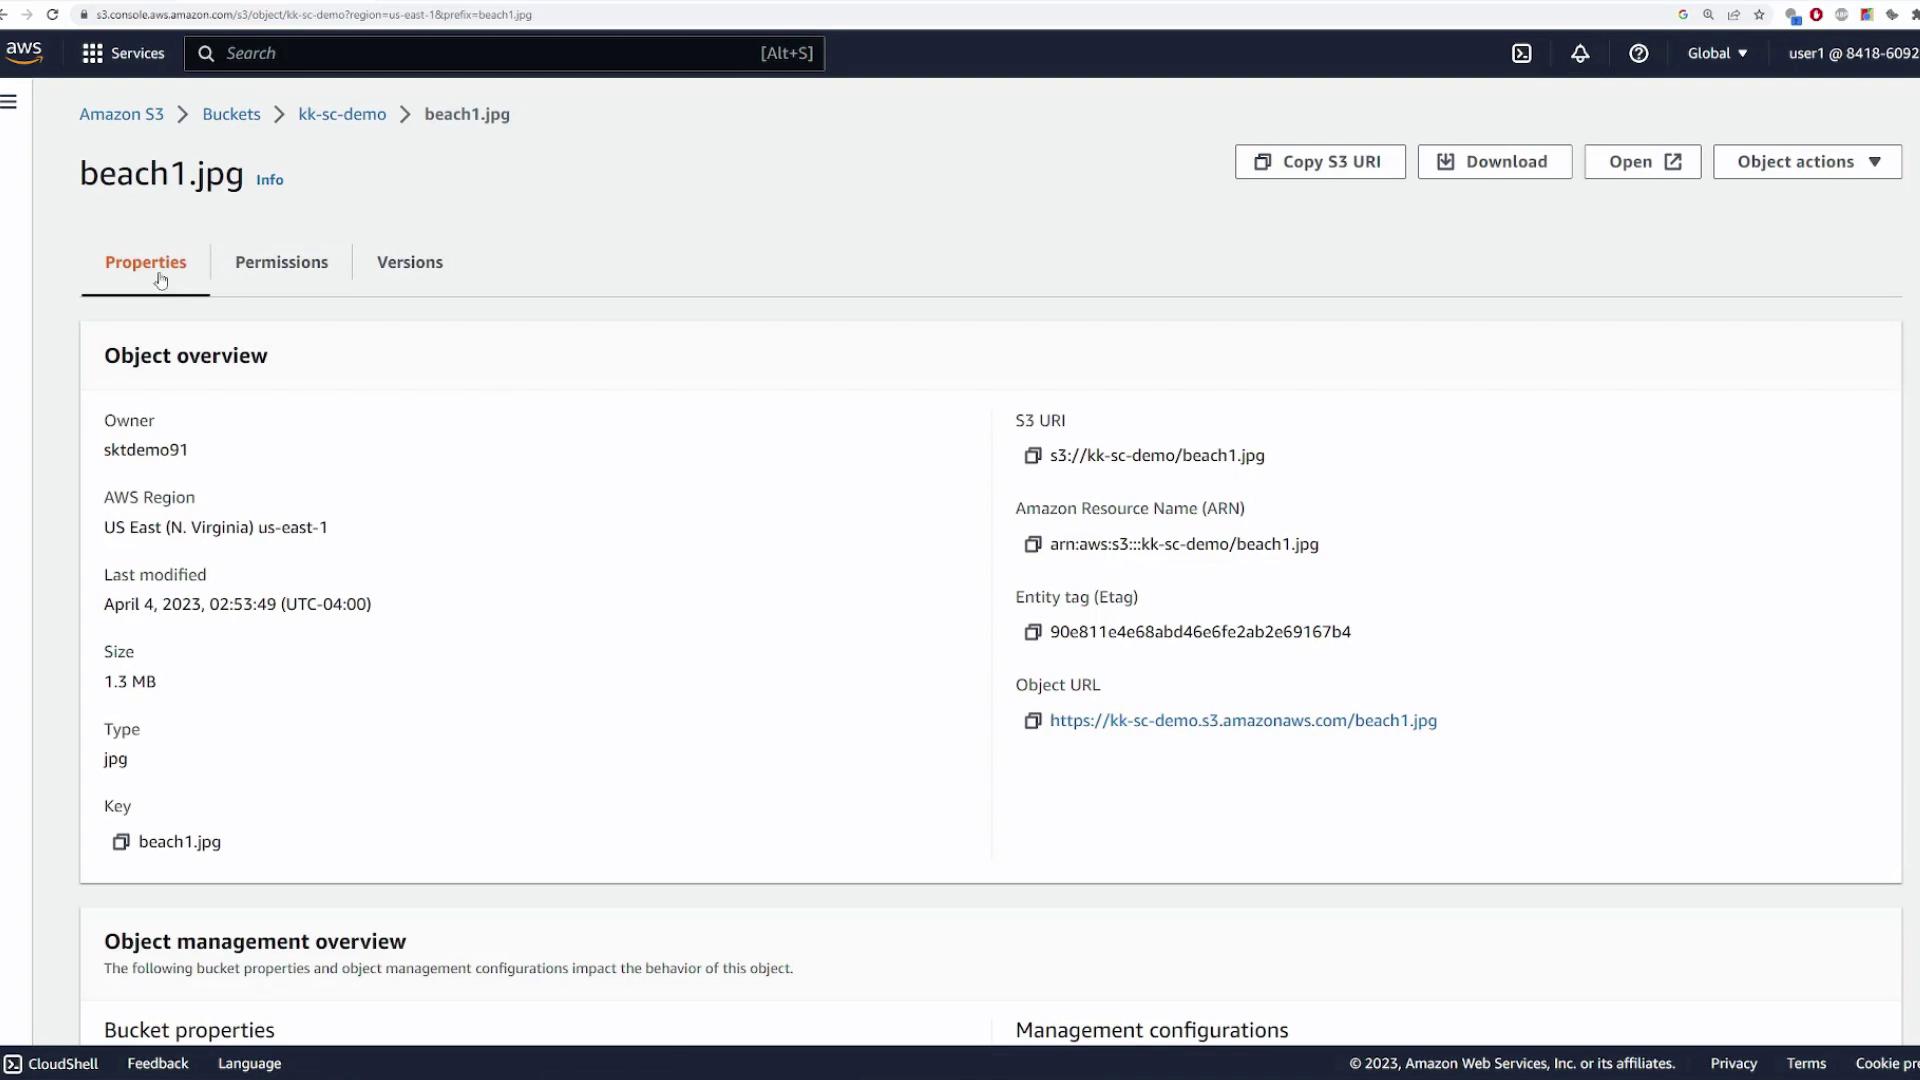
This process ensures you can easily manage and modify the storage class of your objects within Amazon S3, based on your evolving requirements.
Remember that each S3 storage class is optimized for different use cases. Choose the class that best meets your performance, durability, and cost requirements.
By following these steps, you can effectively set and modify storage classes in Amazon S3, ensuring that your data is stored in the most cost-effective and efficient manner according to your needs.