> ## Documentation Index
> Fetch the complete documentation index at: https://notes.kodekloud.com/llms.txt
> Use this file to discover all available pages before exploring further.
# Demo Creating a pipeline for continuous delivery
> Guide to build a CodePipeline that deploys a CloudFormation template from S3 to provision an EC2 instance.
This walkthrough shows how to build a simple continuous-delivery pipeline that deploys a CloudFormation template stored in S3. The pipeline uses CodePipeline as the orchestrator and CloudFormation as the deploy provider. End result: CodePipeline pulls a ZIP artifact from S3, CloudFormation extracts the template inside the ZIP, and CloudFormation creates the resources (an EC2 instance in this demo).
What you'll do in this demo:
* Create an S3 bucket (with versioning enabled) to store CloudFormation artifacts.
* Upload a zipped CloudFormation template to S3.
* Create an IAM role CloudFormation can assume to provision resources.
* Create a CodePipeline that uses the S3 artifact as Source and CloudFormation as Deploy.
* Verify the resulting CloudFormation stack and EC2 instance.
Step-by-step details follow.
## 1 — Create an S3 bucket for pipeline artifacts
Create a dedicated bucket to hold CloudFormation templates/artifacts. CodePipeline benefits from object versioning so it can reference specific object versions for each release.
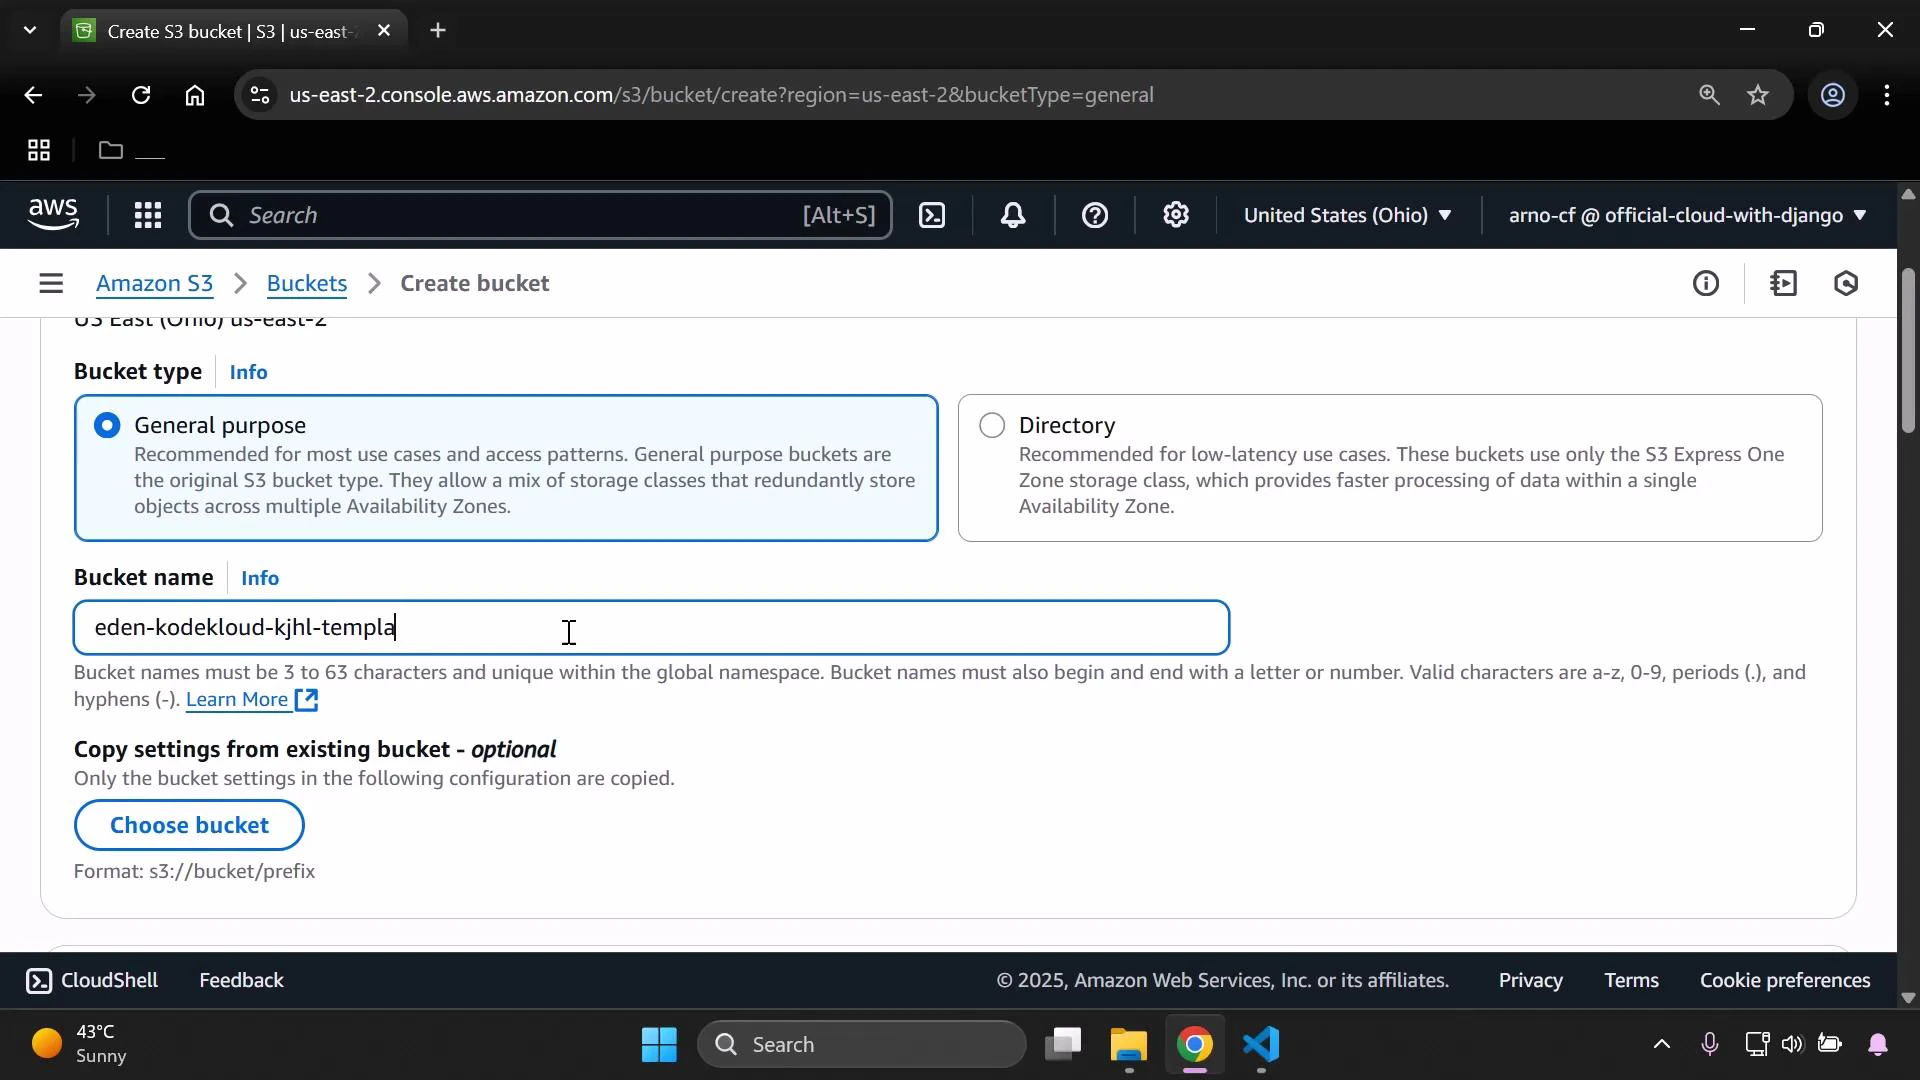 Enable versioning on the bucket before using it as a pipeline source.
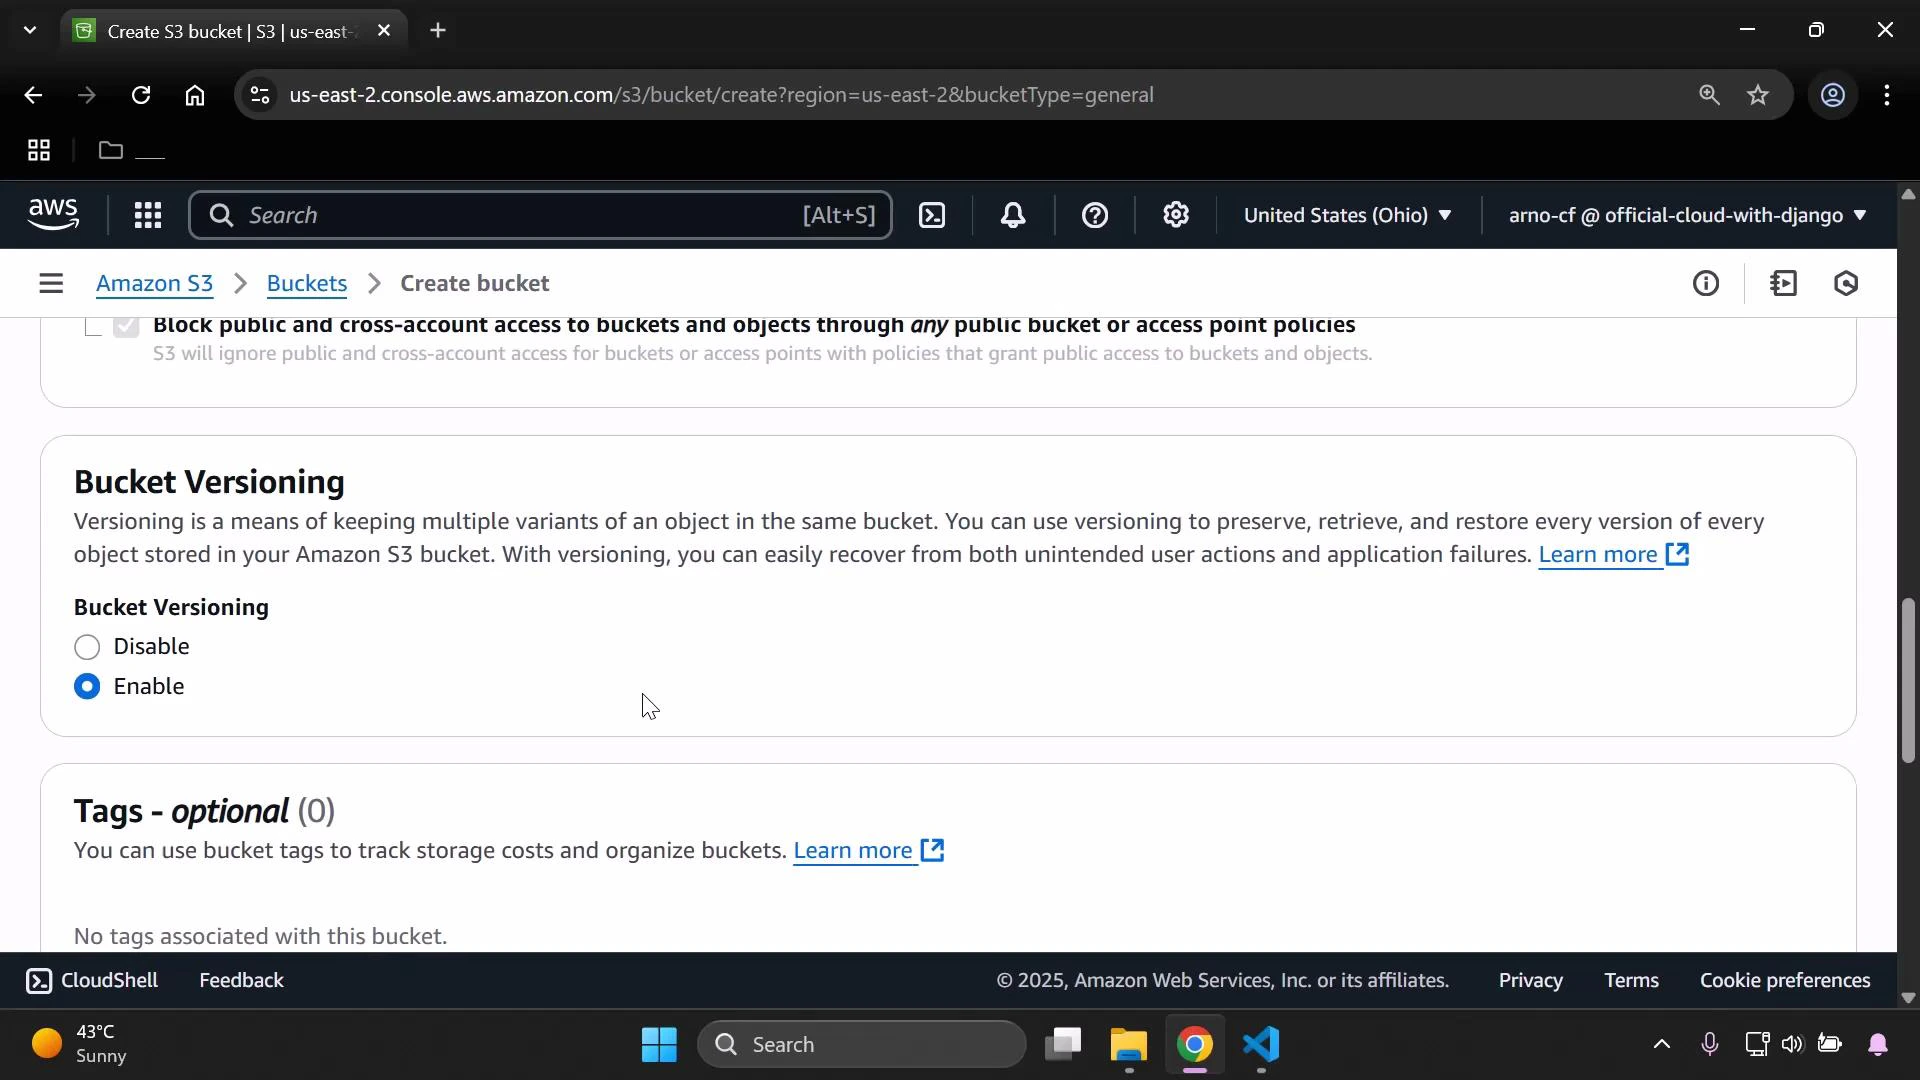 After creating the bucket, open it and confirm it is empty (ready for upload).
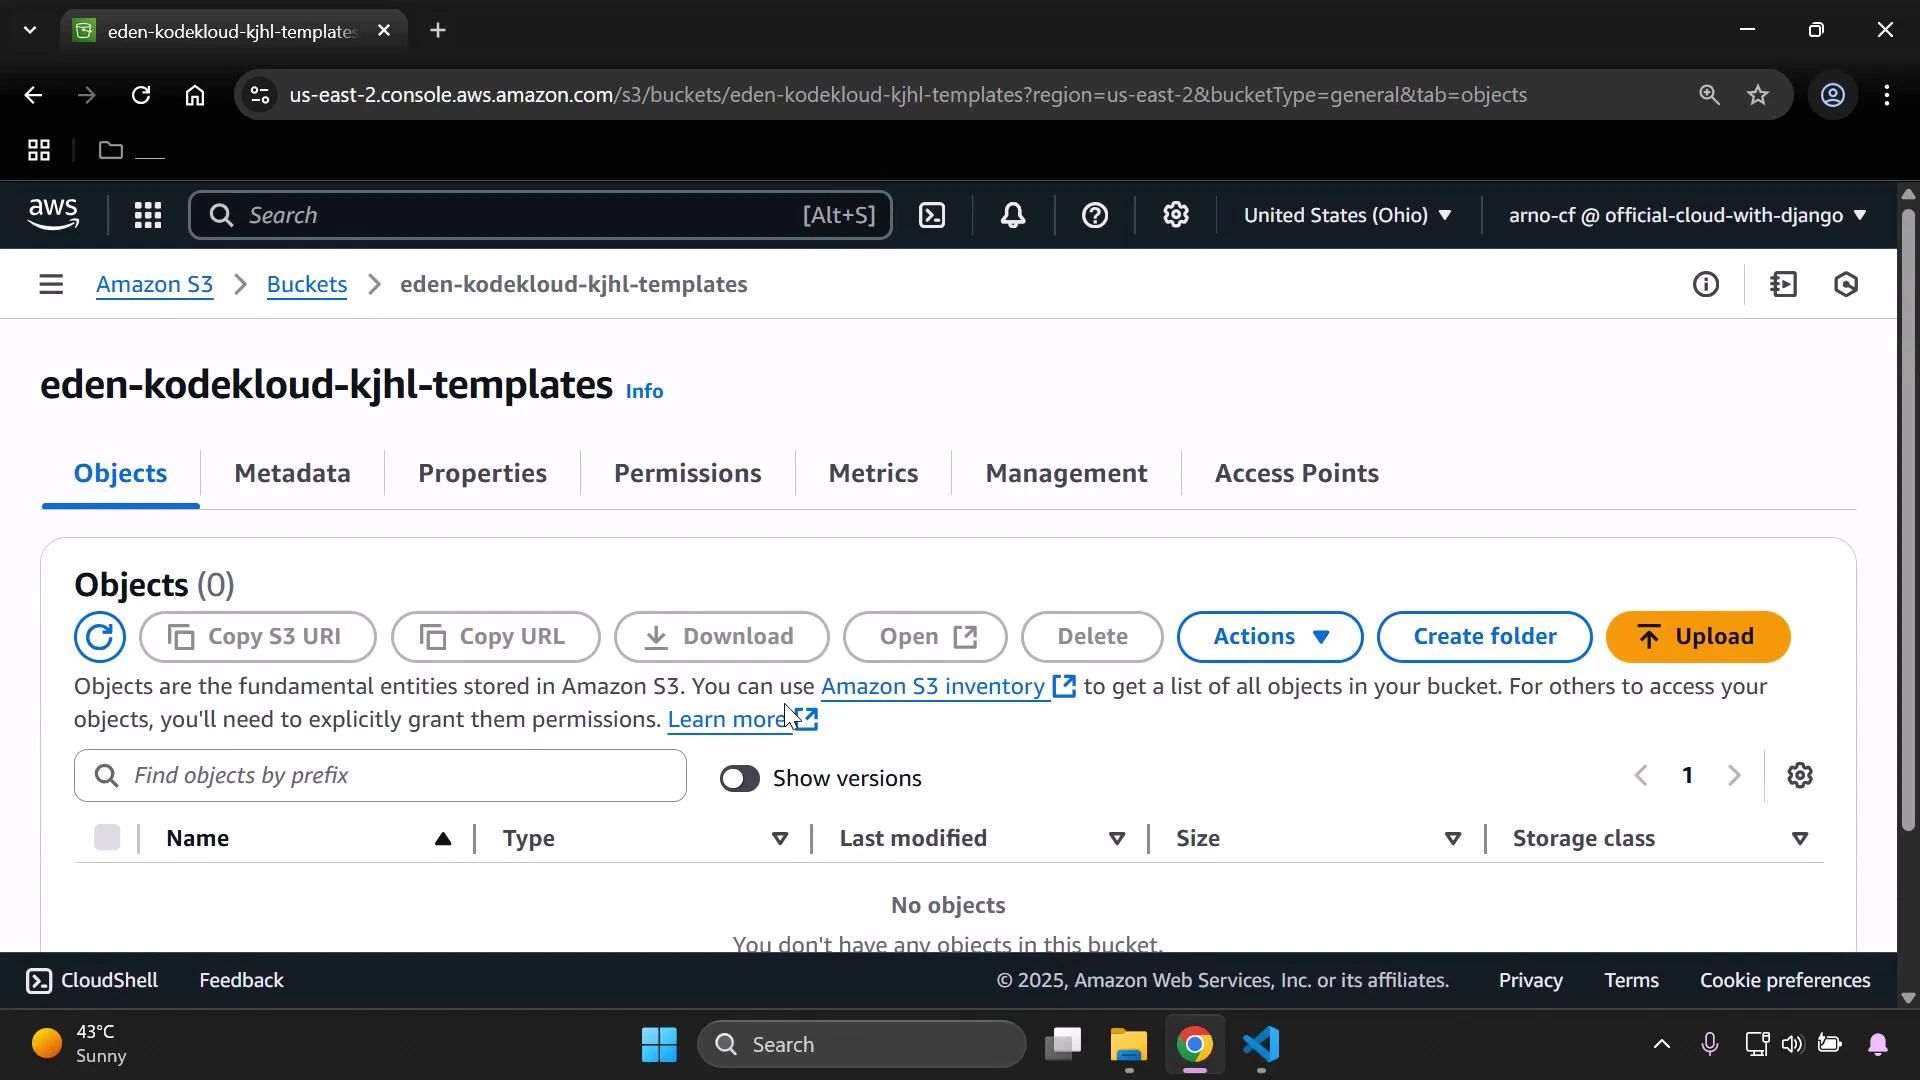 ## 2 — Prepare and upload the CloudFormation artifact
For this demo we use a minimal CloudFormation template that creates a single EC2 instance. Save this content as simple-ec2.yaml:
```yaml theme={null}
Resources:
MyInstance:
Type: AWS::EC2::Instance
Properties:
InstanceType: t3.small
ImageId: ami-0eb9d6fc9fab44d24
```
Zip the template (for example: simple-ec2.zip). The pipeline Source artifact will be the ZIP file uploaded to S3.
## 2 — Prepare and upload the CloudFormation artifact
For this demo we use a minimal CloudFormation template that creates a single EC2 instance. Save this content as simple-ec2.yaml:
```yaml theme={null}
Resources:
MyInstance:
Type: AWS::EC2::Instance
Properties:
InstanceType: t3.small
ImageId: ami-0eb9d6fc9fab44d24
```
Zip the template (for example: simple-ec2.zip). The pipeline Source artifact will be the ZIP file uploaded to S3.
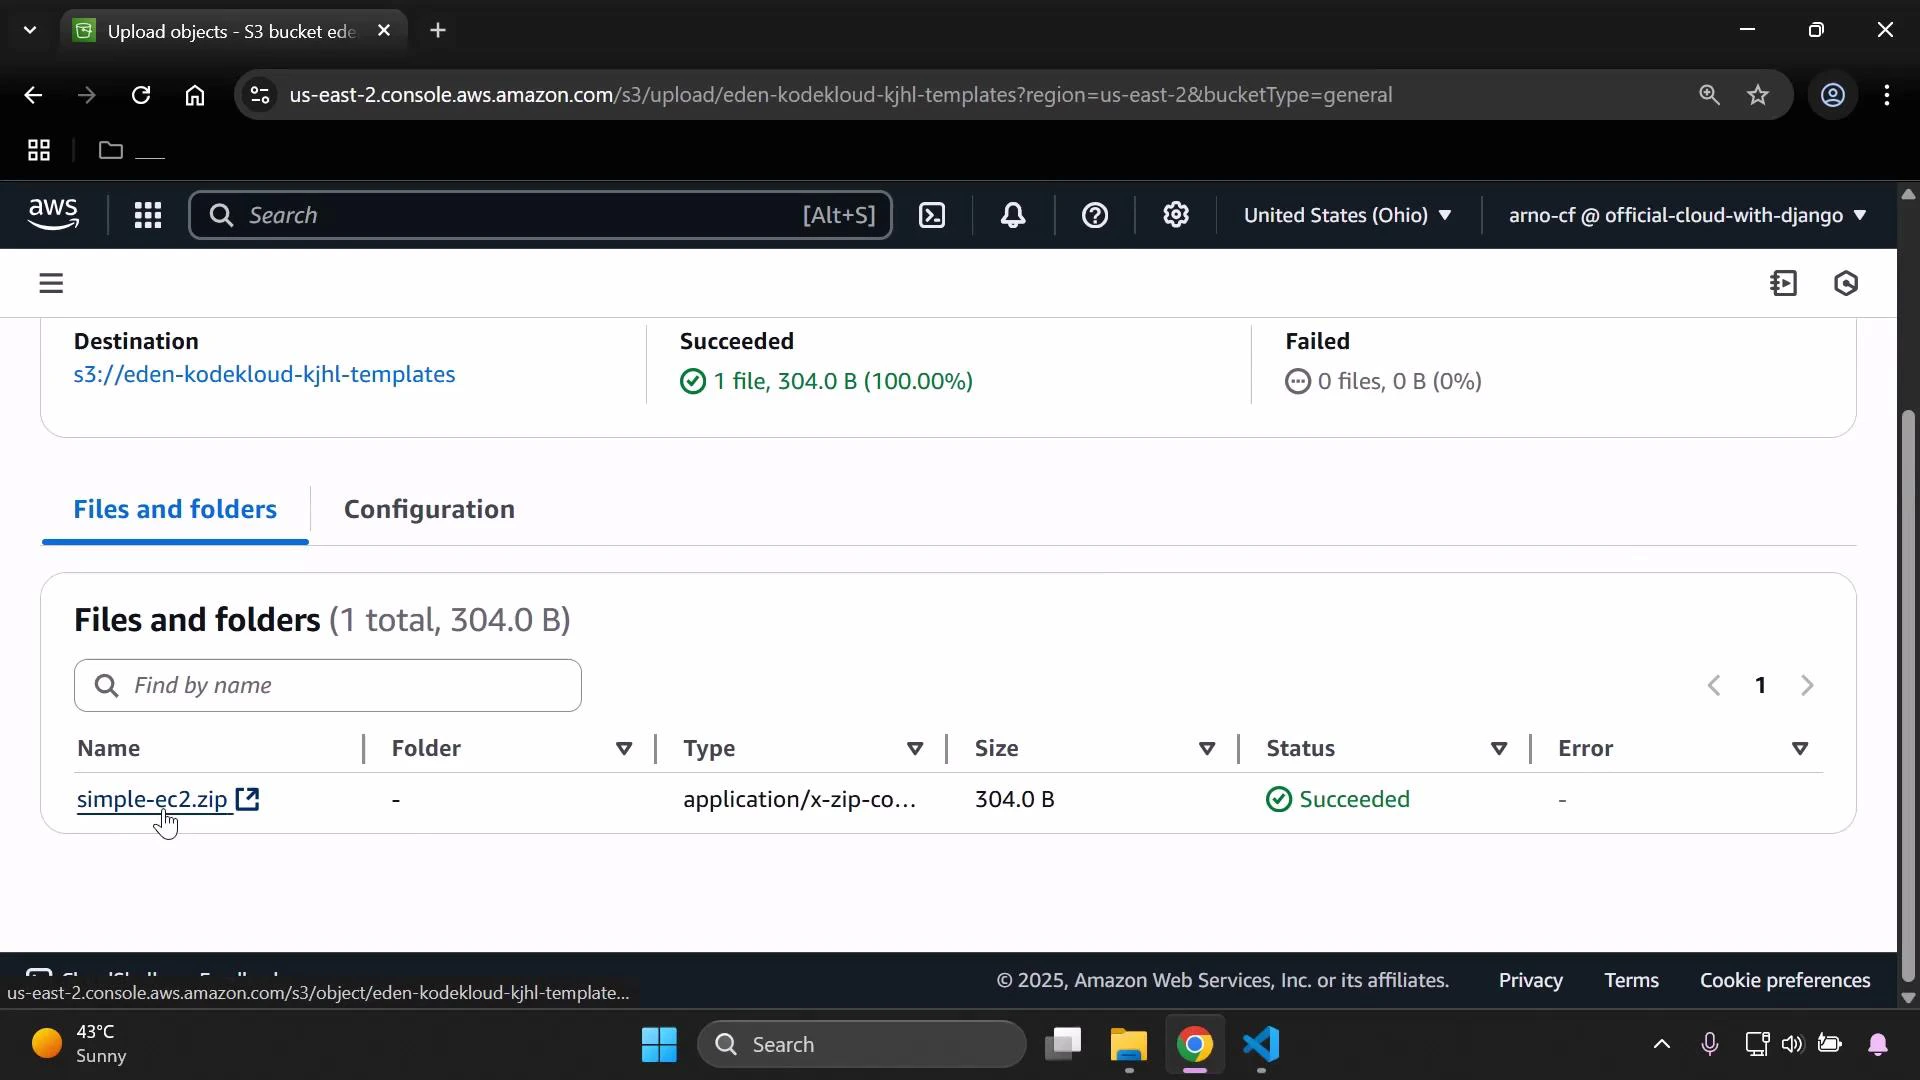
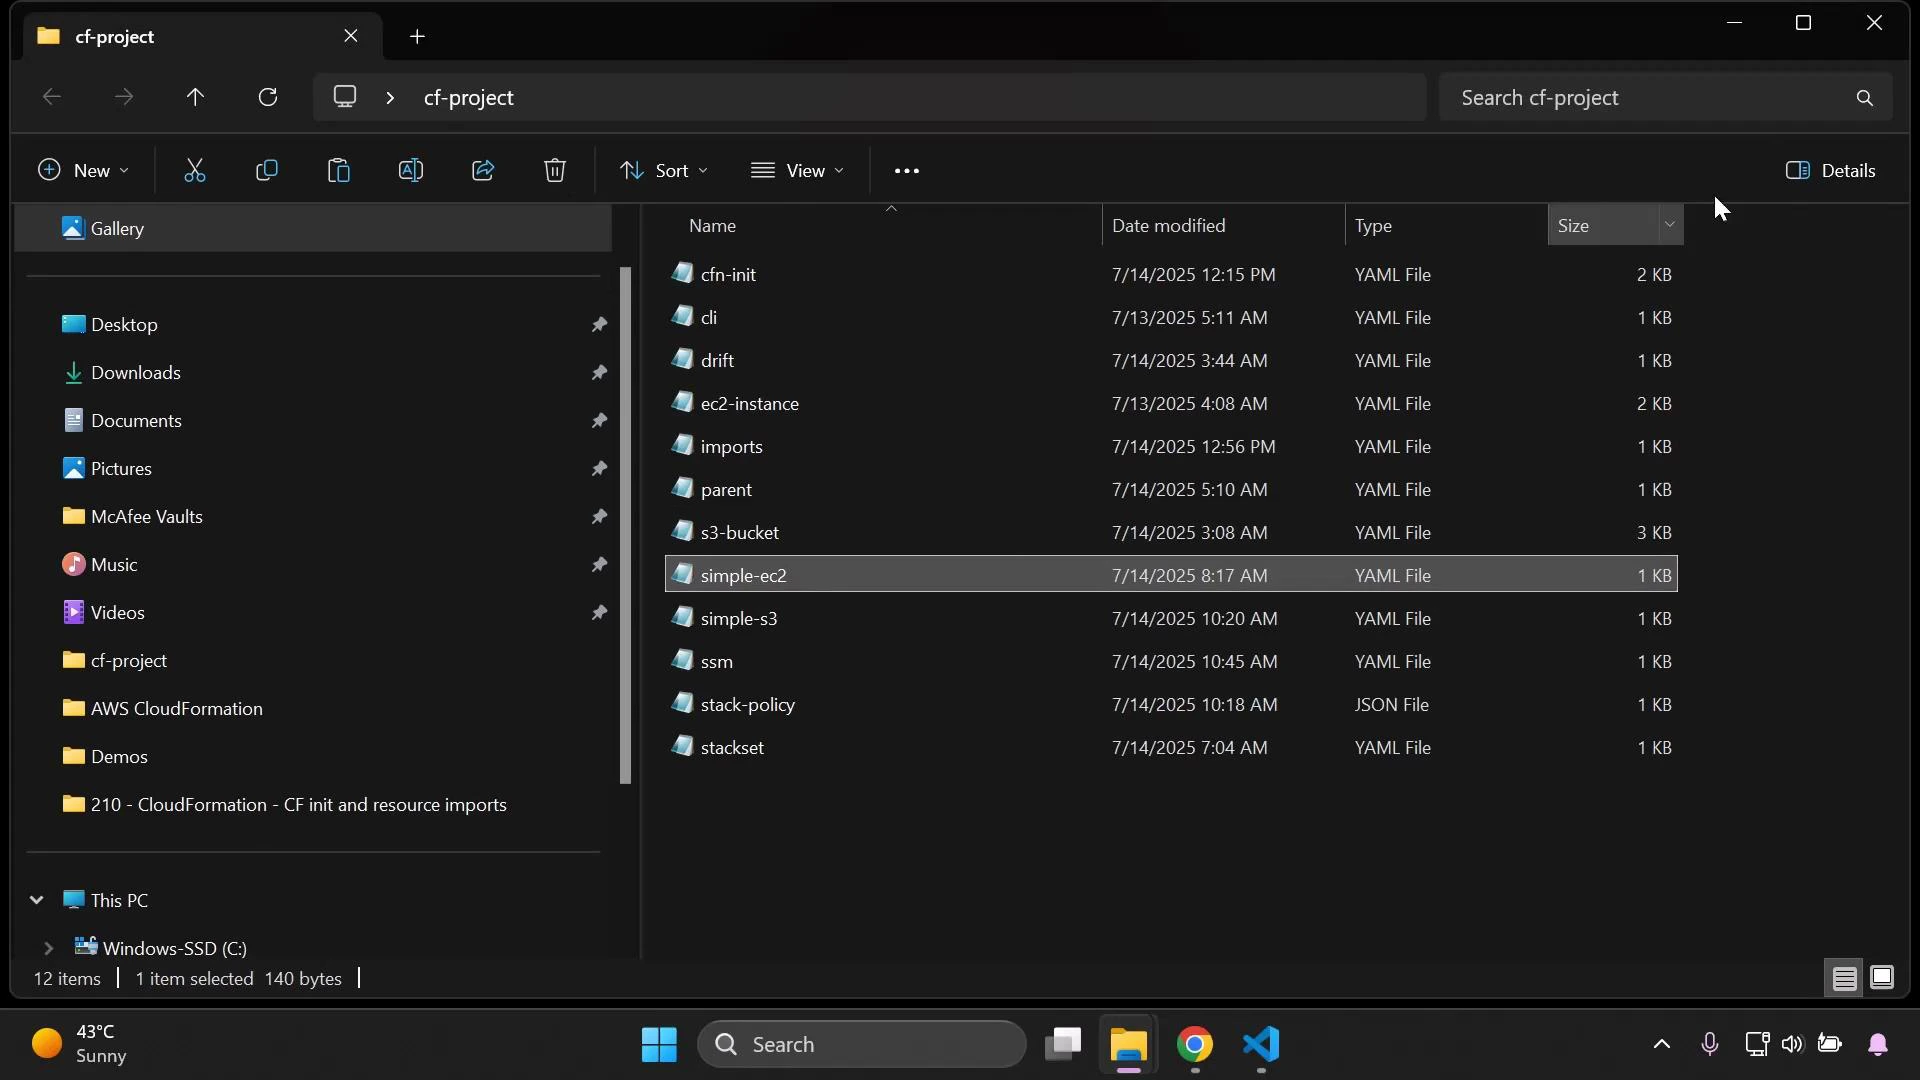 Upload the ZIP to your S3 bucket. After upload you should see the file listed, e.g. simple-ec2.zip.
 ## 3 — Create an IAM role CloudFormation can assume
CloudFormation needs an execution role to create resources on your behalf. Create an IAM role with a trust policy allowing CloudFormation to assume the role, and attach the required policies (for this demo we attach CloudFormation and EC2 full access).
Open IAM and create a new role:
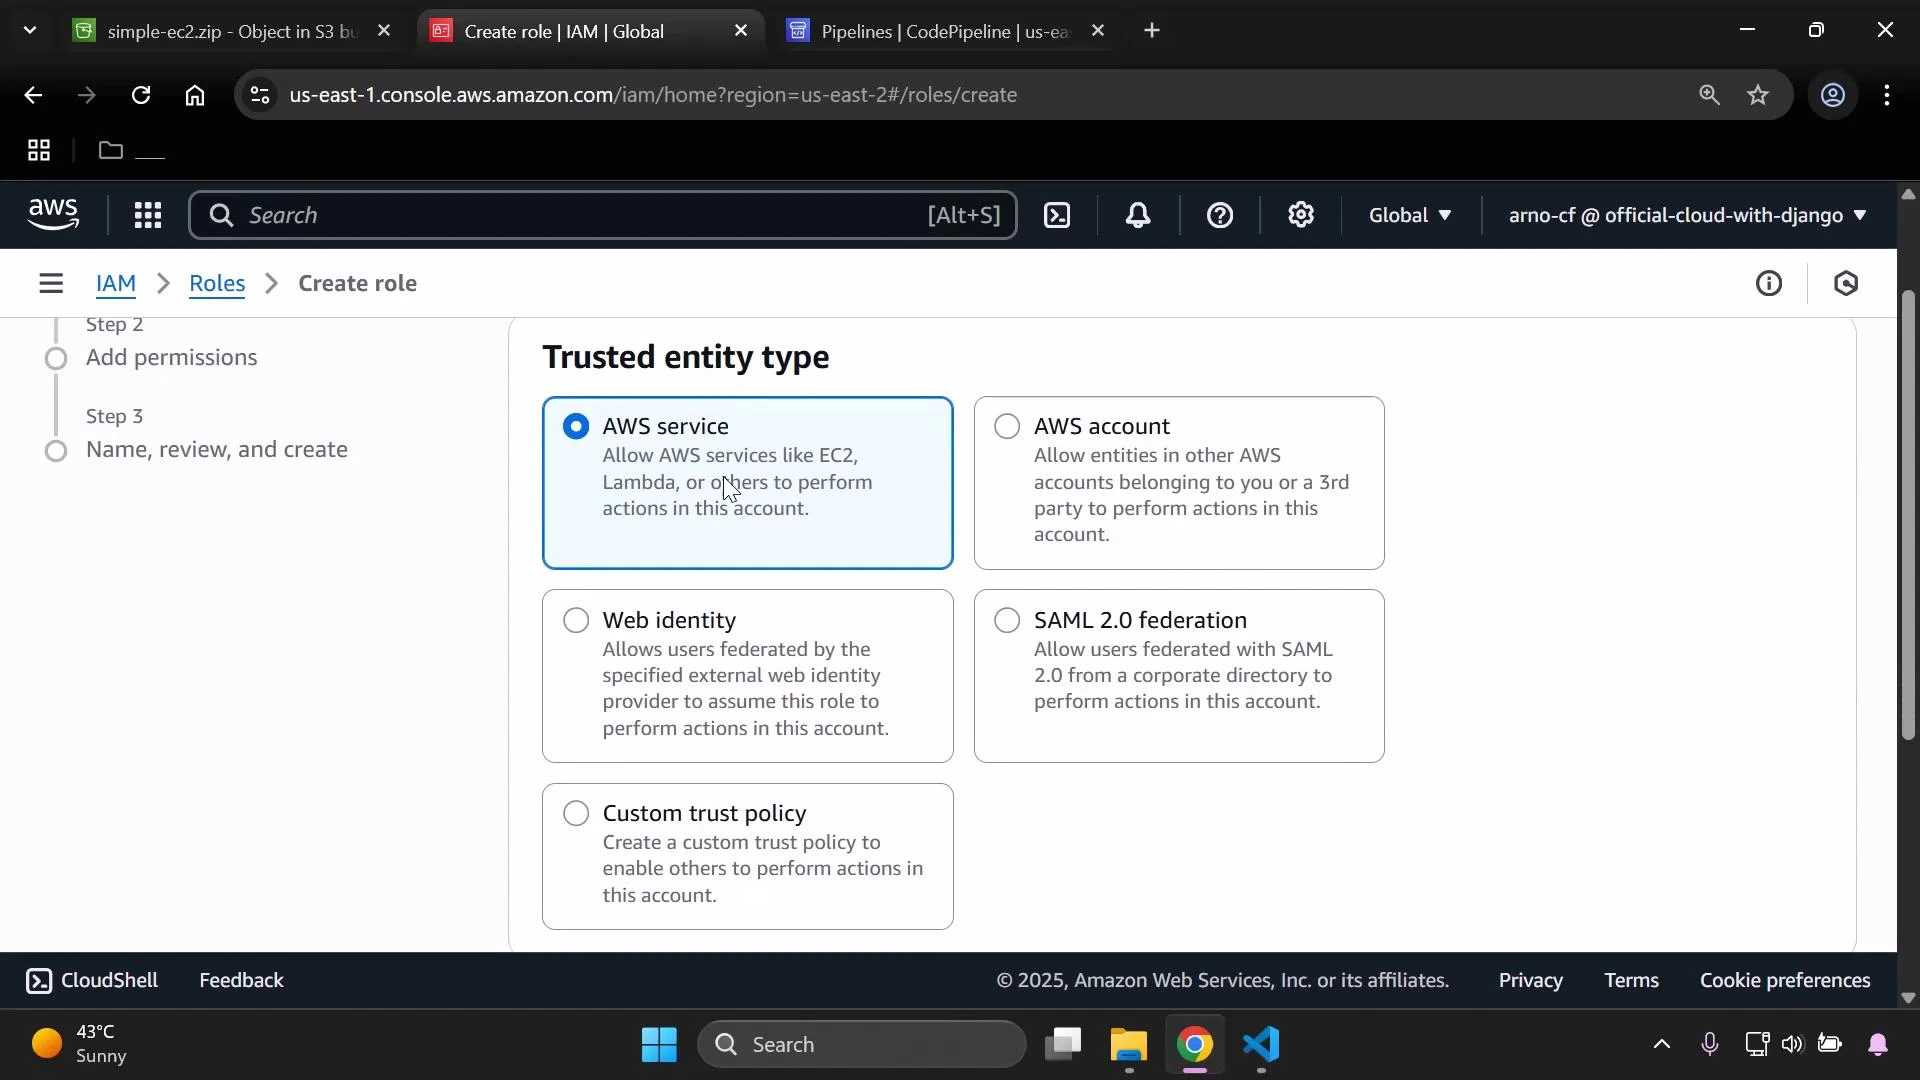
* Trusted entity: AWS service
* Use case: CloudFormation
## 3 — Create an IAM role CloudFormation can assume
CloudFormation needs an execution role to create resources on your behalf. Create an IAM role with a trust policy allowing CloudFormation to assume the role, and attach the required policies (for this demo we attach CloudFormation and EC2 full access).
Open IAM and create a new role:
* Trusted entity: AWS service
* Use case: CloudFormation
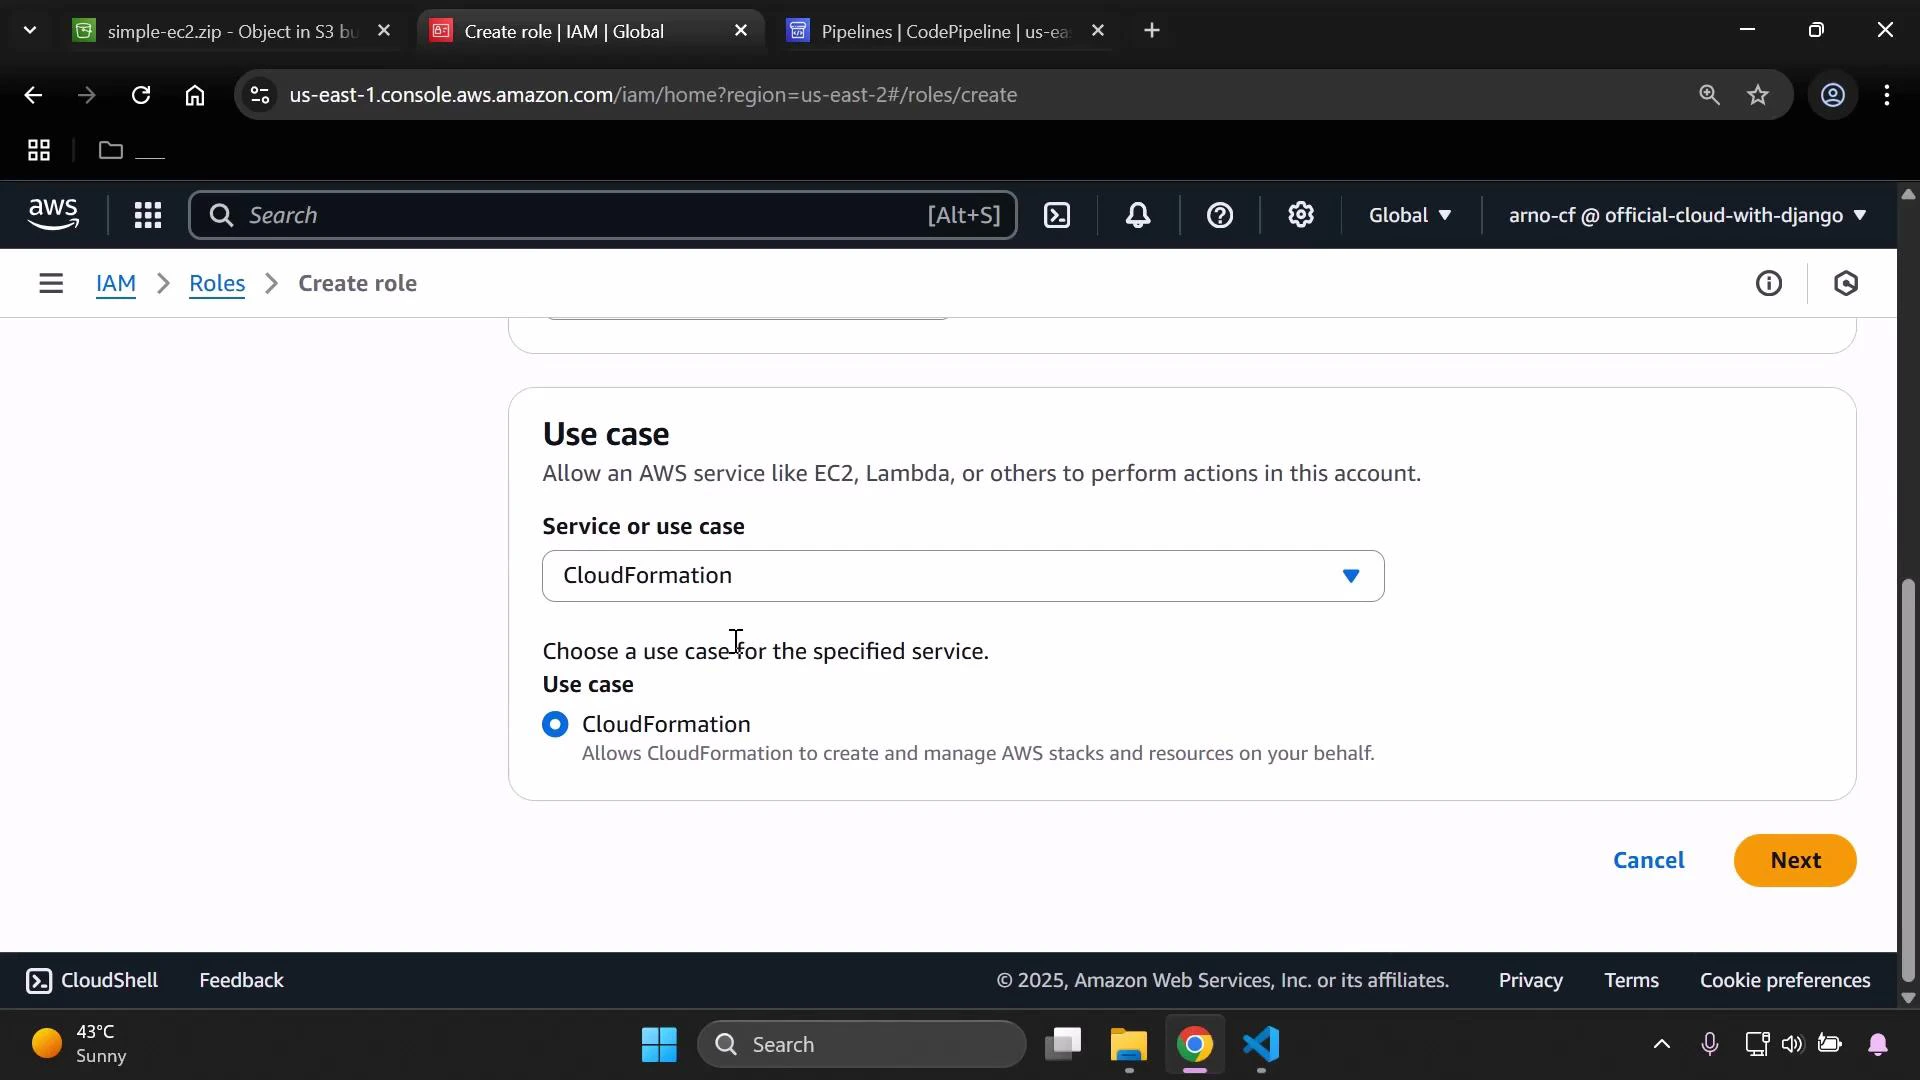
 Proceed to Add permissions and attach the managed policies needed for CloudFormation to create EC2 instances (example policies: AWSCloudFormationFullAccess, AmazonEC2FullAccess).
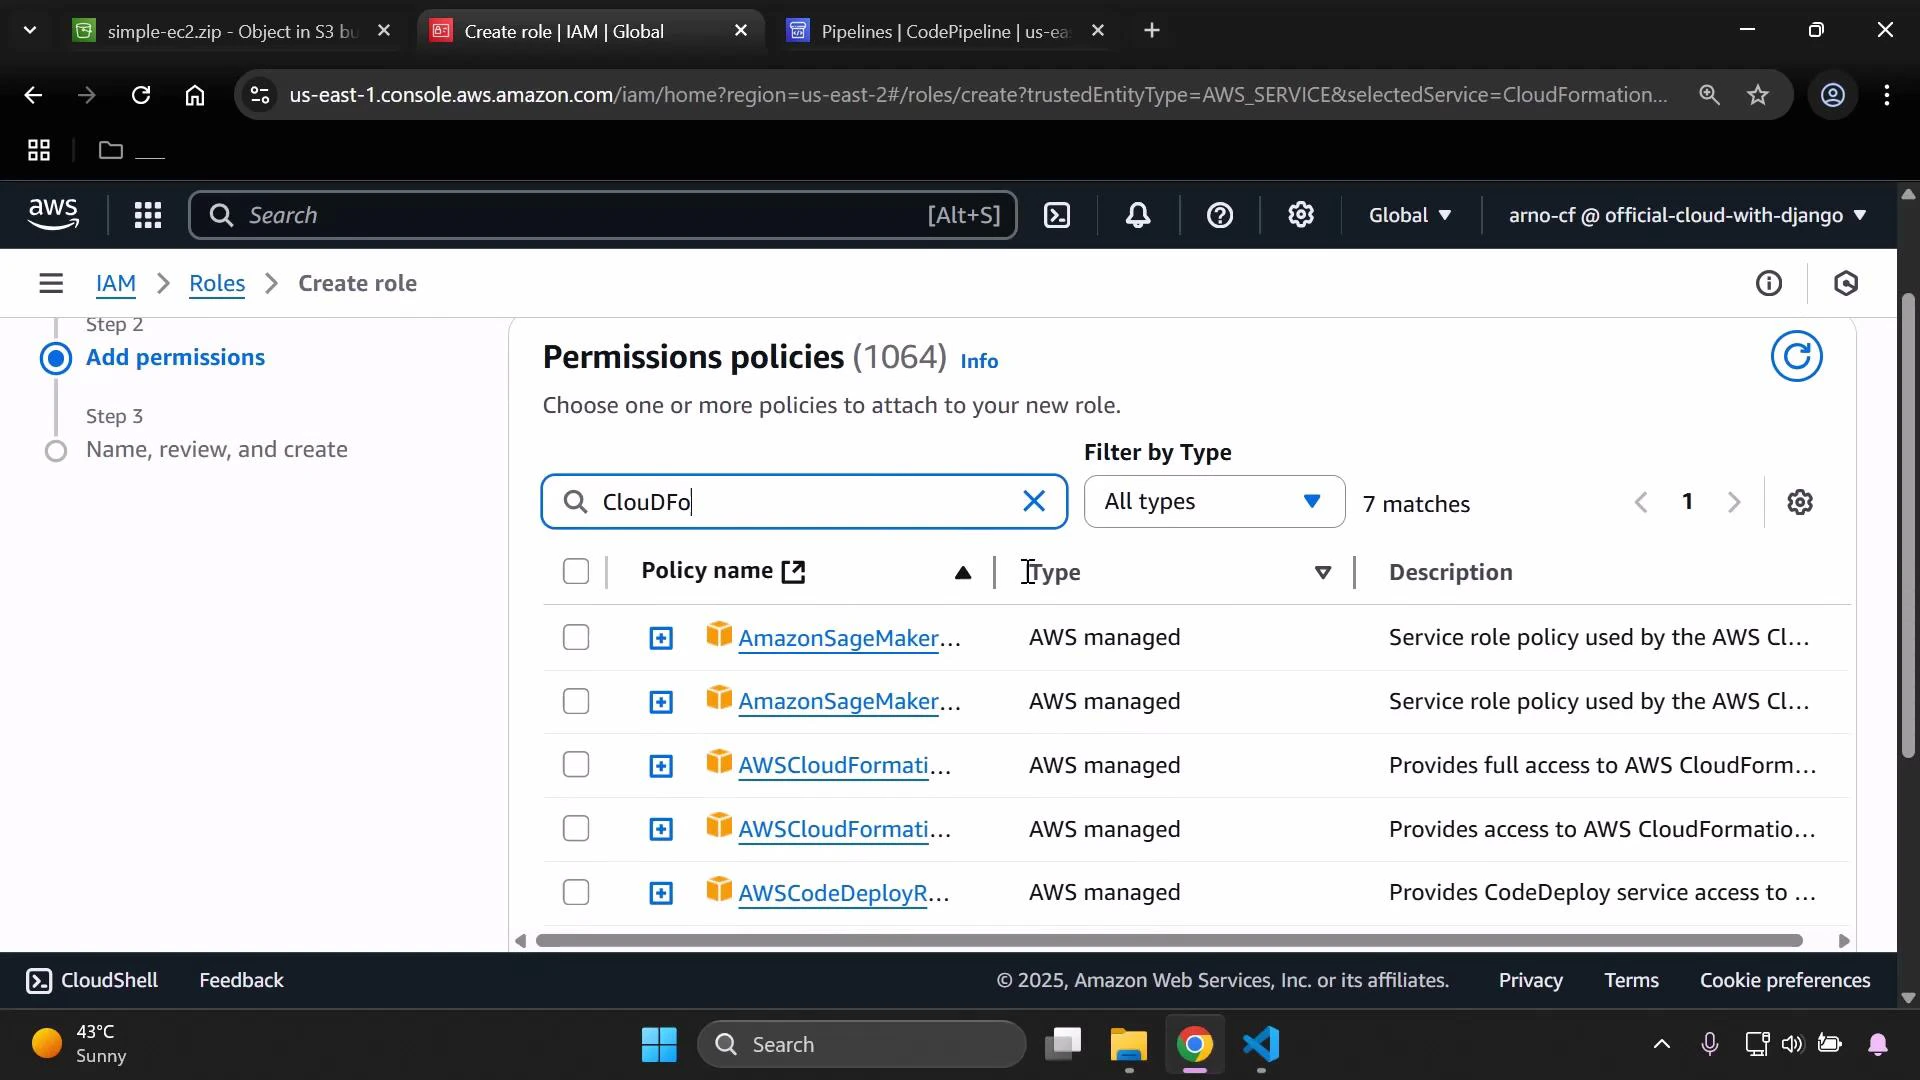
 Search and select the appropriate managed policies.
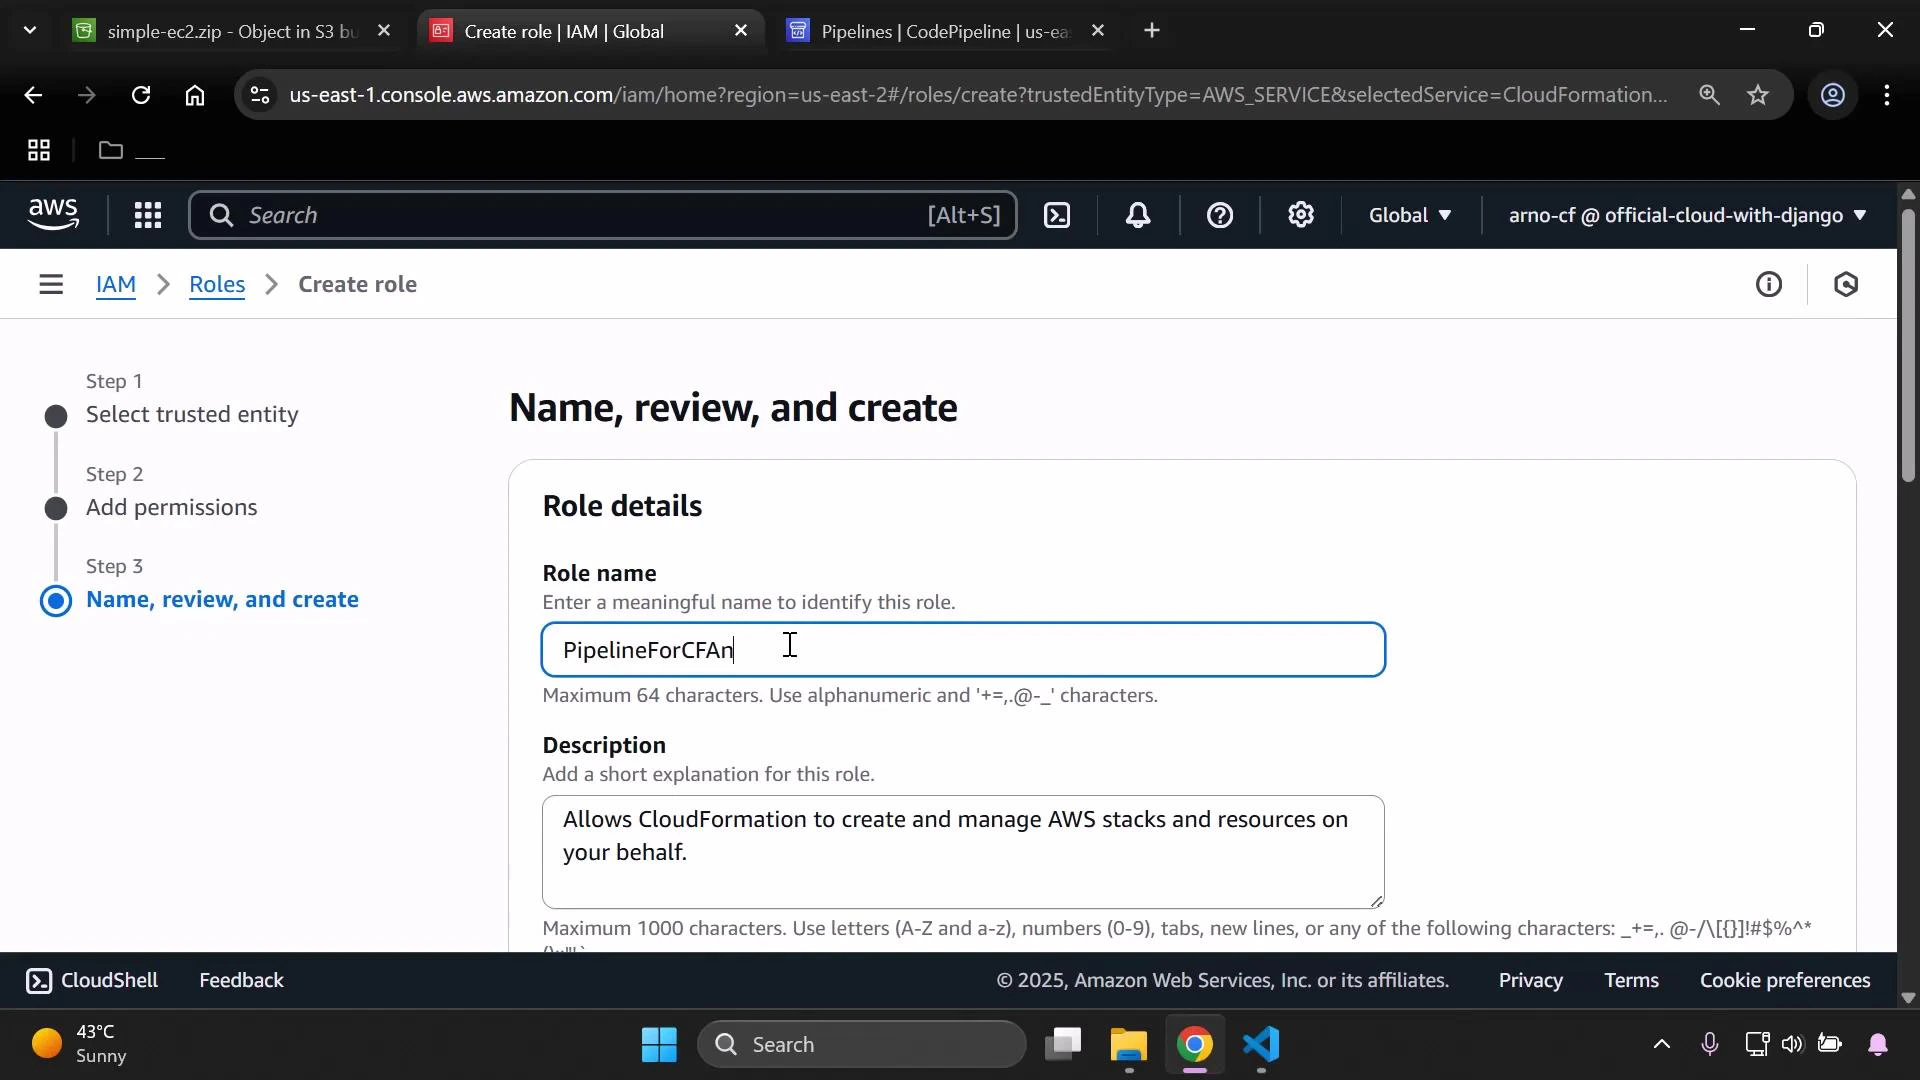
 Give the role a descriptive name (for example: PipelineForCFAndEC2) and an optional description. The role trust policy should allow CloudFormation to assume it; example trust policy:
```json theme={null}
{
"Version": "2012-10-17",
"Statement": [
{
"Sid": "",
"Effect": "Allow",
"Principal": {
"Service": "cloudformation.amazonaws.com"
},
"Action": "sts:AssumeRole"
}
]
}
```
Create the role when permissions and trust are configured.
Give the role a descriptive name (for example: PipelineForCFAndEC2) and an optional description. The role trust policy should allow CloudFormation to assume it; example trust policy:
```json theme={null}
{
"Version": "2012-10-17",
"Statement": [
{
"Sid": "",
"Effect": "Allow",
"Principal": {
"Service": "cloudformation.amazonaws.com"
},
"Action": "sts:AssumeRole"
}
]
}
```
Create the role when permissions and trust are configured.
 ## 4 — Create the CodePipeline
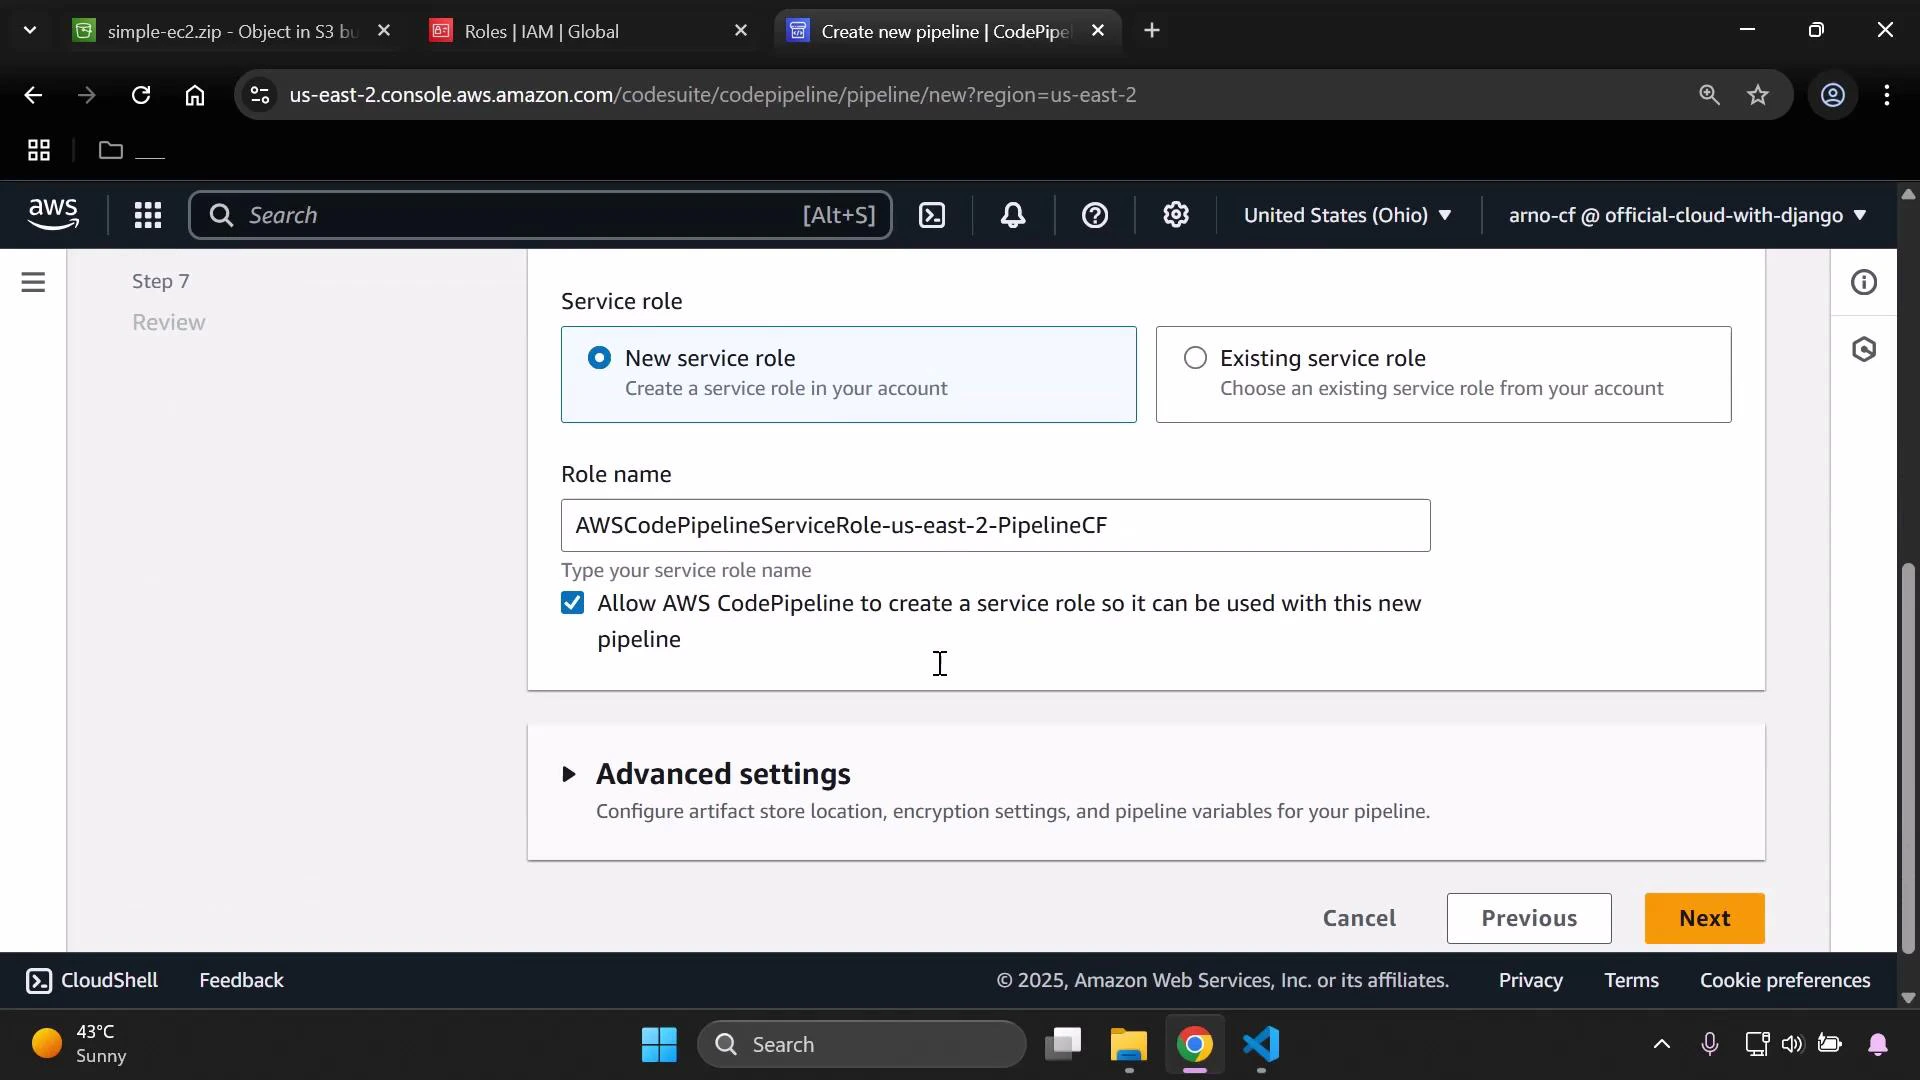
Open CodePipeline and create a new pipeline (use the wizard and select “Build a custom pipeline”). Choose a name (for example PipelineCF) and decide how to handle the service role (let CodePipeline create a service role or provide an existing role).
## 4 — Create the CodePipeline
Open CodePipeline and create a new pipeline (use the wizard and select “Build a custom pipeline”). Choose a name (for example PipelineCF) and decide how to handle the service role (let CodePipeline create a service role or provide an existing role).
 Configure pipeline stages:
* Source
* Provider: Amazon S3
* Bucket: the bucket you created
* Object key: the S3 object key for simple-ec2.zip (the ZIP you uploaded)
* Skip Build and Test stages if not required
* Deploy
* Provider: AWS CloudFormation
* Region: the region where you want resources created (example: us-east-2)
* Action mode: Create/Replace stack (or Create stack when creating a new stack)
* Stack name: choose a name (e.g., DemoStackPipeline)
* Template file: path inside the ZIP to the template (format: SourceArtifact::simple-ec2.yaml)
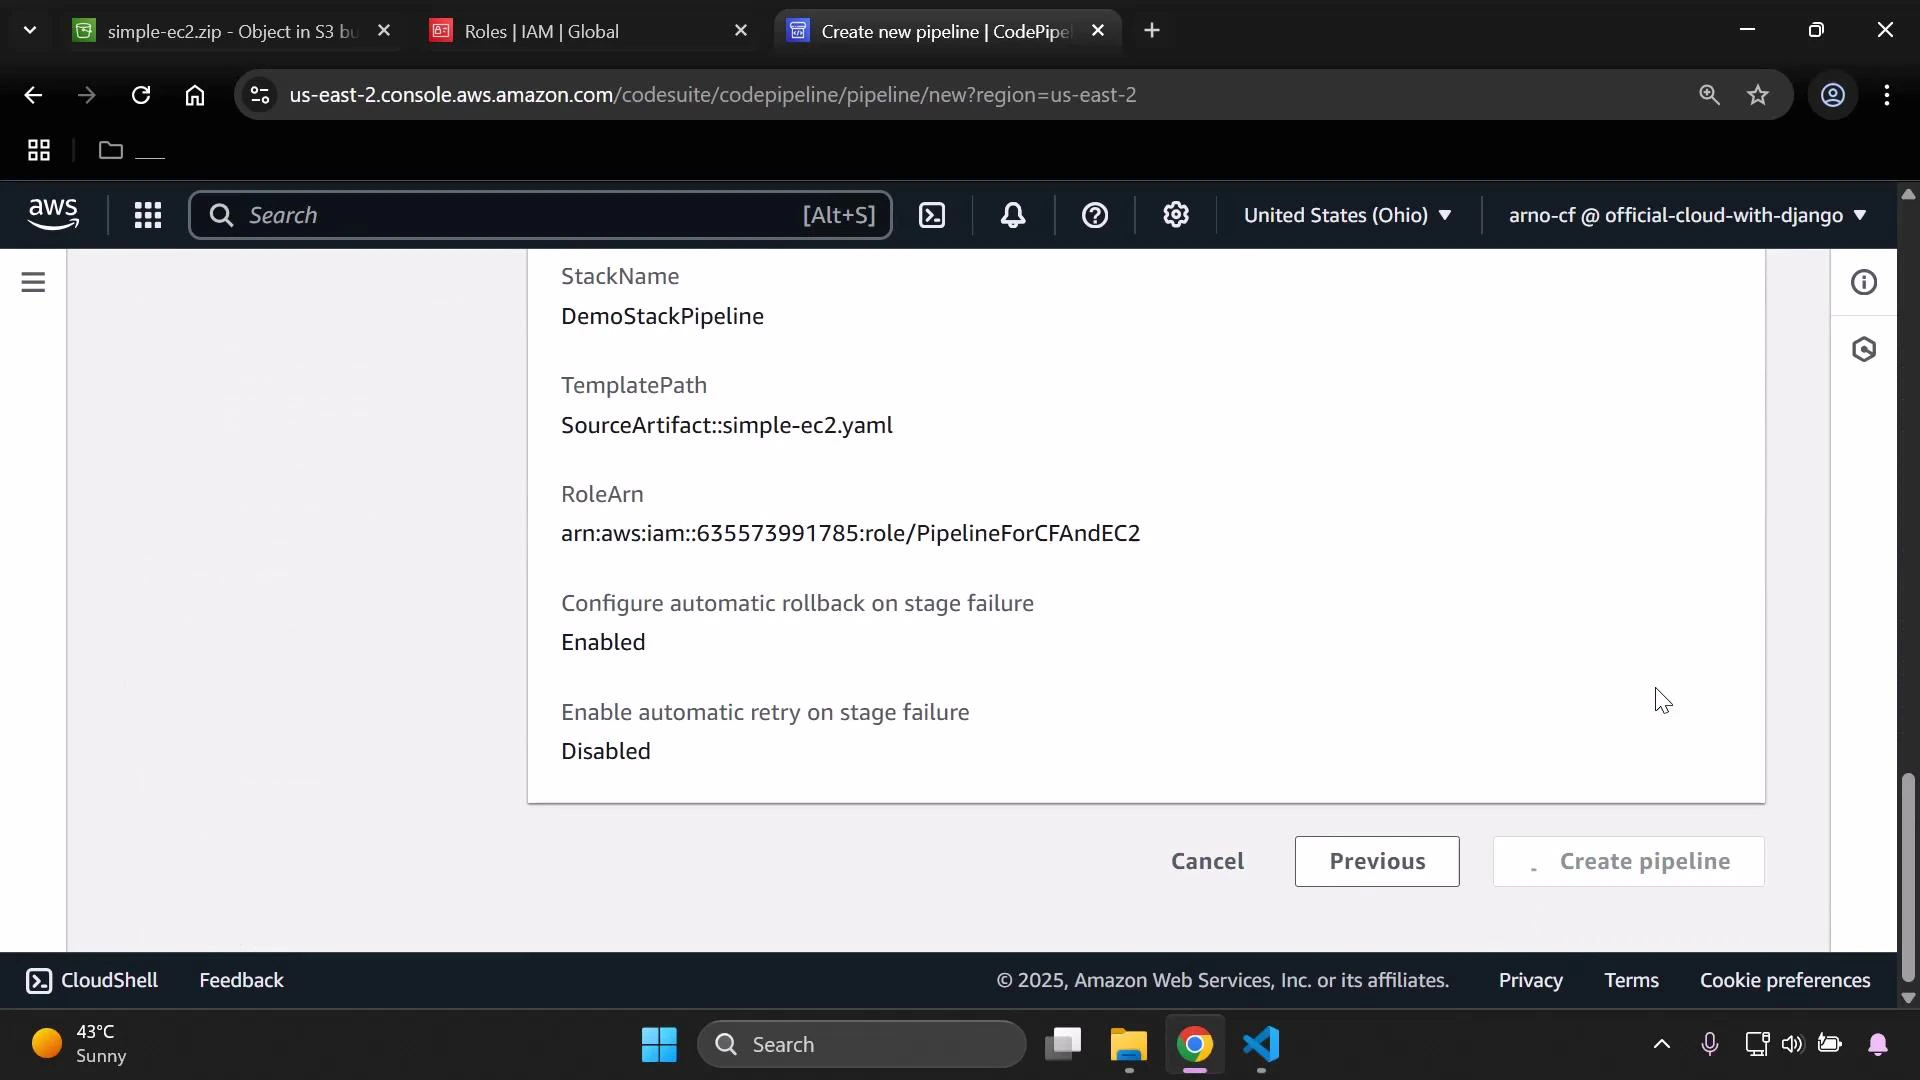
* Role: choose the IAM role you created for CloudFormation (PipelineForCFAndEC2)
Specifying TemplatePath as SourceArtifact::simple-ec2.yaml instructs CloudFormation to extract simple-ec2.yaml from the source ZIP artifact and use it as the stack template.
When you review and create the pipeline, CodePipeline will automatically start the first release: it downloads the ZIP from S3, extracts the template, and triggers CloudFormation.
Configure pipeline stages:
* Source
* Provider: Amazon S3
* Bucket: the bucket you created
* Object key: the S3 object key for simple-ec2.zip (the ZIP you uploaded)
* Skip Build and Test stages if not required
* Deploy
* Provider: AWS CloudFormation
* Region: the region where you want resources created (example: us-east-2)
* Action mode: Create/Replace stack (or Create stack when creating a new stack)
* Stack name: choose a name (e.g., DemoStackPipeline)
* Template file: path inside the ZIP to the template (format: SourceArtifact::simple-ec2.yaml)
* Role: choose the IAM role you created for CloudFormation (PipelineForCFAndEC2)
Specifying TemplatePath as SourceArtifact::simple-ec2.yaml instructs CloudFormation to extract simple-ec2.yaml from the source ZIP artifact and use it as the stack template.
When you review and create the pipeline, CodePipeline will automatically start the first release: it downloads the ZIP from S3, extracts the template, and triggers CloudFormation.
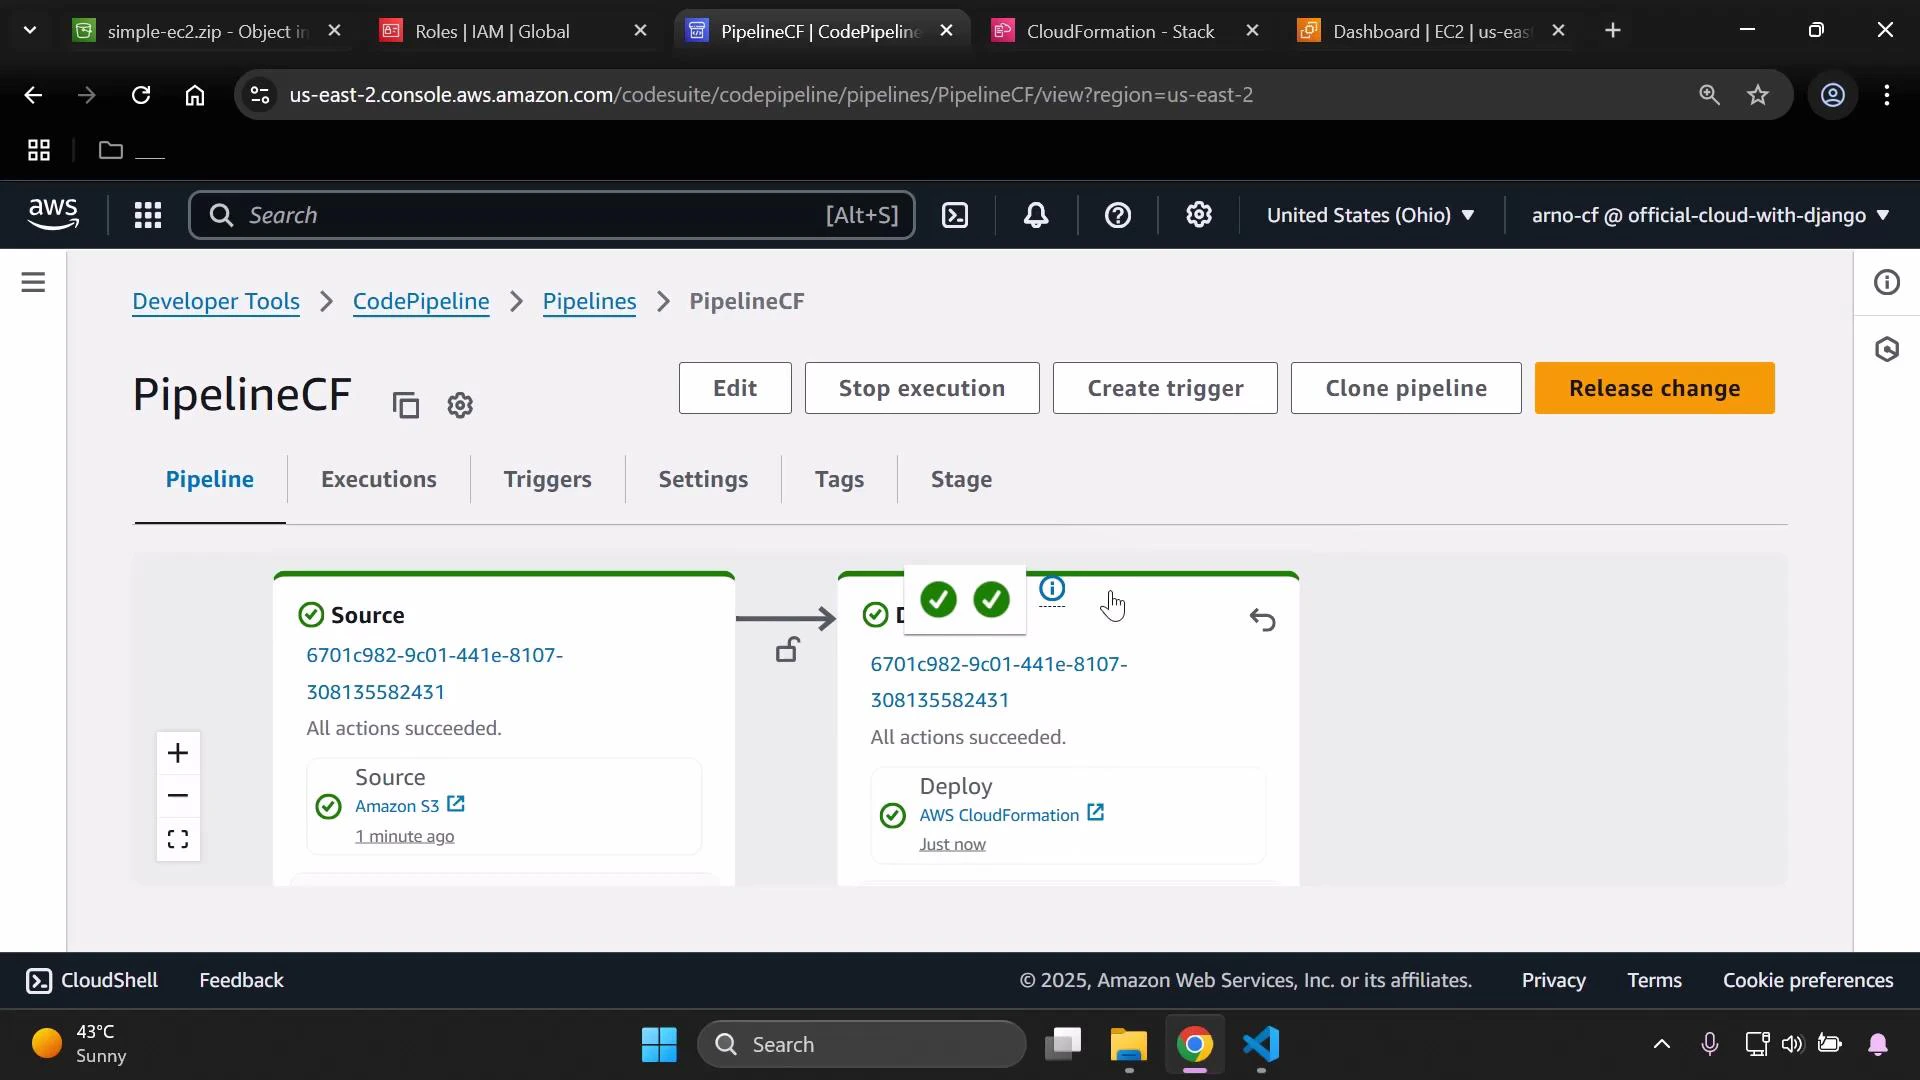
 Monitor the pipeline execution in CodePipeline. Both Source and Deploy stages should show success if everything is configured correctly.
 ## 5 — Verify the deployment
* Open CloudFormation and confirm the stack listed with the Stack name you specified.
* Open EC2 and verify an instance exists and is in the running state, matching the properties in simple-ec2.yaml.
If the pipeline completed successfully and CloudFormation created the stack and EC2 instance, the end-to-end pipeline is functioning: CodePipeline pulled the ZIP from S3, CloudFormation used the template inside the ZIP, and resources were provisioned.
## Quick reference: AWS resources used
| Resource | Purpose | Example/Notes |
| -------------- | --------------------------------------------------------- | ----------------------------------------------------------------- |
| S3 bucket | Store zipped CloudFormation templates/artifacts | Enable versioning for Source artifact tracking |
| IAM role | CloudFormation execution role (assumed by CloudFormation) | Attach AWSCloudFormationFullAccess and AmazonEC2FullAccess (demo) |
| CodePipeline | Orchestrates Source → (Build) → Deploy stages | Source: Amazon S3; Deploy: CloudFormation |
| CloudFormation | Creates and manages the stack/resources | Template path: SourceArtifact::simple-ec2.yaml |
## Tips and troubleshooting
* Ensure S3 bucket versioning is enabled so CodePipeline can reference object versions reliably.
* Confirm the Template file path inside the ZIP matches the TemplatePath you configure in CodePipeline (format: SourceArtifact::file.yaml).
* If stack creation fails, check CloudFormation events and logs for missing permissions or invalid parameters.
Enable S3 bucket versioning before using the bucket as a pipeline source so CodePipeline can reference and track specific object versions.
AMI IDs (ImageId) are region-specific. If the AMI in the template is not available in your target region, the CloudFormation stack will fail. Use a region-appropriate AMI or implement a parameterized AMI lookup.
## Links and references
* [AWS CloudFormation User Guide](https://docs.aws.amazon.com/AWSCloudFormation/latest/UserGuide/Welcome.html)
* [AWS CodePipeline User Guide](https://docs.aws.amazon.com/codepipeline/latest/userguide/welcome.html)
* [Amazon S3 Versioning](https://docs.aws.amazon.com/AmazonS3/latest/userguide/Versioning.html)
* [IAM Roles for Amazon CloudFormation](https://docs.aws.amazon.com/AWSCloudFormation/latest/UserGuide/using-iam-template.html)
That’s it — you now have a continuous-delivery pipeline that deploys a CloudFormation template stored in S3.
## 5 — Verify the deployment
* Open CloudFormation and confirm the stack listed with the Stack name you specified.
* Open EC2 and verify an instance exists and is in the running state, matching the properties in simple-ec2.yaml.
If the pipeline completed successfully and CloudFormation created the stack and EC2 instance, the end-to-end pipeline is functioning: CodePipeline pulled the ZIP from S3, CloudFormation used the template inside the ZIP, and resources were provisioned.
## Quick reference: AWS resources used
| Resource | Purpose | Example/Notes |
| -------------- | --------------------------------------------------------- | ----------------------------------------------------------------- |
| S3 bucket | Store zipped CloudFormation templates/artifacts | Enable versioning for Source artifact tracking |
| IAM role | CloudFormation execution role (assumed by CloudFormation) | Attach AWSCloudFormationFullAccess and AmazonEC2FullAccess (demo) |
| CodePipeline | Orchestrates Source → (Build) → Deploy stages | Source: Amazon S3; Deploy: CloudFormation |
| CloudFormation | Creates and manages the stack/resources | Template path: SourceArtifact::simple-ec2.yaml |
## Tips and troubleshooting
* Ensure S3 bucket versioning is enabled so CodePipeline can reference object versions reliably.
* Confirm the Template file path inside the ZIP matches the TemplatePath you configure in CodePipeline (format: SourceArtifact::file.yaml).
* If stack creation fails, check CloudFormation events and logs for missing permissions or invalid parameters.
Enable S3 bucket versioning before using the bucket as a pipeline source so CodePipeline can reference and track specific object versions.
AMI IDs (ImageId) are region-specific. If the AMI in the template is not available in your target region, the CloudFormation stack will fail. Use a region-appropriate AMI or implement a parameterized AMI lookup.
## Links and references
* [AWS CloudFormation User Guide](https://docs.aws.amazon.com/AWSCloudFormation/latest/UserGuide/Welcome.html)
* [AWS CodePipeline User Guide](https://docs.aws.amazon.com/codepipeline/latest/userguide/welcome.html)
* [Amazon S3 Versioning](https://docs.aws.amazon.com/AmazonS3/latest/userguide/Versioning.html)
* [IAM Roles for Amazon CloudFormation](https://docs.aws.amazon.com/AWSCloudFormation/latest/UserGuide/using-iam-template.html)
That’s it — you now have a continuous-delivery pipeline that deploys a CloudFormation template stored in S3.