> ## Documentation Index
> Fetch the complete documentation index at: https://notes.kodekloud.com/llms.txt
> Use this file to discover all available pages before exploring further.
# Demo Using a CloudFormation template to provision a basic EC2 Instance
> Guide to creating and deploying a minimal AWS CloudFormation template that provisions a basic EC2 t3.micro instance and validates it before stack creation
In this lesson you'll create a minimal AWS CloudFormation template that provisions a single EC2 instance. The goal is to demonstrate the bare minimum properties required to launch an instance, validate the template locally, and deploy it through the CloudFormation console.
Before you start, open the EC2 console in the AWS region you want to use. AMI IDs are region-specific, so for reproducibility while following this lesson it's easiest to use the same region shown in the screenshots because the AMI ID used below will only work in that region.
AMI IDs are unique per region. If you change regions, find and use the matching AMI ID for that region (use the EC2 AMIs page to search by name).
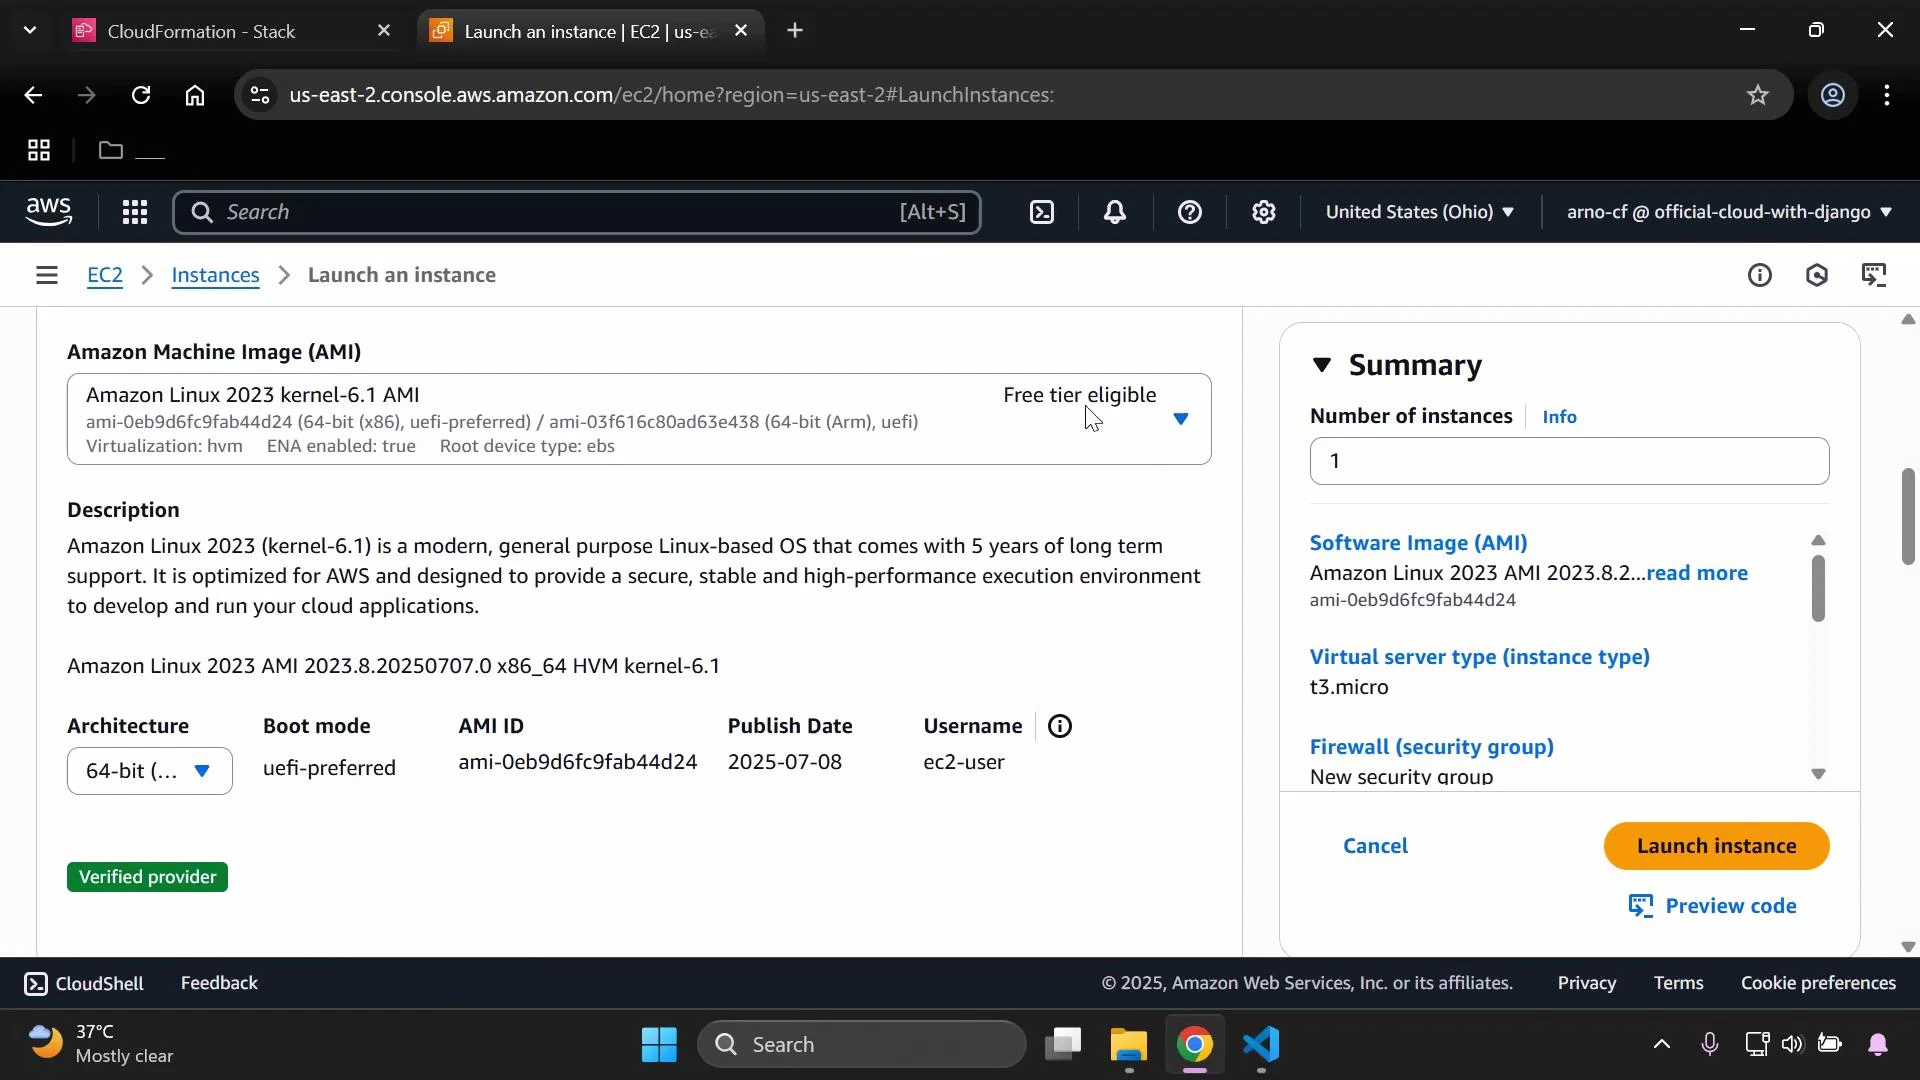 Keep that EC2 page open (or copy the AMI ID) because you will need the ImageId value when writing the CloudFormation template.
Create a new file named `ec2-instance.yaml` in your CloudFormation project (for example, open the project in Visual Studio Code).
If your project already contains other templates, you might have existing Mappings and Parameters. Below is a corrected, minimal example showing how Mappings and Parameters are structured. This example is optional and not required for the minimal EC2 template that follows:
```yaml theme={null}
Mappings:
DevMap:
Arno:
Field: "Quality assurance"
Env: "Testing/development"
Alice:
Field: "Backend developer"
Env: "Production"
Parameters:
InputBucketName:
Type: String
Description: "Please enter your desired S3 bucket name"
InputDeveloperName:
Type: String
Description: "Developer name used for tagging"
AllowedValues:
- Arno
- Alice
```
Key elements required in the minimal EC2 template:
* The top-level Resources block
* A logical resource name (here: MyInstance)
* Resource Type: `AWS::EC2::Instance`
* Required properties: `InstanceType` and `ImageId`
Table: Minimal CloudFormation resource elements for an EC2 instance
| Element | Purpose | Example |
| ---------: | ------------------------------------------- | ------------------------- |
| Resources | Container for all stack resources | `Resources:` |
| Logical ID | Template-local name for the resource | `MyInstance:` |
| Type | Resource type identifier | `AWS::EC2::Instance` |
| Properties | Resource properties (required and optional) | `InstanceType`, `ImageId` |
Below is a minimal CloudFormation template that creates a `t3.micro` EC2 instance using a specific AMI ID (example AMI ID shown in the screenshot). Replace the `ImageId` value with the correct AMI ID for the region you are using.
```yaml theme={null}
AWSTemplateFormatVersion: '2010-09-09'
Description: "Minimal template to create an EC2 instance"
Resources:
MyInstance:
Type: AWS::EC2::Instance
Properties:
InstanceType: t3.micro
ImageId: ami-0eb9d6fc9fab44d24
```
Save the file as `ec2-instance.yaml`.
Validate the template locally (recommended) with cfn-lint. If you have cfn-lint installed, run:
```bash theme={null}
cfn-lint ec2-instance.yaml
```
If cfn-lint reports no errors, the template is ready to upload to the CloudFormation console.
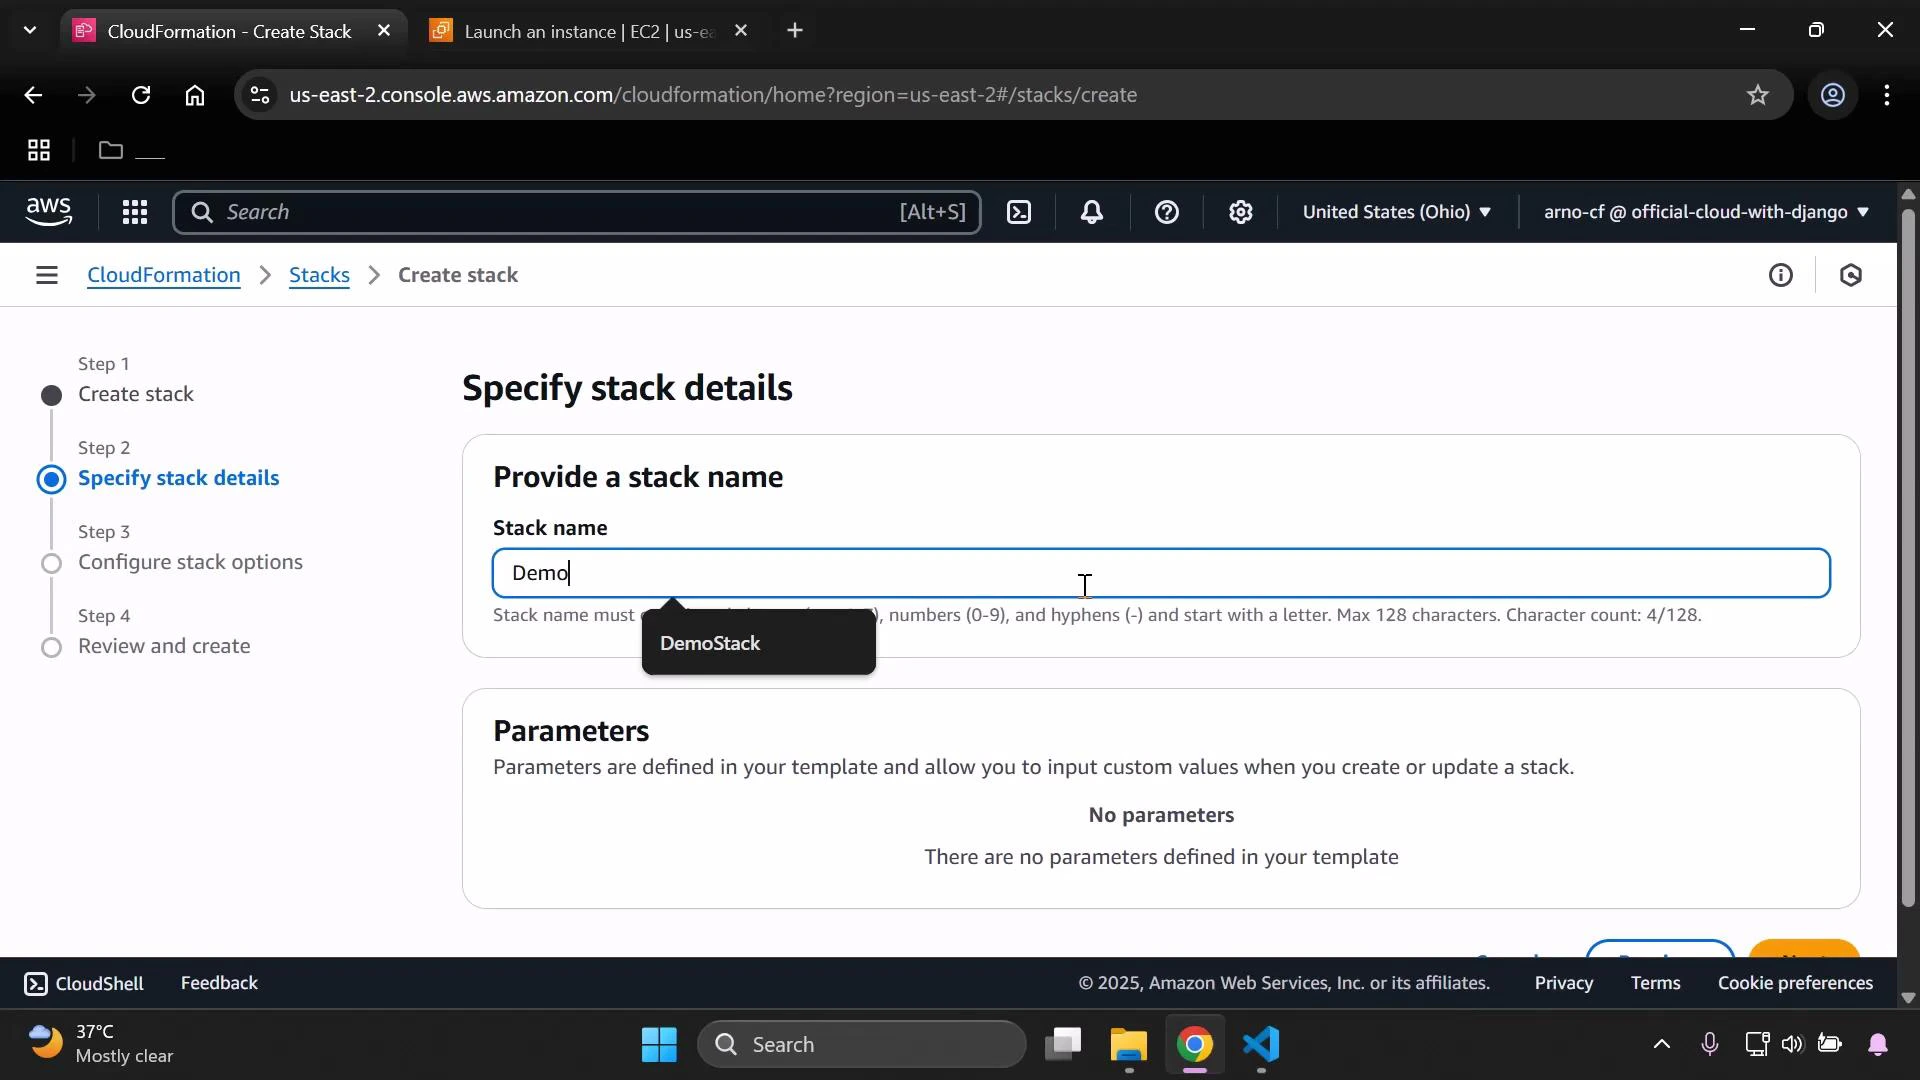
Now open the CloudFormation console and create a new stack. Choose to upload a local template file (select the `ec2-instance.yaml` you just saved) and proceed through the stack creation steps.
Keep that EC2 page open (or copy the AMI ID) because you will need the ImageId value when writing the CloudFormation template.
Create a new file named `ec2-instance.yaml` in your CloudFormation project (for example, open the project in Visual Studio Code).
If your project already contains other templates, you might have existing Mappings and Parameters. Below is a corrected, minimal example showing how Mappings and Parameters are structured. This example is optional and not required for the minimal EC2 template that follows:
```yaml theme={null}
Mappings:
DevMap:
Arno:
Field: "Quality assurance"
Env: "Testing/development"
Alice:
Field: "Backend developer"
Env: "Production"
Parameters:
InputBucketName:
Type: String
Description: "Please enter your desired S3 bucket name"
InputDeveloperName:
Type: String
Description: "Developer name used for tagging"
AllowedValues:
- Arno
- Alice
```
Key elements required in the minimal EC2 template:
* The top-level Resources block
* A logical resource name (here: MyInstance)
* Resource Type: `AWS::EC2::Instance`
* Required properties: `InstanceType` and `ImageId`
Table: Minimal CloudFormation resource elements for an EC2 instance
| Element | Purpose | Example |
| ---------: | ------------------------------------------- | ------------------------- |
| Resources | Container for all stack resources | `Resources:` |
| Logical ID | Template-local name for the resource | `MyInstance:` |
| Type | Resource type identifier | `AWS::EC2::Instance` |
| Properties | Resource properties (required and optional) | `InstanceType`, `ImageId` |
Below is a minimal CloudFormation template that creates a `t3.micro` EC2 instance using a specific AMI ID (example AMI ID shown in the screenshot). Replace the `ImageId` value with the correct AMI ID for the region you are using.
```yaml theme={null}
AWSTemplateFormatVersion: '2010-09-09'
Description: "Minimal template to create an EC2 instance"
Resources:
MyInstance:
Type: AWS::EC2::Instance
Properties:
InstanceType: t3.micro
ImageId: ami-0eb9d6fc9fab44d24
```
Save the file as `ec2-instance.yaml`.
Validate the template locally (recommended) with cfn-lint. If you have cfn-lint installed, run:
```bash theme={null}
cfn-lint ec2-instance.yaml
```
If cfn-lint reports no errors, the template is ready to upload to the CloudFormation console.
Now open the CloudFormation console and create a new stack. Choose to upload a local template file (select the `ec2-instance.yaml` you just saved) and proceed through the stack creation steps.
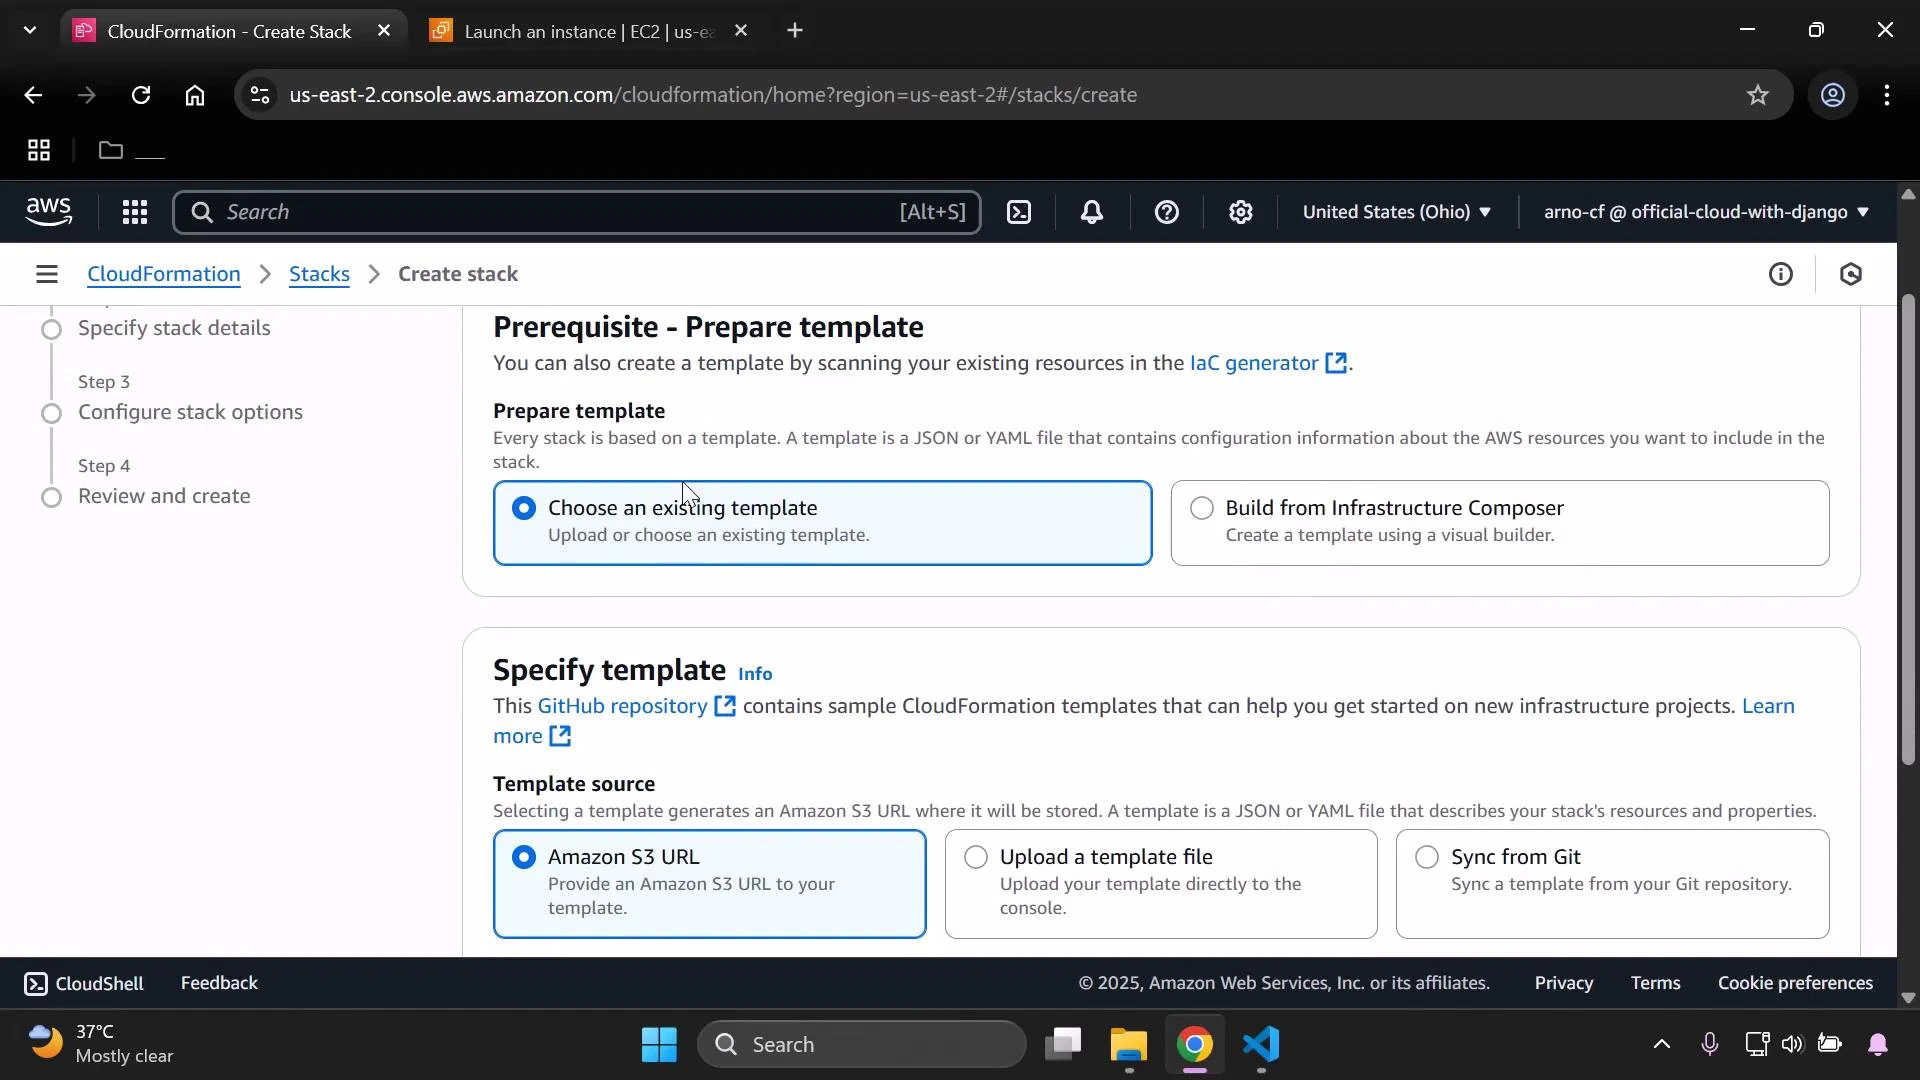 When prompted, give the stack a name (for example, `demo-stack`) and continue with the default options. Because this minimal template does not define Parameters, the CloudFormation console will display "No parameters" on the Specify stack details step.
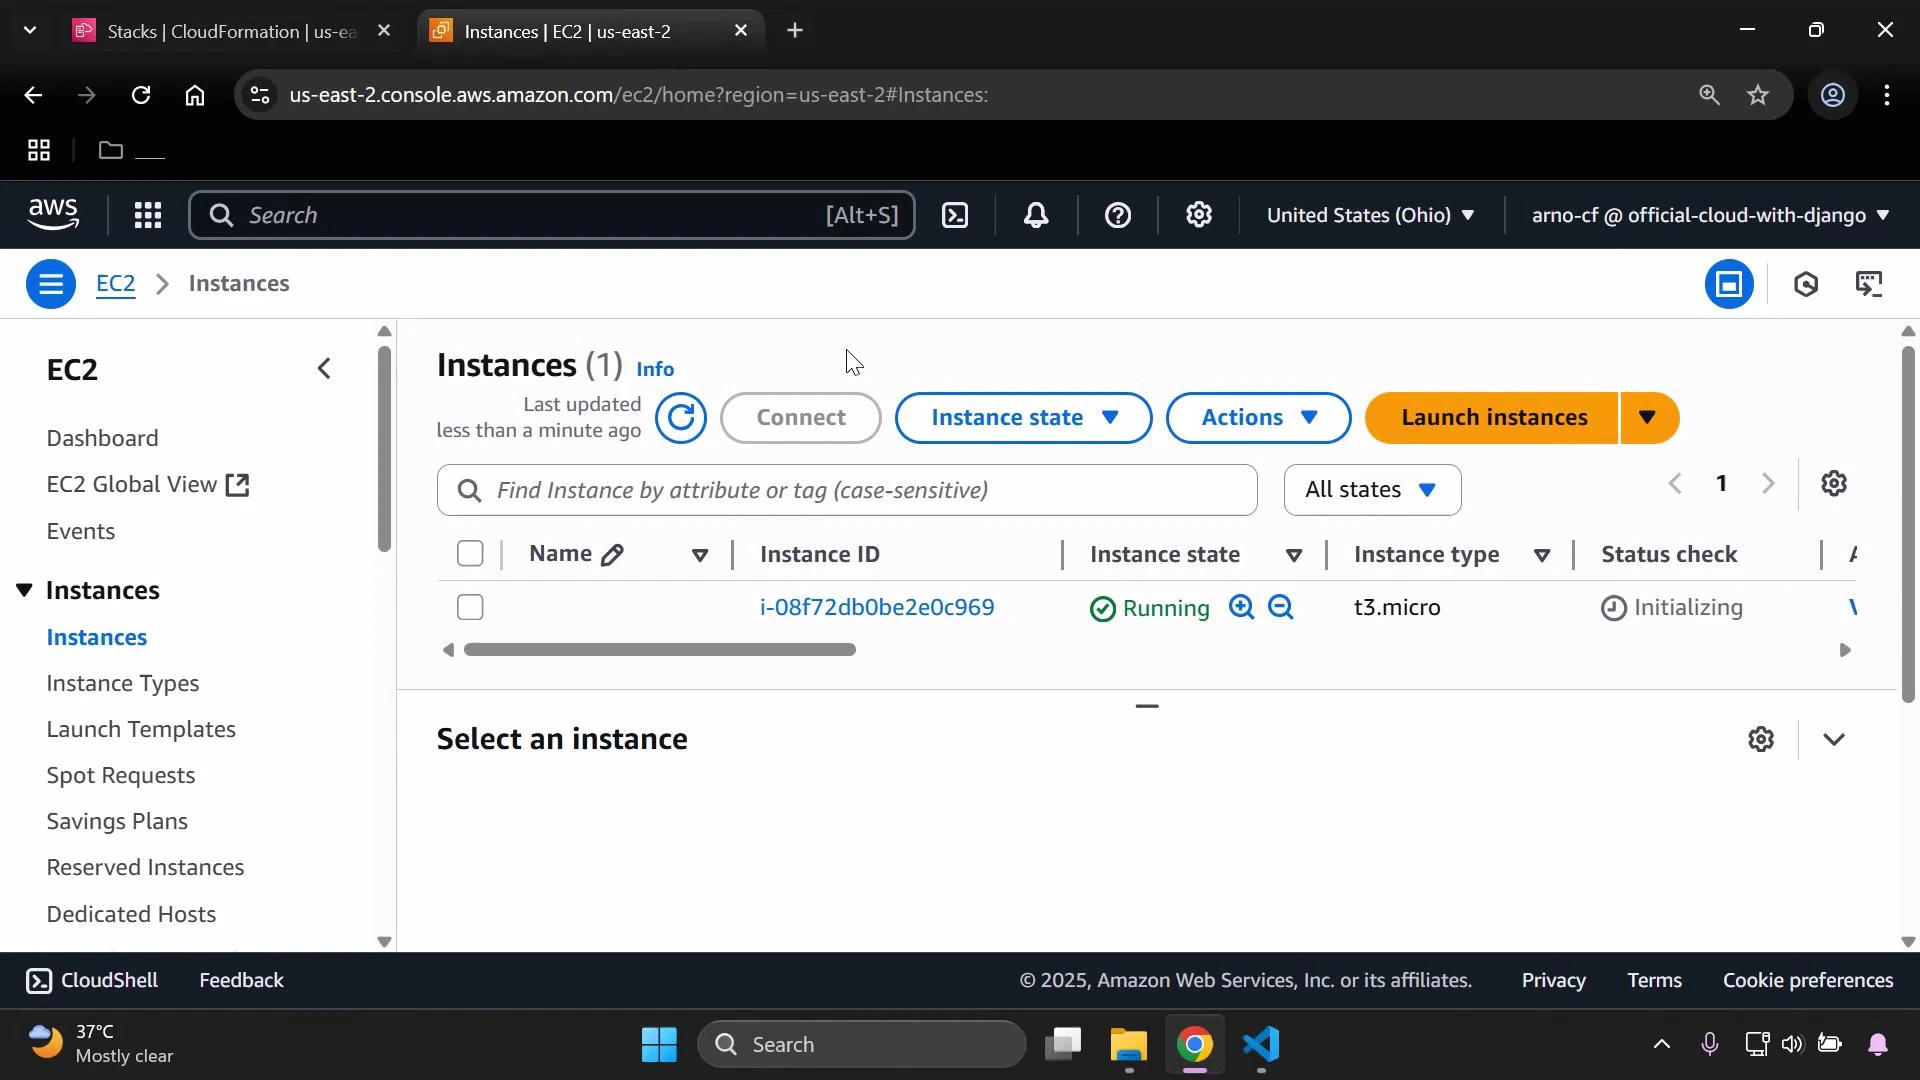
 Submit the stack creation. Monitor the CloudFormation Events tab to track resource creation progress. When the stack reaches `CREATE_COMPLETE`, open the EC2 console and view Instances to confirm the instance is running.
You should see the instance launched with the instance type and AMI/platform defined in the template. By default, CloudFormation places the instance into your account's default VPC and default security group unless you specify otherwise. If you want to control placement, add `SubnetId` or `AvailabilityZone` to the resource's Properties.
Submit the stack creation. Monitor the CloudFormation Events tab to track resource creation progress. When the stack reaches `CREATE_COMPLETE`, open the EC2 console and view Instances to confirm the instance is running.
You should see the instance launched with the instance type and AMI/platform defined in the template. By default, CloudFormation places the instance into your account's default VPC and default security group unless you specify otherwise. If you want to control placement, add `SubnetId` or `AvailabilityZone` to the resource's Properties.
 This minimal template does not configure SSH key pairs, security groups, or user data. For production or remote access, add a KeyName, security group rules, and UserData to install or configure software at launch. Leaving defaults may expose the instance to restricted access — always follow security best practices.
Next steps you can add to the template (optional):
* Add a KeyPair: `KeyName` property for SSH access.
* Create or reference Security Groups to allow HTTP/SSH traffic.
* Add `UserData` to bootstrap software (e.g., install and start a web server).
* Add Tags for cost allocation and resource identification.
* Specify `SubnetId` or `AvailabilityZone` to control placement.
Useful links and references:
* [AWS CloudFormation Documentation](https://docs.aws.amazon.com/cloudformation/index.html)
* [EC2 AMIs and Images - AWS Documentation](https://docs.aws.amazon.com/AWSEC2/latest/UserGuide/AMIs.html)
* [cfn-lint GitHub repository](https://github.com/aws-cloudformation/cfn-lint)
That's the simplest CloudFormation approach to provision a basic EC2 instance. From here you can extend the template to include keys, networking, user data, tags, and more to match your deployment requirements.
This minimal template does not configure SSH key pairs, security groups, or user data. For production or remote access, add a KeyName, security group rules, and UserData to install or configure software at launch. Leaving defaults may expose the instance to restricted access — always follow security best practices.
Next steps you can add to the template (optional):
* Add a KeyPair: `KeyName` property for SSH access.
* Create or reference Security Groups to allow HTTP/SSH traffic.
* Add `UserData` to bootstrap software (e.g., install and start a web server).
* Add Tags for cost allocation and resource identification.
* Specify `SubnetId` or `AvailabilityZone` to control placement.
Useful links and references:
* [AWS CloudFormation Documentation](https://docs.aws.amazon.com/cloudformation/index.html)
* [EC2 AMIs and Images - AWS Documentation](https://docs.aws.amazon.com/AWSEC2/latest/UserGuide/AMIs.html)
* [cfn-lint GitHub repository](https://github.com/aws-cloudformation/cfn-lint)
That's the simplest CloudFormation approach to provision a basic EC2 instance. From here you can extend the template to include keys, networking, user data, tags, and more to match your deployment requirements.