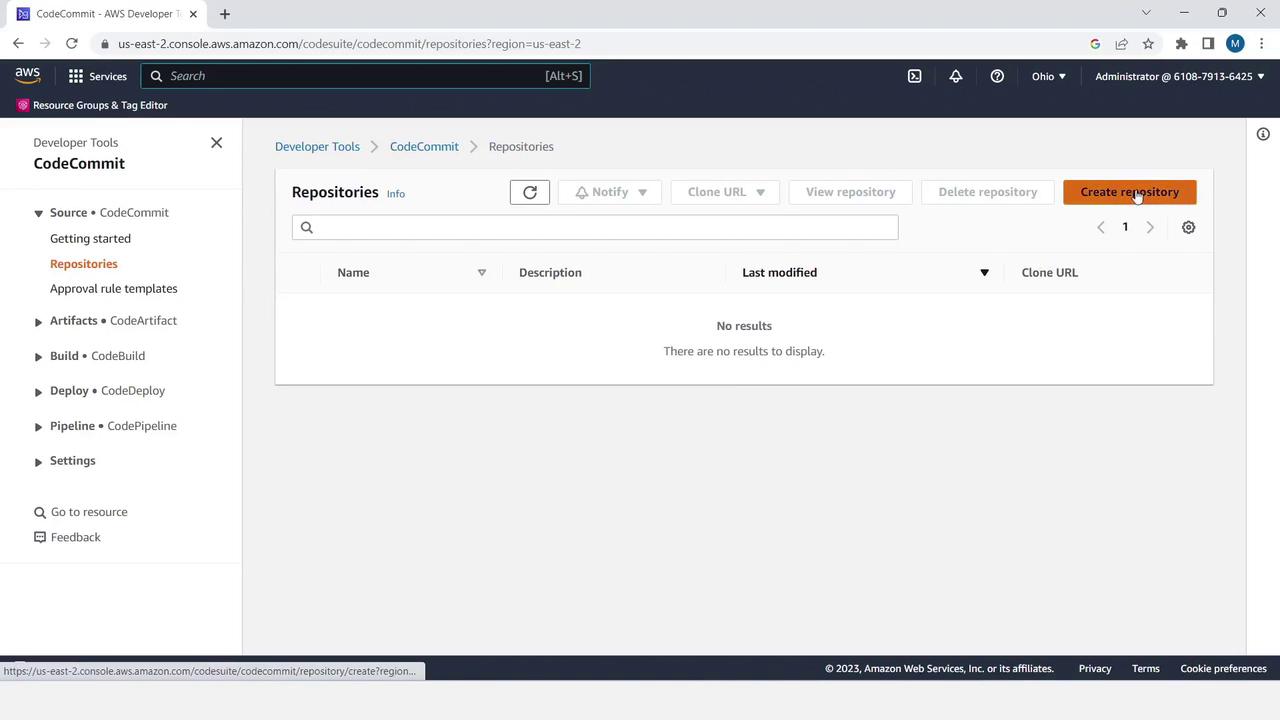
- Create a CodeCommit repository
- Upload and manage files
- Work with branches
- Open and merge a pull request
AWS CodeCommit seamlessly integrates with other AWS Developer Tools. You can also connect it to your local Git client for advanced workflows.
Table of Contents
- Create a Repository
- Upload Files
- appspec.yml
- before-install.bat
- index.html
- Branch Management
- Pull Request Workflow
- Merge and Verify
- Conclusion & References
Create a Repository
- Sign in to the AWS Management Console and open CodeCommit.
- Click Create repository.
- Provide a name (e.g.,
MyDemoRepo) and an optional description. - Click Create.
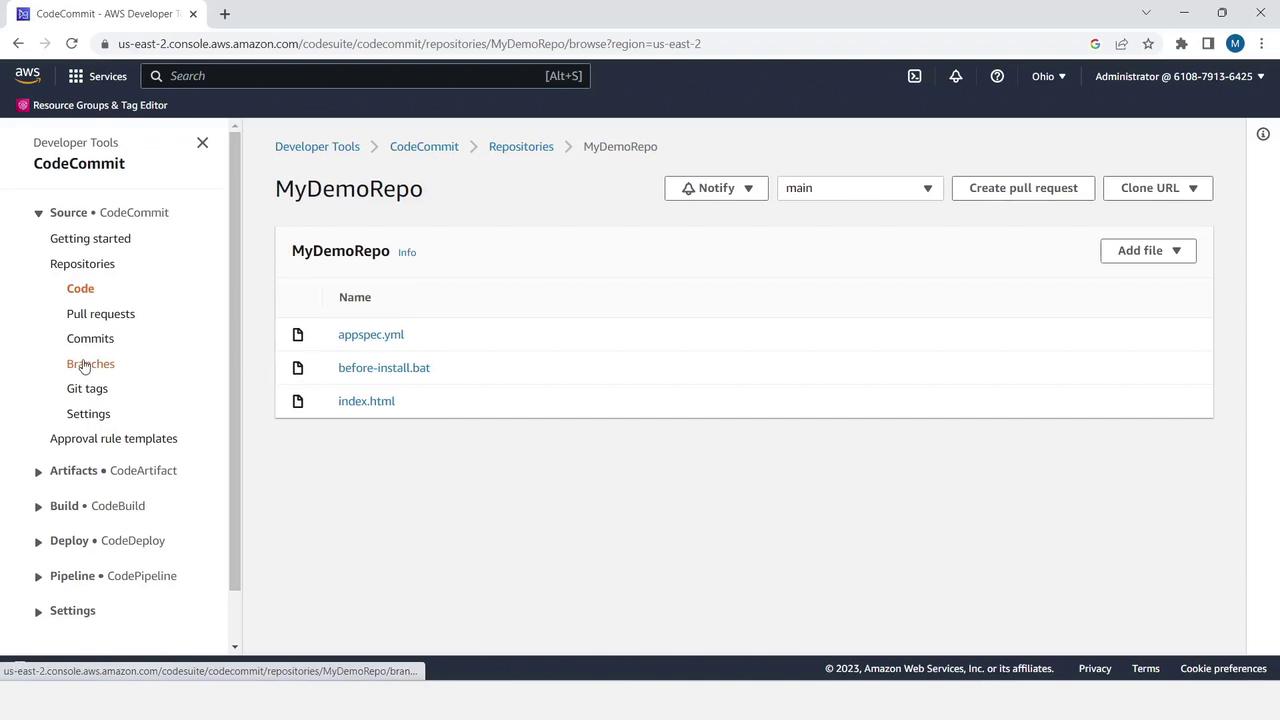
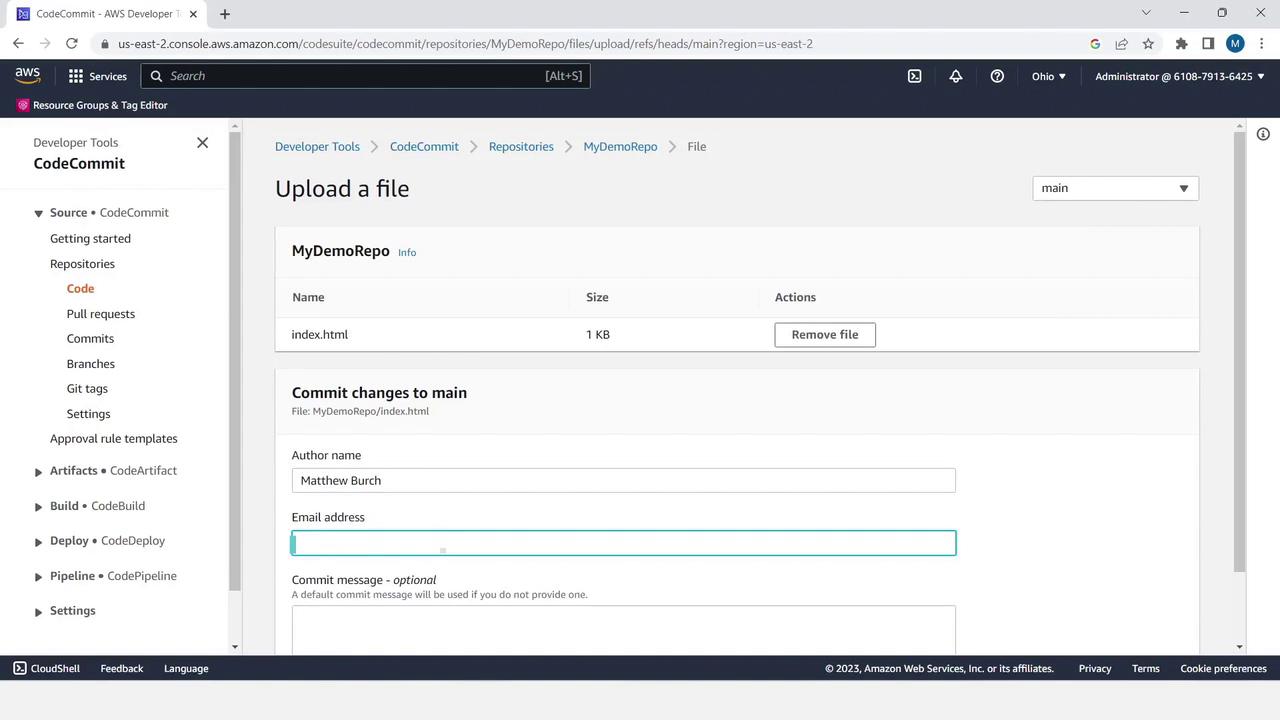
Upload Files
Start by adding the deployment configuration and application assets.| File | Description |
|---|---|
| appspec.yml | Defines deployment hooks and file mappings |
| before-install.bat | Installs IIS on Windows target |
| index.html | Sample HTML page for testing deployment |
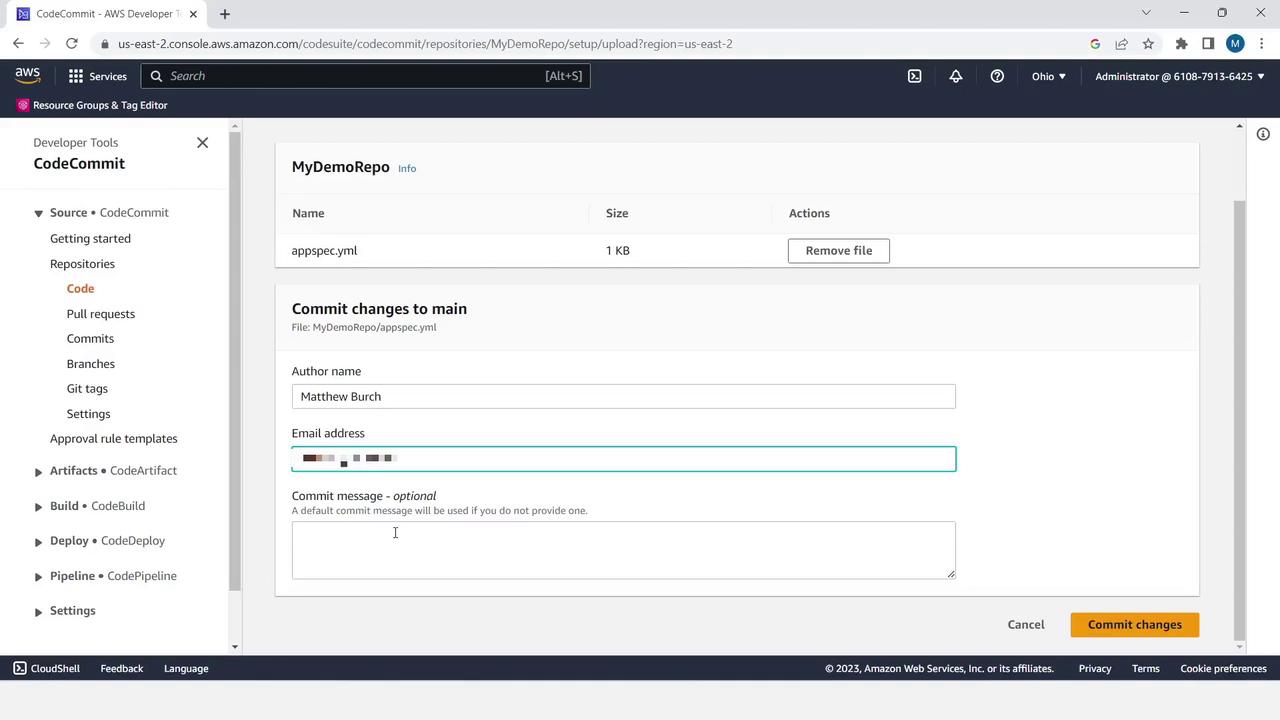
1. Upload appspec.yml
- In the repository, click Add file > Upload file.
- Select your local
appspec.yml. - Enter author name, email, commit message (optional), and click Commit changes.
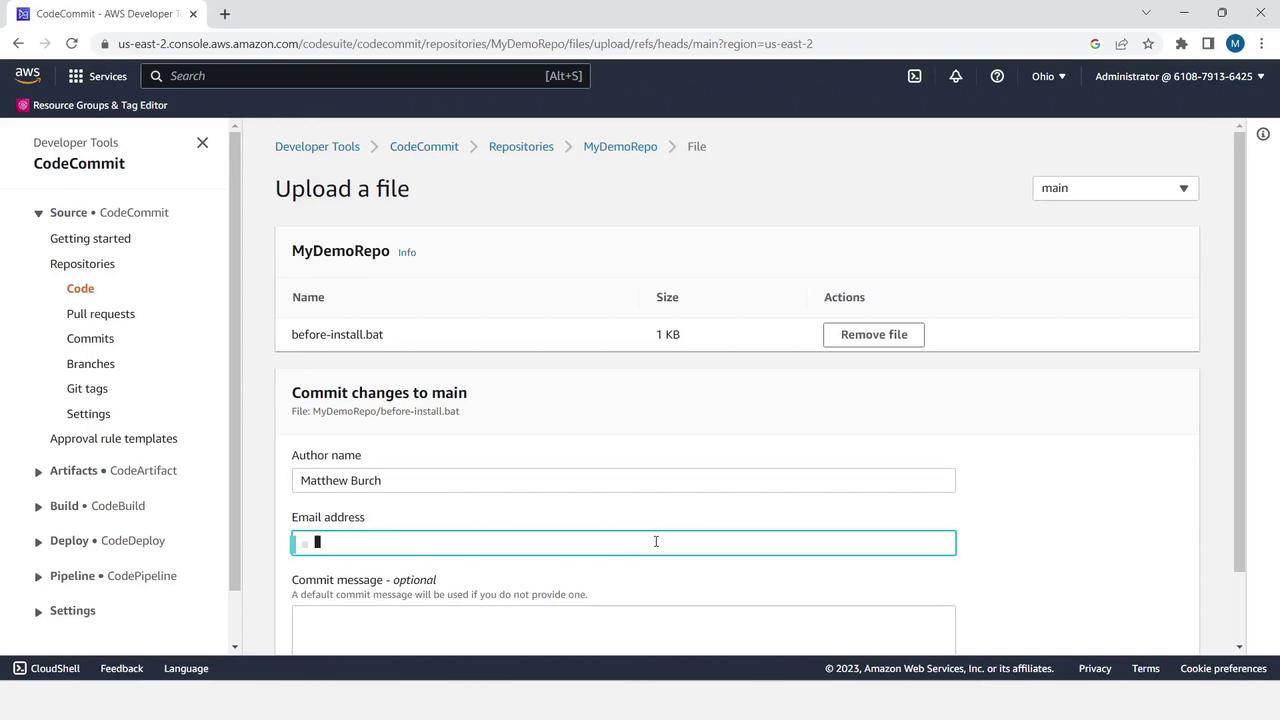
2. Upload before-install.bat
- Click Add file > Upload file.
- Choose
before-install.batfrom your machine. - Fill in author details and click Commit changes.
3. Upload index.html
- Click Add file > Upload file.
- Select
index.html. - Add author info and commit.
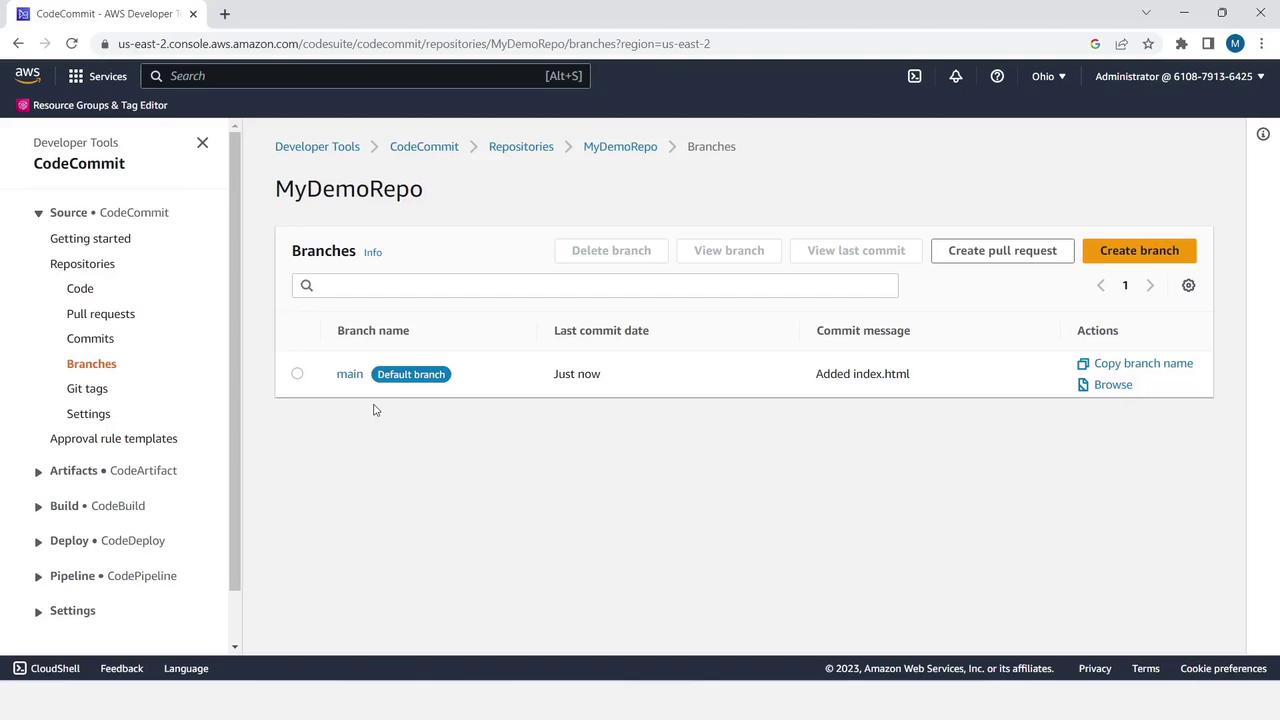
Branch Management
- Select Branches in the sidebar. You’ll see the default branch named
main. - Click Create branch, enter
branch2as the new branch name, and choosemainas the source. - Click Create.

Use descriptive branch names that reflect the feature or fix you’re working on.
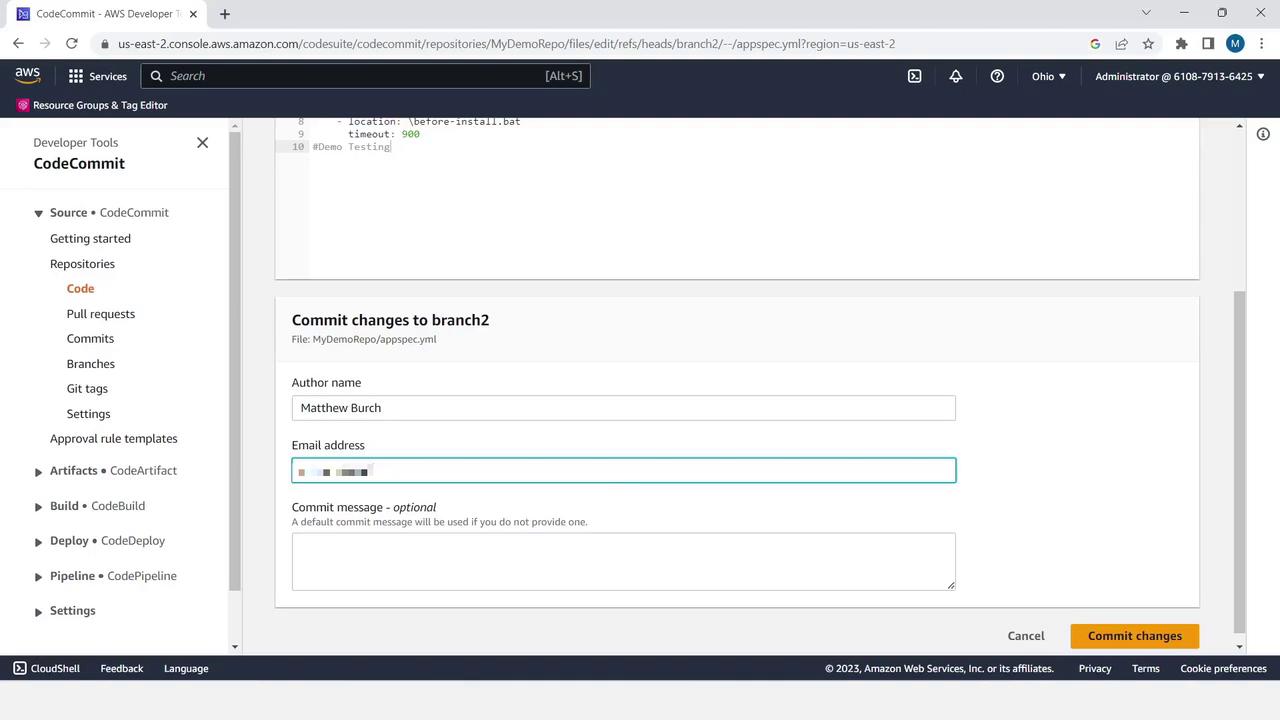
Edit a File in branch2
- Switch to
branch2. - Open
appspec.ymland click Edit. - Add a comment line at the end, then commit your changes.
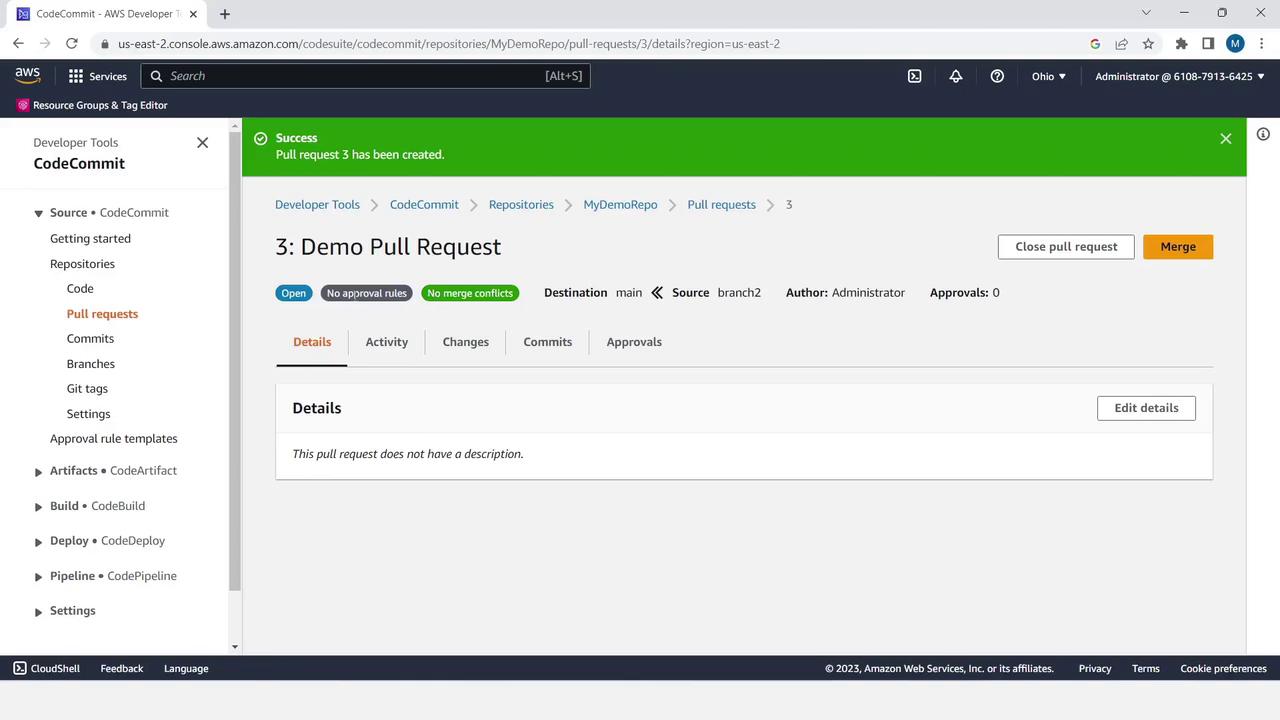
Pull Request Workflow
- Click Pull requests in the sidebar.
- Click Create pull request.
- Set Source to
branch2and Destination tomain, then click Compare.
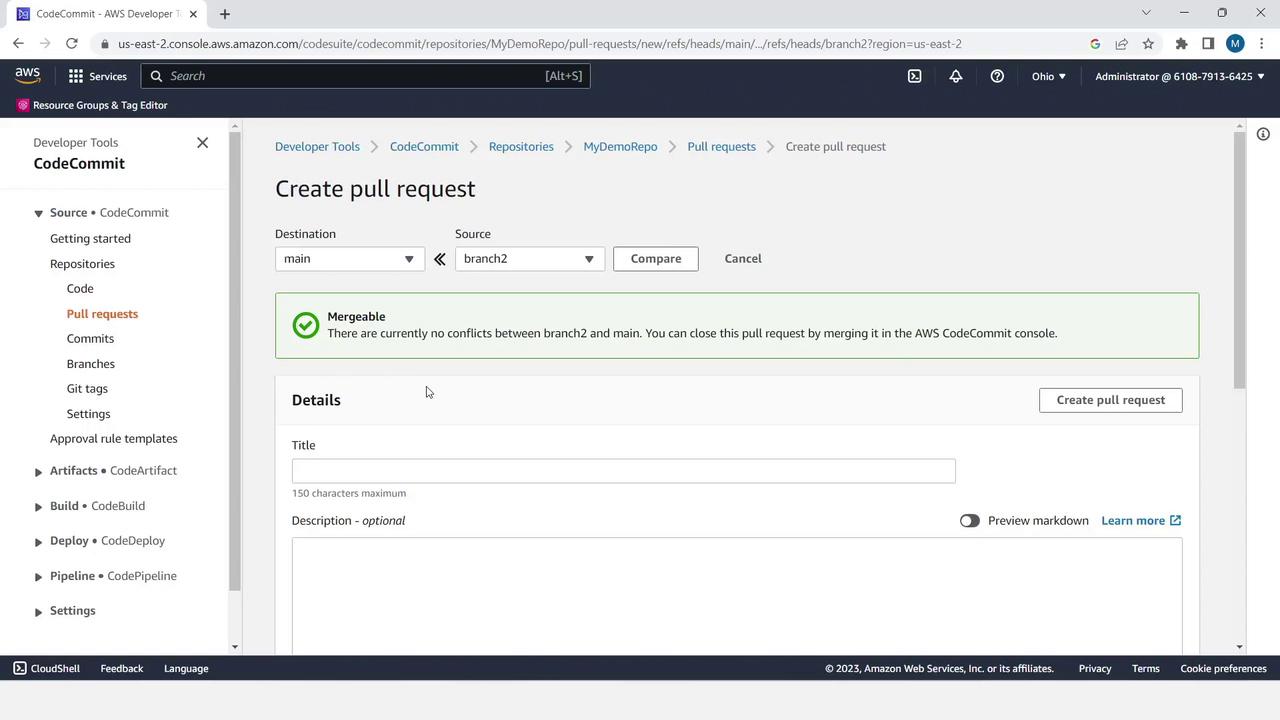
- Enter a title like Demo Pull Request and an optional description.
- Click Create pull request.
Merge and Verify
- In the pull request view, click Merge.
- Select Fast-forward merge and confirm.
- Optionally uncheck Delete branch if you wish to preserve
branch2.
Deleting a branch removes its history in the console view. Make sure you no longer need it before deleting.
Verify on main
Switch back to main and open appspec.yml to see the merged comment: