> ## Documentation Index
> Fetch the complete documentation index at: https://notes.kodekloud.com/llms.txt
> Use this file to discover all available pages before exploring further.

# CodeCommit Demo

> This tutorial guides users through using AWS CodeCommit in a CI/CD pipeline, covering repository creation, file management, branch handling, and pull request workflows.

Welcome to this comprehensive tutorial on using **AWS CodeCommit** as your source stage in a CI/CD pipeline. You’ll learn how to:

* Create a CodeCommit repository
* Upload and manage files
* Work with branches
* Open and merge a pull request

Feel free to follow along in your own AWS account!

<Callout icon="lightbulb" color="#1CB2FE">
  AWS CodeCommit seamlessly integrates with other AWS Developer Tools. You can also connect it to your local Git client for advanced workflows.
</Callout>

***

## Table of Contents

1. [Create a Repository](#create-a-repository)
2. [Upload Files](#upload-files)
   * appspec.yml
   * before-install.bat
   * index.html
3. [Branch Management](#branch-management)
4. [Pull Request Workflow](#pull-request-workflow)
5. [Merge and Verify](#merge-and-verify)
6. [Conclusion & References](#conclusion--references)

***

## Create a Repository

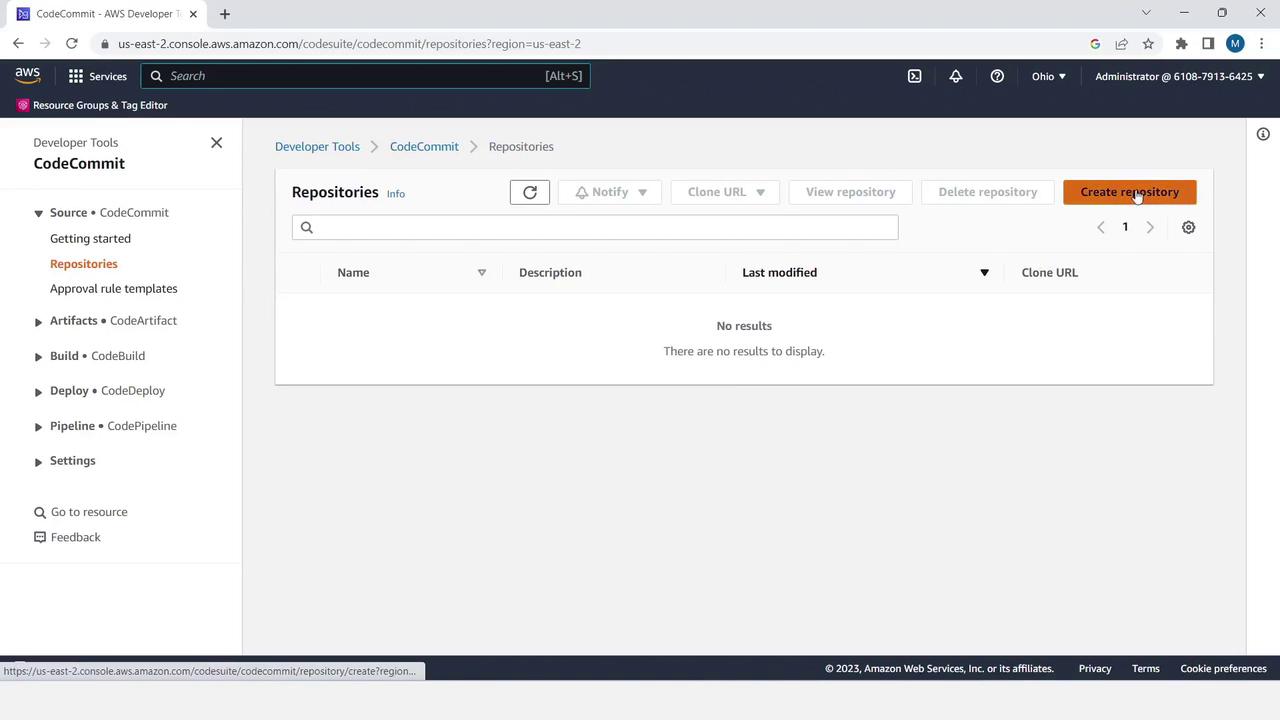
1. Sign in to the AWS Management Console and open **CodeCommit**.
2. Click **Create repository**.
3. Provide a name (e.g., `MyDemoRepo`) and an optional description.
4. Click **Create**.
<Frame>
  ![The image shows the AWS CodeCommit interface with an empty repositories list and an option to create a new repository. The navigation menu on the left includes options for various AWS Developer Tools.](https://kodekloud.com/kk-media/image/upload/v1752862606/notes-assets/images/AWS-CodePipeline-CICD-Pipeline-CodeCommit-Demo/aws-codecommit-empty-repositories-interface.jpg)
</Frame>

***

## Upload Files

Start by adding the deployment configuration and application assets.

| File               | Description                                |
| ------------------ | ------------------------------------------ |
| appspec.yml        | Defines deployment hooks and file mappings |
| before-install.bat | Installs IIS on Windows target             |
| index.html         | Sample HTML page for testing deployment    |

### 1. Upload `appspec.yml`

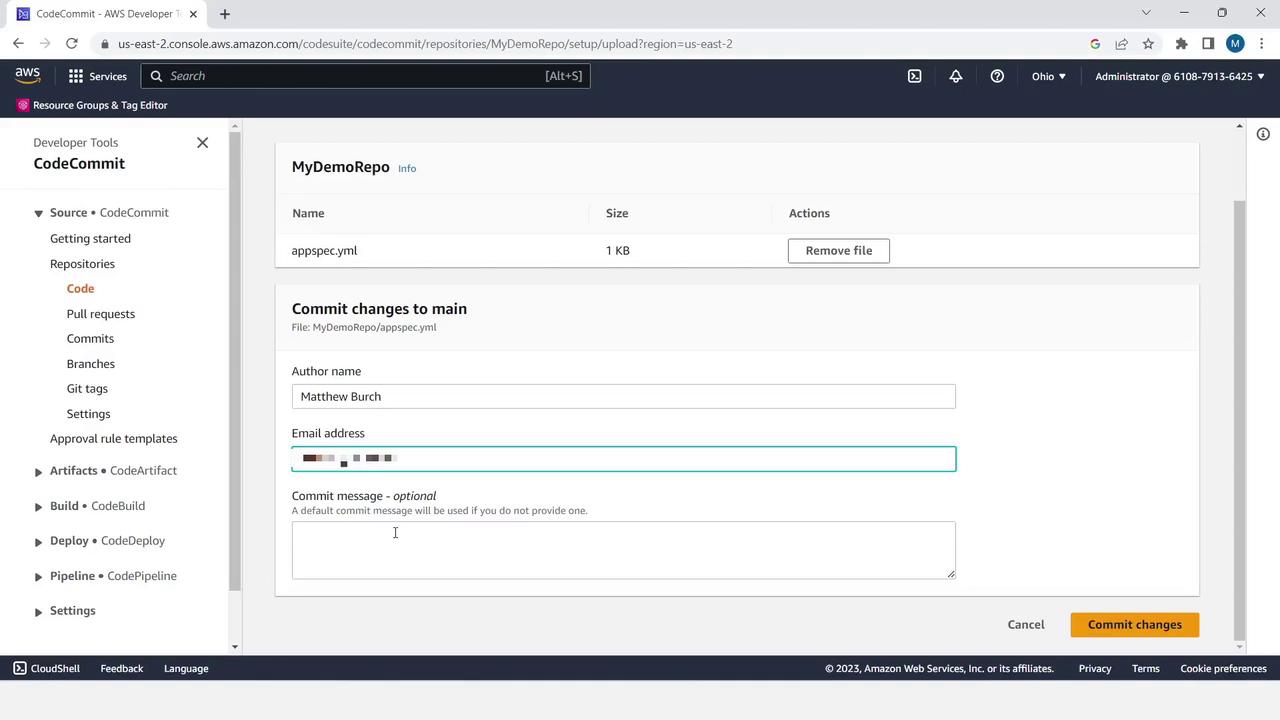
1. In the repository, click **Add file** > **Upload file**.
2. Select your local `appspec.yml`.
3. Enter author name, email, commit message (optional), and click **Commit changes**.
<Frame>
  ![The image shows an AWS CodeCommit interface where a user is preparing to commit changes to a file named "appspec.yml" in a repository called "MyDemoRepo." The interface includes fields for author name, email address, and an optional commit message.](https://kodekloud.com/kk-media/image/upload/v1752862608/notes-assets/images/AWS-CodePipeline-CICD-Pipeline-CodeCommit-Demo/aws-codecommit-committing-appspec-yml.jpg)
</Frame>

```yaml theme={null}
version: 0.0
os: windows
files:
  - source: \index.html
    destination: C:\inetpub\wwwroot
hooks:
  BeforeInstall:
    location: \before-install.bat
    timeout: 900
```

### 2. Upload `before-install.bat`

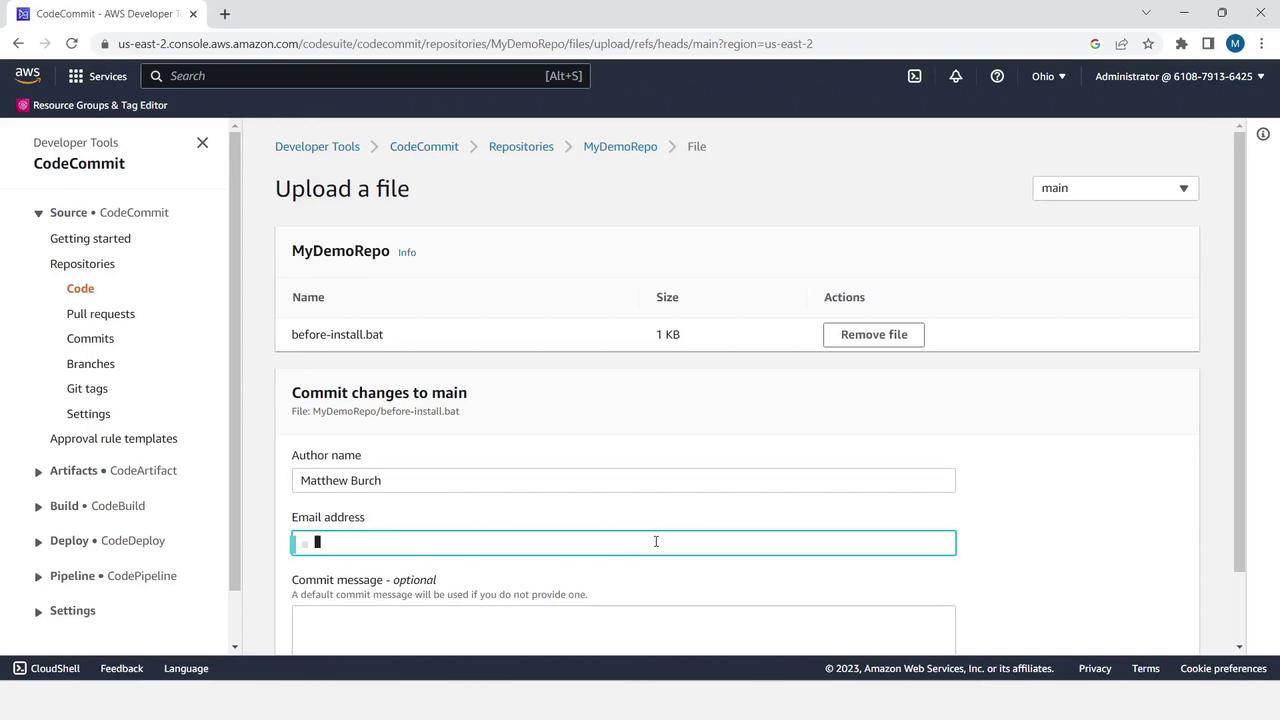
1. Click **Add file** > **Upload file**.
2. Choose `before-install.bat` from your machine.
3. Fill in author details and click **Commit changes**.
<Frame>
  ![The image shows an AWS CodeCommit interface where a file named "before-install.bat" is being uploaded to a repository called "MyDemoRepo." The interface includes fields for author name, email address, and an optional commit message.](https://kodekloud.com/kk-media/image/upload/v1752862609/notes-assets/images/AWS-CodePipeline-CICD-Pipeline-CodeCommit-Demo/aws-codecommit-upload-before-install-bat.jpg)
</Frame>

```bat theme={null}
REM Install Internet Information Server (IIS).
c:\Windows\Sysnative\WindowsPowerShell\v1.0\powershell.exe -Command Import-Module -Name ServerManager
c:\Windows\Sysnative\WindowsPowerShell\v1.0\powershell.exe -Command Install-WindowsFeature Web-Server
```

### 3. Upload `index.html`

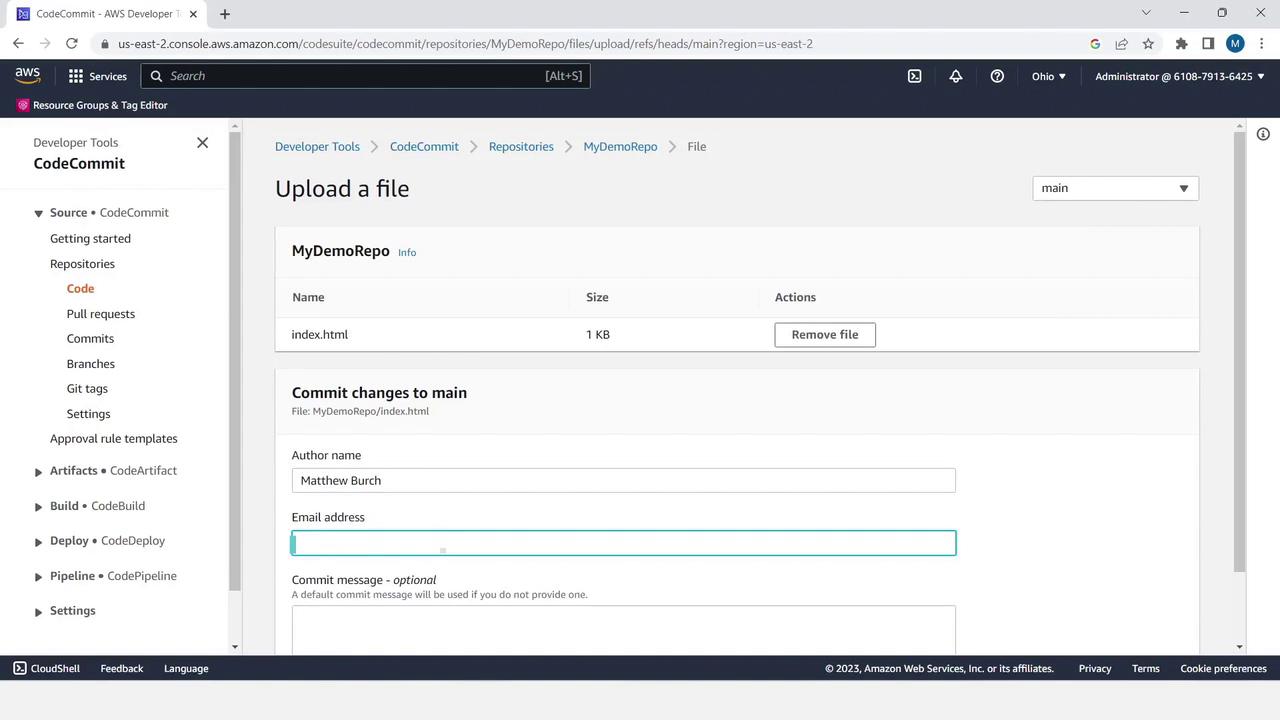
1. Click **Add file** > **Upload file**.
2. Select `index.html`.
3. Add author info and commit.
<Frame>
  ![The image shows an AWS CodeCommit interface where a file named "index.html" is being uploaded to a repository called "MyDemoRepo." It includes fields for author name, email address, and an optional commit message.](https://kodekloud.com/kk-media/image/upload/v1752862610/notes-assets/images/AWS-CodePipeline-CICD-Pipeline-CodeCommit-Demo/aws-codecommit-upload-index-html-repo.jpg)
</Frame>

```html theme={null}
<!DOCTYPE html>
<html>
<head>
  <meta charset="utf-8">
  <title>Sample Deployment</title>
  <style>
    body {
      color: #ffffff;
      background-color: #0073f3;
      font-family: Arial, sans-serif;
      font-size: 14px;
    }
    h1 { font-size: 500%; margin-bottom: 0; }
    h2 { font-size: 200%; margin-bottom: 0; }
  </style>
</head>
<body>
  <h1>Deployment Successful</h1>
  <h2>Welcome to AWS CodeCommit</h2>
</body>
</html>
```

***

## Branch Management

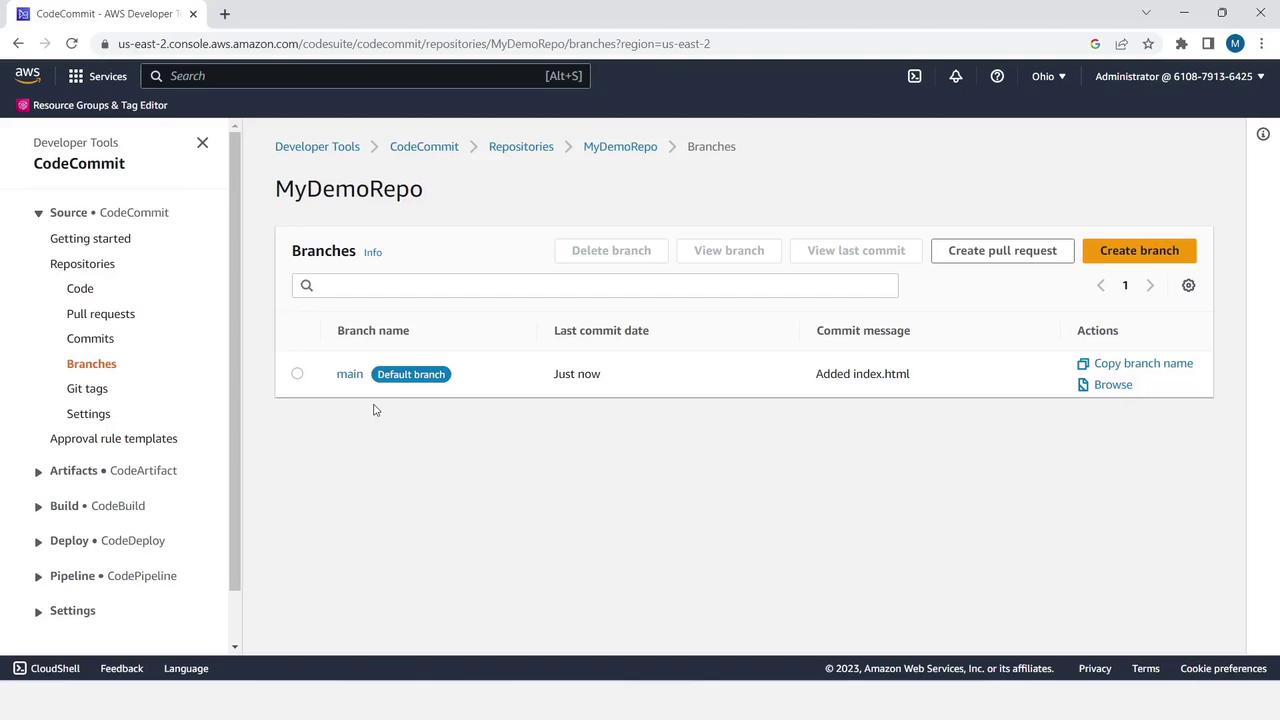
1. Select **Branches** in the sidebar. You’ll see the default branch named `main`.
2. Click **Create branch**, enter `branch2` as the new branch name, and choose `main` as the source.
3. Click **Create**.
<Frame>
  ![The image shows the AWS CodeCommit interface for a repository named "MyDemoRepo," displaying the branches section with a default branch named "main" and a recent commit message "Added index.html."](https://kodekloud.com/kk-media/image/upload/v1752862611/notes-assets/images/AWS-CodePipeline-CICD-Pipeline-CodeCommit-Demo/aws-codecommit-mydemorepo-branches-main.jpg)
</Frame>

<Frame>
  ![The image shows an AWS CodeCommit interface with a repository named "MyDemoRepo" displaying two branches, "main" and "branch2," both with recent commits adding an "index.html" file. A success message indicates that "branch2" has been created.](https://kodekloud.com/kk-media/image/upload/v1752862612/notes-assets/images/AWS-CodePipeline-CICD-Pipeline-CodeCommit-Demo/aws-codecommit-mydemorepo-branches.jpg)
</Frame>

<Callout icon="lightbulb" color="#1CB2FE">
  Use descriptive branch names that reflect the feature or fix you’re working on.
</Callout>

### Edit a File in `branch2`

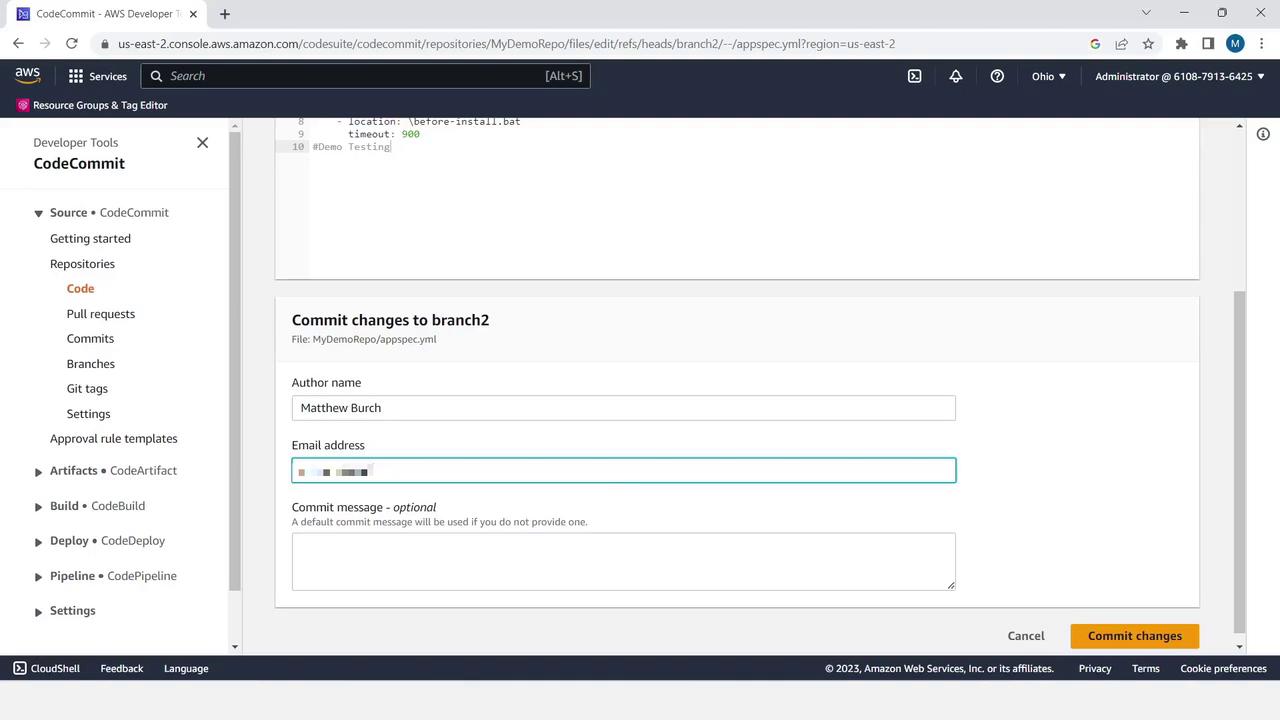
1. Switch to `branch2`.
2. Open `appspec.yml` and click **Edit**.
3. Add a comment line at the end, then commit your changes.
<Frame>
  ![The image shows an AWS CodeCommit interface where changes are being committed to a branch. It includes fields for author name, email address, and an optional commit message.](https://kodekloud.com/kk-media/image/upload/v1752862613/notes-assets/images/AWS-CodePipeline-CICD-Pipeline-CodeCommit-Demo/aws-codecommit-commit-interface-image.jpg)
</Frame>

```yaml theme={null}
version: 0.0
os: windows
files:
  - source: \index.html
    destination: C:\inetpub\wwwroot
hooks:
  BeforeInstall:
    location: \before-install.bat
    timeout: 900
# Demo Testing
```

***

## Pull Request Workflow

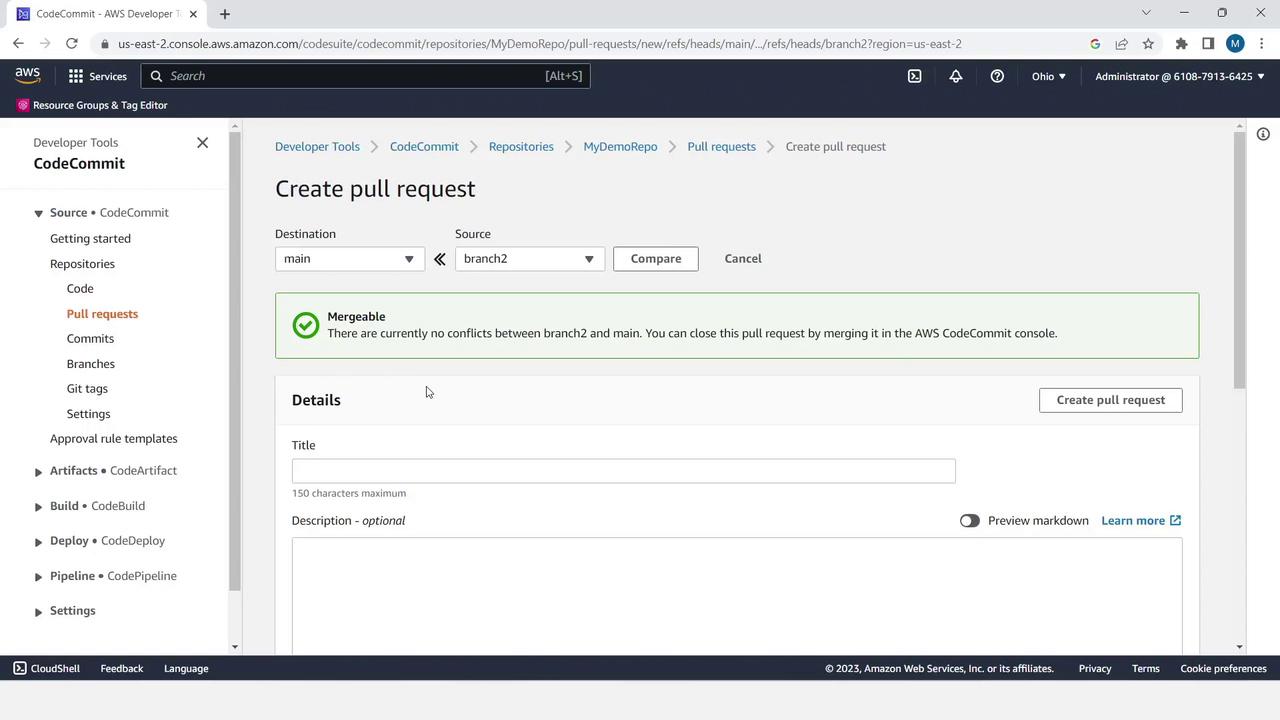
1. Click **Pull requests** in the sidebar.
2. Click **Create pull request**.
3. Set **Source** to `branch2` and **Destination** to `main`, then click **Compare**.
<Frame>
  ![The image shows the AWS CodeCommit interface for creating a pull request, indicating that the branches "branch2" and "main" are mergeable with no conflicts.](https://kodekloud.com/kk-media/image/upload/v1752862614/notes-assets/images/AWS-CodePipeline-CICD-Pipeline-CodeCommit-Demo/aws-codecommit-pull-request-mergeable.jpg)
</Frame>

Review the changes:

```diff theme={null}
 BeforeInstall:
   location: \before-install.bat
   timeout: 900
+  # Demo Testing
```

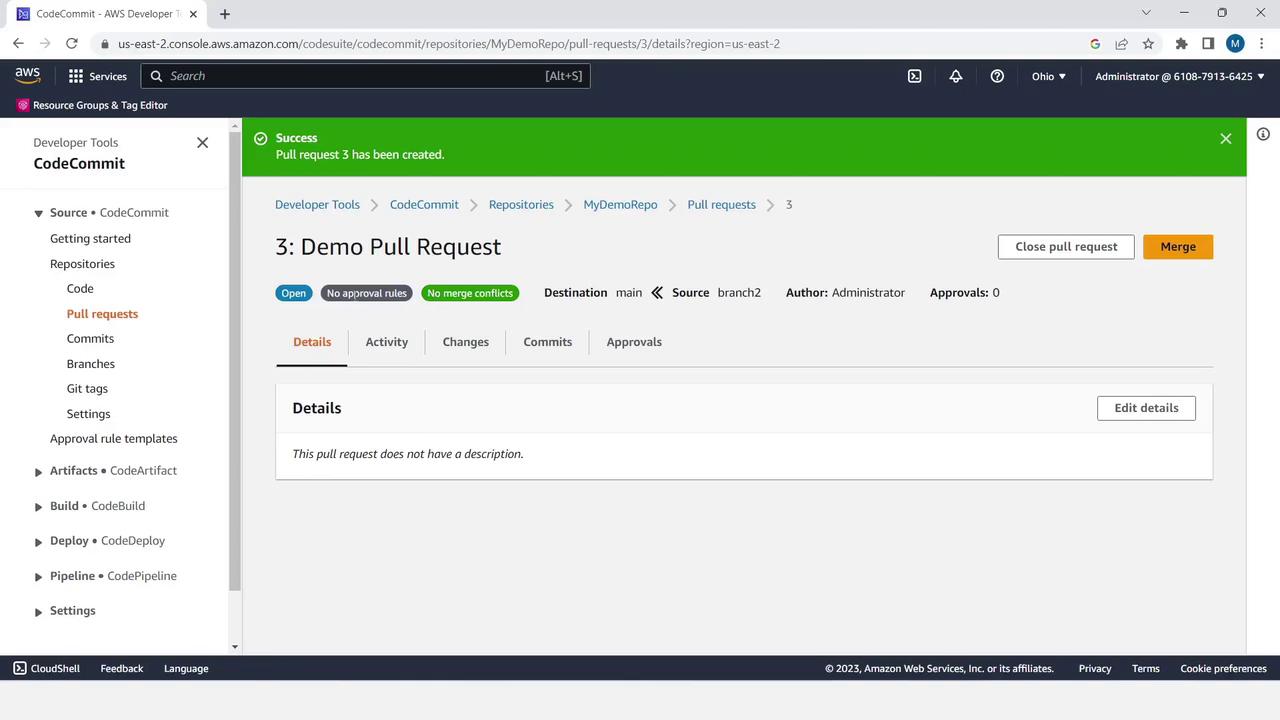
4. Enter a title like **Demo Pull Request** and an optional description.
5. Click **Create pull request**.
<Frame>
  ![The image shows an AWS CodeCommit interface with a "Demo Pull Request" open. It indicates that the pull request has been successfully created, with no approval rules or merge conflicts.](https://kodekloud.com/kk-media/image/upload/v1752862616/notes-assets/images/AWS-CodePipeline-CICD-Pipeline-CodeCommit-Demo/aws-codecommit-demo-pull-request-interface.jpg)
</Frame>

***

## Merge and Verify

1. In the pull request view, click **Merge**.
2. Select **Fast-forward merge** and confirm.
3. Optionally uncheck **Delete branch** if you wish to preserve `branch2`.

```bash theme={null}
# You can also merge locally:
git fetch origin
git checkout main
git merge --ff-only origin/branch2
```

<Callout icon="triangle-alert" color="#FF6B6B">
  Deleting a branch removes its history in the console view. Make sure you no longer need it before deleting.
</Callout>

### Verify on `main`

Switch back to `main` and open `appspec.yml` to see the merged comment:
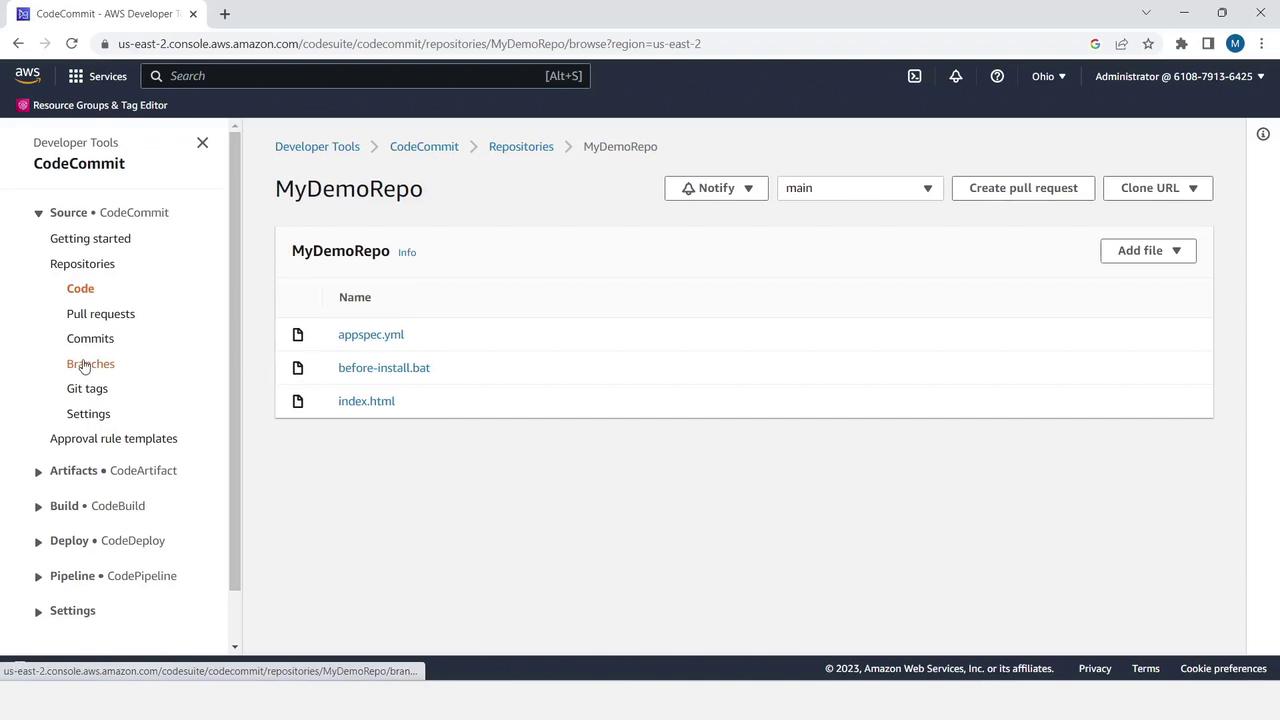
<Frame>
  ![The image shows the AWS CodeCommit interface with a repository named "MyDemoRepo" containing three files: appspec.yml, before-install.bat, and index.html. The left sidebar displays various options like Code, Pull requests, and Branches.](https://kodekloud.com/kk-media/image/upload/v1752862617/notes-assets/images/AWS-CodePipeline-CICD-Pipeline-CodeCommit-Demo/aws-codecommit-mydemorepo-interface.jpg)
</Frame>

```yaml theme={null}
version: 0.0
os: windows
files:
  - source: \index.html
    destination: C:\inetpub\wwwroot
hooks:
  BeforeInstall:
    location: \before-install.bat
    timeout: 900
# Demo Testing
```

***

## Conclusion & References

You’ve successfully created a CodeCommit repository, uploaded files, managed branches, and completed a pull request merge—all via the AWS Console.

Next, explore how to integrate CodeCommit with AWS CodeBuild and CodeDeploy for automated builds and deployments.

### Useful Links

* [AWS CodeCommit Documentation](https://docs.aws.amazon.com/codecommit/latest/userguide/)
* [Getting Started with AWS CodeCommit](https://docs.aws.amazon.com/codecommit/latest/userguide/what-is-codecommit.html)
* [AWS Developer Tools](https://aws.amazon.com/developer/tools/)

<CardGroup>
  <Card title="Watch Video" icon="video" cta="Learn more" href="https://learn.kodekloud.com/user/courses/aws-codepipeline-ci-cd-pipeline/module/8236e523-f637-4f0a-98c2-0accfd2cb74e/lesson/6763ae38-b2c0-4844-90ff-3ac4af60061c" />

  <Card title="Practice Lab" icon="installation" cta="Learn more" href="https://learn.kodekloud.com/user/courses/aws-codepipeline-ci-cd-pipeline/module/8236e523-f637-4f0a-98c2-0accfd2cb74e/lesson/0480d6d6-176f-4232-9426-5c1c48ec7bc1" />
</CardGroup>
