AWS Lambda

Advanced Topics

Lambda Containers Demonstration

In this tutorial, we’ll guide you through building, pushing, and deploying an AWS Lambda function packaged as a container image, using the AWS Management Console.

Environment Setup

Before you begin, ensure you have the following:

The image is a slide titled "Container Demo" showing the environment setup, including AWS CLI, Visual Studio Code, Docker Desktop, and AWS Console.

Project Structure

Create a new directory for your demo and add the following files:

FilePurpose
app.pyPython Lambda handler
requirements.txtPython dependencies
DockerfileContainer build instructions

The image shows a Visual Studio Code interface with a project directory open, displaying files such as `app.py`, `Dockerfile`, and an open `requirements.txt` file. The terminal at the bottom is set to a directory path.

app.py

import sys

def handler(event, context):
    return 'Hello from KodeKloud with AWS Lambda using Python ' + sys.version + '!'

requirements.txt

Leave this file empty for no external dependencies, or list any libraries your function needs.

Note

If you require additional packages, add them to requirements.txt before building the image.

Dockerfile

FROM public.ecr.aws/lambda/python:3.8

# Install dependencies
COPY requirements.txt .
RUN pip3 install -r requirements.txt --target "${LAMBDA_TASK_ROOT}"

# Copy function code
COPY app.py ${LAMBDA_TASK_ROOT}

# Define the handler
CMD [ "app.handler" ]

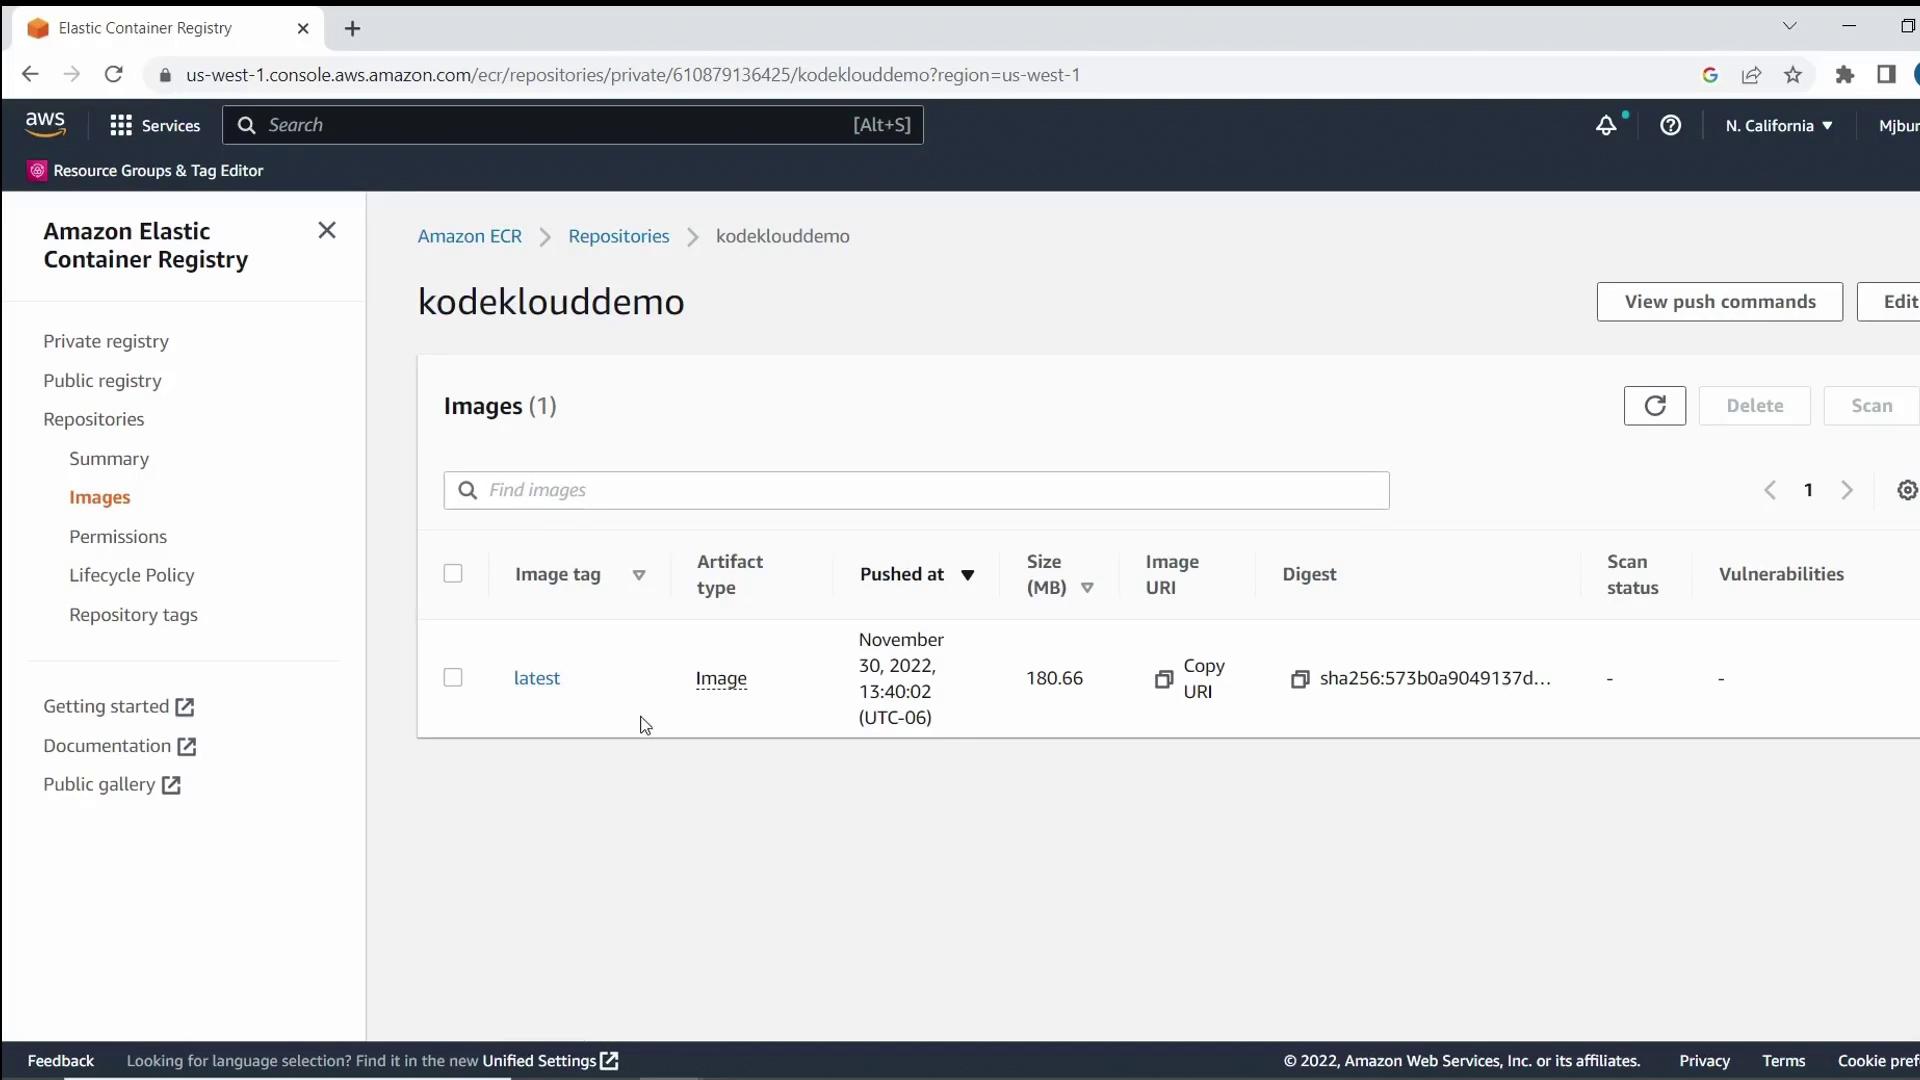
Create an ECR Repository

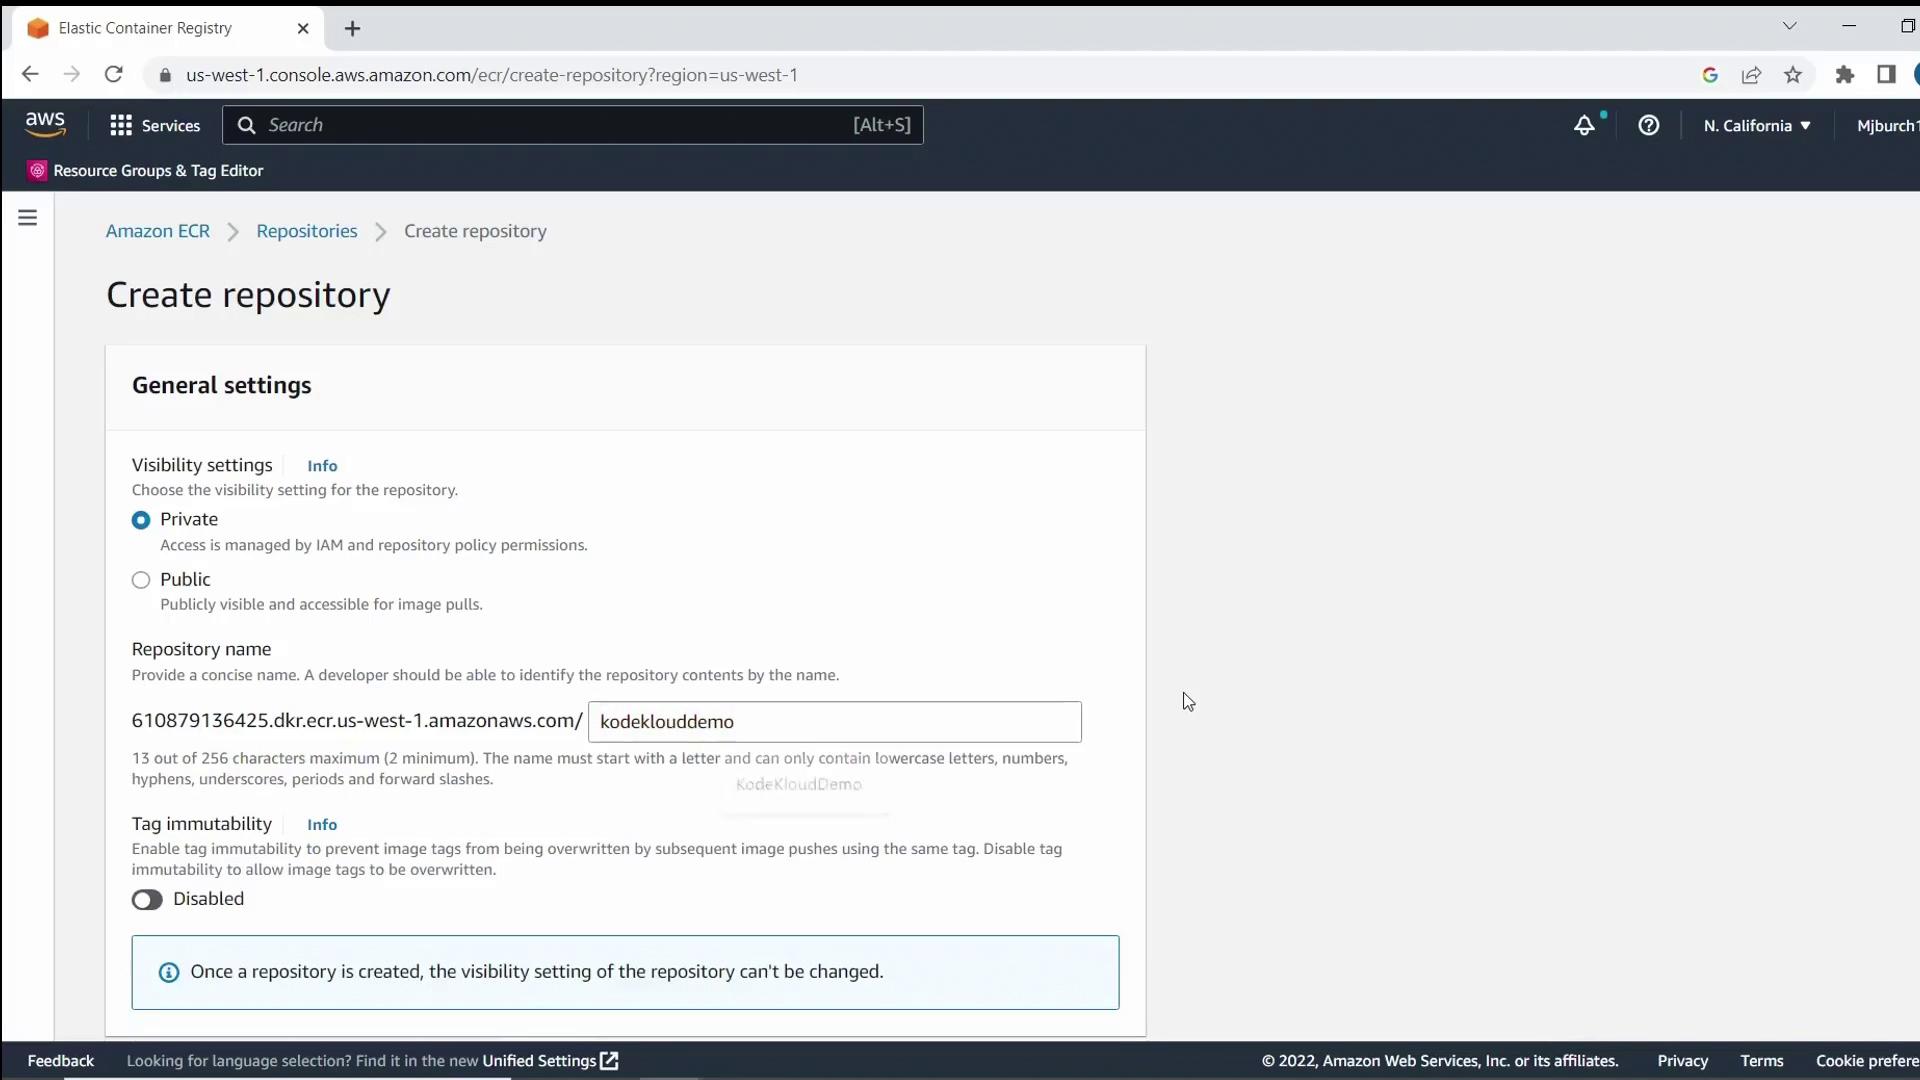
The AWS Elastic Container Registry (ECR) hosts your container images. In the AWS Management Console, navigate to Elastic Container Registry.

The image shows the Amazon Elastic Container Registry (ECR) webpage, which offers services for sharing and deploying container software. It includes options to create a repository and information on pricing.

Click Create repository, set visibility to Private, and name it 
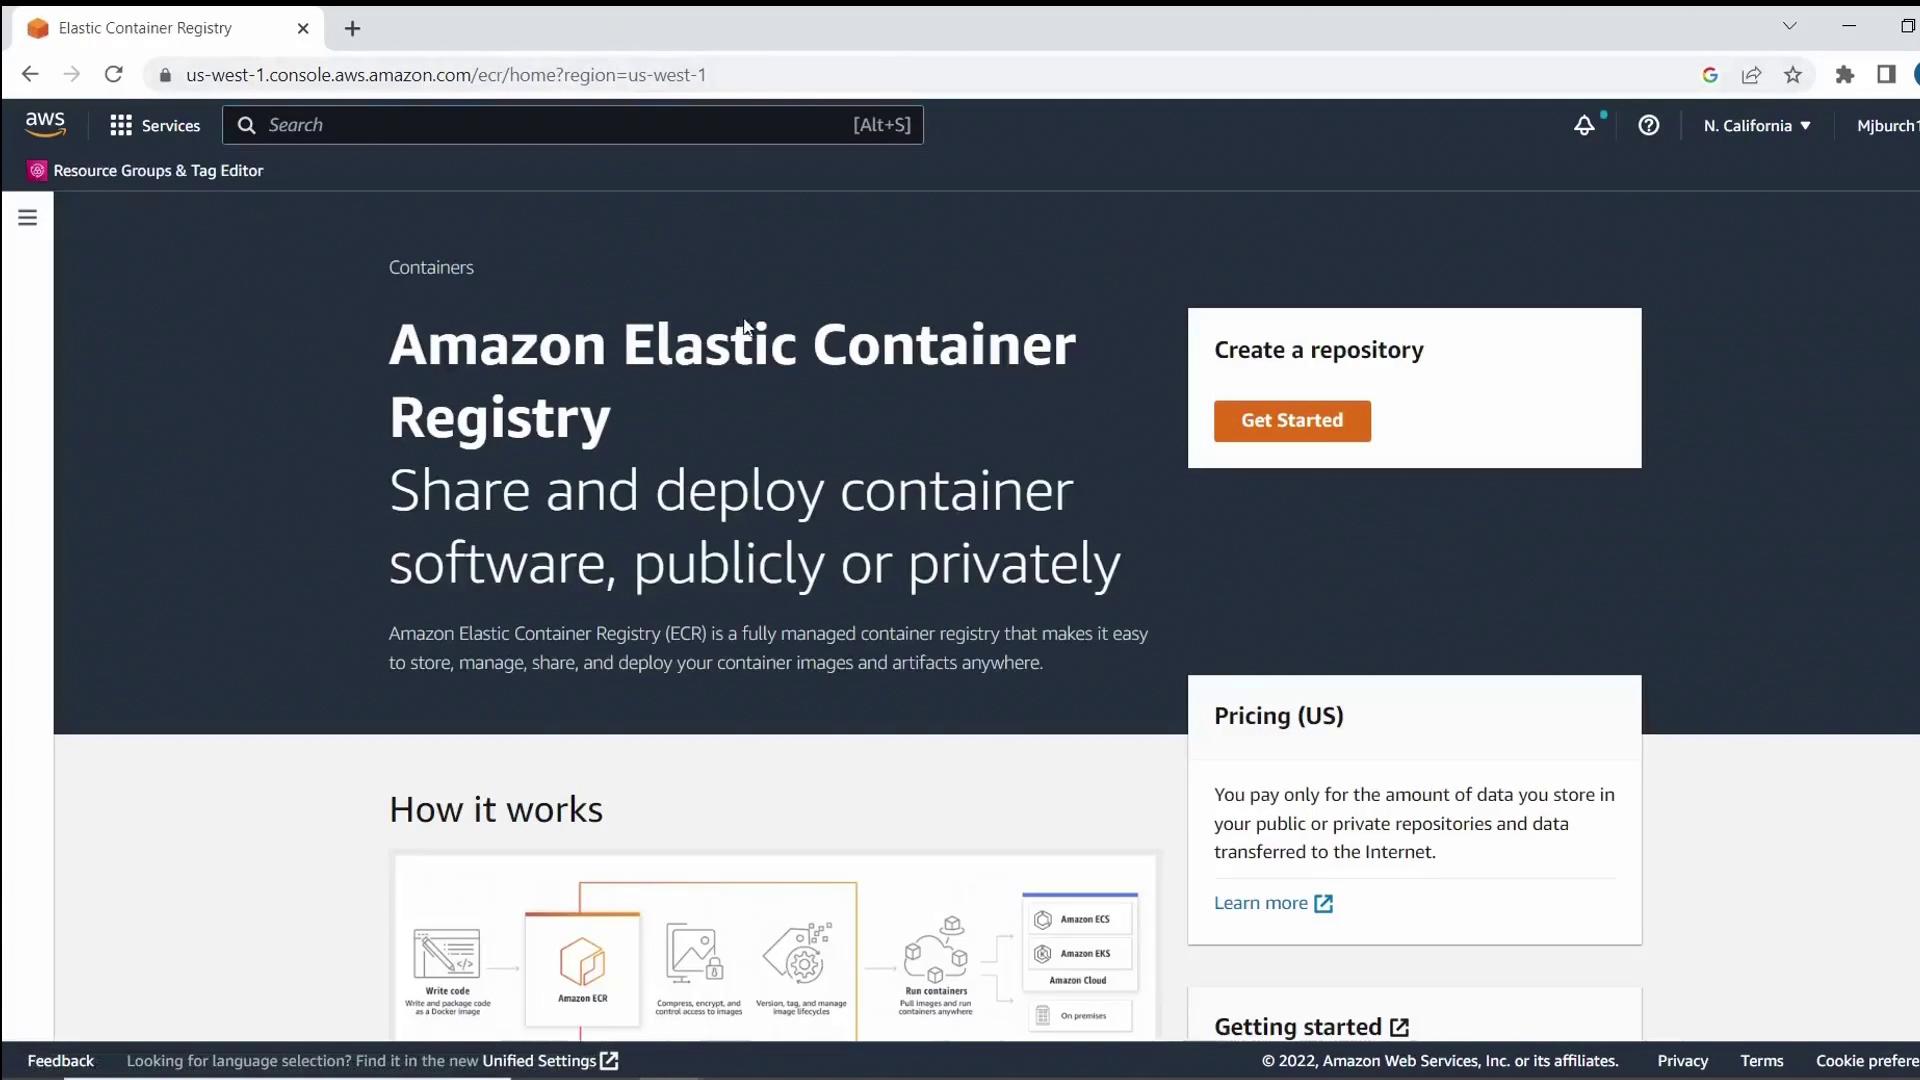
KodeKloudDemo. Optionally enable image scanning on push, then click Create repository.

The image shows the AWS Elastic Container Registry interface for creating a new repository, with options for setting visibility and naming the repository.

Once the repository appears, select View push commands.

The image shows an Amazon Elastic Container Registry (ECR) interface with a notification indicating a repository named "kodeklouddemo" has been successfully created. The repository details, such as URI and creation date, are displayed.

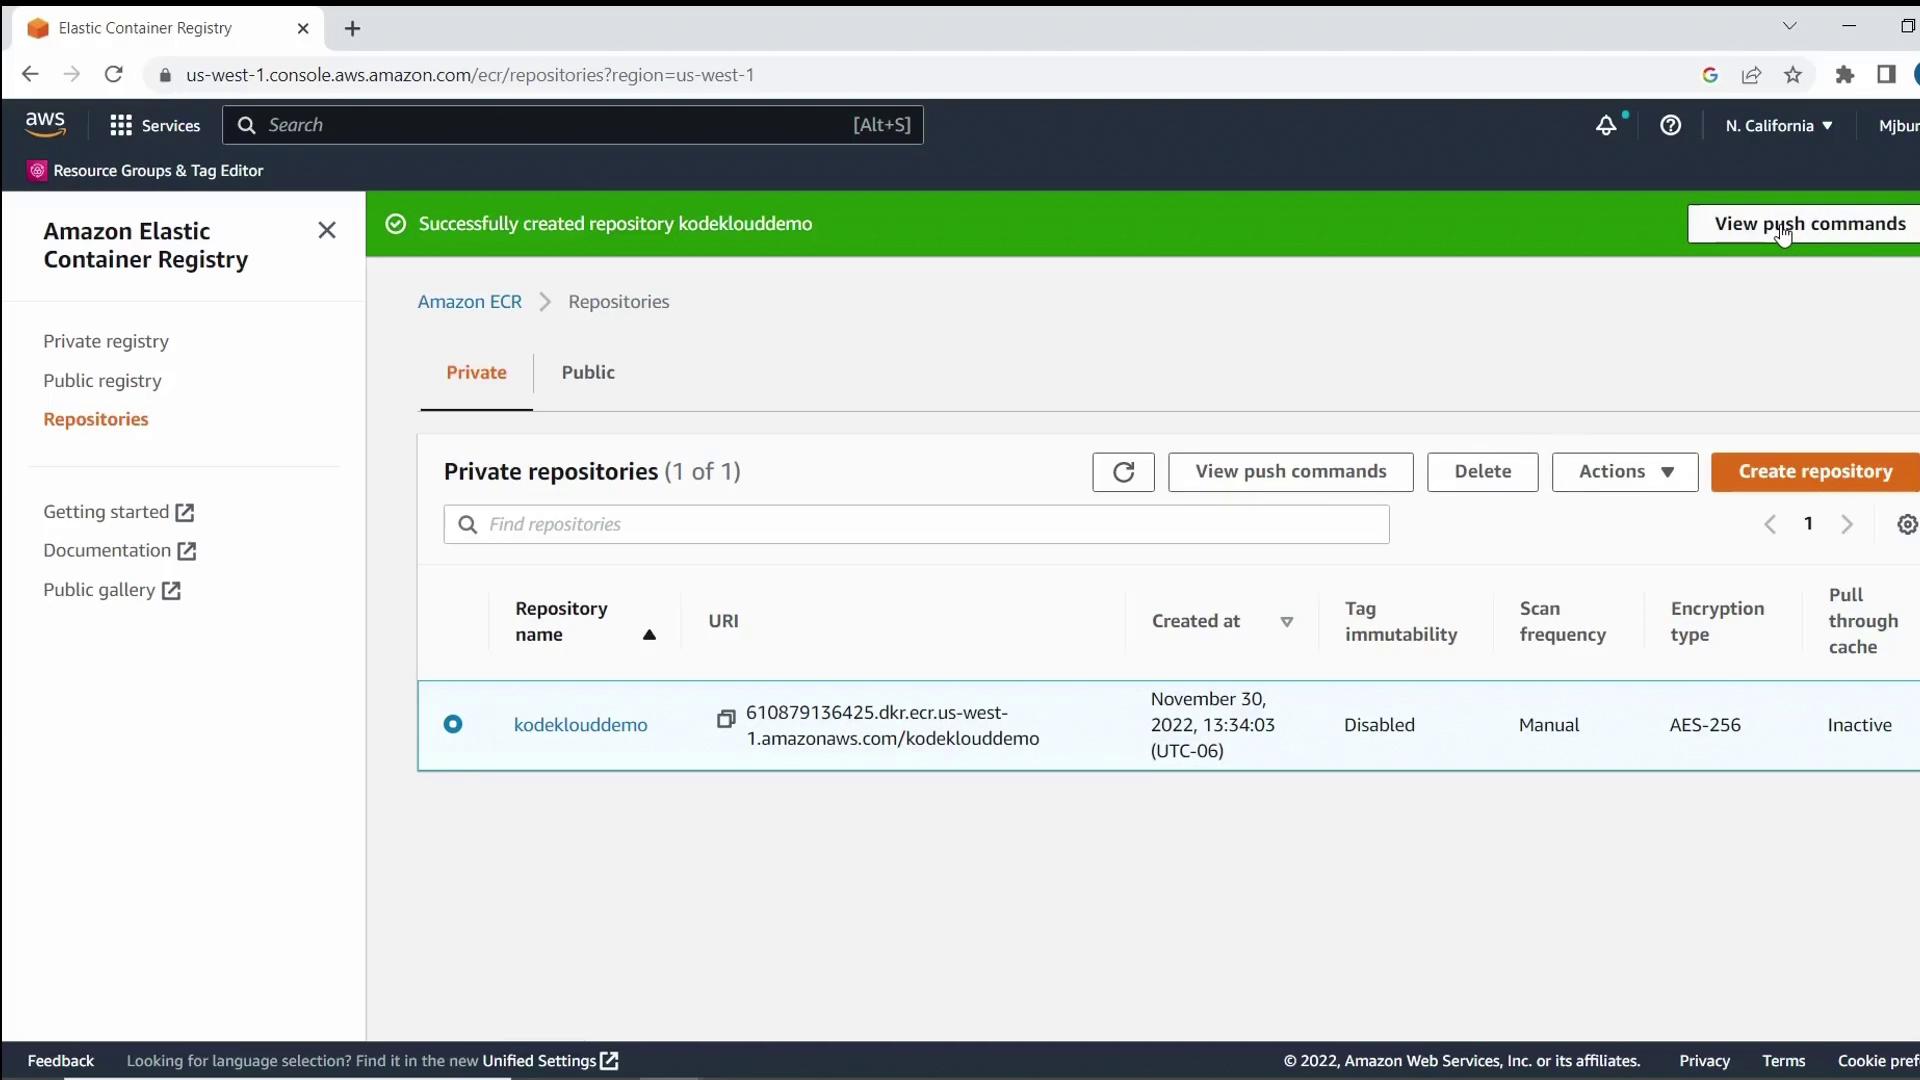
Build and Push the Container Image

Open your terminal and follow these steps, replacing <region> and <account-id> with your AWS Region and account number.

Warning

Keep your AWS credentials secure. Do not hard-code them in scripts.

  1. Authenticate Docker to ECR:

    aws ecr get-login-password --region <region> \
      | docker login --username AWS --password-stdin <account-id>.dkr.ecr.<region>.amazonaws.com
    
  2. Build your image locally:

    docker build -t kodeklouddemo .
    
  3. Tag the image for your repository:

    docker tag kodeklouddemo:latest \
      <account-id>.dkr.ecr.<region>.amazonaws.com/kodeklouddemo:latest
    
  4. Push the image to ECR:

    docker push <account-id>.dkr.ecr.<region>.amazonaws.com/kodeklouddemo:latest
    

Example response after login:

Login Succeeded

Successful push output:

... latest: digest: sha256:573b0a9049137d606c681c973b197727ace46f6ebbed4bff7eb2e61f0f1 size: 2205

Refresh the ECR console to verify the latest tag.

The image shows the Amazon Elastic Container Registry (ECR) interface displaying a repository named "kodeklouddemo" with one image tagged as "latest," pushed on November 30, 2022, with a size of 180.66 MB.

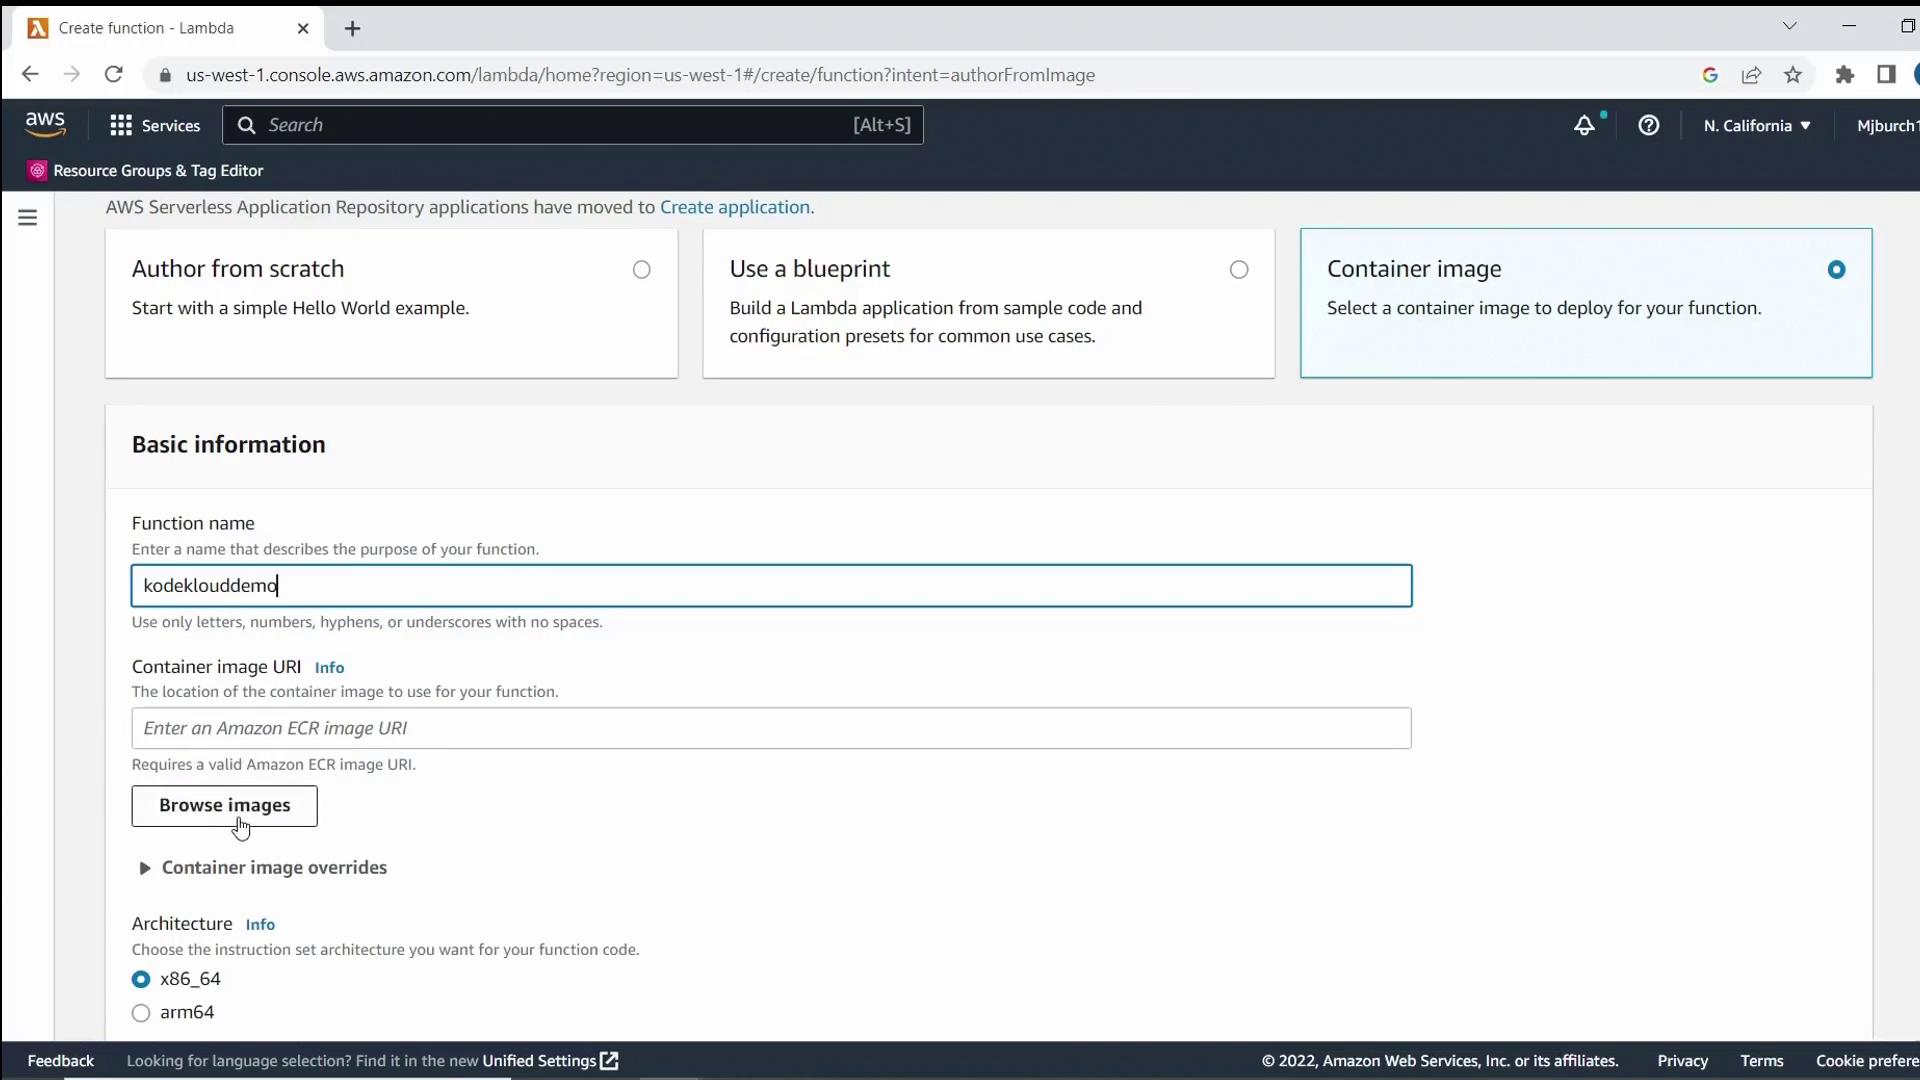
Deploy the Lambda Function

  1. Go to AWS Lambda in the AWS Management Console.
  2. Click Create function, choose Container image, and enter
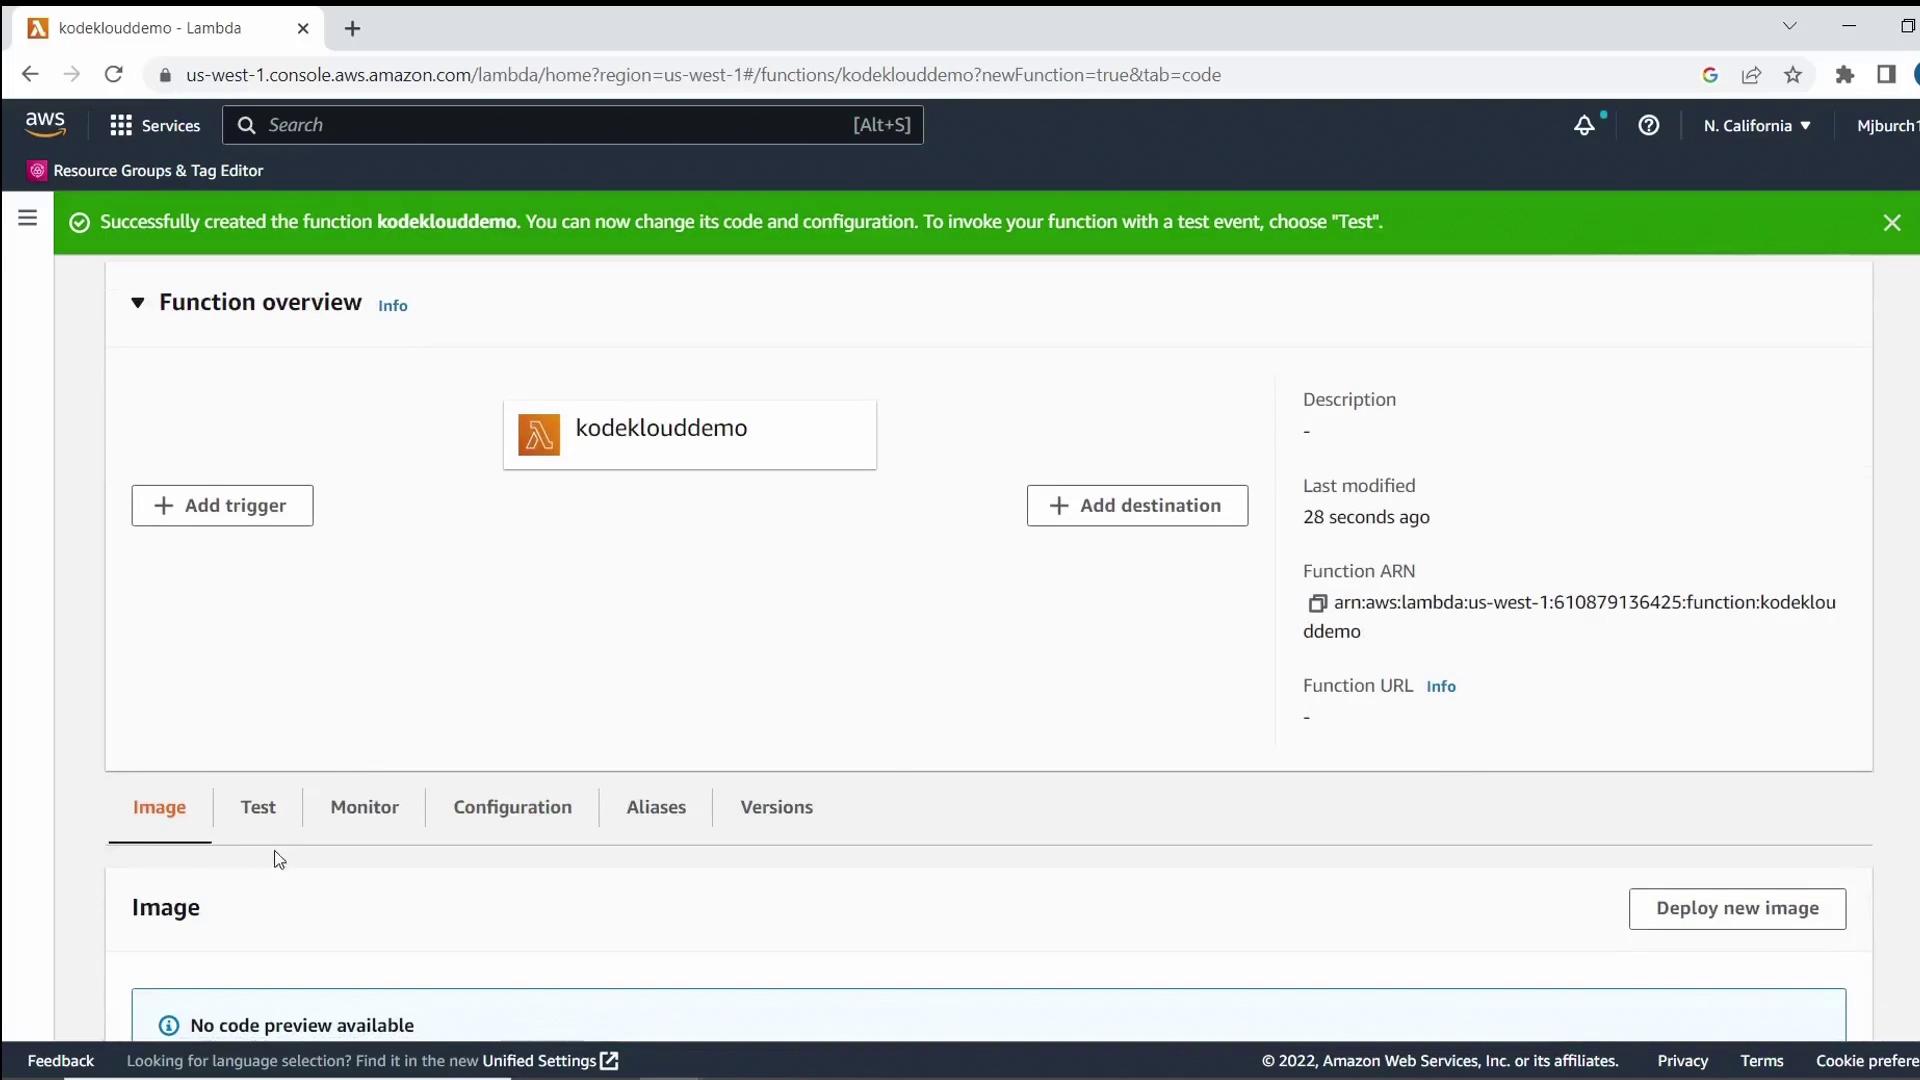
 KodeKloudDemo as the function name.
  3. Under Container image, click Browse images, select your kodeklouddemo:latest image, and click Select image.
  4. Keep the remaining settings at their defaults and click Create function.

The image shows the AWS Lambda function creation page, where a user is entering a function name and selecting options for a container image and architecture.

After provisioning, you’ll see your new function listed in the console.

The image shows an AWS Lambda console with a function named "kodeklouddemo" successfully created. It includes options to add triggers and destinations, and displays the function's ARN.

Test the Lambda Function

  1. In your Lambda function console, click Test.
  2. Choose Create new test event (the default template is fine) and save.
  3. Click Test again to invoke the function.
  4. Confirm the Execution results show your greeting message and Python version.

Summary

In this demo, you learned how to:

  • Structure a simple Python Lambda project
  • Create a Dockerfile compatible with AWS Lambda
  • Build and push a container image to Amazon ECR
  • Deploy a Lambda function from your container image
  • Invoke and test the Lambda function via the AWS Console

Watch Video

Watch video content

Previous
Lambda Containers