> ## Documentation Index
> Fetch the complete documentation index at: https://notes.kodekloud.com/llms.txt
> Use this file to discover all available pages before exploring further.
# Lambda Containers Demonstration
> This tutorial guides building, pushing, and deploying an AWS Lambda function packaged as a container image using the AWS Management Console.
In this tutorial, we’ll guide you through building, pushing, and deploying an AWS Lambda function packaged as a container image, using the AWS Management Console.
## Environment Setup
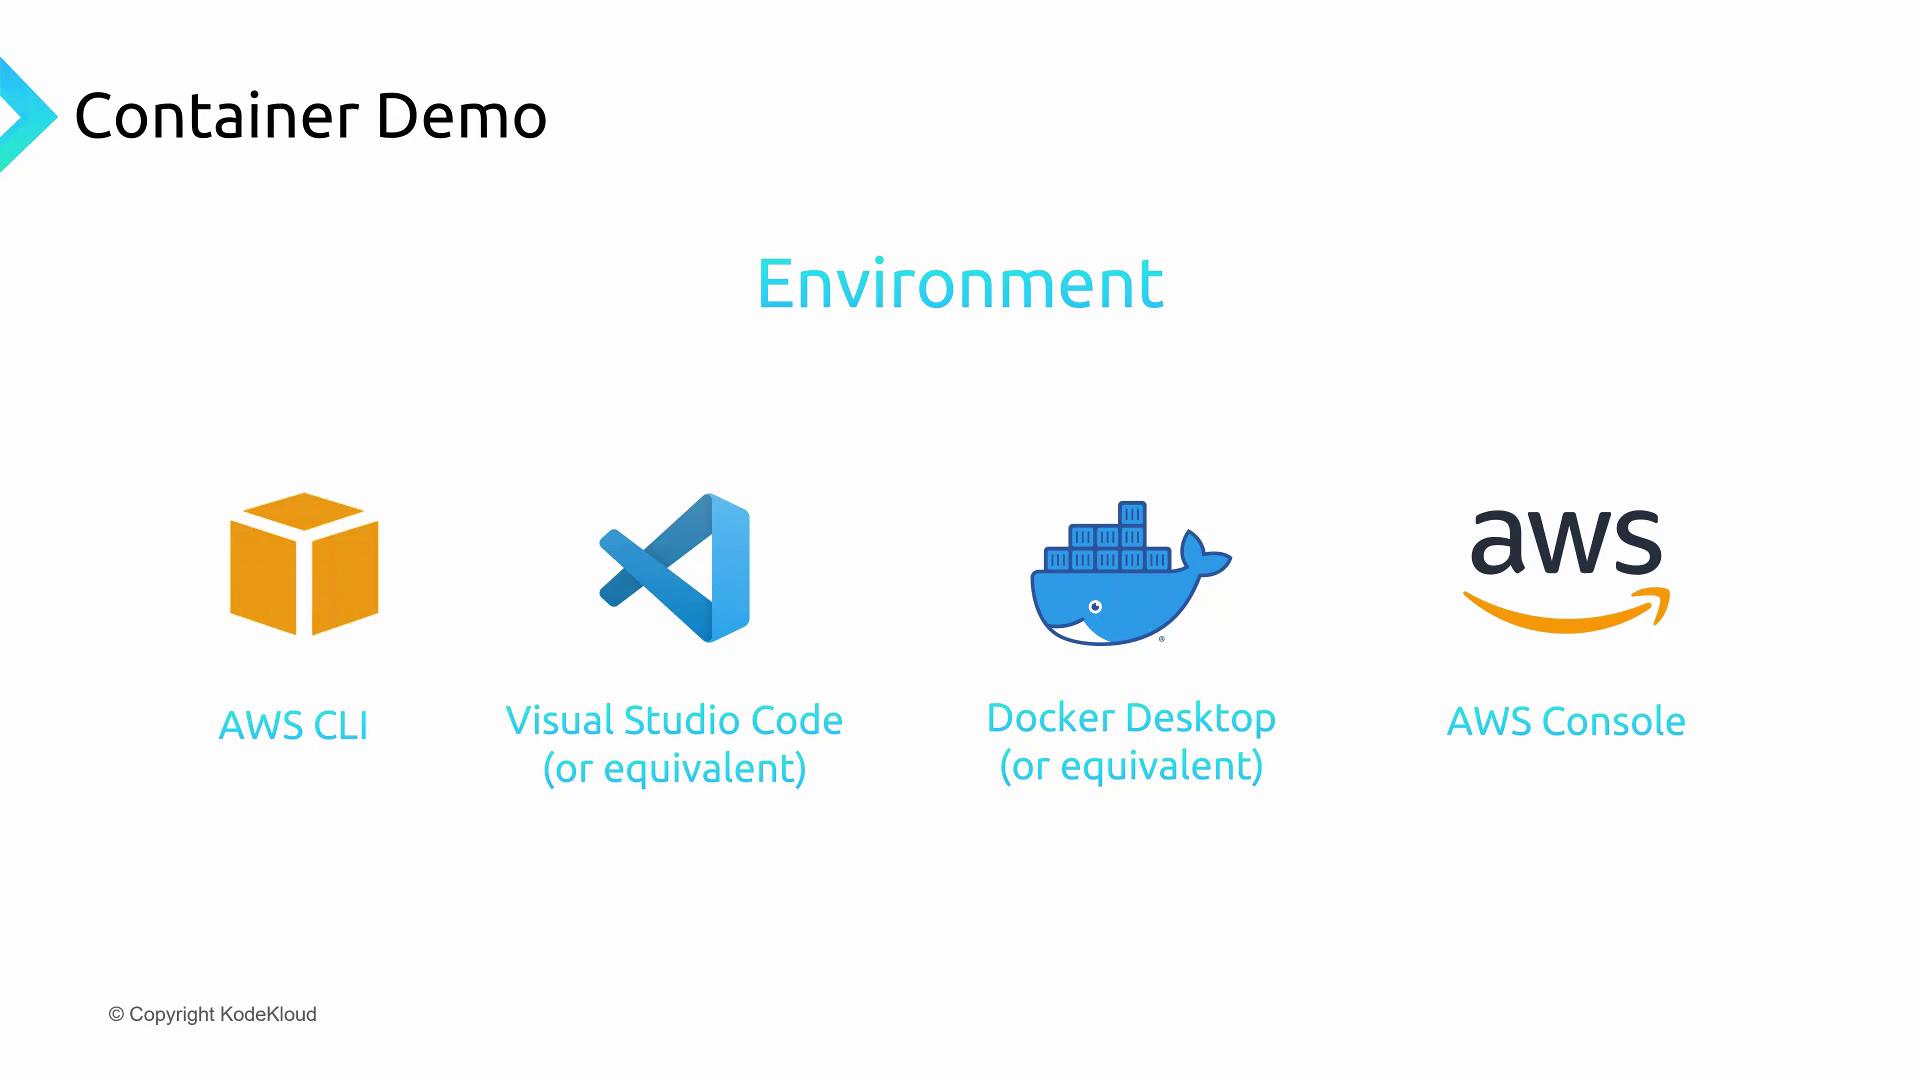
Before you begin, ensure you have the following:
* A local development workstation (Windows, macOS, or Linux)
* An IDE such as [Visual Studio Code](https://code.visualstudio.com/)
* [Docker Desktop](https://www.docker.com/products/docker-desktop/) installed and running
* The [AWS CLI](https://aws.amazon.com/cli/) configured with proper credentials
* An active AWS account logged into the [AWS Management Console](https://aws.amazon.com/console/)
## Project Structure
Create a new directory for your demo and add the following files:
| File | Purpose |
| ---------------- | ---------------------------- |
| app.py | Python Lambda handler |
| requirements.txt | Python dependencies |
| Dockerfile | Container build instructions |

### app.py
```python theme={null}
import sys
def handler(event, context):
return 'Hello from KodeKloud with AWS Lambda using Python ' + sys.version + '!'
```
### requirements.txt
Leave this file empty for no external dependencies, or list any libraries your function needs.
If you require additional packages, add them to `requirements.txt` before building the image.
### Dockerfile
```dockerfile theme={null}
FROM public.ecr.aws/lambda/python:3.8
# Install dependencies
COPY requirements.txt .
RUN pip3 install -r requirements.txt --target "${LAMBDA_TASK_ROOT}"
# Copy function code
COPY app.py ${LAMBDA_TASK_ROOT}
# Define the handler
CMD [ "app.handler" ]
```
## Create an ECR Repository
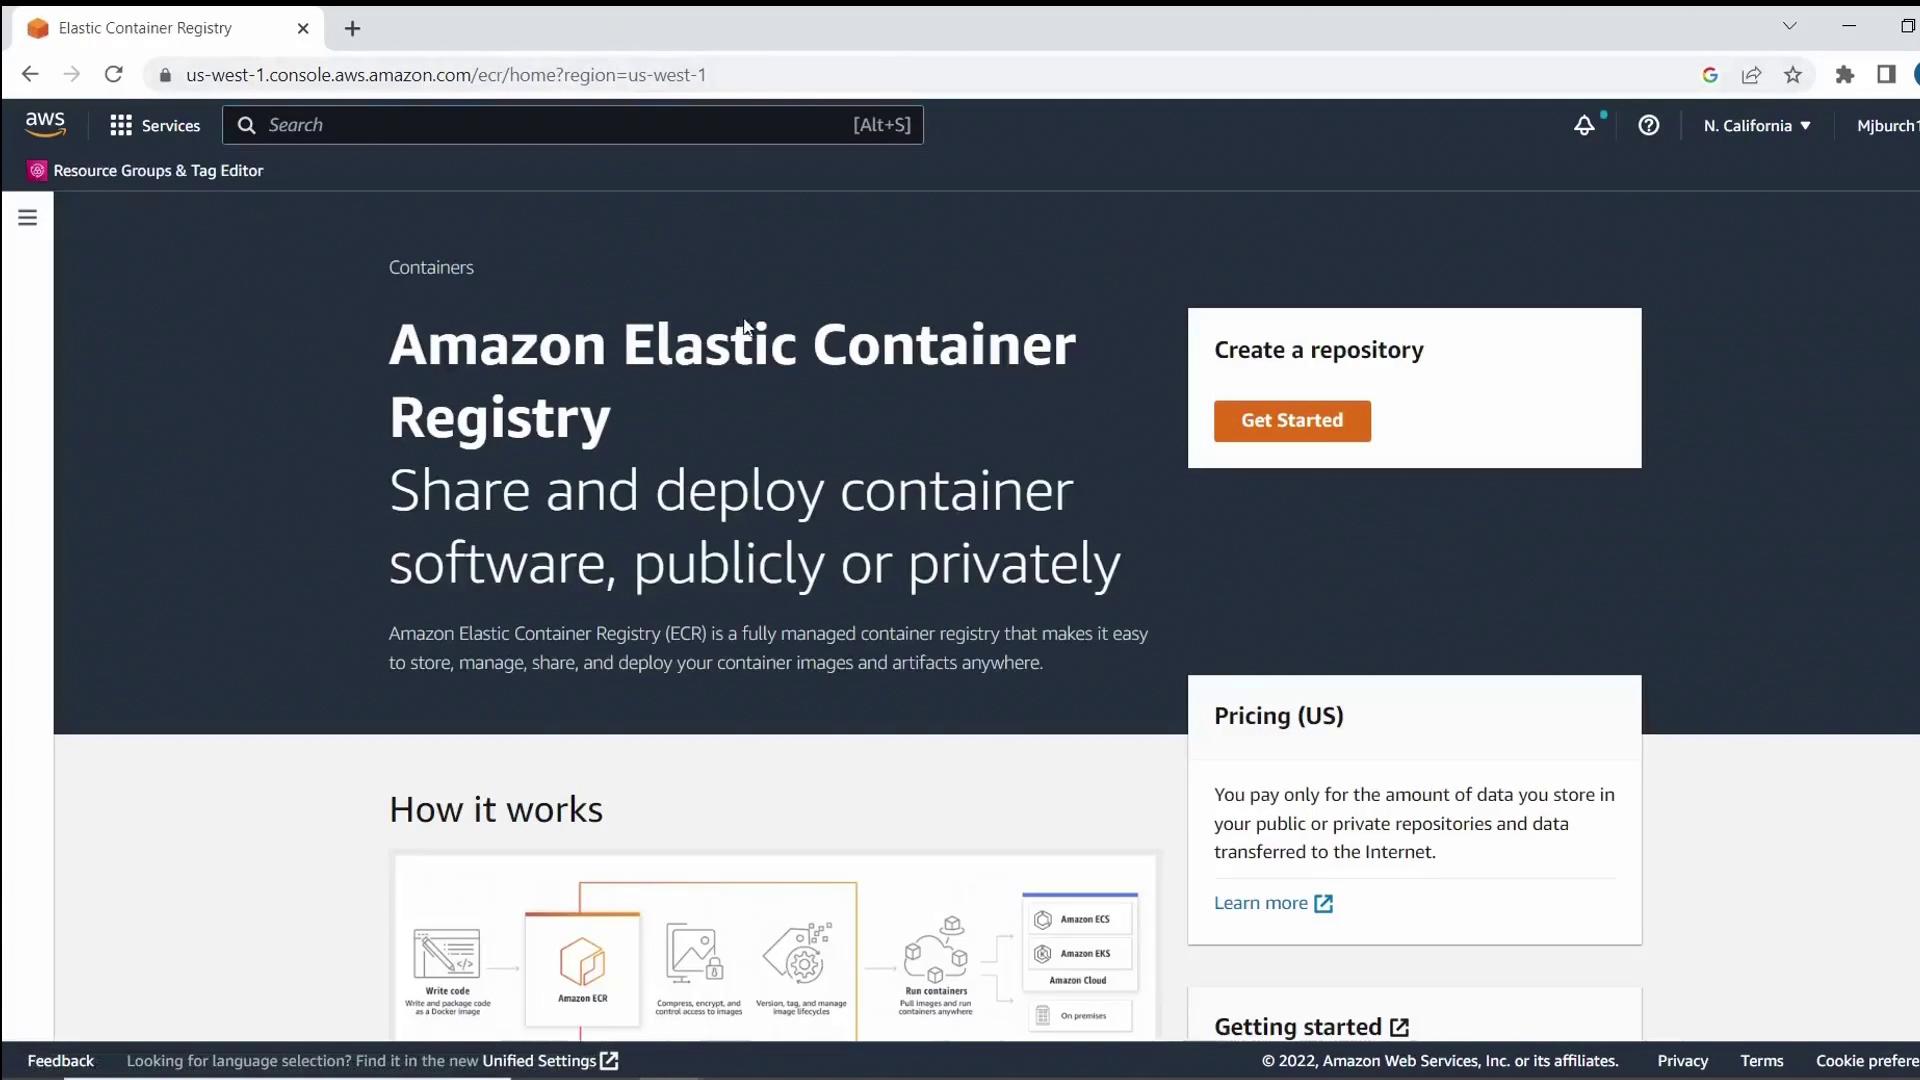
The AWS Elastic Container Registry (ECR) hosts your container images. In the [AWS Management Console](https://aws.amazon.com/console/), navigate to **Elastic Container Registry**.
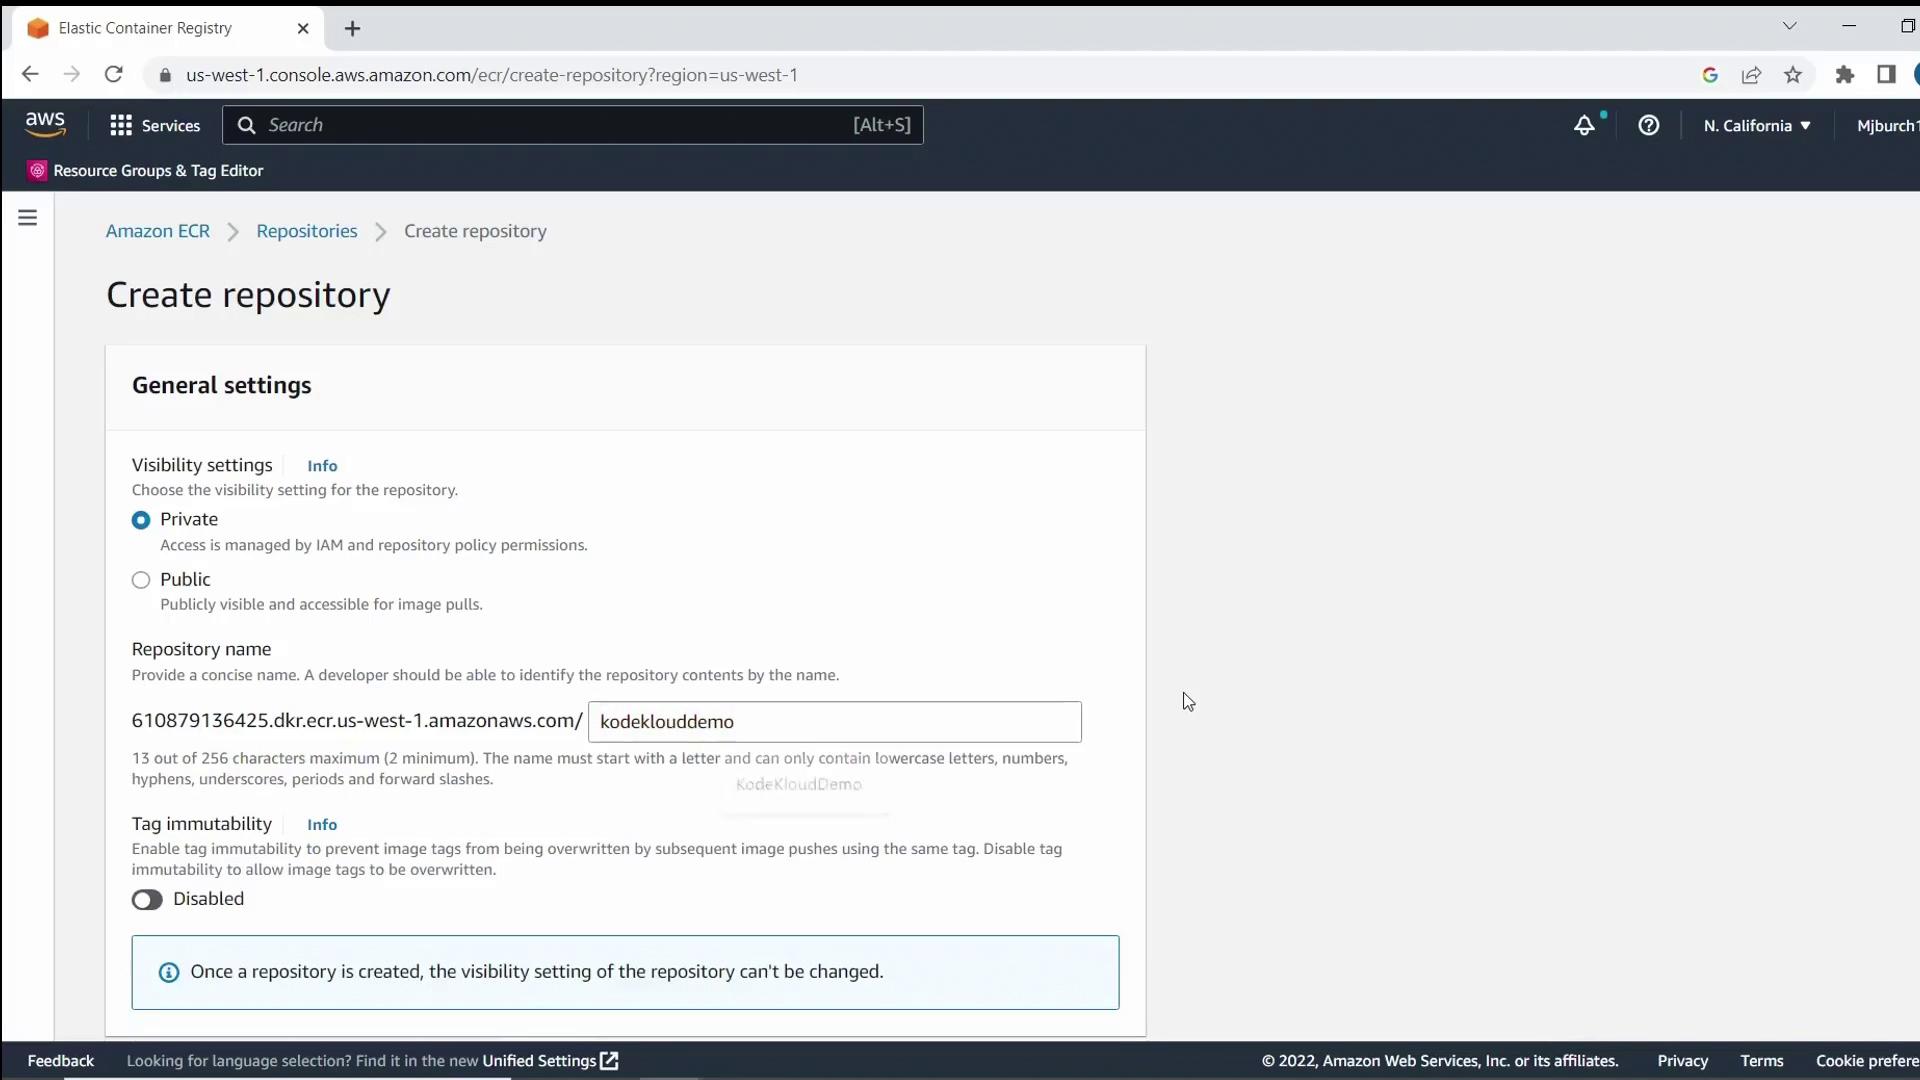
Click **Create repository**, set visibility to **Private**, and name it `KodeKloudDemo`. Optionally enable image scanning on push, then click **Create repository**.
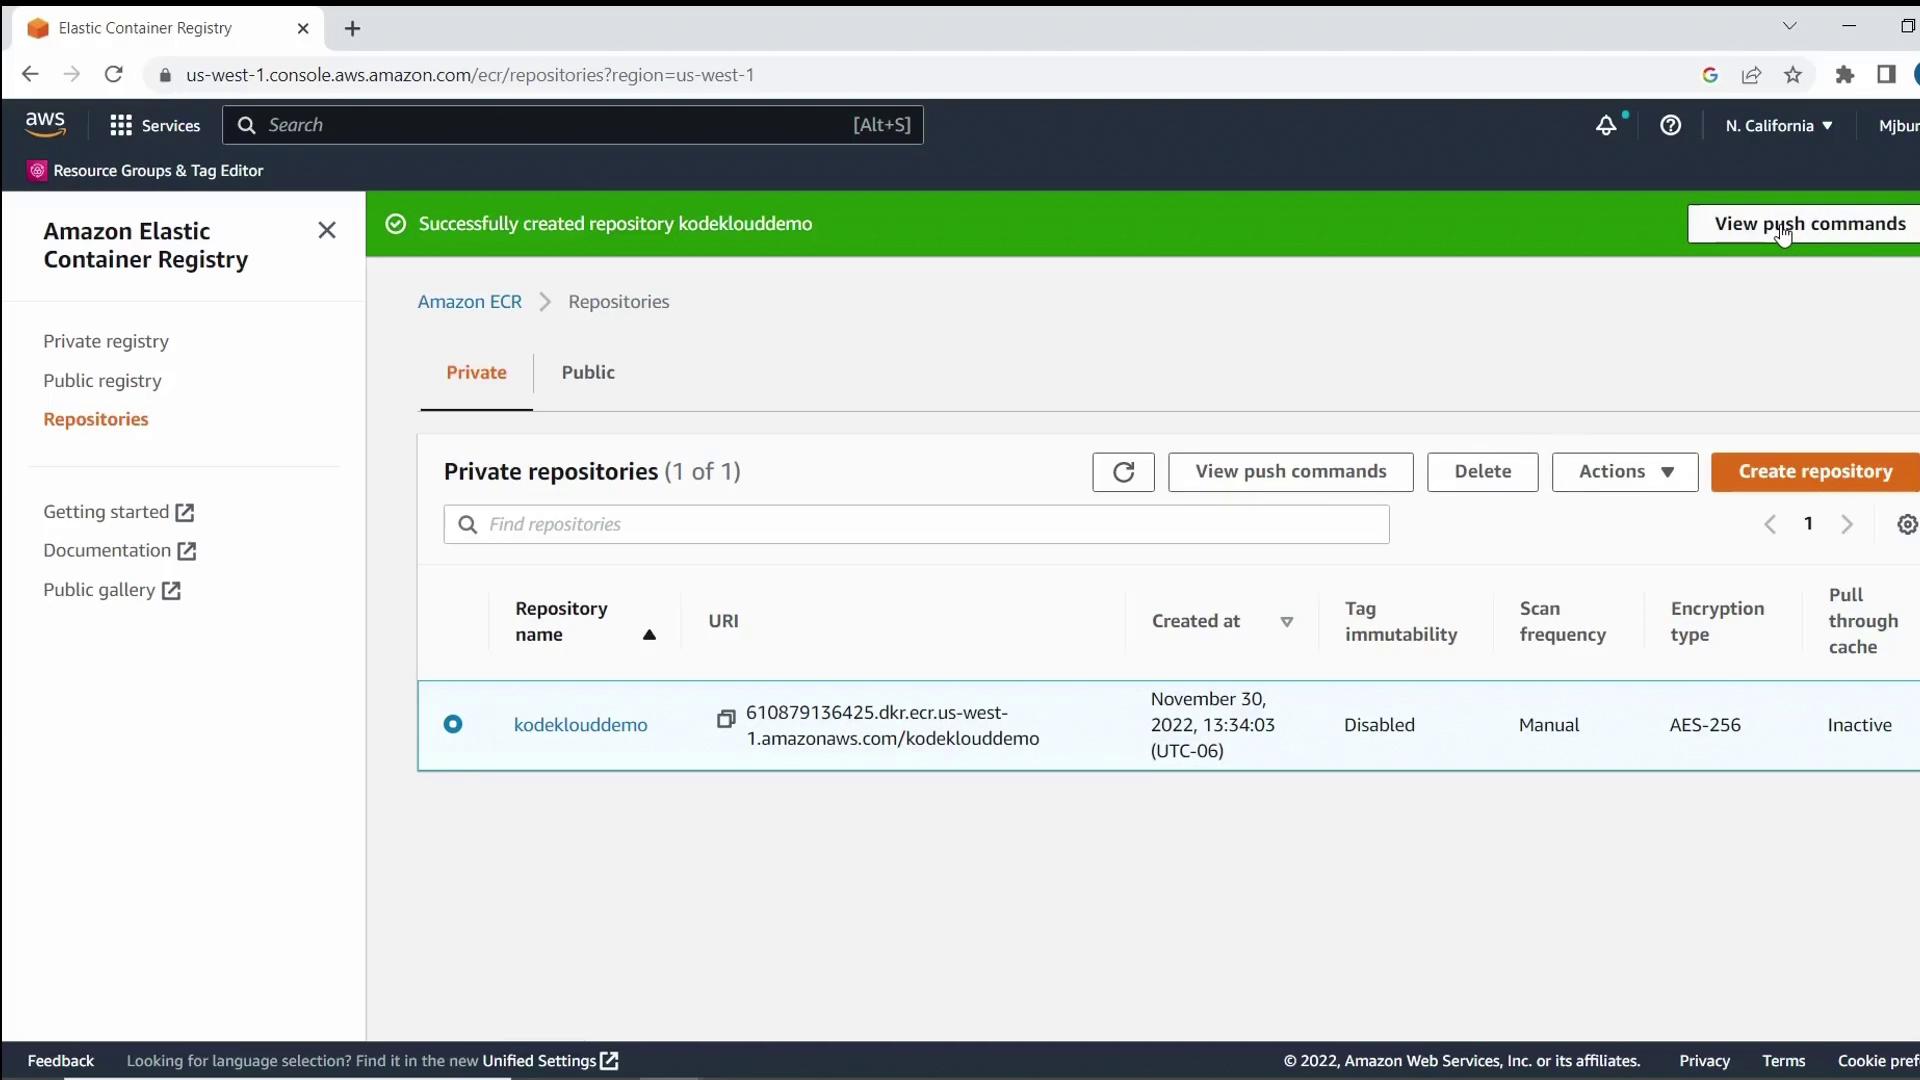
Once the repository appears, select **View push commands**.
## Build and Push the Container Image
Open your terminal and follow these steps, replacing `` and `` with your AWS Region and account number.
Keep your AWS credentials secure. Do not hard-code them in scripts.
1. Authenticate Docker to ECR:
```bash theme={null}
aws ecr get-login-password --region \
| docker login --username AWS --password-stdin .dkr.ecr..amazonaws.com
```
2. Build your image locally:
```bash theme={null}
docker build -t kodeklouddemo .
```
3. Tag the image for your repository:
```bash theme={null}
docker tag kodeklouddemo:latest \
.dkr.ecr..amazonaws.com/kodeklouddemo:latest
```
4. Push the image to ECR:
```bash theme={null}
docker push .dkr.ecr..amazonaws.com/kodeklouddemo:latest
```
Example response after login:
```plaintext theme={null}
Login Succeeded
```
Successful push output:
```plaintext theme={null}
... latest: digest: sha256:573b0a9049137d606c681c973b197727ace46f6ebbed4bff7eb2e61f0f1 size: 2205
```
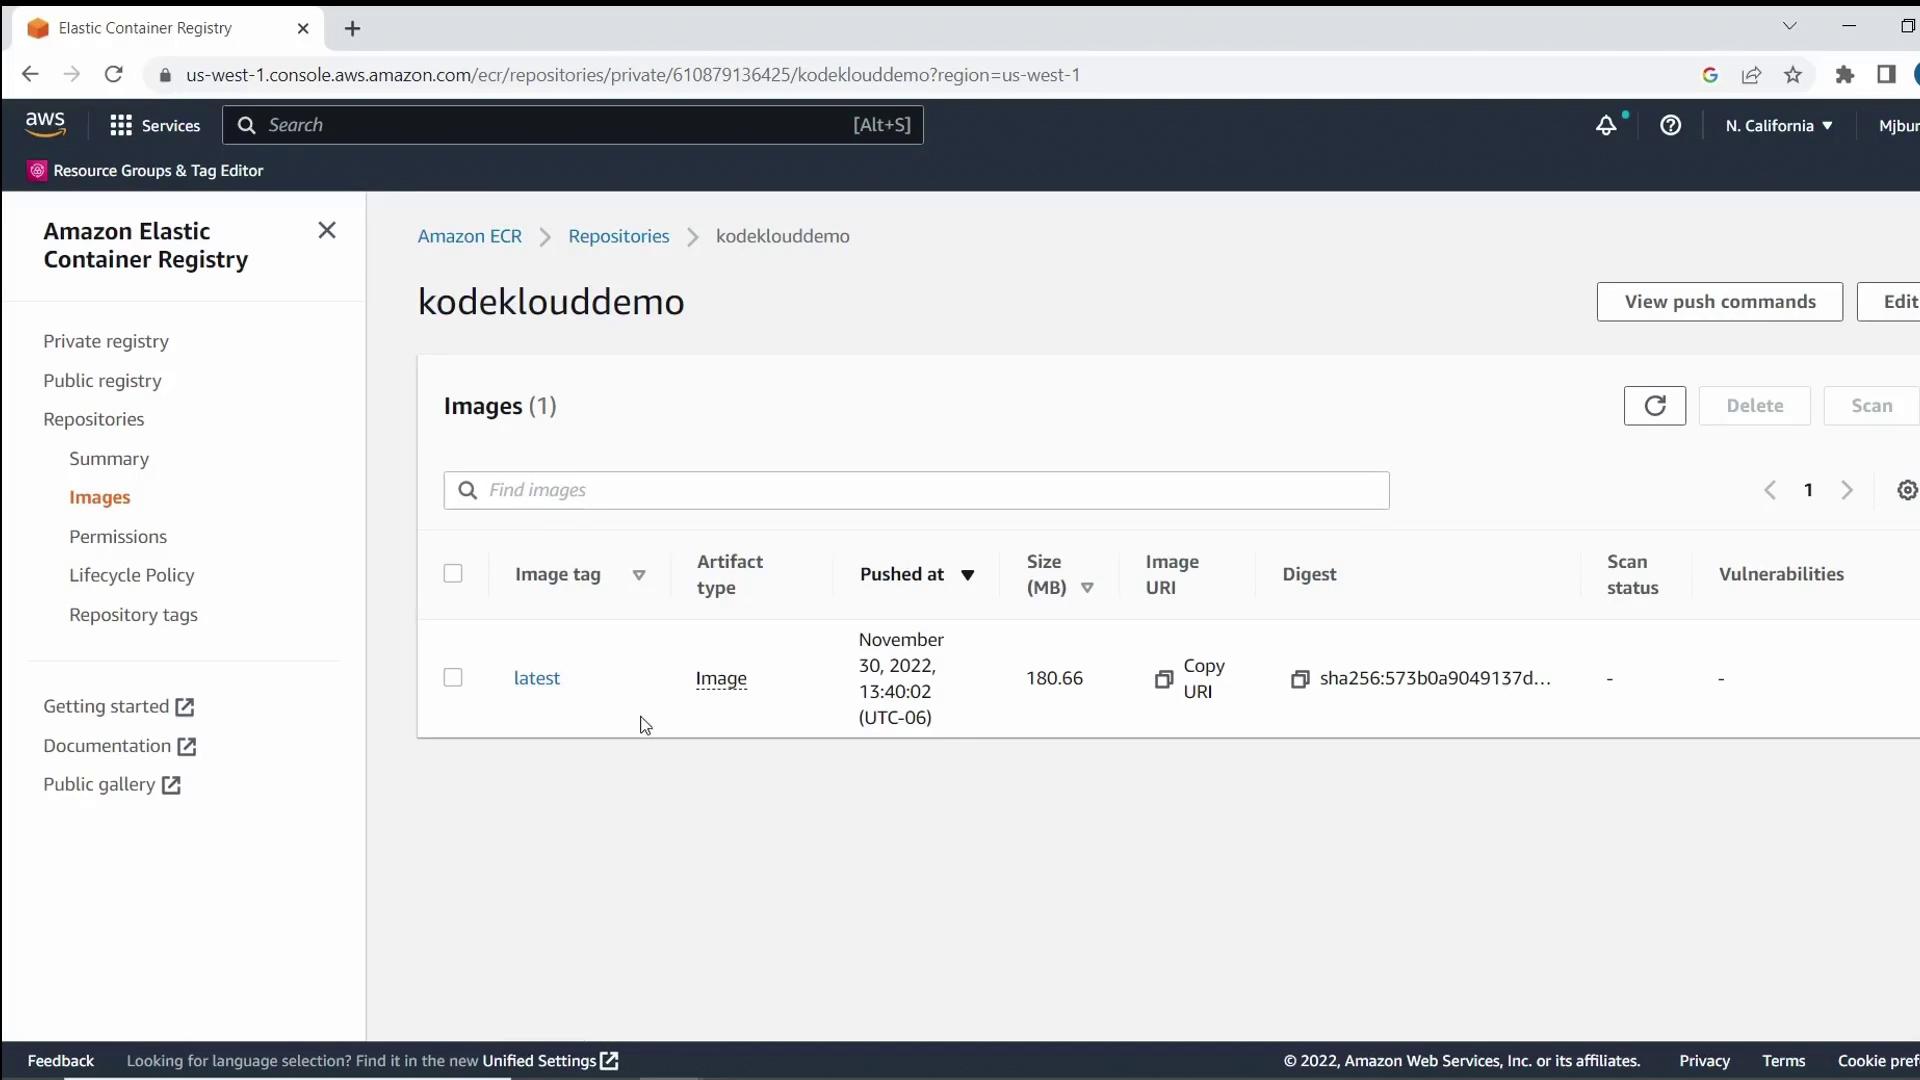
Refresh the ECR console to verify the **latest** tag.
## Deploy the Lambda Function
1. Go to **AWS Lambda** in the [AWS Management Console](https://aws.amazon.com/console/).
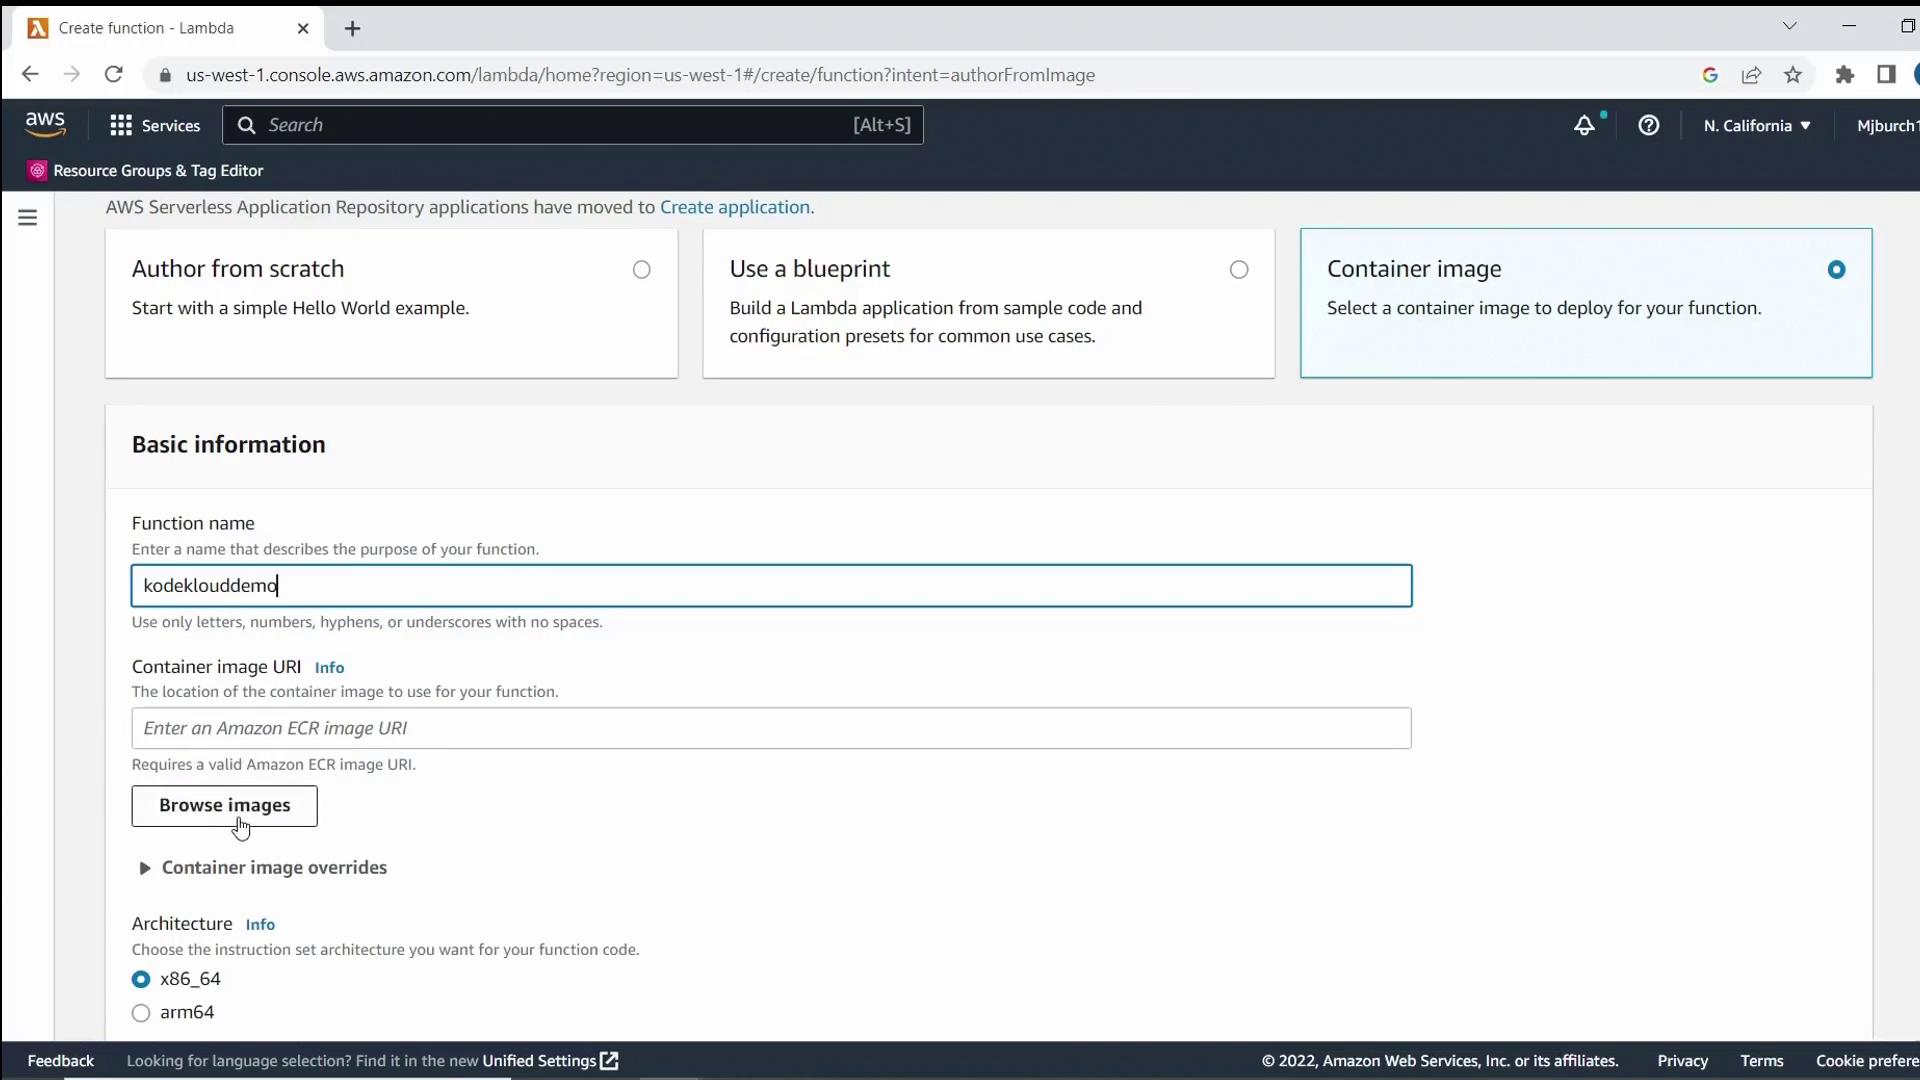
2. Click **Create function**, choose **Container image**, and enter `KodeKloudDemo` as the function name.
3. Under **Container image**, click **Browse images**, select your `kodeklouddemo:latest` image, and click **Select image**.
4. Keep the remaining settings at their defaults and click **Create function**.
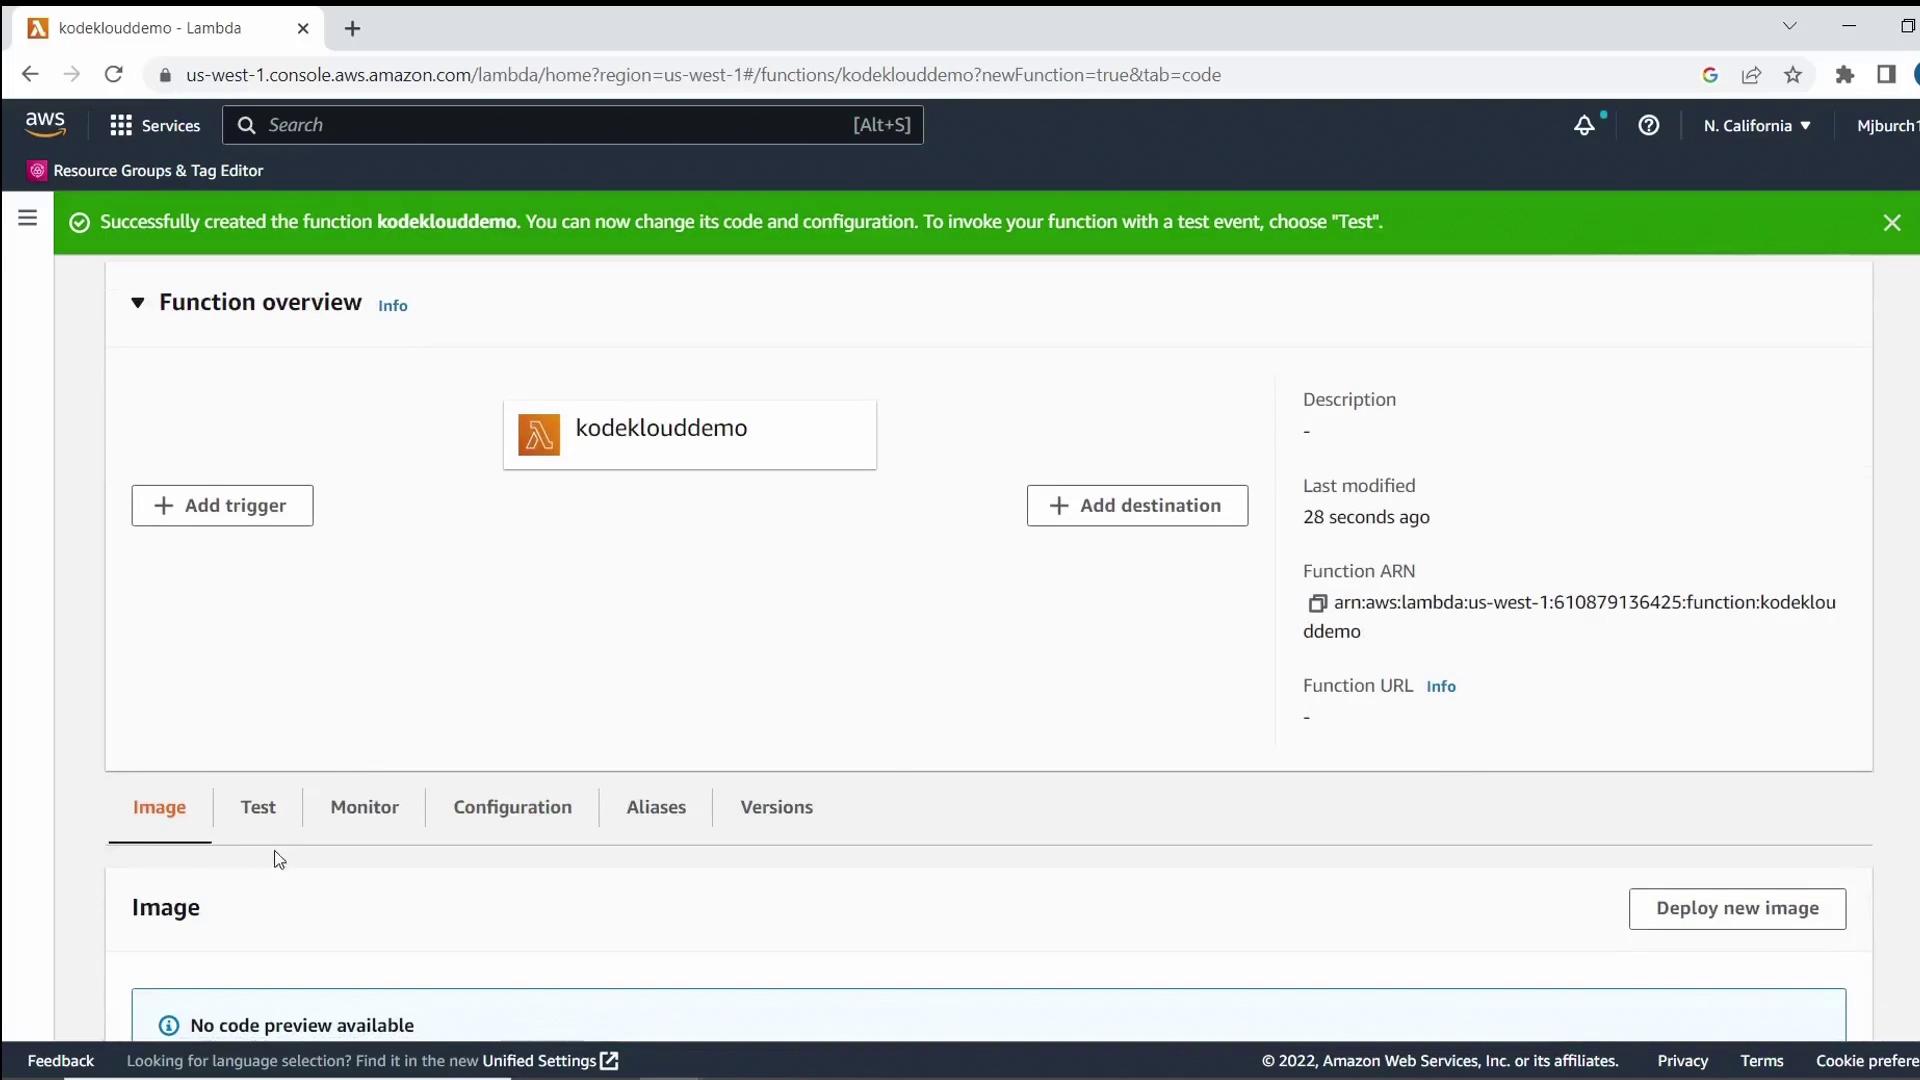
After provisioning, you’ll see your new function listed in the console.
## Test the Lambda Function
1. In your Lambda function console, click **Test**.
2. Choose **Create new test event** (the default template is fine) and save.
3. Click **Test** again to invoke the function.
4. Confirm the **Execution results** show your greeting message and Python version.
## Summary
In this demo, you learned how to:
* Structure a simple Python Lambda project
* Create a Dockerfile compatible with AWS Lambda
* Build and push a container image to Amazon ECR
* Deploy a Lambda function from your container image
* Invoke and test the Lambda function via the AWS Console
## Links and References
* [AWS Lambda Documentation](https://aws.amazon.com/lambda/)
* [Amazon ECR Documentation](https://aws.amazon.com/ecr/)
* [AWS CLI Reference](https://aws.amazon.com/cli/)
* [Docker Desktop](https://www.docker.com/products/docker-desktop/)
* [Visual Studio Code](https://code.visualstudio.com/)