> ## Documentation Index
> Fetch the complete documentation index at: https://notes.kodekloud.com/llms.txt
> Use this file to discover all available pages before exploring further.
# Internet Gateway Demo
> This tutorial explains how to convert a private subnet into a public subnet by attaching an Internet Gateway and updating the route table.
In this tutorial, you’ll convert a private subnet into a public subnet by attaching an Internet Gateway and updating the route table. After completing these steps, any EC2 instance launched in your public subnet will have Internet access.
## Overview
| Step | Description |
| ---- | --------------------------------------------- |
| 1 | Create a VPC & Subnet |
| 2 | Launch an EC2 instance in the public subnet |
| 3 | Verify default connectivity (should fail) |
| 4 | Create & attach an Internet Gateway |
| 5 | Configure the route table for Internet access |
| 6 | Test Internet connectivity (should succeed) |
## Prerequisites
* An AWS account with permissions to manage VPCs and EC2.
* A generated SSH key pair (for example, `aws-demo.pem`).
You can refer to the [AWS VPC Documentation](https://docs.aws.amazon.com/vpc/latest/userguide/) for more details on VPC components.
***
## 1. Create a VPC and Public Subnet
1. In the AWS Console, go to **VPC > Your VPCs** and click **Create VPC**.
2. Set the IPv4 CIDR block to `10.0.0.0/16`. Optionally add an IPv6 block.
3. Click **Create VPC**.
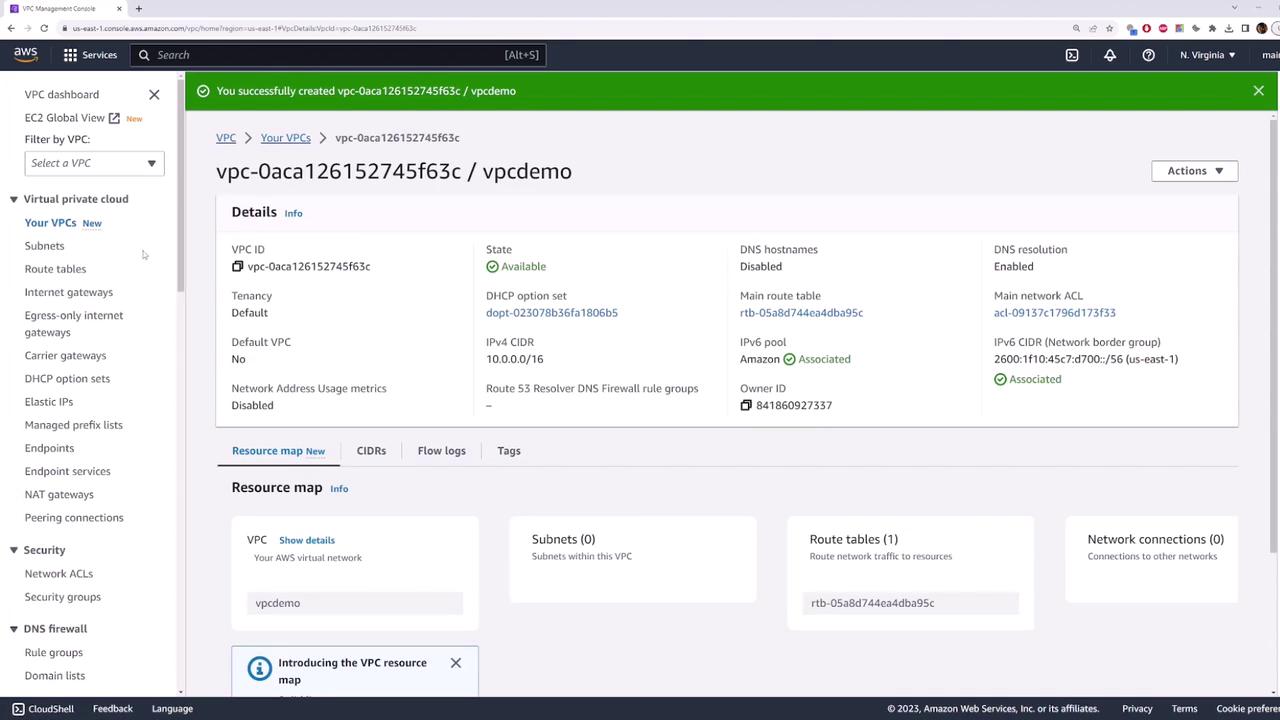
4. Navigate to **Subnets > Create subnet**:
* **Name tag**: `public-subnet`
* **VPC**: your newly created VPC
* **IPv4 CIDR block**: `10.0.1.0/24`
5. Click **Create subnet**.
***
## 2. Launch an EC2 Instance in the Public Subnet
1. Open **EC2 Console** > **Instances > Launch instances**.
2. For **Name**, enter `my-public-server`.
3. Choose **Amazon Linux 2023** under **Application and OS Images (AMI)**.
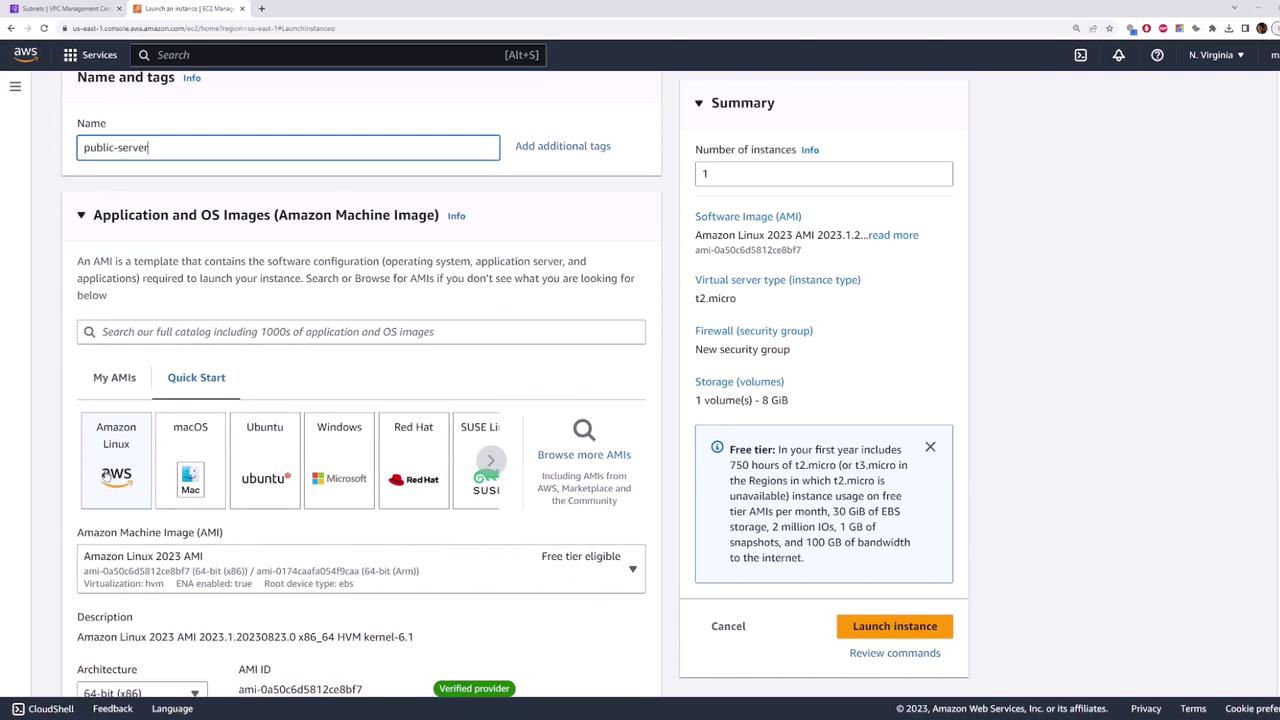
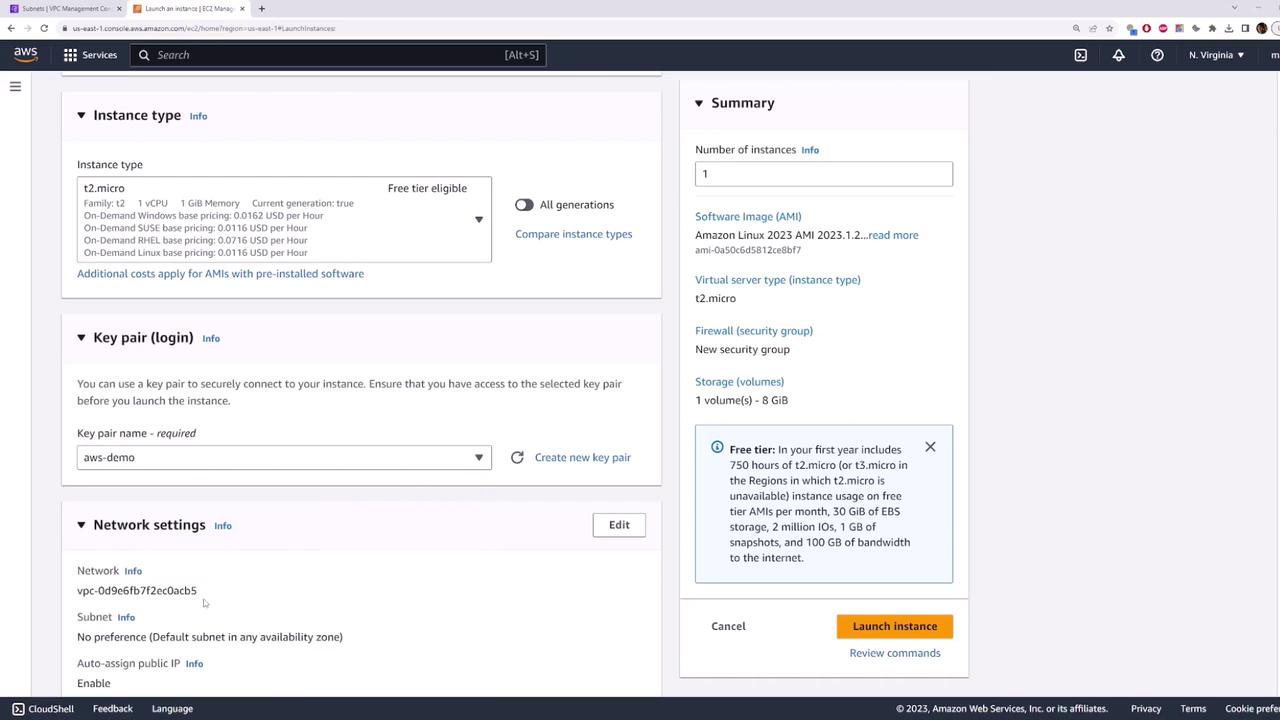
4. Select the **t2.micro** instance type (free tier).
5. Under **Key pair**, choose `aws-demo.pem`.
6. Expand **Network settings > Edit** and configure:
* **VPC**: your new VPC
* **Subnet**: `public-subnet`
* **Auto-assign public IP**: **Enable**
7. Under **Security group**, allow SSH (port 22) from `0.0.0.0/0`. Optionally add ICMP for ping.
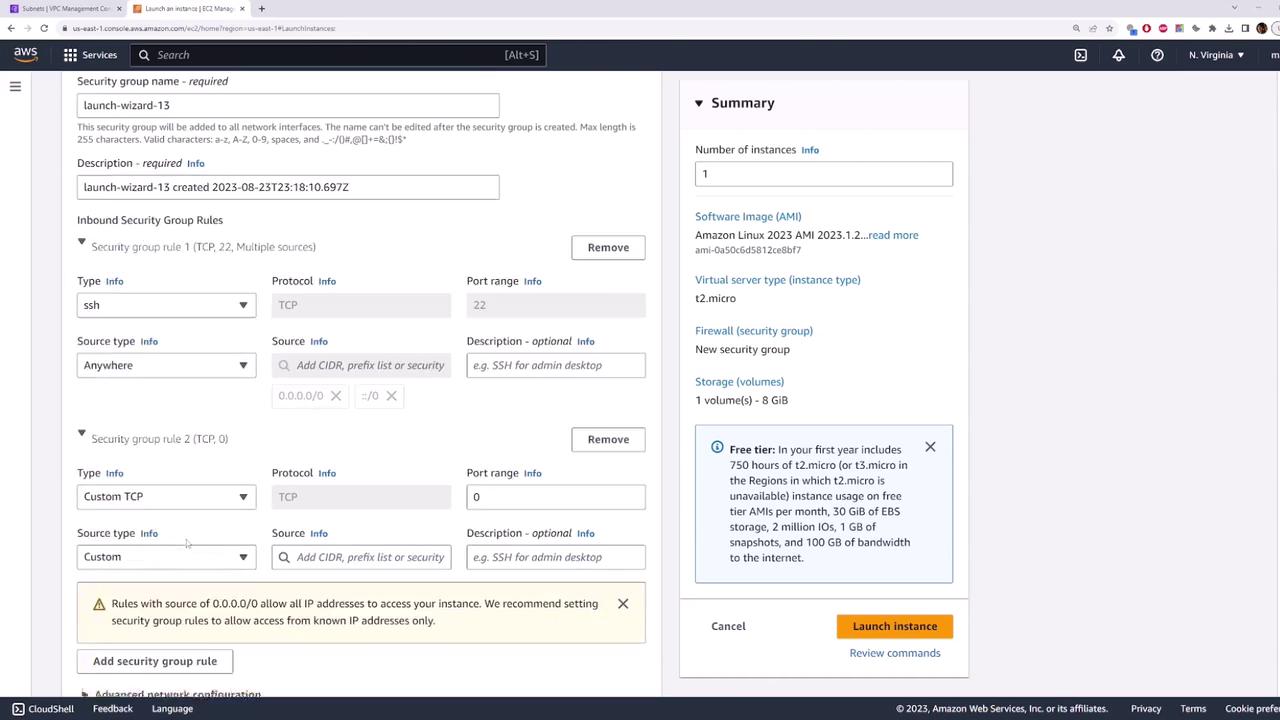
8. Click **Launch instance** and wait for it to switch to **running**.
***
## 3. Verify Default Connectivity (Should Fail)
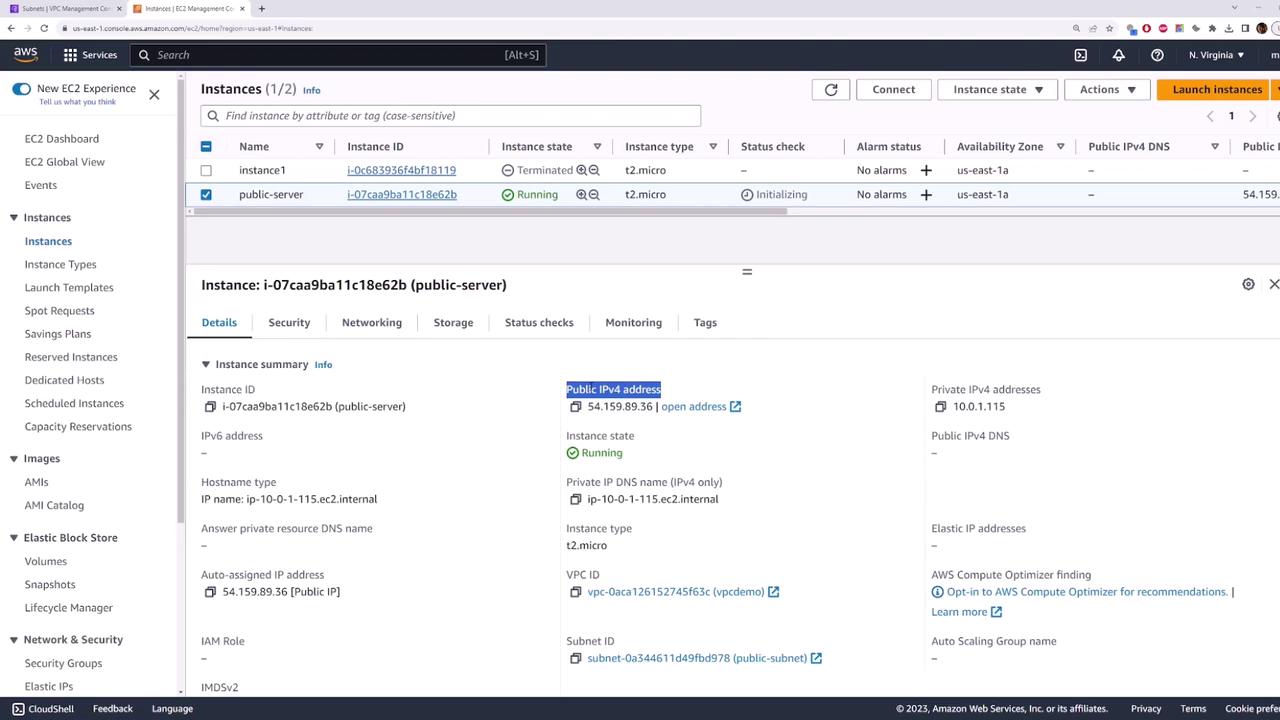
After your instance is running, copy its public IP (example: `54.159.89.36`) and test connectivity:
```bash theme={null}
ping 54.159.89.36
ssh -i aws-demo.pem ec2-user@54.159.89.36
# Connection hangs.
```
By default, there’s no Internet route, so the instance remains unreachable despite having a public IP.
***
## 4. Create and Attach an Internet Gateway
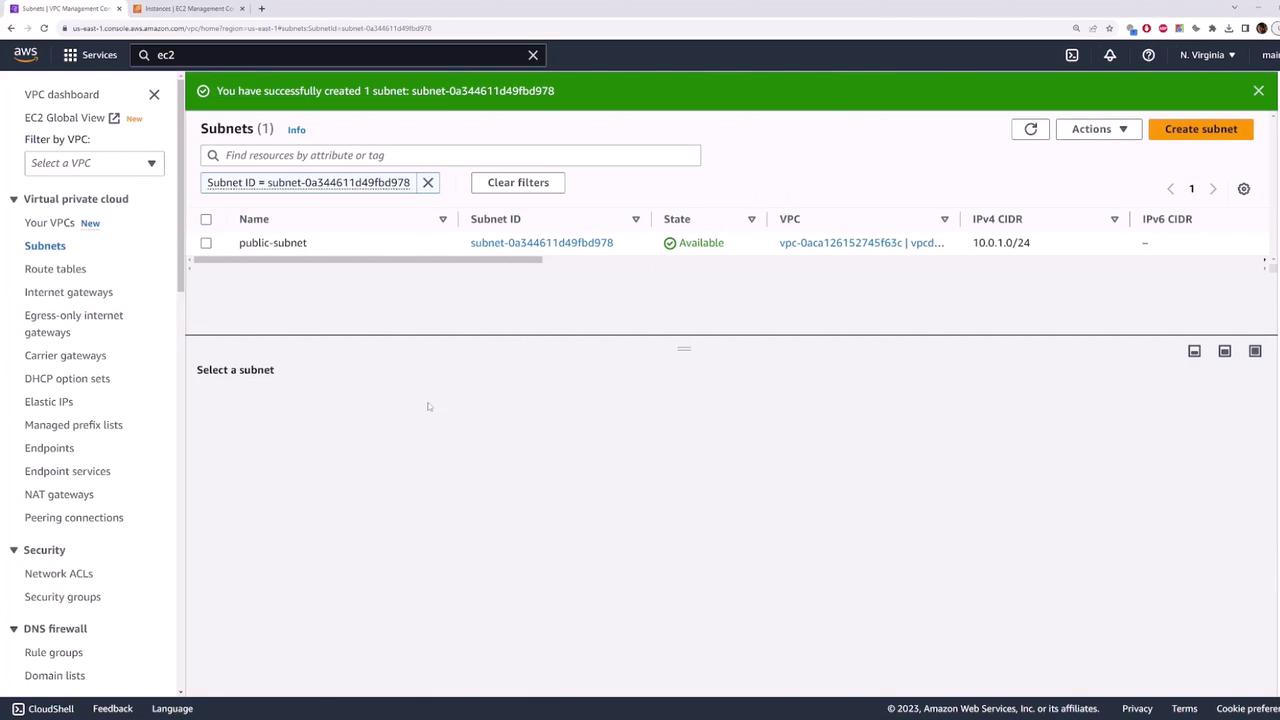
1. In the **VPC Console**, select **Internet Gateways** and click **Create internet gateway**.
* **Name tag**: `my-internet-gateway`
2. Click **Create internet gateway**.
3. Select the newly created gateway, choose **Actions > Attach to VPC**, and select your VPC.
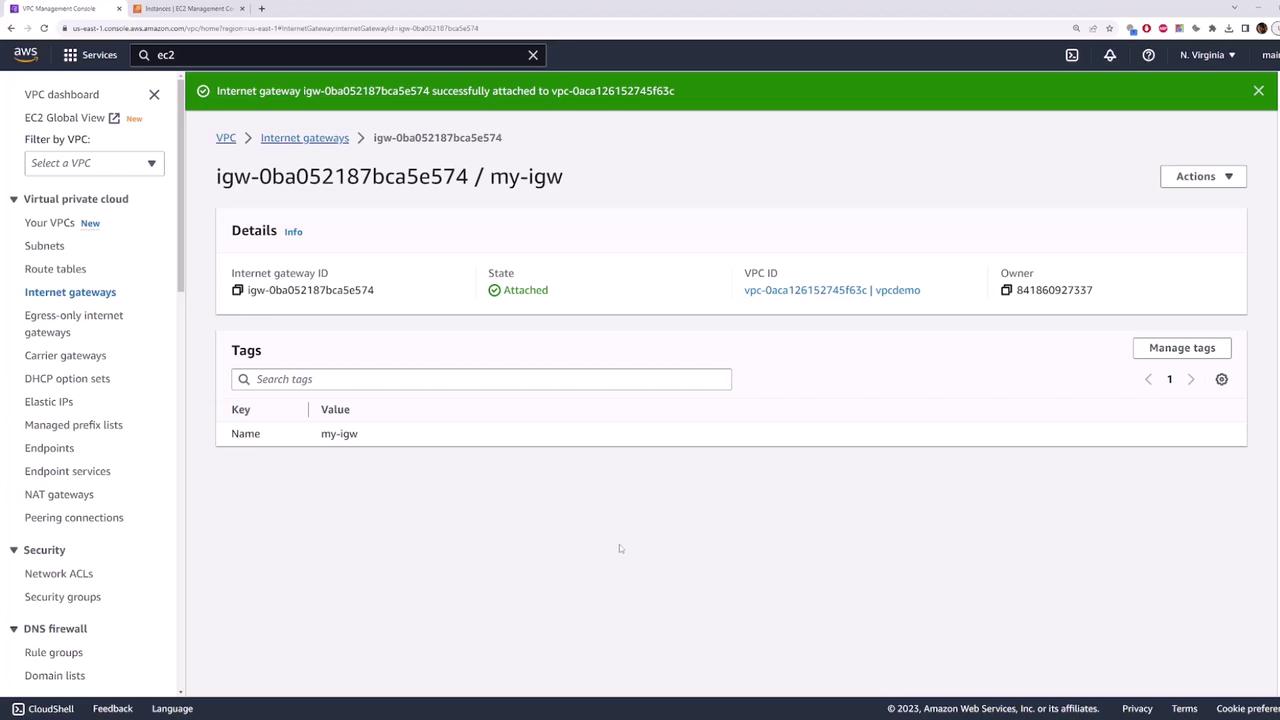
> Pinging still fails because the route table isn’t updated yet.
***
## 5. Configure the Route Table for Internet Access
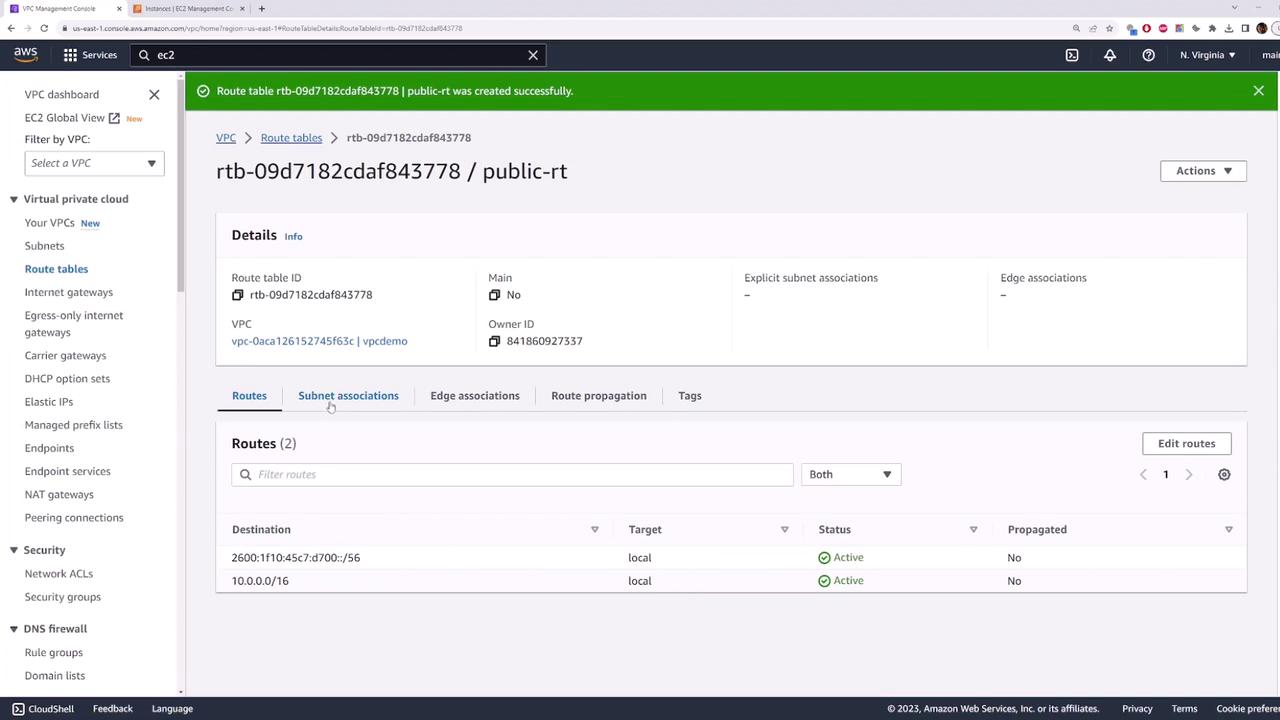
1. Go to **VPC > Route Tables** and click **Create route table**.
* **Name tag**: `public-route-table`
* **VPC**: your demo VPC
2. Click **Create route table**.
3. Select the new route table, open **Subnet associations**, click **Edit subnet associations**, check `public-subnet`, and save.
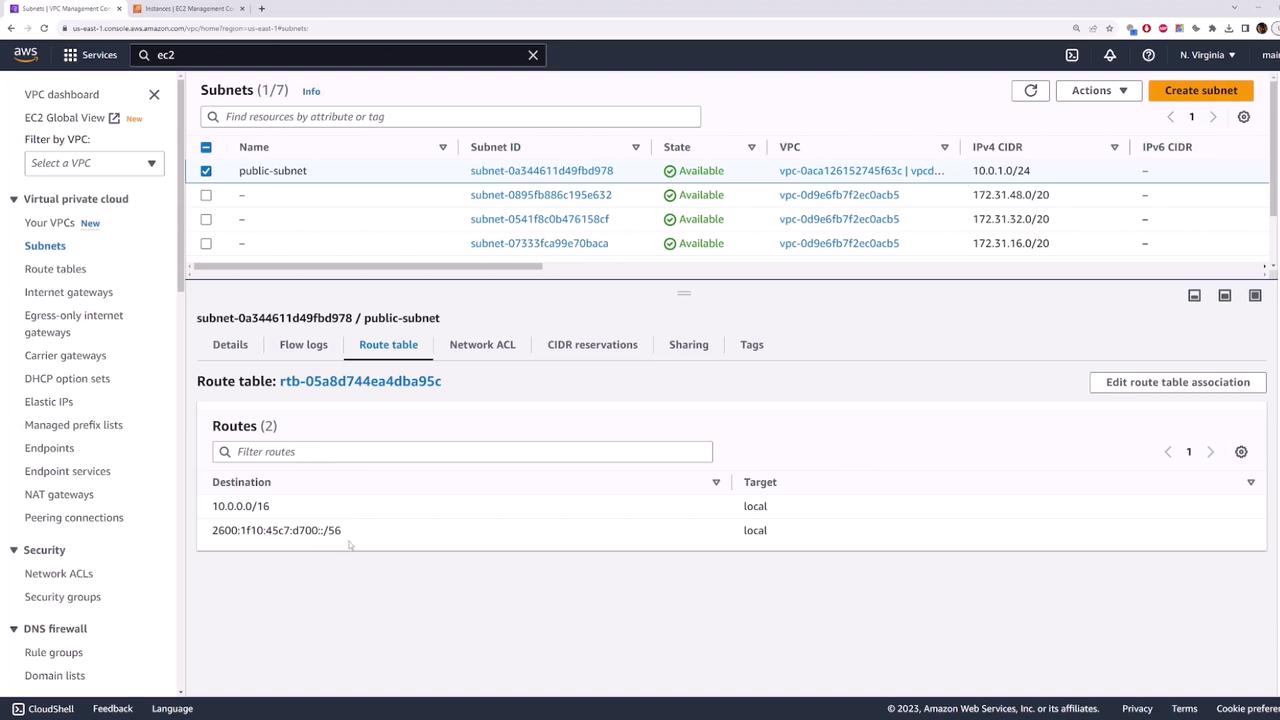
4. In the **Routes** tab, click **Edit routes** > **Add route**:
* **Destination**: `0.0.0.0/0`
* **Target**: `my-internet-gateway`
5. Save the route.
***
## 6. Test Internet Connectivity (Should Succeed)
Now retry ping and SSH using the public IP:
```bash theme={null}
ping 54.159.89.36
ssh -i aws-demo.pem ec2-user@54.159.89.36
# Welcome to your public EC2 instance!
```
Congratulations! Your `public-subnet` is now internet-enabled, and any EC2 instances launched into it can be accessed from the Internet.
## Additional Resources
* [AWS VPC User Guide](https://docs.aws.amazon.com/vpc/latest/userguide/)
* [AWS EC2 User Guide](https://docs.aws.amazon.com/ec2/)