1. Setting Up a Demo VPC and Subnets
First, create a new VPC using the AWS Console or CLI:- Name:
vpcdemo - IPv4 CIDR block:
10.0.0.0/16 - Enable IPv6: Yes
vpcdemo:
| Subnet Name | IPv4 CIDR | IPv6 CIDR |
|---|---|---|
| Subnet One | 10.0.1.0/24 | auto-assigned |
| Subnet Two | 10.0.2.0/24 | auto-assigned |
-
Subnet One
- IPv4 CIDR:
10.0.1.0/24 - IPv6 CIDR: auto-assigned
- IPv4 CIDR:
-
Subnet Two
- IPv4 CIDR:
10.0.2.0/24 - IPv6 CIDR: auto-assigned
- IPv4 CIDR:
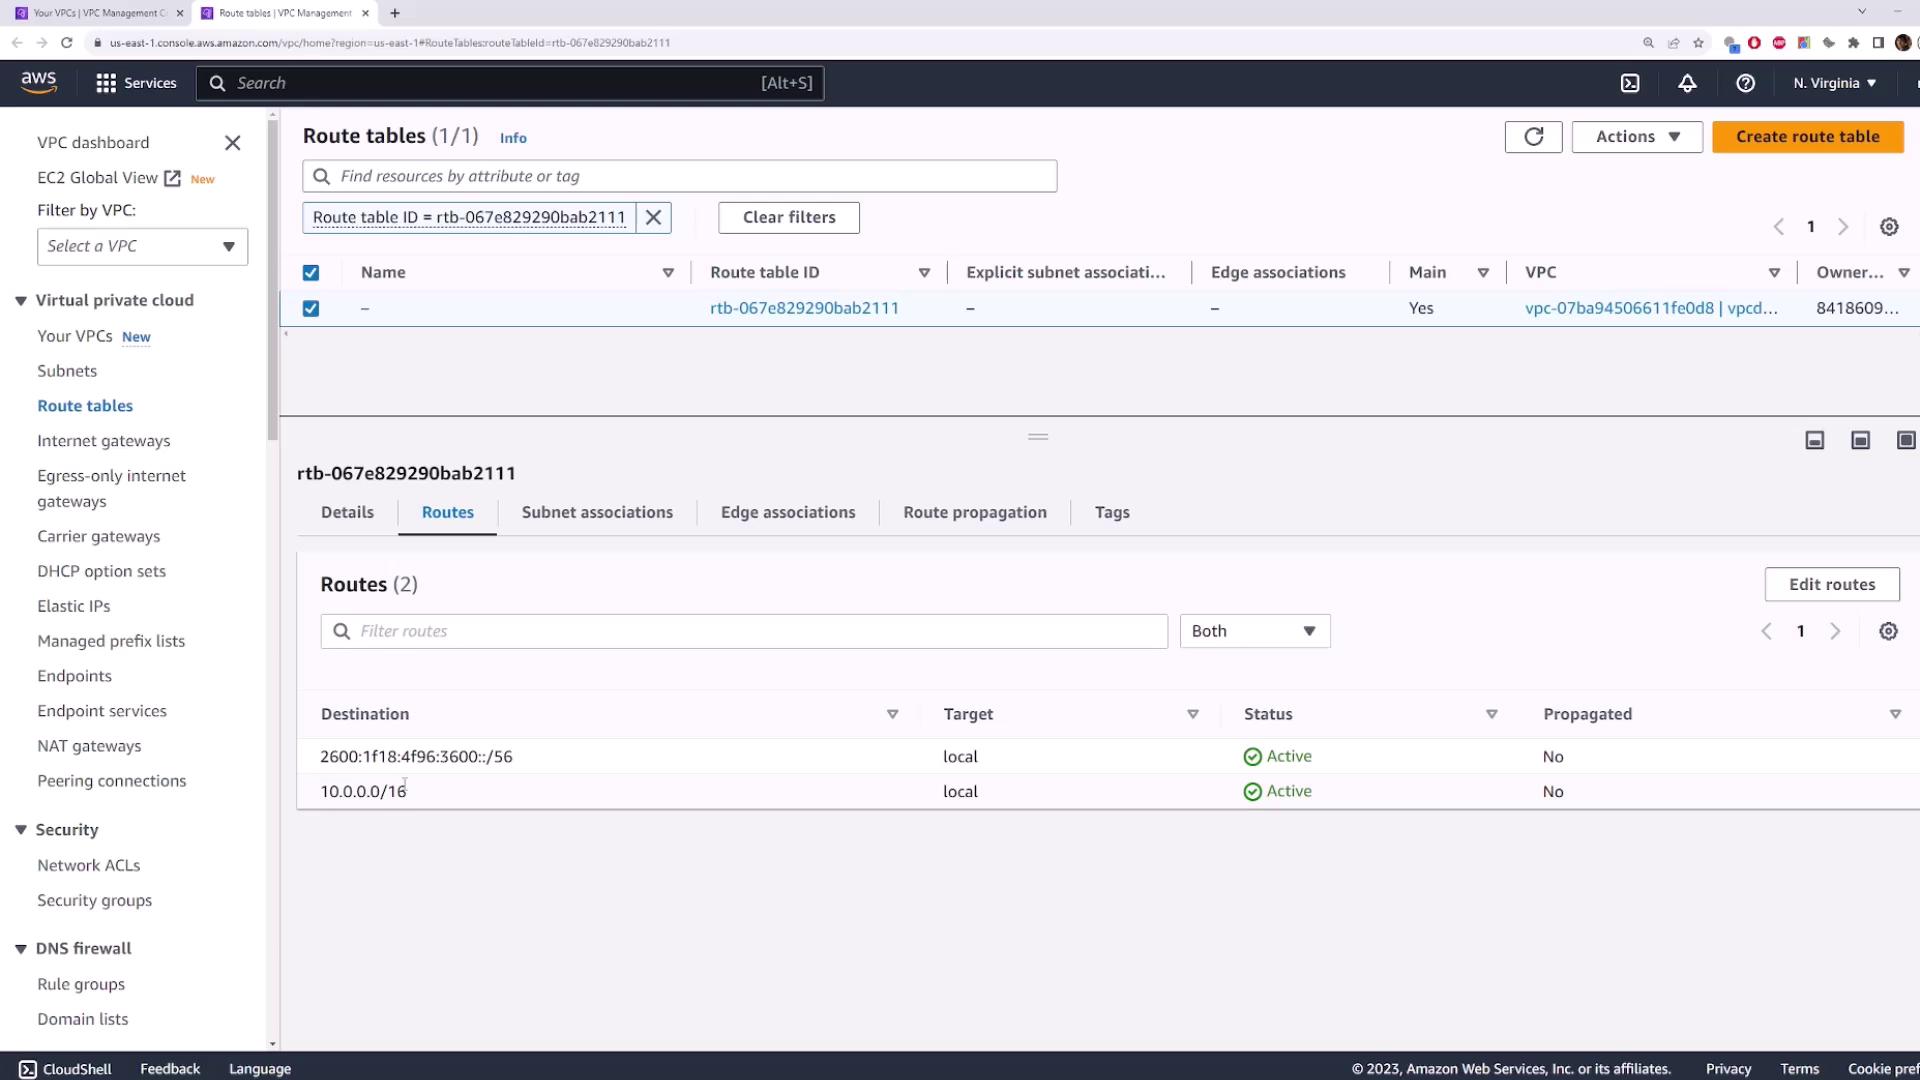
2. Viewing the Default Route Table
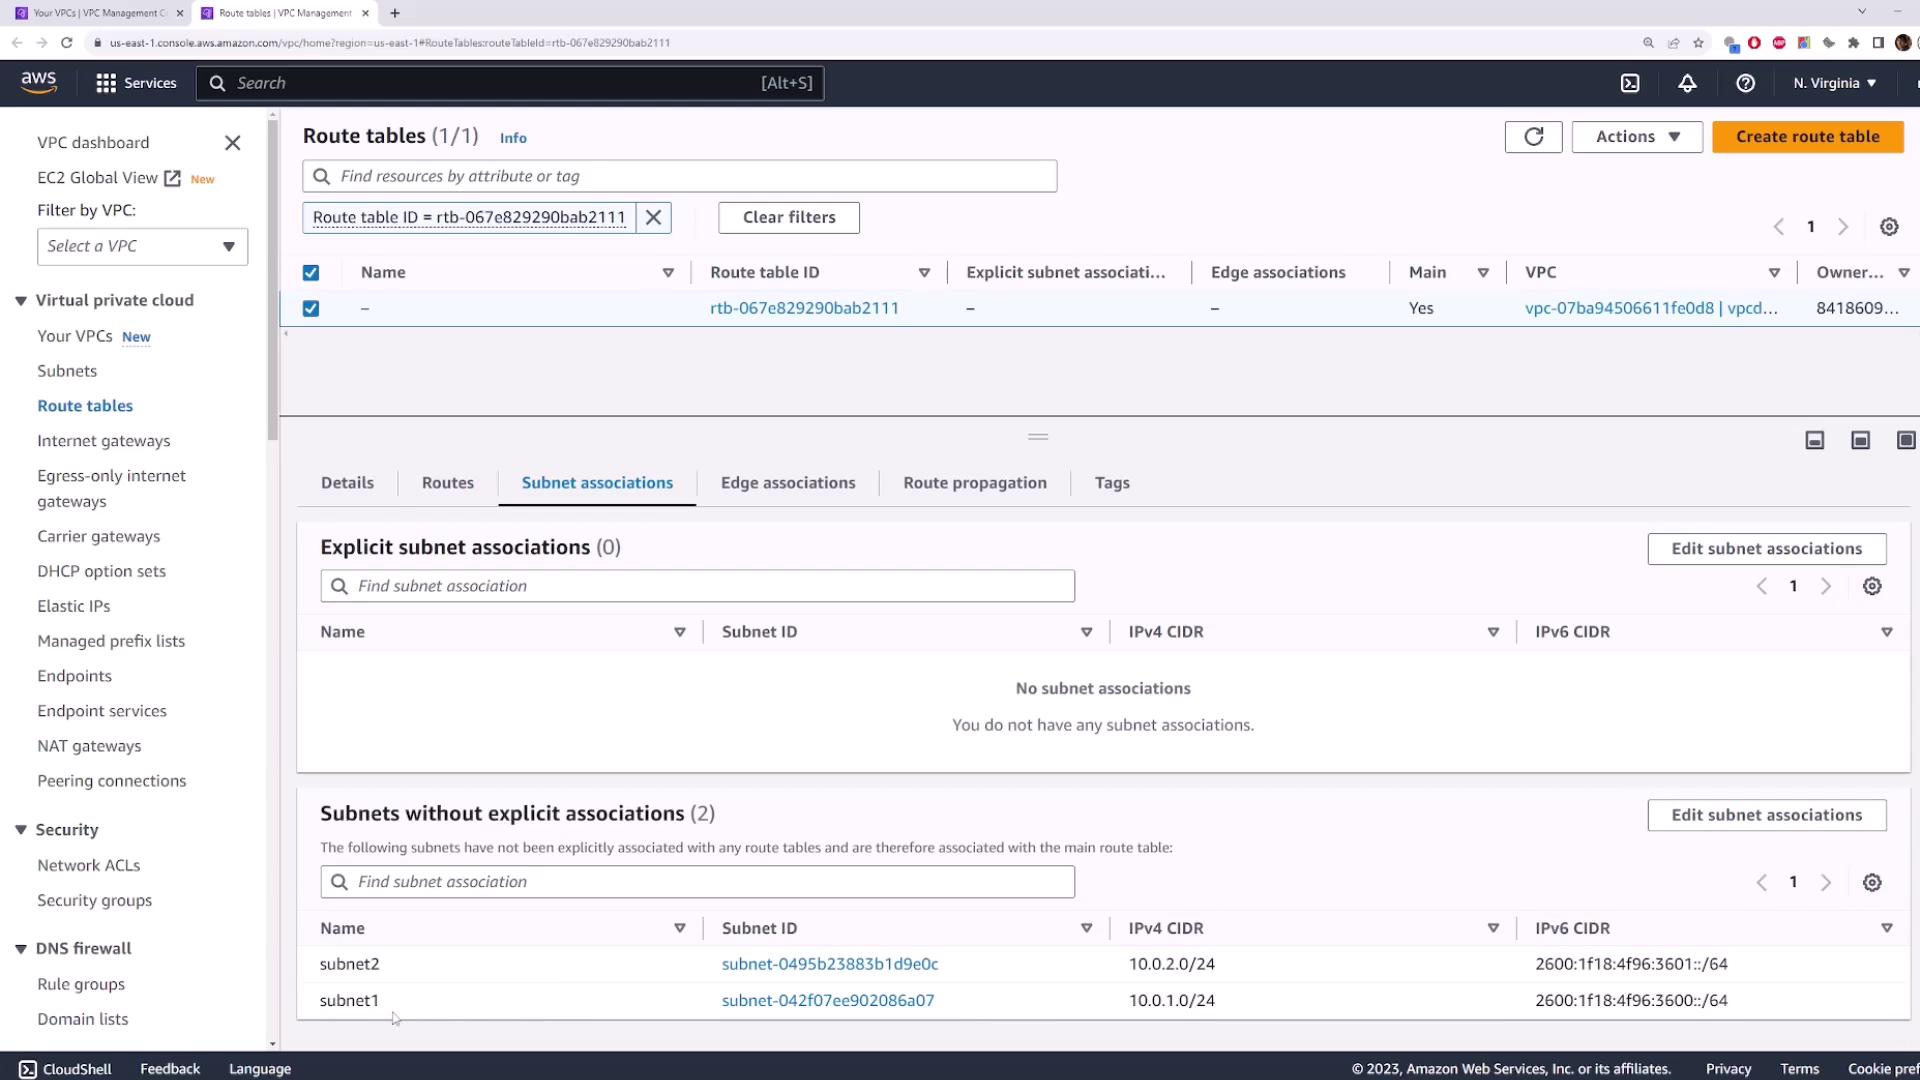
When you create a VPC, AWS automatically generates a main route table. Any subnet without an explicit association uses this default table.A subnet with no custom association inherits the VPC’s main route table.

10.0.0.0/16 → local(IPv4 internal traffic)::/0 → local(IPv6 internal traffic)
3. Creating and Associating a Custom Route Table
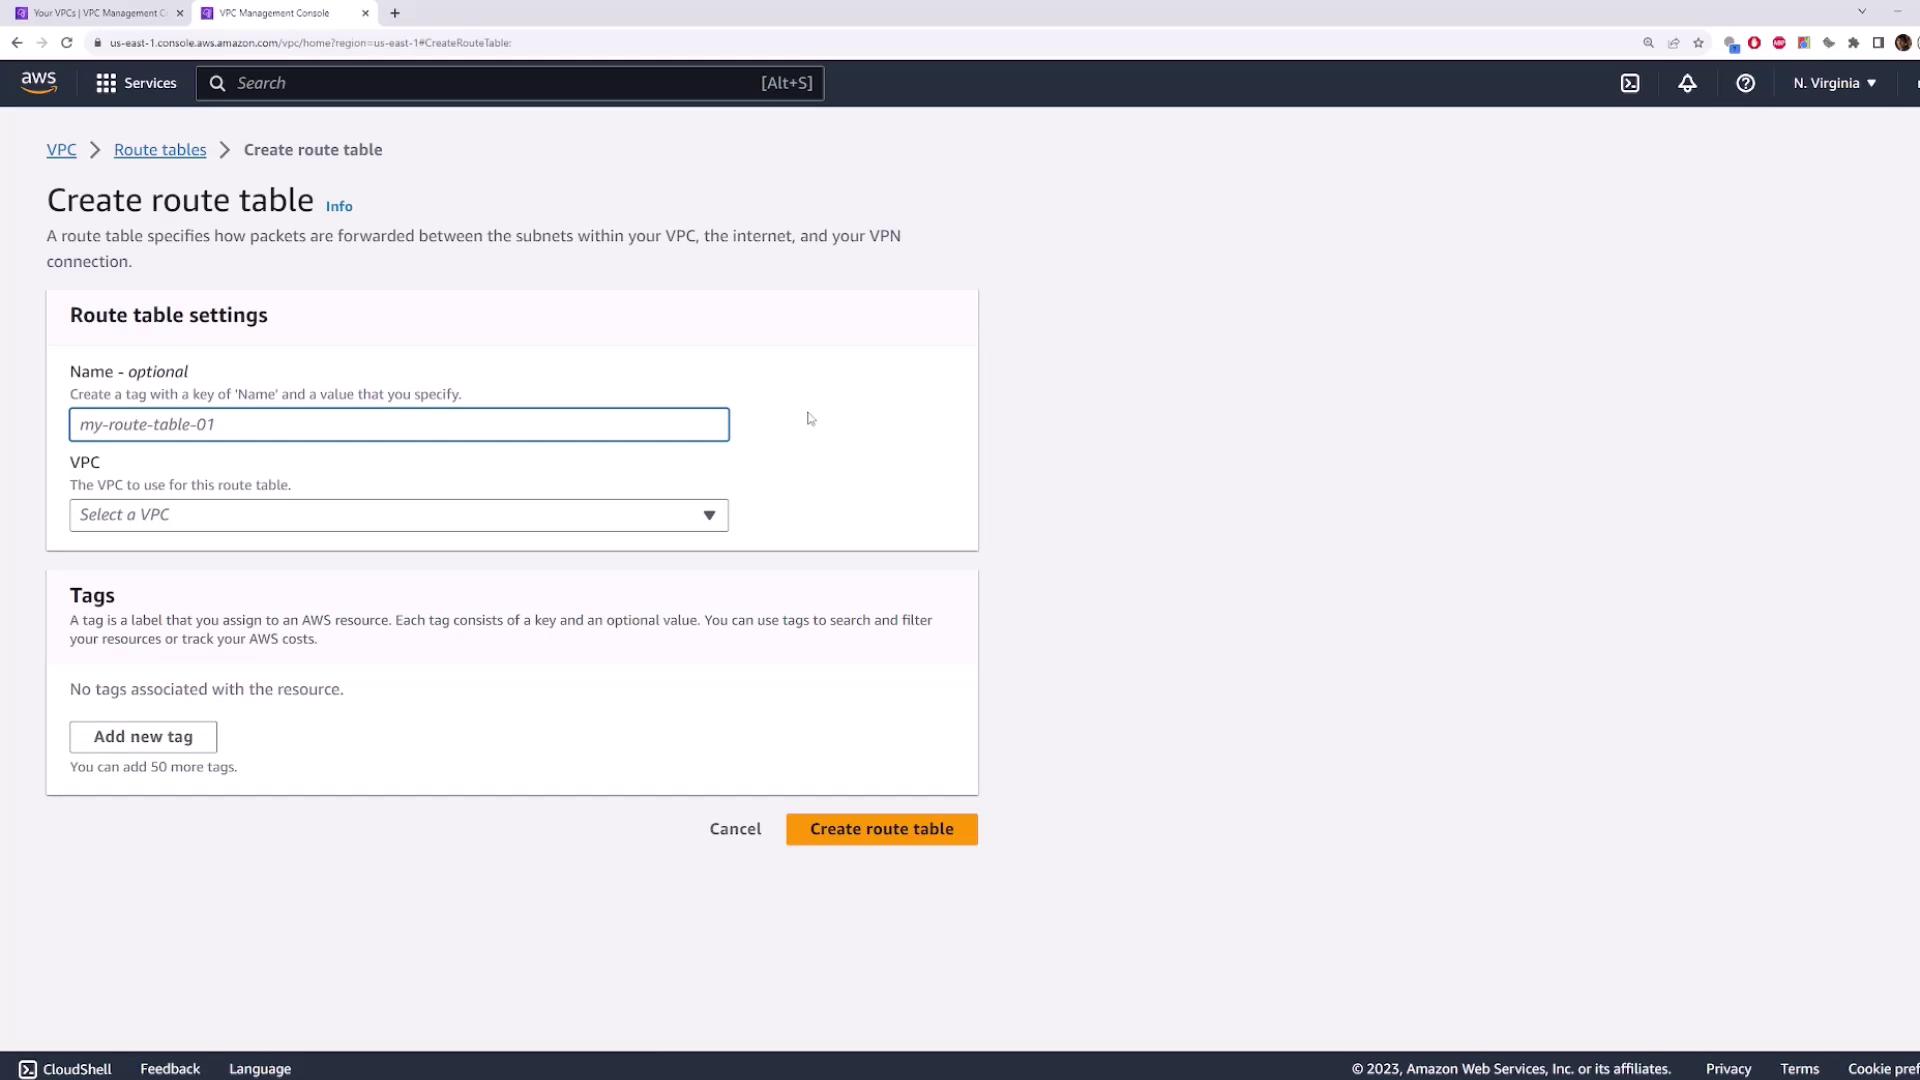
3.1 Create Route Table One
- Navigate to Route Tables → Create route table.
- Name:
route-table-one - VPC:
vpcdemo
3.2 Associate Subnet One
- Select the
route-table-oneentry. - Click Subnet Associations → Edit subnet associations.
- Check Subnet One → Save.
route-table-one.
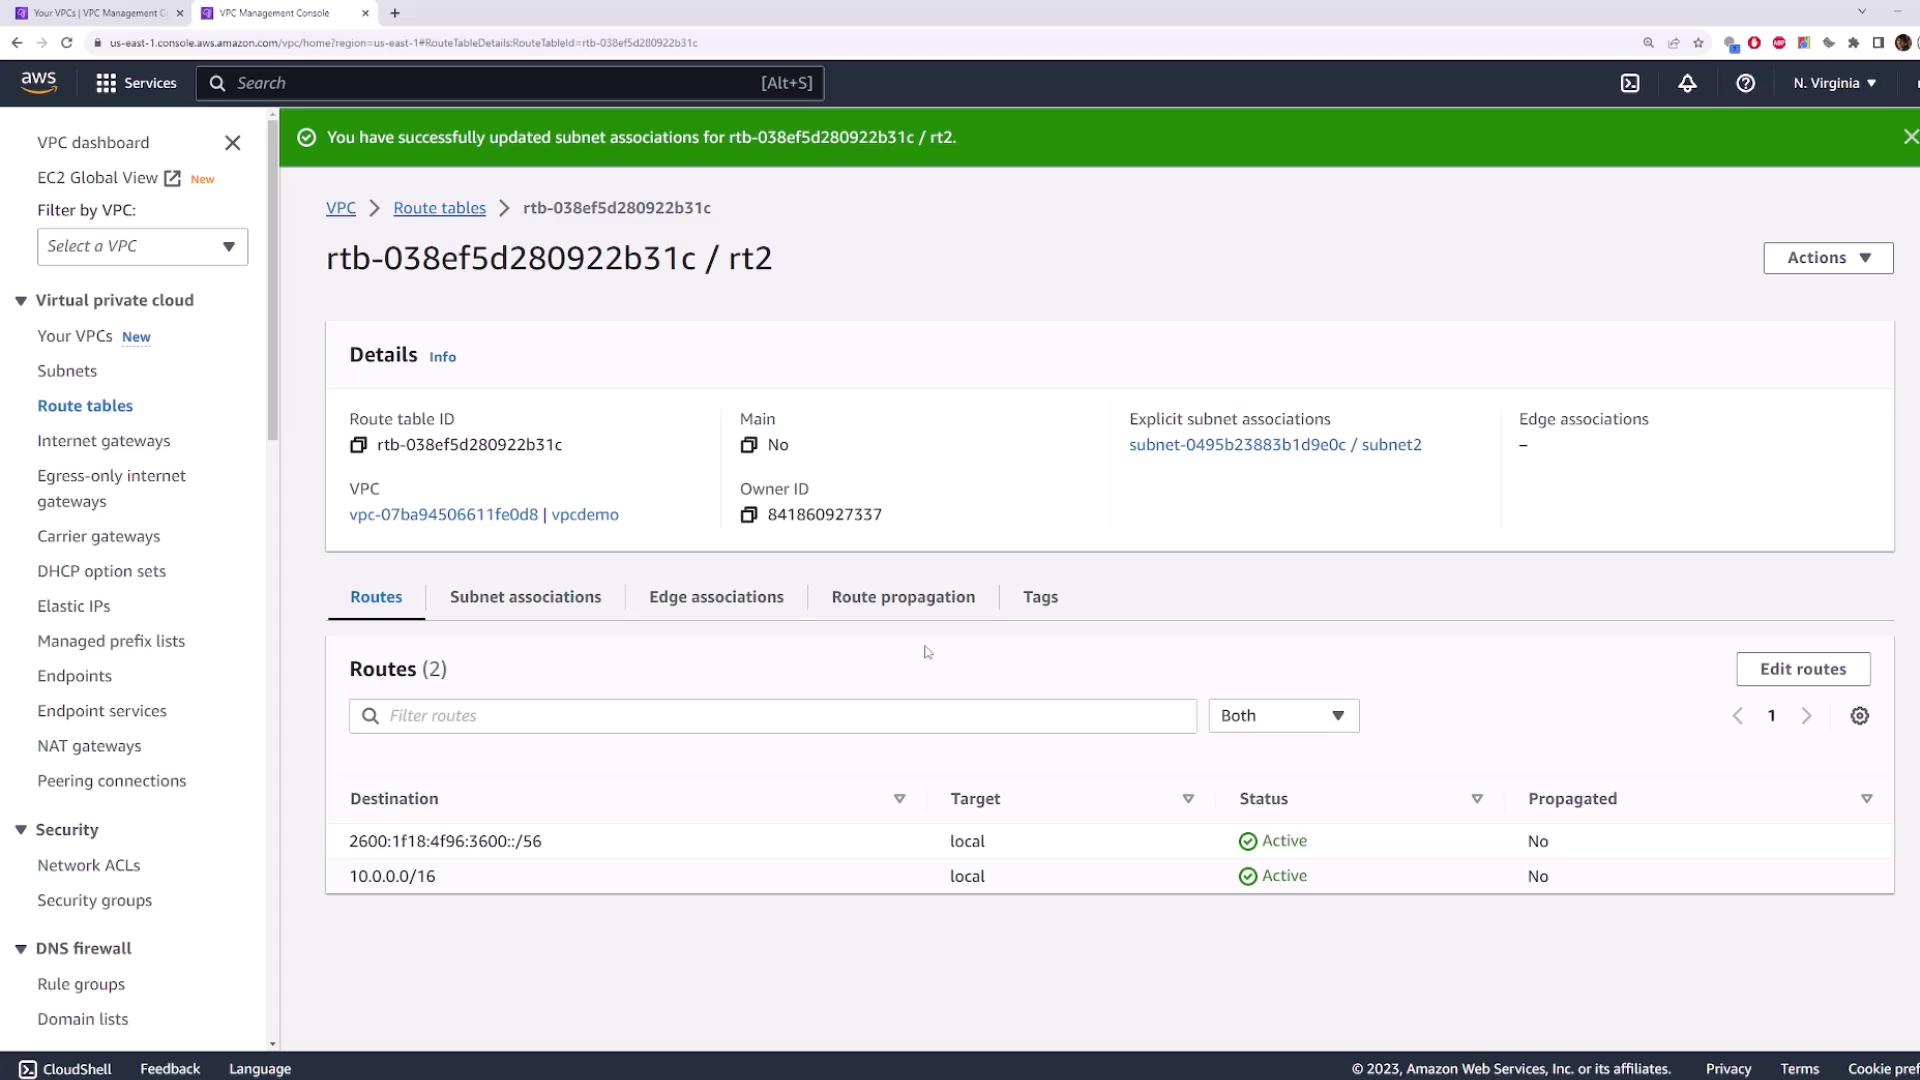
4. Adding a Second Custom Route Table
Repeat the process to isolate Subnet Two:- Create route table → Name:
route-table-two→ VPC:vpcdemo - Select
route-table-two→ Subnet Associations → Edit → Check Subnet Two → Save
- Public subnets can route via an Internet Gateway
- Private subnets remain isolated
5. Editing Routes in a Route Table
To add or update routes:- Select a route table (e.g.,
route-table-one). - Go to Routes → Edit routes.
- Click Add route:
- Destination:
0.0.0.0/0(all IPv4 traffic) - Target: select an Internet Gateway, NAT Gateway, etc.
- Destination:
- Click Save changes.

Ensure that your destination CIDR block and target are correctly configured to avoid unintended internet exposure.
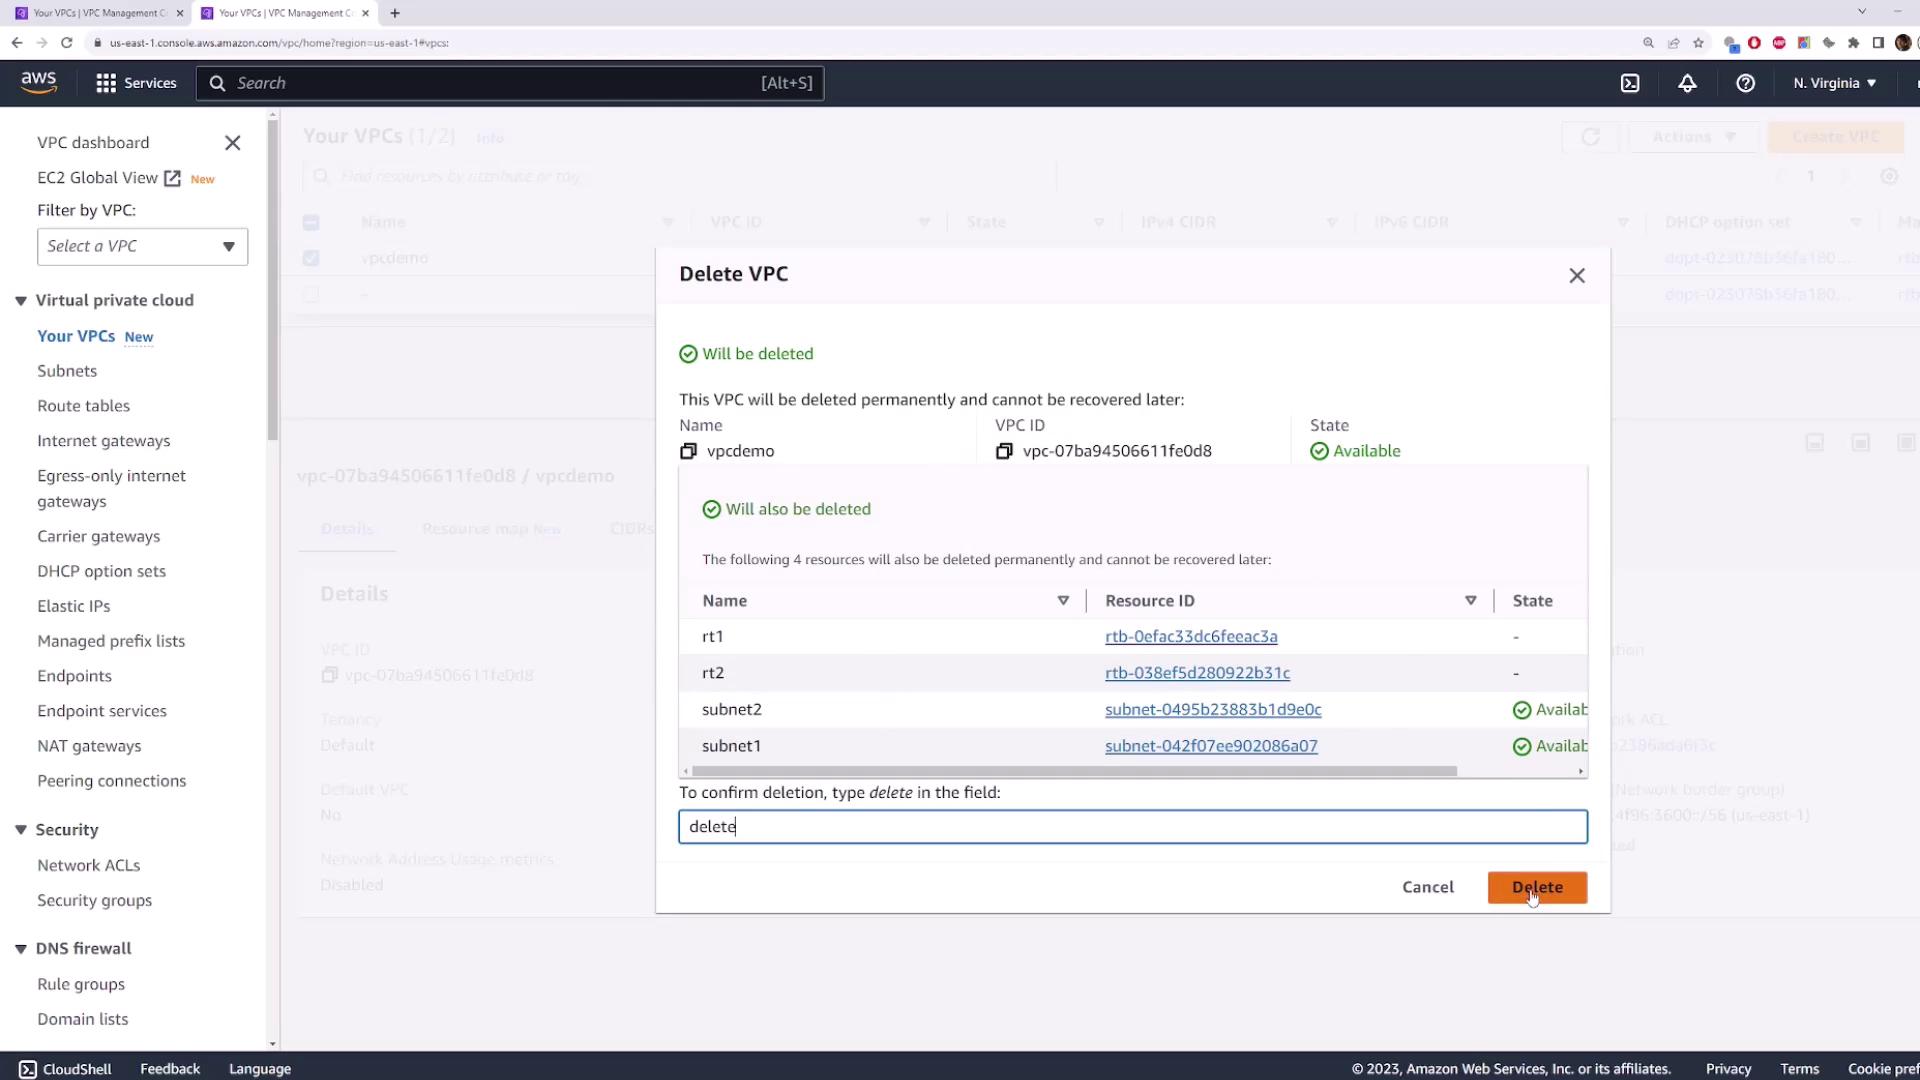
6. Cleaning Up Resources
To avoid unnecessary charges, delete thevpcdemo VPC. AWS will automatically remove associated subnets and custom route tables.
- Select vpcdemo → Actions → Delete VPC.
- Confirm by typing delete → Delete.
In this tutorial, you learned how to inspect AWS VPC route tables, create custom tables, associate subnets, modify routes, and clean up.