> ## Documentation Index
> Fetch the complete documentation index at: https://notes.kodekloud.com/llms.txt
> Use this file to discover all available pages before exploring further.
# Demo Training Your Model in SageMaker Studio Using Python SDK
> Shows how to train and tune a Linear Learner model in Amazon SageMaker Studio using the SageMaker Python SDK Estimator with CSV data uploads and S3 model artifacts
In this lesson we'll train a model in Amazon SageMaker Studio using the SageMaker Python SDK. This guide walks through a compact, runnable notebook flow that demonstrates:
* Defining and running a training job with the SageMaker SDK's Estimator class.
* Launching a Hyperparameter Tuning job to explore multiple hyperparameter combinations in parallel.
* Inspecting and retrieving model artifacts produced by training.
What you'll do (high-level):
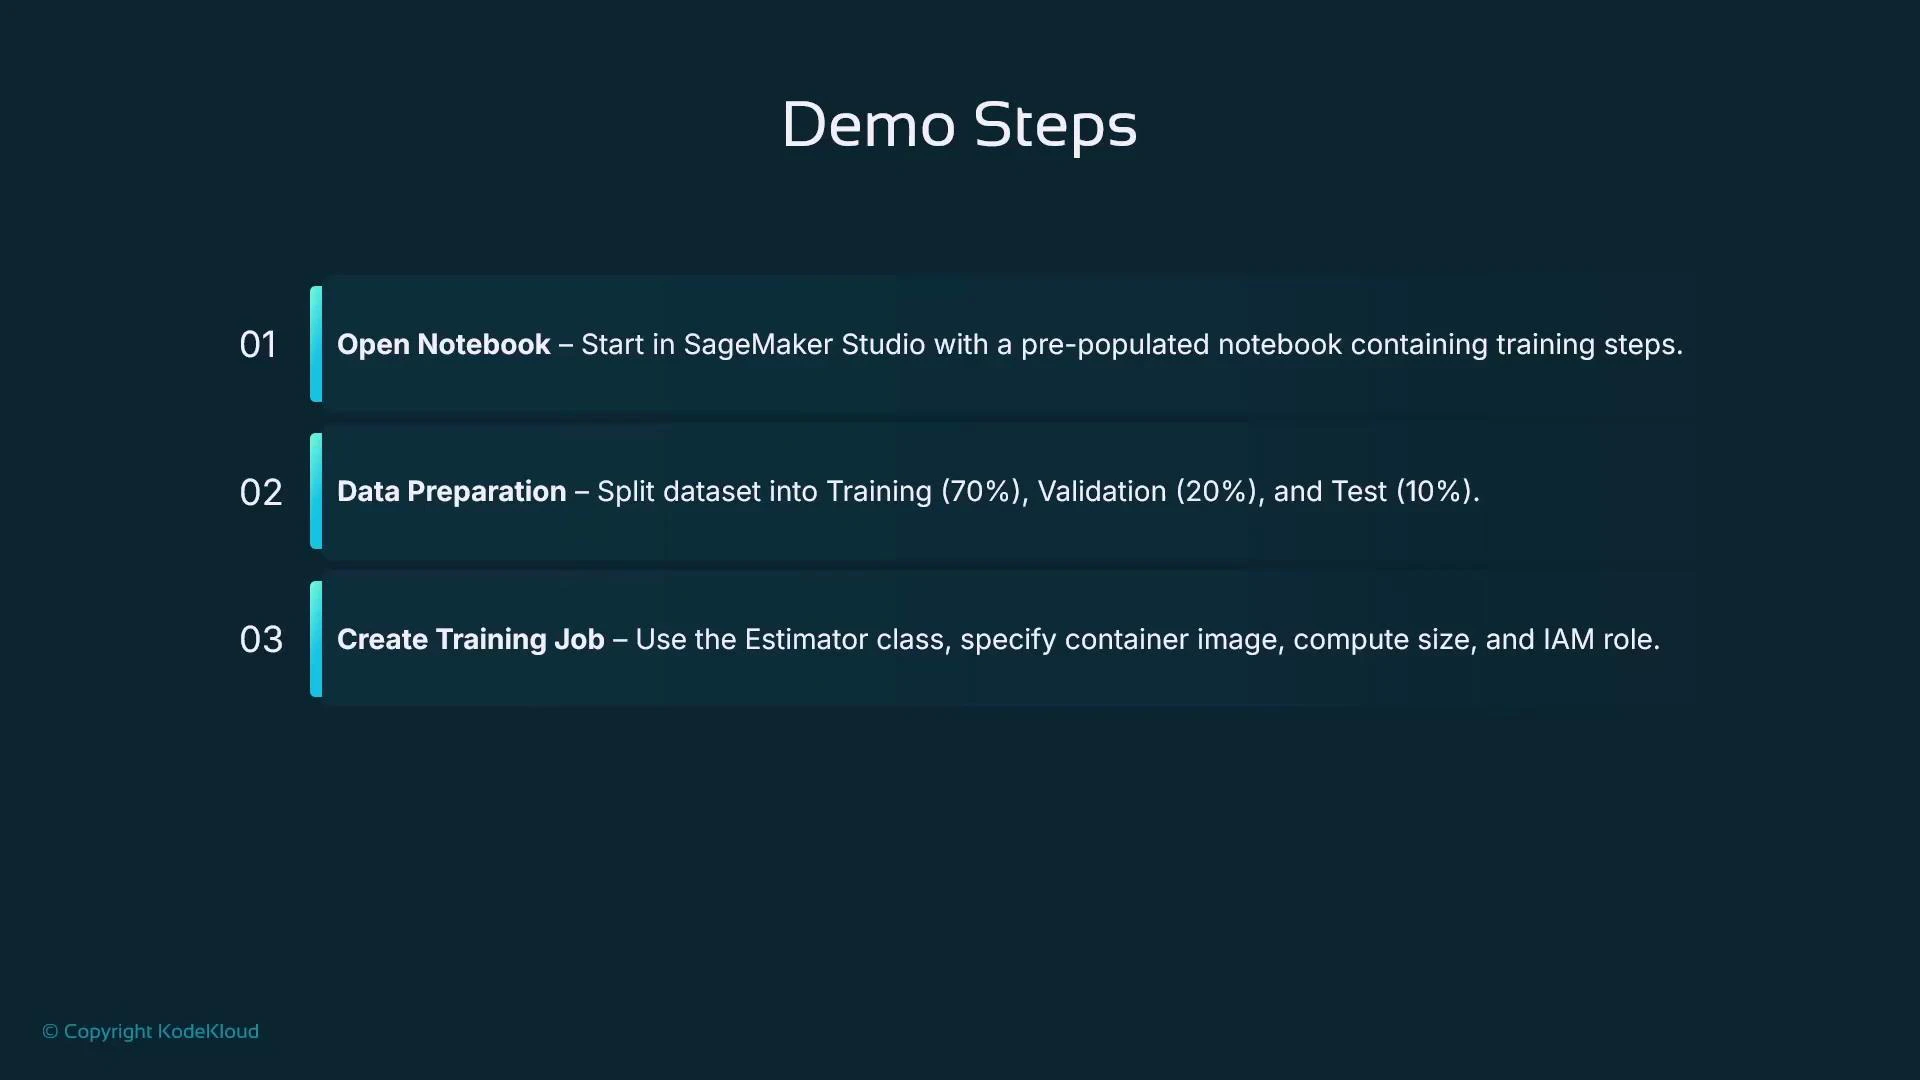
1. Open a Jupyter notebook in SageMaker Studio.
2. Prepare data: split into train/validation/test (≈ 70% / 20% / 10%).
3. Create and run a SageMaker training job using Estimator — provide the container image, compute resources, and IAM role.
 Overview and approach
* We'll use the generic Estimator from the SageMaker SDK, so we must provide the container image URI for the training algorithm. For this demo we use SageMaker's built-in Linear Learner (regression).
* Workflow: set hyperparameters (mini-batch size, epochs, etc.), upload CSV data to Amazon S3, call estimator.fit(...), then inspect the model artifact (model.tar.gz) in S3.
* To accelerate experimentation, we create a Hyperparameter Tuning job to run multiple training jobs in parallel and pick the best model by an objective metric (e.g., validation RMSE).
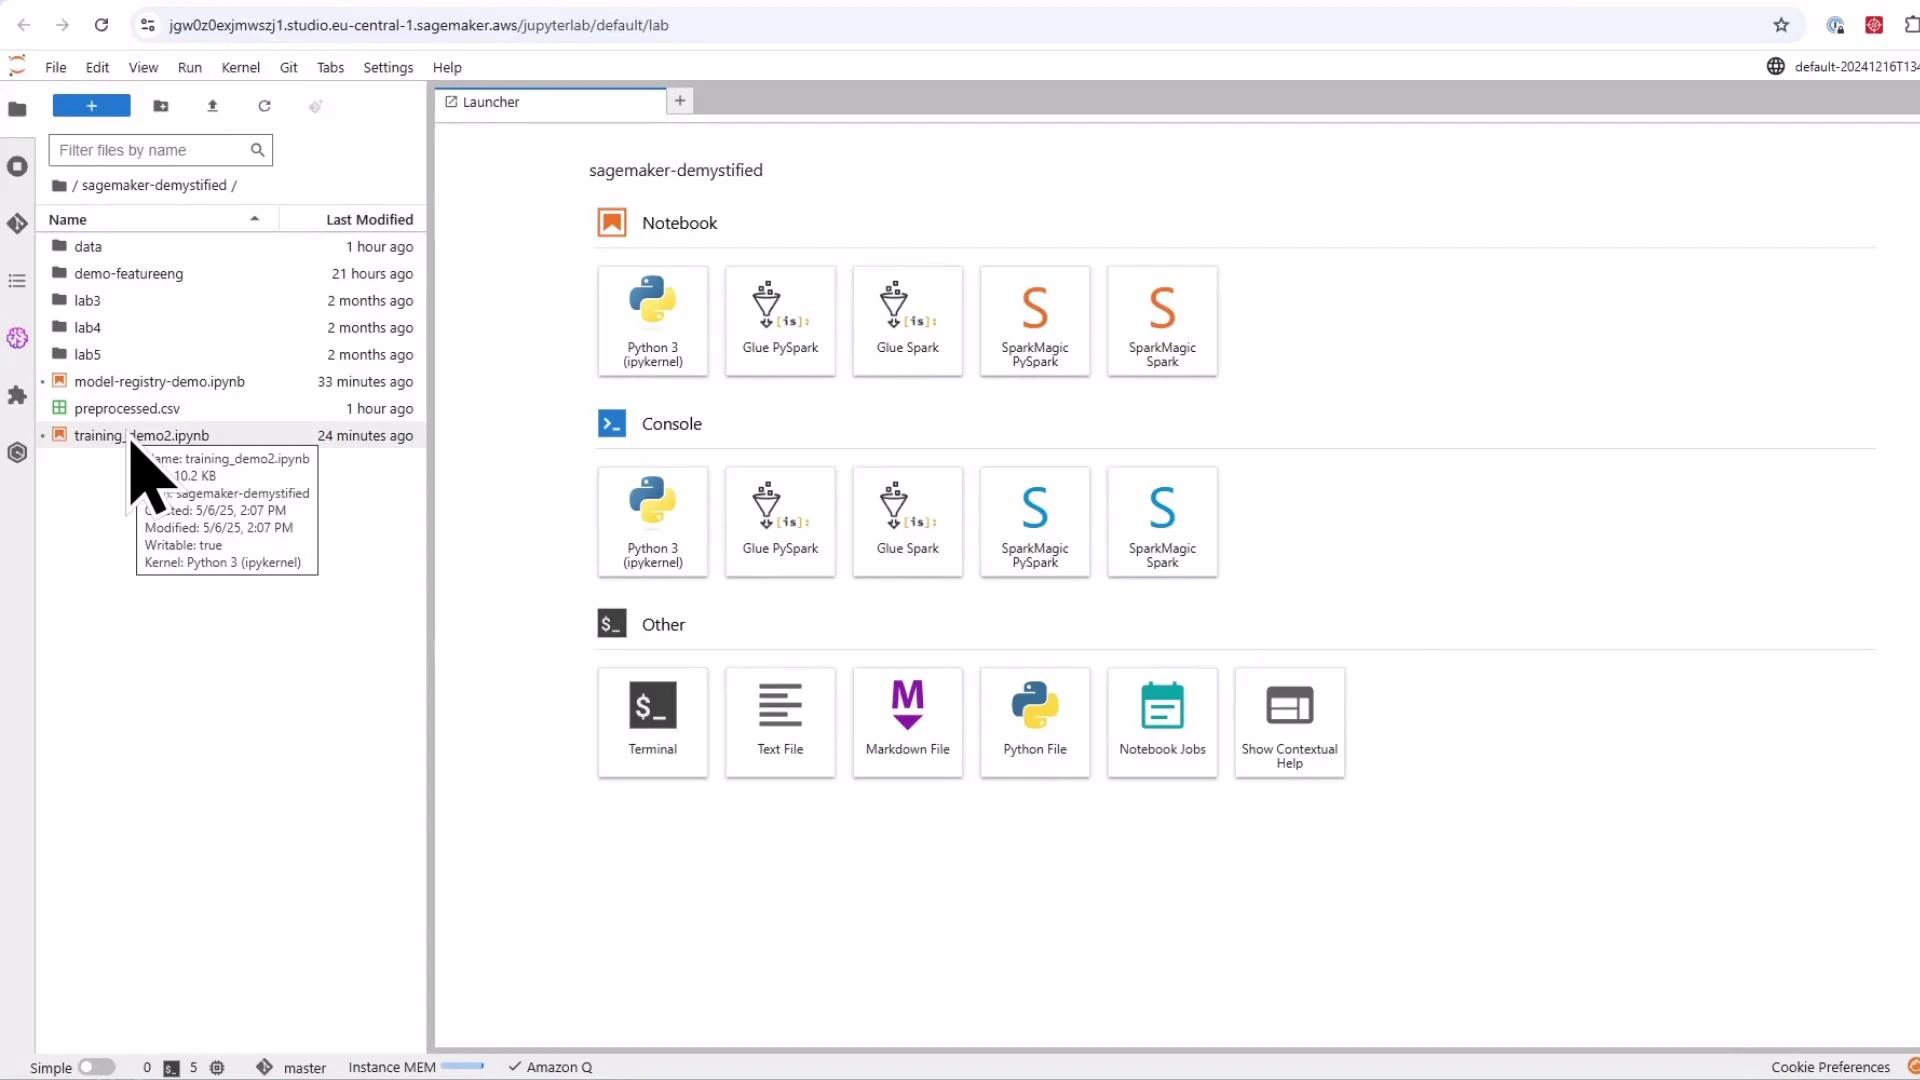
Open SageMaker Studio, select a notebook server from the JupyterLab launcher, and open the notebook that will contain the demo code.
Overview and approach
* We'll use the generic Estimator from the SageMaker SDK, so we must provide the container image URI for the training algorithm. For this demo we use SageMaker's built-in Linear Learner (regression).
* Workflow: set hyperparameters (mini-batch size, epochs, etc.), upload CSV data to Amazon S3, call estimator.fit(...), then inspect the model artifact (model.tar.gz) in S3.
* To accelerate experimentation, we create a Hyperparameter Tuning job to run multiple training jobs in parallel and pick the best model by an objective metric (e.g., validation RMSE).
Open SageMaker Studio, select a notebook server from the JupyterLab launcher, and open the notebook that will contain the demo code.
 Compact, runnable notebook flow
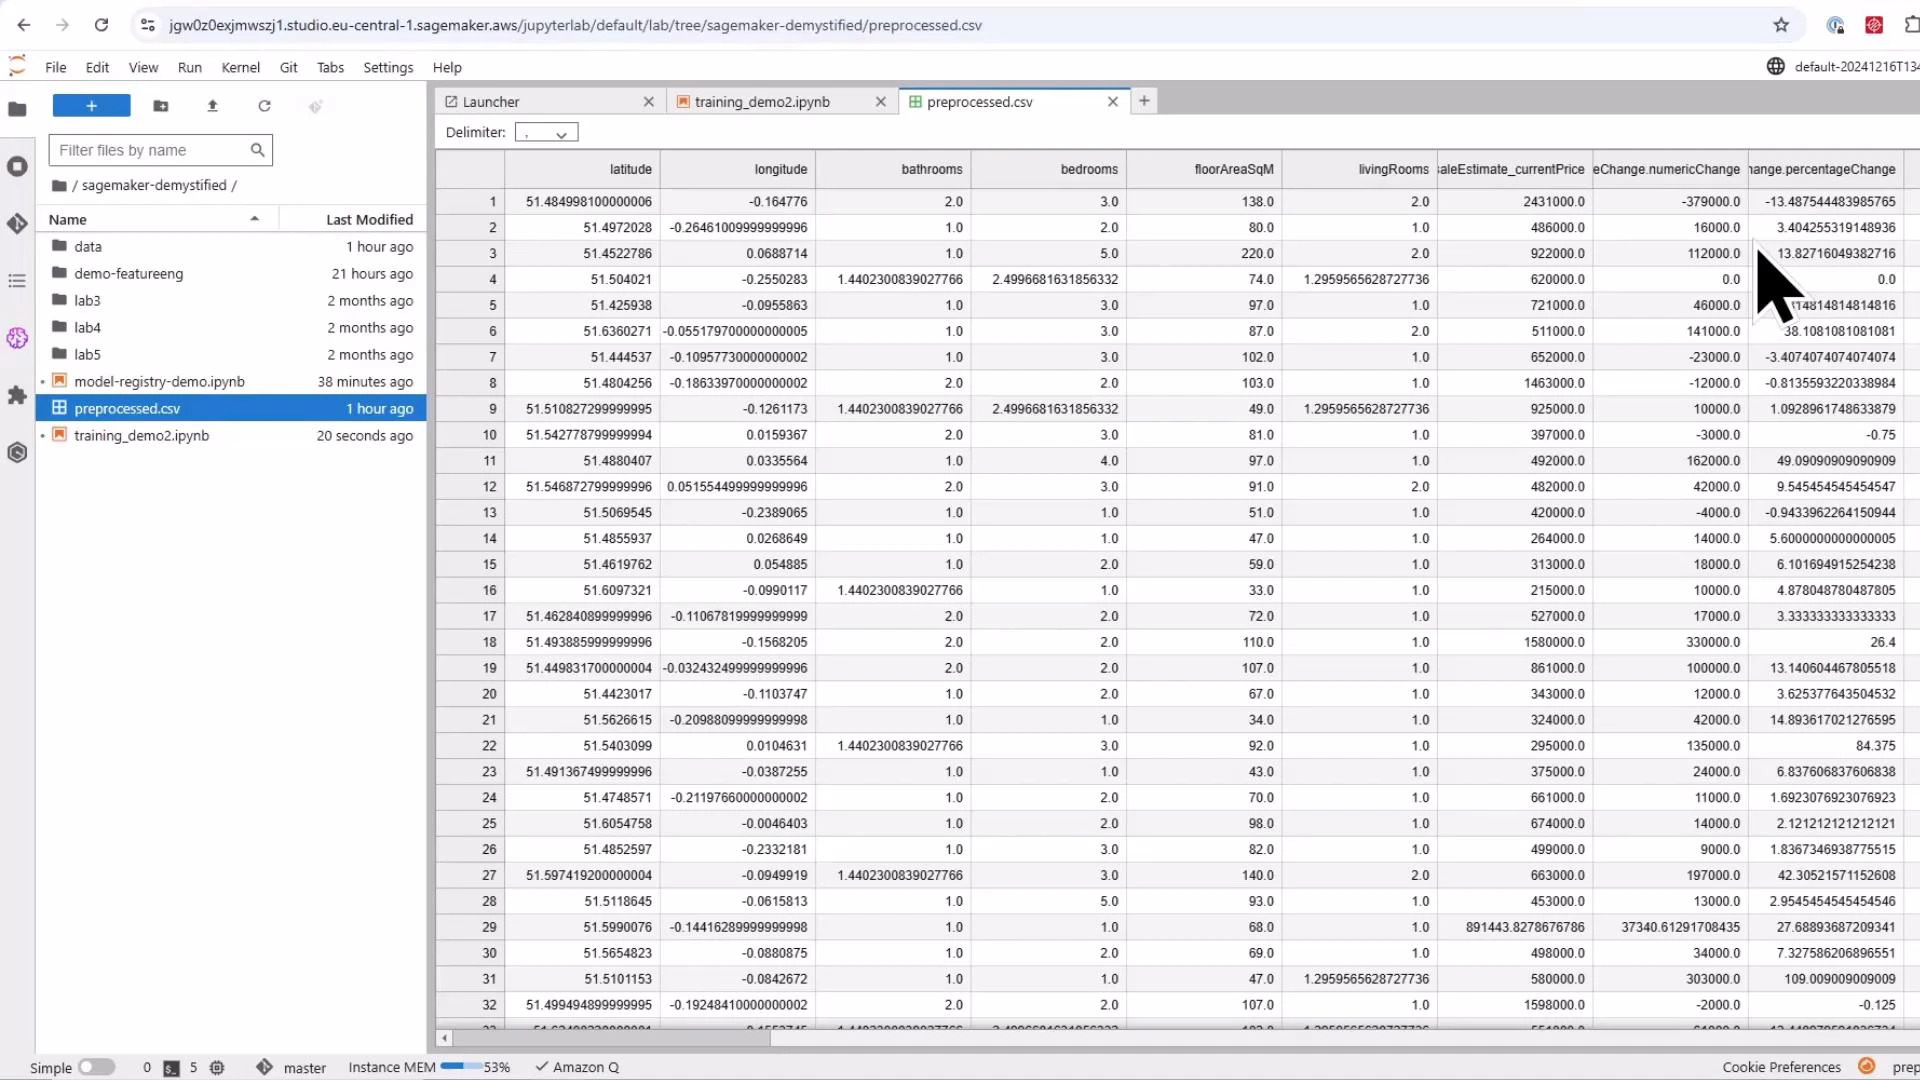
* The sequence below contains the main notebook steps: imports, session/role setup, load & split data, save CSVs, upload to S3, define estimator, and run training.
* This example assumes a preprocessed CSV file (preprocessed.csv) is available in the notebook filesystem.
```python theme={null}
# notebook: train_linear_learner.py
import os
import pandas as pd
from sklearn.model_selection import train_test_split
import sagemaker
from sagemaker import get_execution_role
from sagemaker.estimator import Estimator
from sagemaker.inputs import TrainingInput
# Initialize SageMaker session and role
sagemaker_session = sagemaker.Session()
role = get_execution_role()
# Define the S3 bucket and prefix for storing data (use a consistent prefix)
bucket = sagemaker_session.default_bucket()
prefix = 'house-price-linear-learner-demo'
print(f"Using bucket: {bucket}")
# Load the dataset (assumes 'preprocessed.csv' is present in the notebook filesystem)
df = pd.read_csv('preprocessed.csv')
# Separate features and target
target_col = 'saleEstimate_currentPrice'
X = df.drop(columns=[target_col])
y = df[target_col]
# Split the data into train (~70%), validation (~20%), and test (~10%) using a two-step split
X_train, X_temp, y_train, y_temp = train_test_split(X, y, test_size=0.3, random_state=42)
# X_temp is ~30% of data; here we split it so validation is ~20% and test is ~10% of the original
X_val, X_test, y_val, y_test = train_test_split(X_temp, y_temp, test_size=0.33, random_state=42)
print(f"Training set: {X_train.shape[0]} samples")
print(f"Validation set: {X_val.shape[0]} samples")
print(f"Test set: {X_test.shape[0]} samples")
# Recombine target as first column (many SageMaker built-in algos expect label in first column)
train_data = pd.concat([y_train.reset_index(drop=True), X_train.reset_index(drop=True)], axis=1)
val_data = pd.concat([y_val.reset_index(drop=True), X_val.reset_index(drop=True)], axis=1)
test_data = pd.concat([y_test.reset_index(drop=True), X_test.reset_index(drop=True)], axis=1)
# Save locally (no headers, no index for train/validation as required by many built-in algorithms)
os.makedirs('data', exist_ok=True)
train_csv = 'data/train.csv'
val_csv = 'data/validation.csv'
test_csv = 'data/test.csv'
train_data.to_csv(train_csv, index=False, header=False)
val_data.to_csv(val_csv, index=False, header=False)
test_data.to_csv(test_csv, index=False, header=False)
# Upload to S3
train_path = sagemaker_session.upload_data(train_csv, bucket=bucket, key_prefix=f'{prefix}/train')
val_path = sagemaker_session.upload_data(val_csv, bucket=bucket, key_prefix=f'{prefix}/validation')
test_path = sagemaker_session.upload_data(test_csv, bucket=bucket, key_prefix=f'{prefix}/test')
print(f"Train data uploaded to: {train_path}")
print(f"Validation data uploaded to: {val_path}")
print(f"Test data uploaded to: {test_path}")
# Retrieve the Linear Learner container image URI for the current region
linear_learner_container = sagemaker.image_uris.retrieve('linear-learner', sagemaker_session.boto_region_name)
```
Define the Estimator, set hyperparameters, and start training
* Below we configure the Estimator to use a single ml.m5.large instance for demonstration. Adjust instance type and count for larger jobs.
Compact, runnable notebook flow
* The sequence below contains the main notebook steps: imports, session/role setup, load & split data, save CSVs, upload to S3, define estimator, and run training.
* This example assumes a preprocessed CSV file (preprocessed.csv) is available in the notebook filesystem.
```python theme={null}
# notebook: train_linear_learner.py
import os
import pandas as pd
from sklearn.model_selection import train_test_split
import sagemaker
from sagemaker import get_execution_role
from sagemaker.estimator import Estimator
from sagemaker.inputs import TrainingInput
# Initialize SageMaker session and role
sagemaker_session = sagemaker.Session()
role = get_execution_role()
# Define the S3 bucket and prefix for storing data (use a consistent prefix)
bucket = sagemaker_session.default_bucket()
prefix = 'house-price-linear-learner-demo'
print(f"Using bucket: {bucket}")
# Load the dataset (assumes 'preprocessed.csv' is present in the notebook filesystem)
df = pd.read_csv('preprocessed.csv')
# Separate features and target
target_col = 'saleEstimate_currentPrice'
X = df.drop(columns=[target_col])
y = df[target_col]
# Split the data into train (~70%), validation (~20%), and test (~10%) using a two-step split
X_train, X_temp, y_train, y_temp = train_test_split(X, y, test_size=0.3, random_state=42)
# X_temp is ~30% of data; here we split it so validation is ~20% and test is ~10% of the original
X_val, X_test, y_val, y_test = train_test_split(X_temp, y_temp, test_size=0.33, random_state=42)
print(f"Training set: {X_train.shape[0]} samples")
print(f"Validation set: {X_val.shape[0]} samples")
print(f"Test set: {X_test.shape[0]} samples")
# Recombine target as first column (many SageMaker built-in algos expect label in first column)
train_data = pd.concat([y_train.reset_index(drop=True), X_train.reset_index(drop=True)], axis=1)
val_data = pd.concat([y_val.reset_index(drop=True), X_val.reset_index(drop=True)], axis=1)
test_data = pd.concat([y_test.reset_index(drop=True), X_test.reset_index(drop=True)], axis=1)
# Save locally (no headers, no index for train/validation as required by many built-in algorithms)
os.makedirs('data', exist_ok=True)
train_csv = 'data/train.csv'
val_csv = 'data/validation.csv'
test_csv = 'data/test.csv'
train_data.to_csv(train_csv, index=False, header=False)
val_data.to_csv(val_csv, index=False, header=False)
test_data.to_csv(test_csv, index=False, header=False)
# Upload to S3
train_path = sagemaker_session.upload_data(train_csv, bucket=bucket, key_prefix=f'{prefix}/train')
val_path = sagemaker_session.upload_data(val_csv, bucket=bucket, key_prefix=f'{prefix}/validation')
test_path = sagemaker_session.upload_data(test_csv, bucket=bucket, key_prefix=f'{prefix}/test')
print(f"Train data uploaded to: {train_path}")
print(f"Validation data uploaded to: {val_path}")
print(f"Test data uploaded to: {test_path}")
# Retrieve the Linear Learner container image URI for the current region
linear_learner_container = sagemaker.image_uris.retrieve('linear-learner', sagemaker_session.boto_region_name)
```
Define the Estimator, set hyperparameters, and start training
* Below we configure the Estimator to use a single ml.m5.large instance for demonstration. Adjust instance type and count for larger jobs.
 ```python theme={null}
# Define the LinearLearner estimator
linear_estimator = Estimator(
image_uri=linear_learner_container,
role=role,
instance_count=1,
instance_type='ml.m5.large',
output_path=f's3://{bucket}/{prefix}/output',
sagemaker_session=sagemaker_session
)
# Set hyperparameters for Linear Learner (regression)
linear_estimator.set_hyperparameters(
predictor_type='regressor', # regression task
mini_batch_size=32,
epochs=10
)
# Specify the input data channels for CSV files
train_input = TrainingInput(s3_data=train_path, content_type='text/csv')
val_input = TrainingInput(s3_data=val_path, content_type='text/csv')
# Start training
linear_estimator.fit({'train': train_input, 'validation': val_input})
```
Monitoring and model artifacts
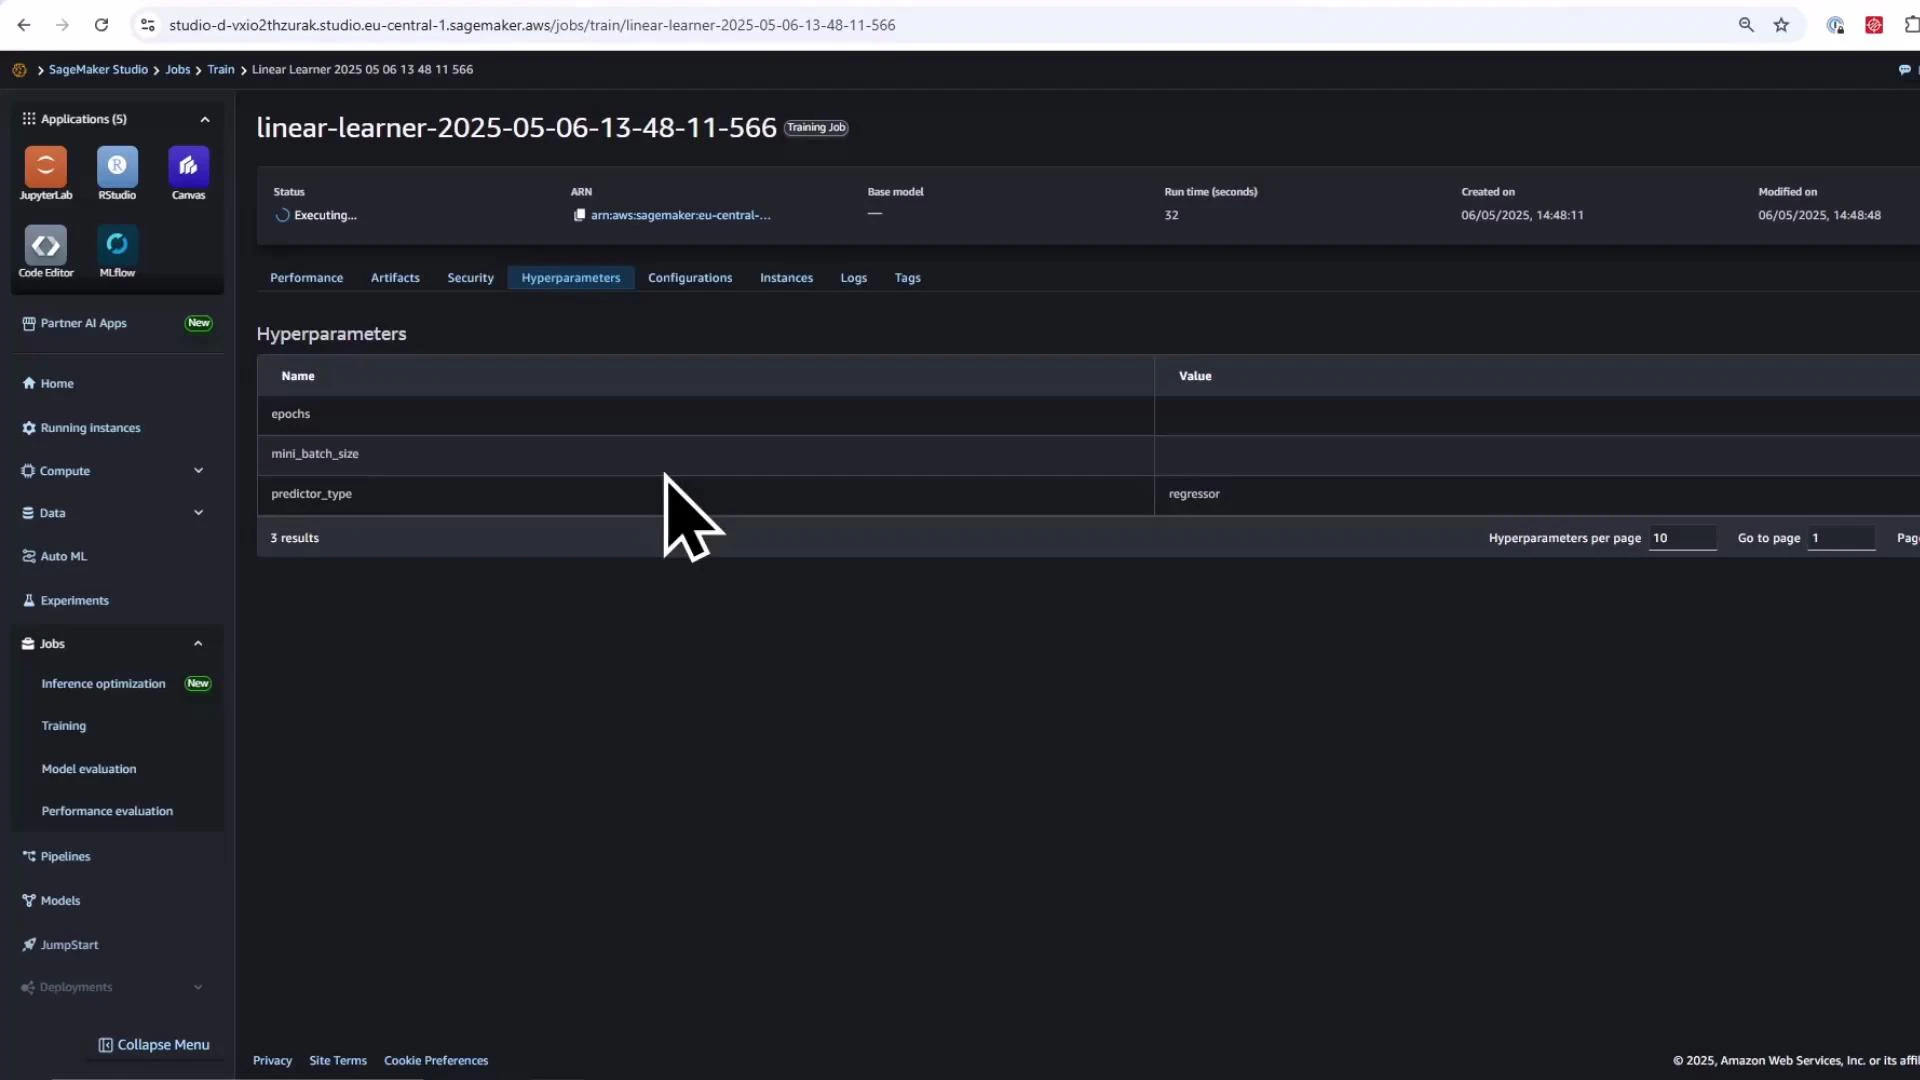
* SageMaker creates a managed training job and provisions the compute instance(s). Monitor progress from SageMaker Studio (Jobs > Training) or the SageMaker Console training jobs page. Logs stream to the notebook cell output and include metrics such as validation RMSE and MSE.
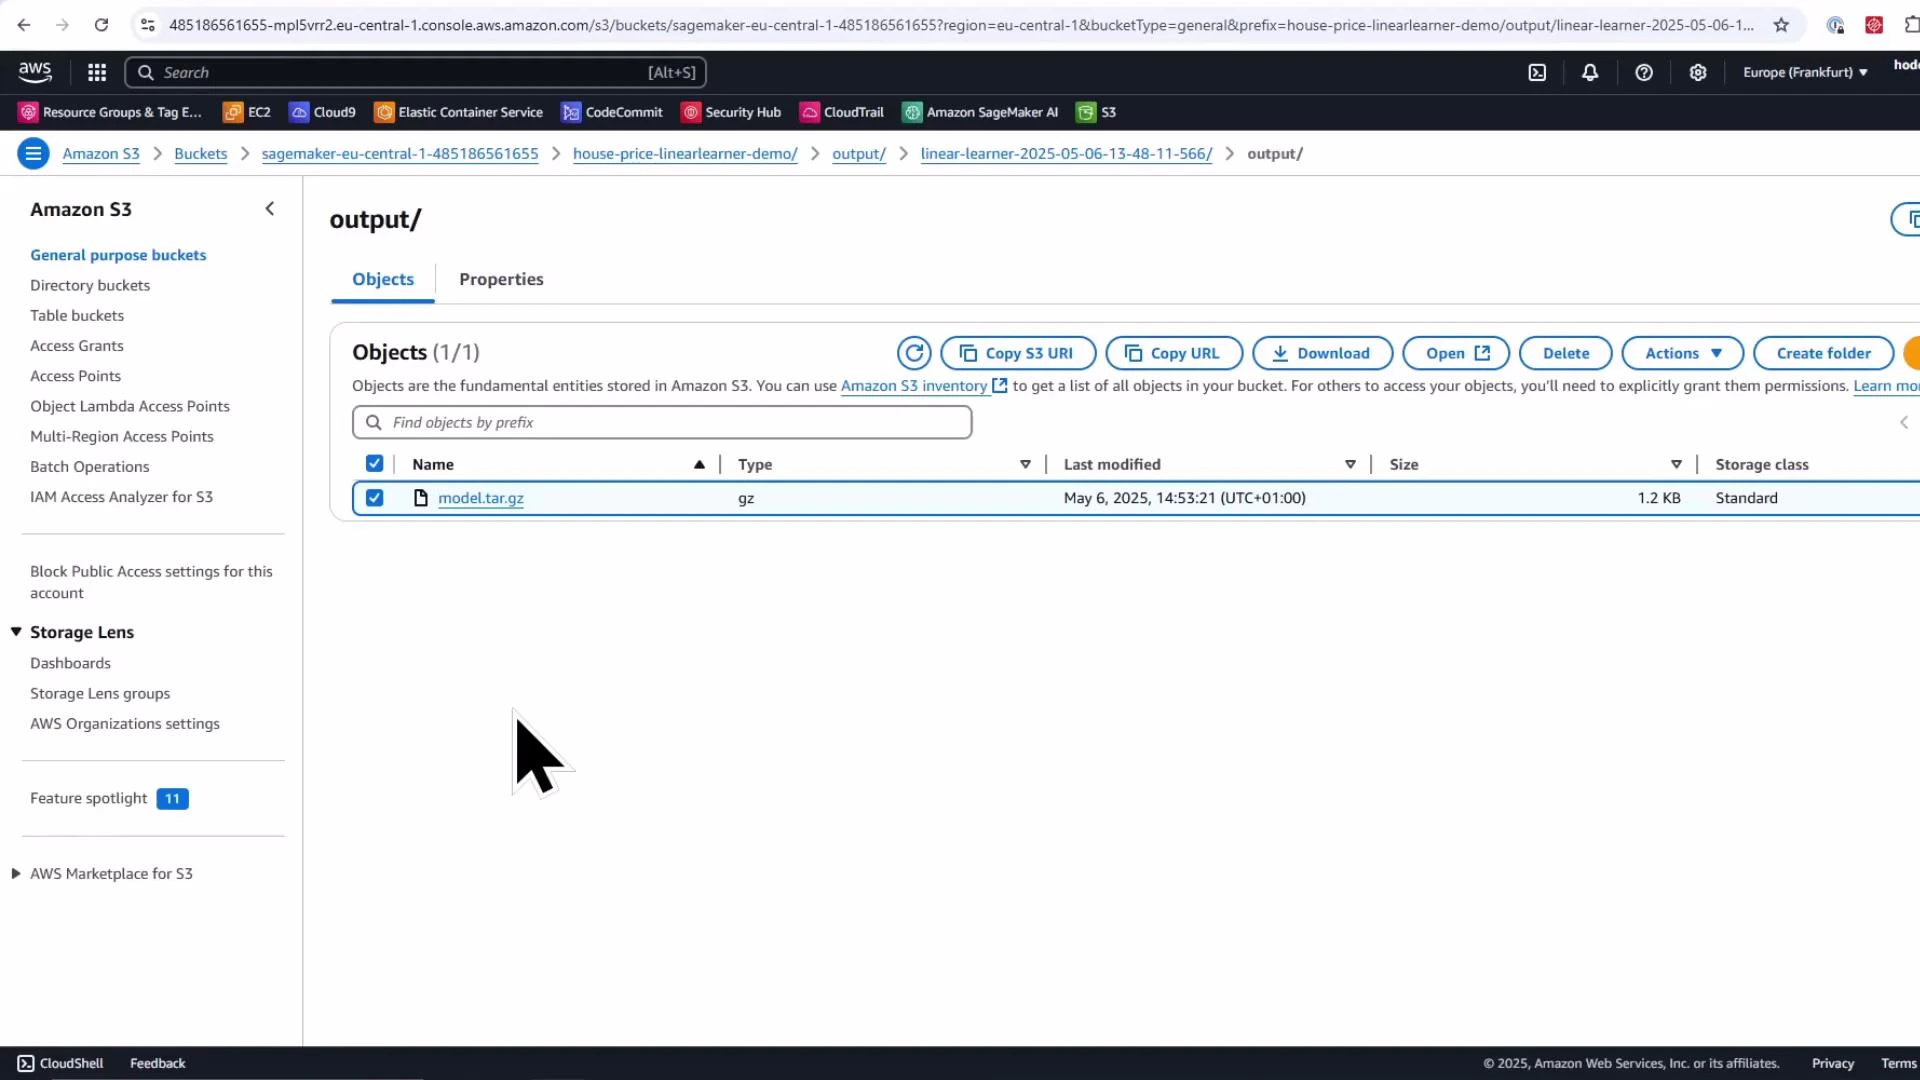
* After training completes, the model artifact (model.tar.gz) is saved to the configured S3 output prefix.
```python theme={null}
# Define the LinearLearner estimator
linear_estimator = Estimator(
image_uri=linear_learner_container,
role=role,
instance_count=1,
instance_type='ml.m5.large',
output_path=f's3://{bucket}/{prefix}/output',
sagemaker_session=sagemaker_session
)
# Set hyperparameters for Linear Learner (regression)
linear_estimator.set_hyperparameters(
predictor_type='regressor', # regression task
mini_batch_size=32,
epochs=10
)
# Specify the input data channels for CSV files
train_input = TrainingInput(s3_data=train_path, content_type='text/csv')
val_input = TrainingInput(s3_data=val_path, content_type='text/csv')
# Start training
linear_estimator.fit({'train': train_input, 'validation': val_input})
```
Monitoring and model artifacts
* SageMaker creates a managed training job and provisions the compute instance(s). Monitor progress from SageMaker Studio (Jobs > Training) or the SageMaker Console training jobs page. Logs stream to the notebook cell output and include metrics such as validation RMSE and MSE.
* After training completes, the model artifact (model.tar.gz) is saved to the configured S3 output prefix.
 Verify model artifact in the S3 Console (look under the training job's output prefix for model.tar.gz).
 Hyperparameter tuning to run many training jobs in parallel
* Define ranges for the hyperparameters you want SageMaker to explore (ContinuousParameter or IntegerParameter).
* Create a HyperparameterTuner and call fit(); the tuner launches multiple training jobs (up to max\_parallel\_jobs concurrently) and returns the best training job according to the specified objective metric.
```python theme={null}
from sagemaker.tuner import IntegerParameter, ContinuousParameter, HyperparameterTuner
# Define Hyperparameter Ranges to Tune
hyperparameter_ranges = {
"learning_rate": ContinuousParameter(0.001, 0.1),
"mini_batch_size": IntegerParameter(16, 512),
"wd": ContinuousParameter(0.0001, 0.1), # weight decay
}
# Create the Hyperparameter Tuner
tuner = HyperparameterTuner(
estimator=linear_estimator,
objective_metric_name="validation:rmse",
objective_type="Minimize",
hyperparameter_ranges=hyperparameter_ranges,
max_jobs=6, # total number of training jobs to run
max_parallel_jobs=2, # how many jobs to run in parallel
strategy="Bayesian", # Bayesian optimization strategy
)
# Launch the hyperparameter tuning job (this call blocks until the tuning job completes by default)
tuner.fit({"train": train_input, "validation": val_input})
print(f"Tuning job launched: {tuner.latest_tuning_job.name}")
```
By default tuner.fit(...) waits until the tuning job finishes and blocks the notebook cell. To launch asynchronously, call tuner.fit(..., wait=False) so you can continue other work while the tuner runs.
Retrieve the best tuning job programmatically
* After tuning completes, use Boto3 or the SageMaker SDK to describe the tuning job and obtain the BestTrainingJob and its objective metric.
```python theme={null}
import boto3
tuning_job_name = tuner.latest_tuning_job.name
sm_client = boto3.client('sagemaker')
tuning_job_info = sm_client.describe_hyper_parameter_tuning_job(
HyperParameterTuningJobName=tuning_job_name
)
best_training_job = tuning_job_info['BestTrainingJob']
best_model_job_name = best_training_job['TrainingJobName']
best_model_score = best_training_job['FinalHyperParameterTuningJobObjectiveMetric']['Value']
print(f"✅ Best model: {best_model_job_name} with score: {best_model_score}")
```
Practical notes and troubleshooting
* If your model shows large RMSE values, investigate feature scaling, outliers, target distribution, and whether a linear model is appropriate. Hyperparameter tuning speeds up exploration but cannot replace good feature engineering and the right model choice.
* Many built-in algorithms expect the label as the first column and CSV inputs without headers or index — ensure you follow the input formatting expected by the chosen algorithm.
* For faster iteration, use smaller subsets of data or fewer epochs during development, then scale up for final training runs.
Summary — what you accomplished
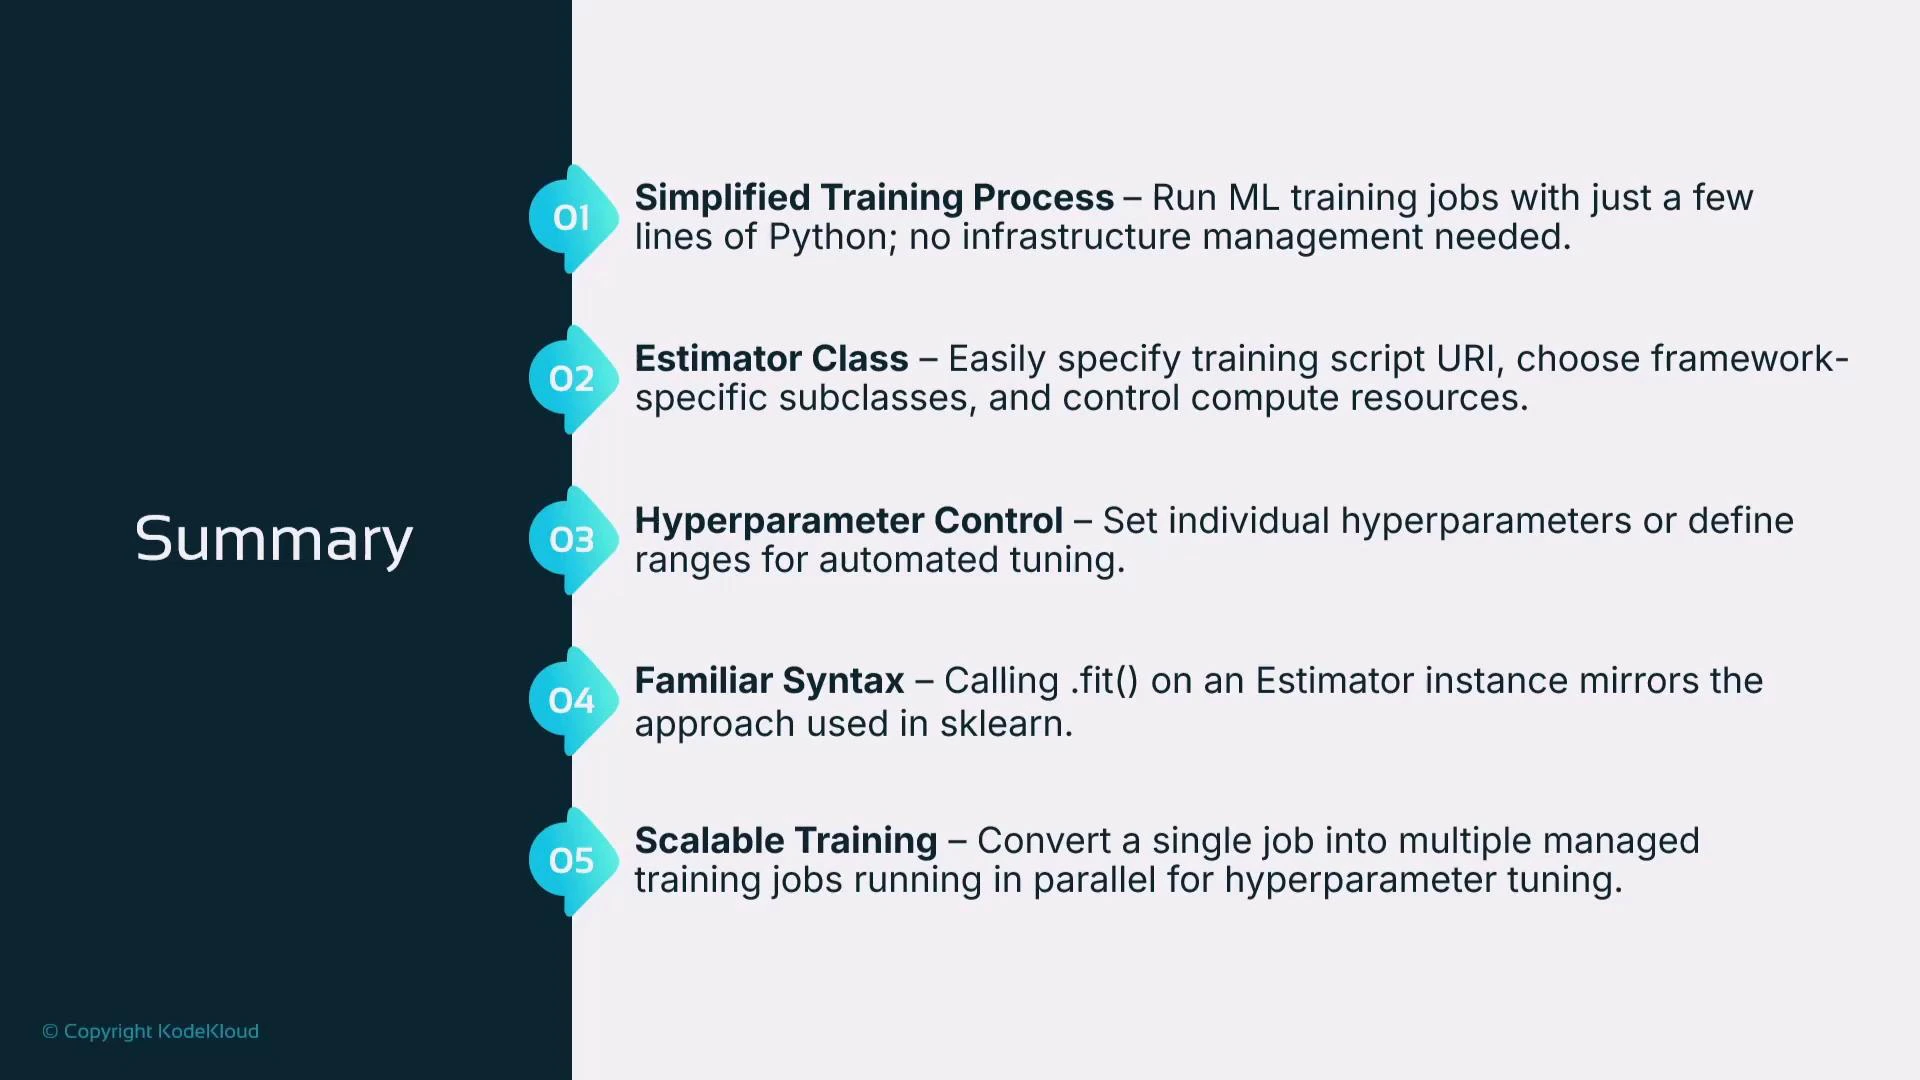
* Created a SageMaker training job with the Python SDK Estimator class.
* Retrieved the built-in Linear Learner container image and provided it to a generic Estimator.
* Uploaded train/validation/test CSVs to S3 and started training with estimator.fit(...).
* Launched a HyperparameterTuner to try multiple hyperparameter combinations in parallel and retrieved the best model.
* Verified the model artifact saved to S3 (model.tar.gz).
Hyperparameter tuning to run many training jobs in parallel
* Define ranges for the hyperparameters you want SageMaker to explore (ContinuousParameter or IntegerParameter).
* Create a HyperparameterTuner and call fit(); the tuner launches multiple training jobs (up to max\_parallel\_jobs concurrently) and returns the best training job according to the specified objective metric.
```python theme={null}
from sagemaker.tuner import IntegerParameter, ContinuousParameter, HyperparameterTuner
# Define Hyperparameter Ranges to Tune
hyperparameter_ranges = {
"learning_rate": ContinuousParameter(0.001, 0.1),
"mini_batch_size": IntegerParameter(16, 512),
"wd": ContinuousParameter(0.0001, 0.1), # weight decay
}
# Create the Hyperparameter Tuner
tuner = HyperparameterTuner(
estimator=linear_estimator,
objective_metric_name="validation:rmse",
objective_type="Minimize",
hyperparameter_ranges=hyperparameter_ranges,
max_jobs=6, # total number of training jobs to run
max_parallel_jobs=2, # how many jobs to run in parallel
strategy="Bayesian", # Bayesian optimization strategy
)
# Launch the hyperparameter tuning job (this call blocks until the tuning job completes by default)
tuner.fit({"train": train_input, "validation": val_input})
print(f"Tuning job launched: {tuner.latest_tuning_job.name}")
```
By default tuner.fit(...) waits until the tuning job finishes and blocks the notebook cell. To launch asynchronously, call tuner.fit(..., wait=False) so you can continue other work while the tuner runs.
Retrieve the best tuning job programmatically
* After tuning completes, use Boto3 or the SageMaker SDK to describe the tuning job and obtain the BestTrainingJob and its objective metric.
```python theme={null}
import boto3
tuning_job_name = tuner.latest_tuning_job.name
sm_client = boto3.client('sagemaker')
tuning_job_info = sm_client.describe_hyper_parameter_tuning_job(
HyperParameterTuningJobName=tuning_job_name
)
best_training_job = tuning_job_info['BestTrainingJob']
best_model_job_name = best_training_job['TrainingJobName']
best_model_score = best_training_job['FinalHyperParameterTuningJobObjectiveMetric']['Value']
print(f"✅ Best model: {best_model_job_name} with score: {best_model_score}")
```
Practical notes and troubleshooting
* If your model shows large RMSE values, investigate feature scaling, outliers, target distribution, and whether a linear model is appropriate. Hyperparameter tuning speeds up exploration but cannot replace good feature engineering and the right model choice.
* Many built-in algorithms expect the label as the first column and CSV inputs without headers or index — ensure you follow the input formatting expected by the chosen algorithm.
* For faster iteration, use smaller subsets of data or fewer epochs during development, then scale up for final training runs.
Summary — what you accomplished
* Created a SageMaker training job with the Python SDK Estimator class.
* Retrieved the built-in Linear Learner container image and provided it to a generic Estimator.
* Uploaded train/validation/test CSVs to S3 and started training with estimator.fit(...).
* Launched a HyperparameterTuner to try multiple hyperparameter combinations in parallel and retrieved the best model.
* Verified the model artifact saved to S3 (model.tar.gz).
 Quick reference and links
| Resource | Purpose | Link |
| ------------------------------- | ----------------------------------------------------------- | -------------------------------------------------------------------------------------------------------------------------------------------------------------------------------------------------------------- |
| SageMaker Python SDK | API reference for Estimator, inputs, and training workflows | [https://sagemaker.readthedocs.io/en/stable/](https://sagemaker.readthedocs.io/en/stable/) |
| Estimator class docs | API for creating and running training jobs | [https://sagemaker.readthedocs.io/en/stable/api/training/estimators.html#sagemaker.estimator.Estimator](https://sagemaker.readthedocs.io/en/stable/api/training/estimators.html#sagemaker.estimator.Estimator) |
| SageMaker Hyperparameter Tuning | Tuner and strategies | [https://sagemaker.readthedocs.io/en/stable/tuner.html](https://sagemaker.readthedocs.io/en/stable/tuner.html) |
| Linear Learner algorithm | Built-in algorithm overview for regression/classification | [https://docs.aws.amazon.com/sagemaker/latest/dg/linear-learner.html](https://docs.aws.amazon.com/sagemaker/latest/dg/linear-learner.html) |
| SageMaker Studio | Studio overview and getting started | [https://docs.aws.amazon.com/sagemaker/latest/dg/studio.html](https://docs.aws.amazon.com/sagemaker/latest/dg/studio.html) |
| Boto3 SageMaker client | Programmatic access to tuning job metadata | [https://boto3.amazonaws.com/v1/documentation/api/latest/reference/services/sagemaker.html](https://boto3.amazonaws.com/v1/documentation/api/latest/reference/services/sagemaker.html) |
| Amazon S3 Console guide | Managing S3 artifacts and objects | [https://docs.aws.amazon.com/AmazonS3/latest/userguide/using-console.html](https://docs.aws.amazon.com/AmazonS3/latest/userguide/using-console.html) |
Recommended next steps
* Try different instance types (e.g., ml.m5.2xlarge) and compare training time vs cost.
* Replace Linear Learner with other built-in algorithms or your own training container to evaluate model performance.
* Integrate model evaluation and model deployment (SageMaker endpoints or batch transform) as the next phase after training.
Quick reference and links
| Resource | Purpose | Link |
| ------------------------------- | ----------------------------------------------------------- | -------------------------------------------------------------------------------------------------------------------------------------------------------------------------------------------------------------- |
| SageMaker Python SDK | API reference for Estimator, inputs, and training workflows | [https://sagemaker.readthedocs.io/en/stable/](https://sagemaker.readthedocs.io/en/stable/) |
| Estimator class docs | API for creating and running training jobs | [https://sagemaker.readthedocs.io/en/stable/api/training/estimators.html#sagemaker.estimator.Estimator](https://sagemaker.readthedocs.io/en/stable/api/training/estimators.html#sagemaker.estimator.Estimator) |
| SageMaker Hyperparameter Tuning | Tuner and strategies | [https://sagemaker.readthedocs.io/en/stable/tuner.html](https://sagemaker.readthedocs.io/en/stable/tuner.html) |
| Linear Learner algorithm | Built-in algorithm overview for regression/classification | [https://docs.aws.amazon.com/sagemaker/latest/dg/linear-learner.html](https://docs.aws.amazon.com/sagemaker/latest/dg/linear-learner.html) |
| SageMaker Studio | Studio overview and getting started | [https://docs.aws.amazon.com/sagemaker/latest/dg/studio.html](https://docs.aws.amazon.com/sagemaker/latest/dg/studio.html) |
| Boto3 SageMaker client | Programmatic access to tuning job metadata | [https://boto3.amazonaws.com/v1/documentation/api/latest/reference/services/sagemaker.html](https://boto3.amazonaws.com/v1/documentation/api/latest/reference/services/sagemaker.html) |
| Amazon S3 Console guide | Managing S3 artifacts and objects | [https://docs.aws.amazon.com/AmazonS3/latest/userguide/using-console.html](https://docs.aws.amazon.com/AmazonS3/latest/userguide/using-console.html) |
Recommended next steps
* Try different instance types (e.g., ml.m5.2xlarge) and compare training time vs cost.
* Replace Linear Learner with other built-in algorithms or your own training container to evaluate model performance.
* Integrate model evaluation and model deployment (SageMaker endpoints or batch transform) as the next phase after training.