> ## Documentation Index
> Fetch the complete documentation index at: https://notes.kodekloud.com/llms.txt
> Use this file to discover all available pages before exploring further.
# Demo Jupyter Notebooks
> Guide to install and run Jupyter Notebook and JupyterLab on an Ubuntu EC2 instance, covering virtual environments, connecting remotely, basic usage, and security considerations.
In this lesson you'll set up and use Jupyter Notebook (classic) and JupyterLab on a standalone Ubuntu VM (EC2 in this demo). This manual installation demonstrates how the pieces fit together; hosted services such as [AWS SageMaker](https://learn.kodekloud.com/user/courses/aws-sagemaker) provide managed environments if you prefer not to install manually.
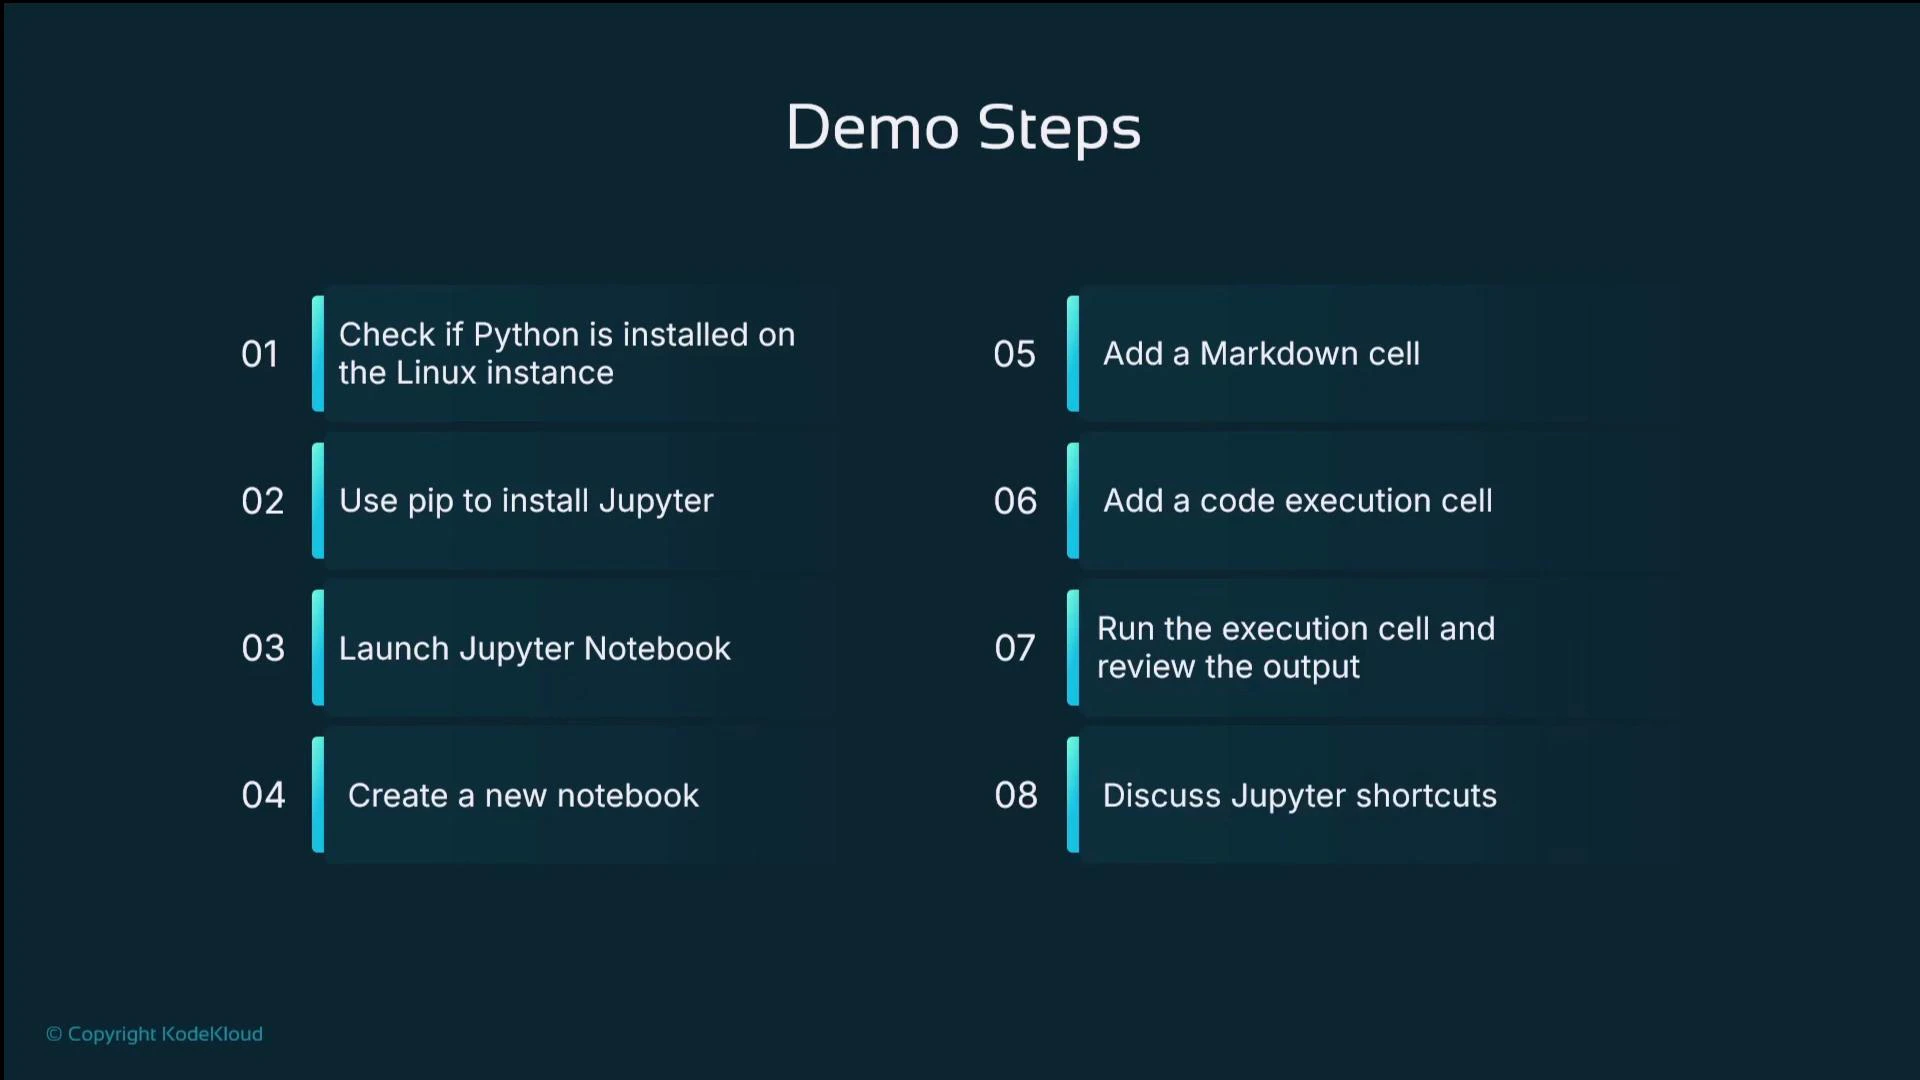
We will:
* Install Python tooling and create an isolated virtual environment.
* Install and run the classic Jupyter Notebook server and connect from a browser.
* Create and run notebook code and markdown cells.
* Install and explore JupyterLab and its integrated features.
* Review security considerations for remote notebooks.
Let’s get started.
## 1. Launch and connect to the EC2 Ubuntu instance
In the AWS Management Console I launched a fresh Ubuntu EC2 instance and opened a shell from the console using Instance Connect.
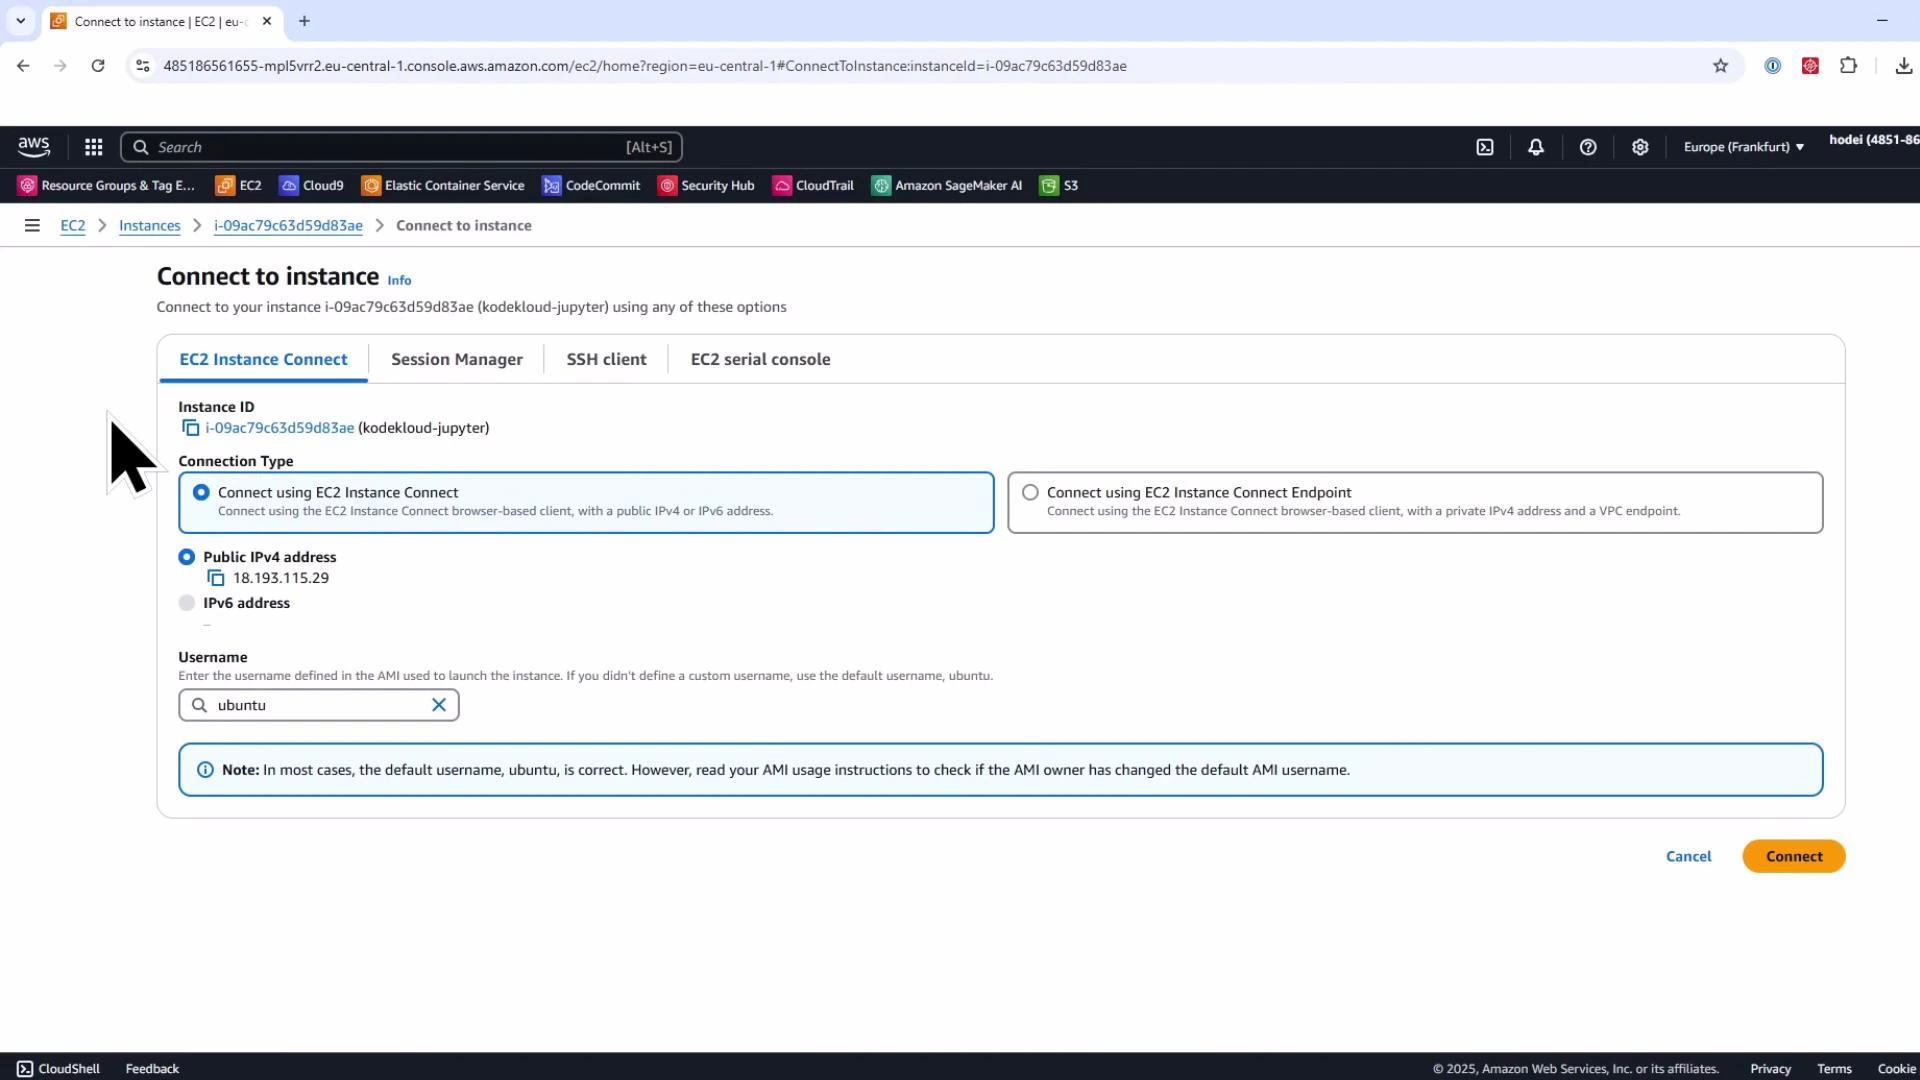 Once you have an interactive shell on the instance, verify Python is available. On modern Ubuntu releases the `python` command is not always present — use `python3`:
```bash theme={null}
# Try invoking python3
ubuntu@ip-172-31-1-136:~$ python3
Python 3.12.3 (main, Feb 4 2025, 14:48:35) [GCC 13.3.0] on linux
>>> a = 3
>>> b = 4
>>> print(a + b)
7
>>> exit()
```
## 2. Install pip and create a virtual environment (recommended)
On Ubuntu 24.04+ you may need to install pip and the venv helper:
```bash theme={null}
sudo apt update
sudo apt install -y python3-pip python3-venv
```
Verify pip:
```bash theme={null}
ubuntu@ip-172-31-1-136:~$ pip --version
pip 24.0 from /usr/lib/python3/dist-packages/pip (python 3.12)
```
Create and activate an isolated virtual environment to avoid global package conflicts:
```bash theme={null}
python3 -m venv jupyter_env
source jupyter_env/bin/activate
# Prompt will show (jupyter_env) when active
```
Use virtual environments to isolate project dependencies. This keeps system packages clean and prevents conflicting versions across projects.
## 3. Install and run the classic Jupyter Notebook server
Install Jupyter Notebook inside the virtual environment:
```bash theme={null}
pip install jupyter
```
Start the notebook server, binding to all interfaces so you can connect remotely. Disable the automatic browser on the remote server:
```bash theme={null}
jupyter notebook --ip=0.0.0.0 --no-browser
```
The server prints informational lines and one or more access URLs with an authentication token. Example output:
```text theme={null}
[I 2025-03-27 16:12:42.612 ServerApp] Serving notebooks from local directory: /home/ubuntu
[I 2025-03-27 16:12:42.612 ServerApp] Jupyter Server 2.15.0 is running at:
[I 2025-03-27 16:12:42.612 ServerApp] http://ip-172-31-1-136:8888/tree?token=7fa9...f265d487
[I 2025-03-27 16:12:42.616 ServerApp] Use Control-C to stop this server and shut down all kernels.
```
Important: the hostname in the printed URL may show the instance’s private IP or private DNS (not accessible from your laptop). Replace that hostname with the instance’s *public IP* shown in the EC2 console, or use an SSH tunnel to bind the port locally.
Do not expose a Jupyter server directly to the public internet without proper authentication and TLS. Prefer SSH tunneling, a VPN, or secure application endpoints to protect access.
## 4. Connect from a browser, create a notebook, and run cells
Open the corrected URL in your browser (public IP or a tunneled localhost URL). The classic Jupyter file view appears. Create a new Python 3 notebook and try code and markdown cells.
Example code cells and outputs:
```python theme={null}
# Cell 1
a = 6
b = 4
print(a + b)
# Output: 10
```
```python theme={null}
# Cell 2
c = 8
print(c + a)
# Output: 14
```
Switch a cell to Markdown to add narrative:
```markdown theme={null}
# Feature Engineering Code Next
- Prepare features
- Scale and transform
```
Keyboard shortcuts:
* Shift+Enter — run cell and advance.
* Ctrl+Enter — run cell in place.
* Execution order appears as bracket numbers \[1], \[2].
When finished with the server, stop it in the terminal with Ctrl+C and confirm.
## 5. Install and use JupyterLab (modern UI)
JupyterLab is a more integrated, IDE-like interface that combines notebooks, terminals, file browser, and extensions.
Install and launch JupyterLab:
```bash theme={null}
pip install jupyterlab
jupyter lab --ip=0.0.0.0 --no-browser
```
Open the Lab URL (replace private hostname with public IP or use SSH tunneling). JupyterLab highlights:
* Launcher for notebooks, consoles, and terminals.
* Split panes and tabbed layout for working on multiple files concurrently.
* Integrated terminal to run shell commands and pip inside the environment.
* Extension support (e.g., Git integration, code formatters, plot viewers).
Inside a JupyterLab terminal you might see installed packages:
```bash theme={null}
# Example output from `pip list` (truncated)
nbformat 5.10.4
notebook 7.3.3
numpy 2.2.4
pip 24.0
pyzmq 26.3.0
jupyterlab 4.3.6
```
You can install JupyterLab extensions to add Git, file diffing, and other developer tools.
Once you have an interactive shell on the instance, verify Python is available. On modern Ubuntu releases the `python` command is not always present — use `python3`:
```bash theme={null}
# Try invoking python3
ubuntu@ip-172-31-1-136:~$ python3
Python 3.12.3 (main, Feb 4 2025, 14:48:35) [GCC 13.3.0] on linux
>>> a = 3
>>> b = 4
>>> print(a + b)
7
>>> exit()
```
## 2. Install pip and create a virtual environment (recommended)
On Ubuntu 24.04+ you may need to install pip and the venv helper:
```bash theme={null}
sudo apt update
sudo apt install -y python3-pip python3-venv
```
Verify pip:
```bash theme={null}
ubuntu@ip-172-31-1-136:~$ pip --version
pip 24.0 from /usr/lib/python3/dist-packages/pip (python 3.12)
```
Create and activate an isolated virtual environment to avoid global package conflicts:
```bash theme={null}
python3 -m venv jupyter_env
source jupyter_env/bin/activate
# Prompt will show (jupyter_env) when active
```
Use virtual environments to isolate project dependencies. This keeps system packages clean and prevents conflicting versions across projects.
## 3. Install and run the classic Jupyter Notebook server
Install Jupyter Notebook inside the virtual environment:
```bash theme={null}
pip install jupyter
```
Start the notebook server, binding to all interfaces so you can connect remotely. Disable the automatic browser on the remote server:
```bash theme={null}
jupyter notebook --ip=0.0.0.0 --no-browser
```
The server prints informational lines and one or more access URLs with an authentication token. Example output:
```text theme={null}
[I 2025-03-27 16:12:42.612 ServerApp] Serving notebooks from local directory: /home/ubuntu
[I 2025-03-27 16:12:42.612 ServerApp] Jupyter Server 2.15.0 is running at:
[I 2025-03-27 16:12:42.612 ServerApp] http://ip-172-31-1-136:8888/tree?token=7fa9...f265d487
[I 2025-03-27 16:12:42.616 ServerApp] Use Control-C to stop this server and shut down all kernels.
```
Important: the hostname in the printed URL may show the instance’s private IP or private DNS (not accessible from your laptop). Replace that hostname with the instance’s *public IP* shown in the EC2 console, or use an SSH tunnel to bind the port locally.
Do not expose a Jupyter server directly to the public internet without proper authentication and TLS. Prefer SSH tunneling, a VPN, or secure application endpoints to protect access.
## 4. Connect from a browser, create a notebook, and run cells
Open the corrected URL in your browser (public IP or a tunneled localhost URL). The classic Jupyter file view appears. Create a new Python 3 notebook and try code and markdown cells.
Example code cells and outputs:
```python theme={null}
# Cell 1
a = 6
b = 4
print(a + b)
# Output: 10
```
```python theme={null}
# Cell 2
c = 8
print(c + a)
# Output: 14
```
Switch a cell to Markdown to add narrative:
```markdown theme={null}
# Feature Engineering Code Next
- Prepare features
- Scale and transform
```
Keyboard shortcuts:
* Shift+Enter — run cell and advance.
* Ctrl+Enter — run cell in place.
* Execution order appears as bracket numbers \[1], \[2].
When finished with the server, stop it in the terminal with Ctrl+C and confirm.
## 5. Install and use JupyterLab (modern UI)
JupyterLab is a more integrated, IDE-like interface that combines notebooks, terminals, file browser, and extensions.
Install and launch JupyterLab:
```bash theme={null}
pip install jupyterlab
jupyter lab --ip=0.0.0.0 --no-browser
```
Open the Lab URL (replace private hostname with public IP or use SSH tunneling). JupyterLab highlights:
* Launcher for notebooks, consoles, and terminals.
* Split panes and tabbed layout for working on multiple files concurrently.
* Integrated terminal to run shell commands and pip inside the environment.
* Extension support (e.g., Git integration, code formatters, plot viewers).
Inside a JupyterLab terminal you might see installed packages:
```bash theme={null}
# Example output from `pip list` (truncated)
nbformat 5.10.4
notebook 7.3.3
numpy 2.2.4
pip 24.0
pyzmq 26.3.0
jupyterlab 4.3.6
```
You can install JupyterLab extensions to add Git, file diffing, and other developer tools.
 ## 6. Quick reference — commands and tips
| Task | Command / Tip | Notes |
| -----------------------: | -------------------------------------------- | ---------------------------------------------- |
| Install system deps | sudo apt install -y python3-pip python3-venv | Ubuntu 24.04+ |
| Create venv | python3 -m venv jupyter\_env | Activate with source jupyter\_env/bin/activate |
| Install classic notebook | pip install jupyter | Starts with jupyter notebook |
| Install JupyterLab | pip install jupyterlab | Starts with jupyter lab |
| Run server | jupyter notebook --ip=0.0.0.0 --no-browser | Replace private IP with public, or tunnel |
| Secure access | Use SSH tunnel or VPN | Do not leave ports open publicly |
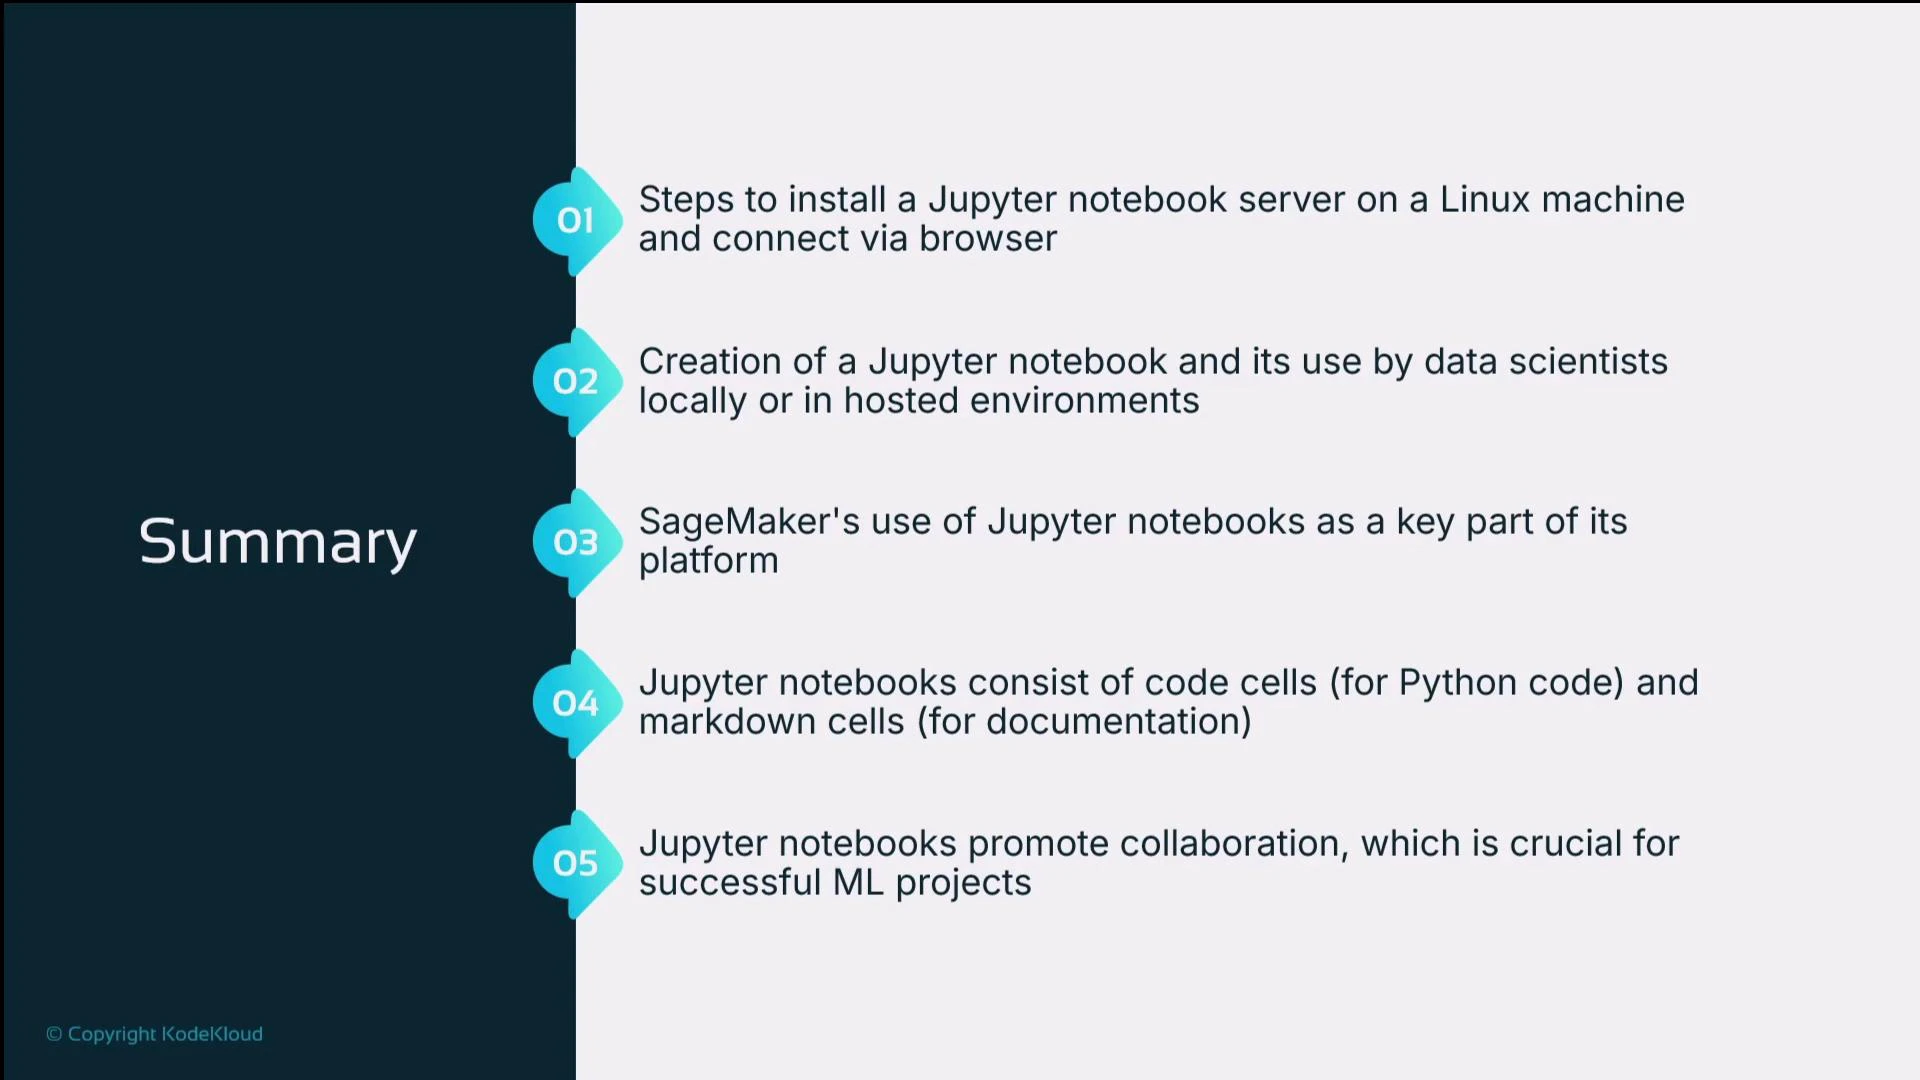
## 7. Recap — what we covered
| Step | Summary |
| ---- | -------------------------------------------------------------------------------------------------------- |
| 1 | Verified Python is available (use python3 on modern Ubuntu). |
| 2 | Installed pip and python3-venv; created and activated a virtual environment. |
| 3 | Installed Jupyter (classic) and launched it for remote access. |
| 4 | Created notebooks, added code and markdown cells, executed cells, and inspected outputs. |
| 5 | Installed and launched JupyterLab to use an IDE-like interface with terminals and extensions. |
| 6 | Emphasized security: replace private IPs with public IPs or use SSH tunneling and avoid public exposure. |
## 6. Quick reference — commands and tips
| Task | Command / Tip | Notes |
| -----------------------: | -------------------------------------------- | ---------------------------------------------- |
| Install system deps | sudo apt install -y python3-pip python3-venv | Ubuntu 24.04+ |
| Create venv | python3 -m venv jupyter\_env | Activate with source jupyter\_env/bin/activate |
| Install classic notebook | pip install jupyter | Starts with jupyter notebook |
| Install JupyterLab | pip install jupyterlab | Starts with jupyter lab |
| Run server | jupyter notebook --ip=0.0.0.0 --no-browser | Replace private IP with public, or tunnel |
| Secure access | Use SSH tunnel or VPN | Do not leave ports open publicly |
## 7. Recap — what we covered
| Step | Summary |
| ---- | -------------------------------------------------------------------------------------------------------- |
| 1 | Verified Python is available (use python3 on modern Ubuntu). |
| 2 | Installed pip and python3-venv; created and activated a virtual environment. |
| 3 | Installed Jupyter (classic) and launched it for remote access. |
| 4 | Created notebooks, added code and markdown cells, executed cells, and inspected outputs. |
| 5 | Installed and launched JupyterLab to use an IDE-like interface with terminals and extensions. |
| 6 | Emphasized security: replace private IPs with public IPs or use SSH tunneling and avoid public exposure. |
 Jupyter Notebook and JupyterLab provide a flexible environment to mix code, results, and narrative documentation — making them core tools for data science, machine learning, and exploratory analysis. If you prefer a managed environment, consider using [AWS SageMaker](https://learn.kodekloud.com/user/courses/aws-sagemaker) or other hosted notebook services that include security, scaling, and pre-configured tools.
Further reading and references:
* [Jupyter Documentation](https://jupyter.org/documentation)
* SSH tunneling and port forwarding (search “ssh local port forwarding” for tutorials)
* [AWS SageMaker course — KodeKloud](https://learn.kodekloud.com/user/courses/aws-sagemaker)
Next up: try a hands-on lab to practice creating notebooks, running experiments, and using JupyterLab extensions.
Jupyter Notebook and JupyterLab provide a flexible environment to mix code, results, and narrative documentation — making them core tools for data science, machine learning, and exploratory analysis. If you prefer a managed environment, consider using [AWS SageMaker](https://learn.kodekloud.com/user/courses/aws-sagemaker) or other hosted notebook services that include security, scaling, and pre-configured tools.
Further reading and references:
* [Jupyter Documentation](https://jupyter.org/documentation)
* SSH tunneling and port forwarding (search “ssh local port forwarding” for tutorials)
* [AWS SageMaker course — KodeKloud](https://learn.kodekloud.com/user/courses/aws-sagemaker)
Next up: try a hands-on lab to practice creating notebooks, running experiments, and using JupyterLab extensions.