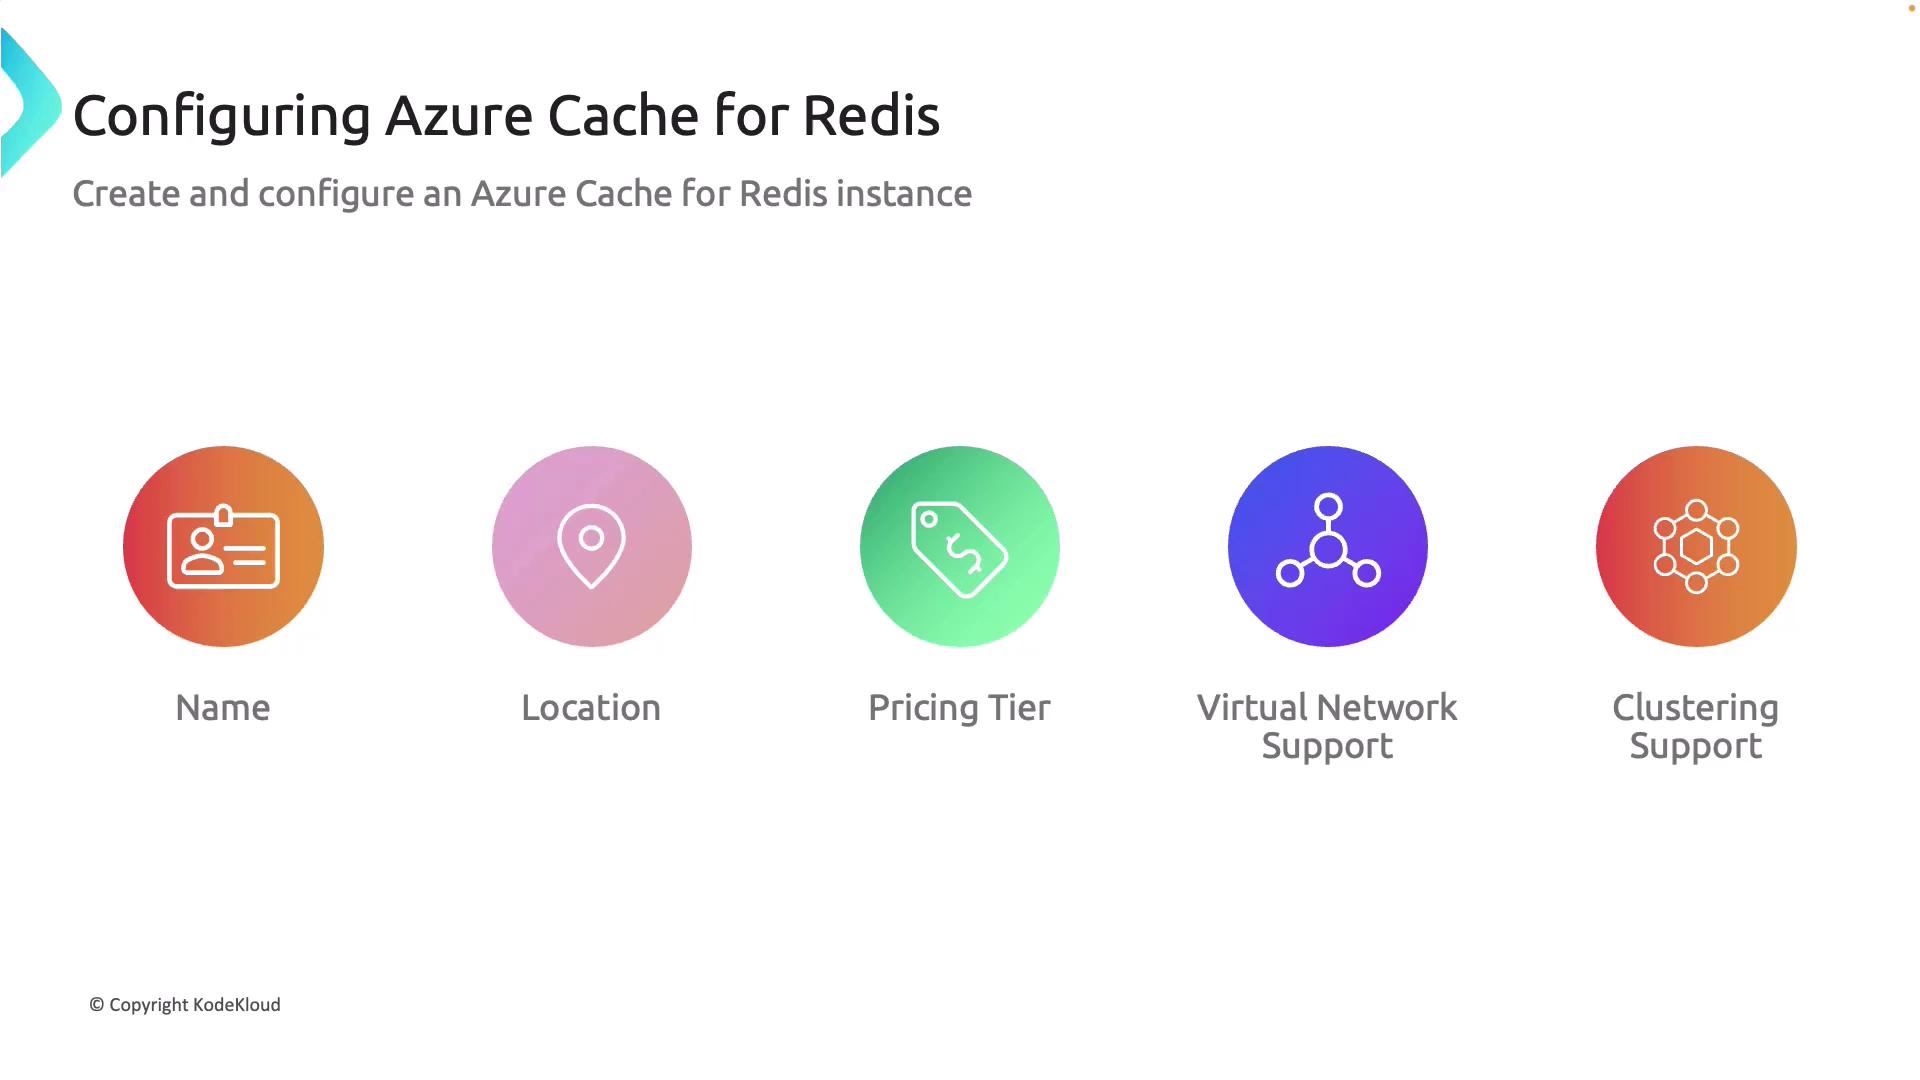
Core Configuration Components
When setting up Azure Cache for Redis, consider the following configurations to optimize your instance for your application needs:-
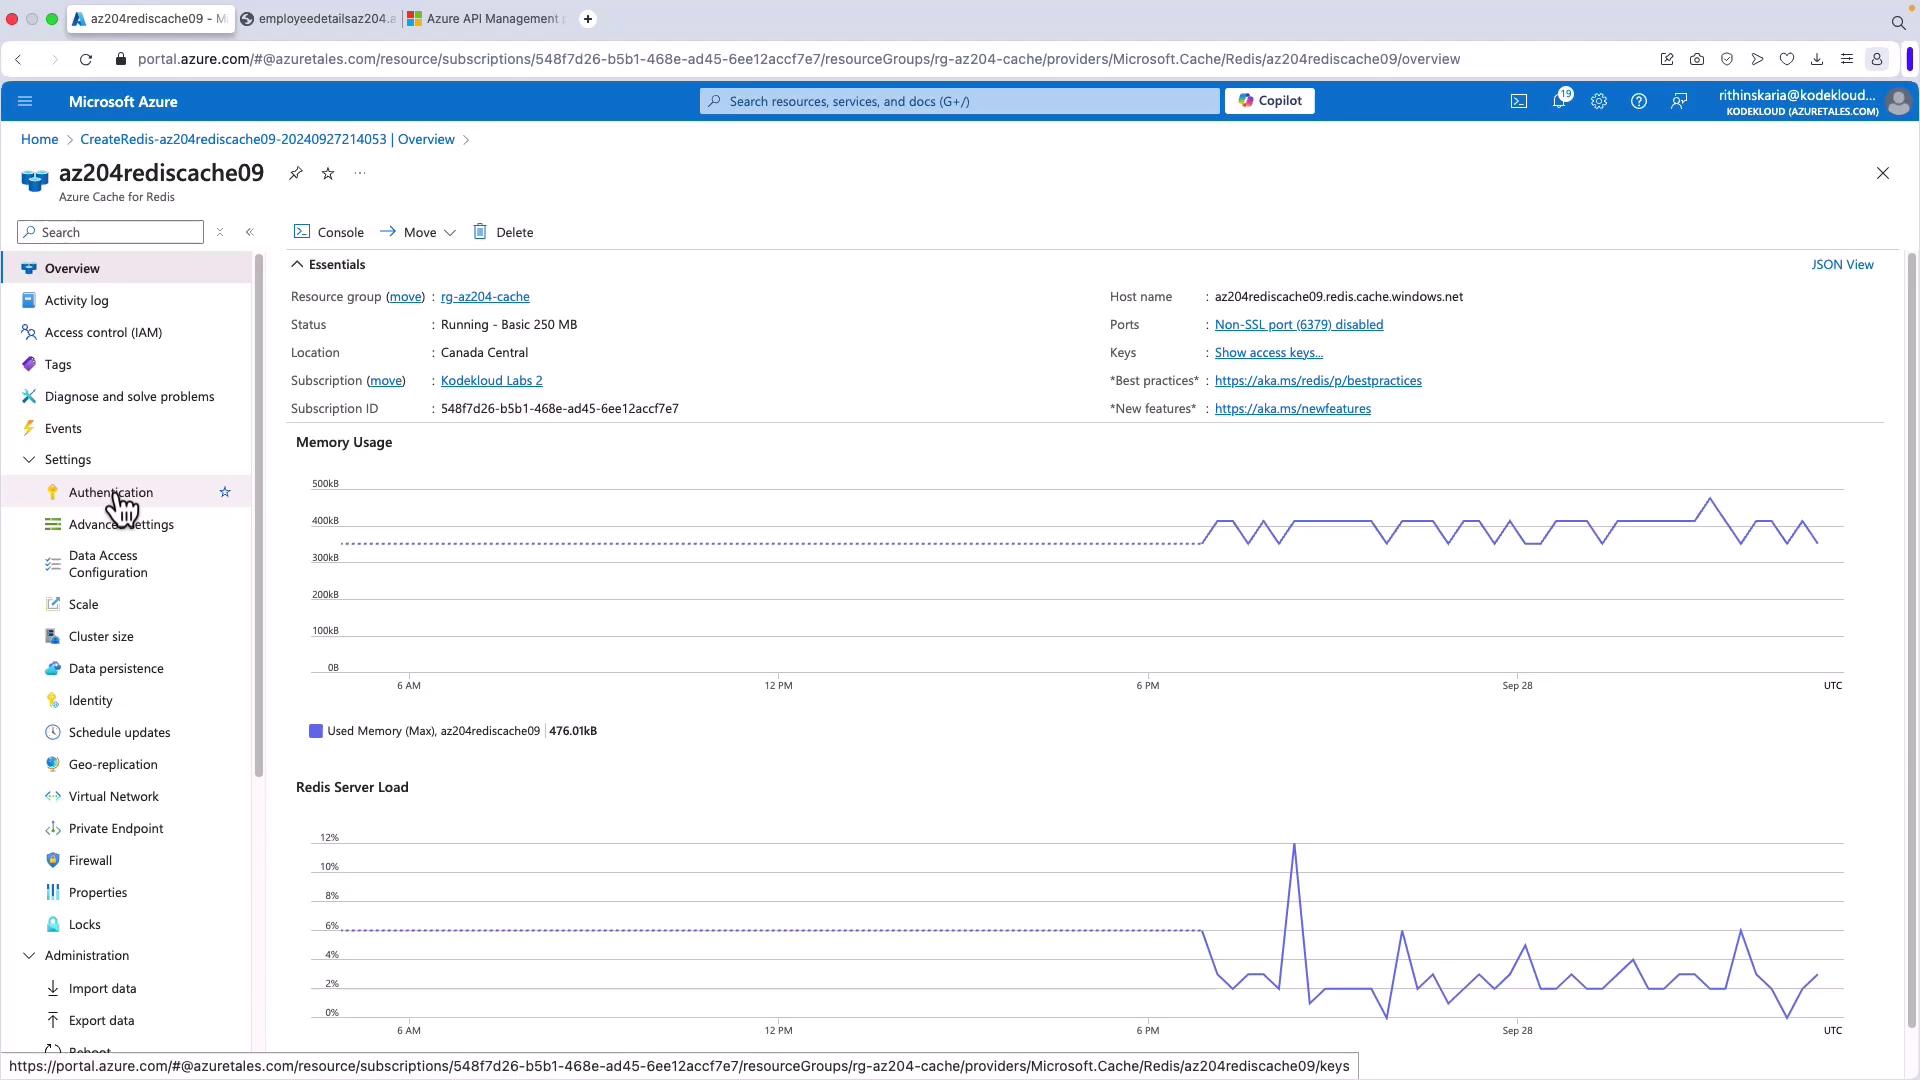
Name:
Assign a unique name to easily identify and manage your Azure Cache for Redis instance within the Azure portal. Ensure that the name is unique across Azure. -
Location:
Select a data center that is geographically close to your users or other services. This minimizes latency and enhances performance. -
Pricing Tier:
Azure Cache for Redis is available in various pricing tiers—Basic, Standard, Premium, Enterprise, and Enterprise Flash. Each tier provides different levels of scalability, features, and cost. Choose the tier that best meets your budget and performance requirements. -
Virtual Network Support:
Enhance security by deploying your Redis instance within a virtual network. This isolates your cache from the public internet and provides better control over network traffic. -
Clustering Support:
For high-workload environments, clustering enables data distribution across multiple nodes, which improves scalability and availability.
Essential Redis Commands
After configuring your Azure Cache for Redis instance, you can interact with it using a variety of Redis commands. Below is a list of common commands for managing your cache:set command to save a key-value pair and the get command to retrieve that value.
Setting Expiration Times on Cache Values
Managing cache lifetime is crucial. Redis allows you to set an expiration time on keys using theexpire command, ensuring that stale data is automatically removed. Consider the following example, which sets a 5-second expiration on a counter key:
The
SET command stores the counter value while the EXPIRE command ensures that the value is removed after the specified time.Accessing Azure Cache for Redis from a Client Application
Once your cache is configured, you need two key pieces of information to access it from a client application:-
Hostname:
This is the fully qualified domain name of your Azure Cache for Redis instance, available in the Azure portal. -
Access Key:
This key acts like a password. Retrieve it from the authentication section in the Azure portal.
Deploying and Connecting via the Azure Portal
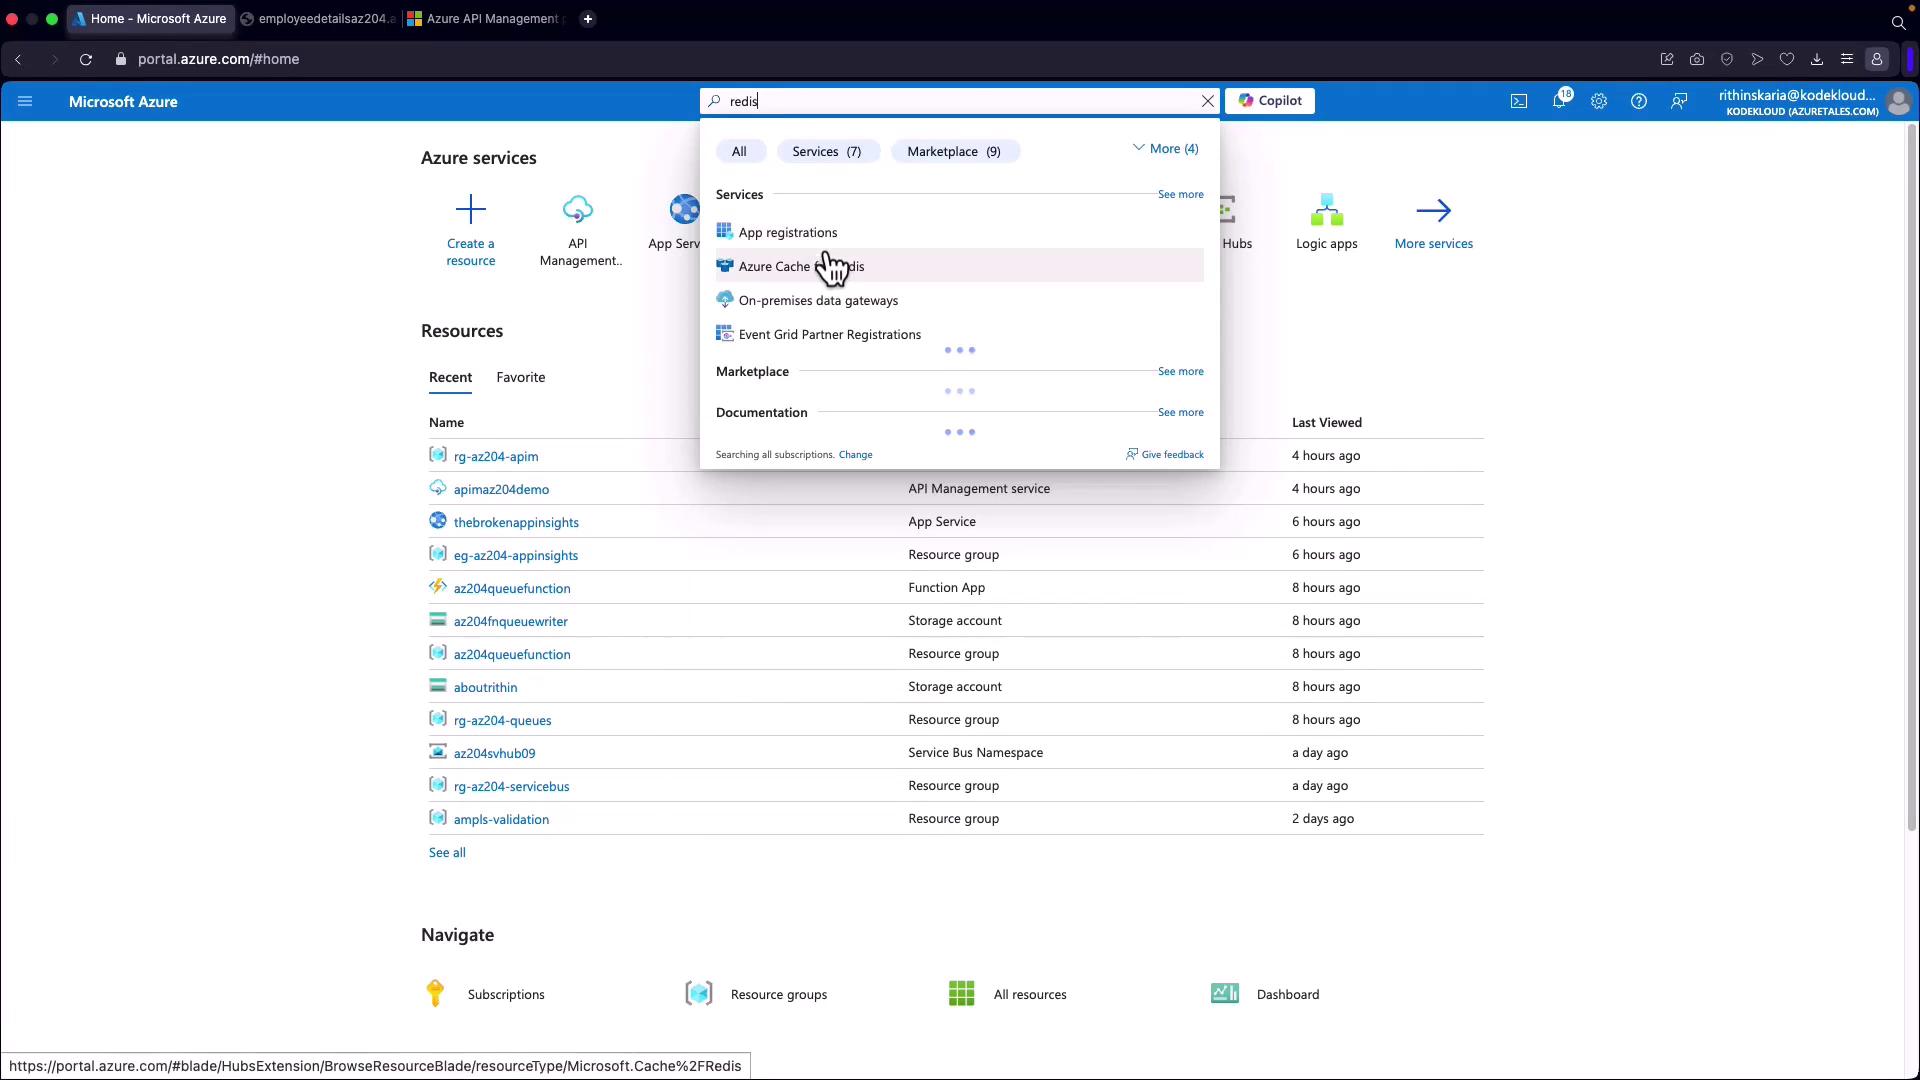
Follow these steps to deploy and connect to an Azure Cache for Redis instance using the Azure portal and the Redis CLI:- Searching for Redis in the Azure Portal:
Open the Azure portal and search for “Redis” to display available Azure Cache for Redis options.
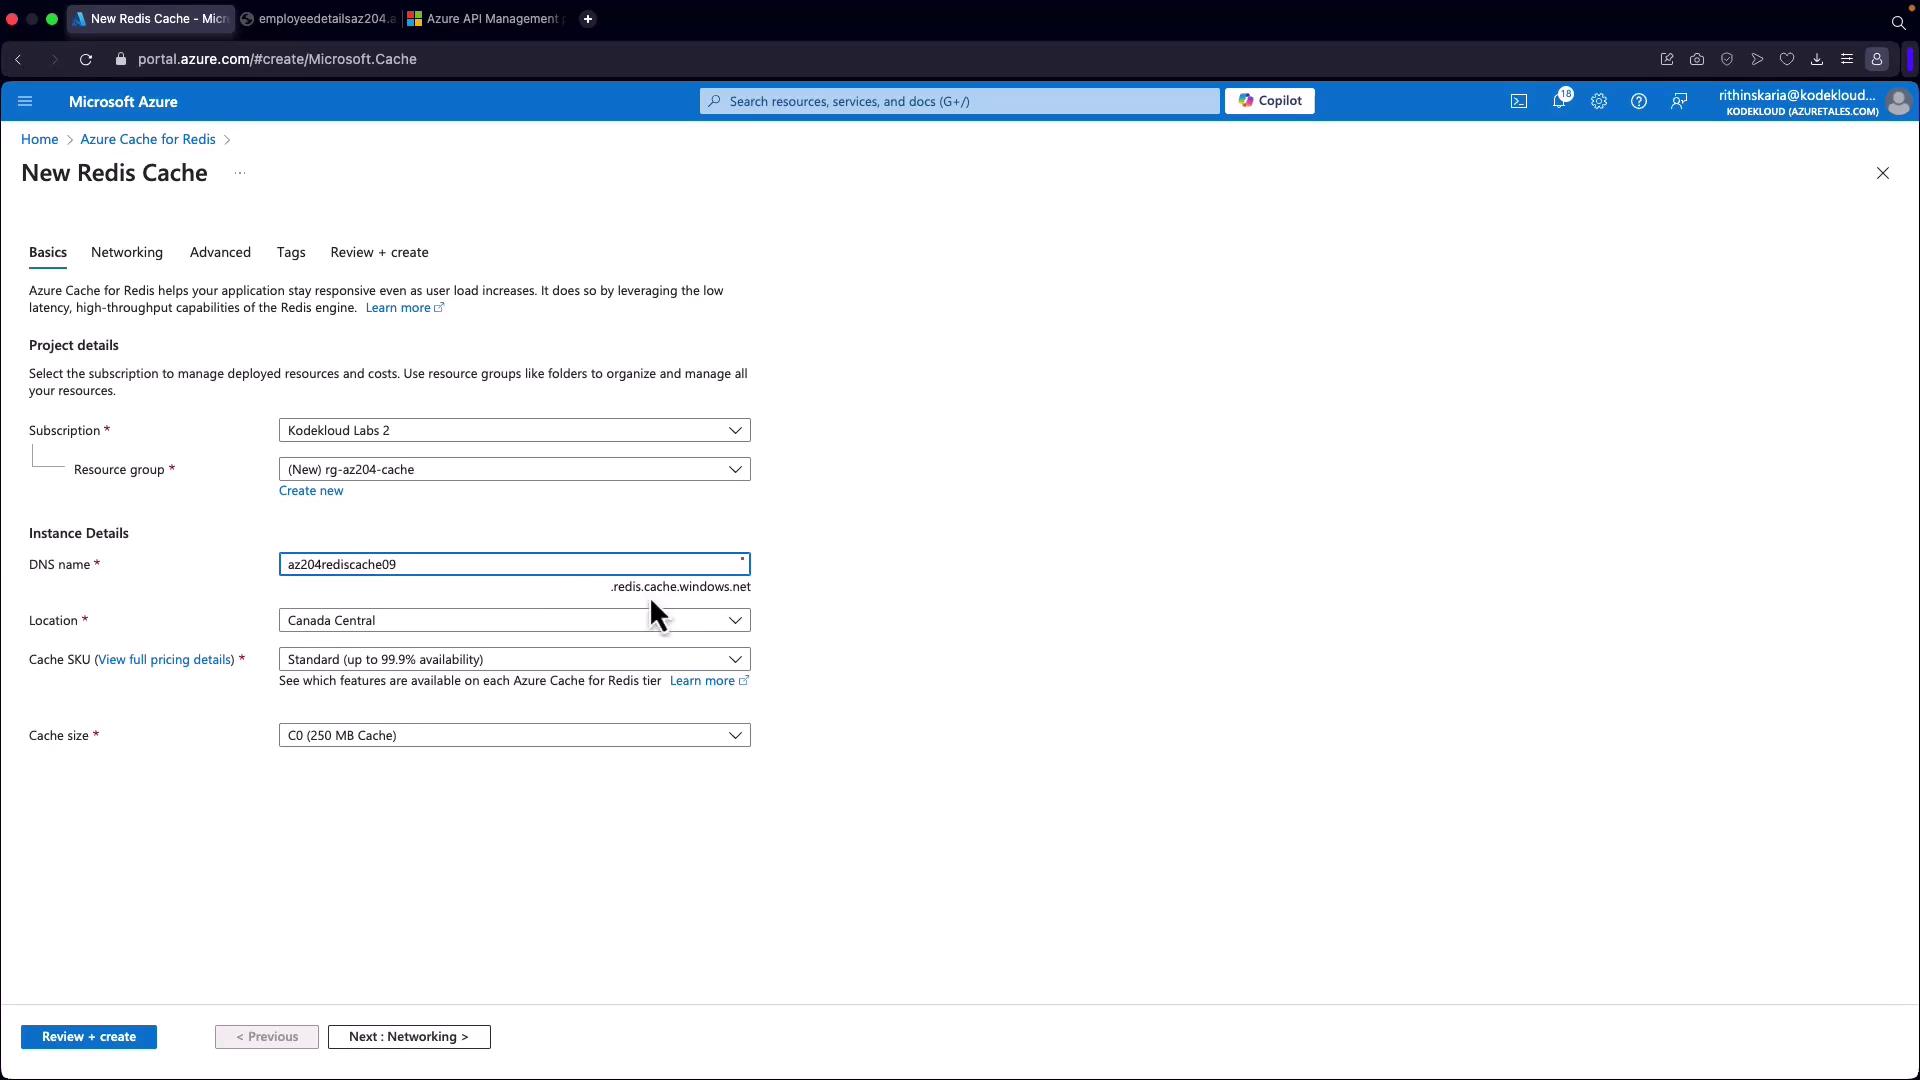
- Creating a Redis Cache Instance:
- Click on “Create Redis Cache.”
- Create a new resource group (for example, “RG AZ204 Cache”).
- Provide a unique DNS name for the cache instance (e.g., “Canada Central”).
- Select a pricing tier. For demonstration, choose the basic tier (C0 with 250 MB).
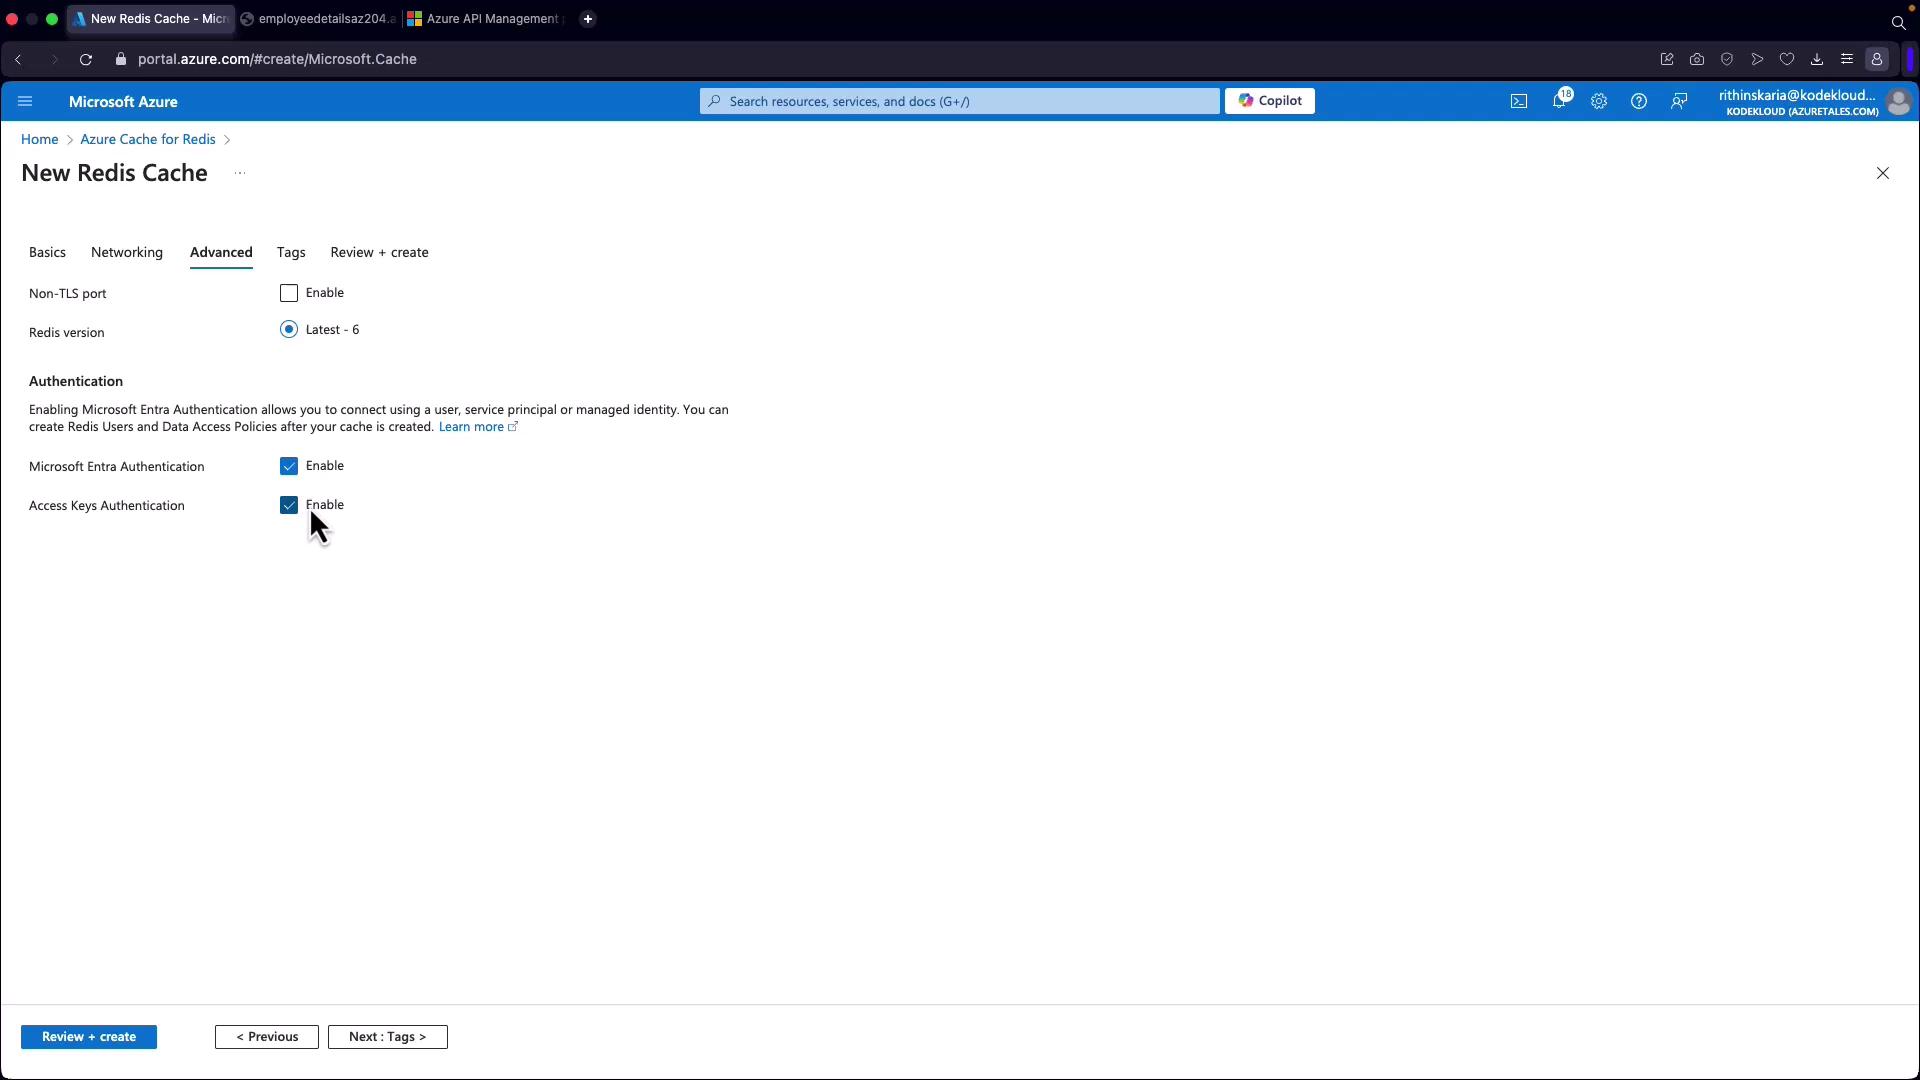
- In the networking tab, configure settings as per your security requirements.
- In the advanced settings tab, ensure that access keys authentication is enabled.
-
Connecting Using the Redis CLI:
Open your terminal and connect to your instance using the Redis CLI. If TLS is enabled (which is the default for Azure Cache for Redis), use the following command by replacing the hostname and access key with your resource’s specific details:Verify connectivity by issuing apingcommand:Then, set and retrieve a key to further confirm connectivity:
This demonstration shows how to deploy, connect, and interact with an Azure Cache for Redis instance using the Redis CLI.
Connecting to Azure Cache for Redis from .NET
After verifying connectivity via the Redis CLI, you can connect to your cache from a .NET application. Follow these steps in your .NET project:- Add the appropriate Redis client library (such as StackExchange.Redis).
- Use the hostname and access key from your Azure Cache for Redis instance, and connect via port 6380 for TLS connections.
- Implement the client code to interact with the cache as needed.
This article provides a comprehensive overview of configuring and managing Azure Cache for Redis—from its initial deployment in the Azure portal to performance tuning using Redis commands and secure client connections. For further reading and detailed information, please refer to the official Azure Cache for Redis Documentation.