This article explains triggers and bindings in Azure Functions for integrating functions with external sources and services.
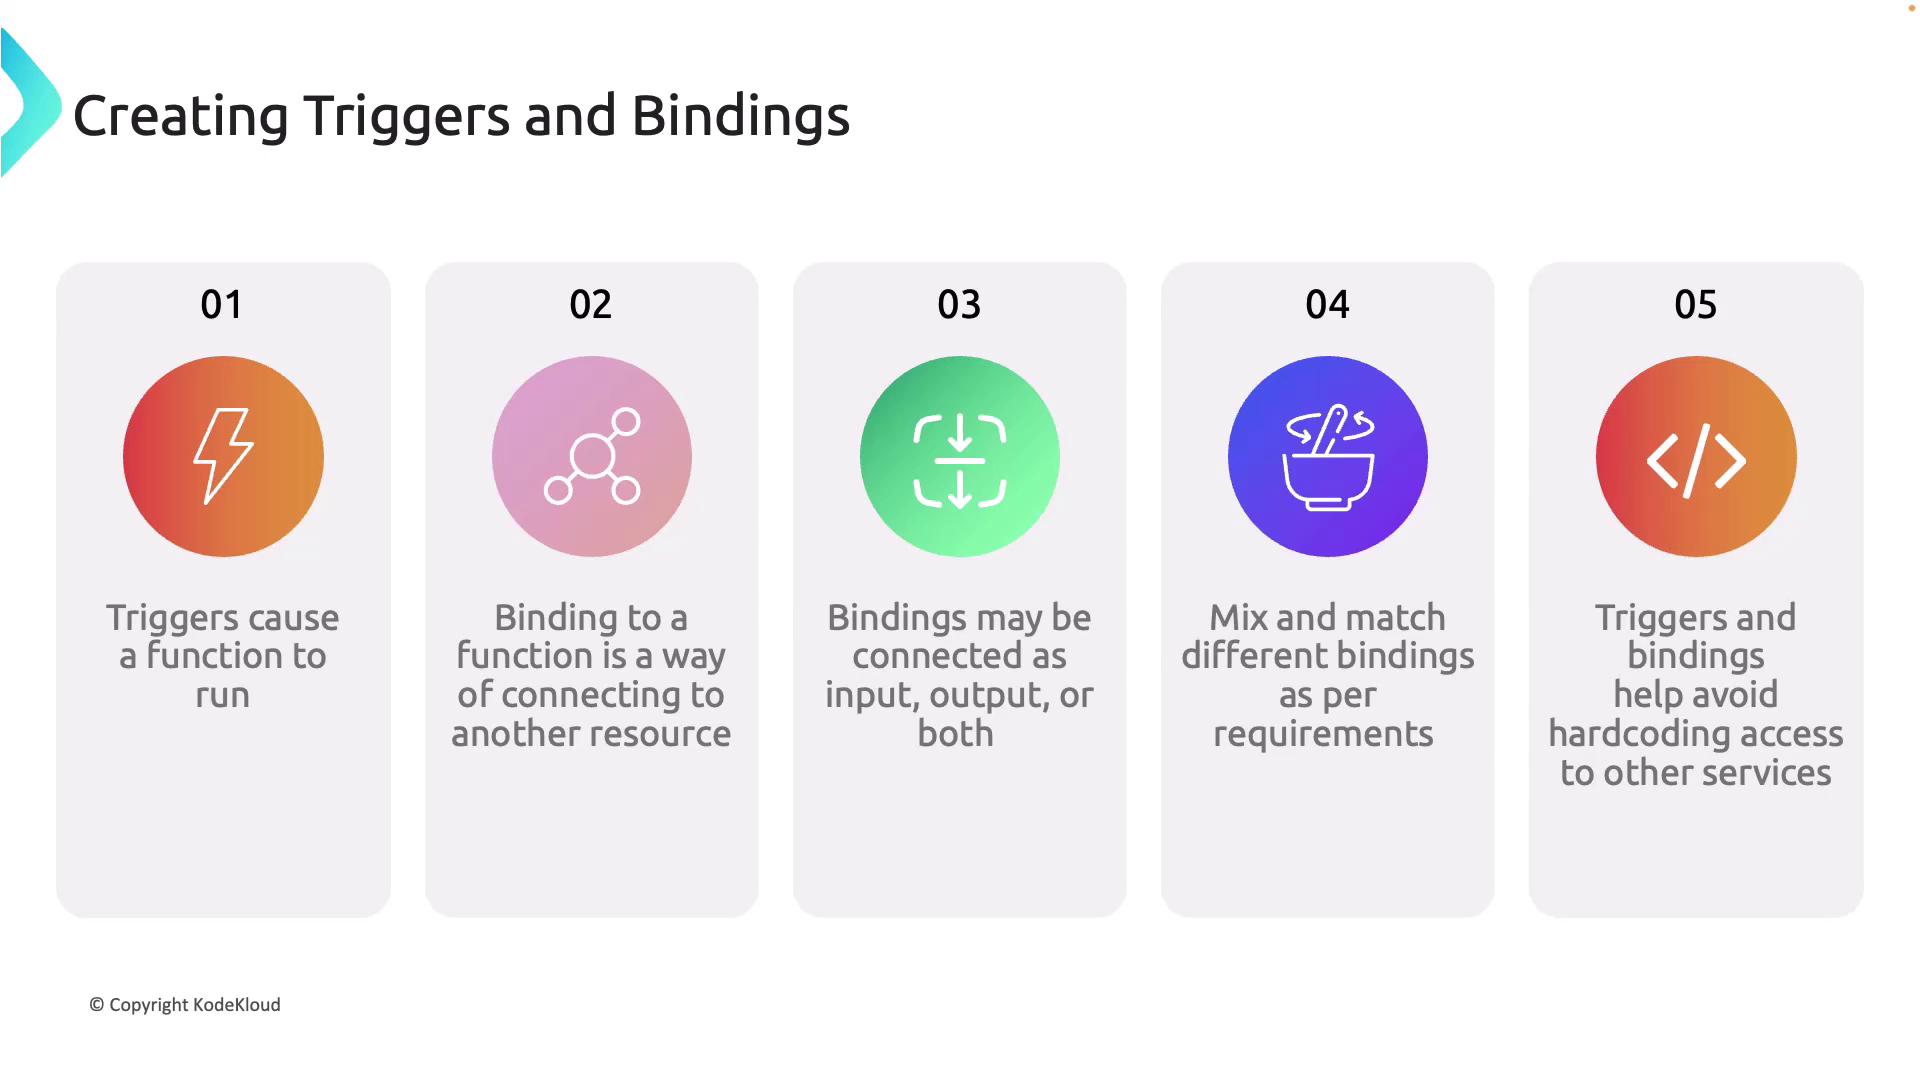
In this article, we explain the fundamental concepts of triggers and bindings in Azure Functions. These components are essential for integrating your functions with external sources and services.Triggers are events that automatically start your function. They can be an HTTP request, a new queue message, a timer event, and more. Each function can only have one trigger, but the trigger type can vary based on your specific use case.Bindings, on the other hand, offer a declarative way to connect your function to other Azure services—such as storage accounts, databases, or messaging systems—without extensive coding. They simplify managing input and output data flows. You can configure bindings as input, output, or both. For example, an input binding could retrieve a message from a queue, while an output binding could save a record to a database. Some bindings even support dual (in-out) configurations.You can combine multiple bindings within a single function. For example, a function may be triggered by a new queue message (input binding), process the data, and then write the result to Azure Blob Storage (output binding). This approach eliminates the need to hardcode service interactions in your function, simplifying development and maintenance.
Azure Functions supports multiple programming languages, and the method to define triggers and bindings depends on the language:
C#: Use attributes within the class library to define triggers and bindings. For instance, annotate your function with [HttpTrigger] for an HTTP trigger and [Blob] for Blob Storage access.
Java: Similar to C#, Java leverages annotations to declare input and output bindings.
JavaScript, PowerShell, Python, and TypeScript: In these languages, triggers and bindings are configured in a separate function.json file that specifies the binding type, direction, and other properties. Although C# functions can also use JSON configuration, separating the configuration enhances language-agnostic development.
Below is an example of a binding configuration within a function.json file using an HTTP trigger:
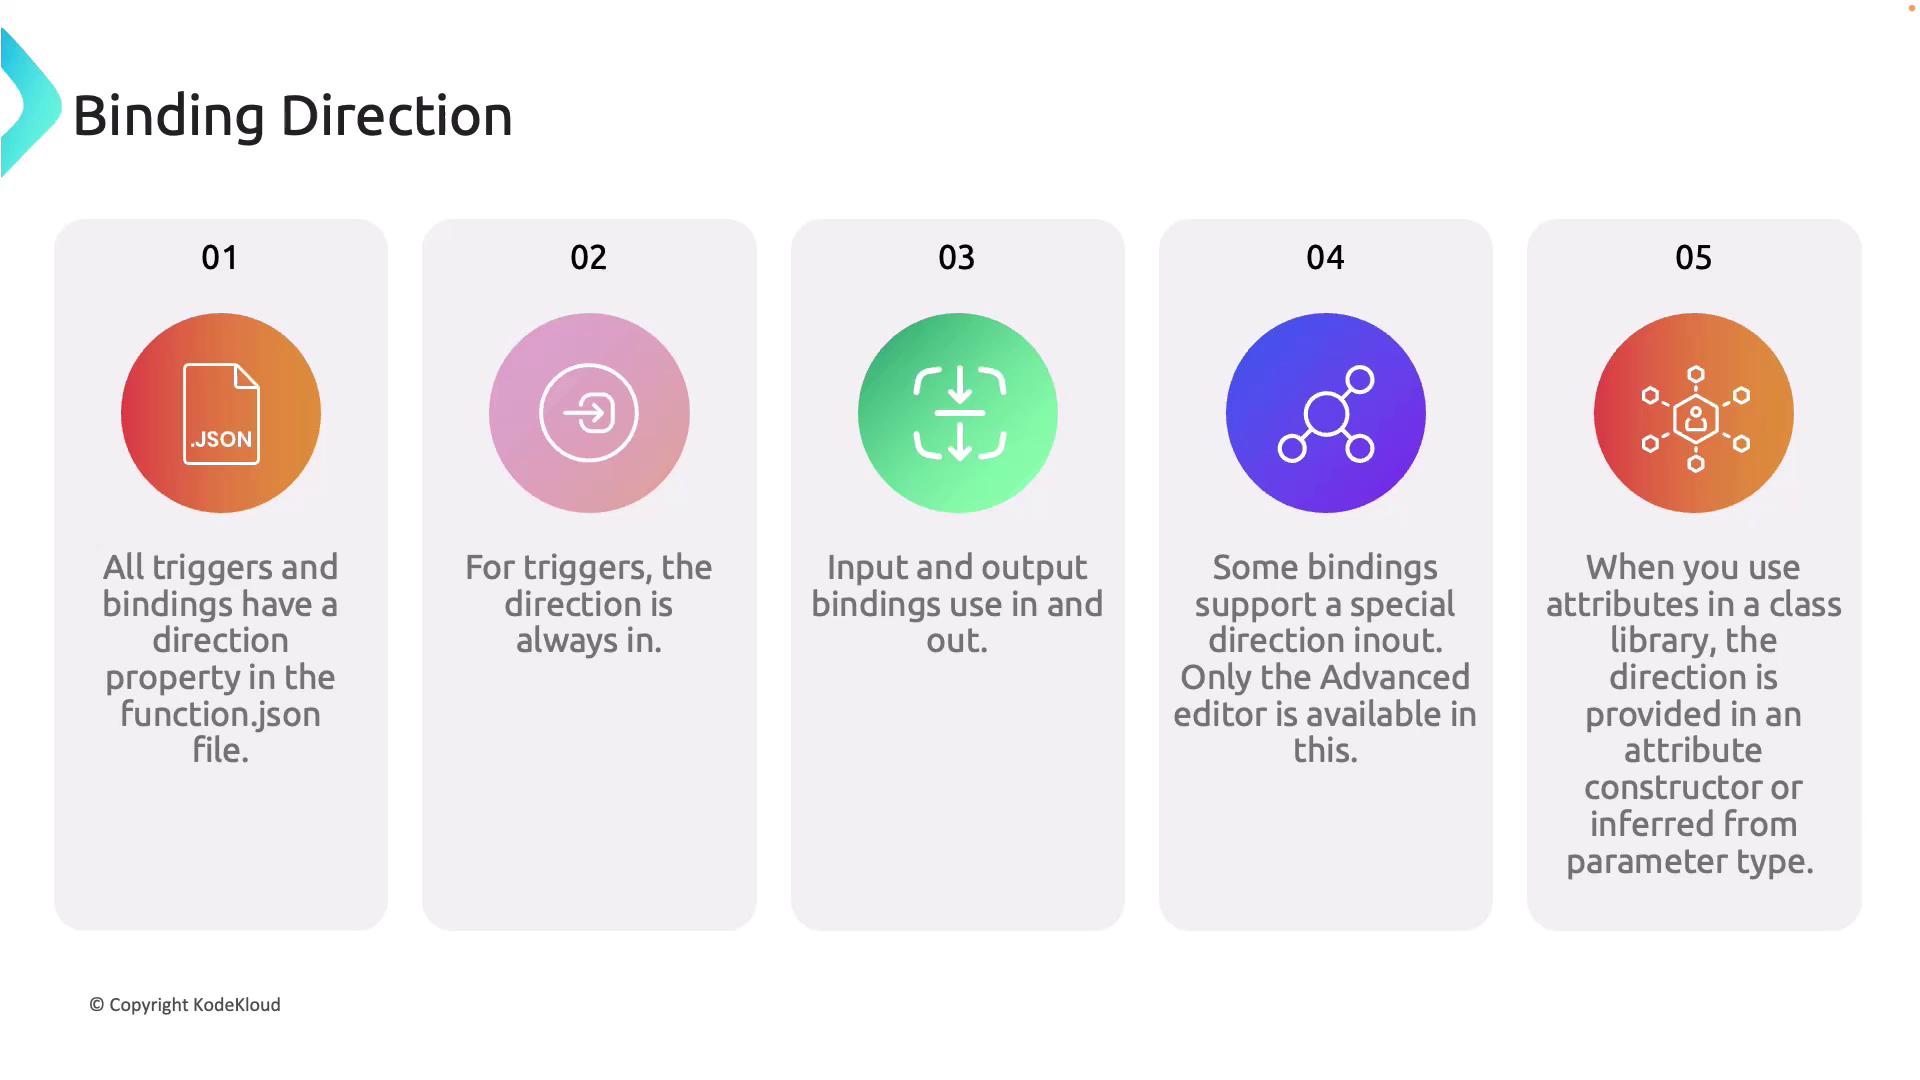
The JSON configuration clarifies the following binding directions:
Input bindings: Import data into the function.
Output bindings: Export data from the function.
Dual (in-out) bindings: Manage both input and output data (for advanced scenarios).
When using attribute-based configuration in languages like C#, the binding direction might be explicitly stated or inferred from the type of the parameter.
The trigger accepts POST requests and requires an API key (denoted by the authorization level “function”).
The HTTP output binding returns a response message.
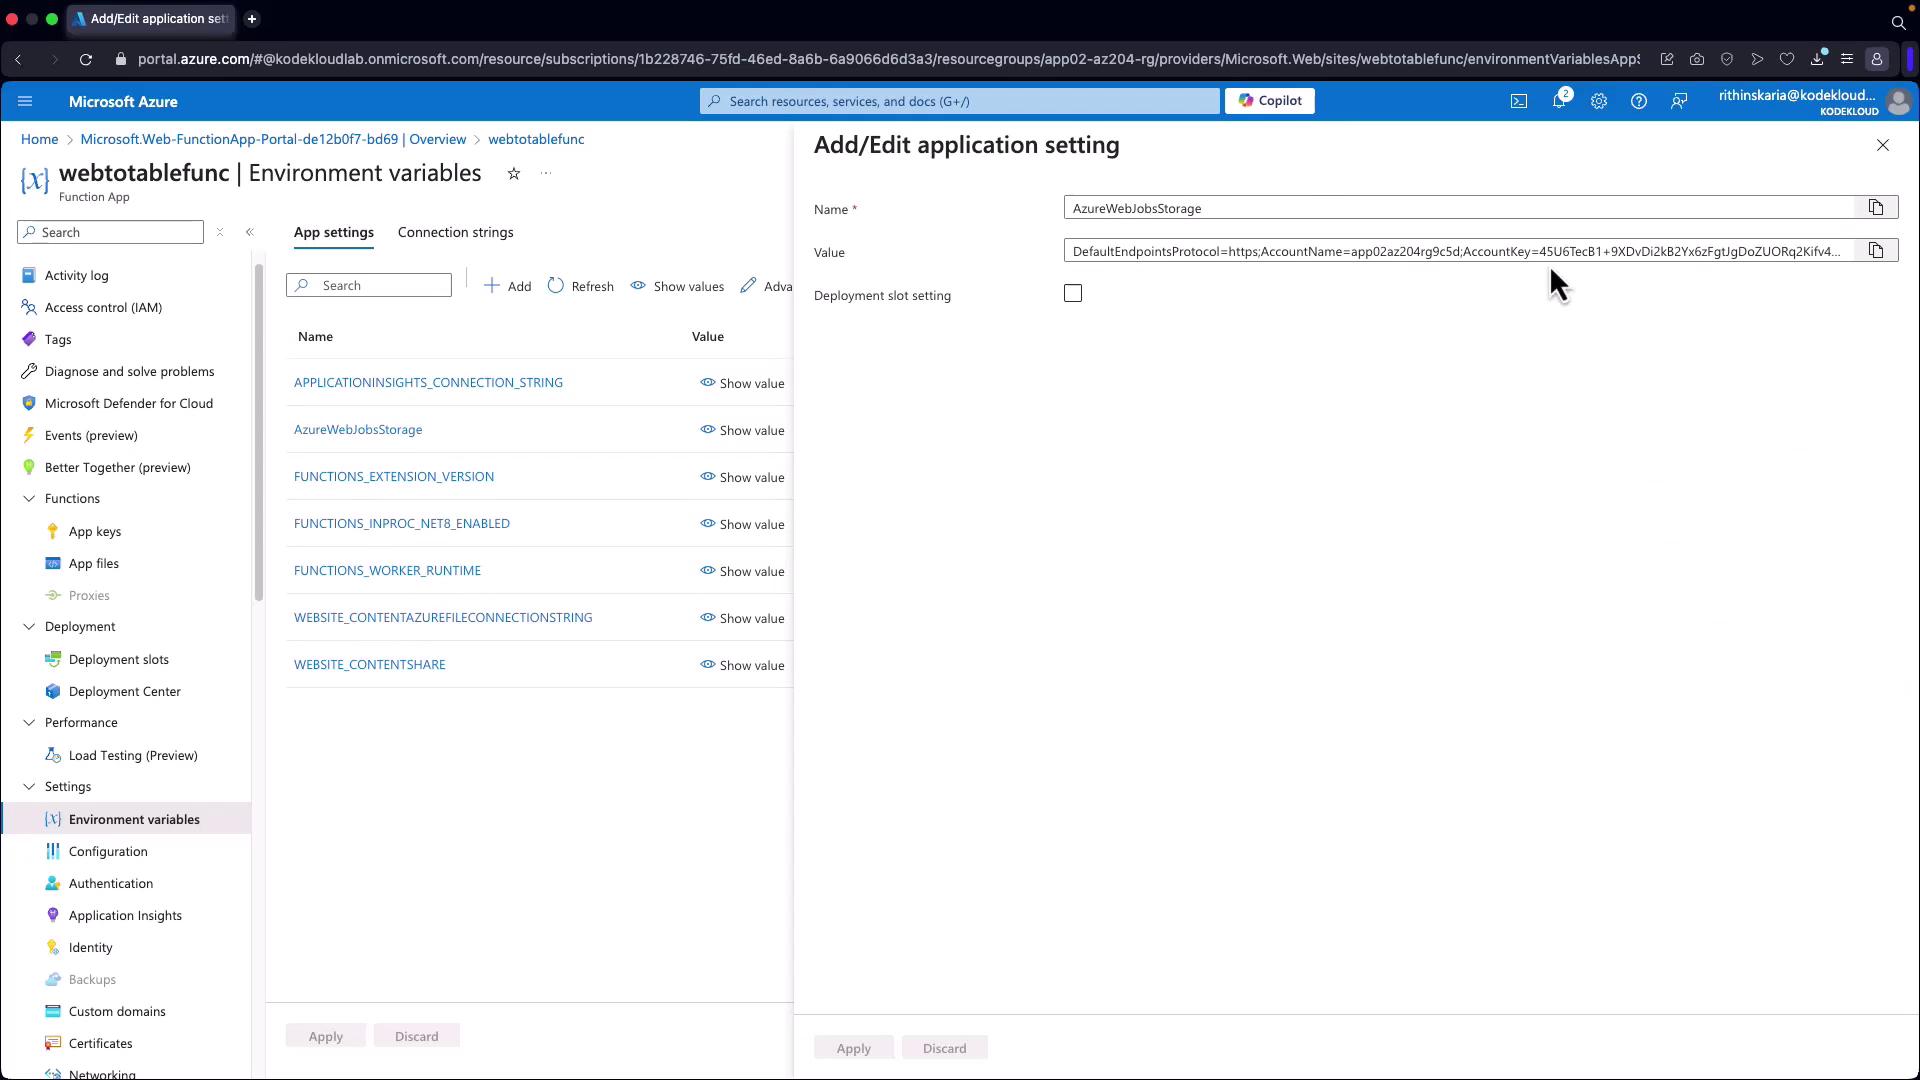
The table binding utilizes the connection string stored in the “AzureWebJobsStorage” environment variable and requires both a partition key and a row key.
Note that you can also use the Azure Storage SDK directly within your function code if you prefer managing storage operations in code.
Below is an example C# function that processes an HTTP POST request. The function deserializes the JSON payload and writes an entity to Azure Table Storage using the Azure.Data.Tables SDK.
Copy
using System.IO;using System.Threading.Tasks;using Microsoft.AspNetCore.Mvc;using Microsoft.Azure.WebJobs;using Microsoft.Azure.WebJobs.Extensions.Http;using Microsoft.AspNetCore.Http;using Microsoft.Extensions.Logging;using Newtonsoft.Json;using Azure.Data.Tables;using Azure;public static class WebToTableFunction{ [FunctionName("WebToTableFunction")] public static async Task<IActionResult> Run( [HttpTrigger(AuthorizationLevel.Function, "post", Route = null)] HttpRequest req, ILogger log) { log.LogInformation("C# HTTP trigger function processed a request."); string requestBody = await new StreamReader(req.Body).ReadToEndAsync(); dynamic data = JsonConvert.DeserializeObject(requestBody); string partitionKey = data?.partitionKey; string rowKey = data?.rowKey; string name = data?.name; string email = data?.email; if (string.IsNullOrEmpty(partitionKey) || string.IsNullOrEmpty(rowKey)) { return new BadRequestObjectResult("Please pass both partitionKey and rowKey in the request body"); } string storageConnectionString = Environment.GetEnvironmentVariable("AzureWebJobsStorage"); TableServiceClient tableServiceClient = new TableServiceClient(storageConnectionString); TableClient tableClient = tableServiceClient.GetTableClient(tableName: "UserDetails"); await tableClient.CreateIfNotExistsAsync(); var entity = new TableEntity(partitionKey, rowKey) { { "Name", name }, { "Email", email } }; await tableClient.AddEntityAsync(entity); return new OkObjectResult("Data has been written to Azure Table Storage."); }}
This function uses the HTTP trigger to read the JSON payload, verifies required properties (partitionKey and rowKey), and then interacts with Azure Table Storage using the Azure.Data.Tables SDK.
If successful, the function will respond indicating the data has been written to Azure Table Storage. You can verify the data using Azure Storage Explorer.
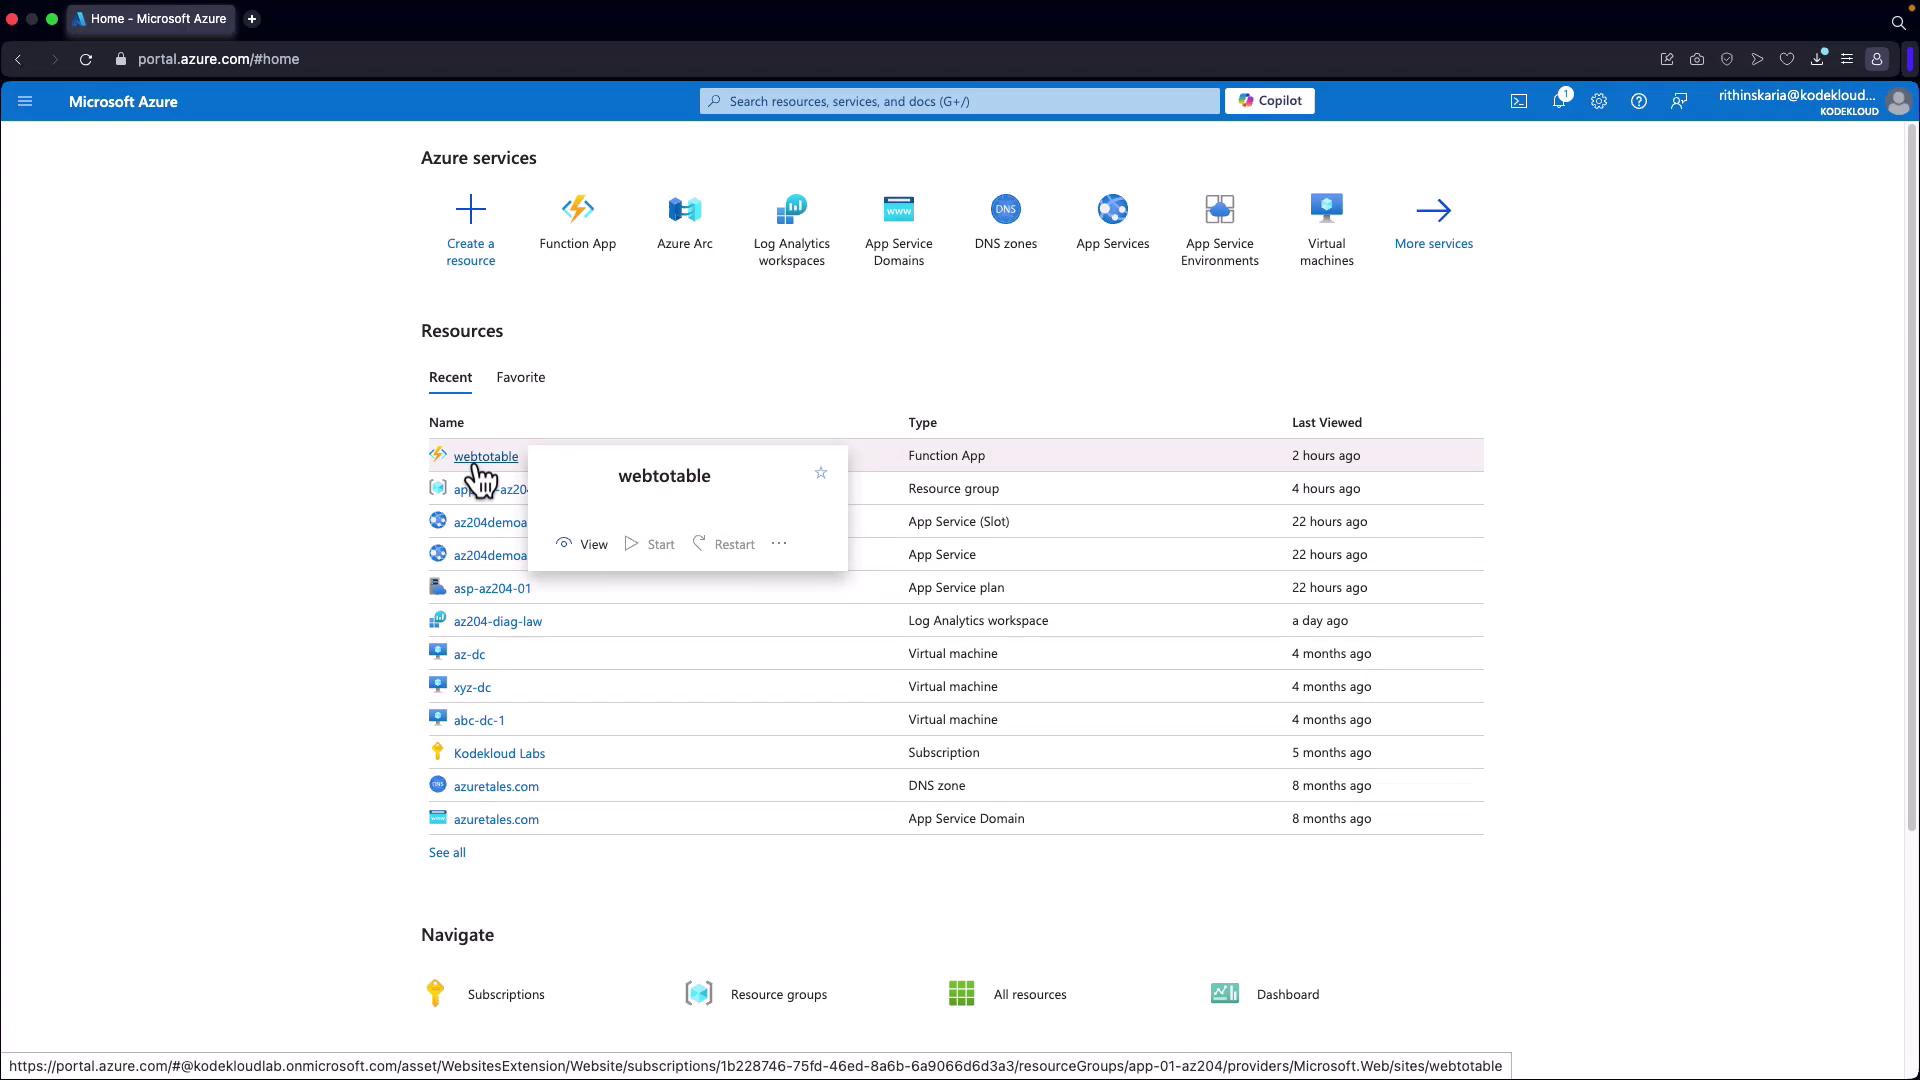
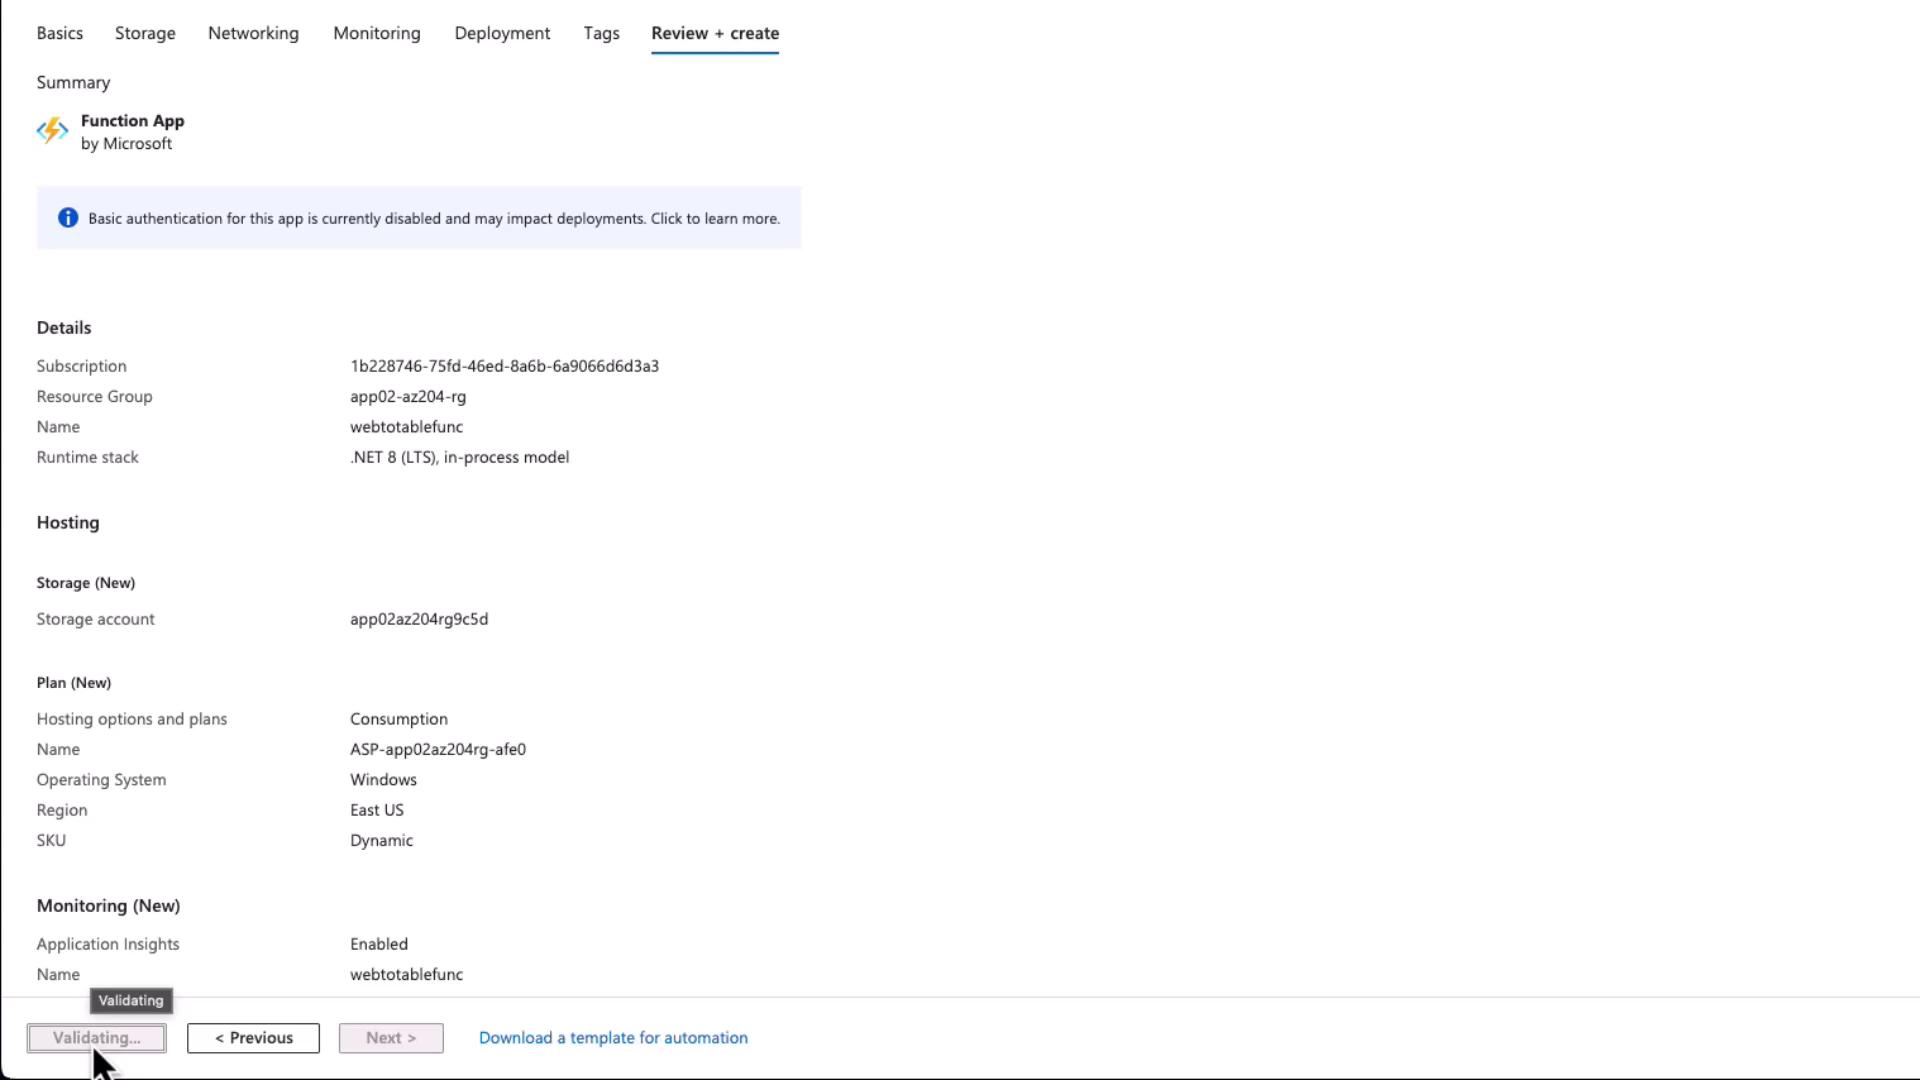
To deploy your function, you must first create a Function App in the Azure portal. Follow these steps:
Click on Create and choose the desired hosting plan (for example, the Consumption plan).
Provide a unique name for your Function App (e.g., “web2tablefunc”) and select the appropriate runtime (e.g., .NET LTS).
A storage account will be automatically created with your Function App, but you can select a custom one if needed.
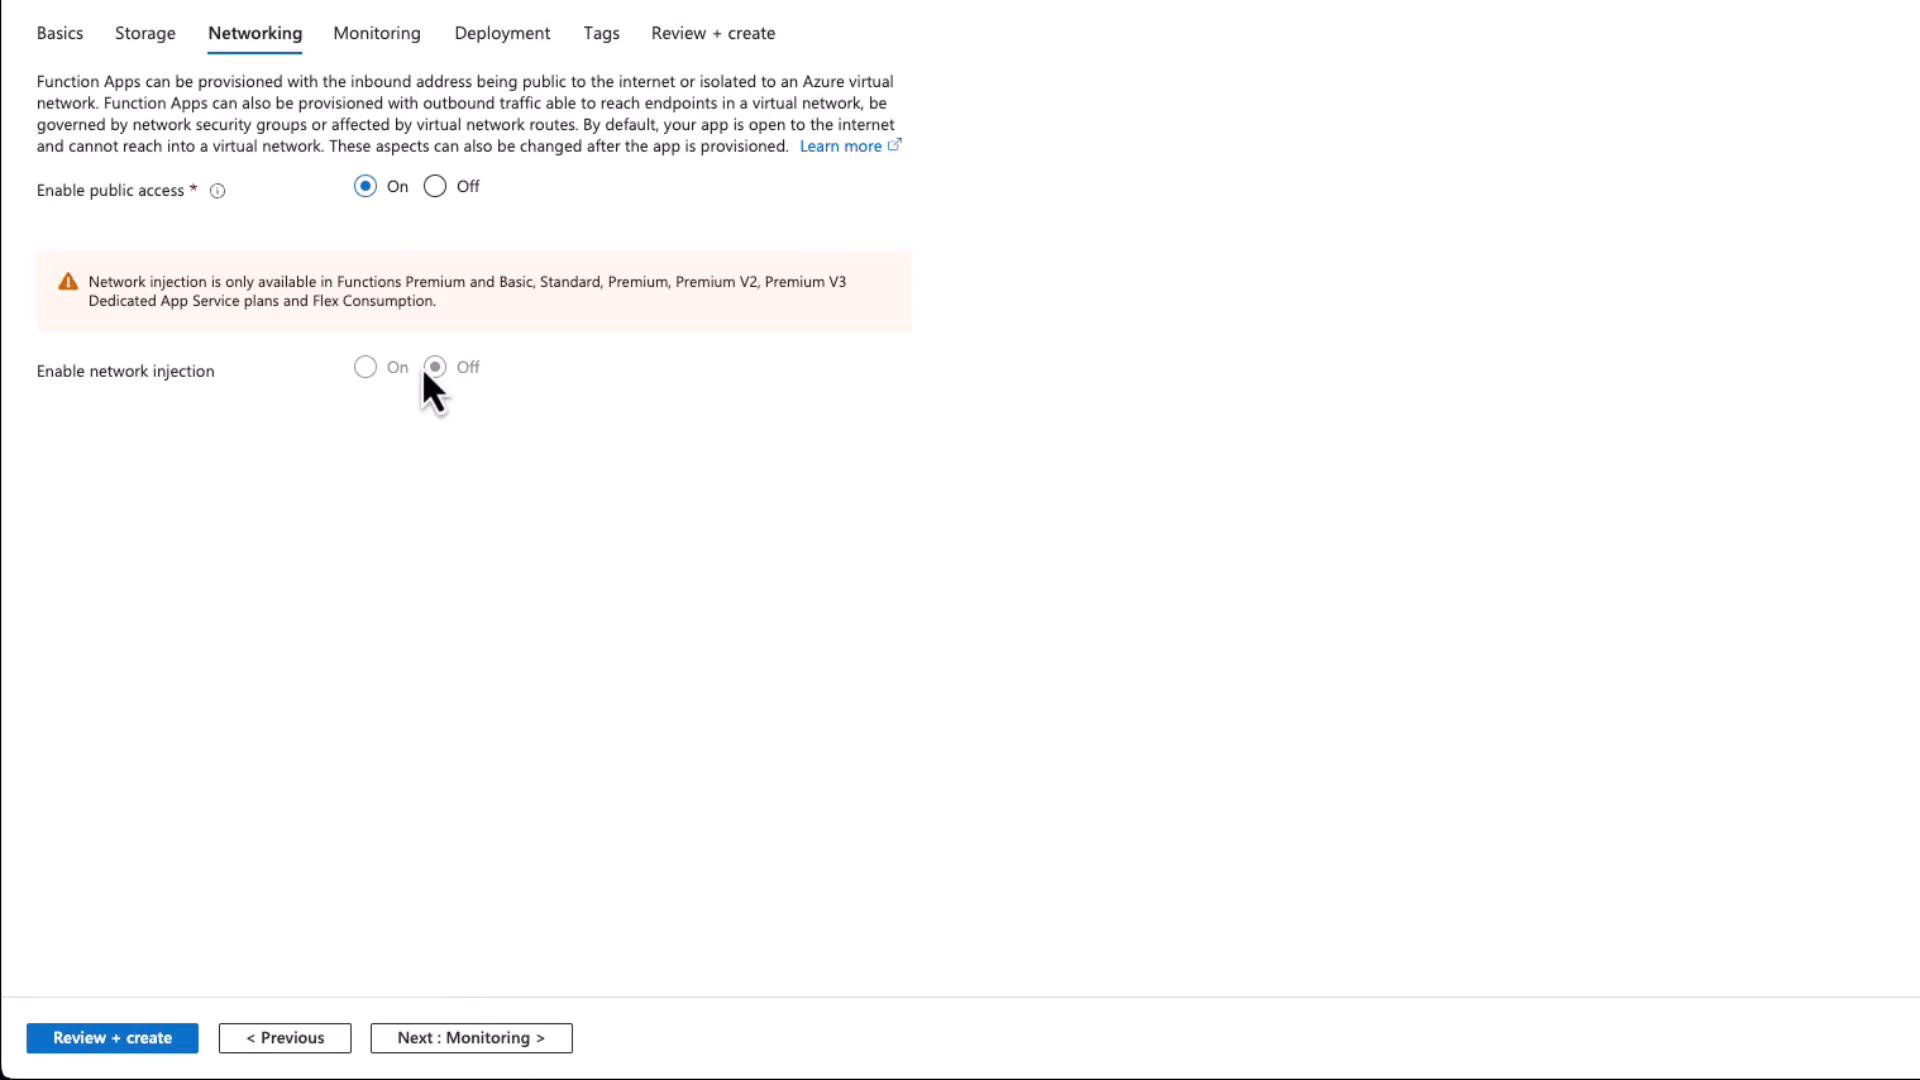
Configure your networking options and enable public access (network injection options are available with higher SKUs).
Enable Application Insights for monitoring.
Click Review and Create to deploy your Function App.
Once created, click Go to Resource to manage your functions. You can develop functions directly in the portal or use Visual Studio Code along with Azure Functions extensions or Core Tools for local development.
You can also develop and test your functions locally using Visual Studio Code. To get started, initialize a new Azure Functions project with the Core Tools:
Copy
func init WebToTable --worker-runtime dotnet
Next, create a new HTTP trigger function with the command:
Copy
func new --template "HTTP trigger" --name WebTableTrigger
This scaffolds a new function where you can replace the default code with your implementation and add any required NuGet packages (such as Azure.Data.Tables). Once your function is tested locally, deploy it to Azure directly from Visual Studio Code using the Azure Functions extension.
After deploying your function, use the Azure portal to access the function’s configuration and logs. An auto-generated function.json might appear as follows:
If everything is configured correctly, the function will process the request, write the data to Azure Table Storage, and log the corresponding activity.
This article demonstrated how to integrate your Azure Functions with various Azure services using triggers and bindings. We explored both the declarative JSON configurations and code-based approaches (in C#) with the Azure Storage SDK. Additionally, we covered local development, testing with Azure Functions Core Tools, and deployment strategies using Visual Studio Code or the Azure portal.Happy coding!For more information, explore the Azure Functions documentation and the Azure Storage documentation.