Creating and Managing Azure Queue Storage Queues and Messages by Using
This article explains creating and managing Azure Queue Storage queues and messages using .NET, including setup, code examples, and deployment with connection strings and managed identities.
This article explains how to create and manage Azure Queue Storage queues and messages using .NET. Learn how to set up your environment with the necessary libraries, create queues, send messages, and deploy your Function App with both connection string and managed identity approaches.
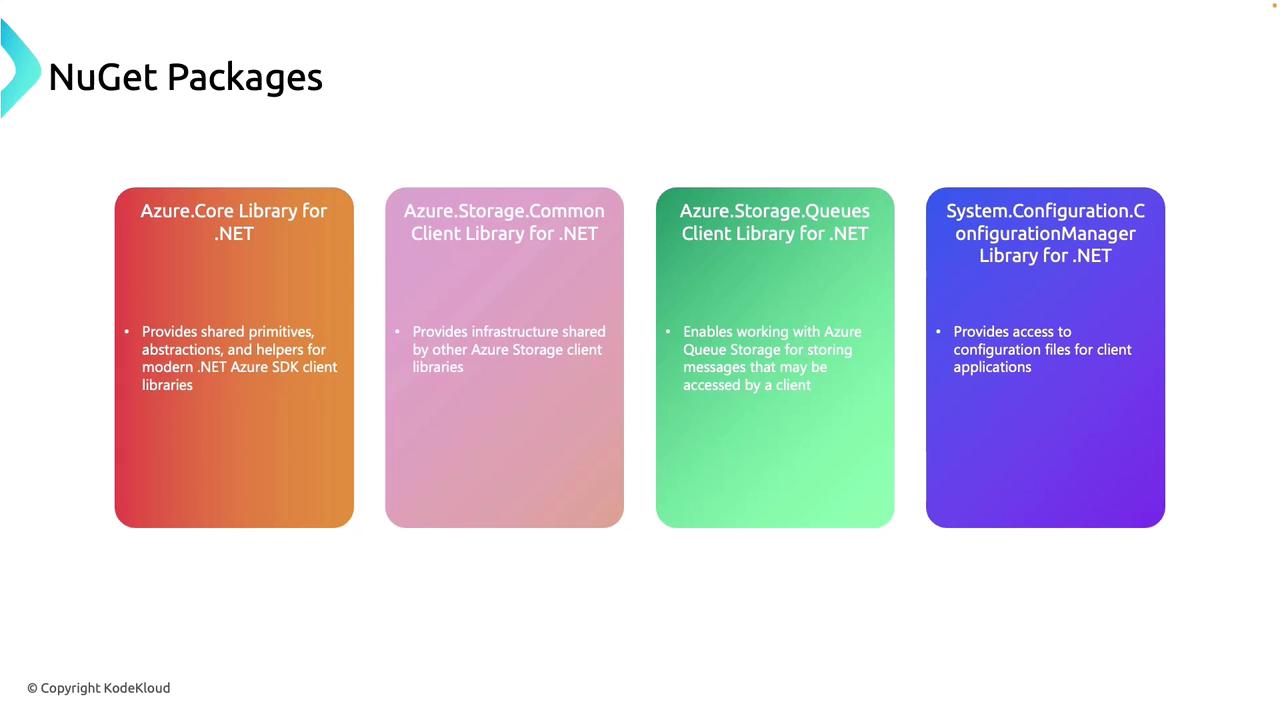
To work with Azure Queue Storage, start by installing the following essential libraries:
Azure Core Library for .NET
This package provides shared primitives, abstractions, and helper utilities used by many Azure SDK client libraries.
Azure Storage Common Client Library for .NET
Contains the shared infrastructure required to interact with various Azure Storage services such as blobs and queues.
Azure Storage Queues Client Library for .NET
This is the primary library for working with queues. It supports creating, managing, and interacting with queues and their messages.
System.Configuration.Configuration Manager Library for .NET
Provides access to configuration files (like app.config or appsettings.json) to retrieve connection strings and other settings for connecting to Azure resources.
// Retrieve the storage account connection string from app settingsstring connectionString = ConfigurationManager.AppSettings["StorageConnectionString"];// Instantiate a QueueClient to manage the queueQueueClient queueClient = new QueueClient(connectionString, queueName);// Create the queue only if it does not already existqueueClient.CreateIfNotExists();
The CreateIfNotExists method ensures that the queue is created only if it hasn’t been set up previously.
Once your queue is set up, you can add messages using the SendMessage method. Check out the following example:
Copy
// Retrieve the storage account connection string from app settingsstring connectionString = ConfigurationManager.AppSettings["StorageConnectionString"]; // Instantiate the QueueClient to interact with the queueQueueClient queueClient = new QueueClient(connectionString, queueName);// Ensure the queue exists or create it if necessaryqueueClient.CreateIfNotExists();if (queueClient.Exists()){ // Send a message to the queue queueClient.SendMessage(message);}
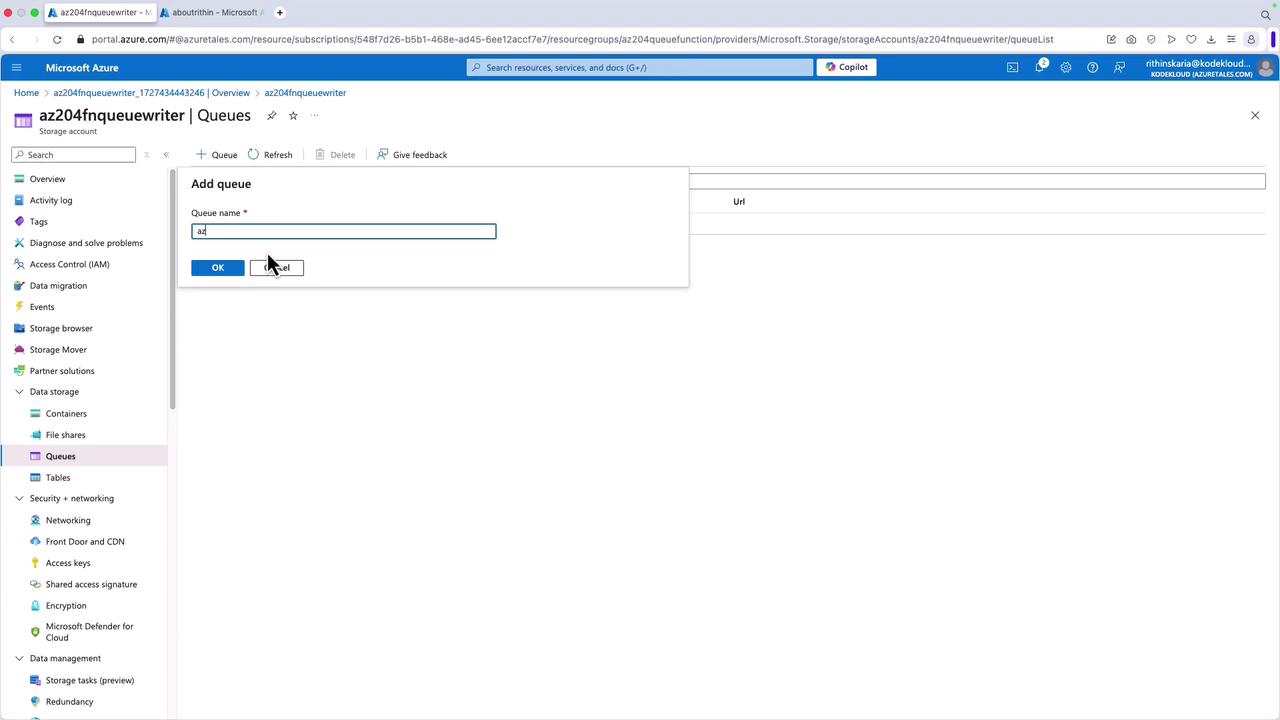
You can also manage Azure Queues through the Azure portal:
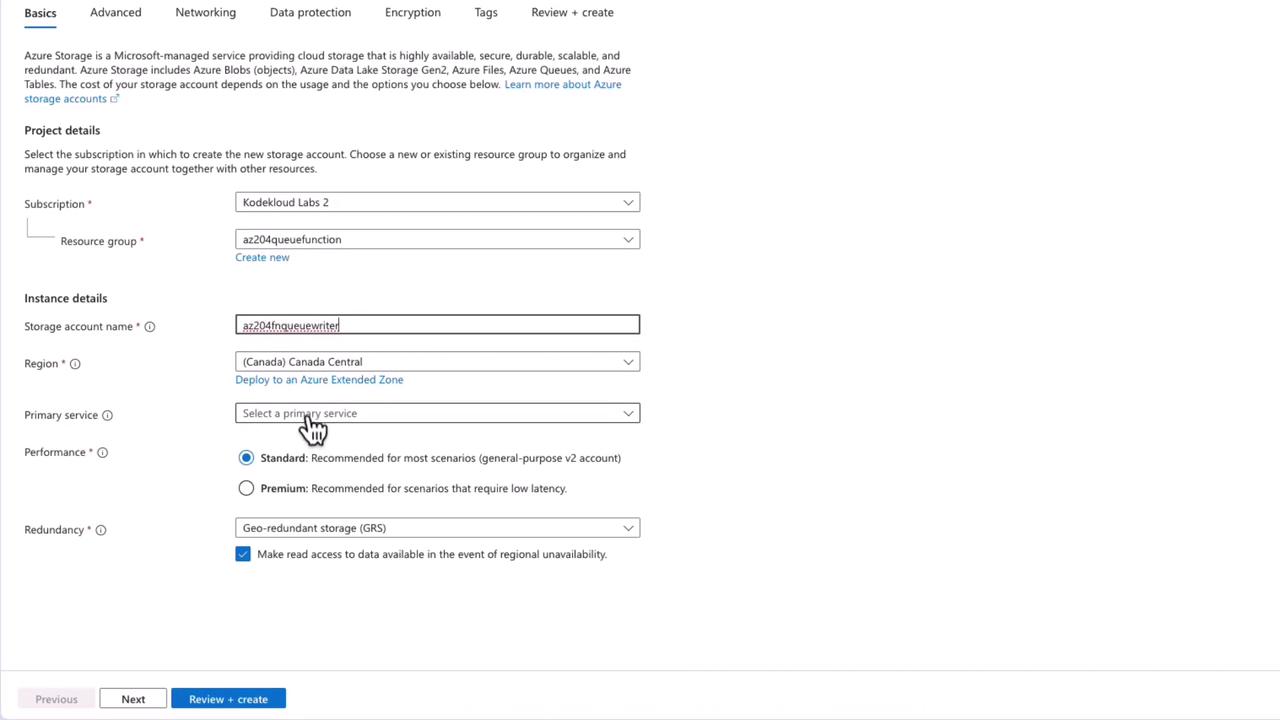
Log in to the Azure portal and create a new storage account, which is essential for using Azure Queue Storage.
Navigate to your storage account and create a new queue. Although your code can automatically create a queue, creating one manually clarifies the process.
For example, name your queue (e.g., “AZ204”) and complete the process.
Below is an example of a Function App that processes POST requests and writes messages to an Azure Queue using Managed Identity credentials. This method eliminates the need for a connection string.
Copy
public static async Task<IActionResult> Run( [HttpTrigger(AuthorizationLevel.Function, "post", Route = null)] HttpRequest req, ILogger log){ log.LogInformation("Processing a POST request to write message to Azure Queue..."); try { string requestBody = await new StreamReader(req.Body).ReadToEndAsync(); dynamic data = JsonConvert.DeserializeObject(requestBody); if (data == null) { return new BadRequestObjectResult("Invalid payload"); } var credential = new DefaultAzureCredential(); var queueClient = new QueueClient(new Uri($"https://{storageAccount}.queue.core.windows.net/{queueName}"), credential); await queueClient.CreateIfNotExistsAsync(); if (queueClient.Exists()) { await queueClient.SendMessageAsync(requestBody); log.LogInformation($"Message added to the queue: {requestBody}"); } } catch (Exception ex) { log.LogError($"Error processing the request: {ex.Message}"); }}
Below is sample console output from a successful function execution:
Copy
2024-09-27T10:42:51.859 [Information] Processing a POST request to write message to Azure Queue.....2024-09-27T10:42:33.855 [Information] Message added to the queue: {"name": "Admin", "ingURL": "https://bit.ly/c56yhs"}2024-09-27T10:42:33.867 [Information] Executed 'QueuePost' (Succeeded, Id=14b124e2-36db-43ba-b877-7ef76da7613, Duration=2157ms)2024-09-27T10:42:33.867 [Information] The log streaming has ended. Please reconnect to continue streaming logs.
For testing with a connection string, you might use the StorageSharedKeyCredential as shown below:
Copy
public static async Task<IActionResult> Run( [HttpTrigger(AuthorizationLevel.Function, "post", Route = null)] HttpRequest req, ILogger log){ log.LogInformation("Processing a POST request to write message to Azure Queue..."); try { string requestBody = await new StreamReader(req.Body).ReadToEndAsync(); dynamic data = JsonConvert.DeserializeObject(requestBody); if (data == null) { return new BadRequestObjectResult("Invalid request body"); } var credential = new StorageSharedKeyCredential(accountName, accountKey); var queueClient = new QueueClient(storageUri, credential); if (queueClient.Exists()) { await queueClient.SendMessageAsync(requestBody); log.LogInformation($"Message added to the queue: {requestBody}"); } else { log.LogError("Queue does not exist."); } return new OkResult(); } catch (Exception ex) { log.LogError($"Error: {ex.Message}"); return new StatusCodeResult(500); }}
Sample console logging for this approach:
Copy
2024-09-21T10:42:51.859 [Information] Processing a POST request to write message to Azure Queue.....2024-09-21T10:42:33.855 [Information] Added to the queue: {"name": "Admin", "imgUrl": "https://bit.ly/c56yhs"}2024-09-21T10:42:33.867 [Information] Executed 'QueuePost' (Succeeded, Id=14b182cd-36db-43b7-7ef7f6da7613, Duration=2157ms)2024-09-21T10:42:33.870 [Error] The log-streaming session has been terminated. Please reconnect to continue streaming logs.
The following consolidated sample includes exception handling to ensure robustness:
Copy
public static async Task<IActionResult> Run( [HttpTrigger(AuthorizationLevel.Function, "post", Route = null)] HttpRequest req, ILogger log){ try { string requestBody = await new StreamReader(req.Body).ReadToEndAsync(); if (queueClient.Exists()) { await queueClient.SendMessageAsync(requestBody); log.LogInformation($"Message added to the queue: {requestBody}"); return new OkObjectResult($"Message added to queue: {queueName}"); } else { log.LogError("Queue does not exist."); return new BadRequestObjectResult("Queue does not exist."); } } catch (Exception ex) { log.LogError($"Error occurred while writing to the queue: {ex.Message}"); return new StatusCodeResult(500); }}
Example console output:
Copy
2024-09-27T10:42:51.859 [Information] Processing a POST request to write message to Azure queue.....2024-09-27T10:42:33.855 [Information] Message added to the queue: {'name': 'Admin', 'imgUrl': 'https://bit.ly/65yhys'}2024-09-27T10:42:33.867 [Information] Executed 'QueuePost' (Succeeded, Id=141e82c4-36db-43b8-b877-7e7f76da7613, Duration=2157ms)2024-09-27T10:42:38.073 The log-streaming service is running. Please reconnect to continue streaming logs.
Configuring the Function App with Managed Identity
When using managed identities, provide your storage account name and queue name directly in your code. Managed identities remove the need for a connection string. For example:
Copy
public static async Task<IActionResult> Run( [HttpTrigger(AuthorizationLevel.Function, "post", Route = null)] HttpRequest req, ILogger log){ log.LogInformation("Processing a POST request to write message to Azure Queue..."); try { string requestBody = await new StreamReader(req.Body).ReadToEndAsync(); dynamic data = JsonConvert.DeserializeObject(requestBody); if (data == null) { return new BadRequestObjectResult("Invalid payload"); } var credential = new DefaultAzureCredential(); var queueClient = new QueueClient(new Uri($"https://{storageAccount}.queue.core.windows.net/{queueName}"), credential); // Additional queue operations... }}
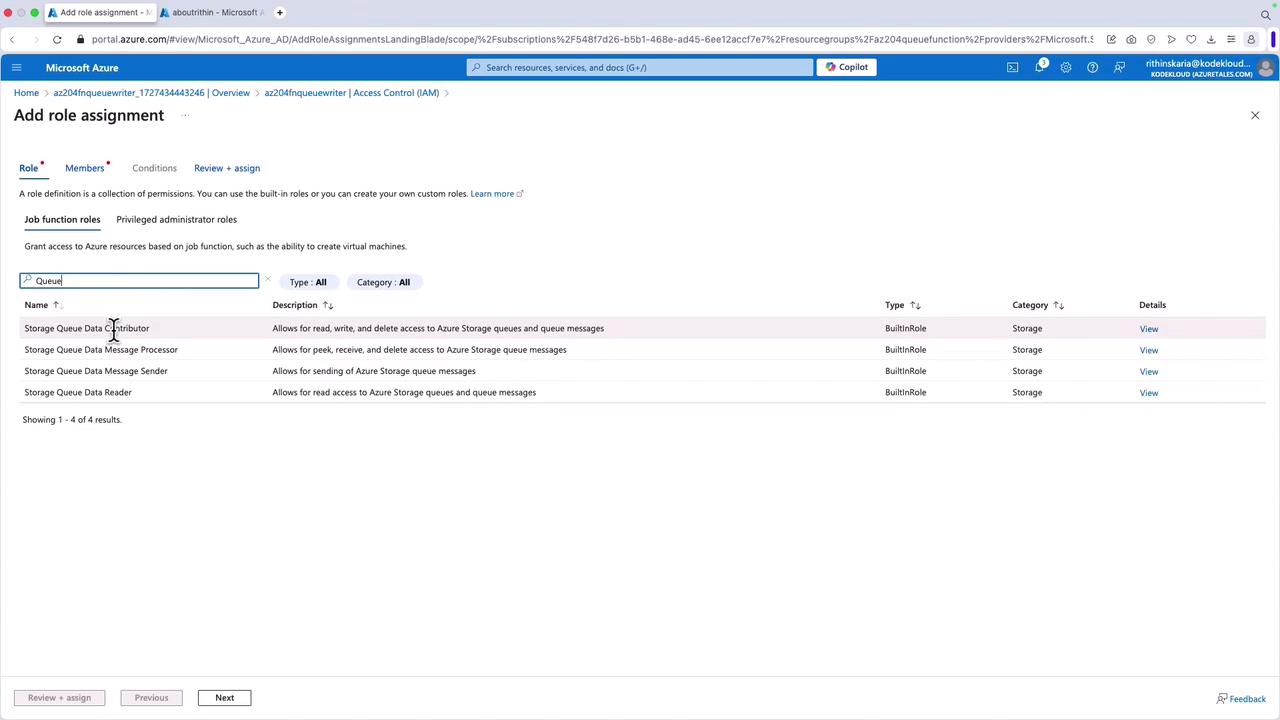
To grant your Function App’s managed identity access, add a role assignment in the Azure portal:
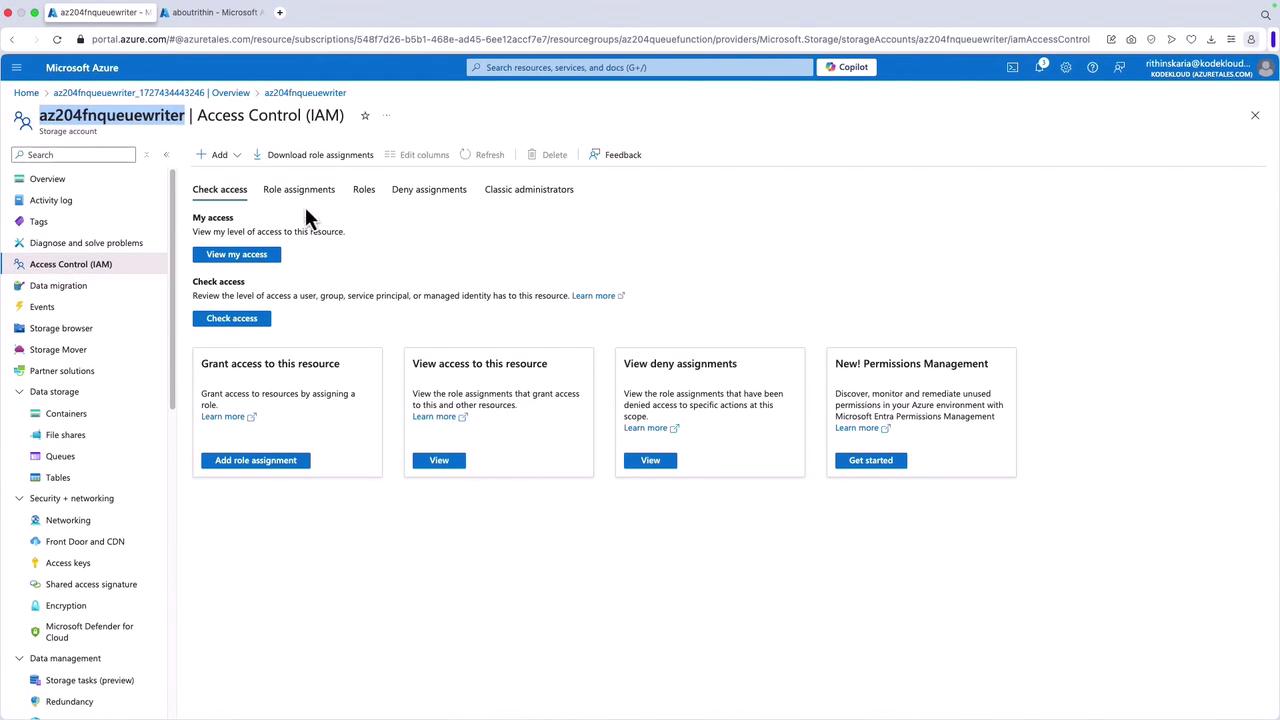
Navigate to the Access Control (IAM) section of your storage account.
Search for “queue” and select the Queue Data Contributor role.
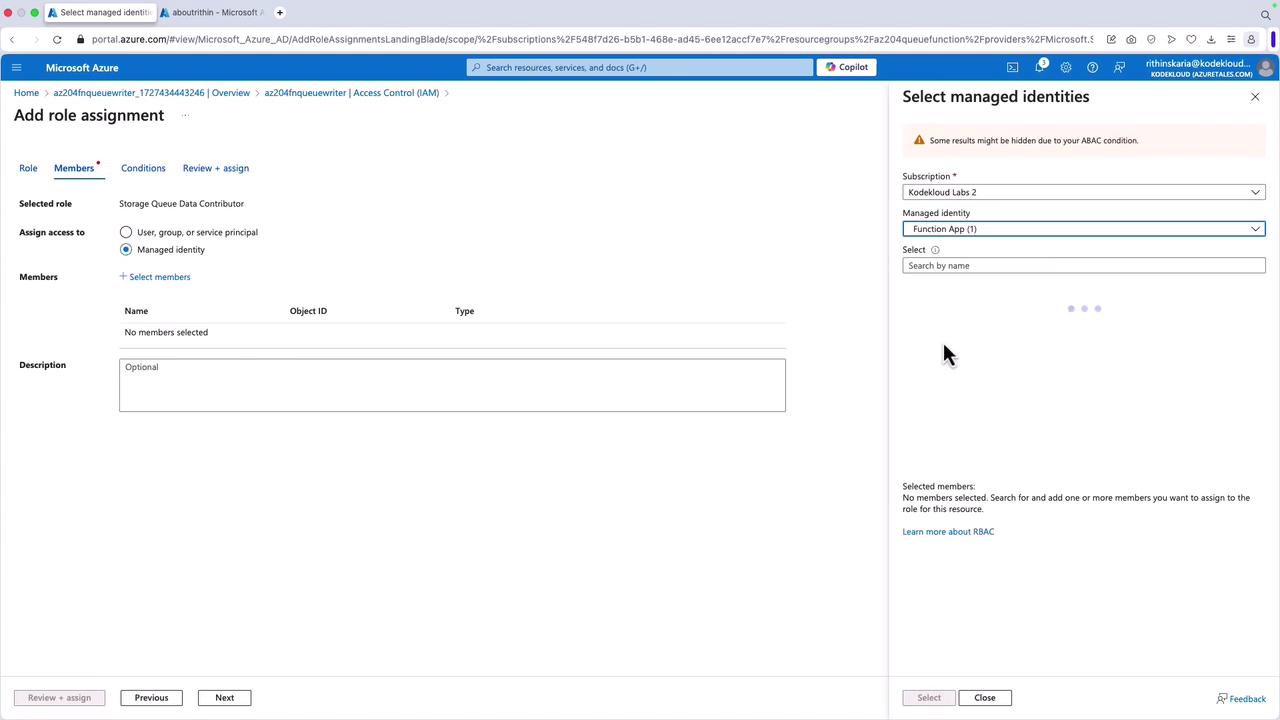
Choose the managed identity associated with your Function App.
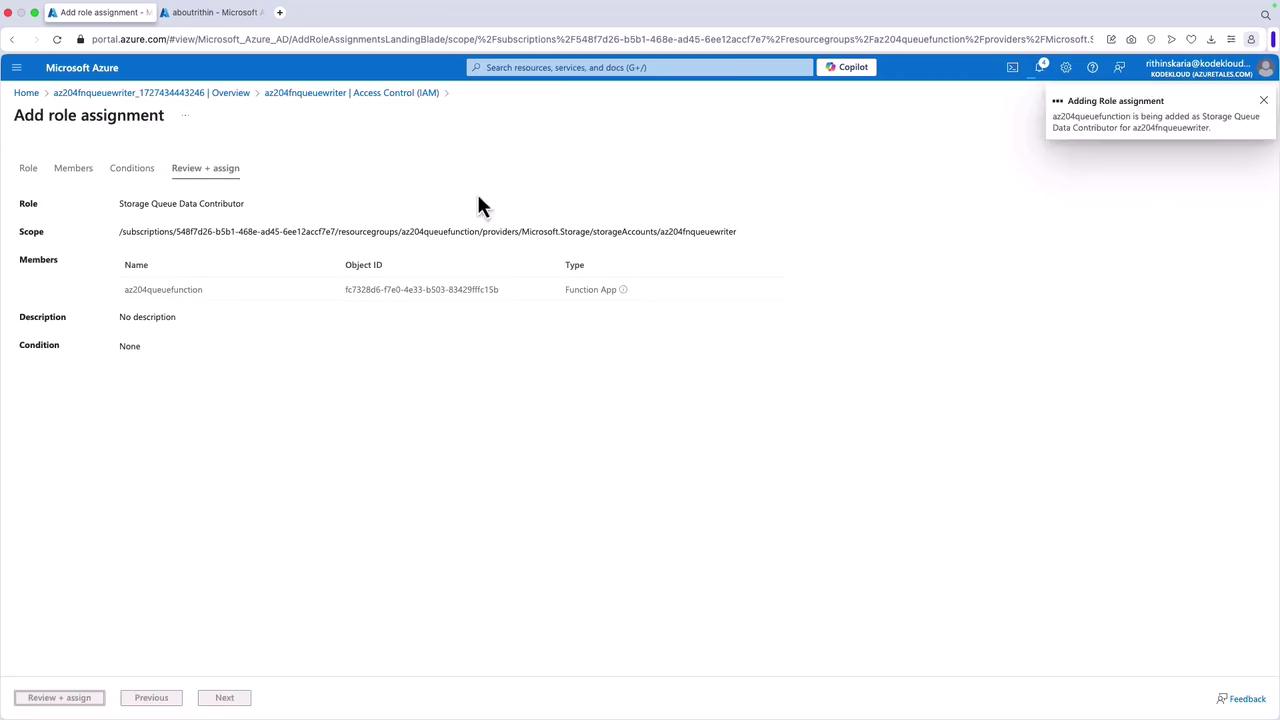
Confirm the assignment and proceed to deploy your Function App.
Using Visual Studio Code, open the terminal and deploy your Function App. Below is a sample class for your Function App:
Copy
public static class QueuePost{ private const string queueName = "az204"; private const string storageAccount = "az204fqueuewriter"; [FunctionName("QueuePost")] public static async Task<IActionResult> Run( [HttpTrigger(AuthorizationLevel.Function, "post", Route = null)] HttpRequest req, ILogger log) { log.LogInformation("Processing a POST request to write message to Azure Queue..."); try { string requestBody = await new StreamReader(req.Body).ReadToEndAsync(); dynamic data = JsonConvert.DeserializeObject(requestBody); if (data == null) { return new BadRequestObjectResult("Invalid payload"); } var credential = new DefaultAzureCredential(); // Additional logic to process queue messages... } }}
After deploying, navigate to your Function App details in the Azure portal:
Use the function URL to test with Postman. Set the header “Content-Type” to “application/json” and send a POST request with a JSON payload similar to the sample below:
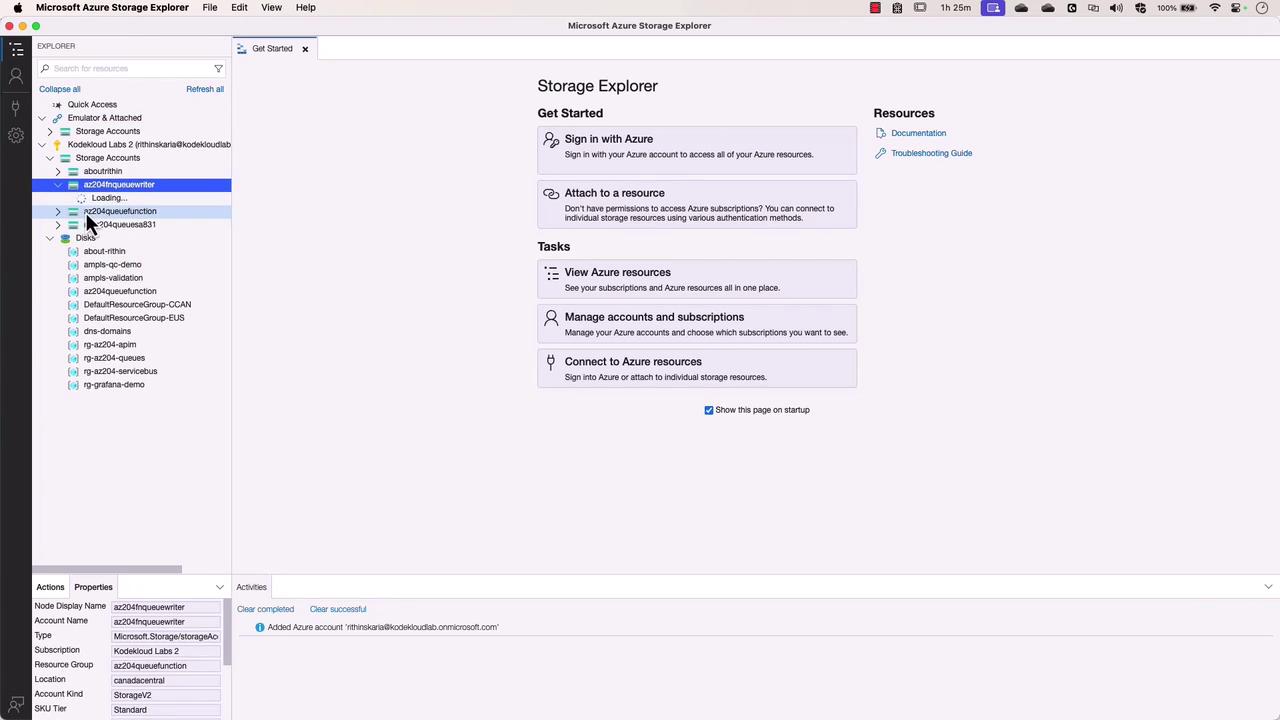
This guide demonstrated how to work with Azure Queue Storage using .NET and the Azure SDK. You learned about the necessary packages, how to create and manage queues, methods to send messages using connection strings and managed identities, and how to deploy your Function App. You also saw how to verify messages using Storage Explorer, ensuring your solution is monitored effectively with tools like Application Insights.For more details on Azure Queue Storage and .NET integration, visit the Azure Documentation page.