How Slot Swapping Works
When you initiate a slot swap in Azure App Service, the following key steps occur:-
Copying Settings:
The process starts by copying settings from the target slot to the source slot. These settings include:- Slot-specific application settings
- Connection strings
- Continuous deployment settings
- Authentication configurations enabled for the App Service
-
Restarting Instances:
After copying the settings, every instance in the source slot is restarted. This ensures that each instance loads the new configuration properly and continues to run optimally. -
Local Cache Initialization:
If local cache is enabled, an HTTP request is sent to the root of the application on each instance in the source slot. This request initializes the local cache, which helps enhance the application’s startup performance. -
Application Initiation and Warm-up:
When auto-swap is enabled along with a custom warm-up process, another HTTP request is sent to the root of the application for each instance. This step acts as a health probe, confirming that the application is fully warmed up and ready for the swap. -
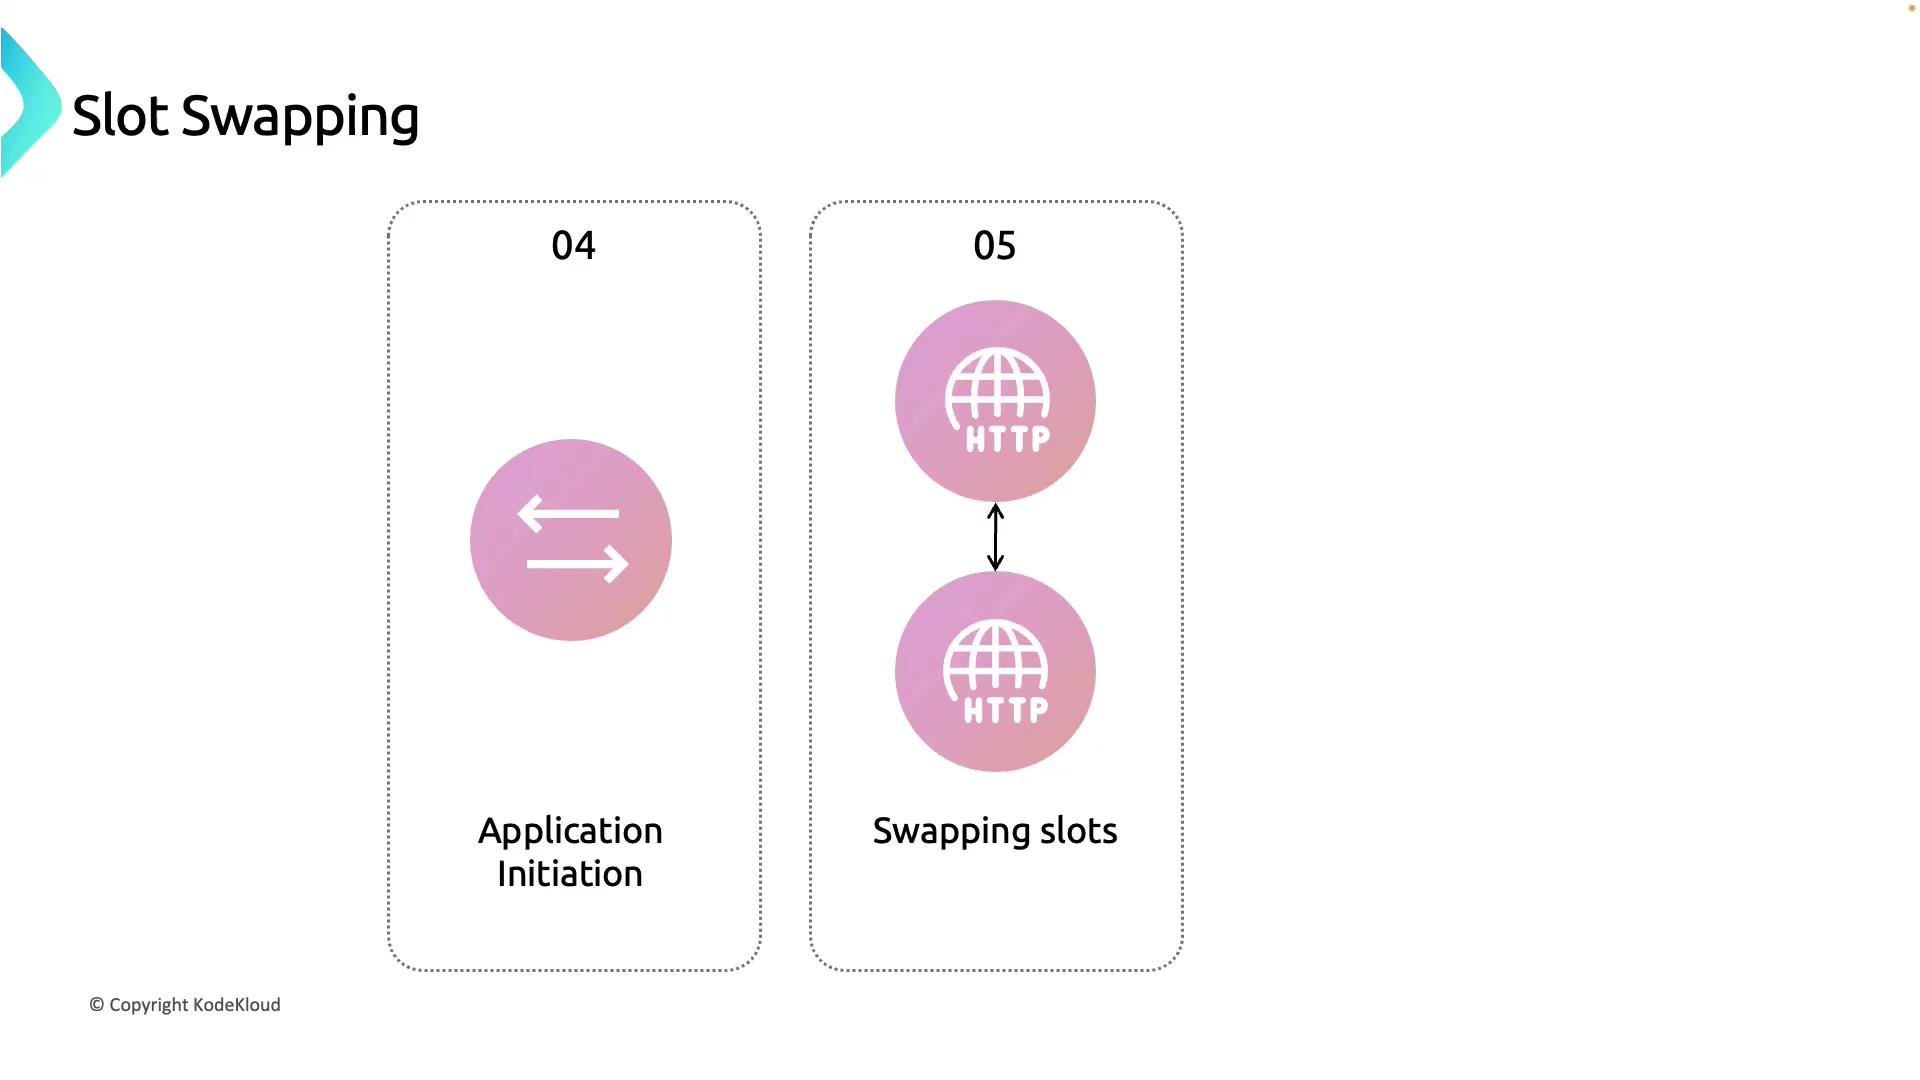
Swapping Slots:
After confirming that all instances in the source slot are running smoothly, the swap operation takes effect. This step essentially switches the routing rules, so the target slot goes live while the source slot transitions to become the new staging slot.
- Post-Swap Operations:
Once the swap is complete, the slot that now contains the pre-swap version of the application re-applies its respective settings and restarts its instances. This ensures that the previous version is preserved and available for a rollback if needed.
This detailed process minimizes potential disruptions and maintains a high level of reliability during the swap.
Creating a Deployment Slot in Azure Portal
Follow these steps to create a deployment slot in the Azure Portal:-
Accessing the App Service:
Open your App Service in the Azure Portal. In the left-hand menu, select “Deployment Slots” to view existing slots and add a new one. -
Adding a Slot:
Click on the option to add a new slot. You will be prompted to provide a name—enter “staging,” for example. The new slot’s unique URL is generated by appending the provided slot name as a suffix to your app’s URL.

-
Cloning Settings (Optional):
You have the option to clone critical settings such as application settings and connection strings from the production slot. If you prefer not to clone, simply continue by clicking “Add.” -
Verifying the Slot:
Once the slot is created, both the production and staging slots appear in the overview. Selecting the staging slot will show that environment variables were not cloned, assuming you opted out of that option. -
Accessing the Slot:
Copy the unique URL of the staging slot and open it in your browser to verify that the default landing page is displayed as expected.
Deploying to the Deployment Slot
The next step involves deploying code to your new deployment slot manually using Visual Studio Code:-
Preparing Your Code:
Open your project in Visual Studio Code and make your modifications. For example, you could update a simple text string to mark a new version. Below is an example HTML file representing Version 2 of your site: -
Deploying the Code:
Select the folder containing your updated code in Visual Studio Code. Then, choose “Deploy to Slot” from the Azure App Service extension. The deployment process begins with the output showing that the package is being zipped and sent to the deployment slot. Wait for the success message to confirm that the deployment is complete. -
Verifying the Deployment:
Refresh your browser to visit the staging slot’s URL. You should now see the updated Version 2 of your site running in the deployment slot.
The deployment slot functions as a separate web app within your App Service Plan, offering all the features of your primary web app along with the robust slot swapping capability.