Retry Mechanism and Schedule
Azure Event Grid automatically implements a retry mechanism when errors occur during event delivery. The system dynamically assesses errors and decides to either retry the delivery, mark the event as a dead-letter, or drop it altogether. This strategy ensures that transient issues do not block event processing.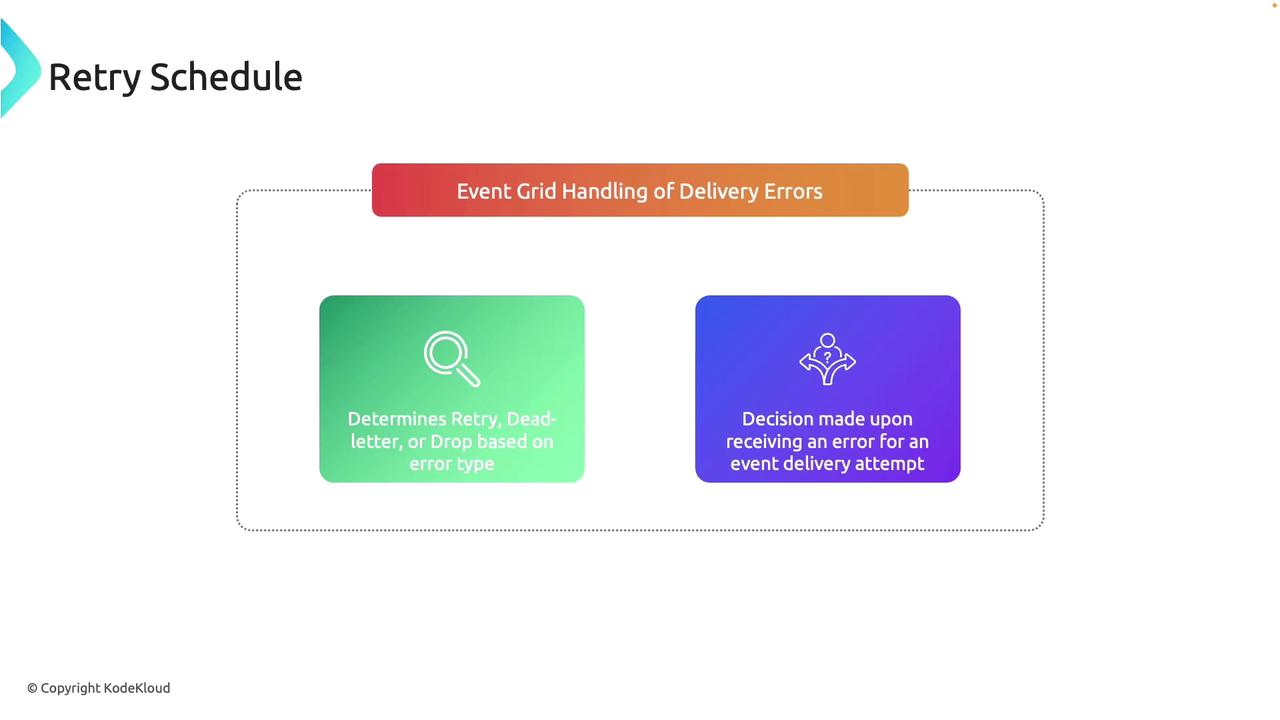
Customizing the Retry Policy
You have the flexibility to customize the retry policy for your event subscriptions. By configuring parameters like the maximum number of retry attempts and the event time-to-live (TTL), you can tailor how aggressively Event Grid should attempt redelivery.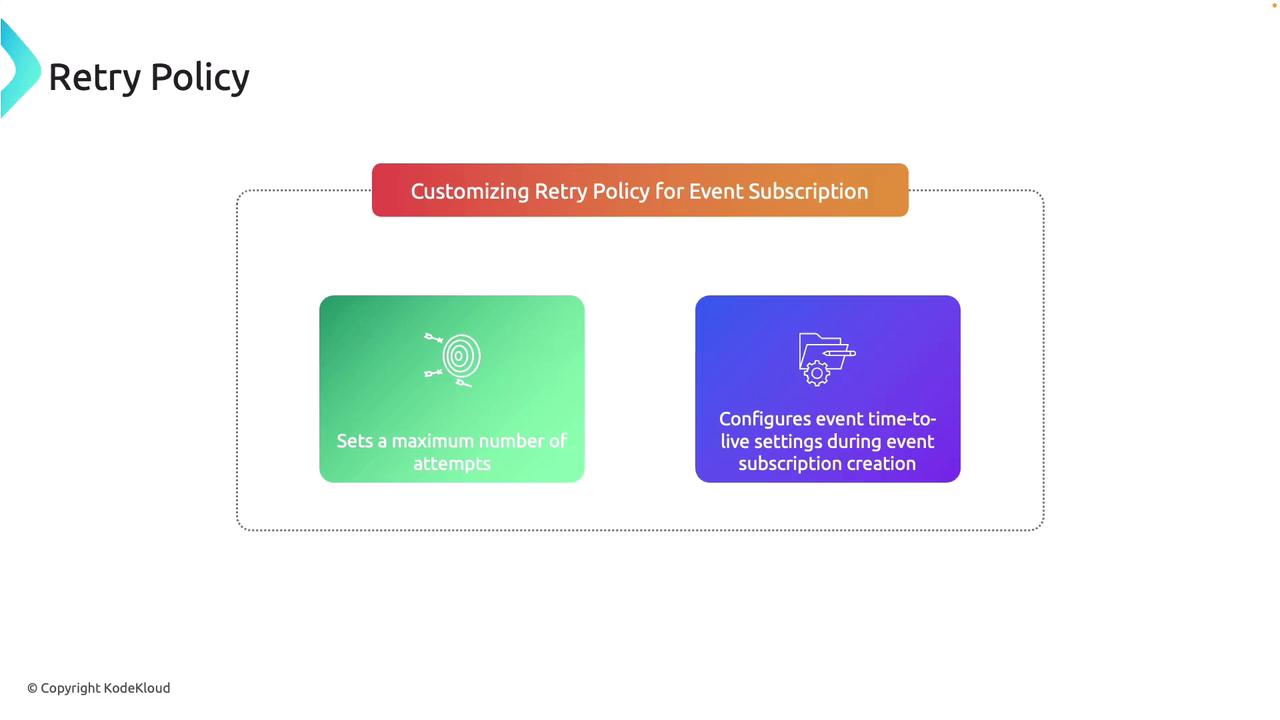
Customizing the retry policy helps optimize event delivery based on your system’s tolerance for transient failures and ensures that your events are handled within the desired time constraints.
Output Batching
For environments with high event throughput, Azure Event Grid supports output batching. This capability groups multiple events into a single HTTP request, reducing overhead and significantly enhancing delivery performance and efficiency.
Delayed Delivery
When an endpoint experiences temporary unavailability, Event Grid employs a delayed delivery mechanism. In this mode, events are held and subsequently retried until the endpoint becomes accessible, ensuring that no events are lost due to short-term downtimes.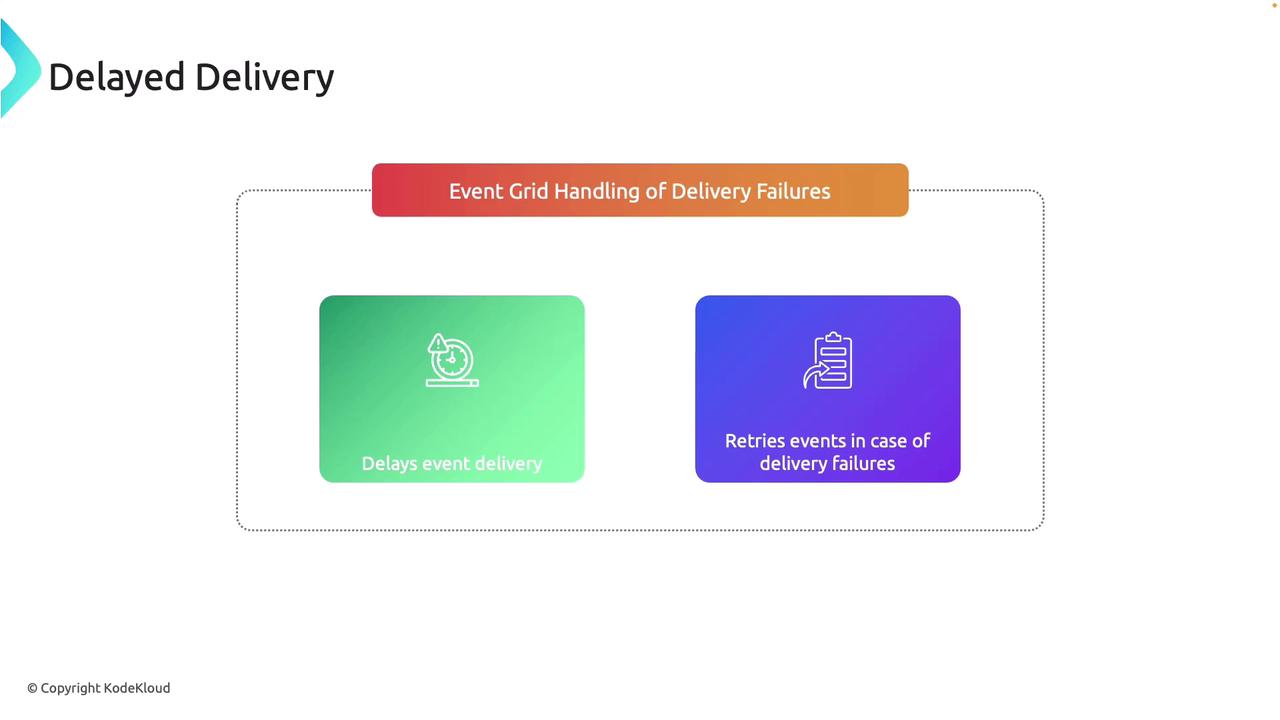
Dead-Letter Events
If an event cannot be delivered after multiple retry attempts, it is routed to a dead-letter destination, such as a storage account. This mechanism allows you to troubleshoot failed deliveries and determine what corrective actions are needed.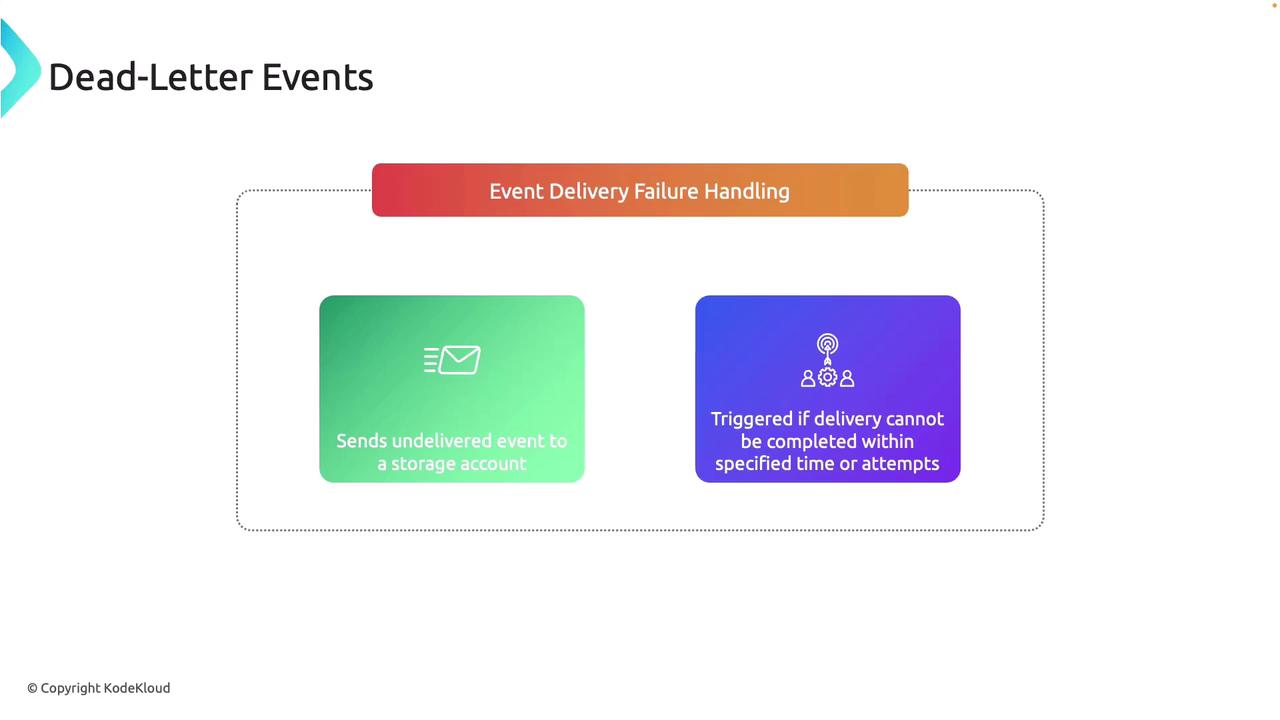
With these durability features, Azure Event Grid is designed to reliably deliver events even in complex and high-throughput scenarios. This level of control over retries and error handling makes it a powerful choice for building resiliency into your event-driven architecture.
Setting Up an Event Subscription in the Azure Portal
Follow these steps to configure event delivery with an event subscription in the Azure Portal.Creating the Subscription
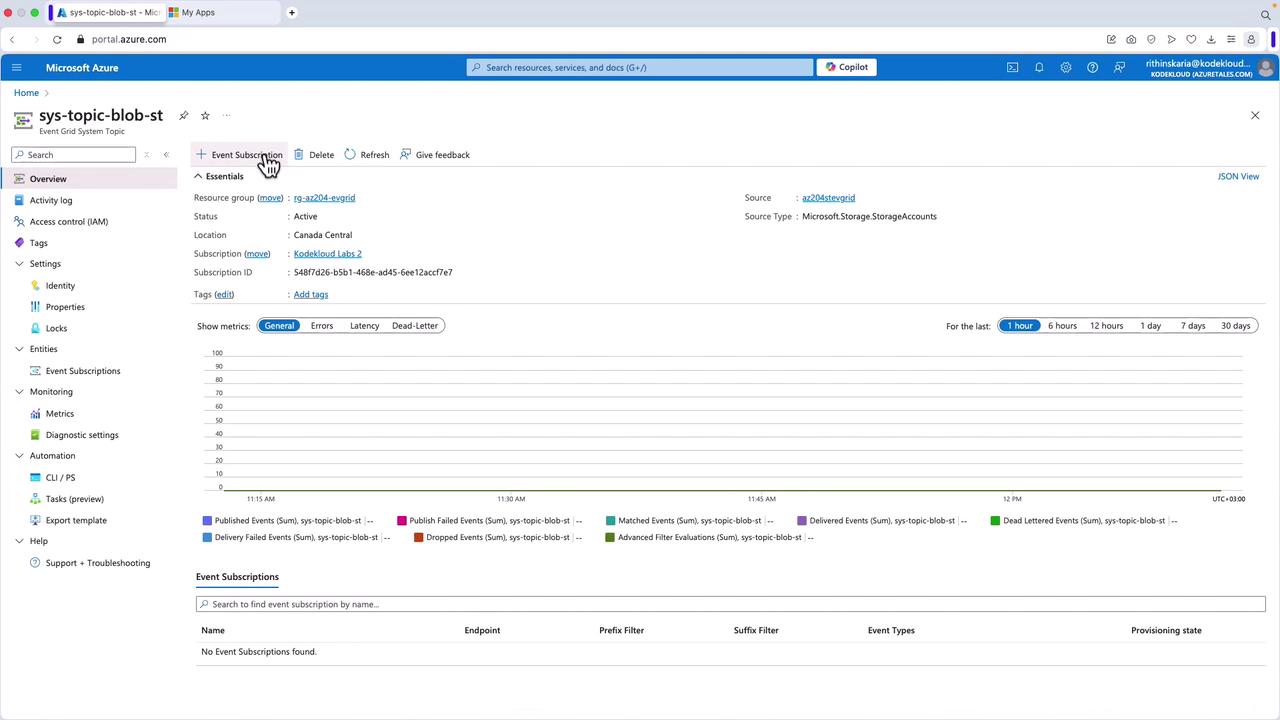
- Navigate to your Event Grid System Topic in the Azure Portal (the one you previously created).
- Click on Add an Event Subscription.
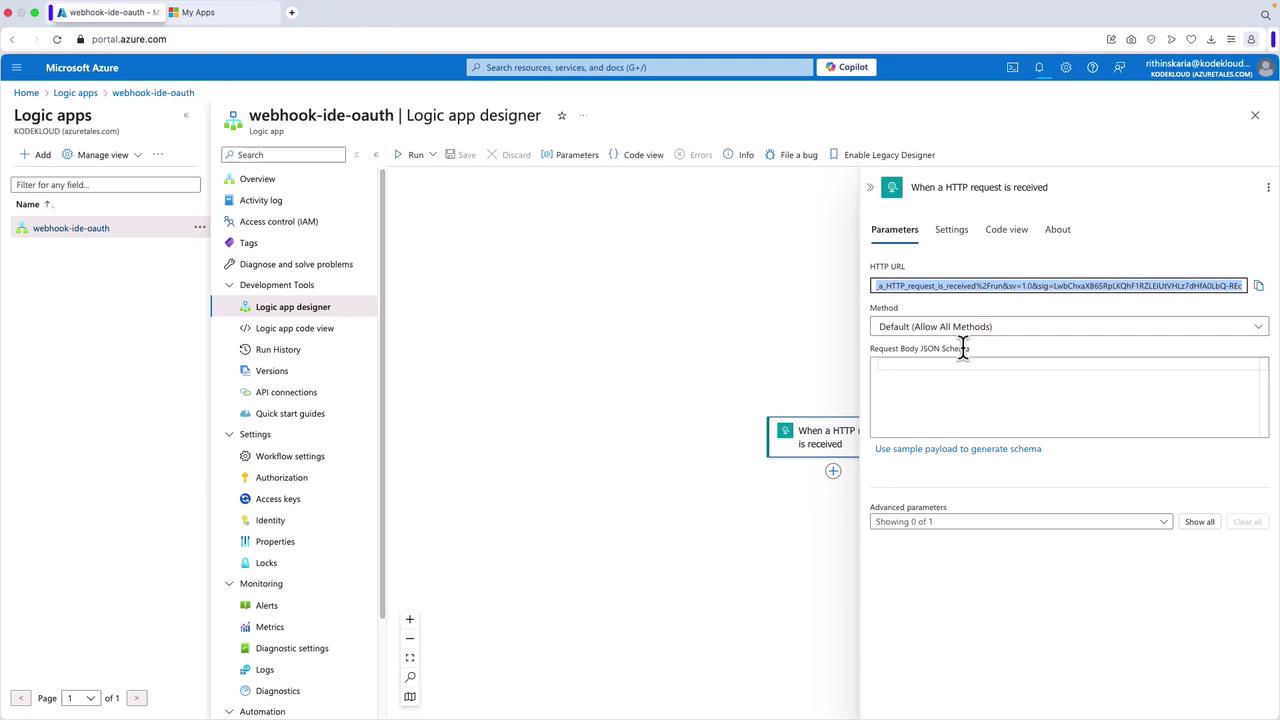
- Select a webhook by choosing a Logic App as the endpoint. Although the Logic App here functions as a basic webhook by displaying the JSON payload, it effectively demonstrates the event processing pipeline.
- In your Logic App, obtain the HTTP URL from the trigger configuration.
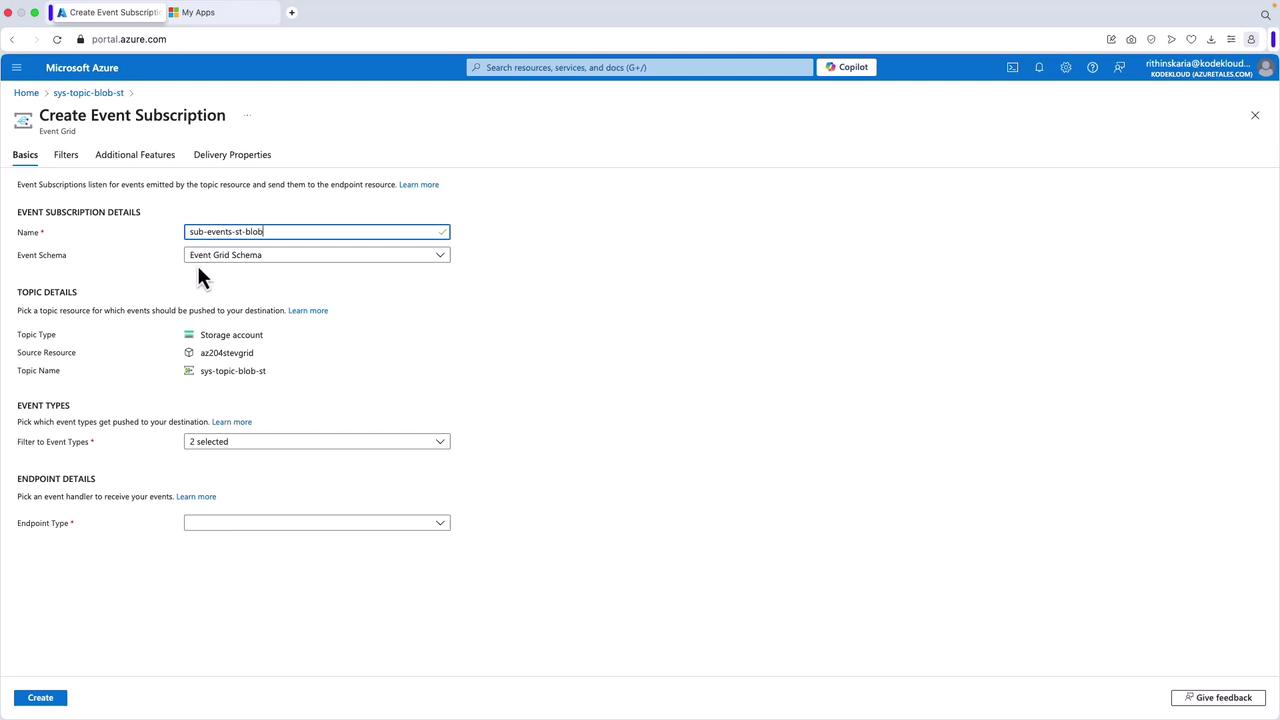
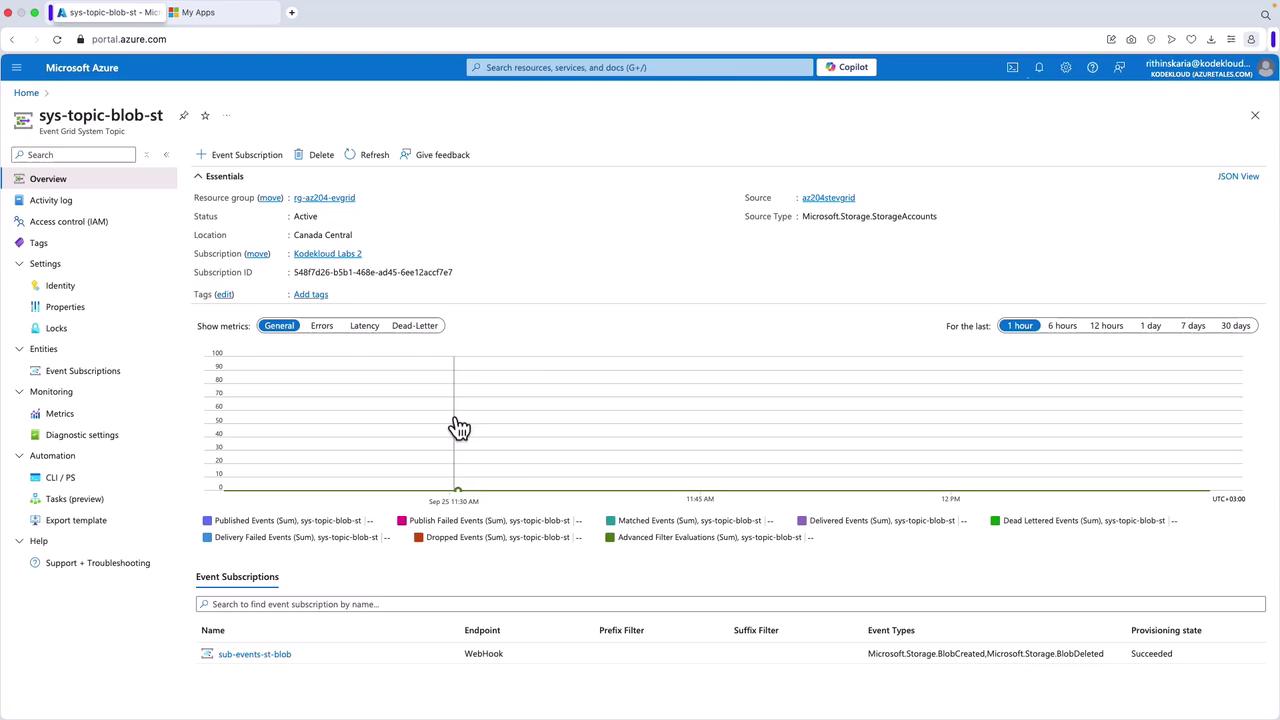
- Return to your system topic and create a new event subscription. For example, name it “sub-events-st-blob”.
- Choose the desired schema (Event Grid schema, Cloud Event schema, or a custom schema). In this example, the Event Grid schema is selected, and the storage account is auto-selected since the subscription is created under a specific topic.
- Select the event types you wish to capture. By default, events like blob creation and deletion are pre-selected, though you can also include events such as blob tier changes.
- For the endpoint type, choose “webhook” and paste the previously copied URL from your Logic App. Confirm your selection.
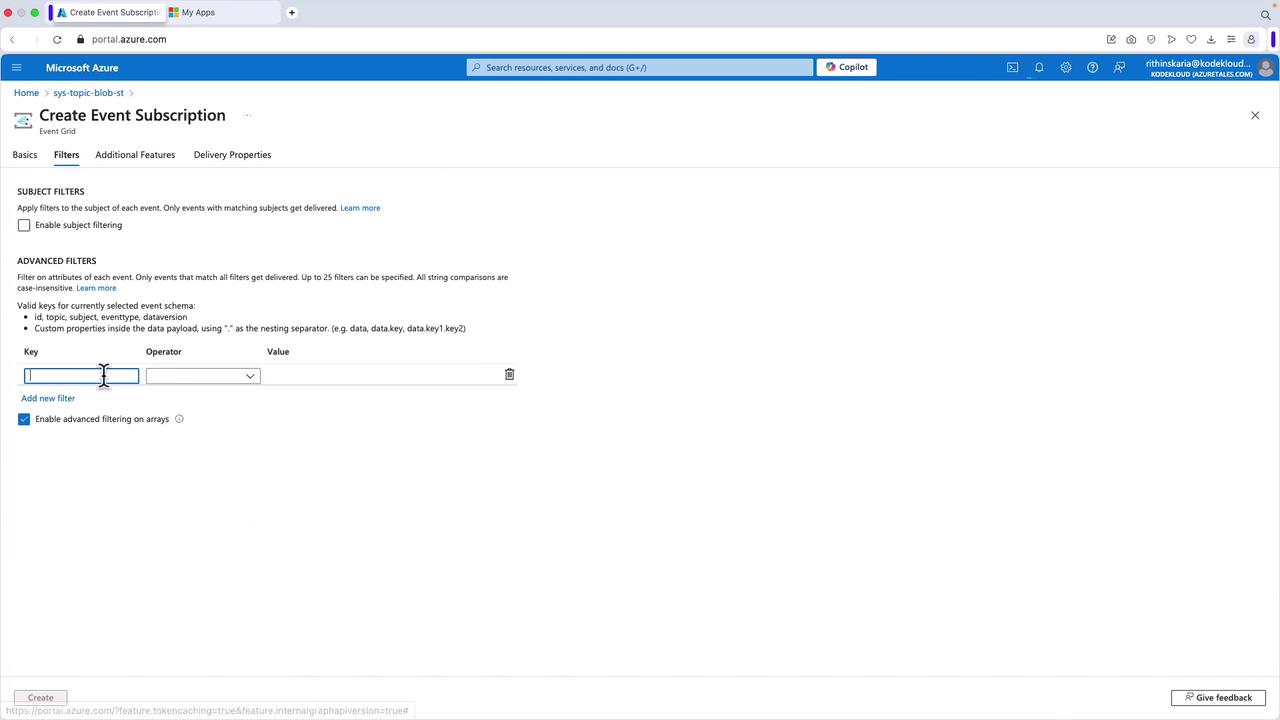
Configuring Filters and Advanced Options
- In the Filters section, you can apply advanced filters based on key values to refine the events you capture.
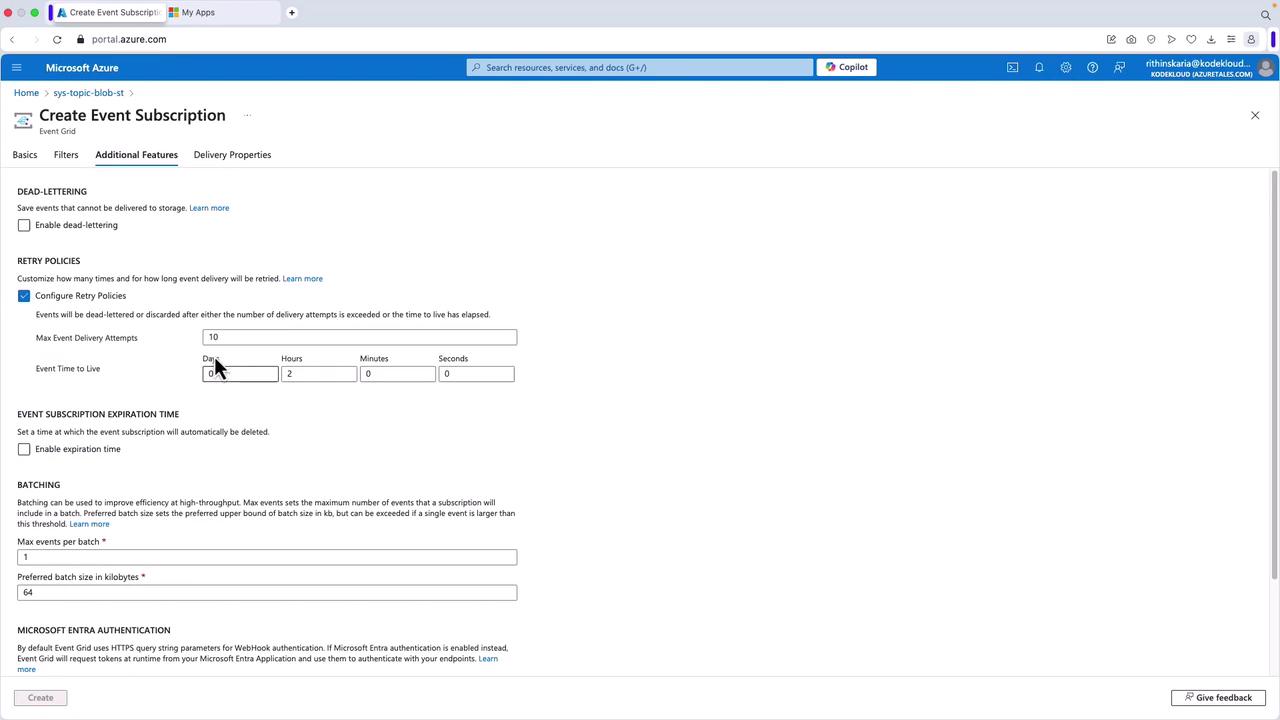
- You can also set additional options such as retry policies (to define the number of retry attempts), dead-lettering configurations, expiration time, batching, and authentication. These settings enable you to fine-tune the event delivery process based on your specific requirements.
Remember, you can add additional headers in the HTTP request to pass extra parameters to your event handler, allowing for more flexible processing options.
Testing the Setup
To ensure that your event subscription is working as expected, follow these testing steps:- Navigate back to your storage account.
- Go to the containers section and upload your file (for example, employees.json).
- After uploading the file, check Event Hubs to verify that one or more events have been published.
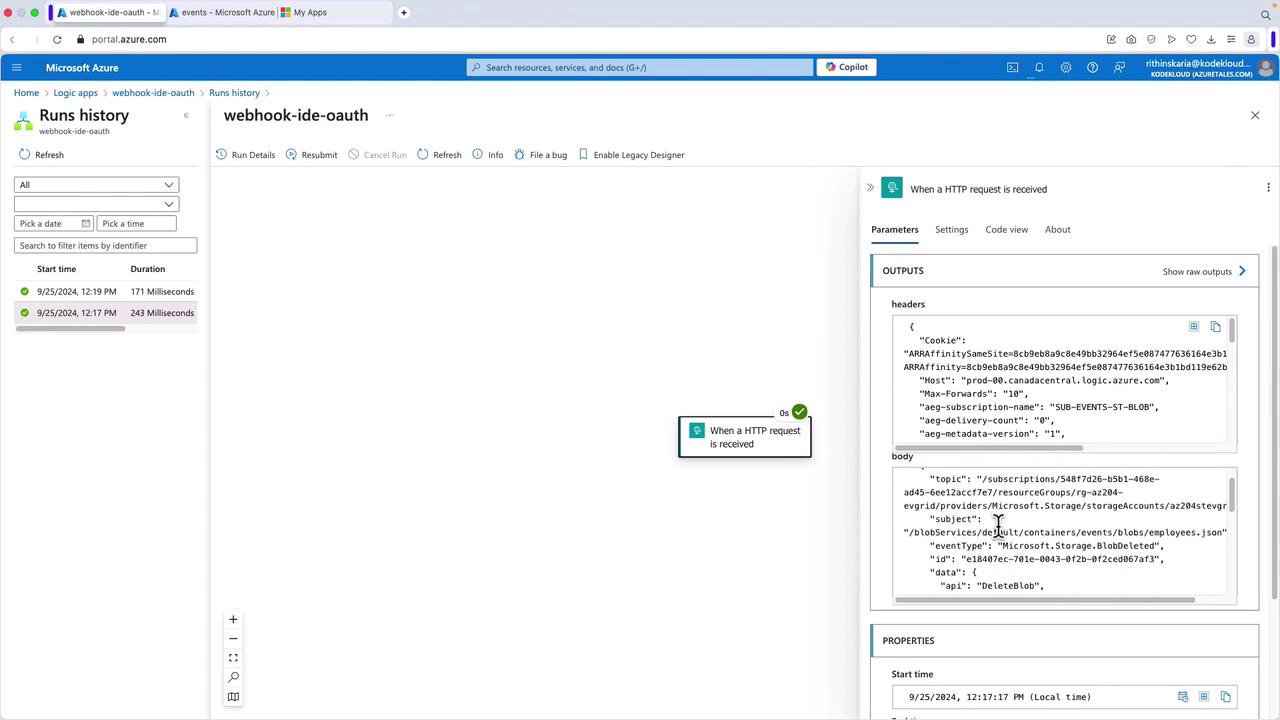
- Inspect the Logic App run history by selecting its latest run. Review the headers and JSON payload received. An example JSON payload is shown below:
Controlling Access to Events
Once event delivery is confirmed and verified, the next priority is controlling access to ensure that only authorized systems and users engage with your event-driven architecture. Implement access control measures to secure your events and data.This article has reviewed the essential features of Azure Event Grid’s event delivery durability. By understanding and utilizing the retry mechanism, customizable retry policies, output batching, delayed delivery, and dead-letter processing, you can confidently build scalable and robust event-driven solutions with Azure Event Grid.