Learn to configure managed identities in Azure, covering system-assigned and user-assigned types for secure resource access without managing credentials.
In this lesson, you will learn how to configure managed identities in Azure. Azure supports two types of managed identities: system-assigned and user-assigned. Each type provides a secure mechanism for your applications to access Azure resources without the need to manage credentials.
A system-assigned managed identity is directly linked to an Azure resource, such as a virtual machine (VM). When you create a new VM with a system-assigned managed identity or enable it on an existing VM, the minimum required role is the Virtual Machine Contributor. No additional Microsoft Entra ID (Azure Active Directory) permissions are necessary.To enable a system-assigned managed identity when creating a VM via the Azure CLI, use the following command. This command creates a new VM, generates SSH keys (for Linux), and assigns the managed identity in one step:
This approach applies to other Azure services as well. Whether you are provisioning an App Service, function app, or another resource, you can enable a system-assigned managed identity at creation time.
After creating the identity, you can associate it with a VM (or another Azure service) during its creation. For example, use the following command to create a VM:
Copy
az vm create --resource-group myResourceGroup \ --name myVM \ --image Canonical:0001-com-ubuntu-minimal-jammy:minimal-22_04-lts-gen2:latest \ --generate-ssh-keys
Then, assign the user-assigned identity to the resource by specifying its name. This flexibility allows you to share the identity across multiple services, unlike the one-to-one relationship of system-assigned identities.
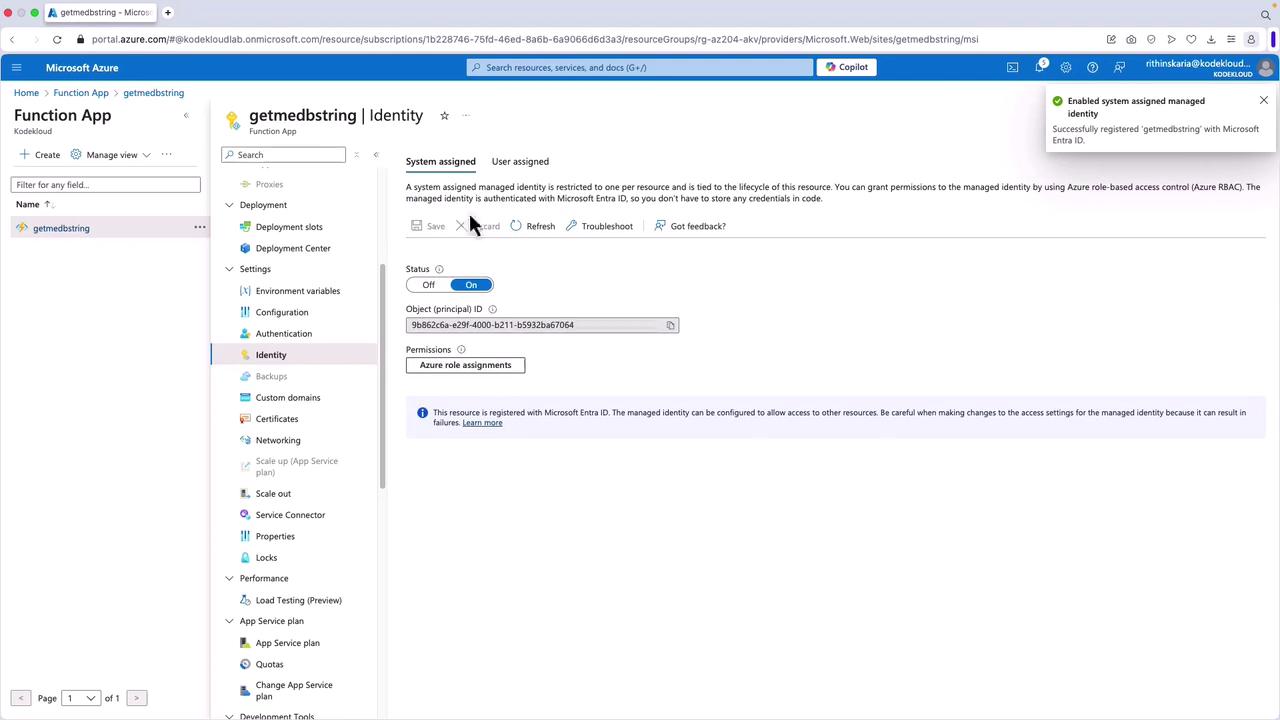
Navigate to your function app (or another resource) in the Azure portal.
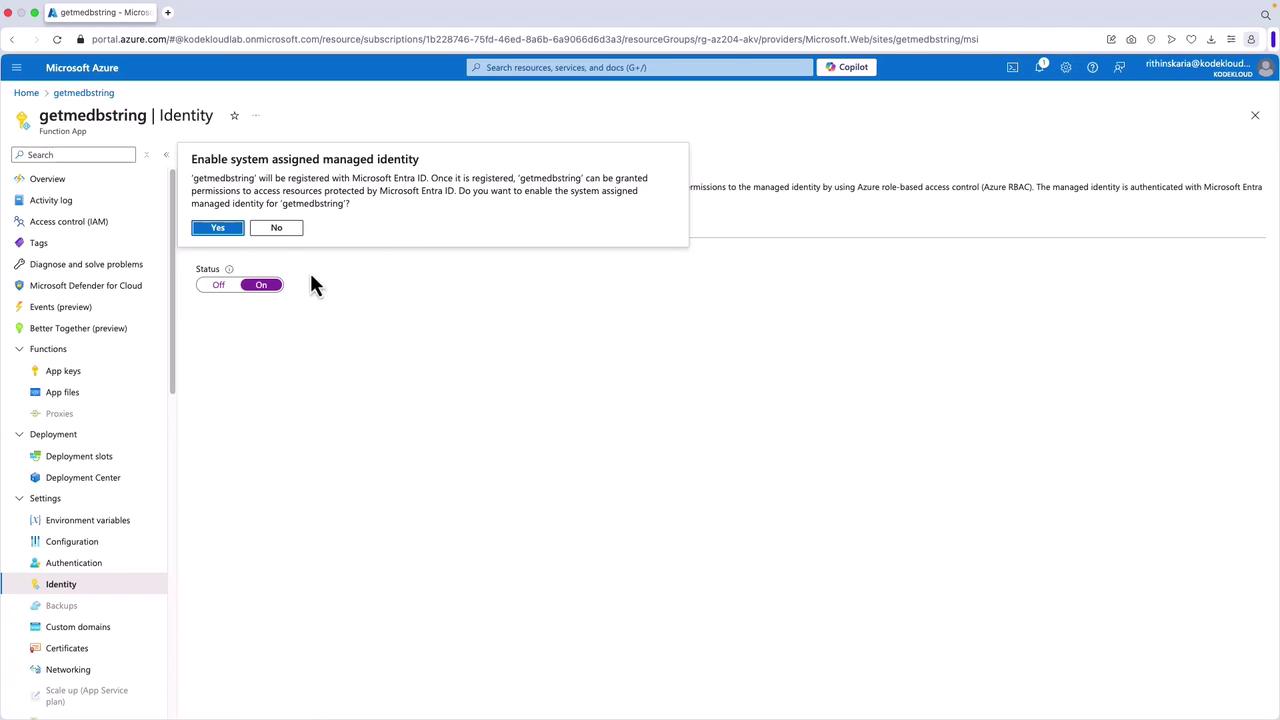
In the left-hand menu, select Identity.
Under System assigned, toggle the switch to On and click Save.
When you save, an app registration is automatically created in your tenant. This registration includes the object ID, app ID, certificate, and other details that allow you to assign permissions as needed.
First, create the user-assigned managed identity from the Managed Identities section in the Azure portal.
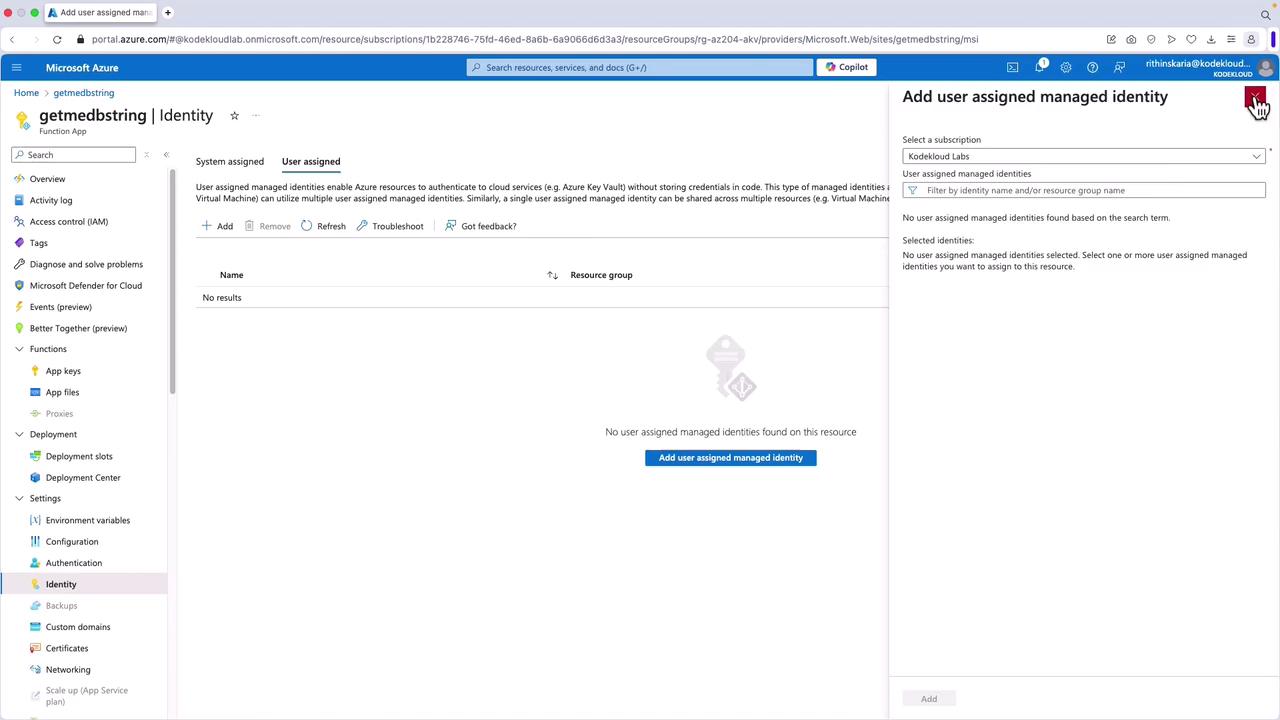
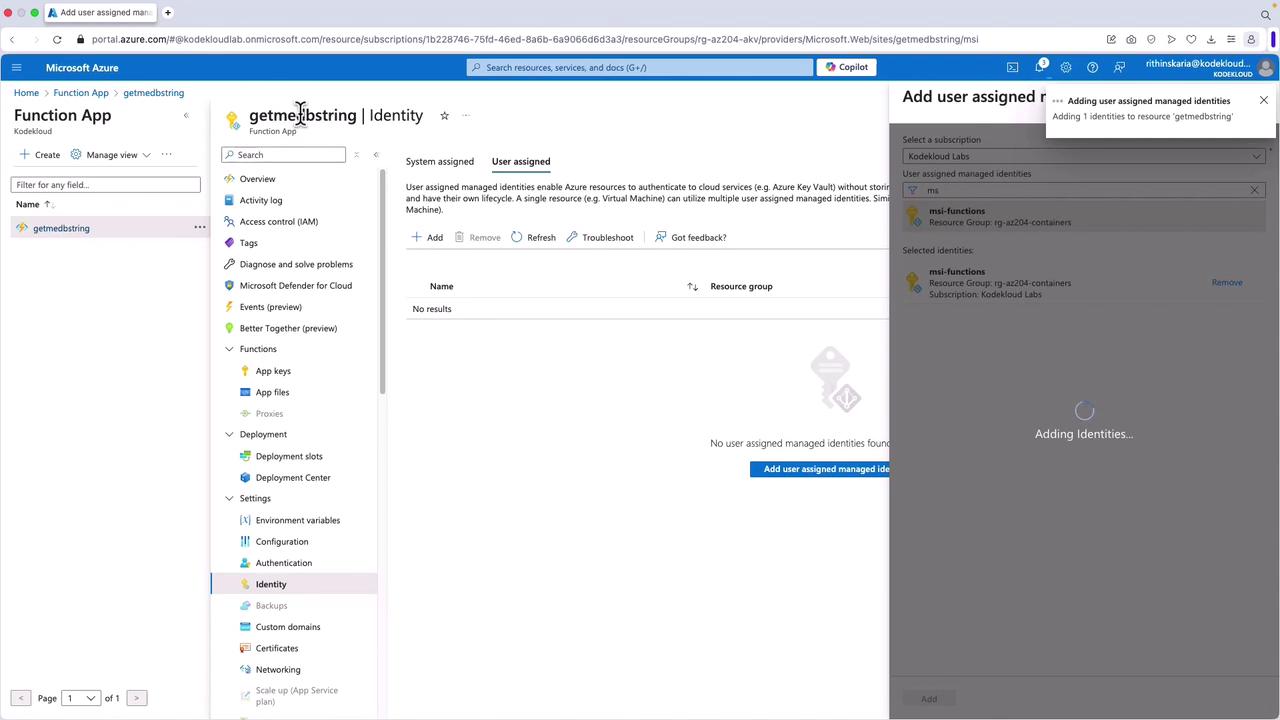
Return to your function app, select Identity, and go to the User assigned tab.
Click Add and search for the identity you created (for example, “MSI Functions”).
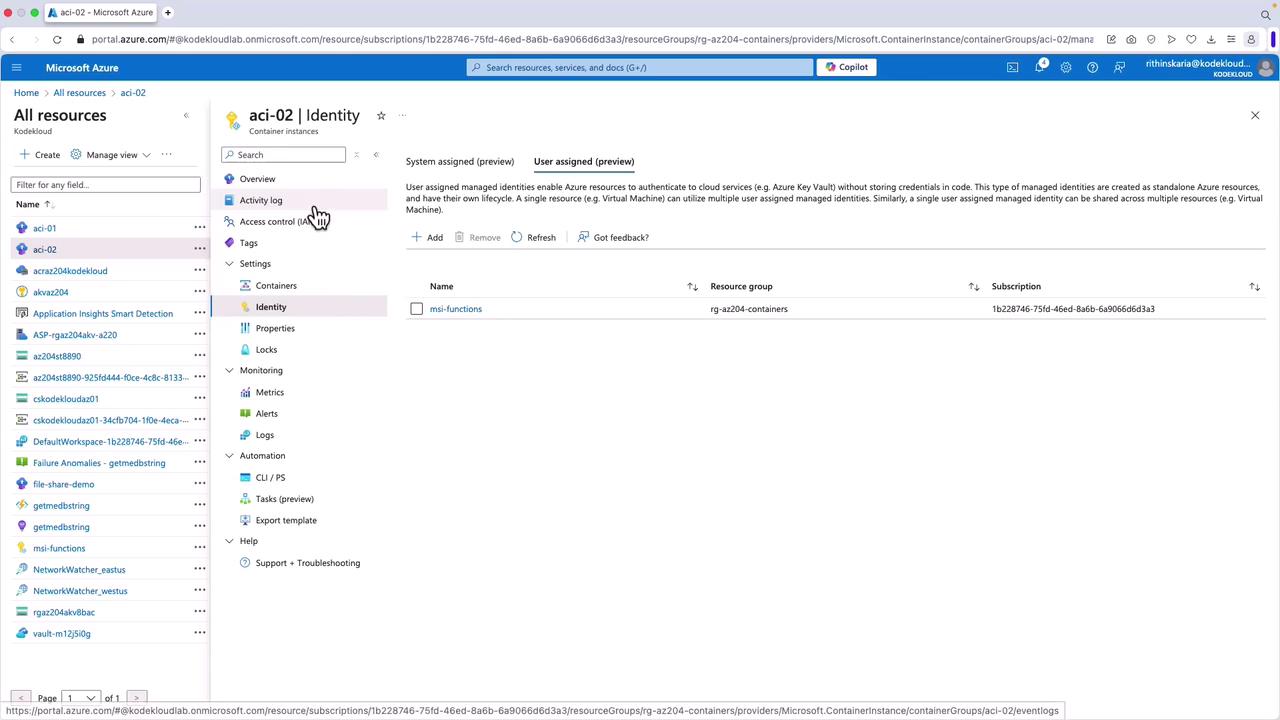
After associating the identity with your function app, you can also assign it to other resources, such as a container instance, to leverage the same credentials across multiple services.
Navigate to the container instance in the Azure portal.
Select Identity.
Add or remove user-assigned identities as necessary.
You can also remove an assigned identity by clicking Remove. After removal, you can rely solely on the system-assigned identity for permission assignments.
Proper configuration of environment variables is crucial. If you remove variables such as AZURE_CLIENT_ID, AZURE_CLIENT_SECRET, or AZURE_TENANT_ID from your function app’s environment, your application will not be able to retrieve tokens for accessing services like Key Vault.Below is an example of an environment variable configuration:
If any of these variables are absent, services such as Key Vault will not be able to obtain the necessary access tokens.For example, here is a sample function configuration that depends on these environment variables:
When the function is executed without the required environment variables, you might see log output similar to the following:
Copy
Connected: You are now viewing logs of Function runs in the current Code + Test panel. To see all the logs for this Function, please go to 'Logs' from the Function in the Function App.[Information] Executing 'GetSecretFromKeyVault' (Reason='This function was programmatically called via the host APIs.', Id=10cdf7b7-3718-4b74-ae07-b81707e14c5, Duration=117ms)[Information] Executed 'GetSecretFromKeyVault' (Succeeded, Id=10cdf7b7-3718-4b74-ae07-b81707e14c5, Duration=117ms)Missing one or more environment variables: AZURE_TENANT_ID, AZURE_CLIENT_ID, AZURE_CLIENT_SECRET, KEY_VAULT, URI, SECRET_NAME
Missing any of these environment variables will cause errors, such as failing to retrieve tokens for Key Vault access.
In this article, we demonstrated how to configure both system-assigned and user-assigned managed identities to securely access Azure resources. We covered the following:
How to enable a system-assigned managed identity during resource creation using the Azure CLI.
The process for creating and assigning a user-assigned managed identity.
Step-by-step instructions for configuring these identities via the Azure portal.
How to manage environment variables to ensure secure access to services like Key Vault.
By following these best practices, you can effectively manage identities and improve the security of your Azure applications.