AZ-305: Microsoft Azure Solutions Architect Expert

Design a business continuity solution

Design for Azure Files Backup and Recovery

This article details the process of backing up and recovering Azure File Shares using snapshots and backup policies. By leveraging snapshots, you can capture a point-in-time state of your file share and store it in an Azure Recovery Services vault. These snapshots include the entire file share—capturing all files and folders at the root level—and enable file-level recovery without needing to restore the entire share.

Snapshots in Azure are incremental, storing only the changes (delta) from the previous snapshot. Once created, snapshots can be read, copied, or deleted, but they cannot be modified.

Important Note

You cannot delete a file share that has associated snapshots. To remove such a file share, you must first delete all its snapshots.

Backup policies further enhance data protection by automating the backup process. These policies allow you to schedule regular backups of your Azure File Share to the Recovery Services vault by associating specific backup schedules and retention periods.

The image is an informational graphic about Azure files backup and recovery, explaining the use of share snapshots and their features. It includes a screenshot of a backup configuration interface on a computer monitor.

In this guide, we will walk through the process of taking a snapshot and configuring a backup policy using the Azure Portal.

Taking a Manual Snapshot on the Azure Portal

  1. Open the Azure Portal and select one of your storage accounts.
  2. Navigate to the File Shares section.
  3. Choose an existing file share. For demonstration purposes, if the file share is empty, upload a couple of files.

After uploading files, create a snapshot by following these steps:

  • Click the Snapshot option. If manual snapshots already exist, you may see them listed here. You can delete any unwanted snapshots if necessary.

The image shows a Microsoft Azure portal interface displaying a list of file share snapshots for "kodekloud," with options to add, refresh, or delete snapshots. A notification indicates that file share snapshots are being deleted.

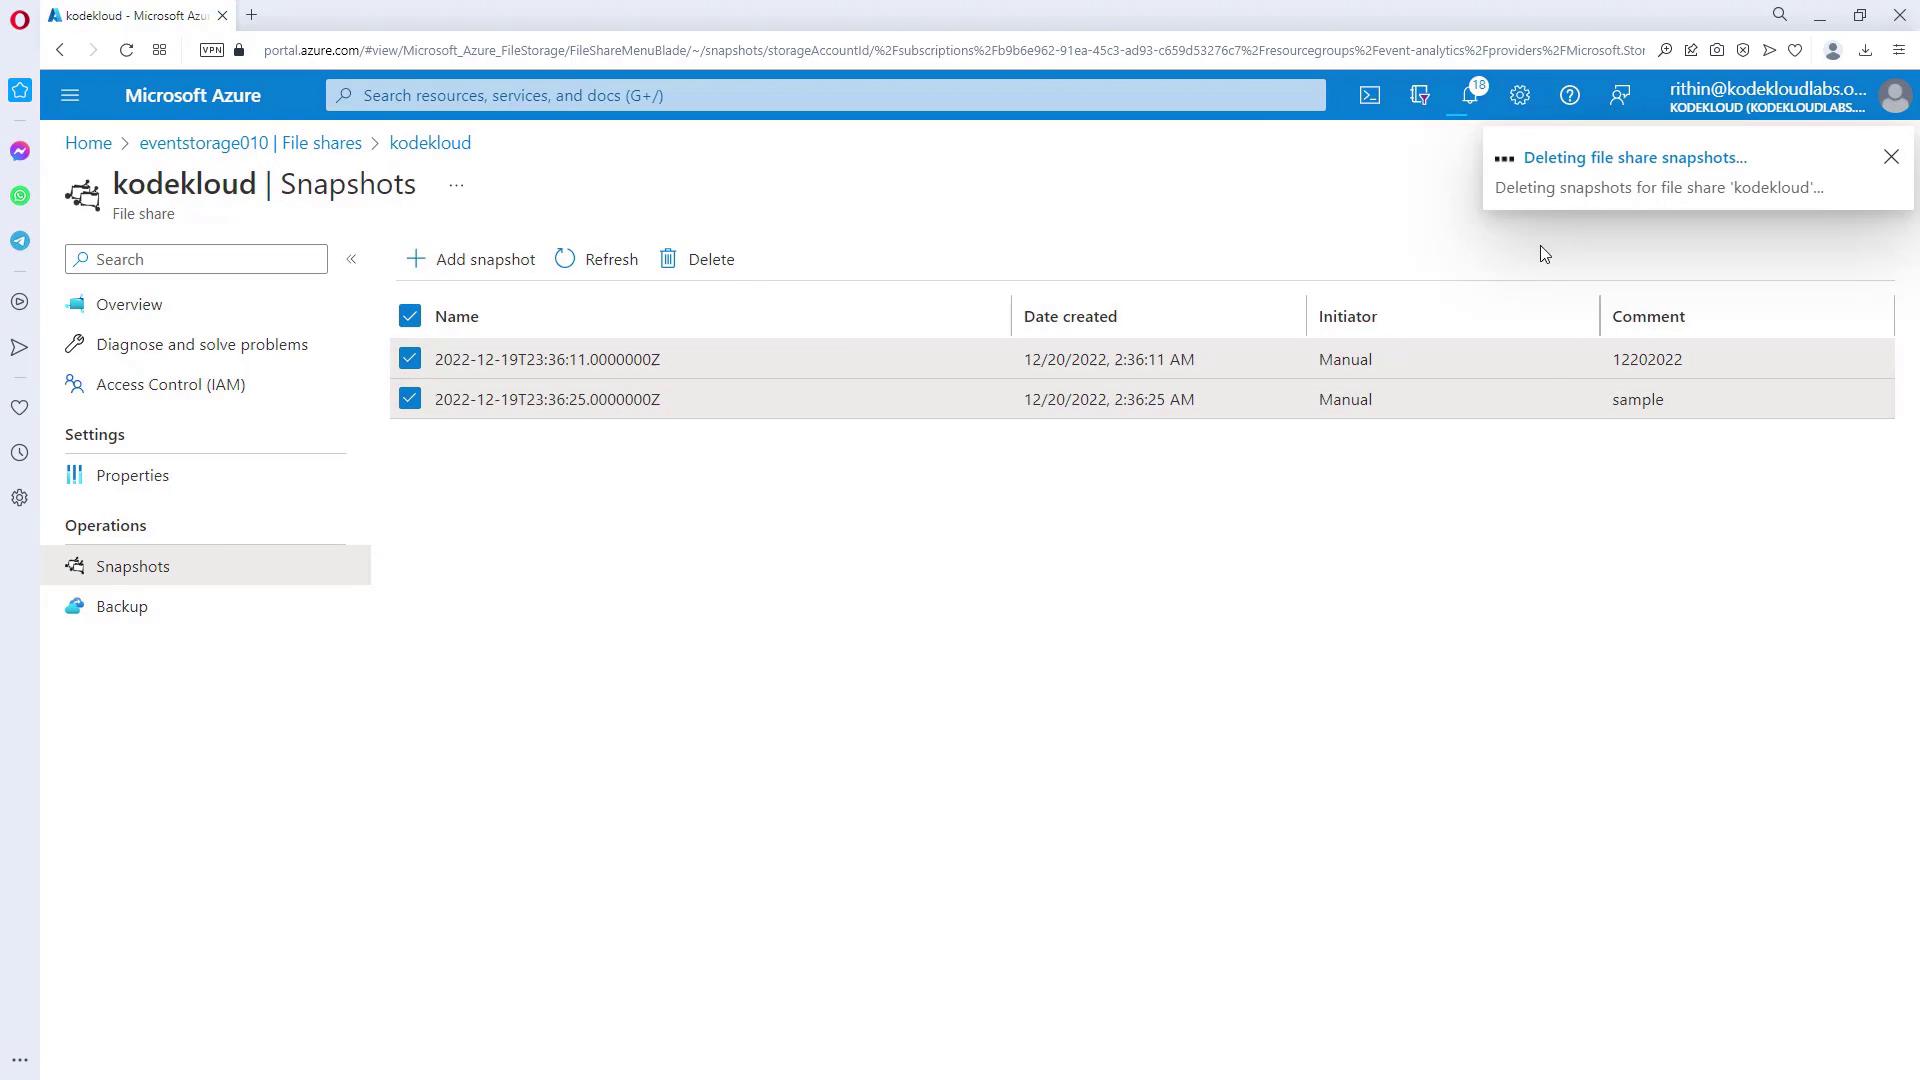
  1. Create a new snapshot. Once it is created, inspect its contents to confirm that all files and folders have been captured.
  2. For a recovery test, delete some files from the current file share. For instance, if you delete two CSV files while retaining a JSON file and an error CSV file, the snapshot will still preserve the deleted CSV files.
  3. Return to the snapshots list, open the most recent snapshot, and select the Restore option. During restoration, you can choose to overwrite the original file or restore it as a copy. If the original file is missing, restoring it with the same name is appropriate.

The image shows a Microsoft Azure portal interface with a file share snapshot named "kodekloud" and a dialog box for restoring a CSV file, offering options to restore as a copy or overwrite the original file.

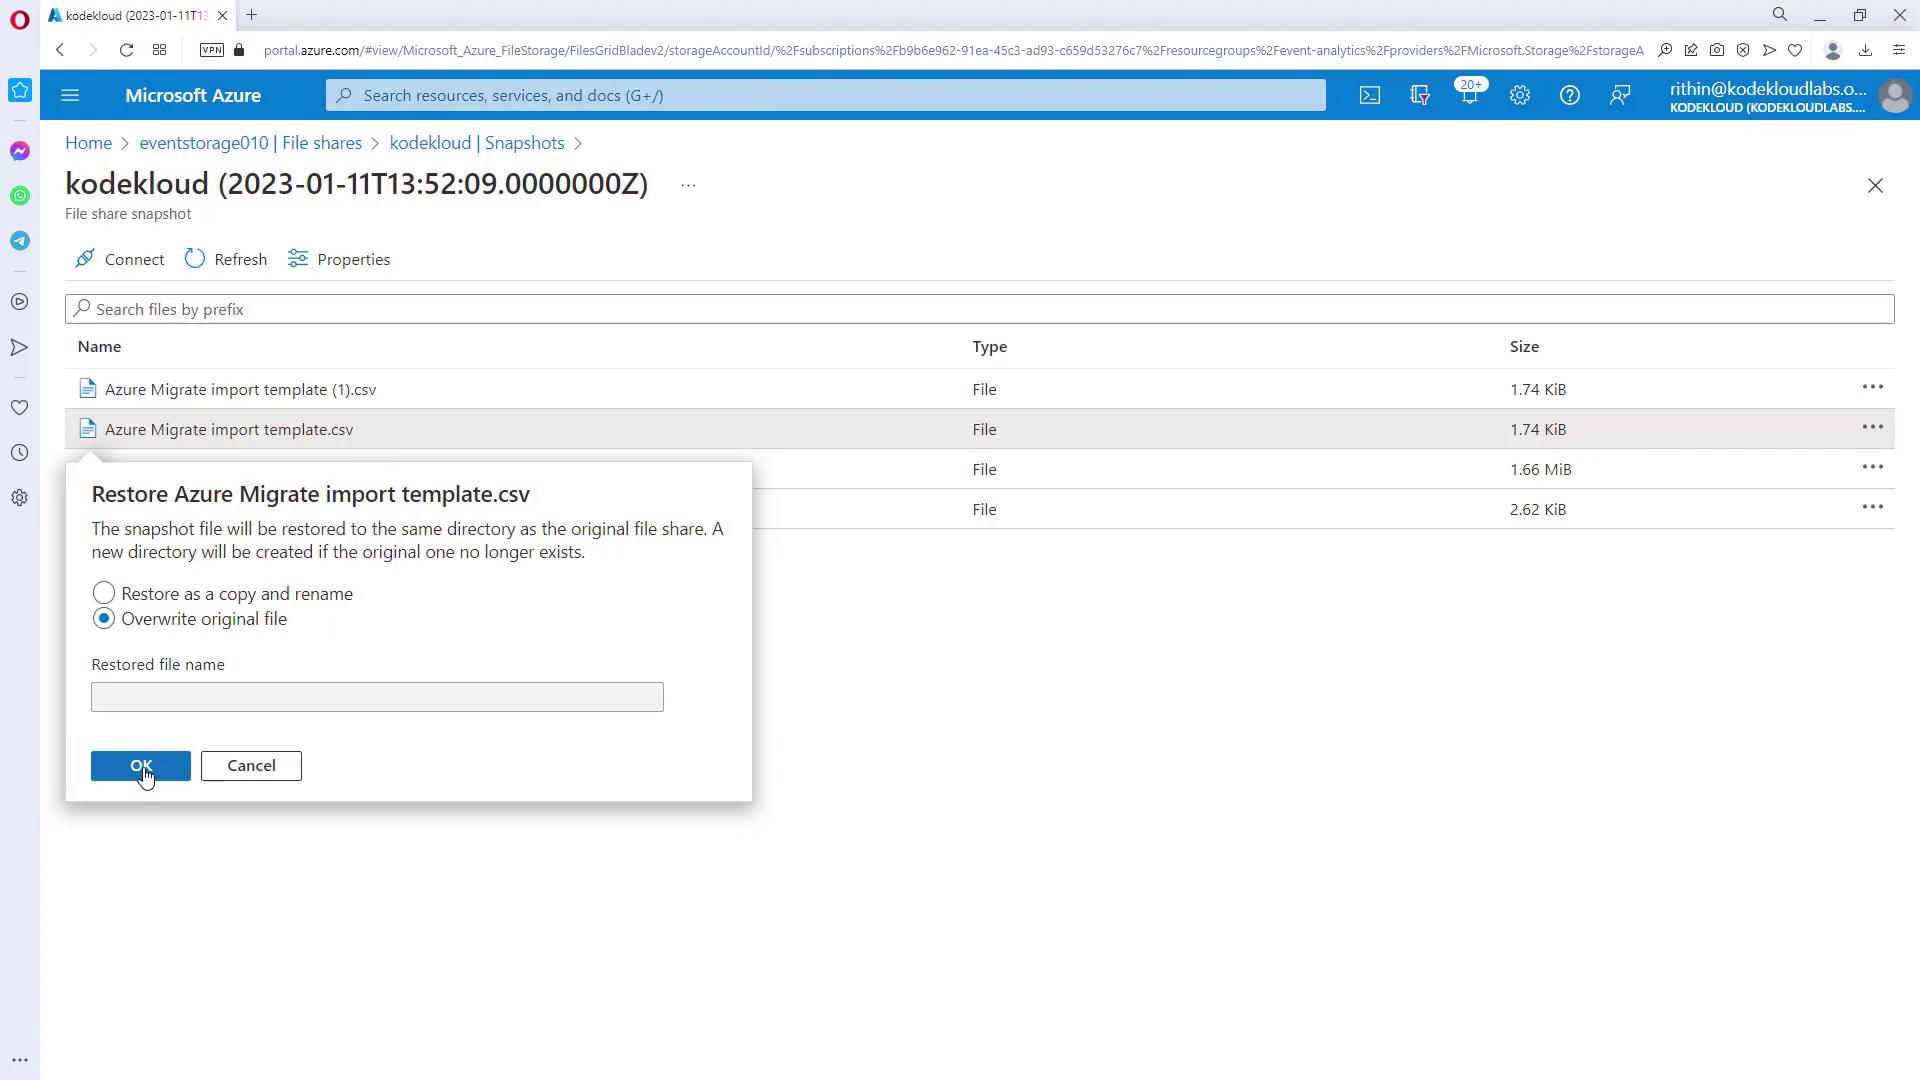
  1. After restoration, the file will reappear in the file share.

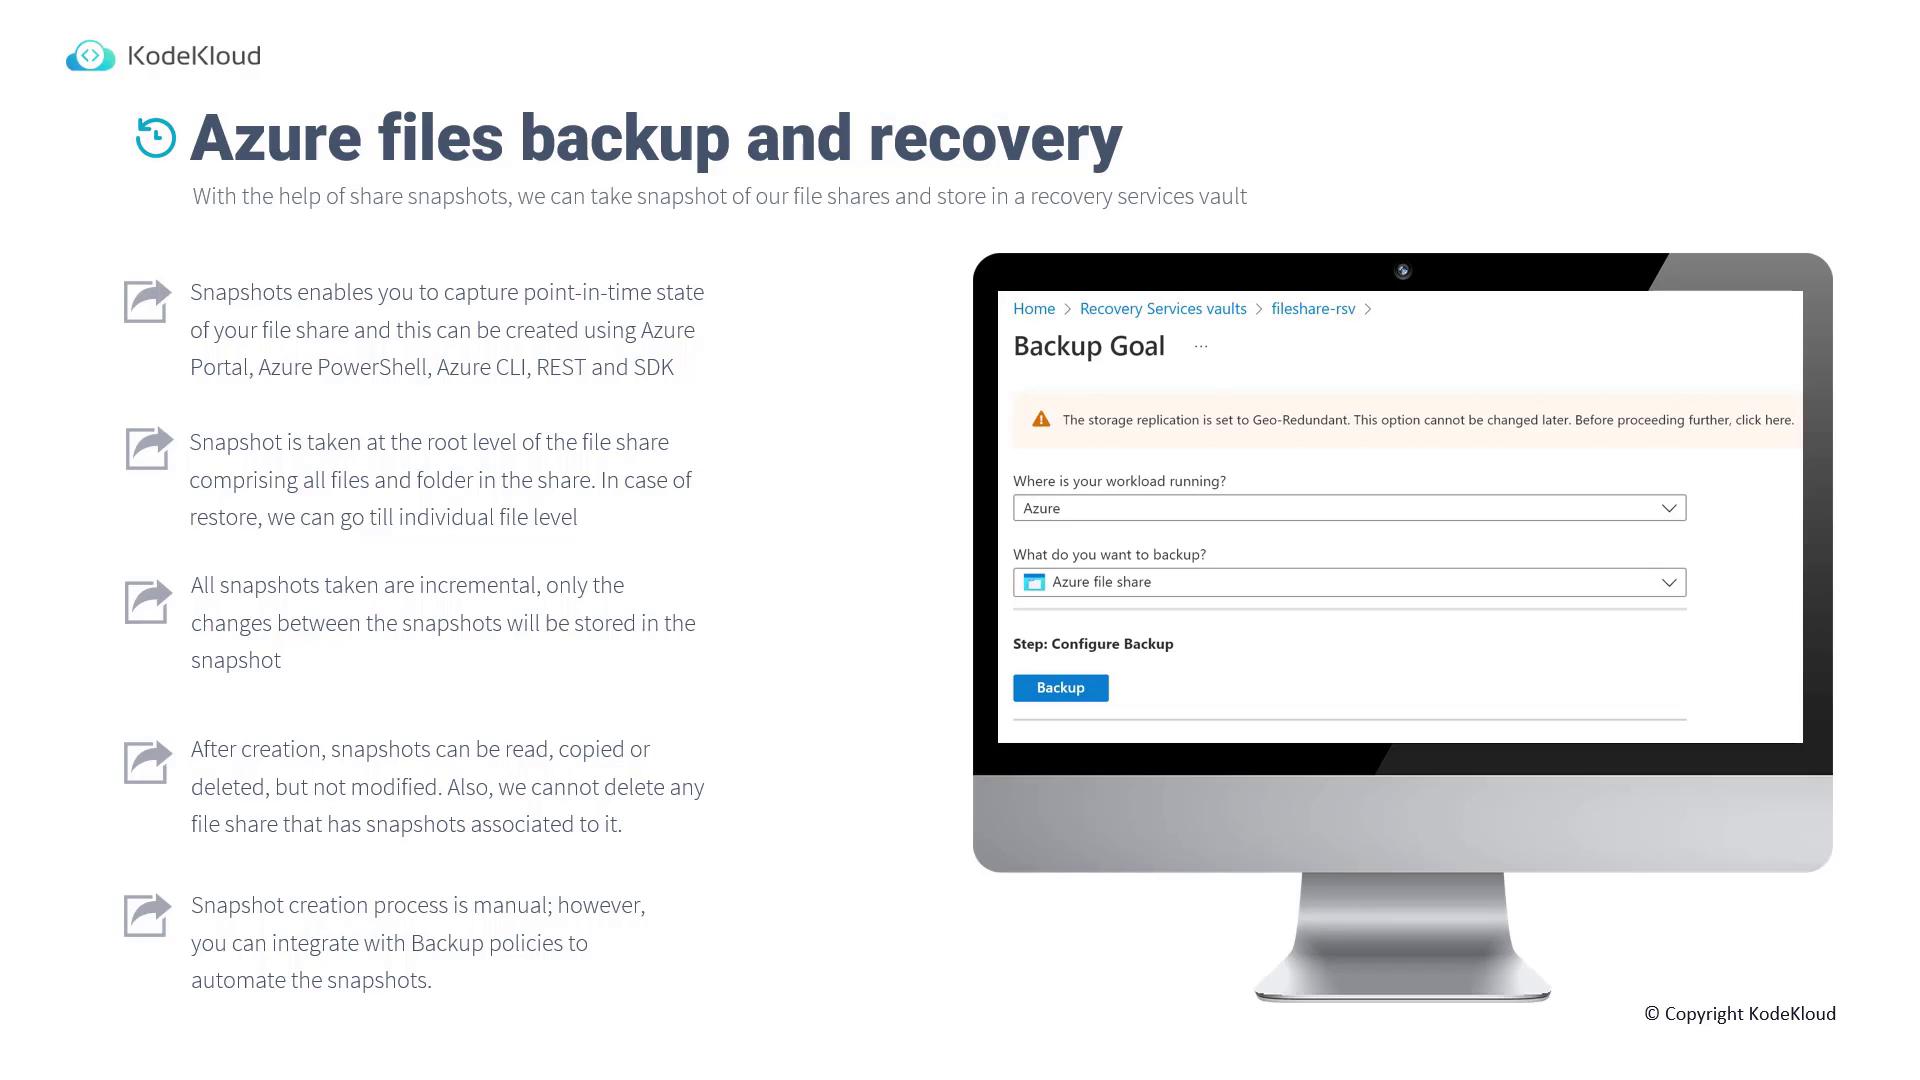
Automating Backups with Backup Policies

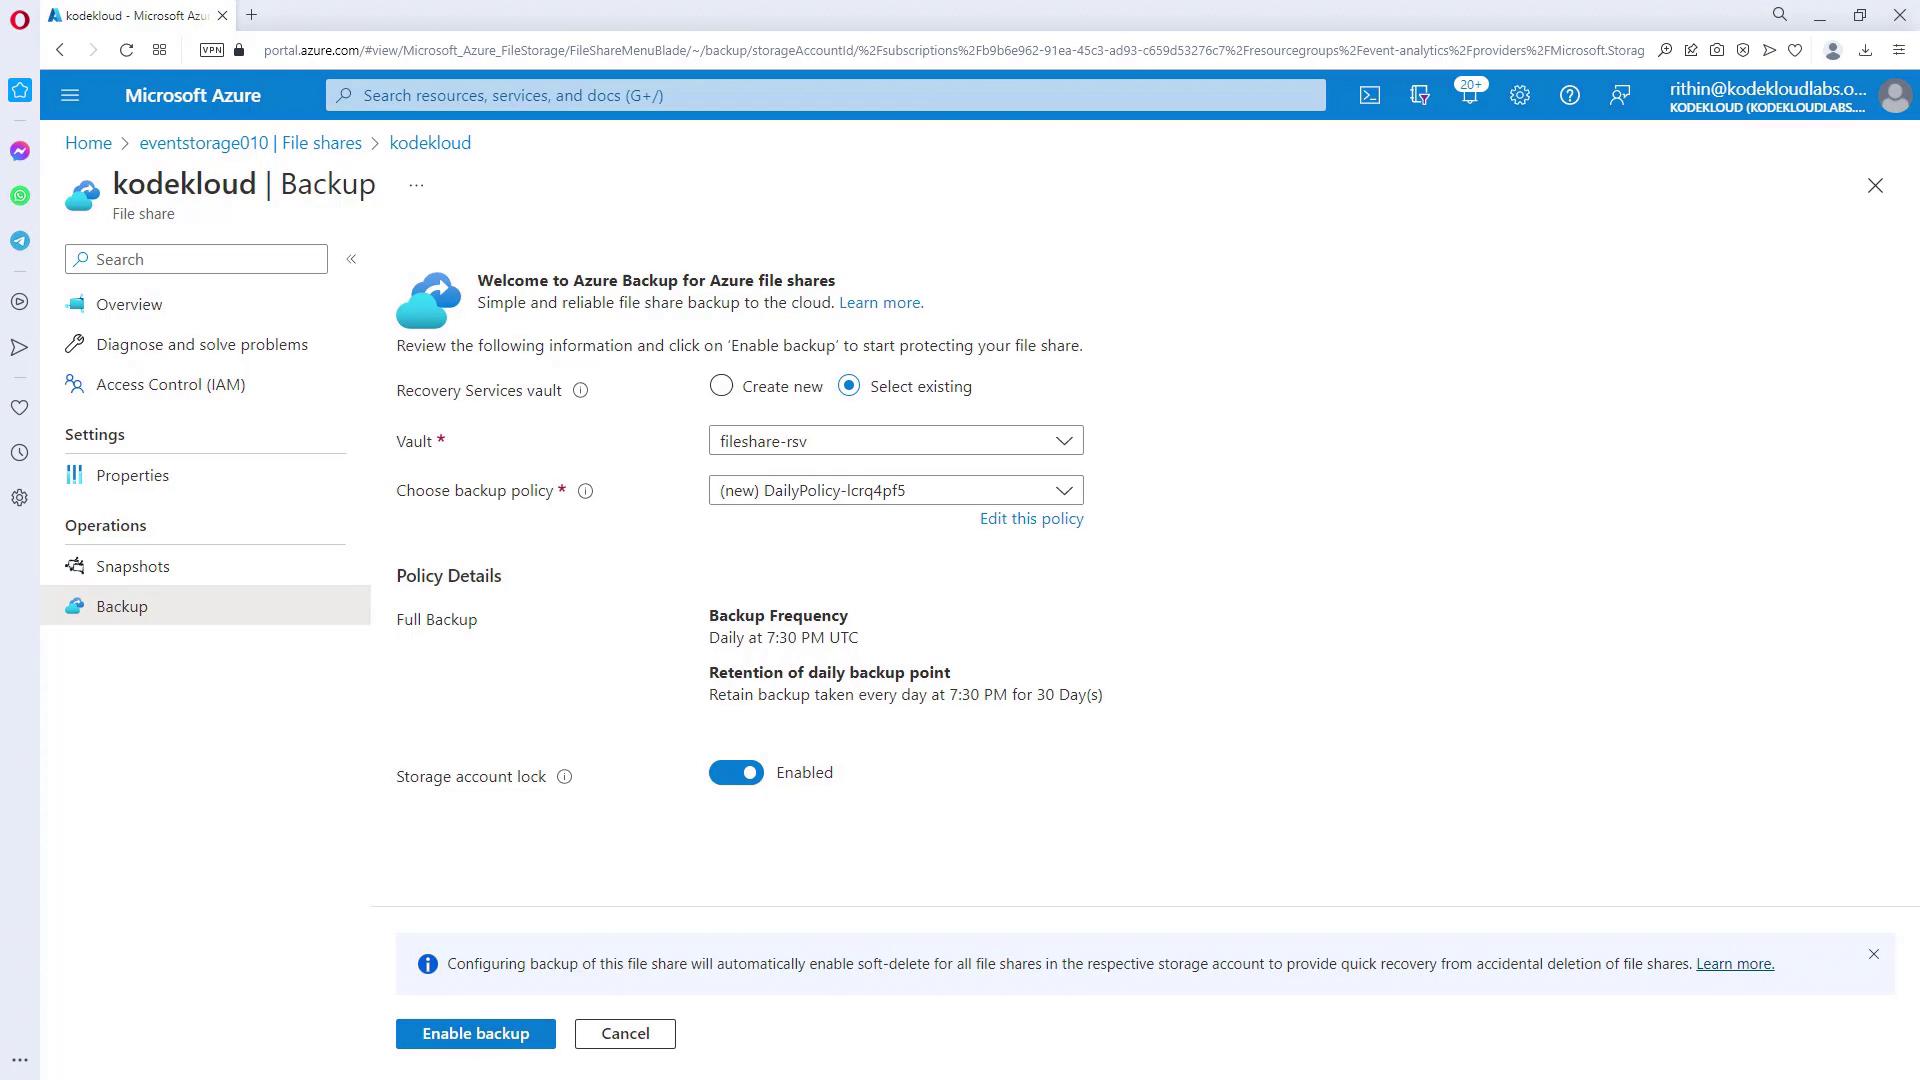
While manual snapshots are effective, automating backups ensures that your file share is consistently protected. Follow these steps to associate your file share with a backup policy in the Azure Portal:

  1. Select a Recovery Services vault in the Azure Portal.
  2. Choose a backup policy that meets your requirements. Editing the policy allows you to specify the backup schedule (for example, daily at a designated time) and the retention period.
  3. Enable the backup for the file share. Once configured, the file share will automatically be backed up according to the defined schedule, ensuring you always have an up-to-date snapshot available for recovery.

The image shows a Microsoft Azure interface for setting up a backup for file shares, with options to select a recovery services vault and backup policy. The backup frequency is set to daily at 7:30 PM UTC, with a retention period of 30 days.

Next Steps

With the backup and recovery process for Azure File Shares covered, the next section will guide you through the procedure for backing up Azure Virtual Machines.

For additional information, consider visiting the following resources:

Watch Video

Watch video content

Previous
Design for Azure Blob Backup and Recovery