> ## Documentation Index
> Fetch the complete documentation index at: https://notes.kodekloud.com/llms.txt
> Use this file to discover all available pages before exploring further.
# Implement fork workflow
> This guide explains how to create a personal copy of an Azure DevOps repository for safe experimentation and collaboration.
In this guide, you’ll learn how to safely experiment with a project by creating a personal copy of an Azure DevOps repository. Forking enables you to develop features, test changes, and submit pull requests back to the original codebase—all without affecting the upstream repository. This workflow is perfect for open source contributions and large-team collaboration.
## 1. Forking a Repository
1. Sign in to Azure DevOps as your user (e.g., **Lloyd**).
2. Navigate to **Repos** and locate the **KodeKloud GIFs** repository.
3. Click **Fork**, name your fork (for example, `KodeKloudGifts.LloydChristmas`), choose the branches to include, and confirm.
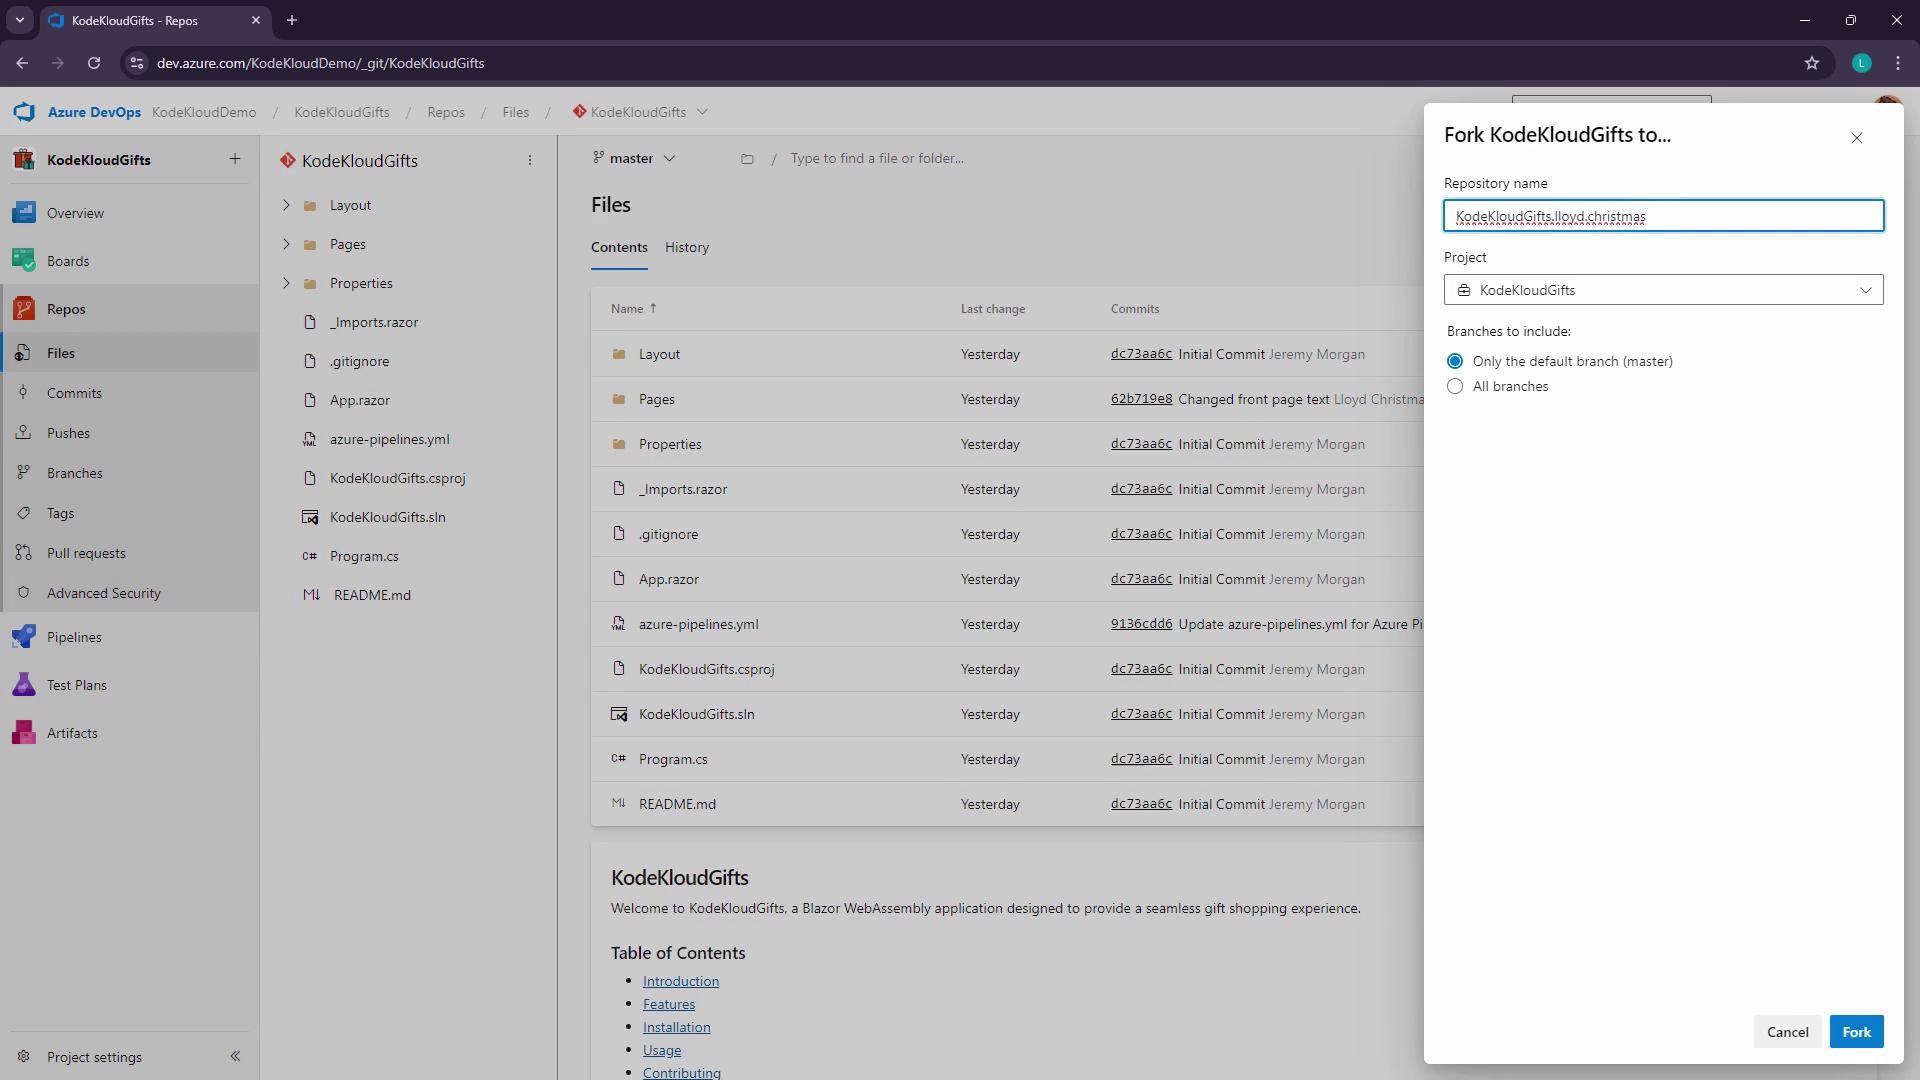
Forks are isolated copies—your changes won’t affect the original repository until you open a pull request.
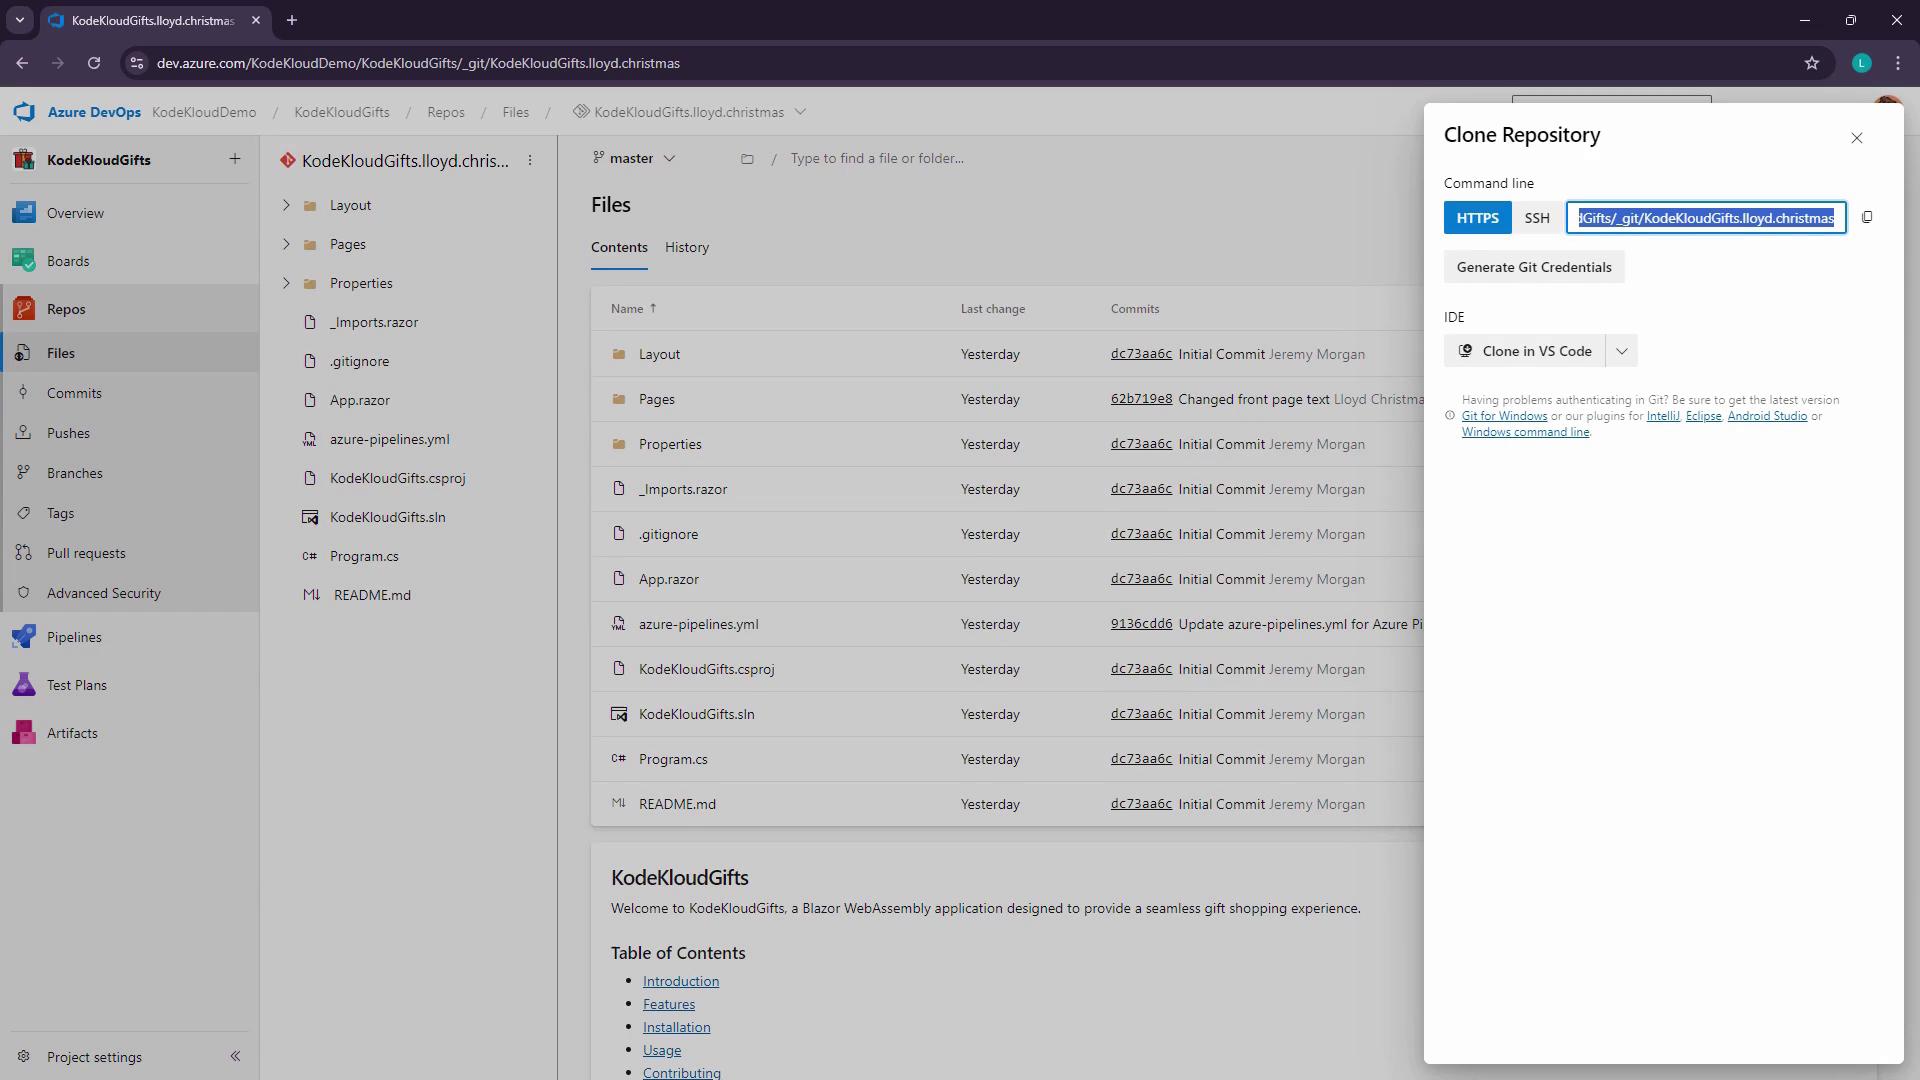
After the fork completes, the **Clone** button points to your new repository:
## 2. Cloning and Setting Up Your Fork
Use Git to clone **your fork**, not the original:
```bash theme={null}
git clone https://dev.azure.com/KodeKloudDemo/KodeKloudGifts/_git/KodeKloudGifts.lloyd.christmas
```
Sample output:
```text theme={null}
Cloning into 'KodeKloudGifts.lloyd.christmas'...
remote: Azure Repos
remote: This repository is a fork. Learn more at https://aka.ms/whatisafork.
remote: To add its upstream as a remote, run:
remote: git remote add upstream https://dev.azure.com/KodeKloudDemo/KodeKloudGifts/_git/KodeKloudGifts
Unpacking objects: 100% (37/37), done.
```
After cloning, run the following to set up the original repo as `upstream`:
```bash theme={null}
git remote add upstream https://dev.azure.com/KodeKloudDemo/KodeKloudGifts/_git/KodeKloudGifts
```
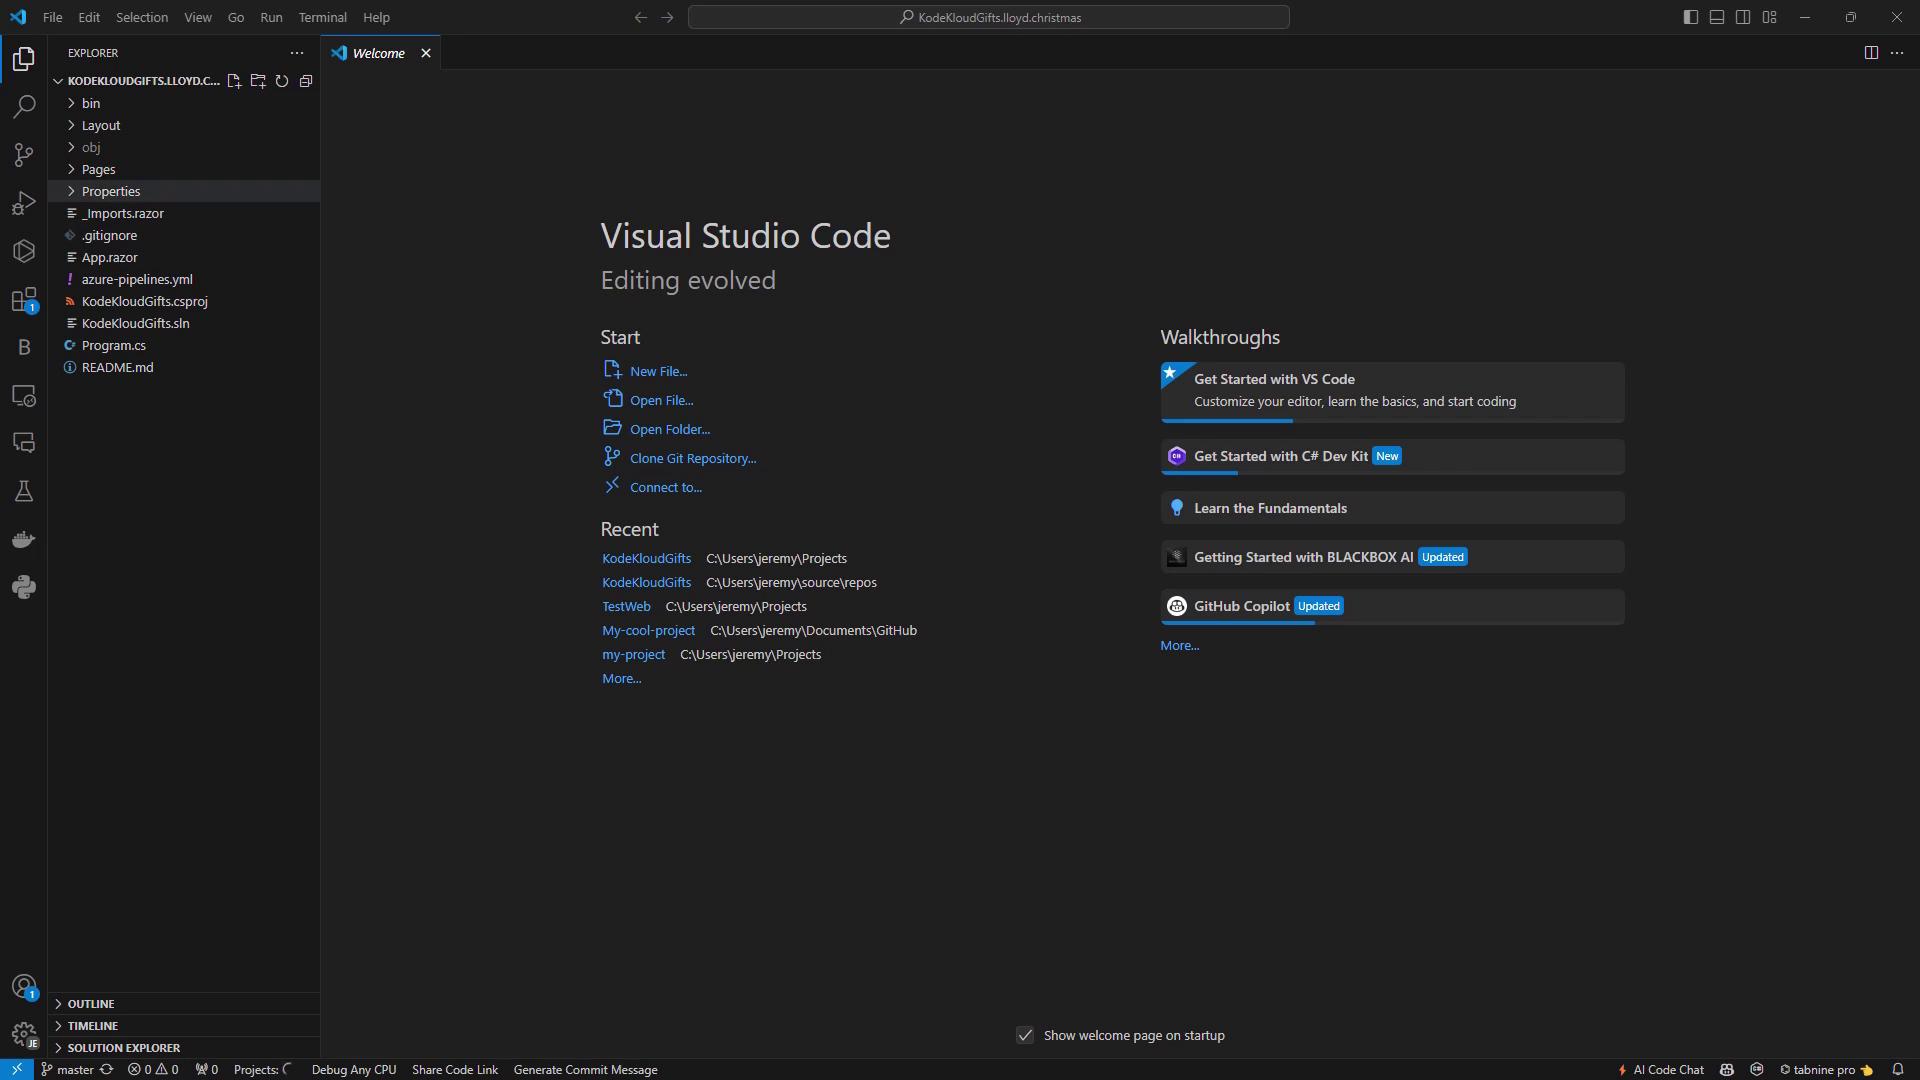
Open your project in Visual Studio Code:
## 3. Modifying the Code
Edit **Pages/Home.razor** to showcase Lloyd’s GIF shop:
```razor theme={null}
@page "/"
Home
Welcome to Lloyd’s KodeKloud Gift Shop!
Discover Lloyd’s handpicked collection of quirky and unique GIF gifts.
Whether for a friend, family, or yourself, shop the fun here!
```
Commit and push your updates:
```bash theme={null}
git status
git add Pages/Home.razor
git commit -m "Update Home.razor with new shop details"
git push origin master
```
## 4. Comparing Fork vs. Upstream
Switch between your fork and the upstream repository in Azure DevOps to verify changes:
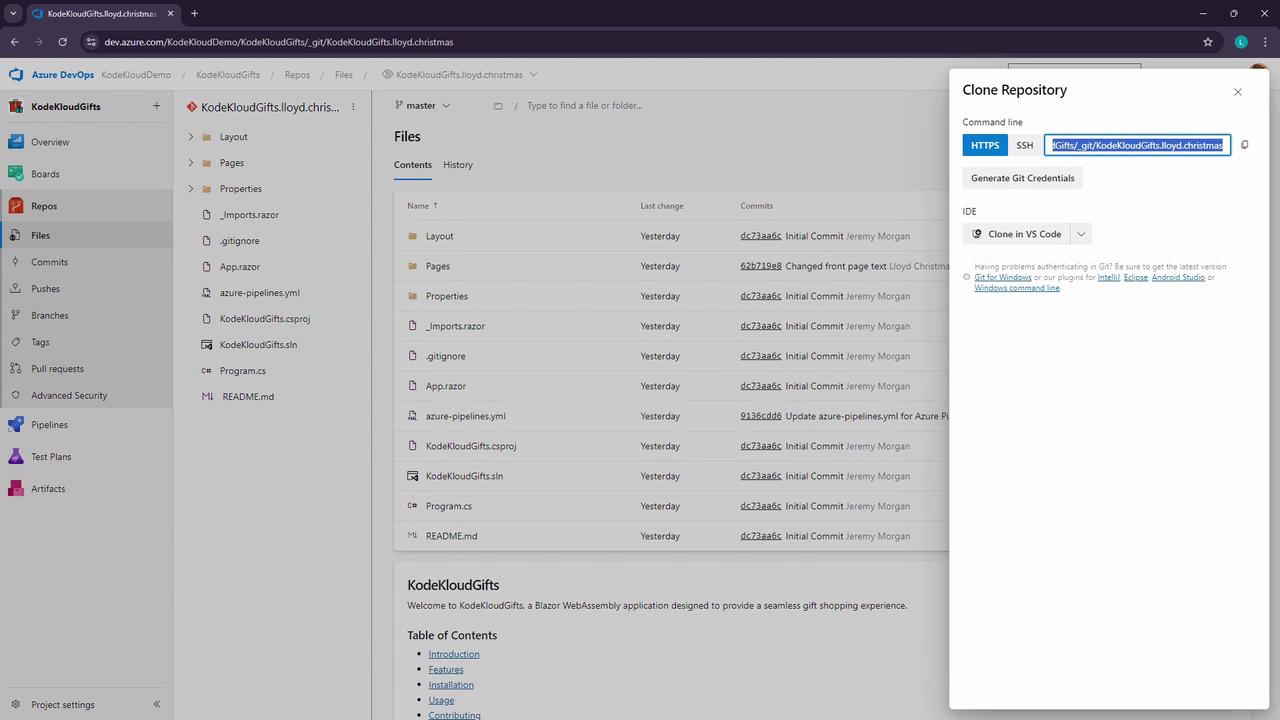
Your fork’s **Home.razor** now reflects the new content, while the upstream remains unchanged.
## 5. Creating a Pull Request
When you’re ready to merge, create a pull request:
1. In your fork, go to **Pull Requests > New Pull Request**.
2. Select **master** (or your feature branch) as both source and target, if applicable.
3. Add a descriptive title and summary.
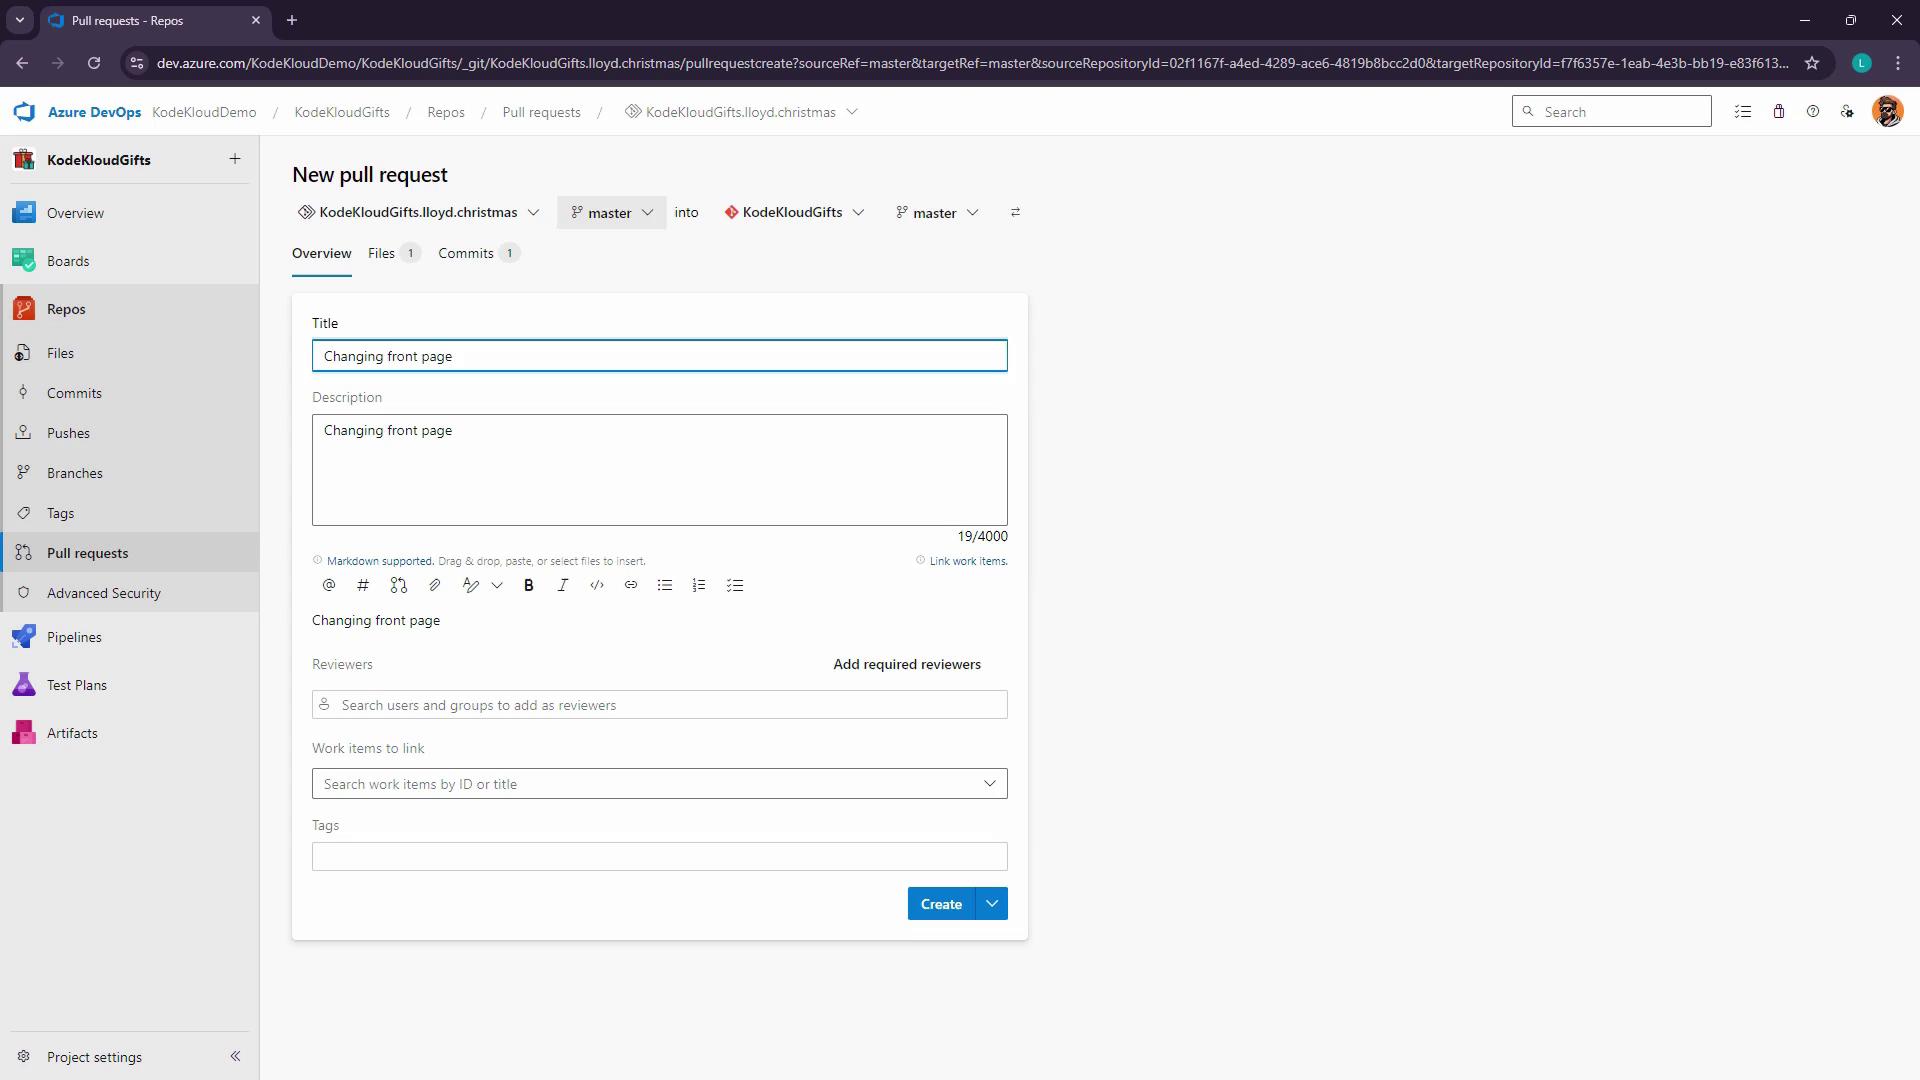
Tag reviewers, link work items, and adjust settings:
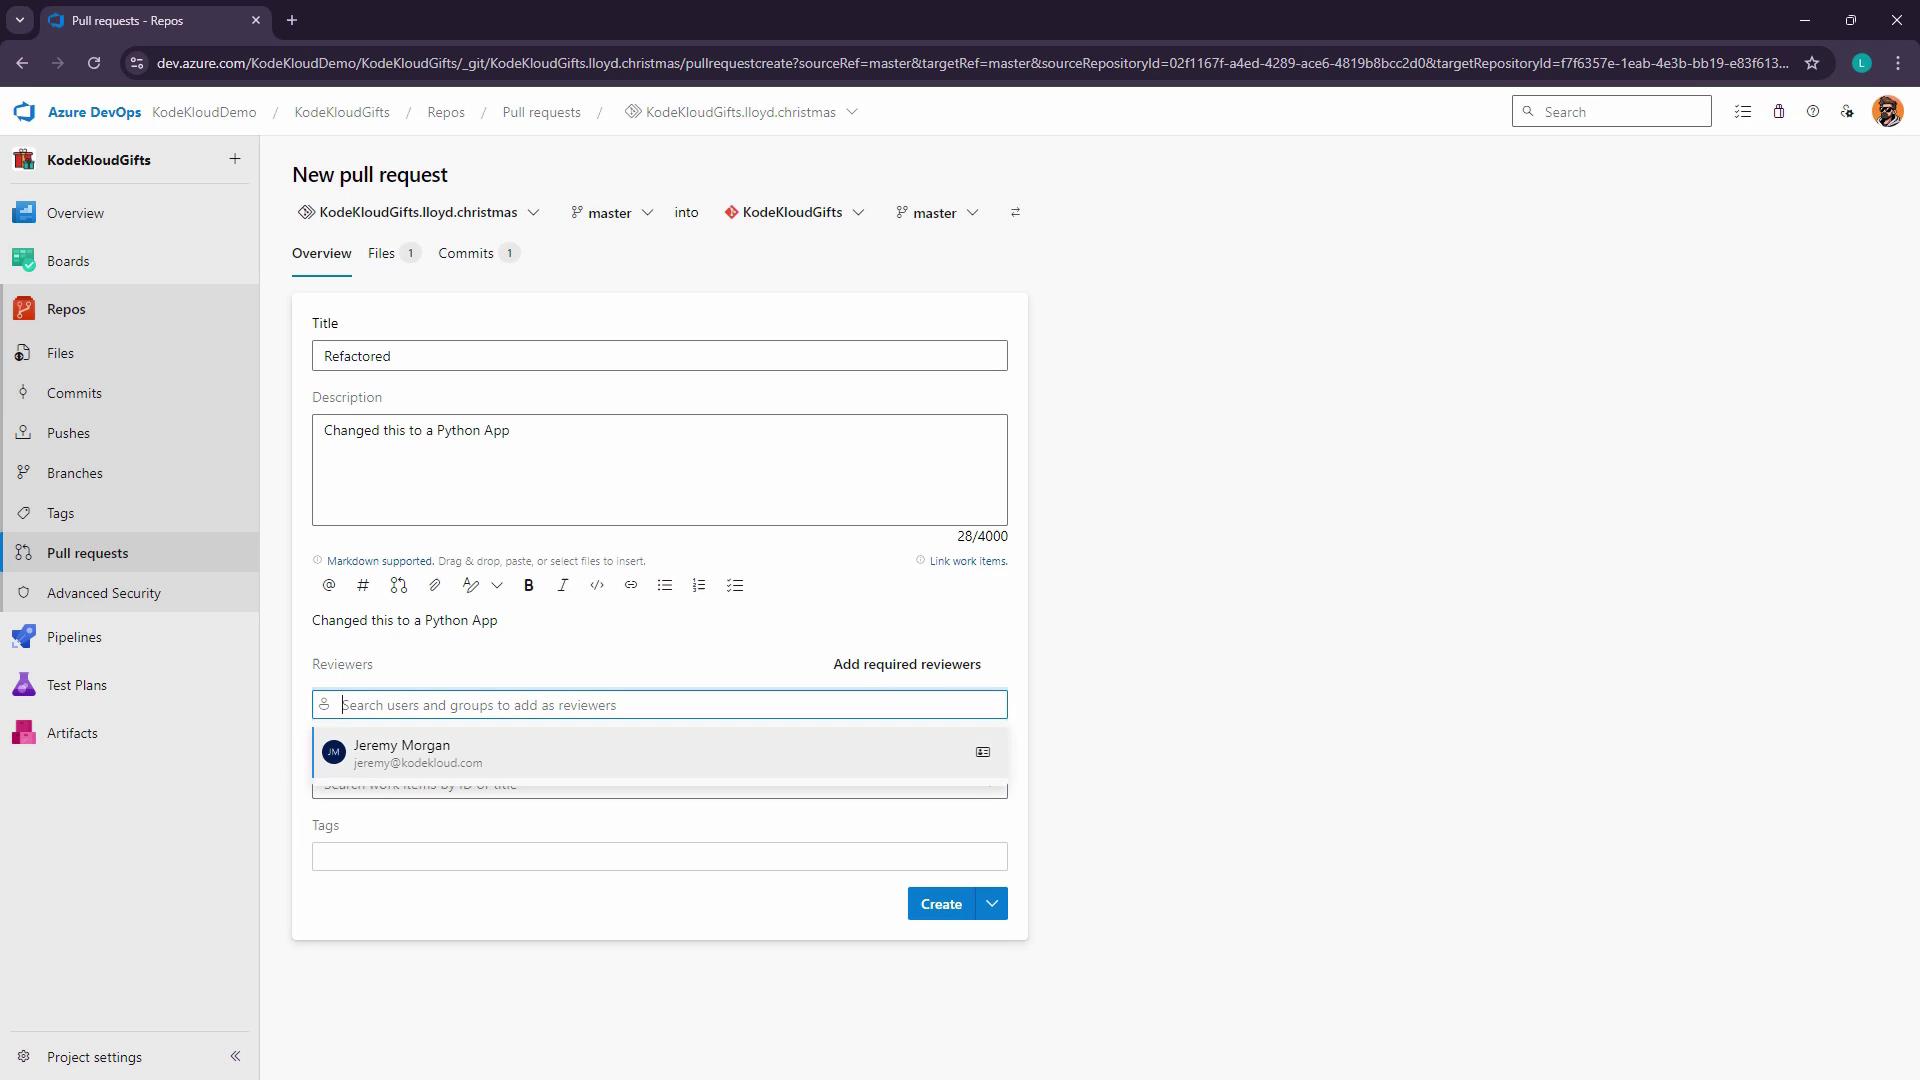
Once submitted, maintainers can review and merge your contribution.
## Workflow Summary
| Step | Command / Action | Purpose |
| ------------------- | -------------------------------------------------------- | ------------------------------------------ |
| Fork | Click **Fork** in Azure DevOps | Create isolated repository copy |
| Clone | `git clone ` | Download your fork locally |
| Add Upstream Remote | `git remote add upstream ` | Keep fork in sync with the original repo |
| Develop & Commit | `git add` → `git commit -m` → `git push origin ` | Make and push changes to your fork |
| Create Pull Request | **Pull Requests > New Pull Request** | Propose changes to the upstream repository |
## Links and References
* [Azure DevOps Repos](https://learn.microsoft.com/azure/devops/repos/)
* [Git Fork vs Clone](https://www.atlassian.com/git/tutorials/merging-vs-rebasing)
* [AZ-400 Exam Overview](https://learn.microsoft.com/certifications/exams/az-400)
* [MariaDB vs MySQL](https://mariadb.org)