> ## Documentation Index
> Fetch the complete documentation index at: https://notes.kodekloud.com/llms.txt
> Use this file to discover all available pages before exploring further.
# Building a Linux Self Hosted Build Agent with WSL
> This article explains how to set up a Linux self-hosted build agent using WSL on a Windows machine for Azure DevOps.
If you’re on Windows and need to run Linux builds in Azure DevOps, you don’t need a separate VM. With Windows Subsystem for Linux (WSL), you can host both Windows and Linux agents on the same machine—saving resources and simplifying maintenance.
## Current Agent Pools
In Azure DevOps under **Organization Settings » Agent pools**, you’ll typically see:
| Pool Name | Type | Agents |
| --------------- | --------------------- | ------------------------------------ |
| Azure Pipelines | Hosted | (Disabled when using self-hosted) |
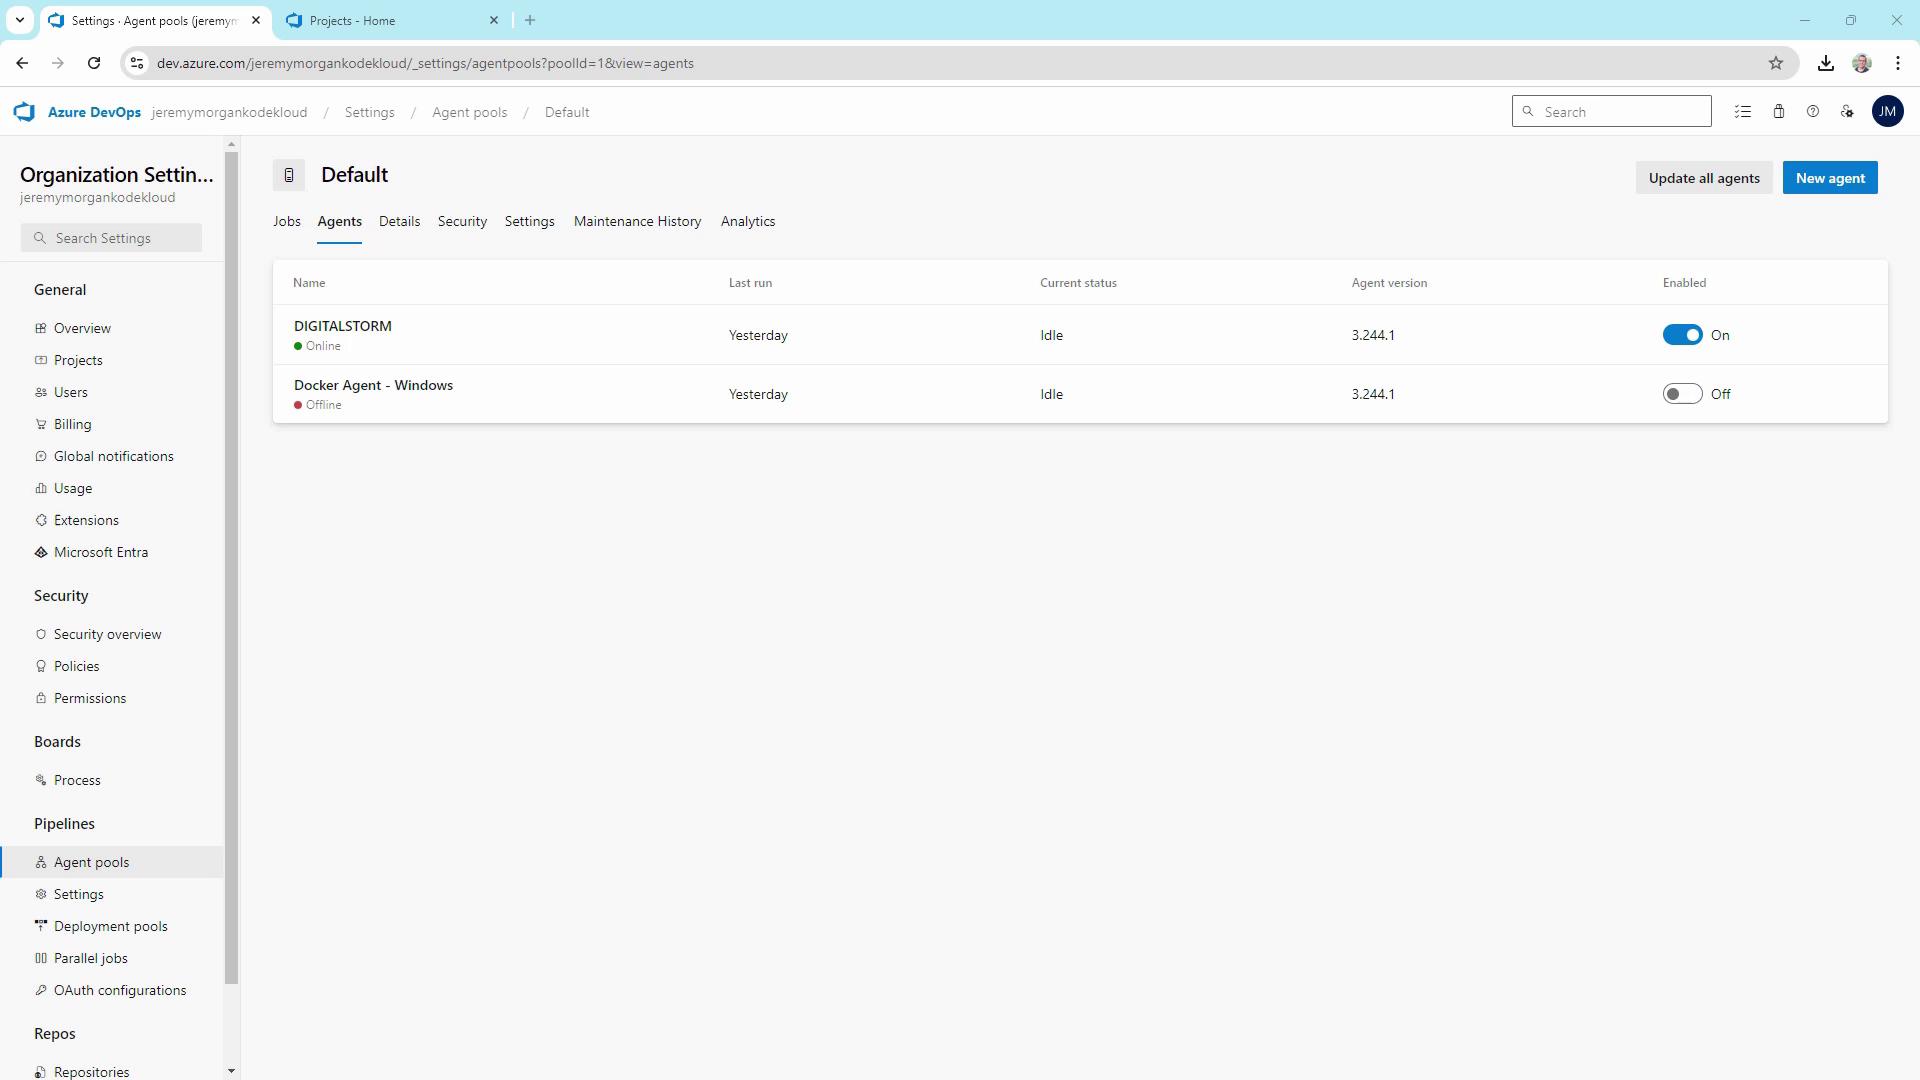
| Default | Self-hosted (Windows) | DigitalStorm, Docker Agent - Windows |
Click **Add pool**, select **Self-hosted**, name it (e.g., `Linux self-hosted builders`), and optionally enable **Auto-provision this agent pool in all projects**.\
Once created, you’ll have a new Linux pool—let’s add an agent in WSL.
## Why Use WSL for Your Linux Agent?
[WSL](https://docs.microsoft.com/windows/wsl/) provides a full Linux environment on Windows without a virtual machine. Install packages, run scripts, and host a Linux build agent just like on a native Linux server.
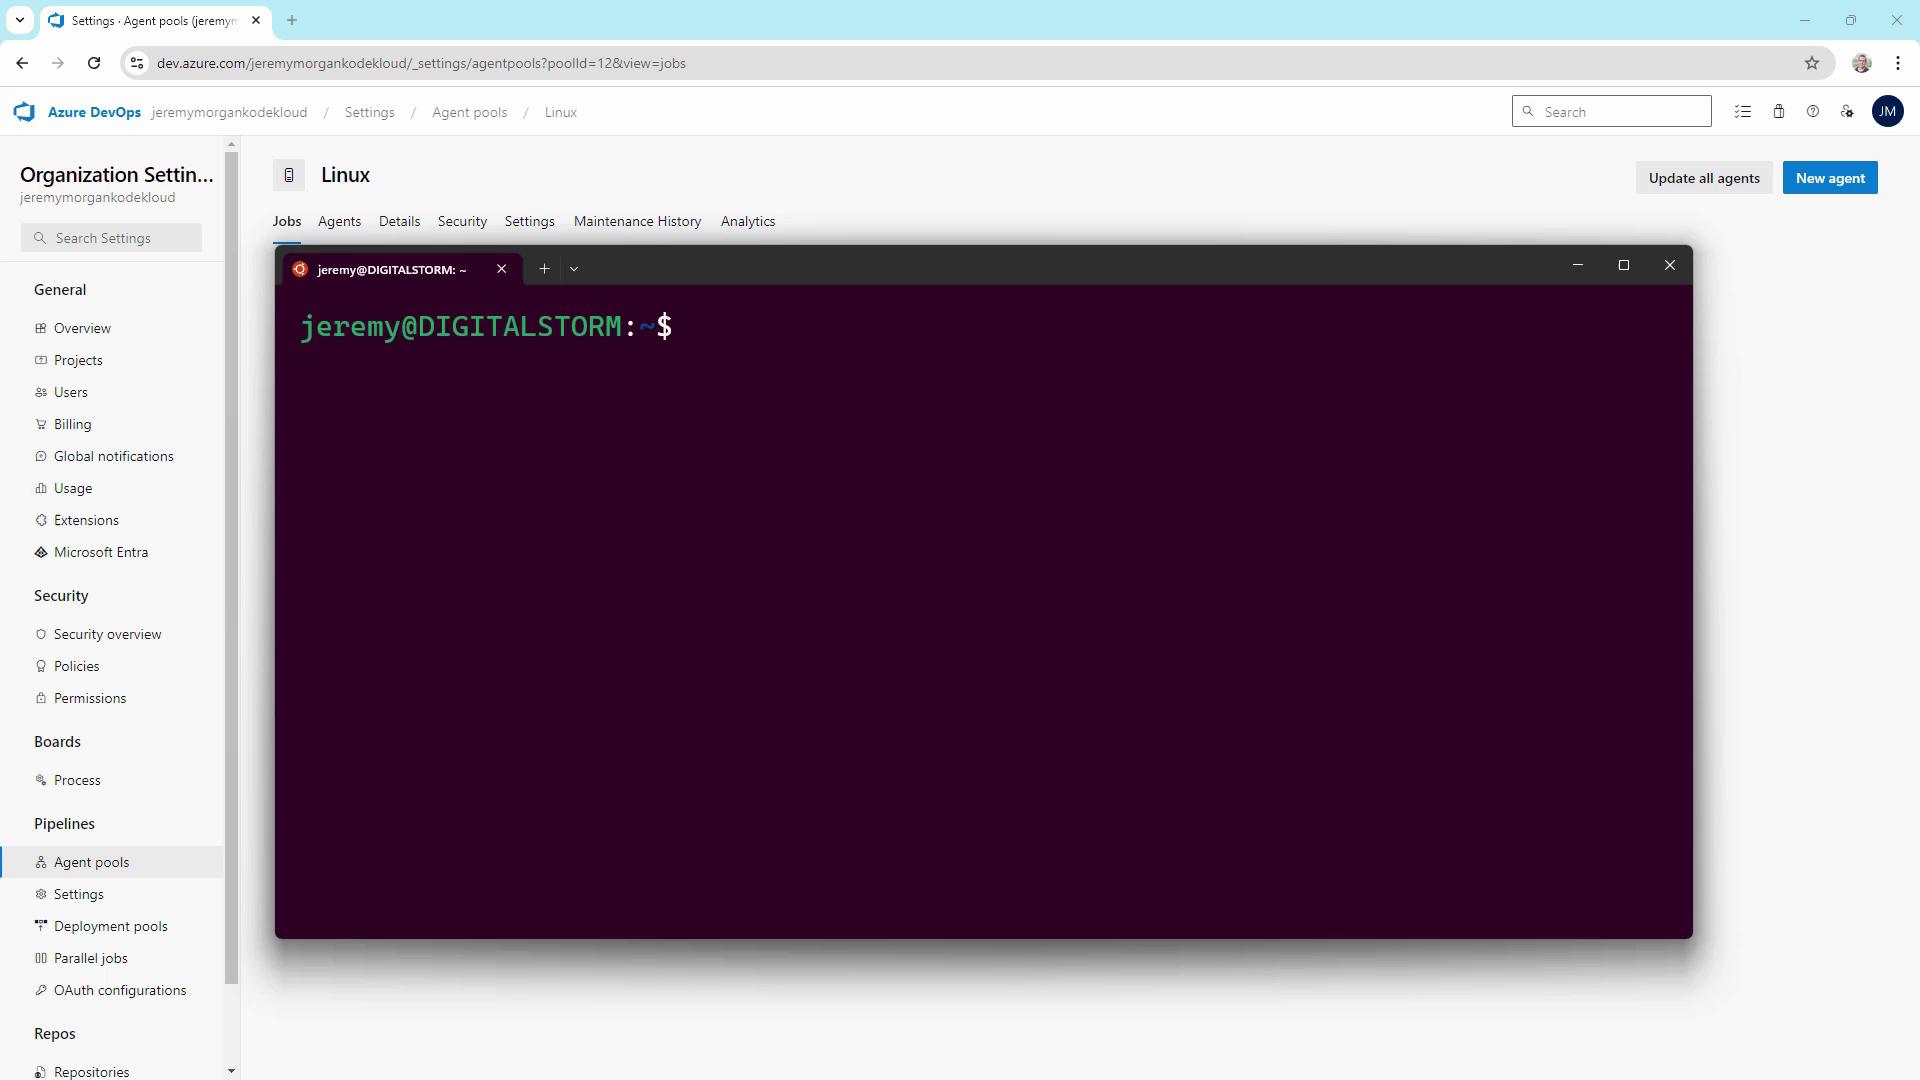
WSL has simplified my cross-platform builds for years by eliminating extra virtualization layers.
## Prerequisites
* Windows 10 (2004+) or Windows Server 2022
* WSL2 enabled with a default Linux distro
* Azure DevOps organization and a Personal Access Token (PAT) with **Agent Pools** scope
* Administrator access to PowerShell or Command Prompt
## Installing the Linux Agent in WSL
1. Download the Linux x64 agent tarball from your Azure DevOps **New agent** dialog.
2. In WSL, copy the file:
```bash theme={null}
cp /mnt/c/Users/$(whoami)/Downloads/vsts-agent-linux-x64-*.tar.gz ~/Downloads/
```
3. Create and navigate into the agent folder:
```bash theme={null}
mkdir ~/myagent && cd ~/myagent
```
4. Extract the archive:
```bash theme={null}
tar zxvf ~/Downloads/vsts-agent-linux-x64-*.tar.gz
```
5. Run the configuration script:
```bash theme={null}
./config.sh
```
Provide these details when prompted:
* Accept EULA → **Y**
* Server URL → `https://dev.azure.com/`
* Authentication → press Enter for PAT, then paste your token
* Agent pool → `Linux`
* Agent name → `WSL Linux Builder`
* Work folder → press Enter for default (`_work`)
Example output:
```plaintext theme={null}
>> End User License Agreements:
...
>> Connect:
Enter server URL > https://dev.azure.com/yourOrganization
...
Successfully added the agent
2024-09-26 16:57:30Z: Settings Saved.
```
Keep your Personal Access Token secure. Do not check it into source control or share publicly.
6. Start the agent:
```bash theme={null}
./run.sh
```
You should see:
```plaintext theme={null}
Scanning for tool capabilities.
Connecting to the server.
2024-09-26 16:57:51Z: Listening for Jobs
```
Your Linux agent will now appear in the pool:

## Final Result
On the same Windows machine, you now have:
* A **Windows** self-hosted agent (Default pool)
* A **Linux** self-hosted agent (WSL Linux pool)
Choose the appropriate agent in your pipeline YAML or classic editor:
## Links and References
* [Azure DevOps Agent Pools](https://docs.microsoft.com/azure/devops/pipelines/agents/agents?view=azure-devops)
* [Windows Subsystem for Linux Documentation](https://docs.microsoft.com/windows/wsl/)
* [Creating a Personal Access Token](https://docs.microsoft.com/azure/devops/organizations/accounts/use-personal-access-tokens-to-authenticate)